|
|
|
Porsche, and the Porsche crest are registered trademarks of Dr. Ing. h.c. F. Porsche AG.
This site is not affiliated with Porsche in any way. Its only purpose is to provide an online forum for car enthusiasts. All other trademarks are property of their respective owners. |
|
|

  |

| euro911 |
 Aug 6 2015, 03:09 AM Aug 6 2015, 03:09 AM
Post
#6401
|
|
Retired & living the dream. God help me if I wake up!  Group: Members Posts: 8,937 Joined: 2-December 06 From: So.Cal. & No.AZ (USA) Member No.: 7,300 Region Association: Southern California |
(IMG:style_emoticons/default/agree.gif) Unless you're running an external cooler, an extra 1/2 quart is OK, 1 could be bordering trouble.
|
   |

 
|
| DRPHIL914 |
Aug 6 2015, 09:06 PM
Post
#6402
|
|
Dr. Phil Group: Members Posts: 5,871 Joined: 9-December 09 From: Bluffton, SC Member No.: 11,106 Region Association: South East States |
Some assembly required!
Drivers seat almost finished. Not fully assembled yet. I am going to try and add a bit more cushion to back and lumbar support, seat heaters and then a bit more firm seat cushion. I made a few minor mistakes here but learned a lot in the process. I'm going to try and do another set soon. The hardest part is to stretch the side and back around. After that getti.g the back of the headrest pulled tight fastened securely. Otherwise not too bad. Attached thumbnail(s) 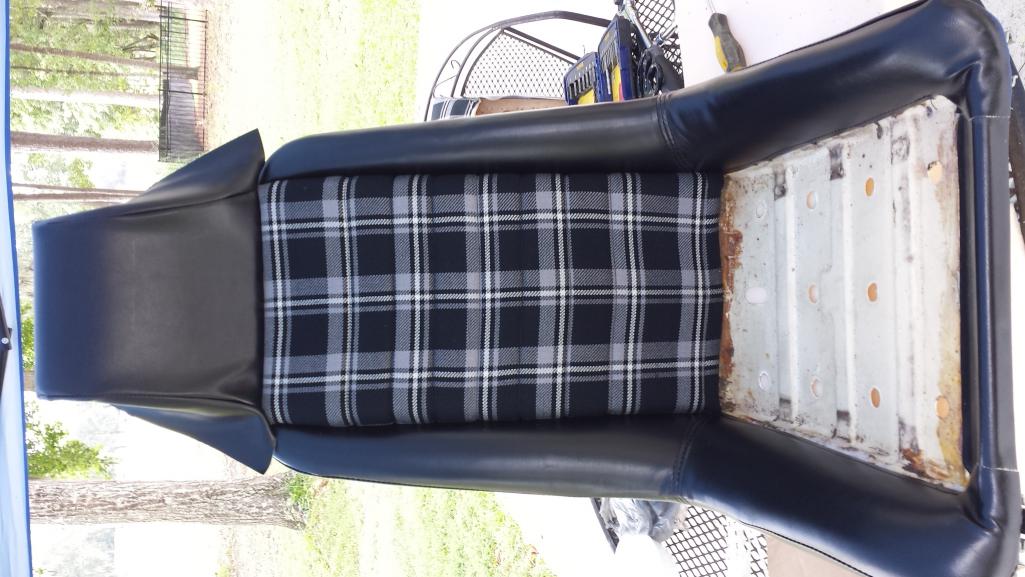 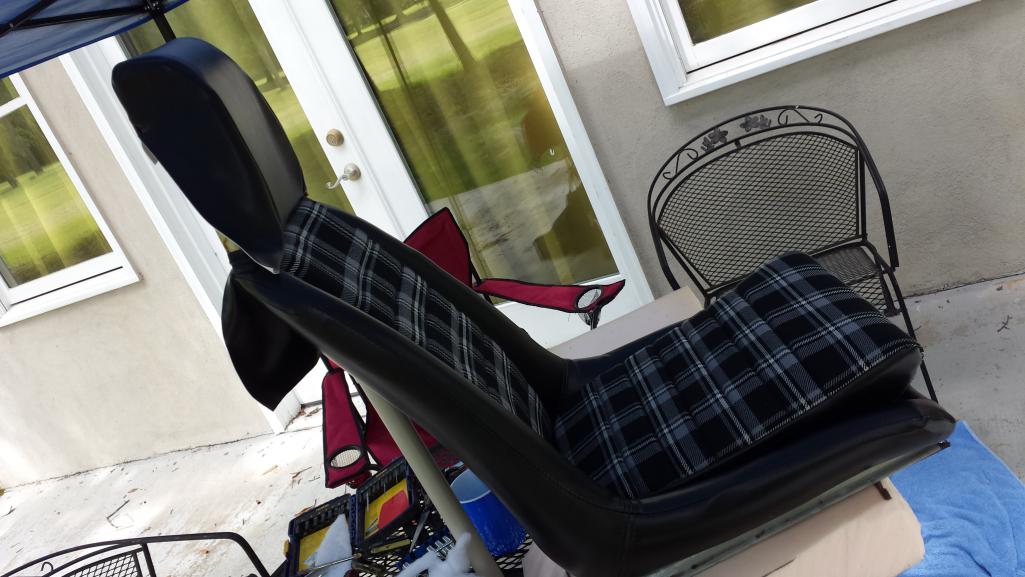
|
|
|
|
| Cuda911 |
Aug 6 2015, 11:12 PM
Post
#6403
|
|
Senior Member Group: Members Posts: 1,489 Joined: 20-May 14 From: Oceanside (N. San Diego County), CA Member No.: 17,376 Region Association: Southern California |
The '73 got the following today:
New: Front rotors Pads all four corners New upgraded master cylinder All four brake calipers rebuilt |
|
|
|
| poorsche914 |
Aug 7 2015, 07:38 AM
Post
#6404
|
|
T4 Supercharged Group: Members Posts: 3,145 Joined: 28-May 09 From: Smoky Mountains Member No.: 10,419 Region Association: South East States |
Smokin' on the Dragon... didn't realize it was this bad (IMG:style_emoticons/default/dry.gif)
No wonder we don't have mosquitos (IMG:style_emoticons/default/rolleyes.gif) 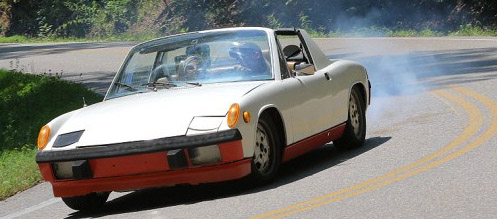 (IMG:style_emoticons/default/driving.gif) |
|
|
|
| dlee6204 |
Aug 7 2015, 07:52 AM
Post
#6405
|
|
Howdy Group: Members Posts: 2,162 Joined: 30-April 06 From: Burnsville, NC Member No.: 5,956 |
That's fantastic! (IMG:style_emoticons/default/lol-2.gif)
QUOTE(poorsche914 @ Aug 7 2015, 09:38 AM)  Smokin' on the Dragon... didn't realize it was this bad (IMG:style_emoticons/default/dry.gif) No wonder we don't have mosquitos (IMG:style_emoticons/default/rolleyes.gif) (IMG:style_emoticons/default/driving.gif) |
|
|
|
| euro911 |
Aug 7 2015, 11:34 AM
Post
#6406
|
|
Retired & living the dream. God help me if I wake up! Group: Members Posts: 8,937 Joined: 2-December 06 From: So.Cal. & No.AZ (USA) Member No.: 7,300 Region Association: Southern California |
Were you drifting, or just got bad valve guides (IMG:style_emoticons/default/poke.gif)
(IMG:style_emoticons/default/aktion035.gif) |
|
|
|
| matthepcat |
Aug 8 2015, 08:56 PM
Post
#6407
|
|
Meat Popsicle Group: Members Posts: 1,462 Joined: 13-December 09 From: Saratoga CA Member No.: 11,125 Region Association: Northern California |
Had a crusty rusty fuel tank.
Step 1: (Electrolysis) (IMG:http://www.914world.com/bbs2/uploads_offsite/s15.postimg.org-11125-1439088972.1.jpg) Step 2: (De-greaser & Phosphoric Acid bath) (IMG:http://www.914world.com/bbs2/uploads_offsite/s1.postimg.org-11125-1439088973.2.jpg) Step 3: (KBS coating from Summit) (IMG:http://www.914world.com/bbs2/uploads_offsite/s17.postimg.org-11125-1439088973.3.jpg) I decided to do the coating as the tank will not have gas in it for a while. All the bad reviews of tank coating I believe are people rushing and not prepping the tank effectively. These modern coatings are designed to run ethanol fuels and racing fuels. Definitely a time consuming process ( really a whole day...two days if your tank is BAD) |
|
|
|
| dangrouche |
Aug 9 2015, 03:42 PM
Post
#6408
|
|
dangrouche Group: Members Posts: 550 Joined: 1-May 04 From: San Francisco Bay Area Member No.: 2,012 Region Association: None |
Got an idea from the $50 drink holder sold for 911s that attaches to the seat bases. When I saw that the 914 has the seat adjuster at that location, I devised an alternative contraption made from flat aluminum stock. I bent it and used a rasp to shave the metal down so that it would slide into the same track that the seat slider uses. I attached a bottle holder, so that the bottom of the bottle meets the floorpan.
Attached thumbnail(s) 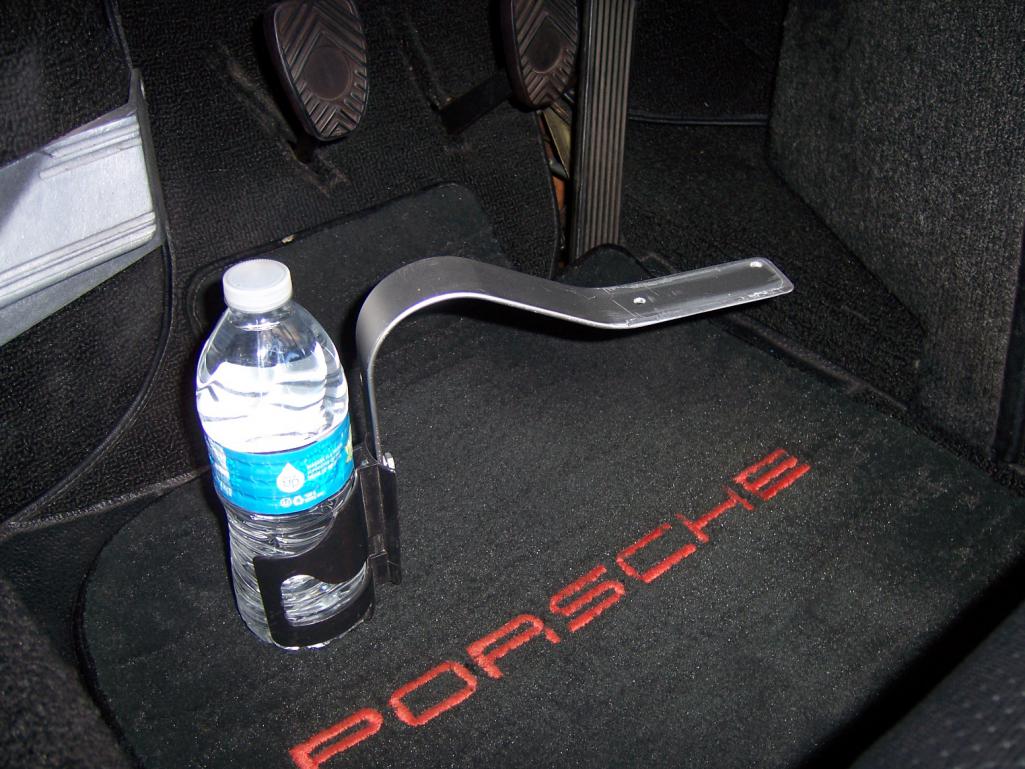 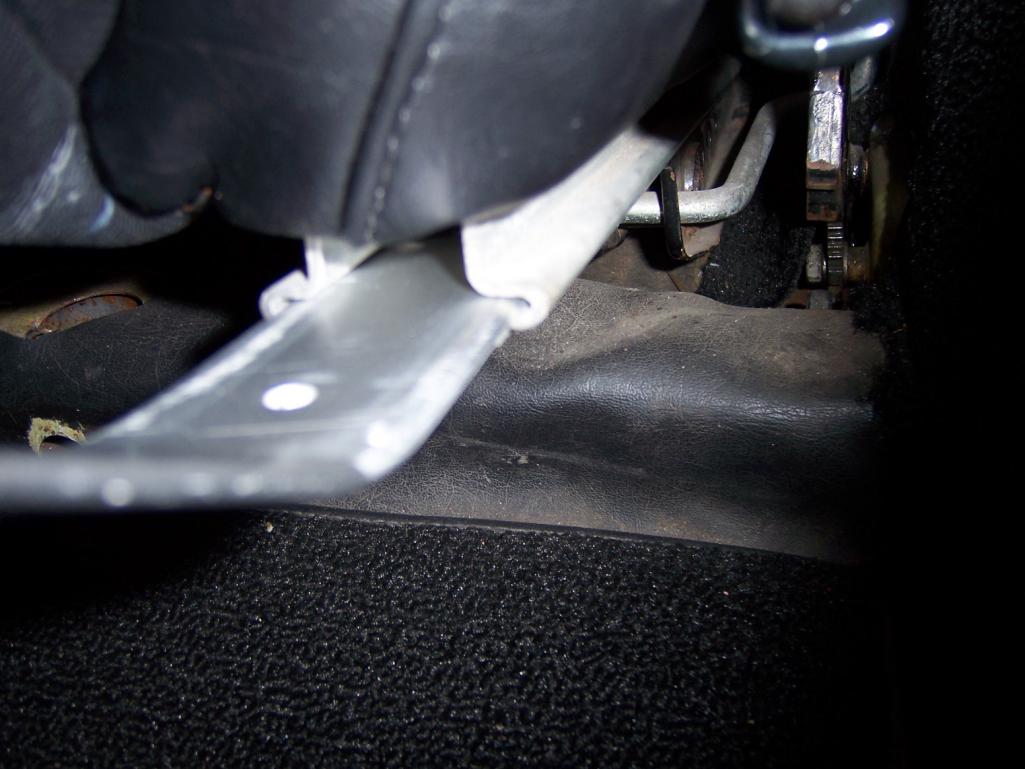 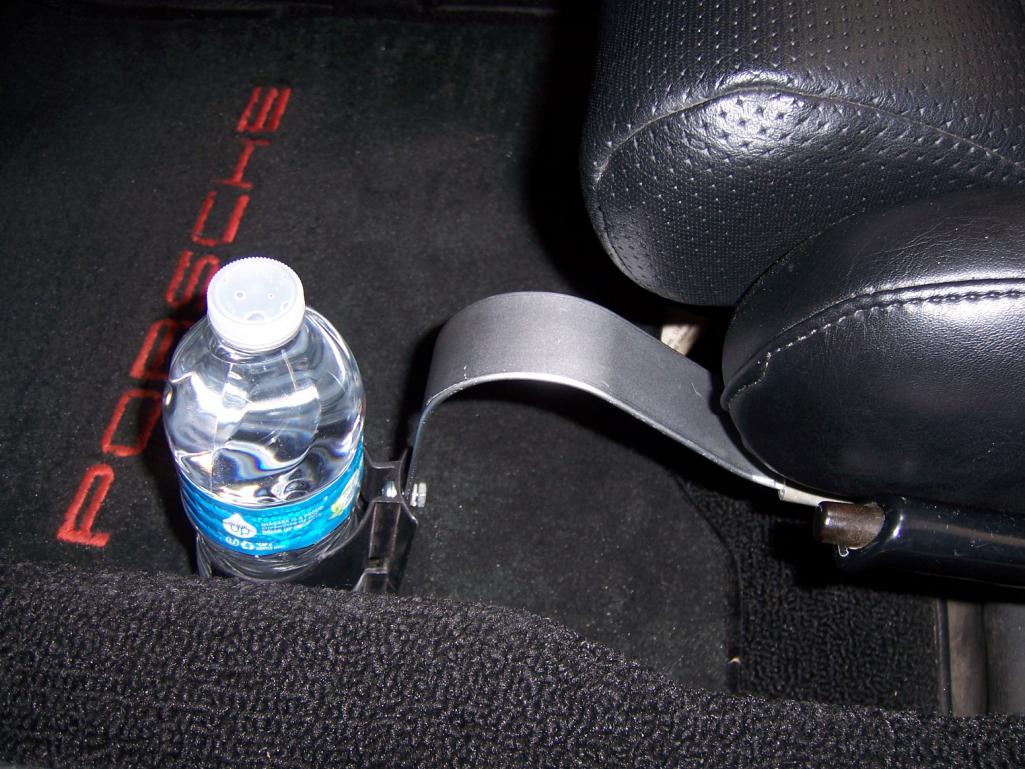  Attached image(s) 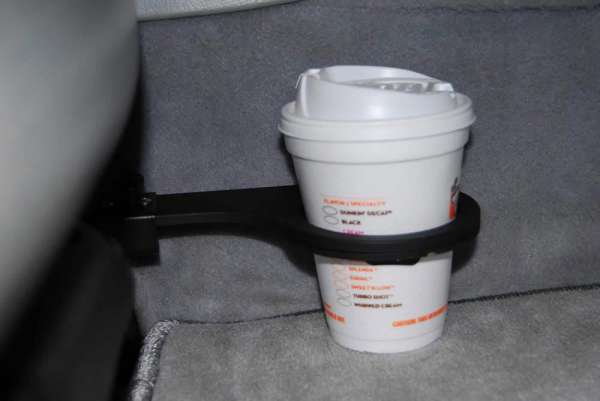
|
|
|
|
| carr914 |
Aug 9 2015, 05:11 PM
Post
#6409
|
|
Racer from Birth Group: Members Posts: 128,935 Joined: 2-February 04 From: Tampa,FL Member No.: 1,623 Region Association: South East States |
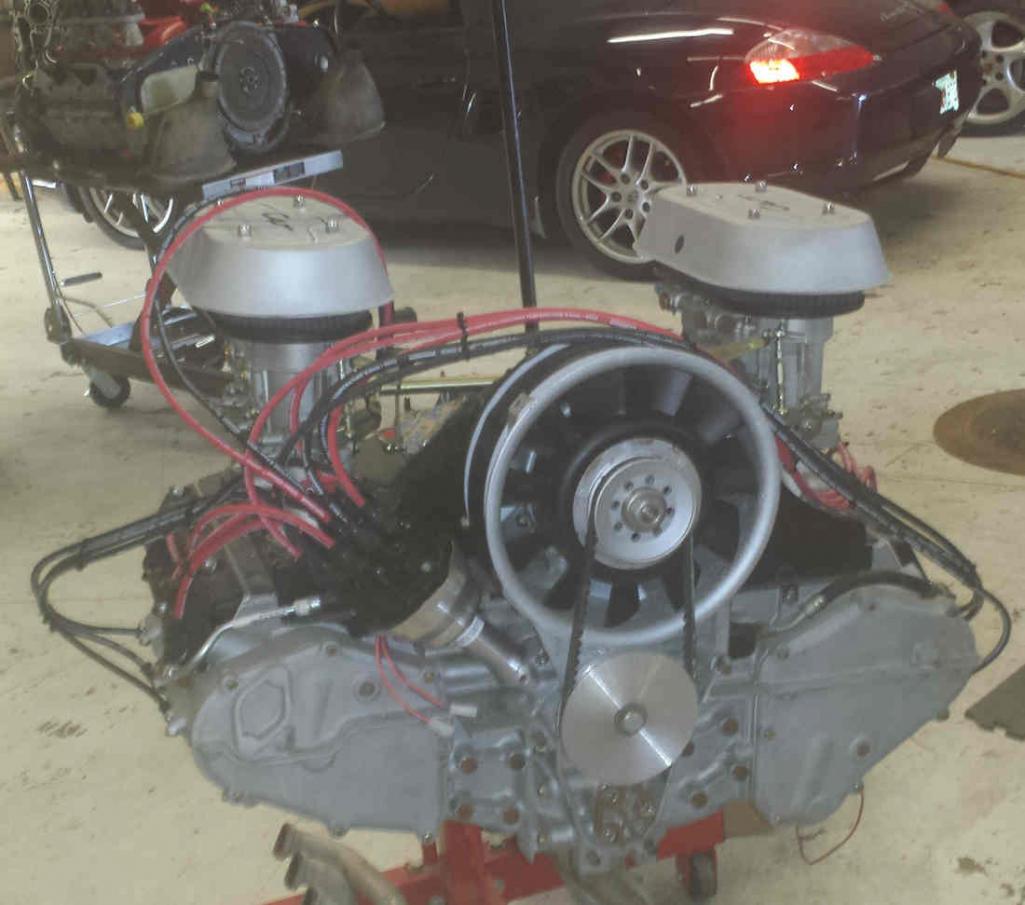
Got the 2.8 Twin-Plug ready for Dyno-Time!
 |
|
|
|
| KlokWerk |
Aug 9 2015, 07:16 PM
Post
#6410
|
|
Newbie Group: Members Posts: 8 Joined: 17-June 15 From: Spokane, WA Member No.: 18,862 Region Association: Pacific Northwest |
Took the rusty side rails off and found more rust. I'll be cutting out a little bit of metal after media blasting.
The car is extremely light now that the suspension is out of it too! Sourcing a Boxster S from Copart.com. Waiting for the right one. |
|
|
|
| euro911 |
Aug 9 2015, 07:20 PM
Post
#6411
|
|
Retired & living the dream. God help me if I wake up! Group: Members Posts: 8,937 Joined: 2-December 06 From: So.Cal. & No.AZ (USA) Member No.: 7,300 Region Association: Southern California |
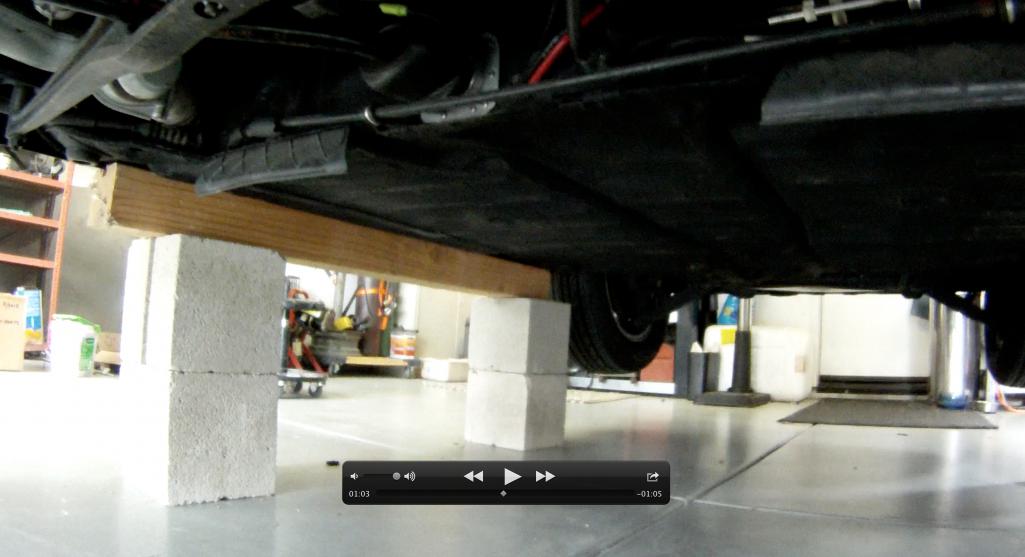
What we did happened yesterday. I arrived at Kent's (76-914) bright and early (around 6:30am). Had some coffee and put the 'BB' up on blocks. I guess that could be considered 'car and coffee', no? (IMG:style_emoticons/default/confused24.gif)
 Kent started modifying a clutch/brake pedal assembly by grinding the tacks off of the original bolts. 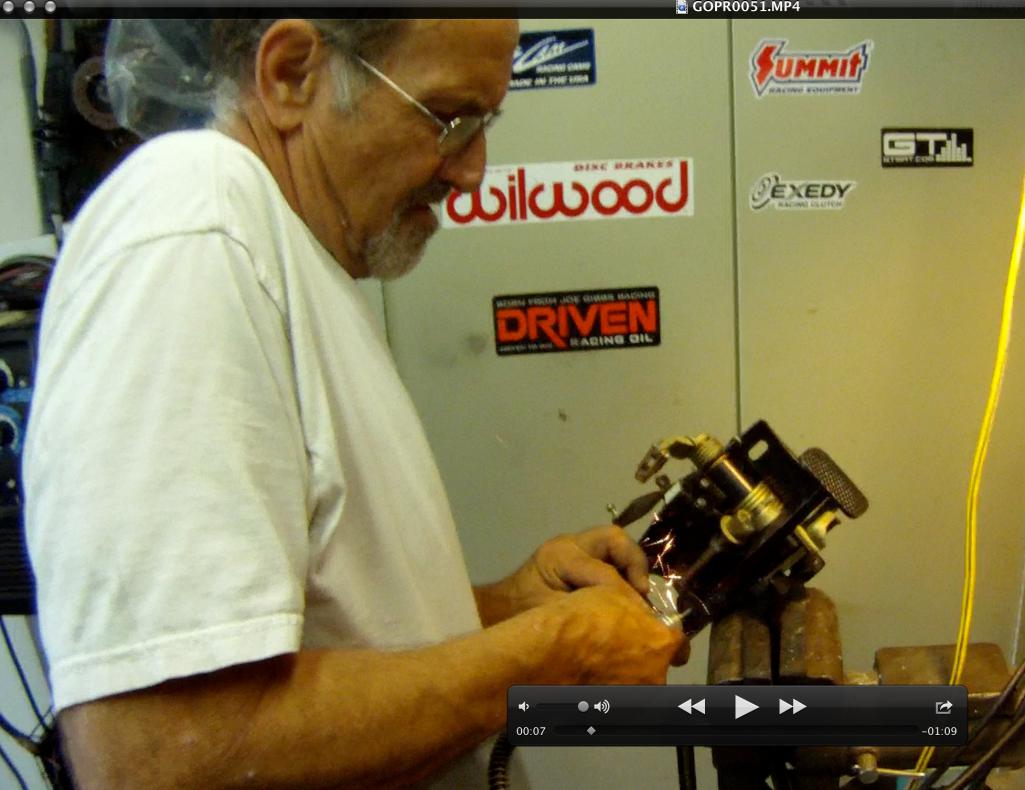 I started in on the driver's side, taking the seat out for more room, then down into the foot well, removed the pedal board, disconnected the clutch cable & throttle linkage and gas pedal, then removed the old clutch pedal assembly. 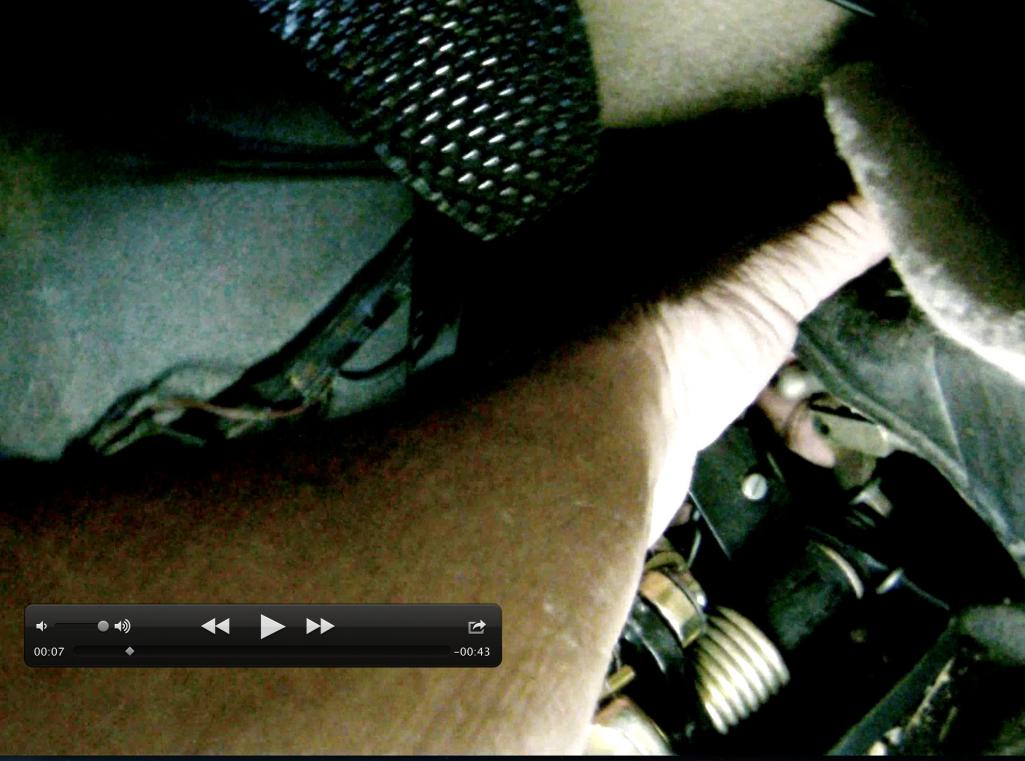 Then Kent completely disassembled the pedal assy to tack in some longer bolts 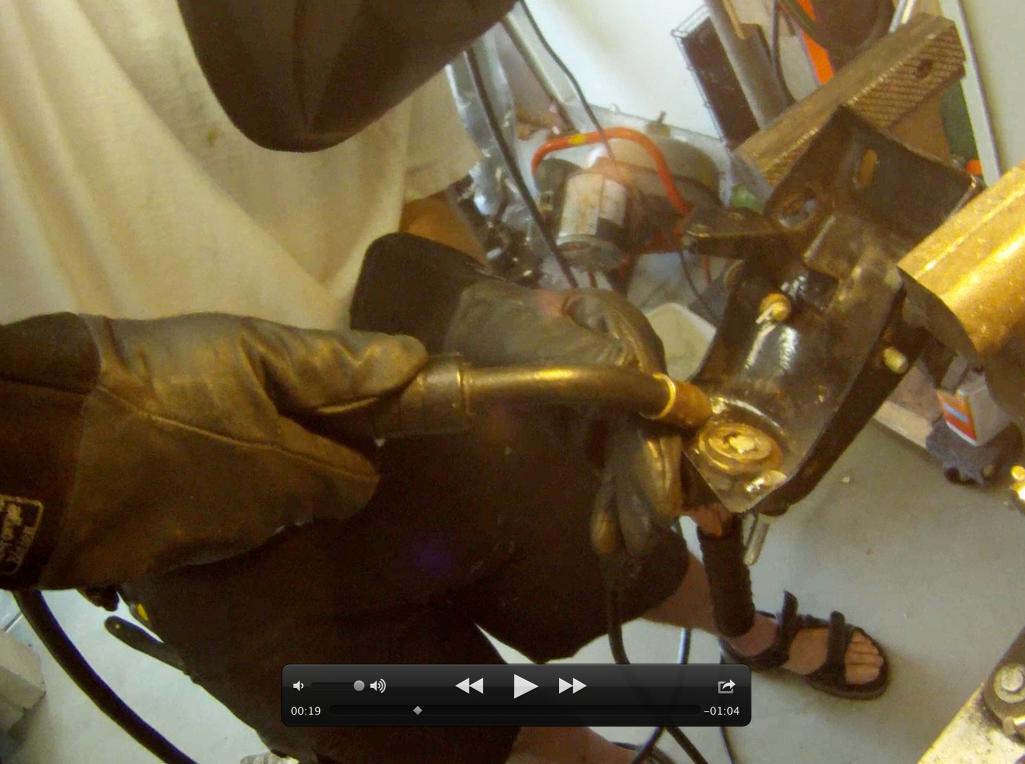 whilst I was removing the clutch cable pulley console and the old clutch cable ... 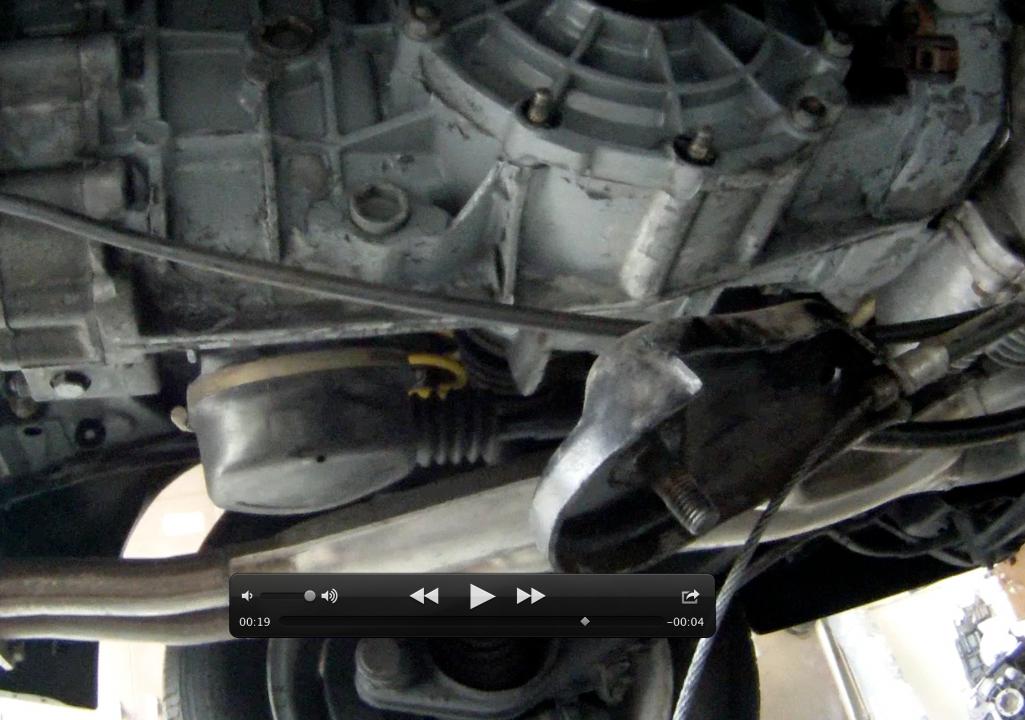 ... and installing the braided hydraulic hose in thoough the vacated clutch cable tube. 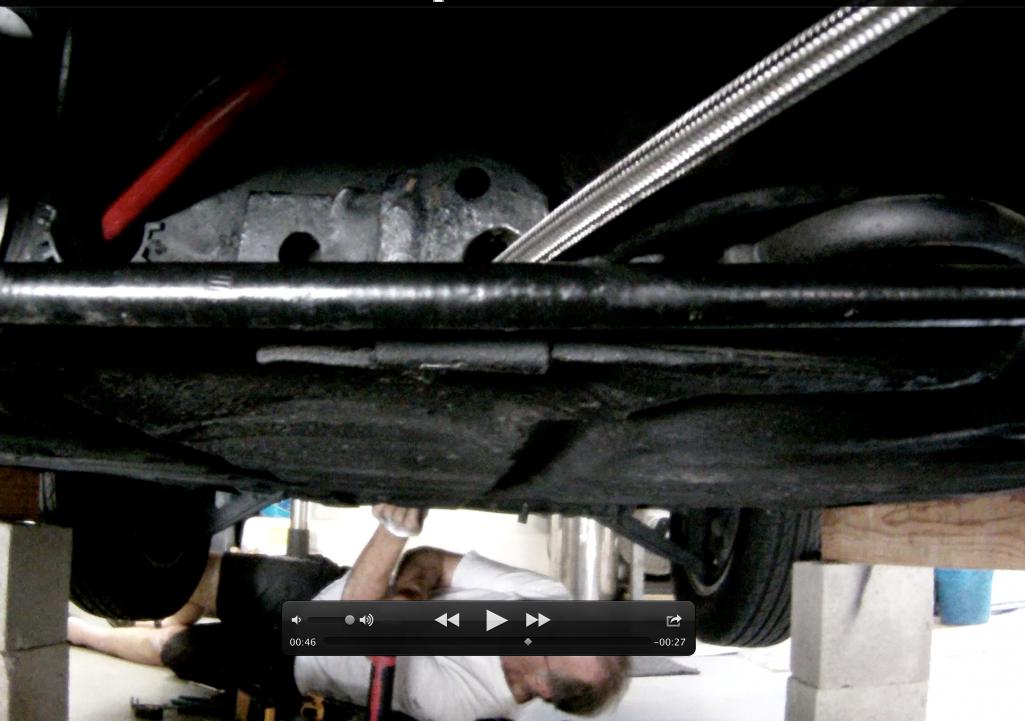 Stay tuned for part-II |
|
|
|
| stevegm |
Aug 9 2015, 07:30 PM
Post
#6412
|
|
Advanced Member Group: Members Posts: 2,111 Joined: 14-July 14 From: North Carolina Member No.: 17,633 Region Association: South East States |
Tried to install the front turn signal buckets, but I spent most of my time cleaning them. Now I need to paint them. Installed the side marker assemblies. But the screws for the lens wouldn't tighten all the way down. I need to figure that out.
|
|
|
|
| euro911 |
Aug 9 2015, 07:32 PM
Post
#6413
|
|
Retired & living the dream. God help me if I wake up! Group: Members Posts: 8,937 Joined: 2-December 06 From: So.Cal. & No.AZ (USA) Member No.: 7,300 Region Association: Southern California |
Continued:
Kent lubed and reassembled the pedal assy and I installed it. Kent started under the the front end, installing the clutch master cylinder adapter plate to the existing brake master cylinder (that's why the longer bolts were added). Then he drilled a hole for the braided hose (to the slave cylinder) and installed a grommet to eliminate vibration chaffing ... 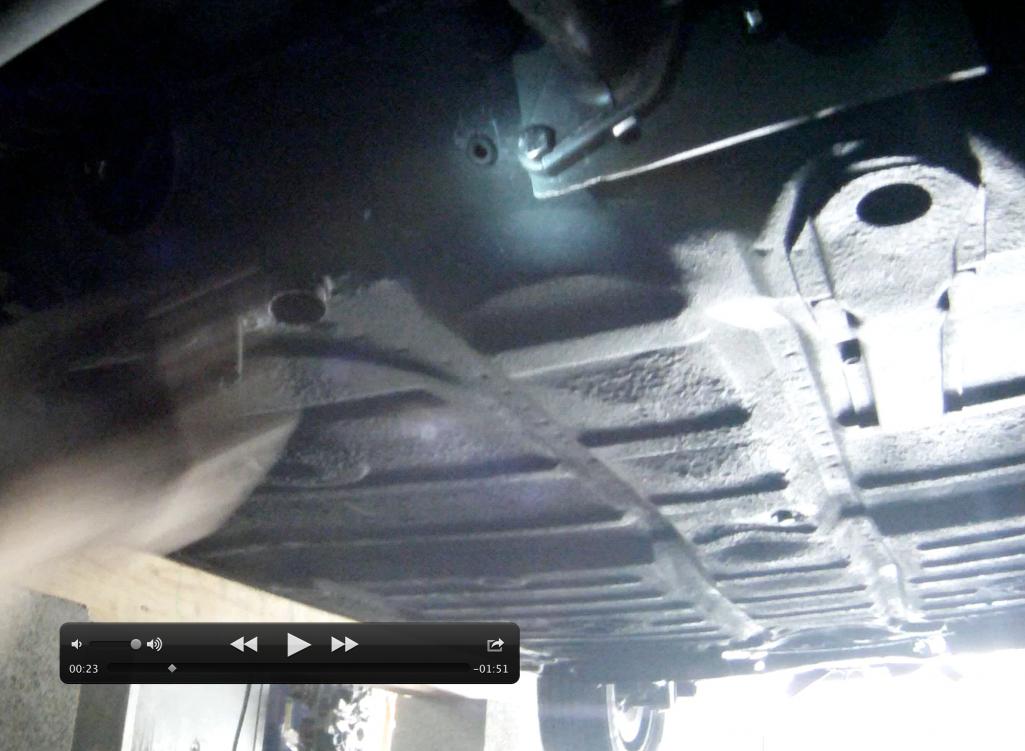 ... and fished the hose through the grommet. Notice the small rivet in the hose opening? ... that was so we wouldn't introduce any debris when running the hose in through clutch cable tube (IMG:style_emoticons/default/shades.gif)  I started installing the slave cylinder mounting bracket, but Kent came back down there to finish up with the cylinder and linkage. Since we partially disassembled it from the mock-up transaxle, Kent knew how it all went back together better than me. 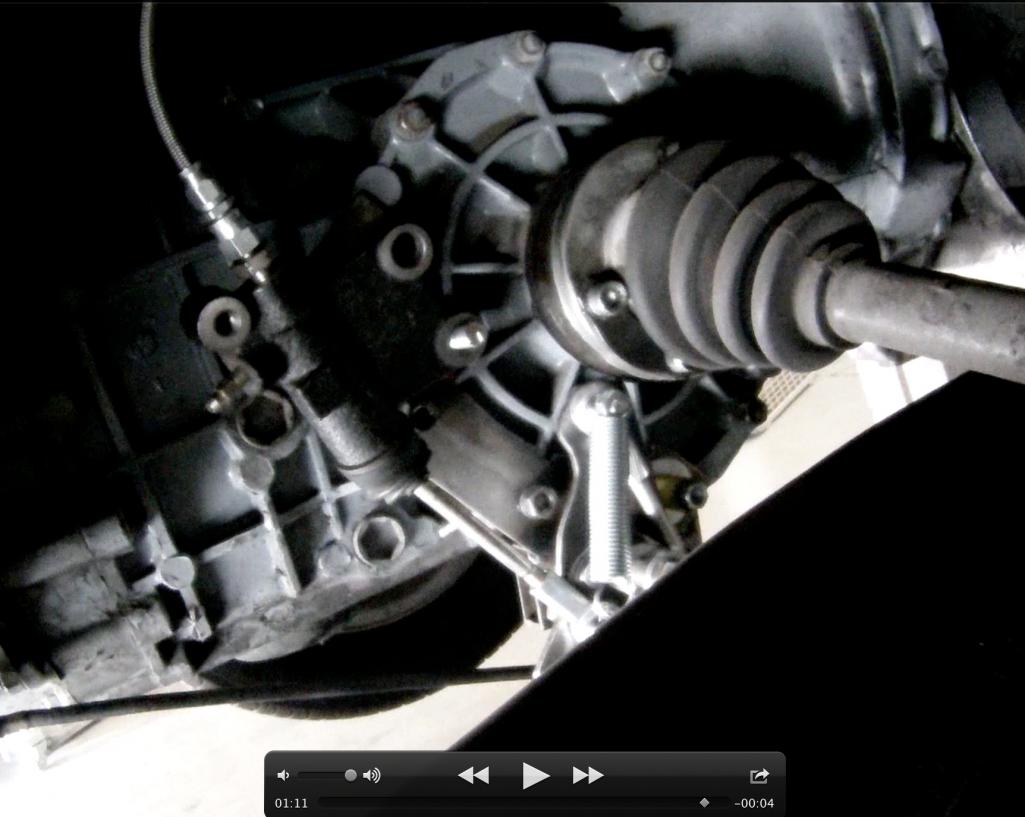 I installed the new reservoir adjacent to the brake system reservoir. We drained most of the fuel from the tank so we could lift it out enough to provide a path for the new supply hose to the master cylinder. Kent went back under to drill an additional hole for the supply hose and I fished it down through that same hole. 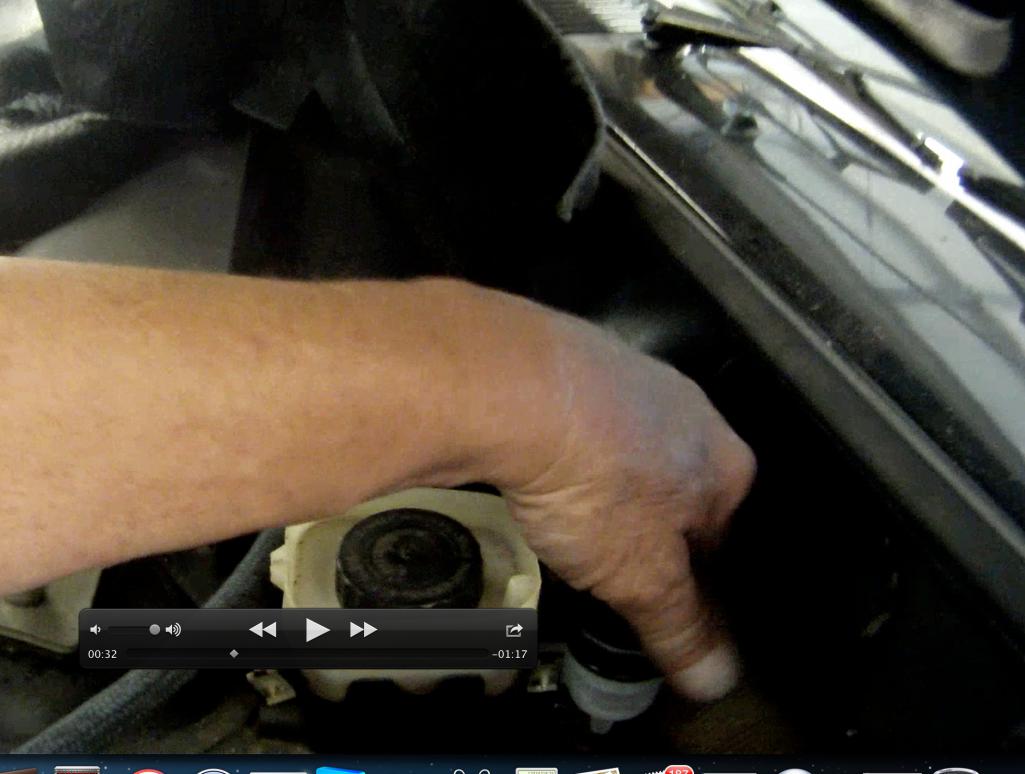 Next, Kent prepped the front end of the hose and attached a 90° AN connector, then attached it to the master cylinder while I re-secured the fuel tank. 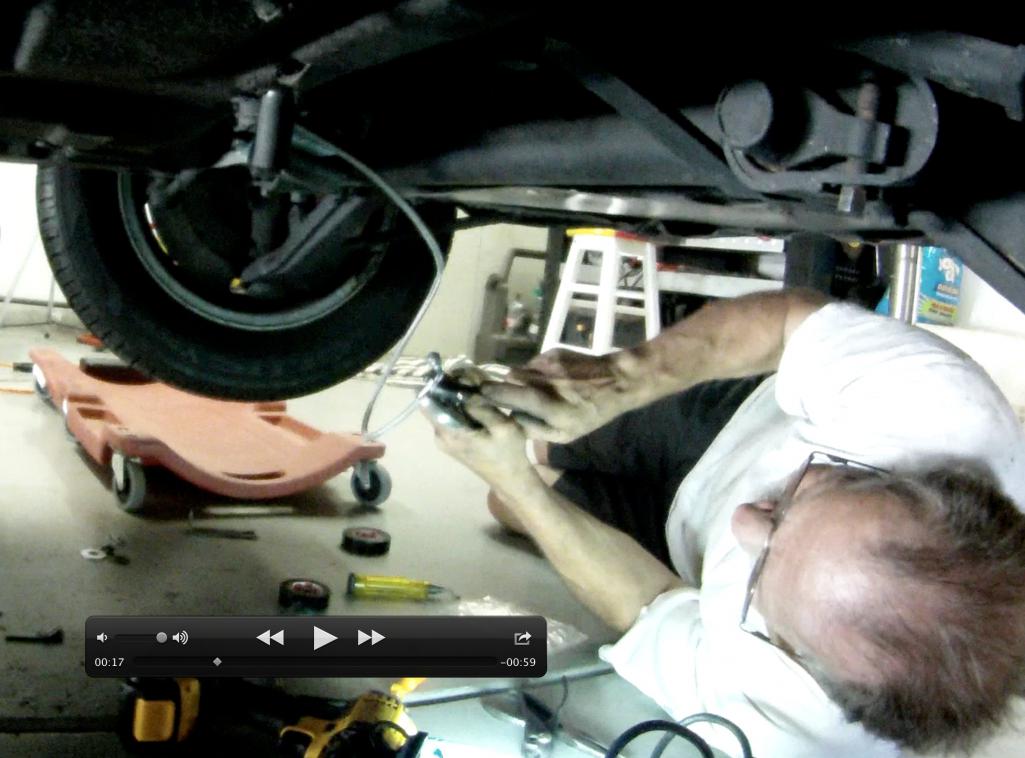 Then Kent prepped the rear end of the hose and attached another AN connector, then attached it to the slave cylinder. 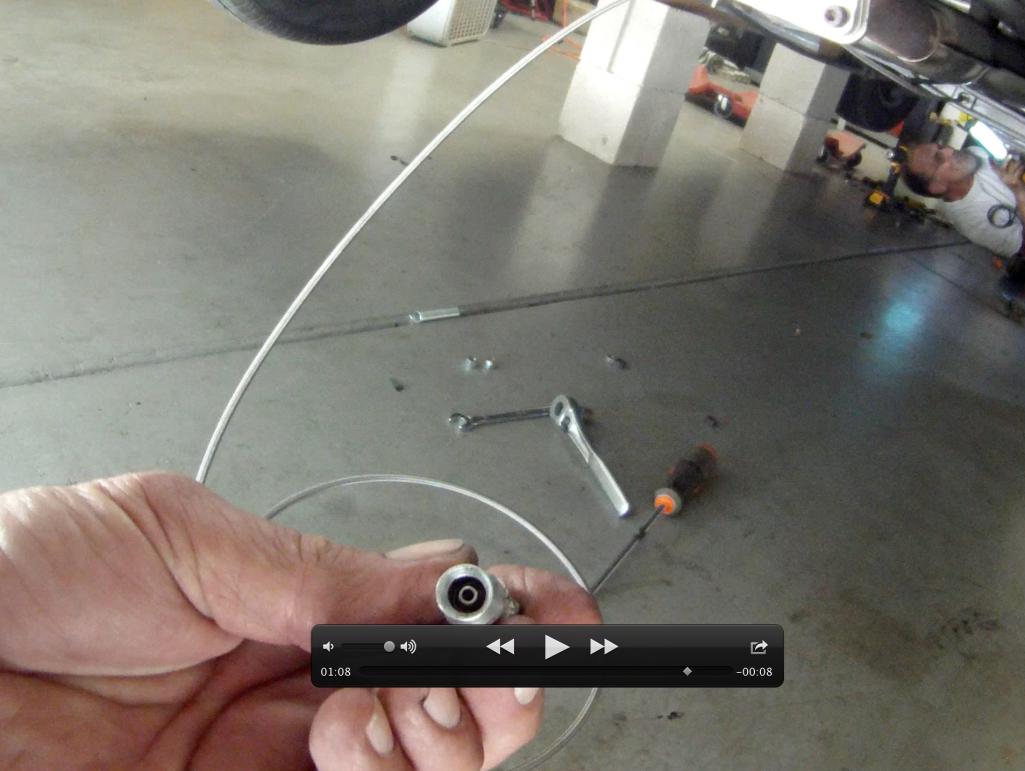 When we attempted to attach the clevis to the master cylinder plunger rod, we found that the bushing's bore diameter in the clutch arm on the pedal assembly was too small. There wasn't enough room to drill it out, or to press it out with it installed in the car, so this is where we stopped for the day. All we had left to do was fill the reservoir, bleed the system and make final linkage adjustments. We were SO close (IMG:style_emoticons/default/dry.gif) Hell, roughly 10 hours doing all this beat the shit of two old farts (IMG:style_emoticons/default/laugh.gif) |
|
|
|
| euro911 |
Aug 9 2015, 08:19 PM
Post
#6414
|
|
Retired & living the dream. God help me if I wake up! Group: Members Posts: 8,937 Joined: 2-December 06 From: So.Cal. & No.AZ (USA) Member No.: 7,300 Region Association: Southern California |
UPDATE!
Today, Kent mentioned that he removed the pedal assembly, fabricated a press tool to pop the clutch arm bushing out and swapped it out for a modified (re-sized) bushing (IMG:style_emoticons/default/smile.gif) He'll fill me in on the details later, but it sounds good so far (IMG:style_emoticons/default/aktion035.gif) |
|
|
|
| Cairo94507 |
Aug 9 2015, 10:04 PM
Post
#6415
|
|
Michael Group: Members Posts: 10,490 Joined: 1-November 08 From: Auburn, CA Member No.: 9,712 Region Association: Northern California |
That is terrific- two guys having fun working on a car together. Throw in a pepperoni pizza and a couple ice cold beers and that is just a terrific day.
|
|
|
|
| euro911 |
Aug 9 2015, 11:12 PM
Post
#6416
|
|
Retired & living the dream. God help me if I wake up! Group: Members Posts: 8,937 Joined: 2-December 06 From: So.Cal. & No.AZ (USA) Member No.: 7,300 Region Association: Southern California |
... and a couple of Tylenols (IMG:style_emoticons/default/laugh.gif)
|
|
|
|
| Madswede |
Aug 9 2015, 11:32 PM
Post
#6417
|
|
Flat Out Driver Group: Members Posts: 853 Joined: 13-September 06 From: Rio Rancho NM Member No.: 6,831 Region Association: Rocky Mountains |
Well, I've had several long weekends (with only a little time to work on the tuning) of my car. I've finally decided that I know enough to say I don't know enough. I'm going to seek expert help locally.
After solving an issue with the O2 sensor some time ago, I began to make progress with a friend to try to lean it out (AFR values were hovering between 10-11, burning my eyes with unburnt hydrocarbons!) Successful as that has been, partially, I applied a firmware upgrade for my Megasquirt 3 module and have had fun trying to track down what the hell it did during that upgrade. Since I didn't build this car (EDIT: I'm not a car builder - just an engineer who loves to drive and learn stuff), it's been a slow learning curve for me and I don't have all the specs on things like injector pulse widths, dead times ... things I suspect are causing some issues. But more likely the real errors are within the way the code/firmware changed. As stated in the latest manual about going from 1.2.x to 1.4.x (which I did), the first two "gotchas" to fix are these: "1. Idle control settings re-arranged. Need to reset: Stepper vs. PWM idle valve Open-loop vs. Closed-loop Output pin for PWM. 2. Closed-loop idle control The settings are re-arranged to simplify setup, but existing users will need to retune." Double (IMG:style_emoticons/default/dry.gif) I don't know how to do any of that! Not helpful to me. So, I'm taking it to an expert soon. This post is just all about me venting, in case you haven't noticed. When I do manage to get a stable idle, it's acted strange with both the built-in EGO control and the "auto-tune" feature (I don't run them simultaneously). The autotune has actually helped somewhat. My VE table has an interesting look to it right now, with quite low percentages (I'm at a mile-high altitude) at idle, and a rather steep slope up to higher percentages. Still, even under just little throttle blips load (even partial, light throttle) the AFR gets super-lean (I've seen brief values of 15-20, almost off scale). Although I've read EGO sensors are wildly inaccurate at load conditions, this shouldn't be so dramatic with mild blips, I think. Anyway, as much as I've enjoyed learning stuff, no matter what I try to do with after-start enrichment settings and stuff, I'm starting to admit a minor defeat. I think I might have the wrong pulse width setup under cranking, but there's something definitely wrong with the idle control settings ... what the hell they should be is beyond me. Right now, it's hard to start without pumping the throttle, a classic sign of being too rich, and it tends to stall with even feathering of the throttle ... not quite drivable. (IMG:style_emoticons/default/dry.gif) Anyway, that's what I've been doing to my 914 every weekend for the past 2 months or so. Thanks for reading all that. I'll hopefully, someday, know a lot more than I do now. It might even be the fact that I've got ITBs on it that are making for a difficult tune, but I think I've got more fundamental issues with the injectors and idle control preventing a stable running condition. I almost liked it better when it was just running mega-rich and fouling the plugs up while thinking the wideband O2 sensor was a narrow band sensor! Heheheh, life's funny sometimes. (IMG:style_emoticons/default/confused24.gif) |
|
|
|
| MJHanna |
Aug 10 2015, 07:02 AM
Post
#6418
|
|
Does this 911 make my butt look big? Group: Members Posts: 806 Joined: 23-January 03 From: Lowry Crossing, Texas Member No.: 185 |
added parts
Attached thumbnail(s) 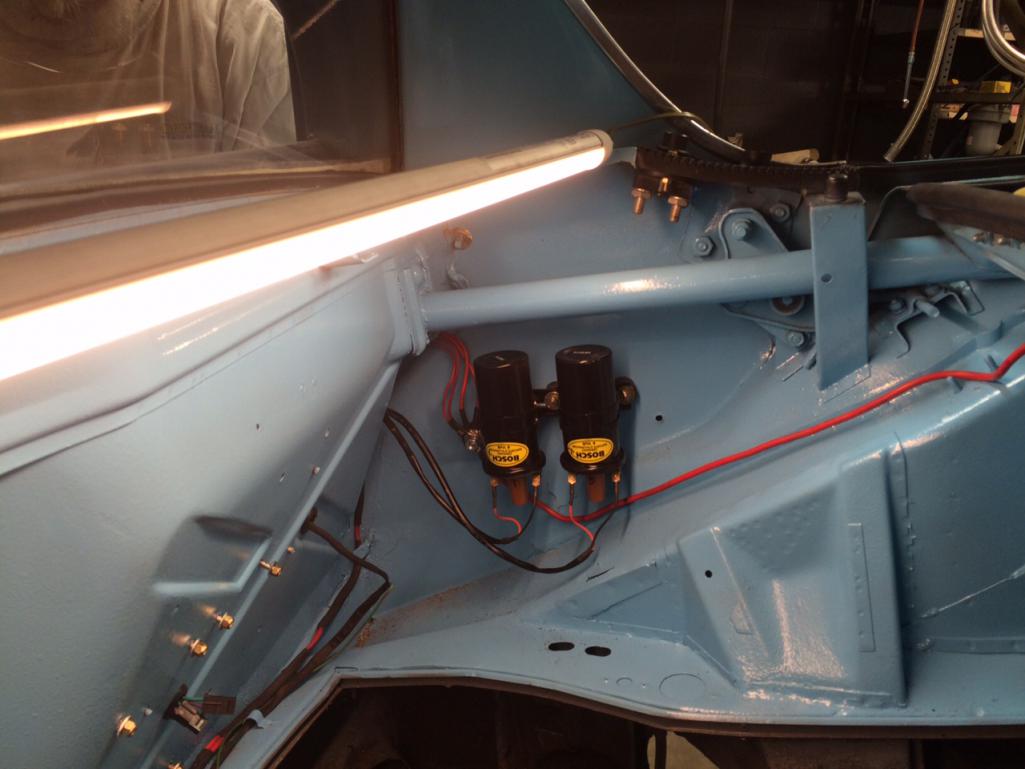 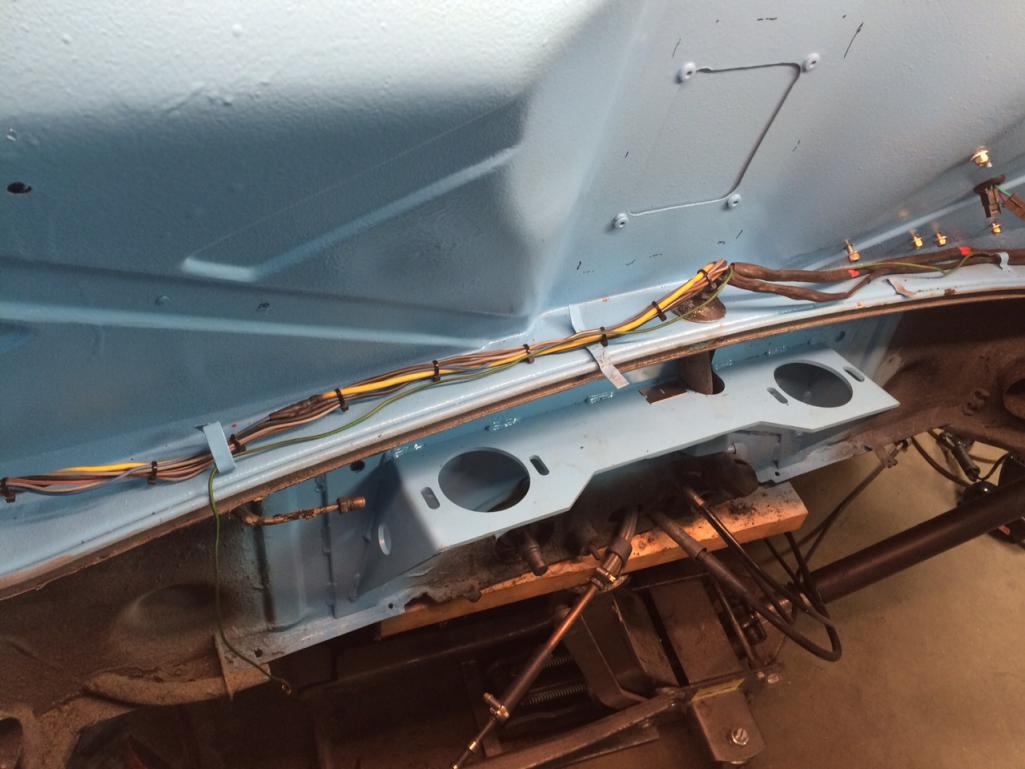 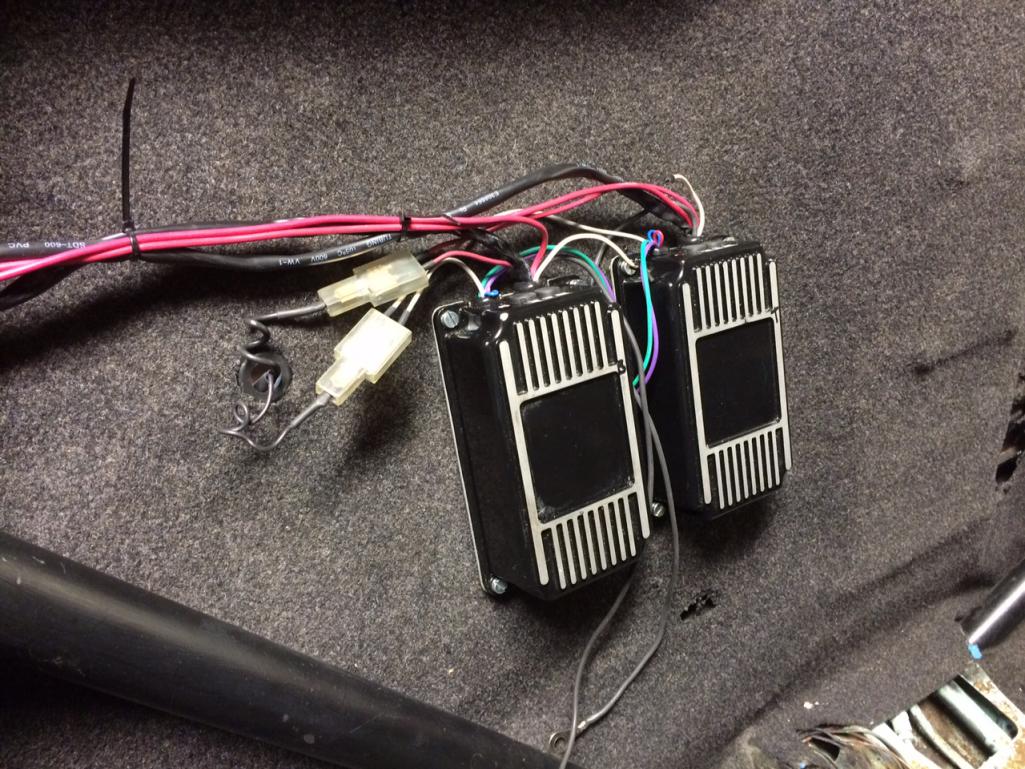
|
|
|
|
| abes914 |
Aug 10 2015, 06:05 PM
Post
#6419
|
|
Member Group: Members Posts: 366 Joined: 30-March 11 From: Long Beach Member No.: 12,880 Region Association: Southern California |
Today, I cleaned my windshield with glass cleaner in anticipation of driving it to the train station or even all the way to work..hmmm...
As for the past couple of weeks, me and my buddy replaced the clutch disc and flywheel! I was dreading to do it--the most i've done was to replace oil and add in transmission fluids and easy stuff. I just adjusting the clutch cable last Saturday and took the 914 for a ride around my neighborhood. WOW! That was satisfying and encouraging. It went all right! No grinding and the car felt really good. i also found out what is leaking--my driver side axle to transmission is leaking and my shift linkage seal in the transmission is also leaking. I saw instructions from Pelican so i'll be printing them out and ordering parts soon. I also borrowed my friends cordless impact wrench and his 27mm socket to replace my steering wheel. I got a lecarra steering wheel from a board member a year ago. not too bad for $30. And to finish my weekend, i finally installed spoke's led brake lights. now i wish i had ordered his rear led signal lights too. 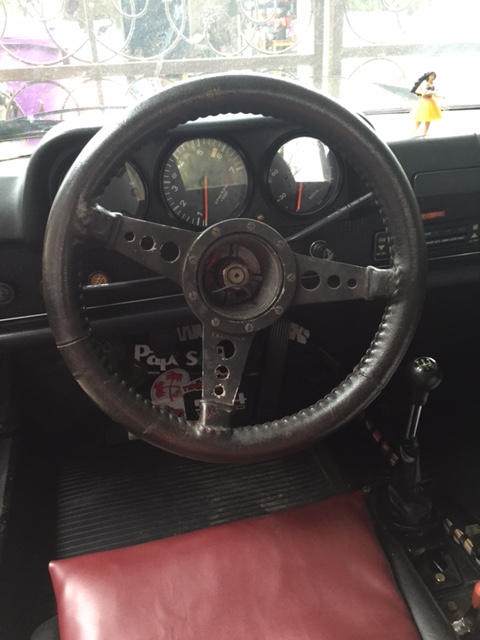 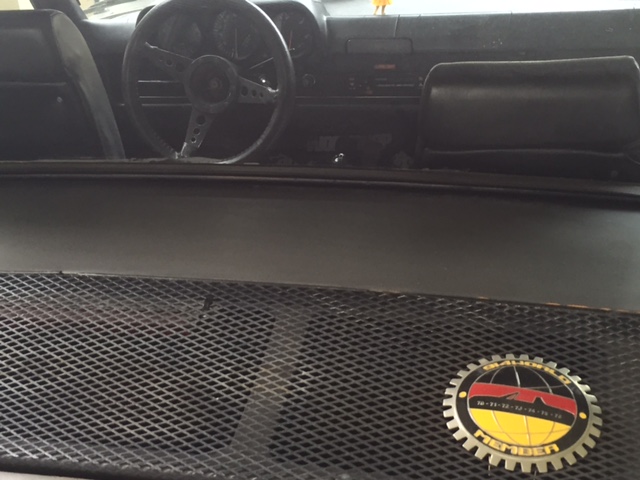 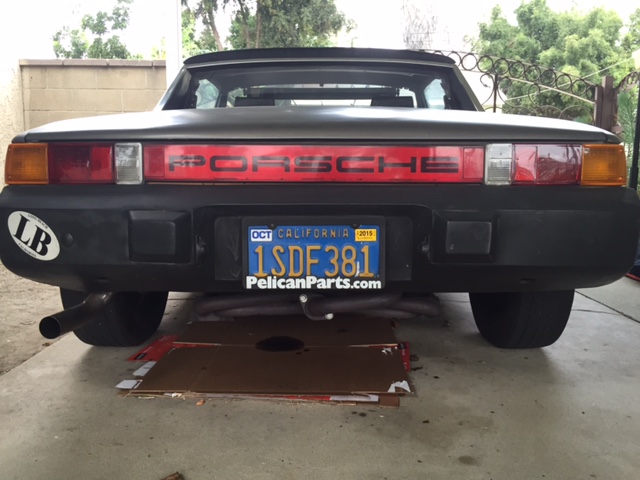 |
|
|
|
| euro911 |
Aug 11 2015, 12:17 AM
Post
#6420
|
|
Retired & living the dream. God help me if I wake up! Group: Members Posts: 8,937 Joined: 2-December 06 From: So.Cal. & No.AZ (USA) Member No.: 7,300 Region Association: Southern California |
Glad to hear the clutch disc worked out for you, Abe (IMG:style_emoticons/default/aktion035.gif)
|
|
|
|
|
399 User(s) are reading this topic (399 Guests and 0 Anonymous Users)
0 Members:

|
Lo-Fi Version | Time is now: 16th November 2025 - 10:06 AM |
Invision Power Board
v9.1.4 © 2025 IPS, Inc.