|
|
|
Porsche, and the Porsche crest are registered trademarks of Dr. Ing. h.c. F. Porsche AG.
This site is not affiliated with Porsche in any way. Its only purpose is to provide an online forum for car enthusiasts. All other trademarks are property of their respective owners. |
|
|

  |

| michael7810 |
 May 10 2017, 06:53 AM May 10 2017, 06:53 AM
Post
#8821
|
|
Senior Member  Group: Members Posts: 1,082 Joined: 6-June 11 From: Scottsdale, AZ Member No.: 13,164 Region Association: Southwest Region |
QUOTE(euro911 @ May 9 2017, 10:13 PM)  QUOTE(michael7810 @ May 9 2017, 08:52 PM) WCR is only 23 days away. Got started on my list of prep work...mostly fixing things that broke during Rt66. Michael, did you already source some Goldwing air boxes? ... I still have the pair we discussed previously (IMG:style_emoticons/default/confused24.gif)Removed flex dam and installed stock front valance to help with cooling Removed both front shock spanner nuts and re-torqued using blue locktite. The left side came loose during Rt 66. The right side was not as tight as I would have liked it. Rechecked all front suspension hardware while I was there. Installed Ford starter solenoid using the Mark Henry method (thanks Mark) Ordered new rear tires...left rear had a flat spot from a spin during my last DE and the rumble was annoying during long highway drive to Rt 66 Removed lower dash pad in preparation for replacing the ignition switch. Have not been able to isolate the intermittent start issue...hoping to find a cracked switch. Started fab'ing adapter plates to replace the K&N type air filters with Honda Gold Wing air boxes. Left side is rough cut and fit checked good. I'll do a separate write-up on this with pictures when complete. Still needed is; finish installing GW air boxes, replace ignition switch, adjust valves, replace breather hoses (going to tie the 2 head breathers together and run only the oil filler stand breather hose to the air box), adjust the targa top to address hellacious squeak and detail. Workie workie Mark - I did buy 2 boxes eBay. I remembered we discussed your boxes a couple years ago but thought for sure you already got rid of them...guess I should have asked. |
   |

 
|
| euro911 |
May 10 2017, 10:38 AM
Post
#8822
|
|
Retired & living the dream. God help me if I wake up! Group: Members Posts: 8,937 Joined: 2-December 06 From: So.Cal. & No.AZ (USA) Member No.: 7,300 Region Association: Southern California |
QUOTE(michael7810 @ May 10 2017, 05:53 AM) QUOTE(euro911 @ May 9 2017, 10:13 PM) Michael, did you already source some Goldwing air boxes? ... I still have the pair we discussed previously (IMG:style_emoticons/default/confused24.gif) Mark - I did buy 2 boxes eBay. I remembered we discussed your boxes a couple years ago but thought for sure you already got rid of them...guess I should have asked. |
|
|
|
| jim_hoyland |
May 10 2017, 12:34 PM
Post
#8823
|
|
Get that VIN ? Group: Members Posts: 10,060 Joined: 1-May 03 From: Sunset Beach, CA Member No.: 643 Region Association: Southern California |
Installed the Engman manual trunk release pull; big thanks to Stratplayer for the NLA kit (IMG:style_emoticons/default/smile.gif)
Attached image(s) 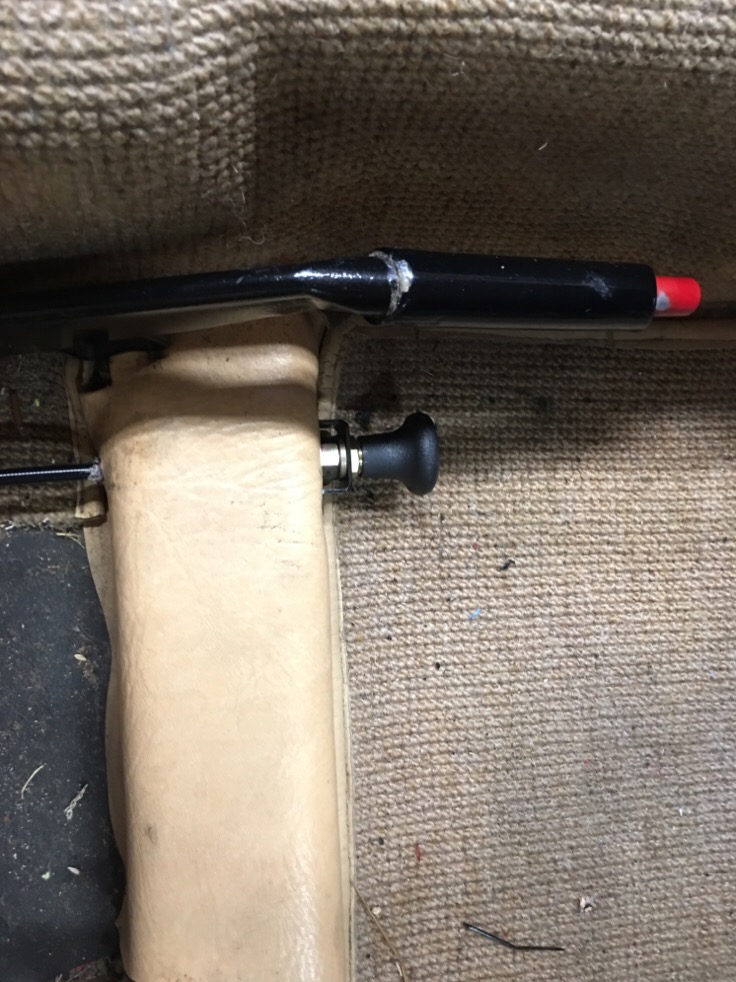
|
|
|
|
| 6freak |
May 10 2017, 02:40 PM
Post
#8824
|
|
MR.C Group: Members Posts: 4,740 Joined: 19-March 08 From: Tacoma WA Member No.: 8,829 Region Association: Pacific Northwest |
drove it to work again (IMG:style_emoticons/default/biggrin.gif)
|
|
|
|
| anderssj |
May 10 2017, 06:35 PM
Post
#8825
|
|
Dog is my copilot... Group: Members Posts: 1,784 Joined: 28-January 03 From: VA Member No.: 207 Region Association: MidAtlantic Region |
drove it to where I used to work (IMG:style_emoticons/default/biggrin.gif)
|
|
|
|
| michael7810 |
May 10 2017, 08:07 PM
Post
#8826
|
|
Senior Member Group: Members Posts: 1,082 Joined: 6-June 11 From: Scottsdale, AZ Member No.: 13,164 Region Association: Southwest Region |
QUOTE(michael7810 @ May 9 2017, 08:52 PM) WCR is only 23 days away. Got started on my list of prep work...mostly fixing things that broke during Rt66. Removed flex dam and installed stock front valance to help with cooling Removed both front shock spanner nuts and re-torqued using blue locktite. The left side came loose during Rt 66. The right side was not as tight as I would have liked it. Rechecked all front suspension hardware while I was there. Installed Ford starter solenoid using the Mark Henry method (thanks Mark) Ordered new rear tires...left rear had a flat spot from a spin during my last DE and the rumble was annoying during long highway drive to Rt 66 Removed lower dash pad in preparation for replacing the ignition switch. Have not been able to isolate the intermittent start issue...hoping to find a cracked switch. Started fab'ing adapter plates to replace the K&N type air filters with Honda Gold Wing air boxes. Left side is rough cut and fit checked good. I'll do a separate write-up on this with pictures when complete. Still needed is; finish installing GW air boxes, replace ignition switch, adjust valves, replace breather hoses (going to tie the 2 head breathers together and run only the oil filler stand breather hose to the air box), adjust the targa top to address hellacious squeak and detail. Workie workie Finished replacing the ignition switch. Old switch is made in Germany and not cracked. So I disassembled it and found a bunch of crud on the contacts and the center contact was burned. I believe this was self induced as a couple years ago I squirted some TriFlow in the key hole to free up the steering lock mechanism and I believe that stuff worked it's way into the switch. I installed a new switch (not German) and disassembled/cleaned the old one with contact cleaner and put a dab of silicone grease on the sliders and it feels and works good. So that went in my spare parts bag. Adjusted the valves; it's a PITA trying to spin the pushrods with the tube retainers in the way (I have SS pushrods so I adjust the valves to zero lash just loose enough for the pushrod to spin easily). I did find that it's easy to spin the swivel foot and verified that when the swivel foot spins the pushrod also spins and when the valve is tightened just enough that the foot does not spin neither does the pushrod. Continued work on the GW air boxes. Got the second adapter plate cut and used the wrong top plate as a guide and drilled bolt holes wrong. Waiting for the JB Weld to set and I'll redrill the holes. (IMG:style_emoticons/default/headbang.gif) I probably have another full day of work to finish installing the new air boxes. Going up north to a wine & music festival tomorrow...hopefully I'll finish her next week so I can get a few drives in before WCR. |
|
|
|
| 914dave |
May 11 2017, 09:14 AM
Post
#8827
|
|
914 Addict Group: Members Posts: 740 Joined: 19-October 03 From: Willow Grove Pa. Member No.: 1,262 Region Association: North East States |
|
|
|
|
| Olympic 914 |
May 11 2017, 11:29 AM
Post
#8828
|
|
Group: Members Posts: 1,772 Joined: 7-July 11 From: Pittsburgh PA Member No.: 13,287 Region Association: North East States |
Applied for my insurance today. Then I can apply for the plates.
Its getting close enough for me to start thinking about these things. I sent the pictures and gave $25,000 as a valuation, agent called and said the company has these cars valued at $30,000 - $40,000, So I may up the number after its actually on the road. |
|
|
|
| 6freak |
May 11 2017, 02:50 PM
Post
#8829
|
|
MR.C Group: Members Posts: 4,740 Joined: 19-March 08 From: Tacoma WA Member No.: 8,829 Region Association: Pacific Northwest |
|
|
|
|
| SirAndy |
May 11 2017, 06:58 PM
Post
#8830
|
|
Resident German Group: Admin Posts: 42,478 Joined: 21-January 03 From: Oakland, Kalifornia Member No.: 179 Region Association: Northern California |
Finally got around to re-install the broken outside mirrors.
(IMG:style_emoticons/default/smash.gif) No fun driving without them ... (IMG:style_emoticons/default/wacko.gif) |
|
|
|
| Dtjaden |
May 11 2017, 09:02 PM
Post
#8831
|
|
Member Group: Members Posts: 232 Joined: 25-May 13 From: Morgan Hill, CA Member No.: 15,915 Region Association: Northern California |
Getting my car ready for WCR. Last year I had installed 5 gauges in my center console but I didn't like the "busy" look of that many gauges. A couple of months ago I had the vinyl sides of the console recovered and that gave my the impetus to do something about the gauge issue.
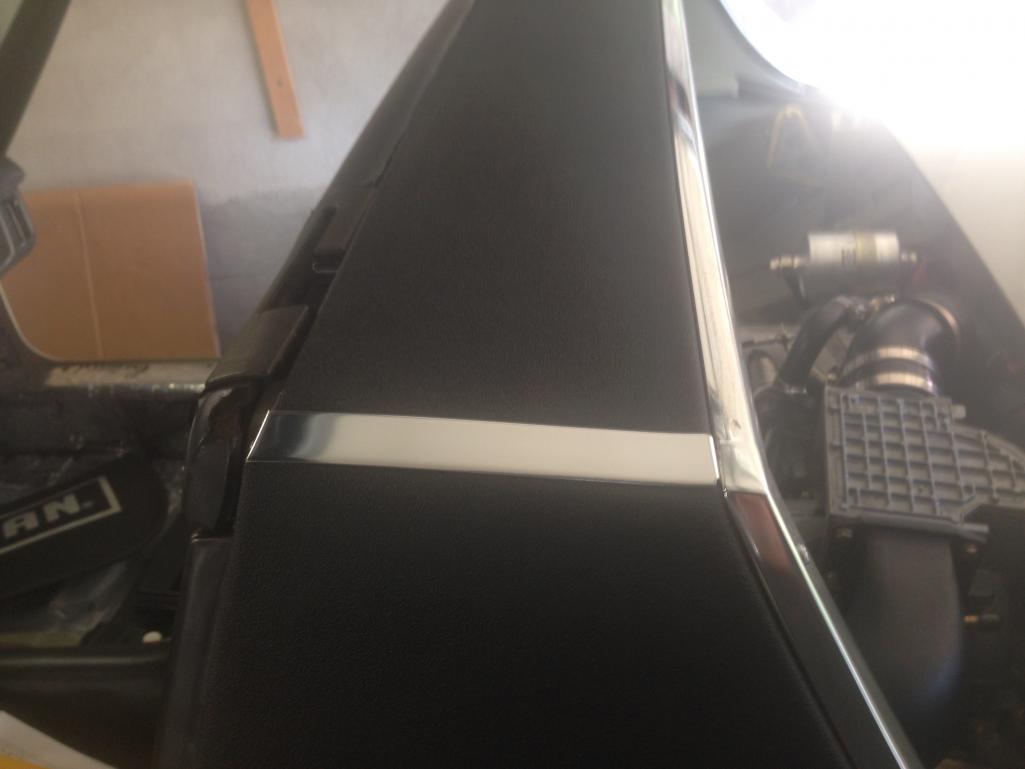
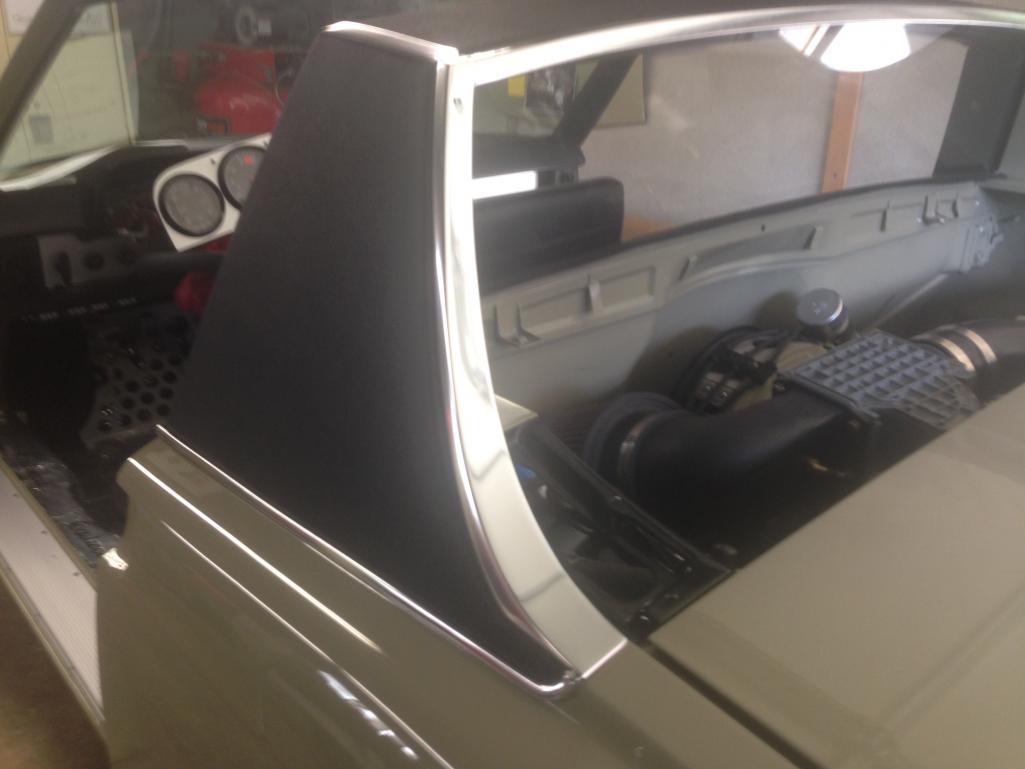
I decided to use a 964 oil pressure & temp combo gauge and an older 911 pressure & temp gauge. The 964 gauge was easy, it just required an appropriate 911 oil temp sender. The 914 oil pressure sender works directly for oil pressure. This is the upper combo gauge in my console. This gauge also has a number of indicator lights that will implement later show various fault conditions. I wanted the lower gauge to display CHT and AFR values. First I disassembled the gauge, and scanned the gauge faces. I then used Photoshop to create new gauge faces to show Cylinder Head Temperature and on the second gauge Air/Fuel Ratio. My Megasquirt uses these sensors for its fuel calculations so I used Megasquirt's CAN Bus output to send these values to an Arduino computer that then transforms the CHT and AFR to voltage values that are output to the gauges.  Also, since you can't have too much information, I made a mount that replaces the ash tray so that I can have an Android tablet on my dash. In the display shown below it is using a product called Shadow Dash MS to communicate via Bluetooth to the Megasquirt ECU. The tablet can also be used as a navigation computer. The tablet is fully readable in normal sunlight driving conditions. 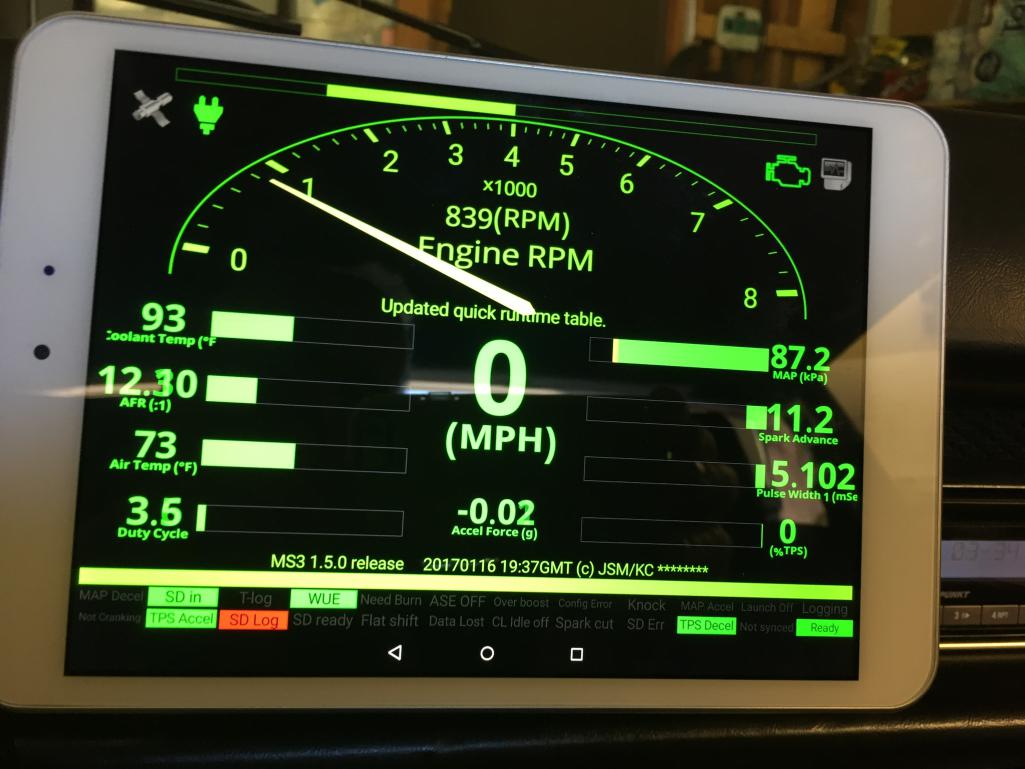 Attached thumbnail(s) 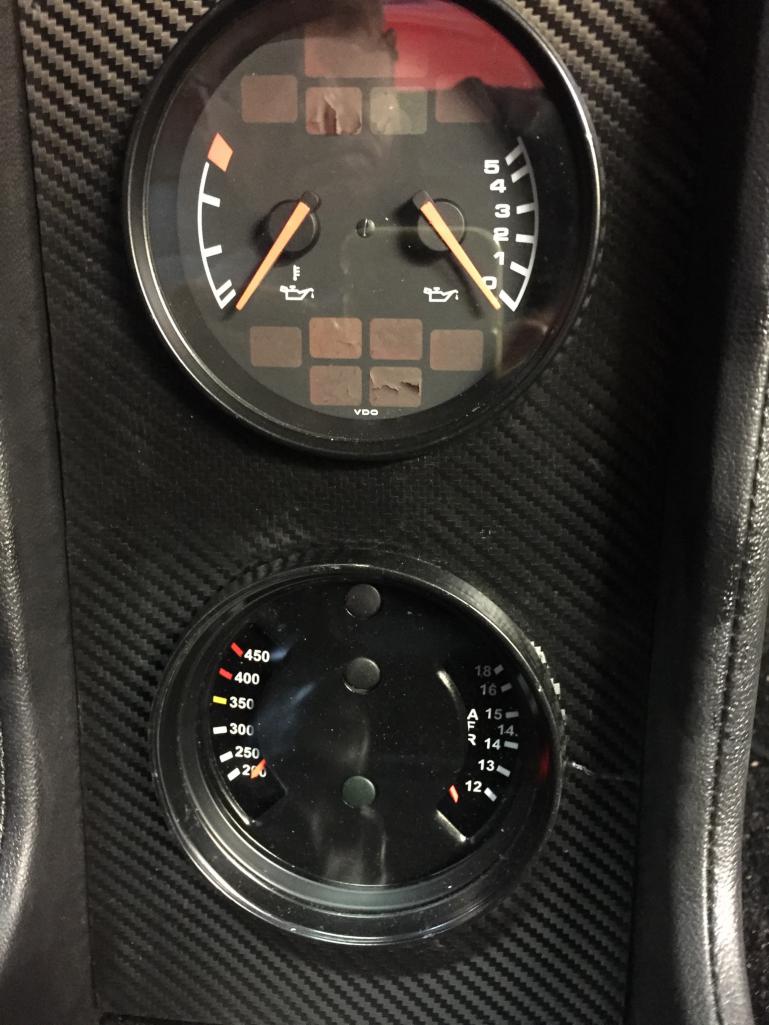
|
|
|
|
| DRPHIL914 |
May 11 2017, 09:16 PM
Post
#8832
|
|
Dr. Phil Group: Members Posts: 5,921 Joined: 9-December 09 From: Kennesaw, GA Member No.: 11,106 Region Association: South East States |
QUOTE(Dtjaden @ May 11 2017, 11:02 PM) Getting my car ready for WCR. Last year I had installed 5 gauges in my center console but I didn't like the "busy" look of that many gauges. A couple of months ago I had the vinyl sides of the console recovered and that gave my the impetus to do something about the gauge issue. I decided to use a 964 oil pressure & temp combo gauge and an older 911 pressure & temp gauge. The 964 gauge was easy, it just required an appropriate 911 oil temp sender. The 914 oil pressure sender works directly for oil pressure. This is the upper combo gauge in my console. This gauge also has a number of indicator lights that will implement later show various fault conditions. I wanted the lower gauge to display CHT and AFR values. First I disassembled the gauge, and scanned the gauge faces. I then used Photoshop to create new gauge faces to show Cylinder Head Temperature and on the second gauge Air/Fuel Ratio. My Megasquirt uses these sensors for its fuel calculations so I used Megasquirt's CAN Bus output to send these values to an Arduino computer that then transforms the CHT and AFR to voltage values that are output to the gauges. Also, since you can't have too much information, I made a mount that replaces the ash tray so that I can have an Android tablet on my dash. In the display shown below it is using a product called Shadow Dash MS to communicate via Bluetooth to the Megasquirt ECU. The tablet can also be used as a navigation computer. The tablet is fully readable in normal sunlight driving conditions. that might be the coolest techie mods/upgrades for 914's yet! watch out when you display such cool mad skills, you may end up in a business creating such things for others that like but dont have the same ability to create ourselves- its happened before- (IMG:style_emoticons/default/beerchug.gif) what is it you do may i ask? automotive computer engineer? |
 |
|
| Dtjaden |
May 11 2017, 10:31 PM
Post
#8833
|
|
Member Group: Members Posts: 232 Joined: 25-May 13 From: Morgan Hill, CA Member No.: 15,915 Region Association: Northern California |
QUOTE(Philip W. @ May 11 2017, 08:16 PM) QUOTE(Dtjaden @ May 11 2017, 11:02 PM) Getting my car ready for WCR. Last year I had installed 5 gauges in my center console but I didn't like the "busy" look of that many gauges. A couple of months ago I had the vinyl sides of the console recovered and that gave my the impetus to do something about the gauge issue. I decided to use a 964 oil pressure & temp combo gauge and an older 911 pressure & temp gauge. The 964 gauge was easy, it just required an appropriate 911 oil temp sender. The 914 oil pressure sender works directly for oil pressure. This is the upper combo gauge in my console. This gauge also has a number of indicator lights that will implement later show various fault conditions. I wanted the lower gauge to display CHT and AFR values. First I disassembled the gauge, and scanned the gauge faces. I then used Photoshop to create new gauge faces to show Cylinder Head Temperature and on the second gauge Air/Fuel Ratio. My Megasquirt uses these sensors for its fuel calculations so I used Megasquirt's CAN Bus output to send these values to an Arduino computer that then transforms the CHT and AFR to voltage values that are output to the gauges. Also, since you can't have too much information, I made a mount that replaces the ash tray so that I can have an Android tablet on my dash. In the display shown below it is using a product called Shadow Dash MS to communicate via Bluetooth to the Megasquirt ECU. The tablet can also be used as a navigation computer. The tablet is fully readable in normal sunlight driving conditions. that might be the coolest techie mods/upgrades for 914's yet! watch out when you display such cool mad skills, you may end up in a business creating such things for others that like but dont have the same ability to create ourselves- its happened before- (IMG:style_emoticons/default/beerchug.gif) what is it you do may i ask? automotive computer engineer? Semi-retired from various high tech positions. Software development, engineering management for electro-mechanical and laser optical devices. |
|
|
|
| My 914 |
May 12 2017, 04:23 AM
Post
#8834
|
|
Casual Member Group: Members Posts: 560 Joined: 23-April 16 From: Massachusetts Member No.: 19,928 Region Association: North East States |
Would love to see a picture of the whole interior if you have one available.
|
|
|
|
| Shadowfax |
May 12 2017, 12:45 PM
Post
#8835
|
|
Show us the meaning of haste Group: Members Posts: 509 Joined: 19-January 15 Member No.: 18,340 Region Association: South East States |
|
|
|
|
| Garland |
May 12 2017, 05:02 PM
Post
#8836
|
|
Restoration Fanatic Group: Members Posts: 1,431 Joined: 8-January 04 From: ......Michigan...... Member No.: 1,535 Region Association: Upper MidWest |
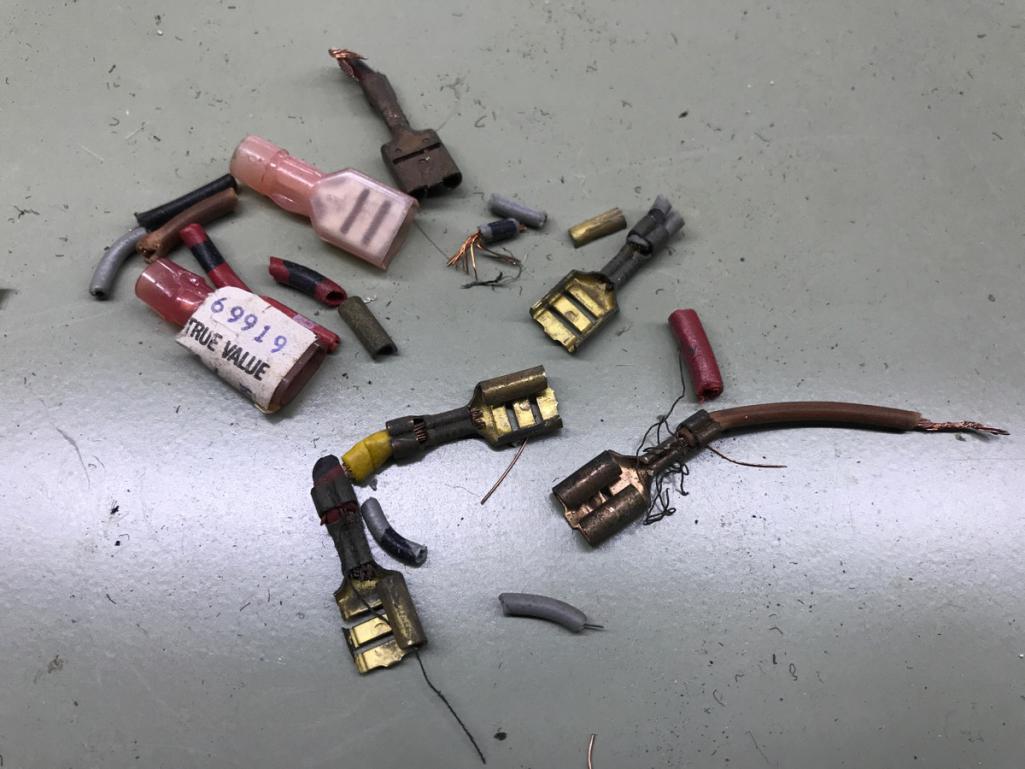
Removed these from the fuse panel
 |
|
|
|
| 76-914 |
May 12 2017, 06:08 PM
Post
#8837
|
|
Repeat Offender & Resident Subaru Antagonist Group: Members Posts: 13,879 Joined: 23-January 09 From: Temecula, CA Member No.: 9,964 Region Association: Southern California |
Wired up the Tow Lights for the WCR trip. (IMG:style_emoticons/default/piratenanner.gif)
|
|
|
|
| euro911 |
May 12 2017, 08:41 PM
Post
#8838
|
|
Retired & living the dream. God help me if I wake up! Group: Members Posts: 8,937 Joined: 2-December 06 From: So.Cal. & No.AZ (USA) Member No.: 7,300 Region Association: Southern California |
Back working on the BB's clutch project.
Gave the pedal area of the floor a fresh coat of flat black after spraying the primer spray a few days ago. Changed out the bushing in the modified pedal assembly to accept the 5/16" dia pin on the new clevis that threads into the Willwood M/C's rod. Partially installed the pedal assembly - enough to get the steel plate to sandwich between the floor board and the brake M/C ... what a pain in the ass that was with no help (IMG:style_emoticons/default/dry.gif) 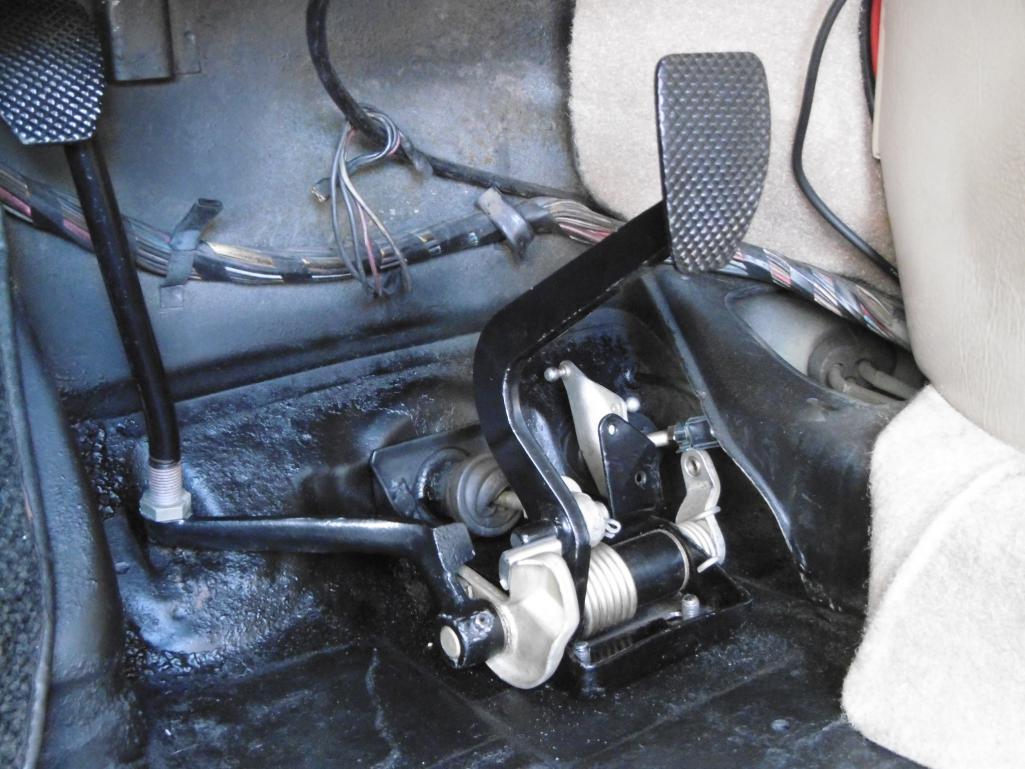 ... and back underneath to tighten things up 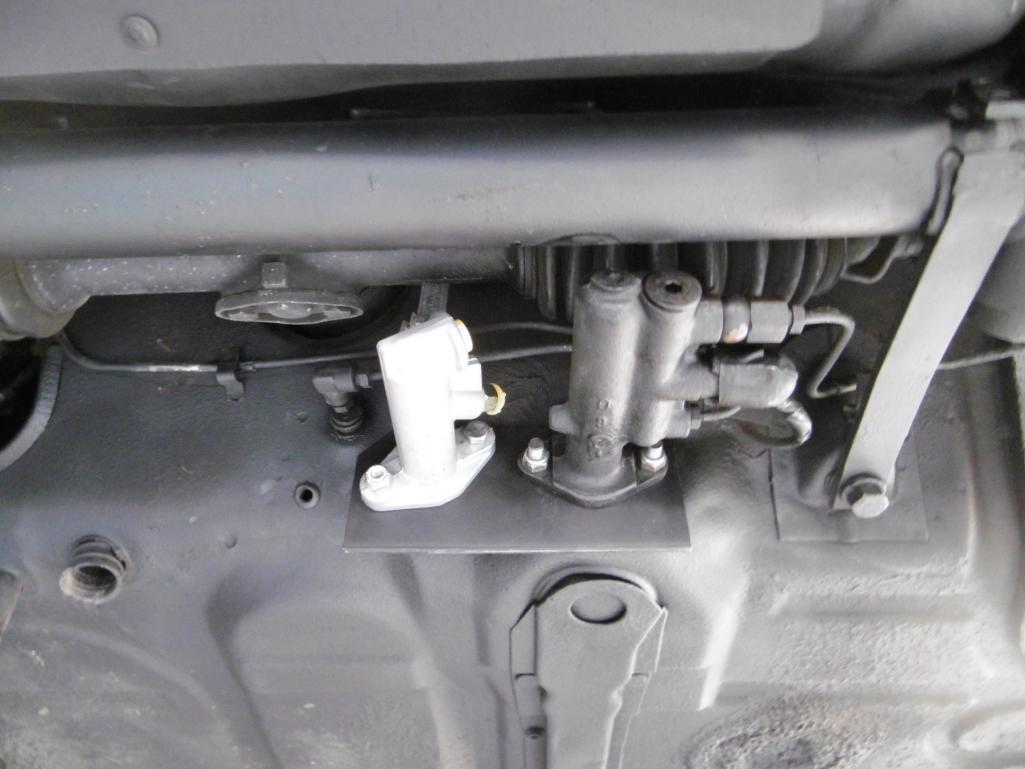 I highly recommend having a helper ... would have made this a little more enjoyable and took a lot less time. Next up, running the braided hydraulic hose through the tunnel back to where the slave cylinder will be mounted and mount the slave on the tranny ... |
|
|
|
| forrestkhaag |
May 13 2017, 09:47 AM
Post
#8839
|
|
Senior Member Group: Members Posts: 935 Joined: 21-April 14 From: Scottsdale, Arizona Member No.: 17,273 Region Association: Southwest Region |
Yesterday I completed the recreation of braided SS AN-12 line to mate to my new on-engine cooler. I have installed a T on a a stock 911 cooler and used one side for return cooled oil from the tank and, on the other side of the "T" I installed a valve at the low point in the oil line system to drain the tank and part of the sump when warranted. I safety-wired an additional safety plug to the valve body downstream of the valve just for mental ease.
I also cut off and welded on my muffler pipe to align perfectly with the rear valance. then I hammered on the 911 stock chrome tip. It looks and sounds great. I remain hostage to my Weber guru who is replacing three butterflies and changing emulsions etc. to better address the particulars of my engine build. Unless he misses a third deadline (IMG:style_emoticons/default/sheeplove.gif) for the return of the carbs, I should hear this beast roar again next week sometime..... not holding my breath however. Today, I will reinstall the break-in oil and check for leaks at all fittings. It would be hard to imagine a Porsche that doesn't leak somewhere / but I have heard tales.... (IMG:style_emoticons/default/hissyfit.gif) Attached image(s)  
|
|
|
|
| ljubodraz |
May 13 2017, 11:32 AM
Post
#8840
|
|
Member Group: Members Posts: 64 Joined: 4-May 14 From: Chicagoland Member No.: 17,312 Region Association: Upper MidWest |
Rebuilding my rear brake calipers. Finally to a point where I can begin assembly today. Removing rust down to bare metal with vinegar soaking and wire brushes very tedious but effective. Paint turned out well.
Almost had them zinc plated locally for $80/pair but currently laid off from job. Thought I'd try paint first and see how well my intensive prep pays off in durability. When time comes for the front calipers I'll perhaps be more eager to send them to PMB or at least locally blasted and plated. At least I now know what it takes to do it myself. 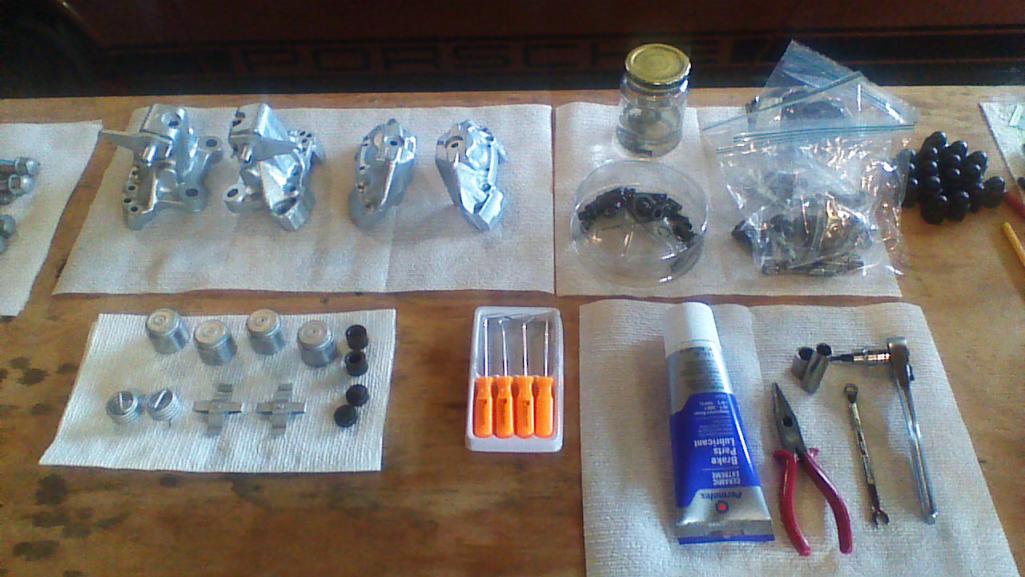 |
|
|
|
|
4 User(s) are reading this topic (4 Guests and 0 Anonymous Users)
0 Members:

|
Lo-Fi Version | Time is now: 27th April 2026 - 08:28 AM |
Invision Power Board
v9.1.4 © 2026 IPS, Inc.