|
|
|
Porsche, and the Porsche crest are registered trademarks of Dr. Ing. h.c. F. Porsche AG.
This site is not affiliated with Porsche in any way. Its only purpose is to provide an online forum for car enthusiasts. All other trademarks are property of their respective owners. |
|
|


| mwyatt |
 Jan 27 2012, 02:17 PM Jan 27 2012, 02:17 PM
Post
#1
|
|
Member  Group: Members Posts: 84 Joined: 5-April 03 From: San Diego, CA Member No.: 516 Region Association: Southern California |
I recently installed a third brake light on my '74, for a total cost of around $20. I had a friend with a 914 that got rear ended by a pick up truck at a stop sign a few years ago, so I figured this light was worth adding (my friend was fine, his 914 needed some bodywork). In order to add a thrid brake light you will need to purchase the light itself, and you will need to have a drill and appropriate bits, wire connectors or a soldering iron, extra wire, and simple tools to remove the targa bar trim.
First, buy an LED strip, I bought this one from Pep Boys: 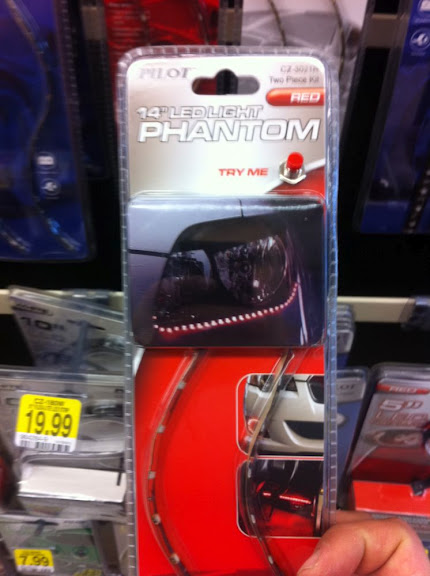 Next remove the three pieces of aluminum trim from the back of your roll bar. I believe I removed the two vertical side pieces first. There is a screw on top and a nut underneath the fender, then they slide off (you may not need to loosen the nut underneath depending on how the trim was reinstalled in the past, it's a lot easier if you leave it loose). The horizontal center piece is held on by three clips, one in the middle and one at each side. The piece will pull off at these three points. Be sure to use gentle pressure because the piece bends and dents easily. Once removed, measure the horizontal piece and mark the center in pencil. Then find the center of the LED light. Clean the aluminum trim piece and then mount the LED strip to it, matching center to center (the LED strip that I used had an adhesive edge so it was simple to attach to the trim): 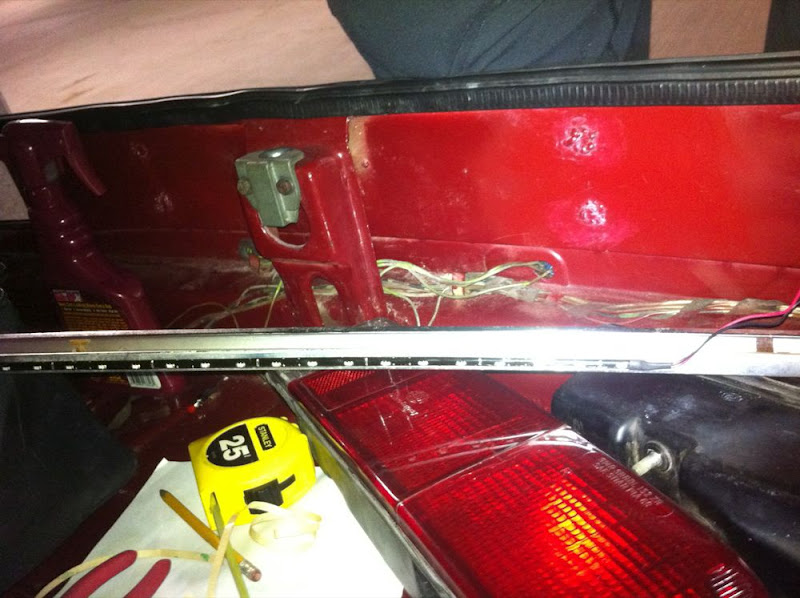 Next, drill a hole (or two) in the trim for the wires from the LED strip. The smaller the better here, make the opening just big enough to pull the wires through. Drill slowly to protect the trim. I drilled mine at an angle to make it easier to hide the wires: 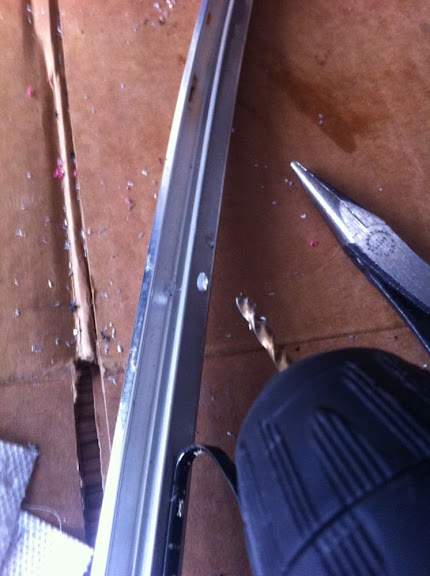 Now, thread the wires through the trim piece so that they will not interfere with the clips. Make sure to pull them all to one side, and make it the side that the wires for your tail lights enter into your trunk (left on my car). I had wires coming from opposite ends of the LED I used, so I had to extend the wires on one side and pull them all to the left : 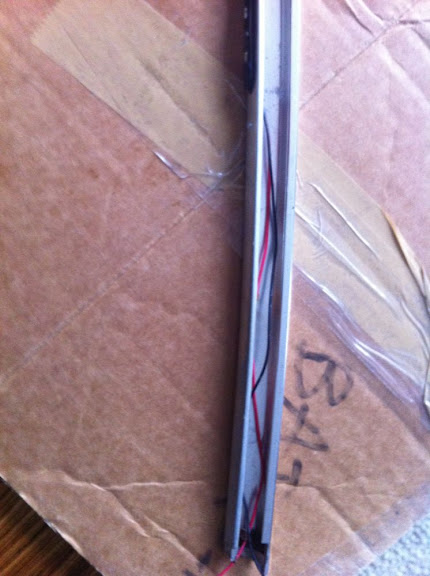 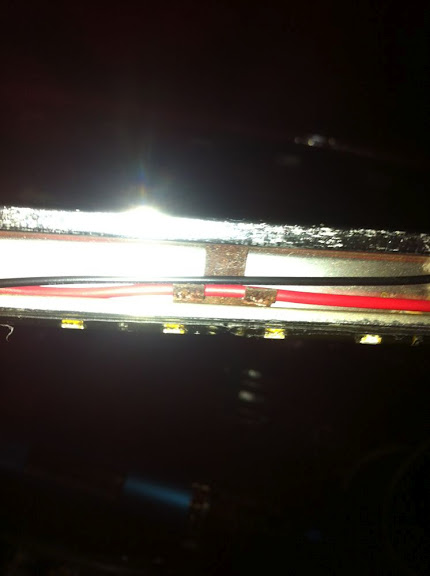 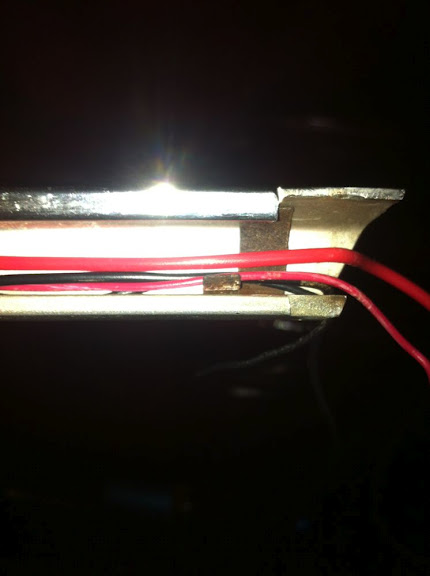 You may now reinstall the horizontal trim piece with the LED. The hardest part is getting the clips to work with the wires running behind them, but it is possible: 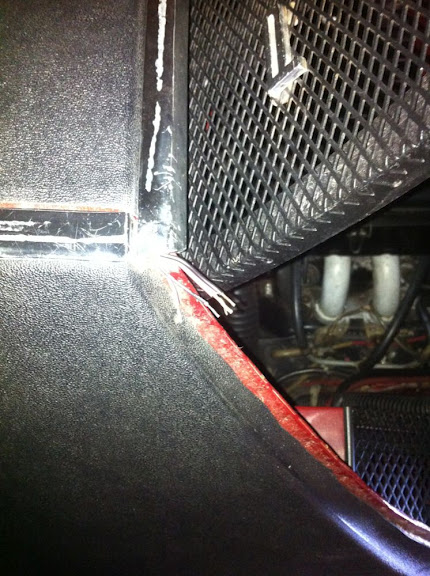 Run the ground wire from the LED to a ground wire in your trunk, and run the positive wire to the brake light wire in your trunk. On my '74 the brake light wire is a black wire with green stripes. Do a search if you're not sure which wire to use, there are some great resources on this site to help determine what each wire running to your tail lights is for. I had to add extra wire to the wires that came with the LED to get enough length. You can either solder them together or use wire connectors. Make sure to run the wire down the sail panel where it will be hidden when the trim is reinstalled, then underneath the engine compartment grill on the left and into the trunk. I used a special type of connector to tap into the ground wire and brake light wire (I forget the name of the connector, see pics): 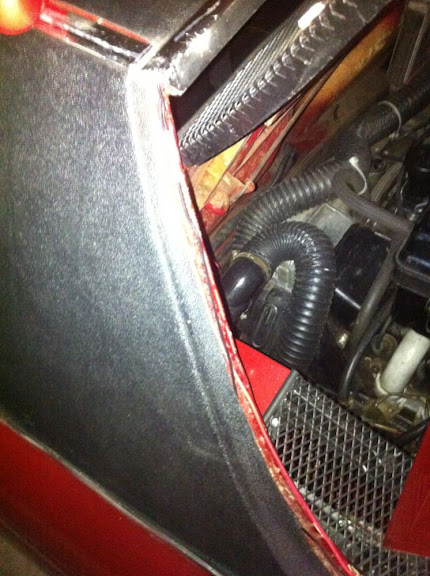 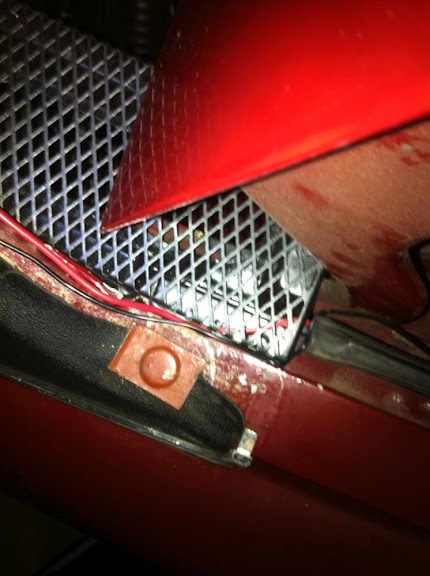 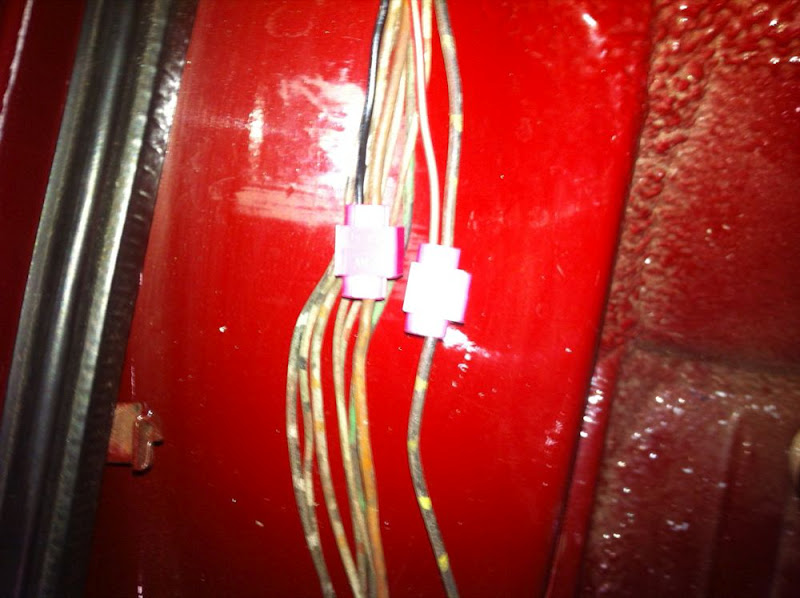 Reinstall the vertical side trim on the roll bar and you are done! Off: 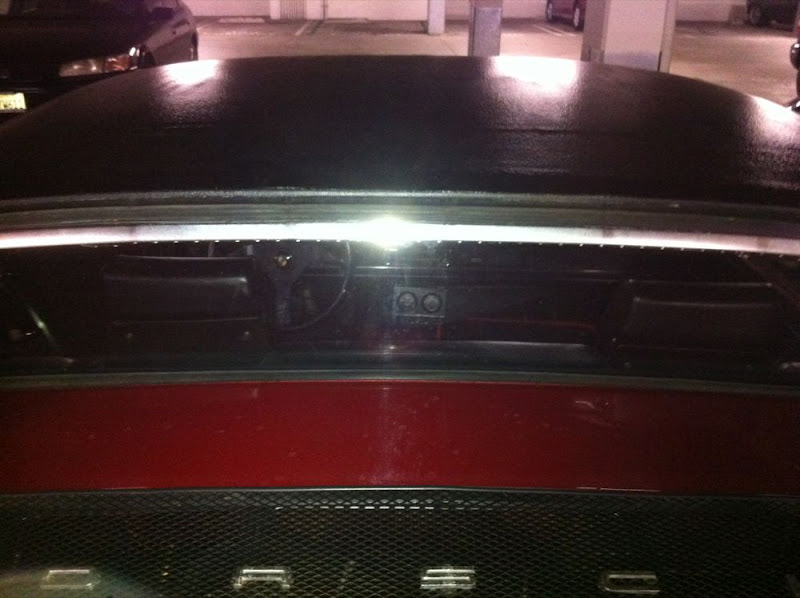 (it is almost hidden in daylight when off) 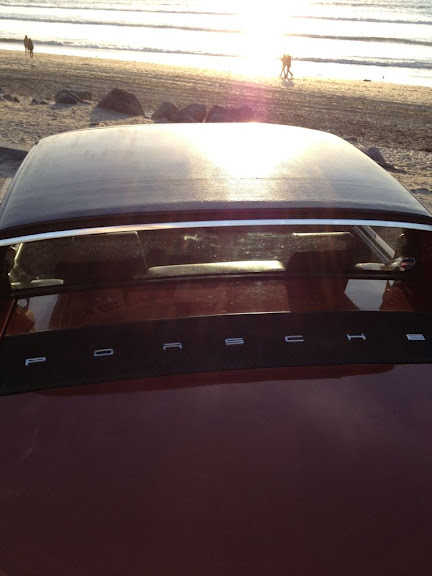 On: 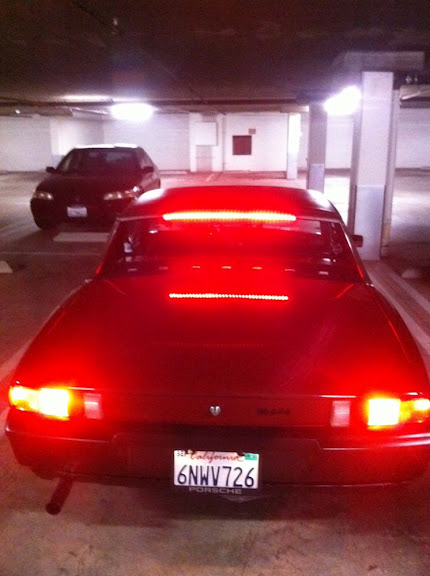 Good luck with your own install! |
   |

 
|
Posts in this topic
 mwyatt Another 3rd Brake Light Jan 27 2012, 02:17 PM
 Tom_T ...or you can go buy this for a bit more with all ... Jan 27 2012, 02:56 PM effutuo101 Nice work! That looks good. Jan 27 2012, 02:58 PM SirAndy :thumbsup: Jan 27 2012, 03:18 PM Tom That is a great modification and I hope it will ke... Jan 27 2012, 08:55 PM bigkensteele I like it too. The last pic makes me think that i... Jan 27 2012, 09:43 PM Dr Evil
I recently installed a third brake light on my ... Jan 28 2012, 11:37 AM mwyatt Thanks for the feedback guys! I hope I helped... Jan 28 2012, 12:51 PM Jacob Nice work That looks great! I agree that it is... Jan 28 2012, 07:44 PM porsche913b_sp Thats pretty cool, good job ! How visible is i... Jan 29 2012, 12:39 AM TC 914-8 I like it, nice job and in the final picture it lo... Jan 29 2012, 12:59 AM RobW Classic thread? :beer2: Jan 29 2012, 02:47 AM 76-914 Nice job. Someone else here did the same thing awh... Jan 29 2012, 02:34 PM TC 914-8 I looked at my local AP store and they wanted ... Feb 18 2012, 12:40 AM
Tom_T ...or you can go buy this for a bit more with all ... Jan 27 2012, 02:56 PM effutuo101 Nice work! That looks good. Jan 27 2012, 02:58 PM SirAndy :thumbsup: Jan 27 2012, 03:18 PM Tom That is a great modification and I hope it will ke... Jan 27 2012, 08:55 PM bigkensteele I like it too. The last pic makes me think that i... Jan 27 2012, 09:43 PM Dr Evil
I recently installed a third brake light on my ... Jan 28 2012, 11:37 AM mwyatt Thanks for the feedback guys! I hope I helped... Jan 28 2012, 12:51 PM Jacob Nice work That looks great! I agree that it is... Jan 28 2012, 07:44 PM porsche913b_sp Thats pretty cool, good job ! How visible is i... Jan 29 2012, 12:39 AM TC 914-8 I like it, nice job and in the final picture it lo... Jan 29 2012, 12:59 AM RobW Classic thread? :beer2: Jan 29 2012, 02:47 AM 76-914 Nice job. Someone else here did the same thing awh... Jan 29 2012, 02:34 PM TC 914-8 I looked at my local AP store and they wanted ... Feb 18 2012, 12:40 AM
 MecGen
So anyway I followed the pics on the beginning o... Feb 18 2012, 08:23 AM porsche913b_sp Were those the self adhesive type, how wide was t... Feb 18 2012, 12:42 PM Harpo Could you please post the link to the ebay site wh... Feb 18 2012, 02:41 PM TC 914-8
Could you please post the link to the ebay site w... Feb 18 2012, 06:37 PM Drums66 .....Maybe more attention to the rear :idea:
:wa... Feb 18 2012, 03:04 PM mwyatt TC 914-8, nice job! Cool car too. Feb 18 2012, 03:25 PM abnrdo Nice! I have to do something like that to min... Feb 18 2012, 04:24 PM mwyatt Someone asked for a daylight pic - finally took on... Jun 14 2012, 12:04 PM slothness 5 months later...better late then never. :D
Thi... Jun 14 2012, 03:33 PM
MecGen
So anyway I followed the pics on the beginning o... Feb 18 2012, 08:23 AM porsche913b_sp Were those the self adhesive type, how wide was t... Feb 18 2012, 12:42 PM Harpo Could you please post the link to the ebay site wh... Feb 18 2012, 02:41 PM TC 914-8
Could you please post the link to the ebay site w... Feb 18 2012, 06:37 PM Drums66 .....Maybe more attention to the rear :idea:
:wa... Feb 18 2012, 03:04 PM mwyatt TC 914-8, nice job! Cool car too. Feb 18 2012, 03:25 PM abnrdo Nice! I have to do something like that to min... Feb 18 2012, 04:24 PM mwyatt Someone asked for a daylight pic - finally took on... Jun 14 2012, 12:04 PM slothness 5 months later...better late then never. :D
Thi... Jun 14 2012, 03:33 PM  |
1 User(s) are reading this topic (1 Guests and 0 Anonymous Users)
0 Members:

|
Lo-Fi Version | Time is now: 12th July 2025 - 01:41 AM |
Invision Power Board
v9.1.4 © 2025 IPS, Inc.