|
|

|
Porsche, and the Porsche crest are registered trademarks of Dr. Ing. h.c. F. Porsche AG.
This site is not affiliated with Porsche in any way. Its only purpose is to provide an online forum for car enthusiasts. All other trademarks are property of their respective owners. |
|
|
  |
| cary |
 Jan 28 2014, 09:46 PM Jan 28 2014, 09:46 PM
Post
#321
|
|
Advanced Member     Group: Members Posts: 3,900 Joined: 26-January 04 From: Sherwood Oregon Member No.: 1,608 Region Association: Pacific Northwest 
|
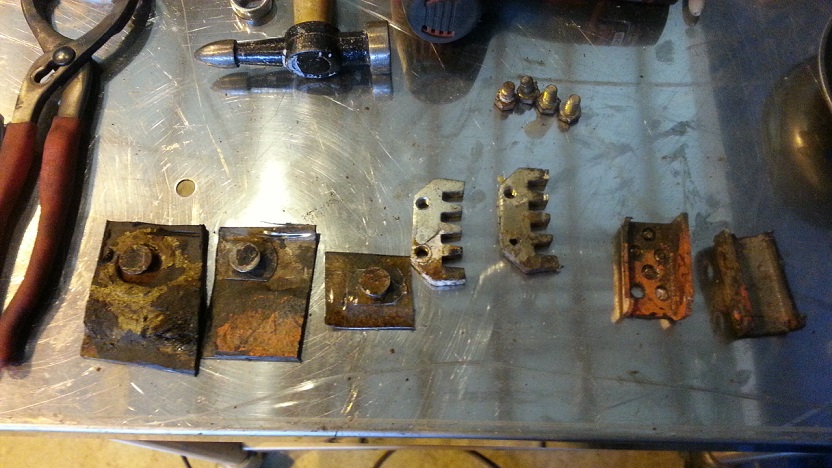
While Super In Law is building our new door braces I decided to do some housekeeping. I needed to cut out a few parts from the sheet metal that will be scraped.
 Here's the new door braces. I want to be able to flip it upside down and not have to worry about everything staying in place. 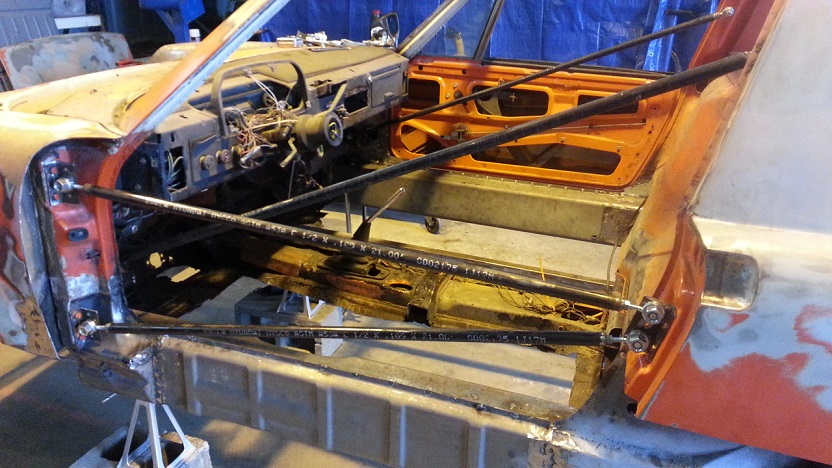 |
| cary |
 Jan 28 2014, 09:48 PM Jan 28 2014, 09:48 PM
Post
#322
|
|
Advanced Member     Group: Members Posts: 3,900 Joined: 26-January 04 From: Sherwood Oregon Member No.: 1,608 Region Association: Pacific Northwest 
|
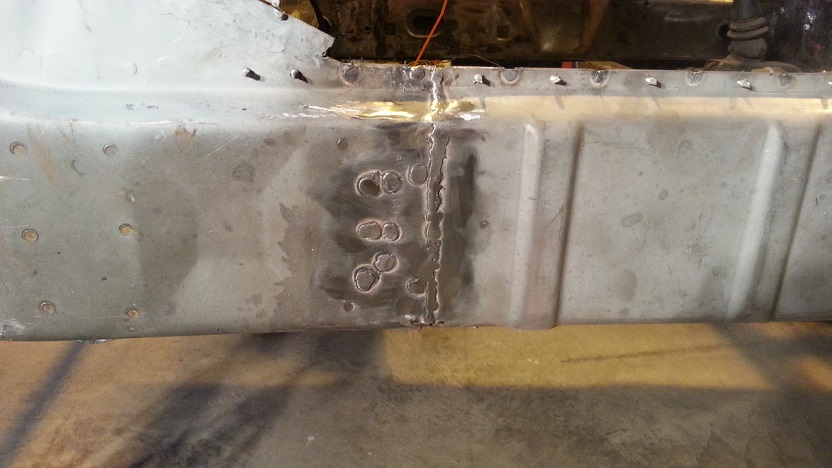
Tried some thing a little different. I pulled the puddle up while I was stitch welding the rocker seam.
 |
| cary |
 Jan 28 2014, 09:49 PM Jan 28 2014, 09:49 PM
Post
#323
|
|
Advanced Member     Group: Members Posts: 3,900 Joined: 26-January 04 From: Sherwood Oregon Member No.: 1,608 Region Association: Pacific Northwest 
|
Finally putting her back on the rotisserie.
Attached image(s) 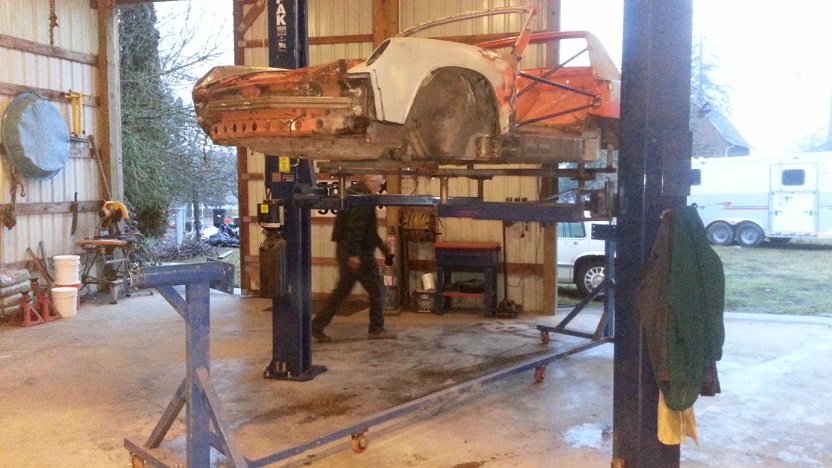
|
| cary |
 Jan 28 2014, 09:51 PM Jan 28 2014, 09:51 PM
Post
#324
|
|
Advanced Member     Group: Members Posts: 3,900 Joined: 26-January 04 From: Sherwood Oregon Member No.: 1,608 Region Association: Pacific Northwest 
|
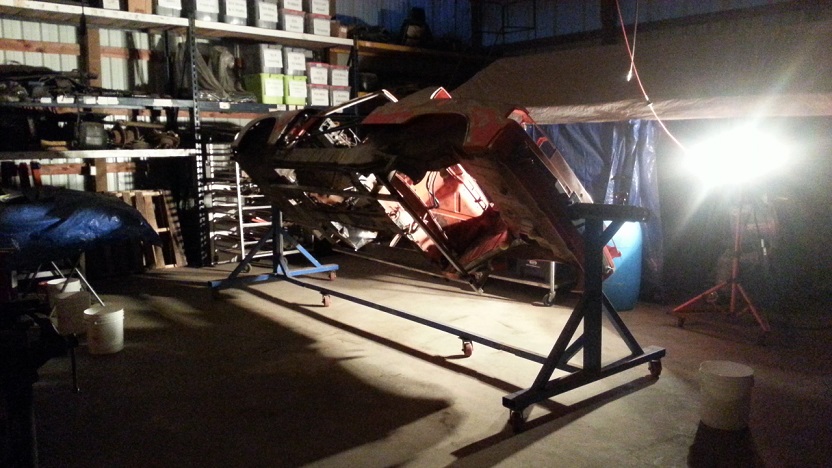
Heading home ....................
 |
| cary |
 Jan 30 2014, 10:49 PM Jan 30 2014, 10:49 PM
Post
#325
|
|
Advanced Member     Group: Members Posts: 3,900 Joined: 26-January 04 From: Sherwood Oregon Member No.: 1,608 Region Association: Pacific Northwest 
|
Spent Wednesday finishing up welding in the inner rockers and grinding down the rosettes.
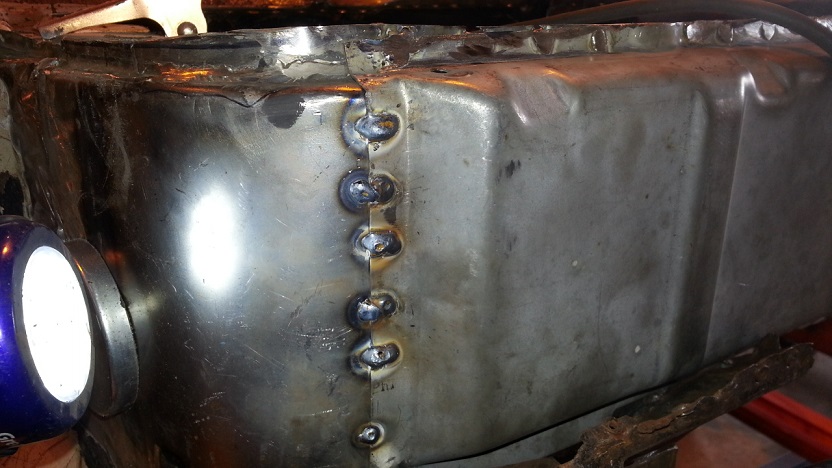 Then I went after the hinge post bases. Finished up welding in the left side. 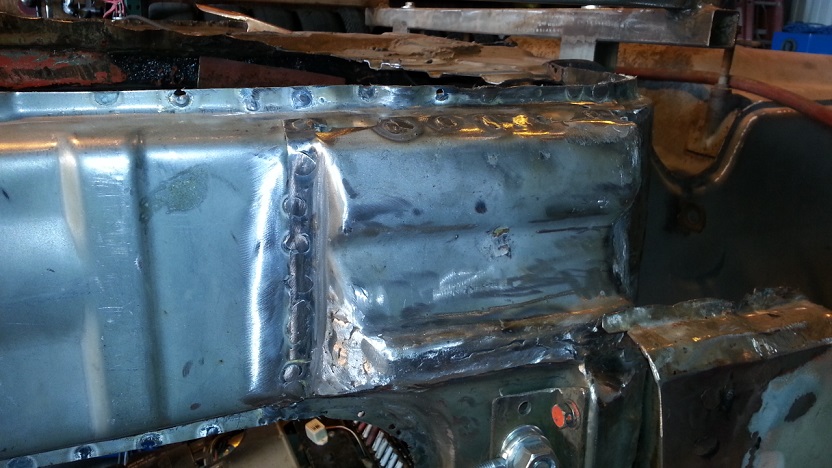 |
| cary |
 Jan 30 2014, 11:01 PM Jan 30 2014, 11:01 PM
Post
#326
|
|
Advanced Member     Group: Members Posts: 3,900 Joined: 26-January 04 From: Sherwood Oregon Member No.: 1,608 Region Association: Pacific Northwest 
|
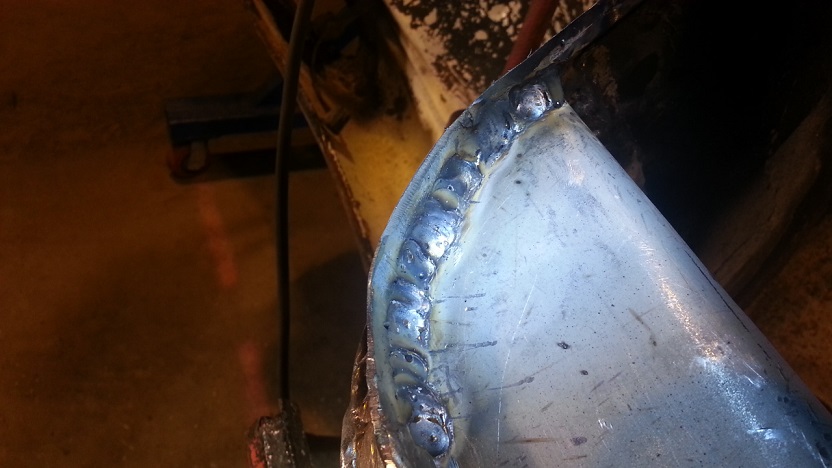
Then I went after a bad spot on the bottom of the left wheelhouse that I didn't like.
It was just too thin. So I welded in a patch. 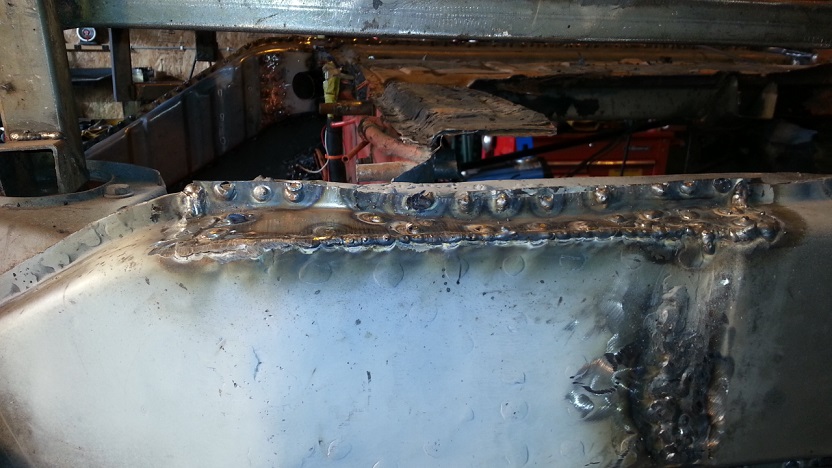 Before grinder ............. Then I attacked cleaning up my crappy overhead welds from being on the 2 post lift. I haven't figured out overhead welding yet ........ Looks like my farmer welds back in Montana. 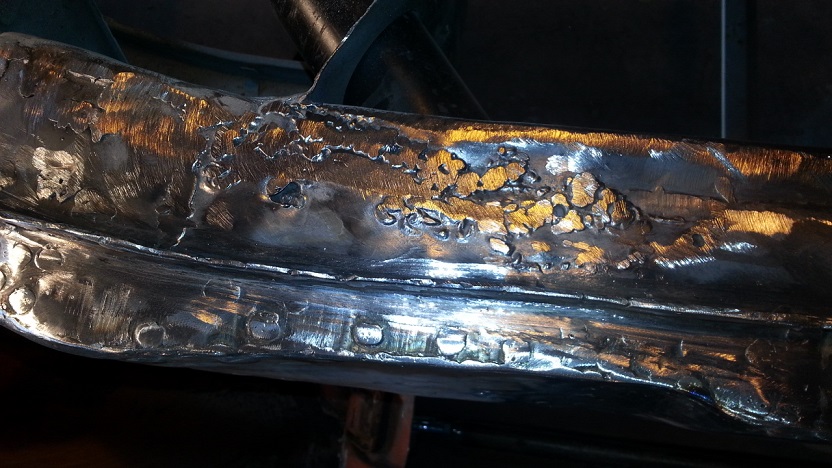 Tidied up .......... 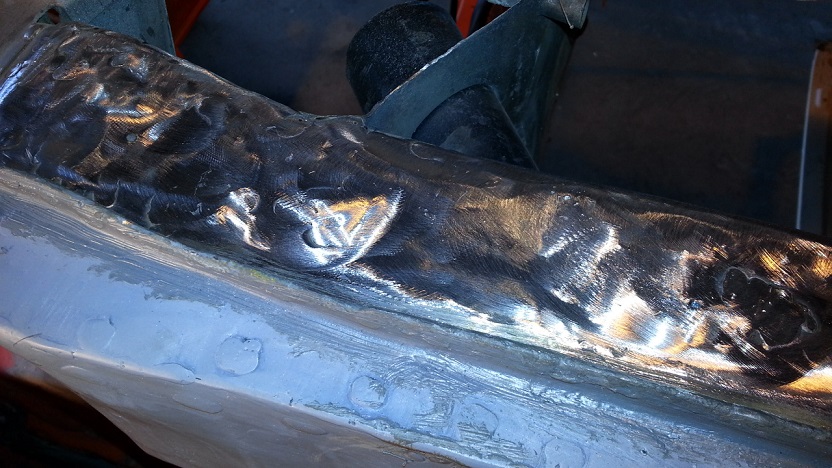 |
| cary |
 Jan 30 2014, 11:14 PM Jan 30 2014, 11:14 PM
Post
#327
|
|
Advanced Member     Group: Members Posts: 3,900 Joined: 26-January 04 From: Sherwood Oregon Member No.: 1,608 Region Association: Pacific Northwest 
|
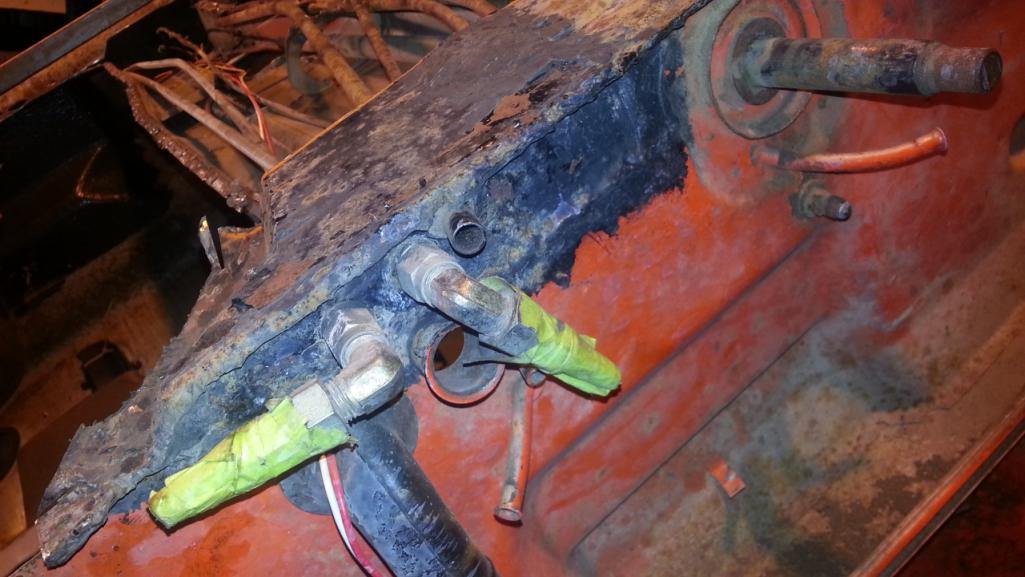
While I'm doing that. Super In Law is working on the right hinge post base.
Bought a new one from RD. Came off the stiffener. 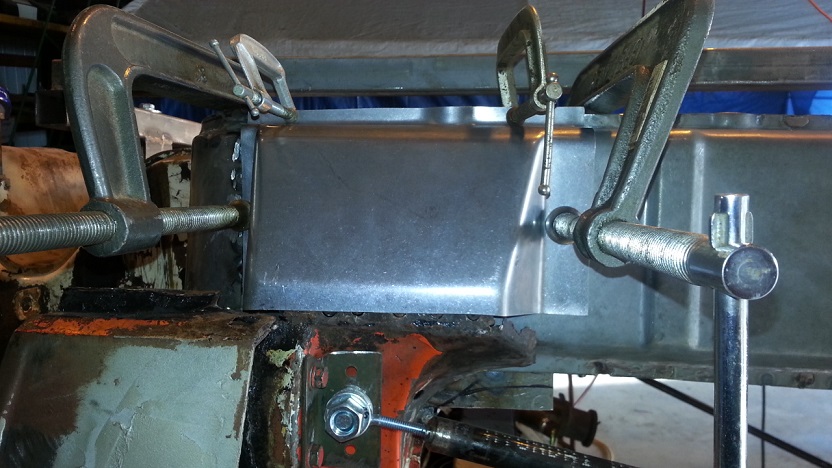 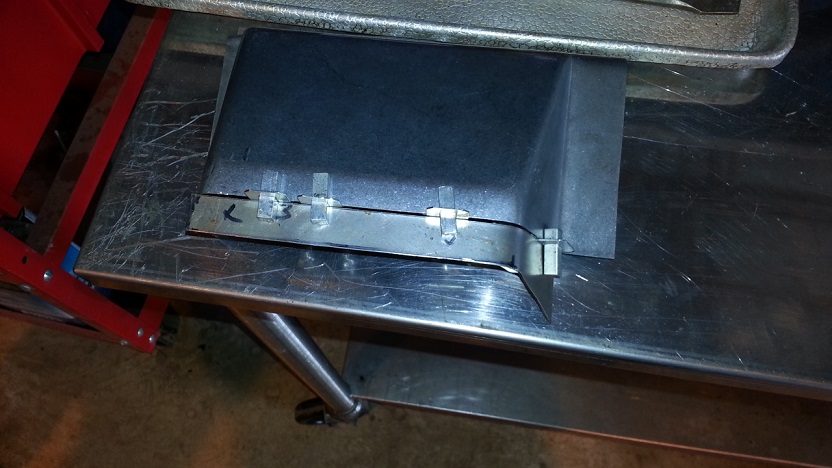 Welded in. Before grinder 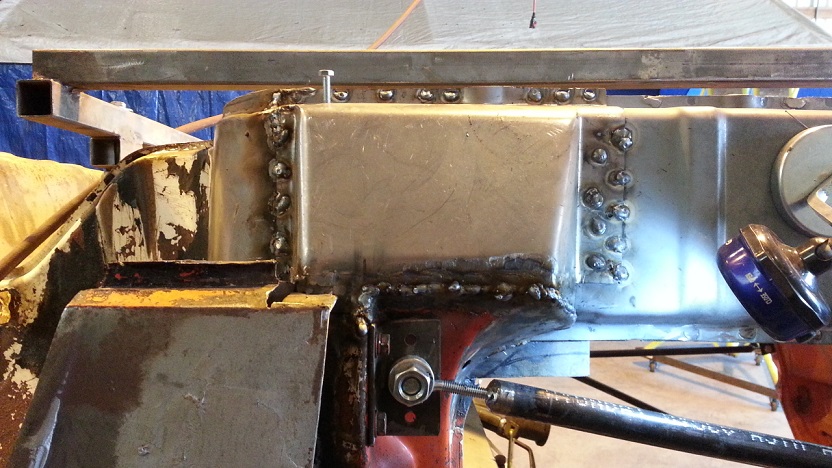 Finally we're working on two projects at the same time. |
| cary |
 Jan 30 2014, 11:20 PM Jan 30 2014, 11:20 PM
Post
#328
|
|
Advanced Member     Group: Members Posts: 3,900 Joined: 26-January 04 From: Sherwood Oregon Member No.: 1,608 Region Association: Pacific Northwest 
|
I ended the day seam sealing the long to inner rocker flanges.
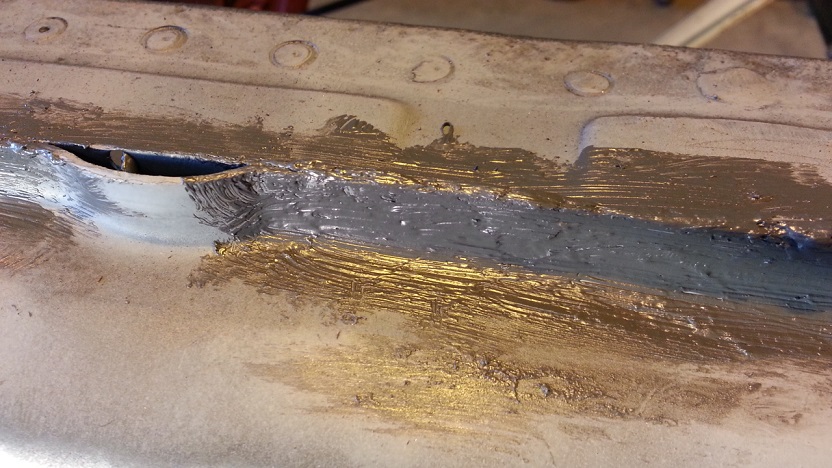 Plus Super in Law fabricated a new fender rocker end cap. 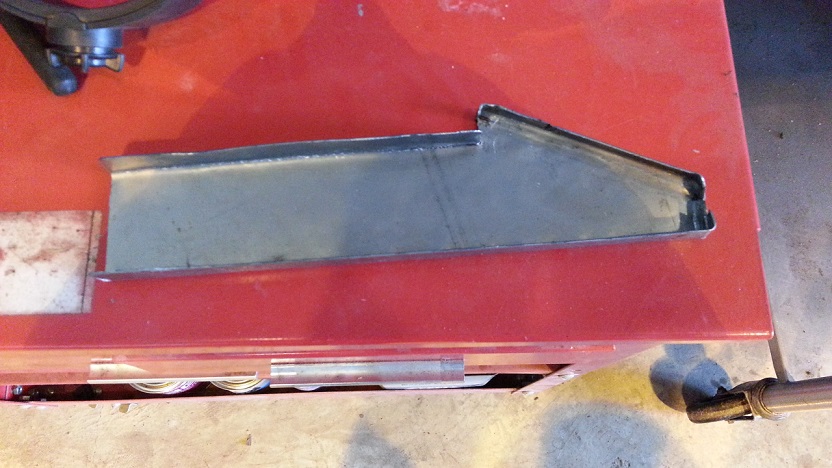 |
| sixnotfour |
 Feb 3 2014, 10:35 PM Feb 3 2014, 10:35 PM
Post
#329
|
|
914 Wizard           Group: Members Posts: 11,070 Joined: 12-September 04 From: Life Elevated..planet UT. Member No.: 2,744 Region Association: Rocky Mountains 

|
Who is your friend ??? I need everything behind this, I will send you the leftovers....
(IMG:style_emoticons/default/sawzall-smiley.gif) Attached thumbnail(s) 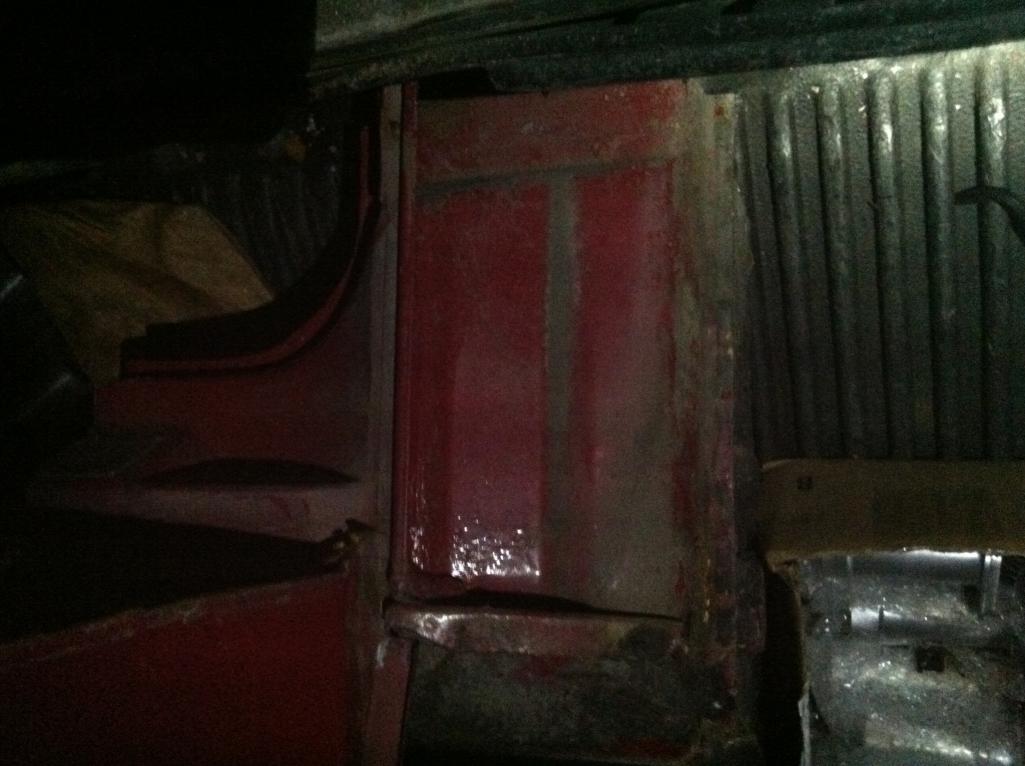 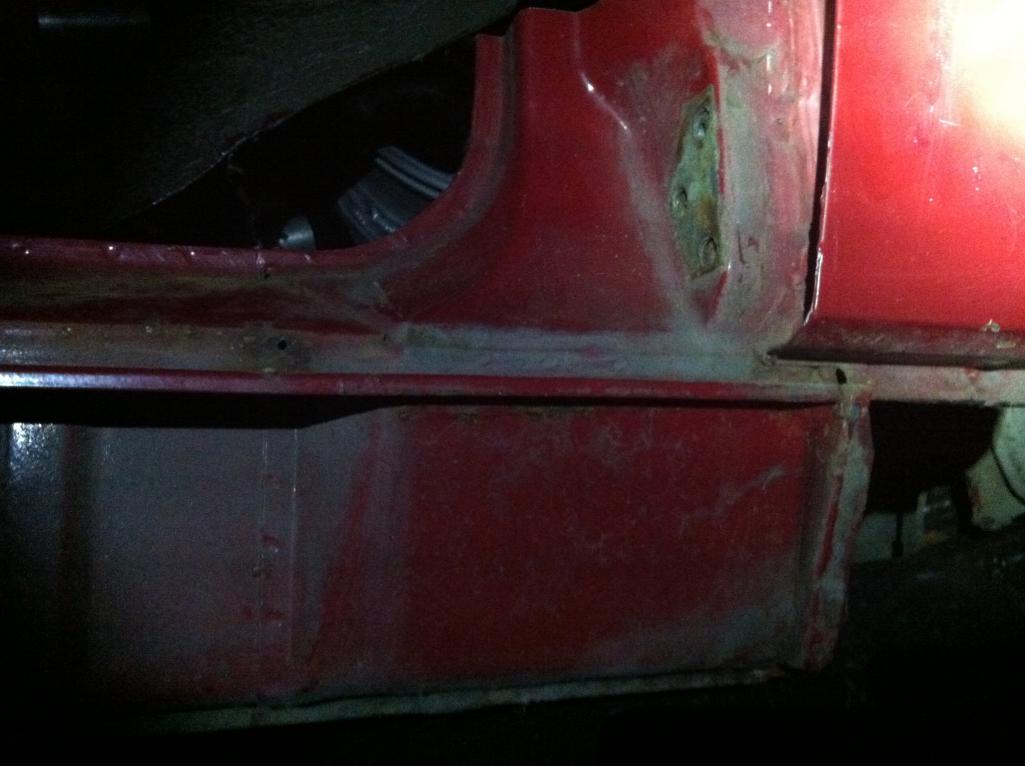
|
| Kraftwerk |
 Feb 3 2014, 10:49 PM Feb 3 2014, 10:49 PM
Post
#330
|
|
Member   Group: Members Posts: 196 Joined: 6-September 07 From: Bbbbbrroooklynnn Member No.: 8,085 |
Congrats! you saved another one! Whew.. that was a lot of work, just to read the whole 17 pages wore the heck out of me...
Its intimidating and impressive how much work it takes to fix typical rust issues, & how complicated the uni-body design is, doesn't make it easy. |
| cary |
 Feb 3 2014, 11:02 PM Feb 3 2014, 11:02 PM
Post
#331
|
|
Advanced Member     Group: Members Posts: 3,900 Joined: 26-January 04 From: Sherwood Oregon Member No.: 1,608 Region Association: Pacific Northwest 
|
Who is your friend ??? I need everything behind this, I will send you the leftovers.... (IMG:style_emoticons/default/sawzall-smiley.gif) That would be great ............... |
| cary |
 Feb 20 2014, 10:31 PM Feb 20 2014, 10:31 PM
Post
#332
|
|
Advanced Member     Group: Members Posts: 3,900 Joined: 26-January 04 From: Sherwood Oregon Member No.: 1,608 Region Association: Pacific Northwest 
|
Been a couple weeks.
Installed the motor mount that was given to me by worn. 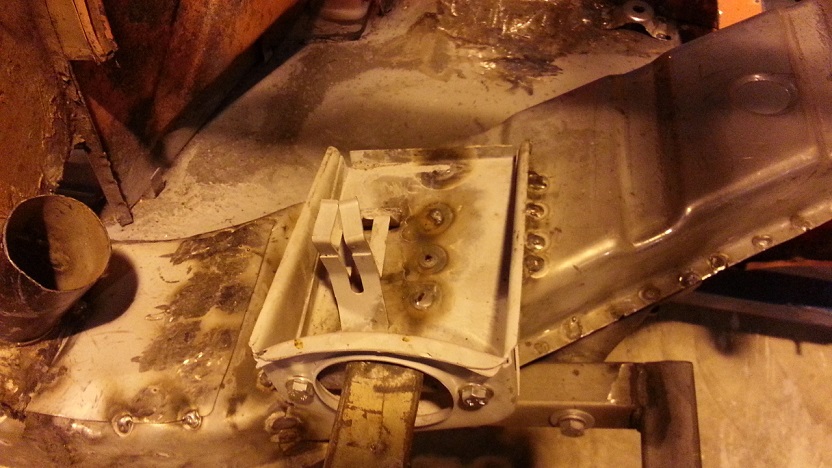 Having the jig made installing it pretty simple. 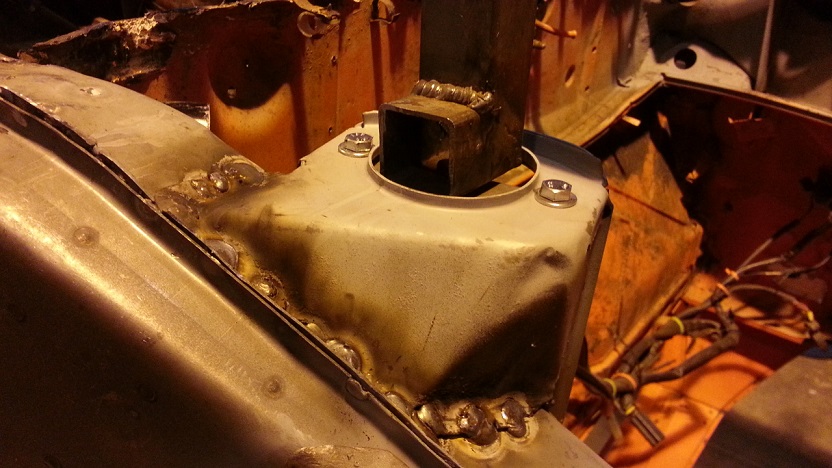 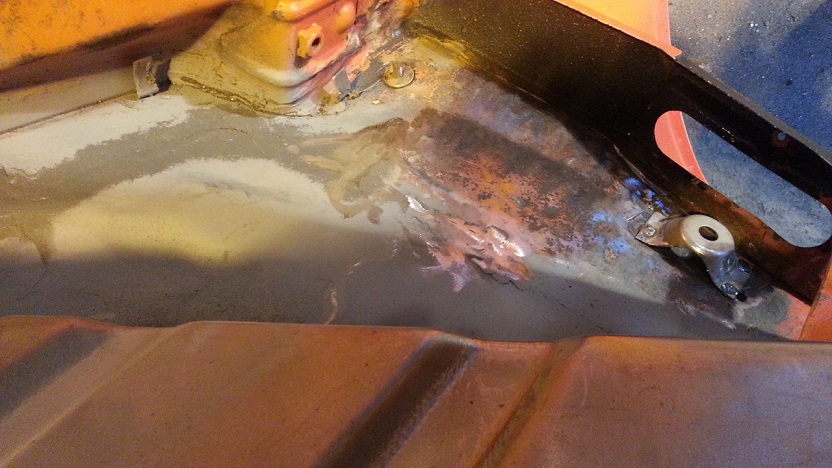 Tidied up the inside of the wheelhouse and installed the hinge pivot. |
| saigon71 |
 Feb 22 2014, 07:11 AM Feb 22 2014, 07:11 AM
Post
#333
|
|
Advanced Member     Group: Members Posts: 2,019 Joined: 1-June 09 From: Dillsburg, PA Member No.: 10,428 Region Association: MidAtlantic Region 

|
"Then I attacked cleaning up my crappy overhead welds from being on the 2 post lift. I haven't figured out overhead welding yet ........
Looks like my farmer welds back in Montana." Overhead welding sucks...you figured it out when you put the car on the rotisserie. (IMG:style_emoticons/default/biggrin.gif) Great work! (IMG:style_emoticons/default/beerchug.gif) Keep the pics coming. |
| cary |
 Feb 27 2014, 09:36 PM Feb 27 2014, 09:36 PM
Post
#334
|
|
Advanced Member     Group: Members Posts: 3,900 Joined: 26-January 04 From: Sherwood Oregon Member No.: 1,608 Region Association: Pacific Northwest 
|
Back to it ..............
Had to put brakes on the Fusion last week. Finished up the welding on the right motor mount. 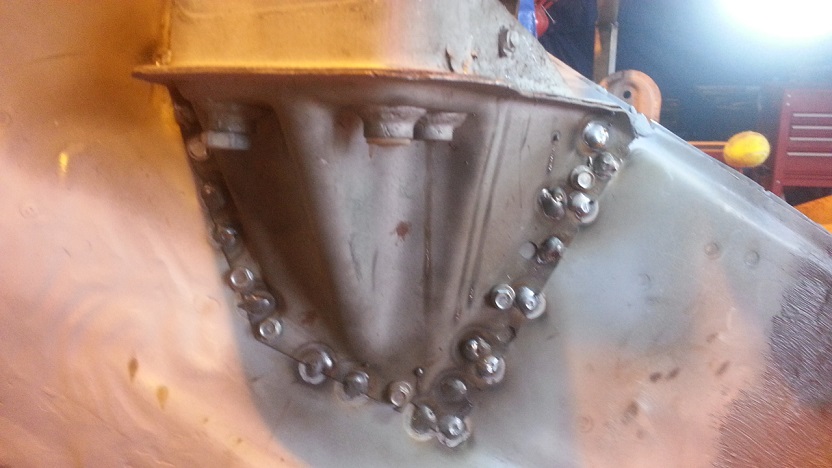 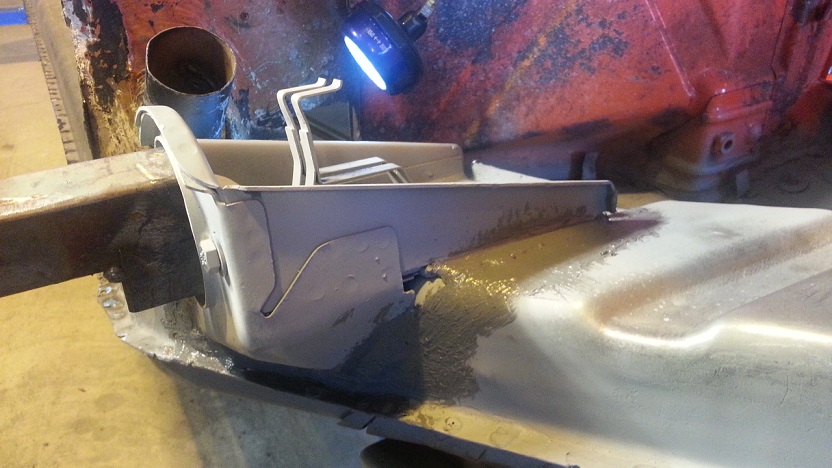 |
| cary |
 Feb 27 2014, 09:49 PM Feb 27 2014, 09:49 PM
Post
#335
|
|
Advanced Member     Group: Members Posts: 3,900 Joined: 26-January 04 From: Sherwood Oregon Member No.: 1,608 Region Association: Pacific Northwest 
|
Then I finished welding the upper long to the suspension tower.
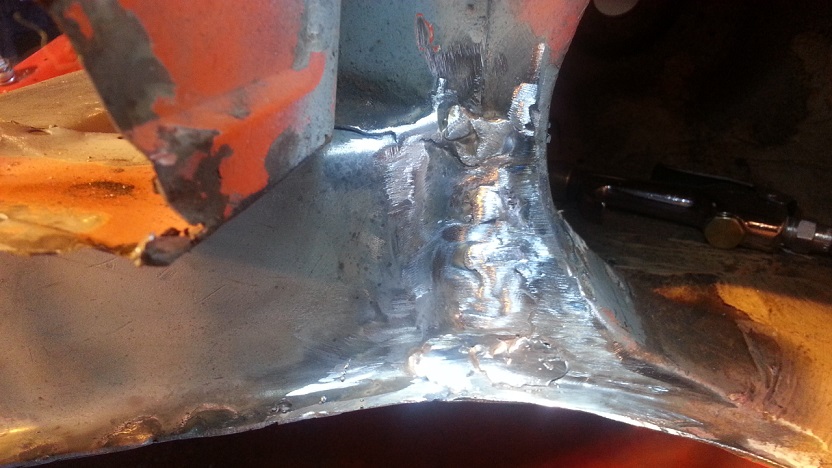 Finished welding ......................... 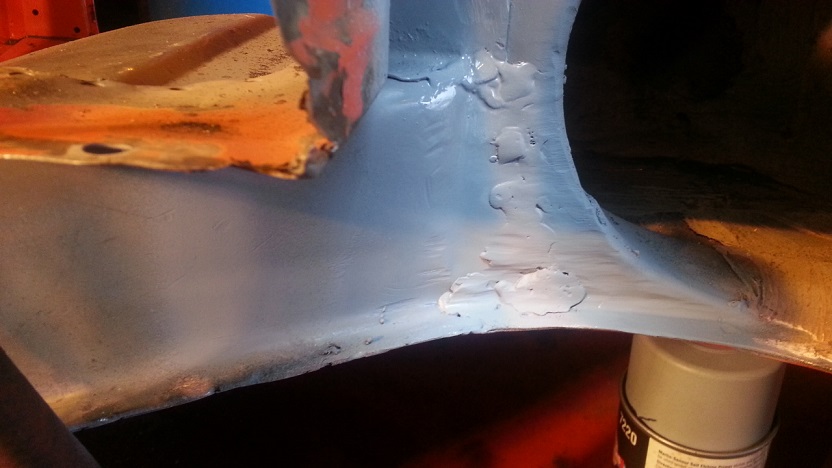 Was a good boy and didn't over grind the welds and metal. 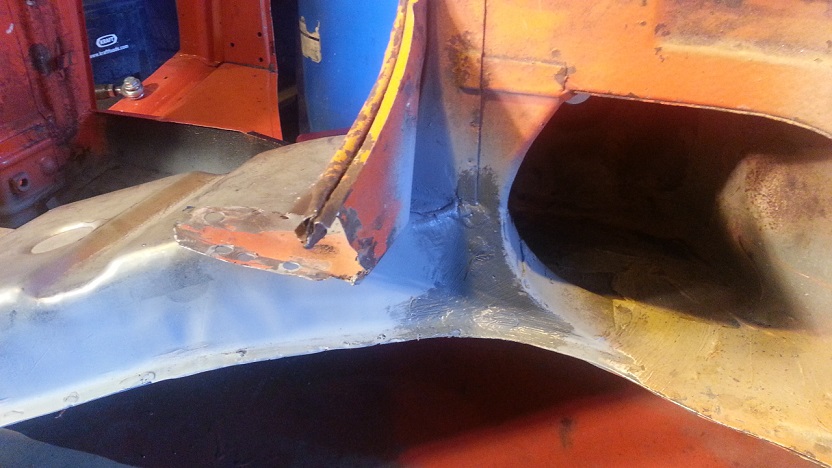 Seamed sealed .............. |
| cary |
 Feb 27 2014, 10:01 PM Feb 27 2014, 10:01 PM
Post
#336
|
|
Advanced Member     Group: Members Posts: 3,900 Joined: 26-January 04 From: Sherwood Oregon Member No.: 1,608 Region Association: Pacific Northwest 
|
Then I get to removing whats left of the floor plan.
Finally I get the tunnel opened up .... (IMG:style_emoticons/default/piratenanner.gif) (IMG:style_emoticons/default/piratenanner.gif) (IMG:style_emoticons/default/piratenanner.gif) 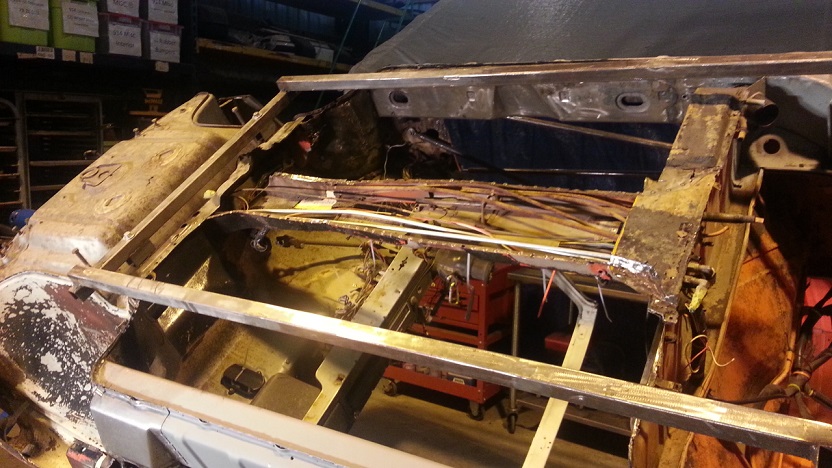 Don't miss the two spot welds under the corner/foot brace. 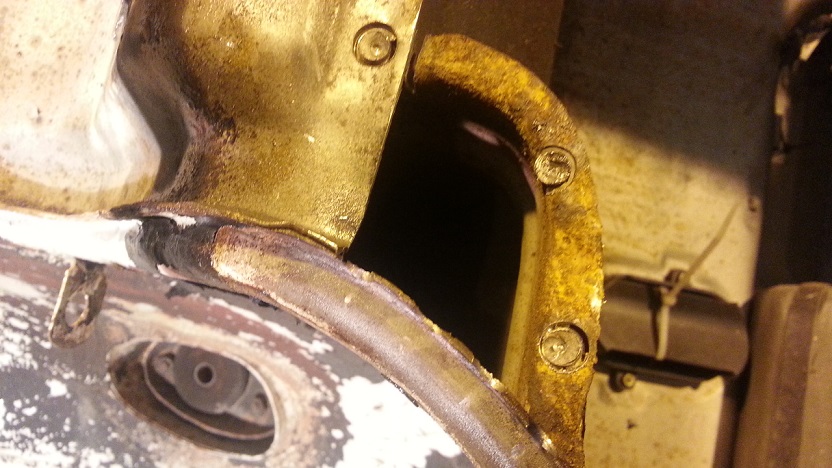 |
| cary |
 Feb 27 2014, 10:09 PM Feb 27 2014, 10:09 PM
Post
#337
|
|
Advanced Member     Group: Members Posts: 3,900 Joined: 26-January 04 From: Sherwood Oregon Member No.: 1,608 Region Association: Pacific Northwest 
|
|
| cary |
 May 26 2014, 08:11 AM May 26 2014, 08:11 AM
Post
#338
|
|
Advanced Member     Group: Members Posts: 3,900 Joined: 26-January 04 From: Sherwood Oregon Member No.: 1,608 Region Association: Pacific Northwest 
|
Time fly's. Its been 90 since I've touched the project. (IMG:style_emoticons/default/sad.gif) (IMG:style_emoticons/default/sad.gif)
Changed stores again, so I've been busy bringing it up to my liking. And I dropped the engine in my 911 to put in aluminum clutch parts. Used flywheel from Rothsport and a Kennedy pressure plate. (IMG:style_emoticons/default/smile.gif) (IMG:style_emoticons/default/smile.gif) Hopefully today I'll get to weld up the clutch tube on my 73. Then I can restart the rustoration project. |
| cary |
 Sep 13 2014, 09:26 AM Sep 13 2014, 09:26 AM
Post
#339
|
|
Advanced Member     Group: Members Posts: 3,900 Joined: 26-January 04 From: Sherwood Oregon Member No.: 1,608 Region Association: Pacific Northwest 
|
Hope to get back to it on Monday....................... Its been along time.
Been working on my other 914 and my 911. 911 is up and running. My white 914 is coming together. Rear brakes are at Eric's getting platted. |
| cary |
 Oct 28 2014, 09:31 AM Oct 28 2014, 09:31 AM
Post
#340
|
|
Advanced Member     Group: Members Posts: 3,900 Joined: 26-January 04 From: Sherwood Oregon Member No.: 1,608 Region Association: Pacific Northwest 
|
I'm finally back. We started working on the clobbered up seam we created years ago on the floor pan to outside firewall. It's going to be a tedious process. I'm going to take it off about an inch at a time. A couple cross cuts got too deep. (IMG:style_emoticons/default/mad.gif) Today I'll set up more light for the delicate surgery. Or maybe the Dremel if I can't get it right.
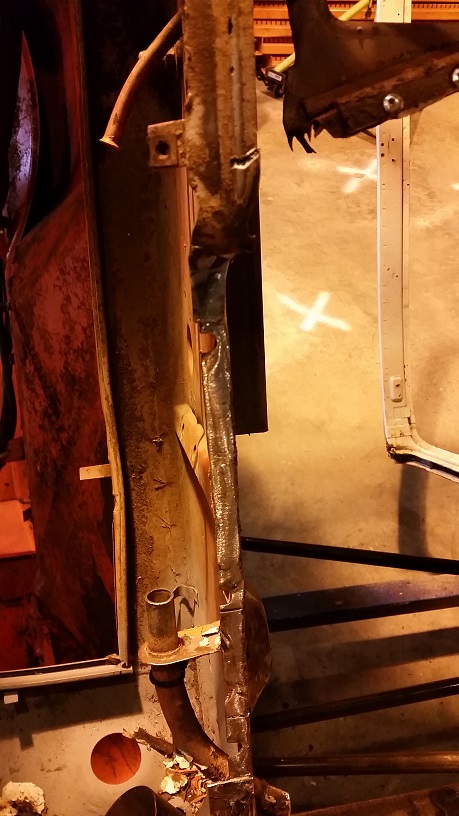 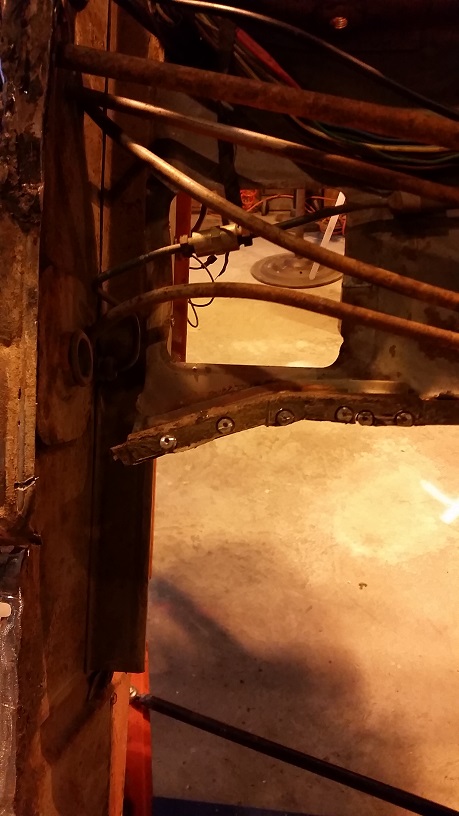 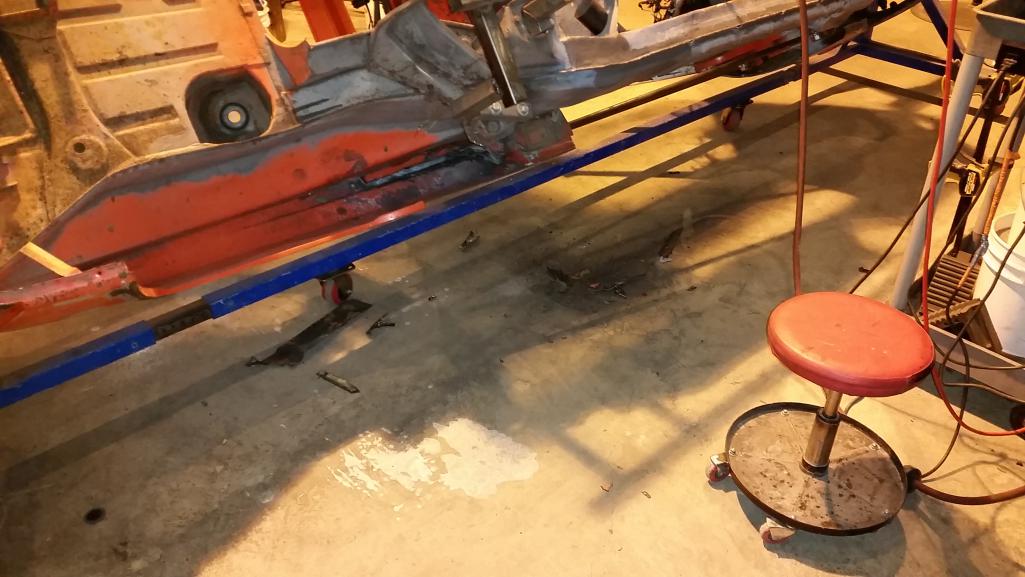 Sorry for the yellow tint. That's what I get if I don't turn off the halogen lamps before I shoot the pictures. |
  |
2 User(s) are reading this topic (2 Guests and 0 Anonymous Users)
0 Members:

|
Lo-Fi Version | Time is now: 20th December 2025 - 04:09 AM |
Invision Power Board
v9.1.4 © 2025 IPS, Inc.


