

 Fix a six, Like Neil Young says...rust is an insomniac Fix a six, Like Neil Young says...rust is an insomniac |
|
|

|
Porsche, and the Porsche crest are registered trademarks of Dr. Ing. h.c. F. Porsche AG.
This site is not affiliated with Porsche in any way. Its only purpose is to provide an online forum for car enthusiasts. All other trademarks are property of their respective owners. |
|
|
  |
| brant |
 Jun 21 2026, 09:42 AM Jun 21 2026, 09:42 AM
Post
#761
|
|
914 Wizard  Group: Members Posts: 12,277 Joined: 30-December 02 From: Colorado Member No.: 47 Region Association: Rocky Mountains 

 |
Looks good!
Happy Father’s Day |
   |

 
|
| Speedo |
Jul 5 2026, 01:25 PM
Post
#762
|
|
Senior Member Group: Members Posts: 666 Joined: 7-November 06 From: Boulder Member No.: 7,170 Region Association: Rocky Mountains
|
Think I just had an "aha" moment. So my 70 has the early "wire" window cranks. I realized that 914 Rubber had not sent me any of the rear window track fuzzys. I called and they explained the rear fuzzys were not included in any kits and sold seperately...so I ordered them. Today I got set to insert the window so I installed and trimmed the rear fuzzy. Then I looked at the teflon slide at the lower rear of the window...no way is that going to fit/slide in the fuzzy. And I looked at the rear plastic cap at the top or the rear of the door. I think the lower teflon slide and the top plastic cap are used in lieu of the fuzzy on my car...am I correct? Ian's window video made no mention of the later cars differences other than the crank mechanism. Also, do I need to take the plastic cap off off the top of the triangle window to slide my windows into the track, as well as the plastic cap on the top rear of the door? Then after the window is inserted, both of those get re-attached. Dang it...I'm only suppsed to be making original mistakes. Anyway if someone needs a brand new set of "later fuzzys"...I have some.
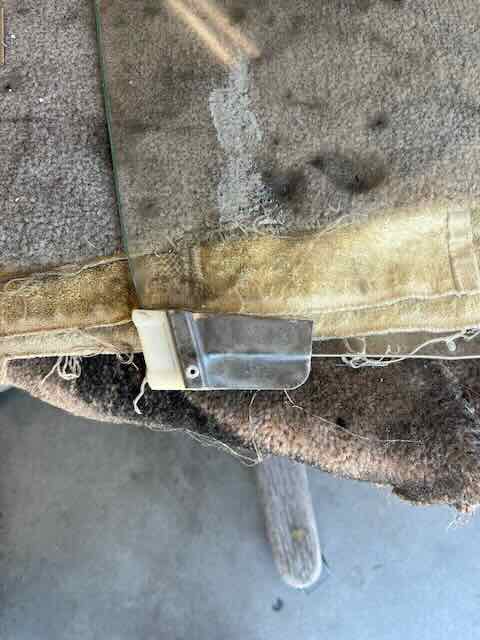 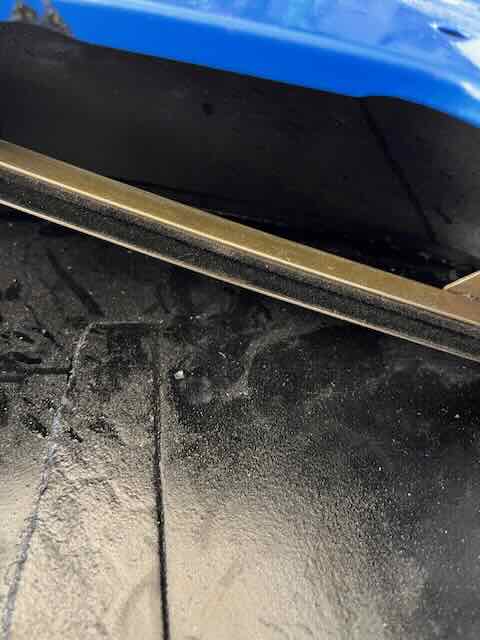 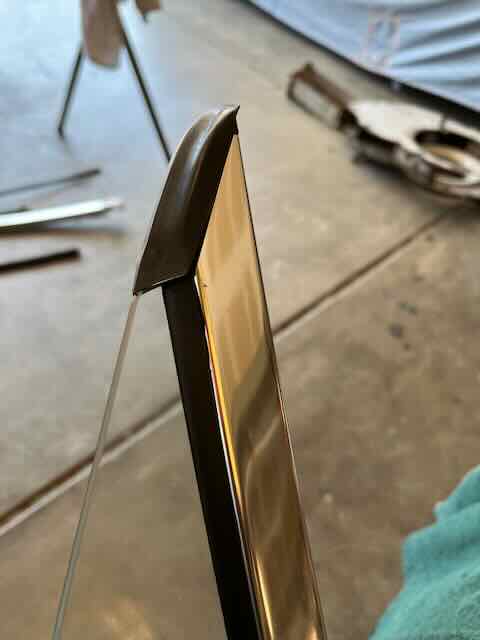 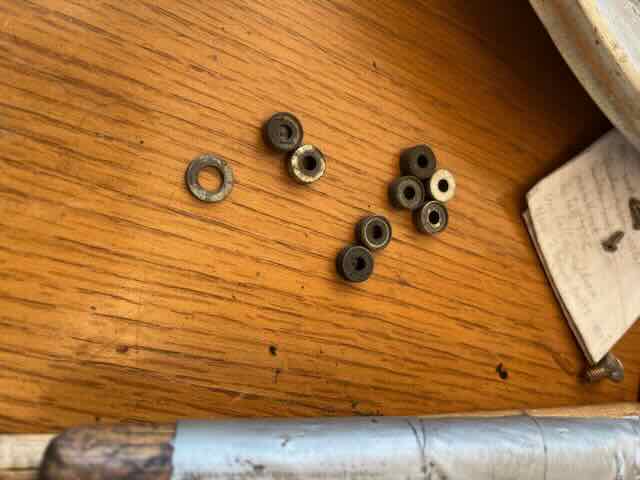 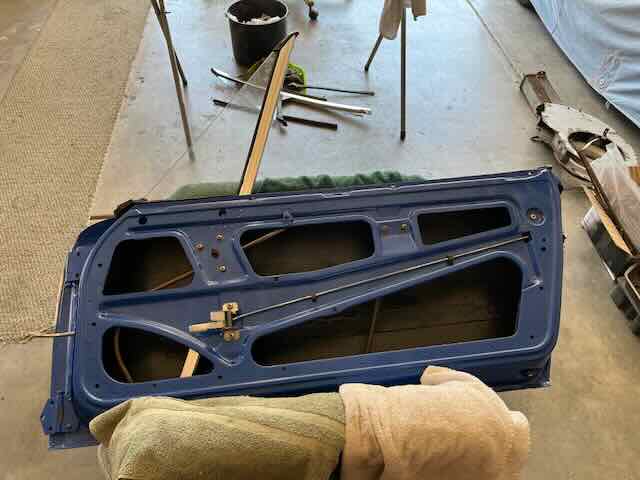 Anyway...passenger door is almost complete pending fuzzy resolution and new door panels...and the handles have been re-keyed 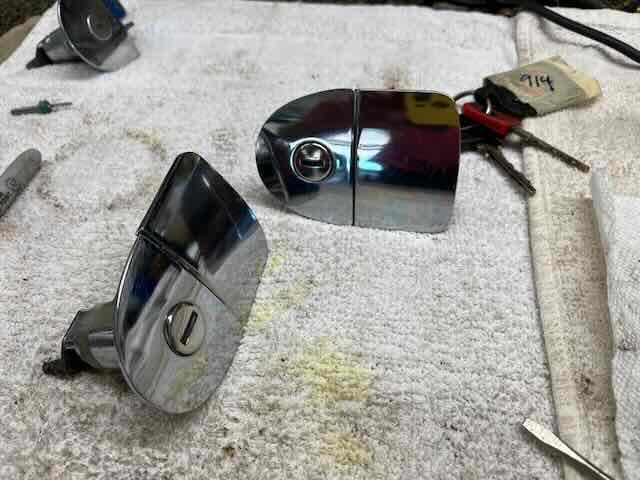 |
|
|
|
| Speedo |
Jul 8 2026, 05:36 PM
Post
#763
|
|
Senior Member Group: Members Posts: 666 Joined: 7-November 06 From: Boulder Member No.: 7,170 Region Association: Rocky Mountains
|
Having some difficulty getting the windows back into the doors.
http://www.914world.com/bbs2/index.php?showtopic=378606 |
|
|
|
| Speedo |
Jul 15 2026, 05:41 PM
Post
#764
|
|
Senior Member Group: Members Posts: 666 Joined: 7-November 06 From: Boulder Member No.: 7,170 Region Association: Rocky Mountains
|
I decided to quit complaining and install the windows.
Windows are installed and waiting for door cards. 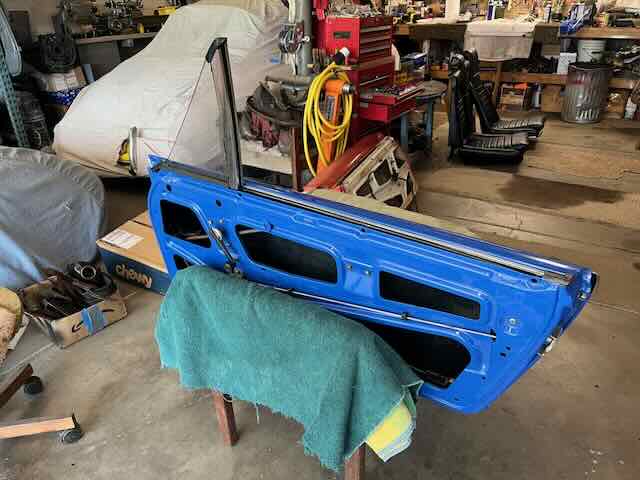 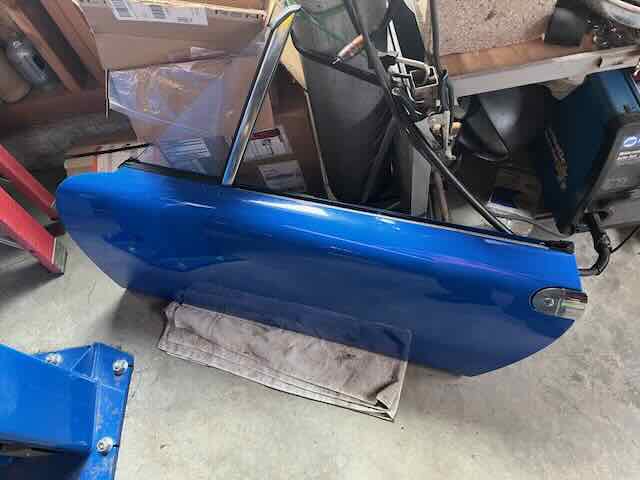 Speaking of door cards...I built out a sprinter cargo van a couple years ago. Interior of the van was covered with a plastic corrugated board. I kept it once removed thinking it would make a great door card...stiff, waterproof, and cut-able. This is removed... 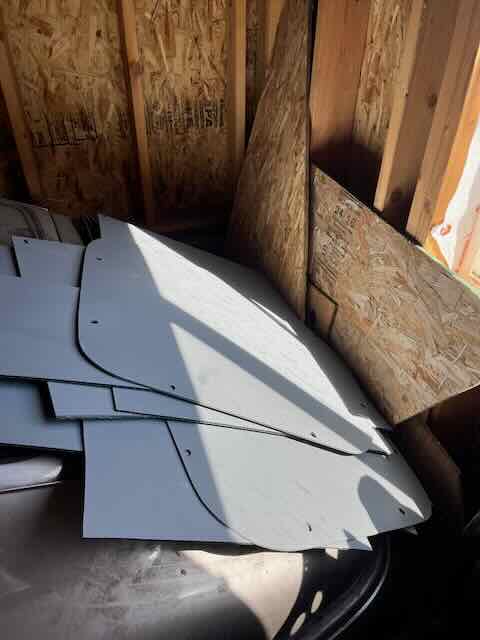 And these are my new door cards waiting for vinyl 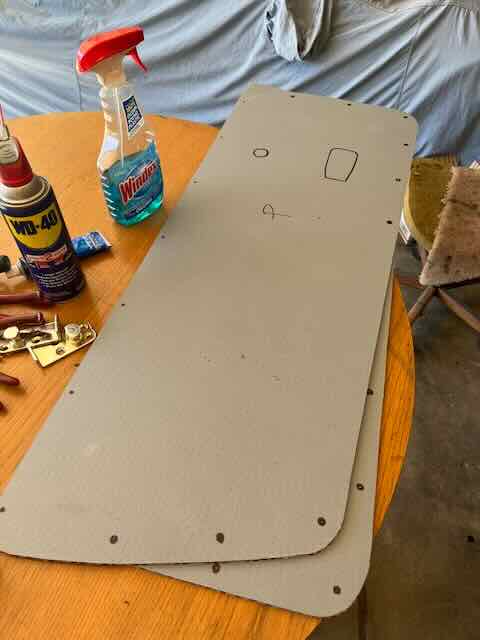 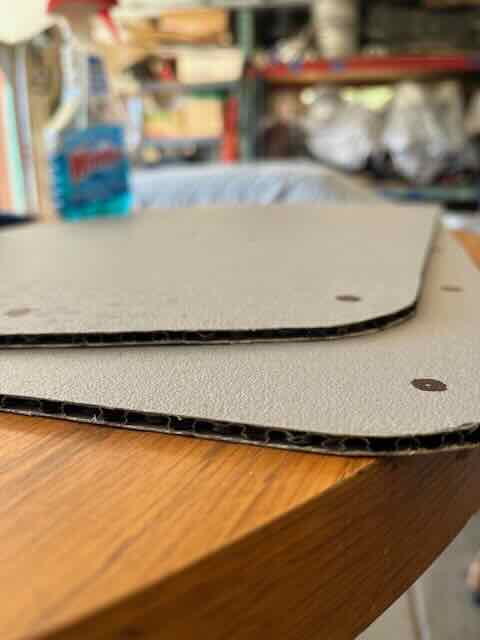 I don't like the original paper/cardboard used for panels as they invariably get wet and warp or tear. Bad idea just like using particle board to build bathroom vanities. Moisture will not affect these cards. |
|
|
|
| Speedo |
Aug 8 2026, 05:30 PM
Post
#765
|
|
Senior Member Group: Members Posts: 666 Joined: 7-November 06 From: Boulder Member No.: 7,170 Region Association: Rocky Mountains
|
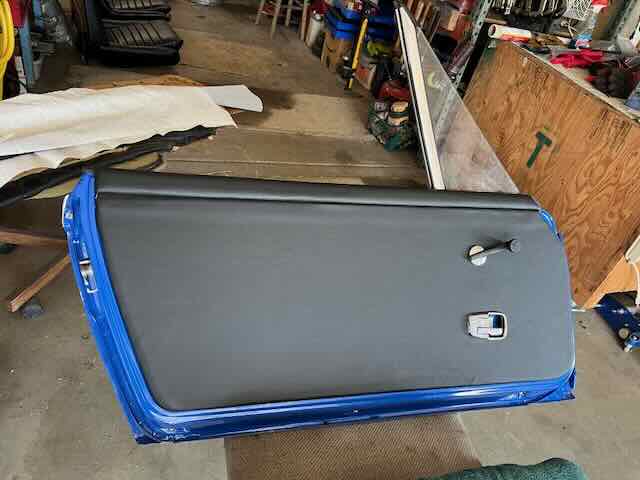
Drivers door complete. This came out very clean...the plastic corrugated door card worked perfectly. On to the passenger side.
 |
|
|
|
| Shivers |
Aug 8 2026, 06:23 PM
Post
#766
|
|
Senior Member Group: Members Posts: 3,604 Joined: 19-October 20 From: La Quinta, CA Member No.: 24,781 Region Association: Southern California |
QUOTE(Speedo @ Aug 8 2026, 04:30 PM)  Drivers door complete. This came out very clean...the plastic corrugated door card worked perfectly. On to the passenger side. Looks really nice |
|
|
|
| brant |
Aug 9 2026, 08:35 AM
Post
#767
|
|
914 Wizard Group: Members Posts: 12,277 Joined: 30-December 02 From: Colorado Member No.: 47 Region Association: Rocky Mountains
|
Looks great
|
|
|
|
| Speedo |
Aug 11 2026, 07:48 AM
Post
#768
|
|
Senior Member Group: Members Posts: 666 Joined: 7-November 06 From: Boulder Member No.: 7,170 Region Association: Rocky Mountains
|
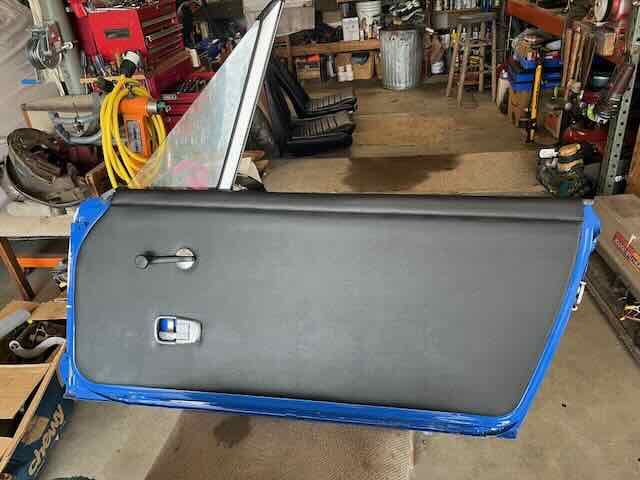
And passenger. Now to re-do the dash. Adhesive failed me and I get to try again.
 |
|
|
|
| Speedo |
Sep 3 2026, 01:08 PM
Post
#769
|
|
Senior Member Group: Members Posts: 666 Joined: 7-November 06 From: Boulder Member No.: 7,170 Region Association: Rocky Mountains
|
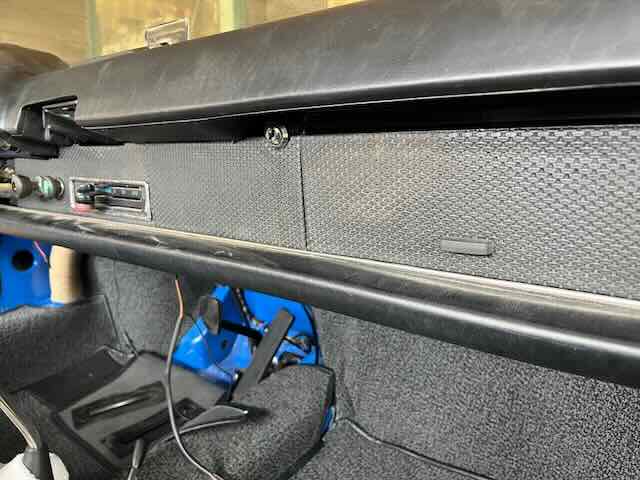
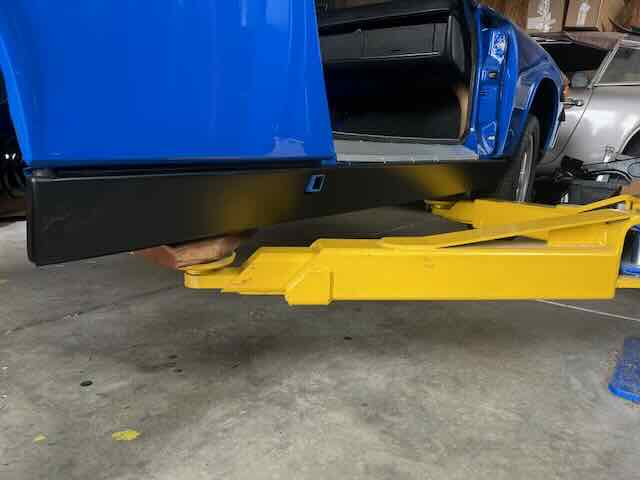
Finished the dash for the third time. I was able to re-use the original vinyl from my seats that I re-covered. Original was lifting so I decided to cut larger and wrap. This gave me some time to work on fitting the door sills and the deco panels. Probably easier to do not on the lift. Came out nice...
  |
|
|
|
| Speedo |
Sep 3 2026, 01:21 PM
Post
#770
|
|
Senior Member Group: Members Posts: 666 Joined: 7-November 06 From: Boulder Member No.: 7,170 Region Association: Rocky Mountains
|
Mirrors are on deck. I didn't get correct mirrors with the car. Mine were very 70s-ish black flexi-plastic, and they needed to go away and enjoy the rest of their life on someone's Ghia. It took a while for me to source the correct 914-6 mirrors with the tight elbow bend. A couple board members came to the rescue and before I knew it I had gone from zero to six mirrors...all needing restoration.
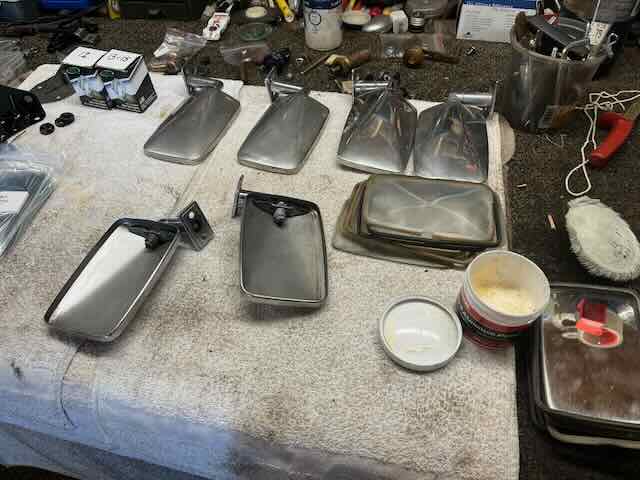 So, with fresh bezels and glass and polishing compound, I got at it. Minor dings were massaged out from the inside, and they got the benefit of mechanical and manual polishing. These look great. Huge improvement over what the car came to me with. I will apply the same treatment to the other two pairs and post them for sale. If you are reading this and think you will be in the mkt for a pair of 914-6 mirrors in the future, send me a PM and I'll set a pair aside. 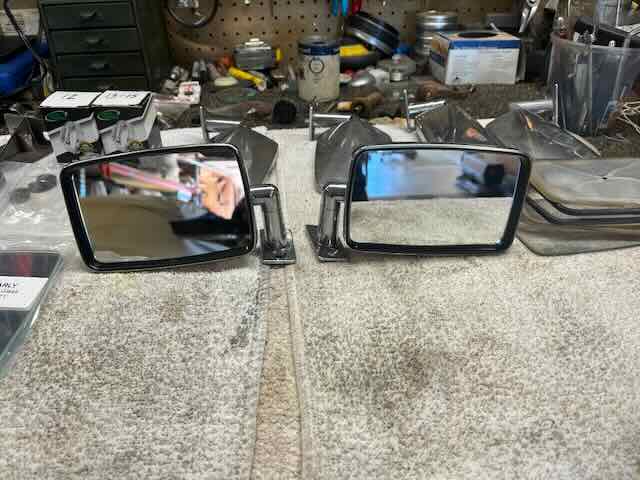 This resto would have gone a lot quicker if I wasn't so intent on re-using or renewing parts and just ordered replacements. That is a hard gene to get out of one's DNA. |
|
|
|
| brant |
Sep 3 2026, 02:41 PM
Post
#771
|
|
914 Wizard Group: Members Posts: 12,277 Joined: 30-December 02 From: Colorado Member No.: 47 Region Association: Rocky Mountains
|
Looks good
Get that thing on the road. Think you will make the RRC? |
|
|
|
| Speedo |
Sep 3 2026, 06:50 PM
Post
#772
|
|
Senior Member Group: Members Posts: 666 Joined: 7-November 06 From: Boulder Member No.: 7,170 Region Association: Rocky Mountains
|
Brant,
I'm going as fast as I can. After the interior is the engine start. My checklist is getting shorter, but as it gets shorter I keep adding on to it...so in reality it isn't getting shorter. You are definitely (although you knew it already) invited to the start party. I'm guessing 3 weeks...I buy all the beer. |
|
|
|
| Speedo |
Sep 4 2026, 05:19 PM
Post
#773
|
|
Senior Member Group: Members Posts: 666 Joined: 7-November 06 From: Boulder Member No.: 7,170 Region Association: Rocky Mountains
|
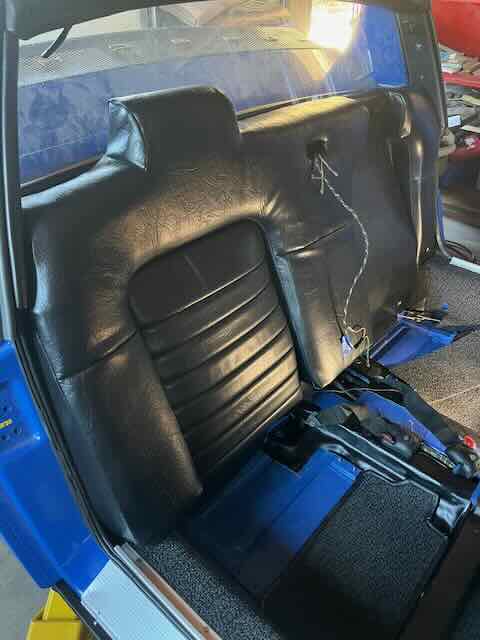
Seatbacks in...need to plug the 3rd person seat belt hole in the floor (what a dumb idea that was) and then the seat bases go in. Also need to install the interior seat back light. Braided long wire was labeled (I guess I did that (IMG:style_emoticons/default/sunglasses.gif) rear window defrost. Have I ever seen a 914 with wires in the rear window?
 |
|
|
|
| Speedo |
Sep 6 2026, 01:19 PM
Post
#774
|
|
Senior Member Group: Members Posts: 666 Joined: 7-November 06 From: Boulder Member No.: 7,170 Region Association: Rocky Mountains
|
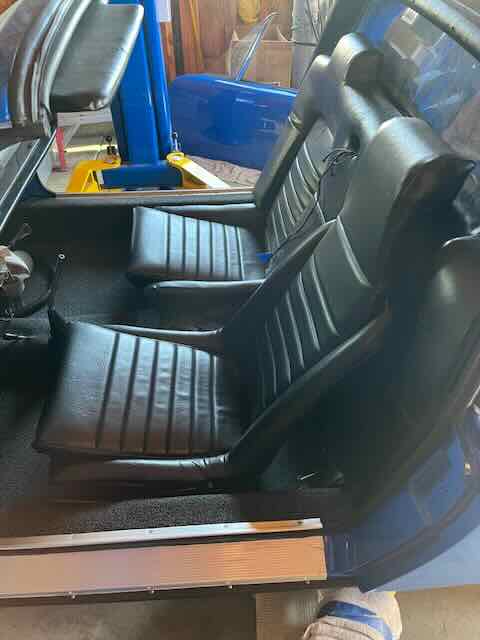
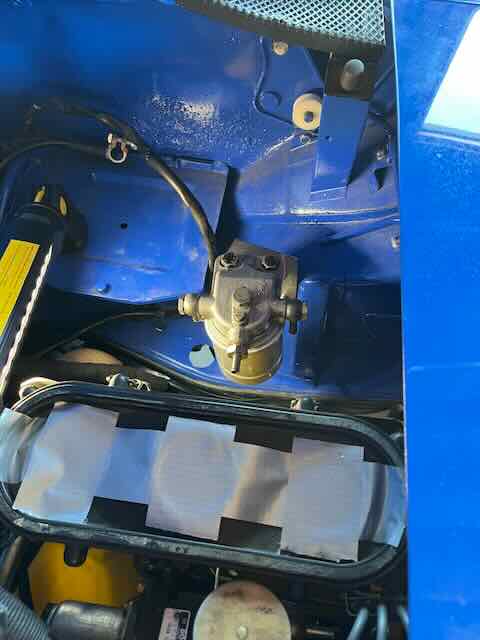
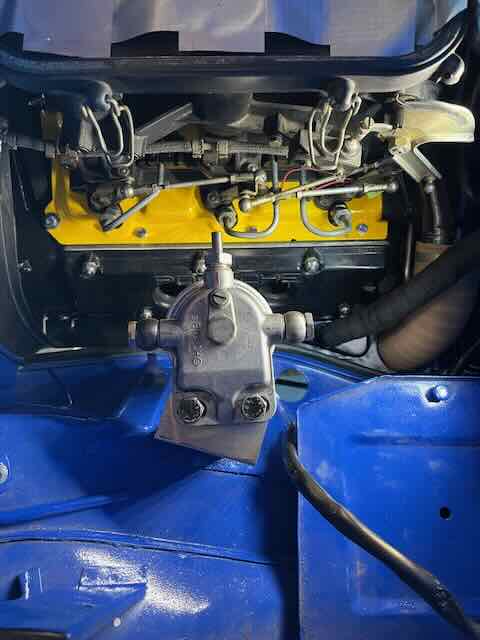
Drivers seat in and fuel filter console installed for measuring hoses.
   |
|
|
|
| Speedo |
Sep 23 2026, 09:09 AM
Post
#775
|
|
Senior Member Group: Members Posts: 666 Joined: 7-November 06 From: Boulder Member No.: 7,170 Region Association: Rocky Mountains
|
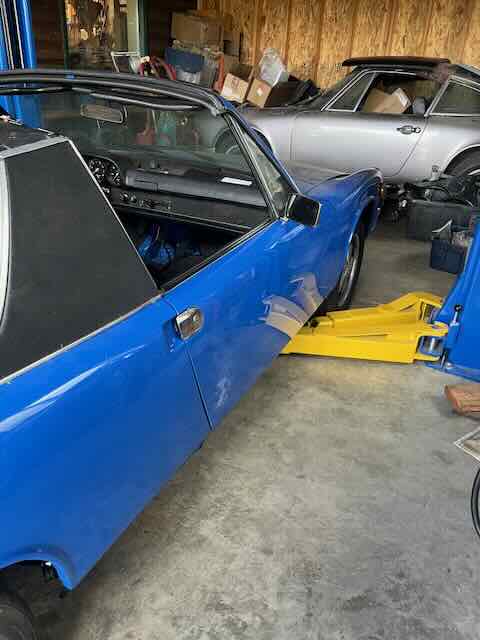
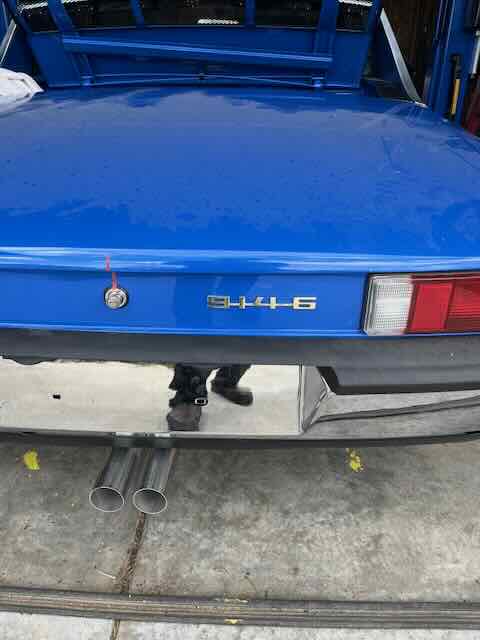
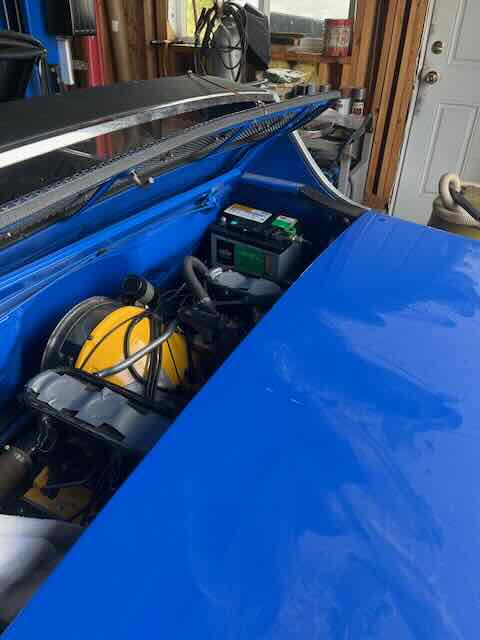
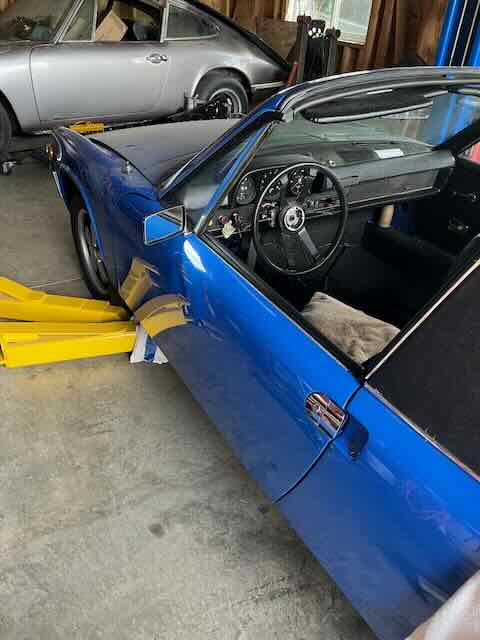
Movement forward. Installed the doors, L and R mirrors and new battery...and badge to remind myself what this is and that this journey will be worth it. The 908 aircleaner housings arrived. I now need to figure out what size round cleaner I can squish to fit the oval cleaner...as looking for oval air cleaners was not productive.
    |
|
|
|
|
3 User(s) are reading this topic (2 Guests and 0 Anonymous Users)
1 Members: barkamatic

|
Lo-Fi Version | Time is now: 23rd September 2026 - 04:49 PM |
Invision Power Board
v9.1.4 © 2026 IPS, Inc.