|
|

|
Porsche, and the Porsche crest are registered trademarks of Dr. Ing. h.c. F. Porsche AG.
This site is not affiliated with Porsche in any way. Its only purpose is to provide an online forum for car enthusiasts. All other trademarks are property of their respective owners. |
|
|
  |
| 76-914 |
 Jan 20 2013, 11:40 AM Jan 20 2013, 11:40 AM
Post
#21
|
|
Repeat Offender & Resident Subaru Antagonist           Group: Members Posts: 13,835 Joined: 23-January 09 From: Temecula, CA Member No.: 9,964 Region Association: Southern California 
|
OK this is the first time I have seen this thread and I have to say it........don't climb under the car on those jack stands!! (IMG:style_emoticons/default/blink.gif) This is a must read! Jack Stands Yea, I read that. Did you read this? http://www.914world.com/bbs2/index.php?sho...=139114&hl= Besides these jacks stands, fully collapsed, are 19.5" which would allow for me and a most of my tools. (IMG:style_emoticons/default/biggrin.gif) Thanks for looking out for me though. (IMG:style_emoticons/default/beerchug.gif) |
| 76-914 |
 Jan 20 2013, 10:05 PM Jan 20 2013, 10:05 PM
Post
#22
|
|
Repeat Offender & Resident Subaru Antagonist           Group: Members Posts: 13,835 Joined: 23-January 09 From: Temecula, CA Member No.: 9,964 Region Association: Southern California 
|
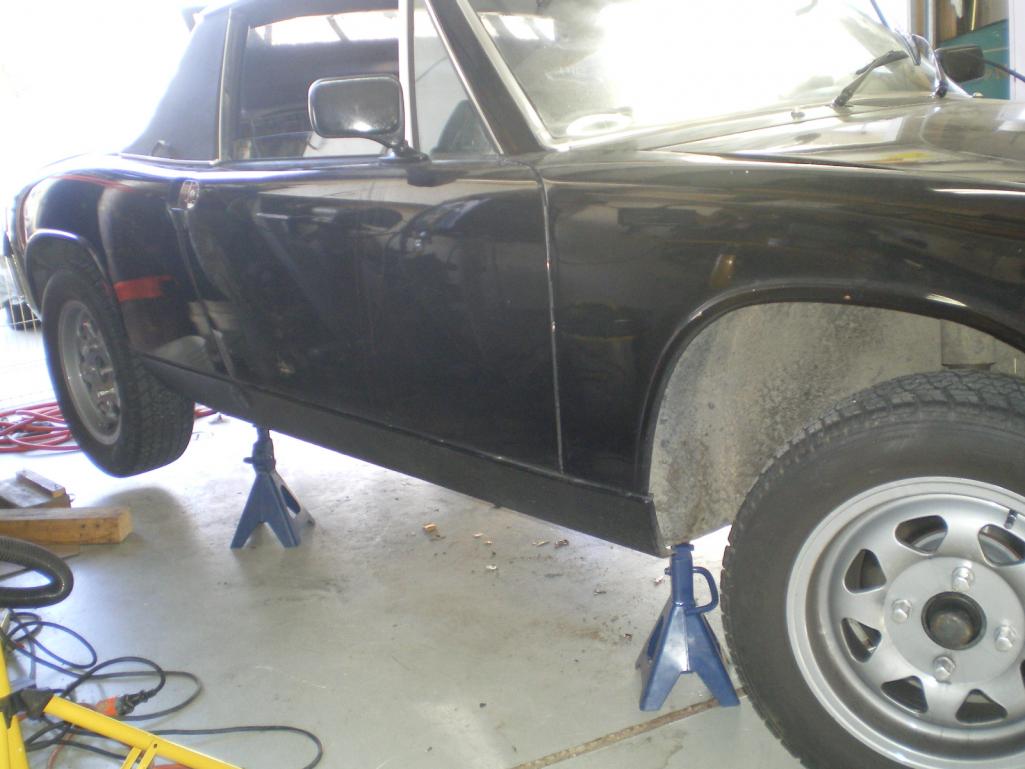
I got around to welding on the r&l long stiffners before I ran out of wire. First thing was to get it supported on the killer jack stands. These were perfect because I wasn't under the car and they are low enough that I can get my ancient ass in & out when welding.
 Next was to level it. I used the bubble and the electronic app. Both work great. 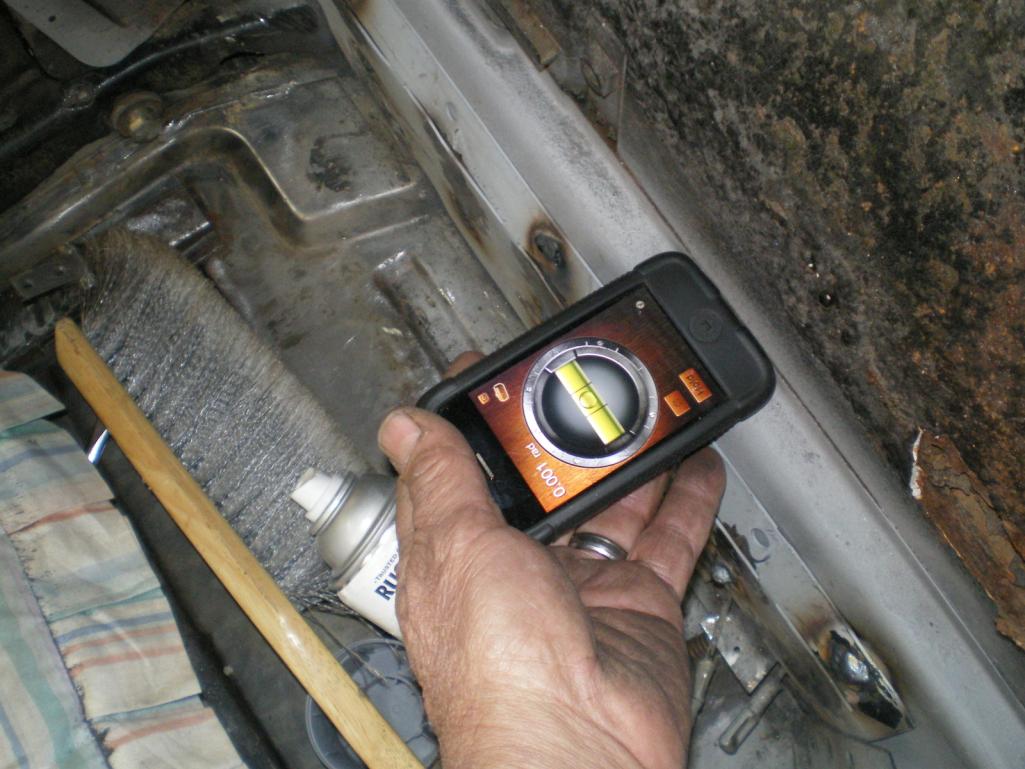 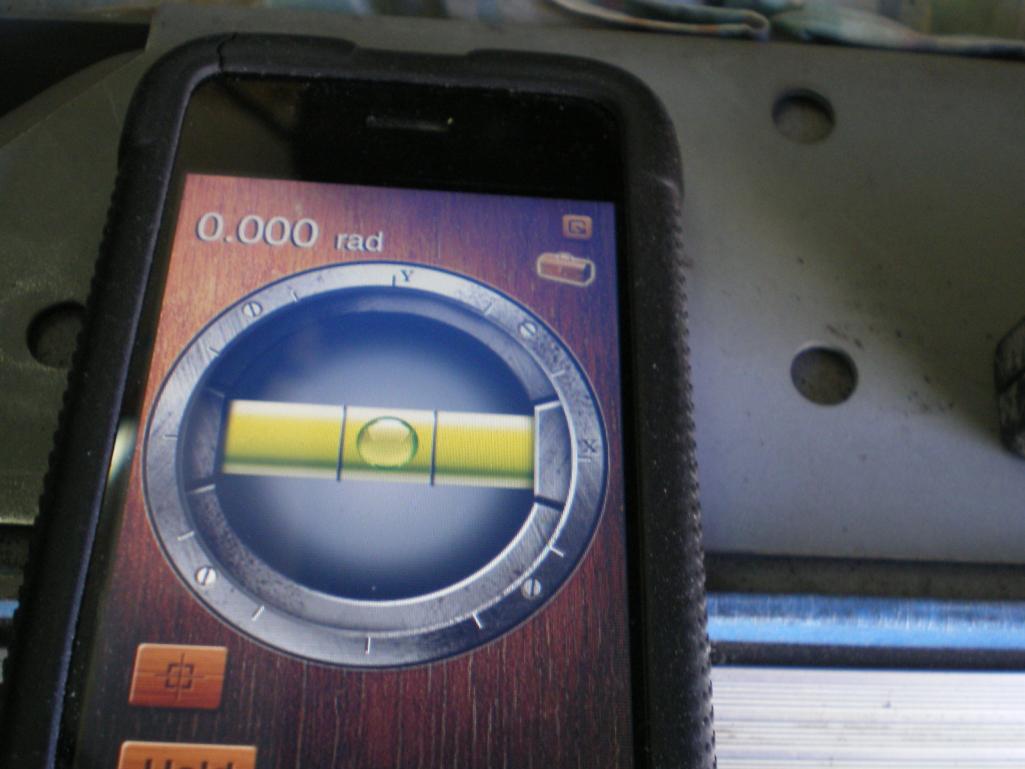 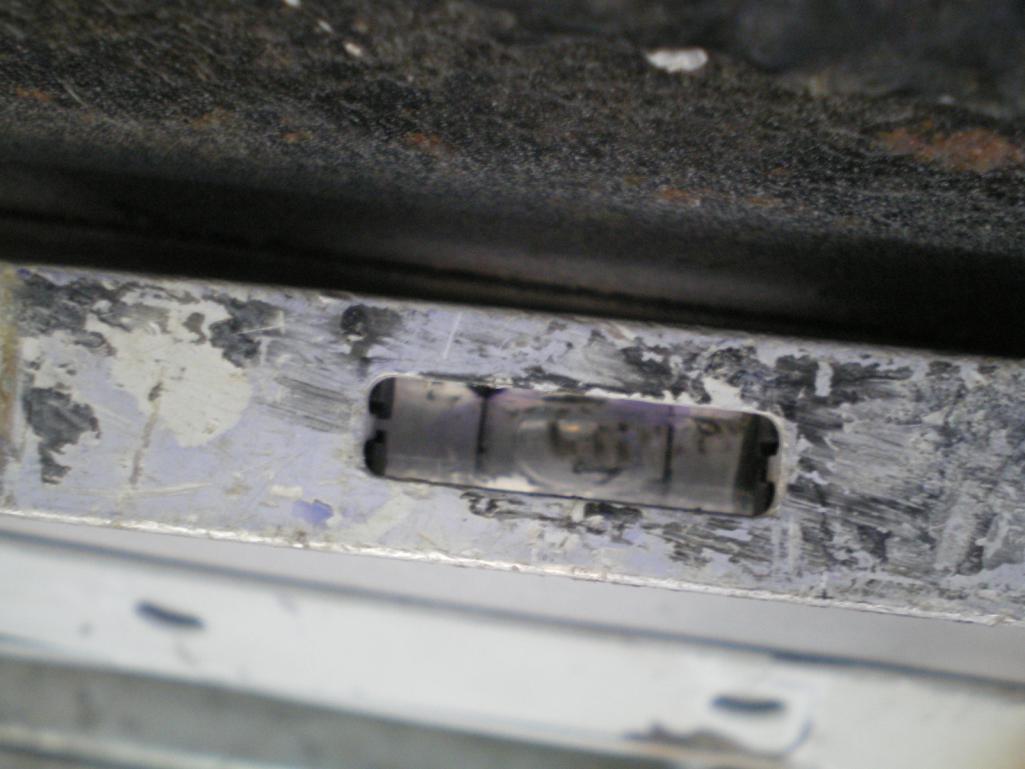 I then marked 3 spots on each door and measured the gaps before I began welding onto the longs. 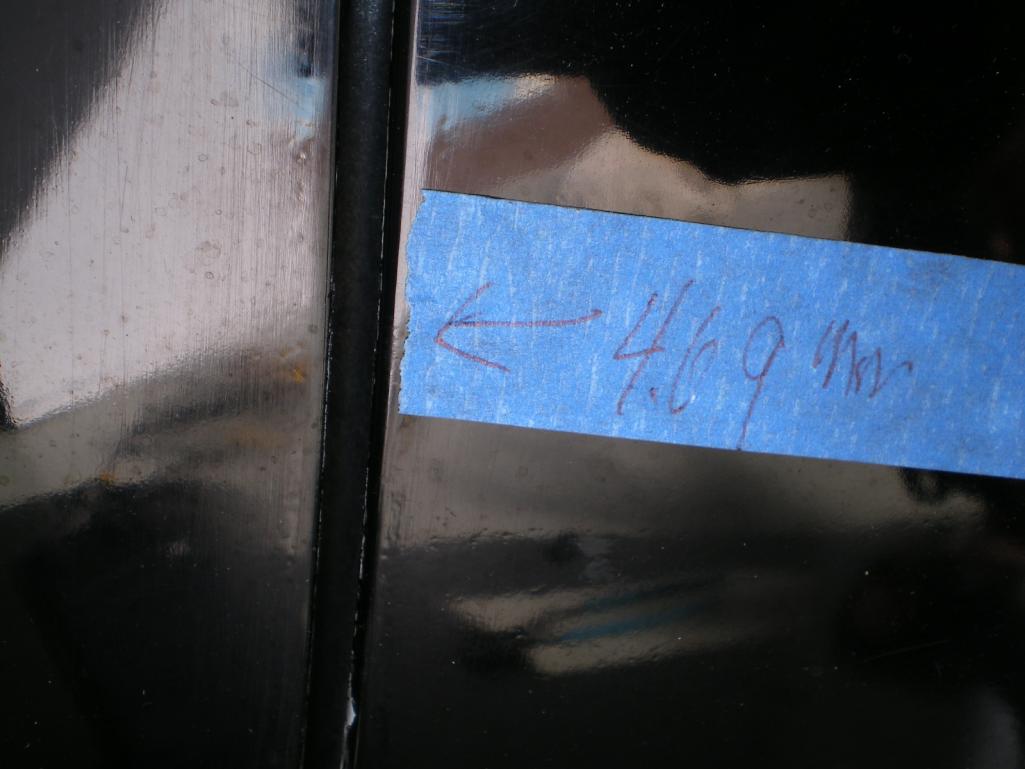 |
| 76-914 |
 Jan 20 2013, 10:06 PM Jan 20 2013, 10:06 PM
Post
#23
|
|
Repeat Offender & Resident Subaru Antagonist           Group: Members Posts: 13,835 Joined: 23-January 09 From: Temecula, CA Member No.: 9,964 Region Association: Southern California 
|
When I was banging around bracing the panels with 2 x's I knocked the big urethane floorboard piece loose. I was going to work around it if possible just to preserve that OG floor so this is a plus.
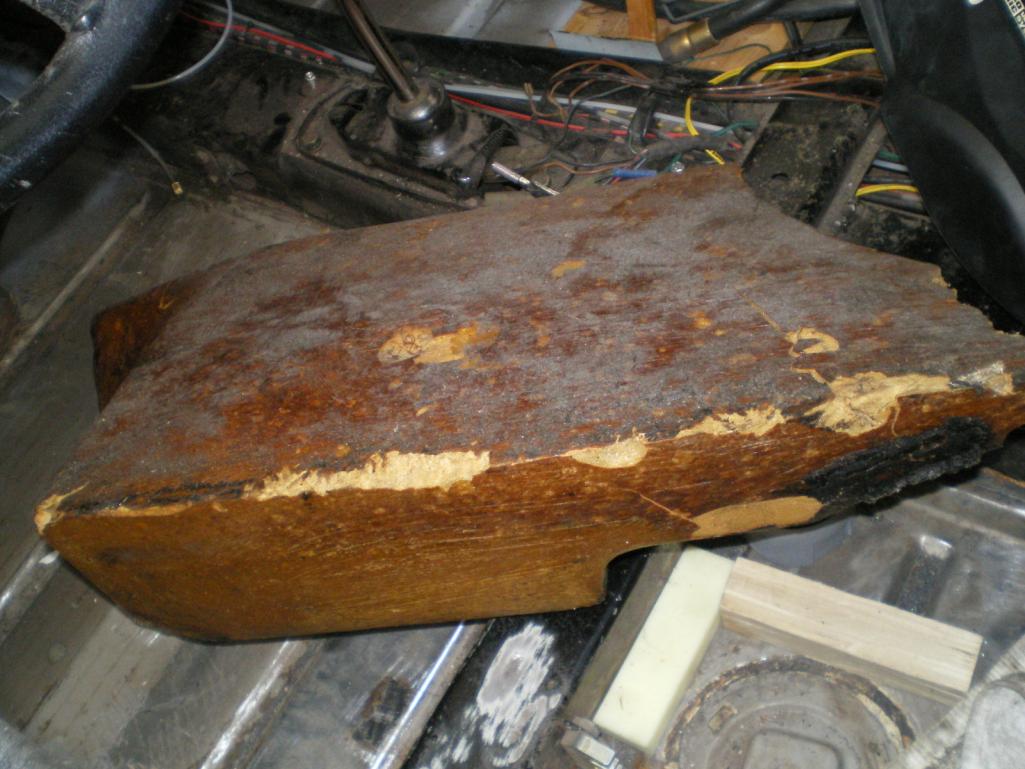 A little more scraping with the razor. mineral spirits to remove the old glue and remaining tar and this too will be clean in 20 min's. 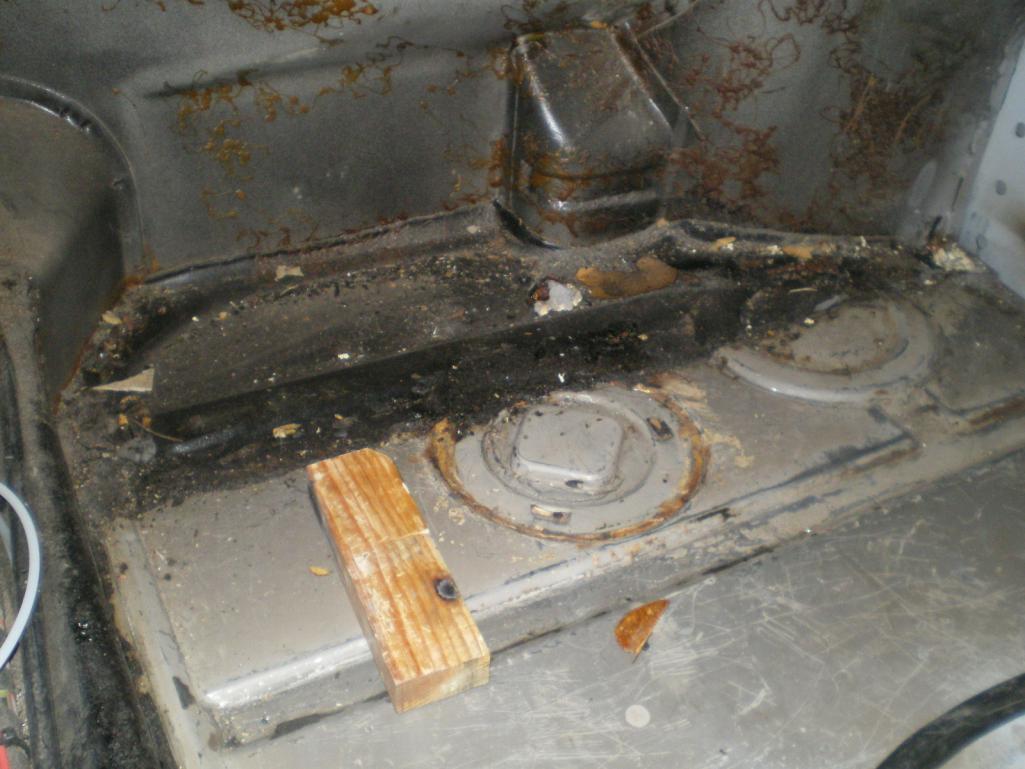 Talk about Engman Quality. Look at the fit between the rear and left piece. 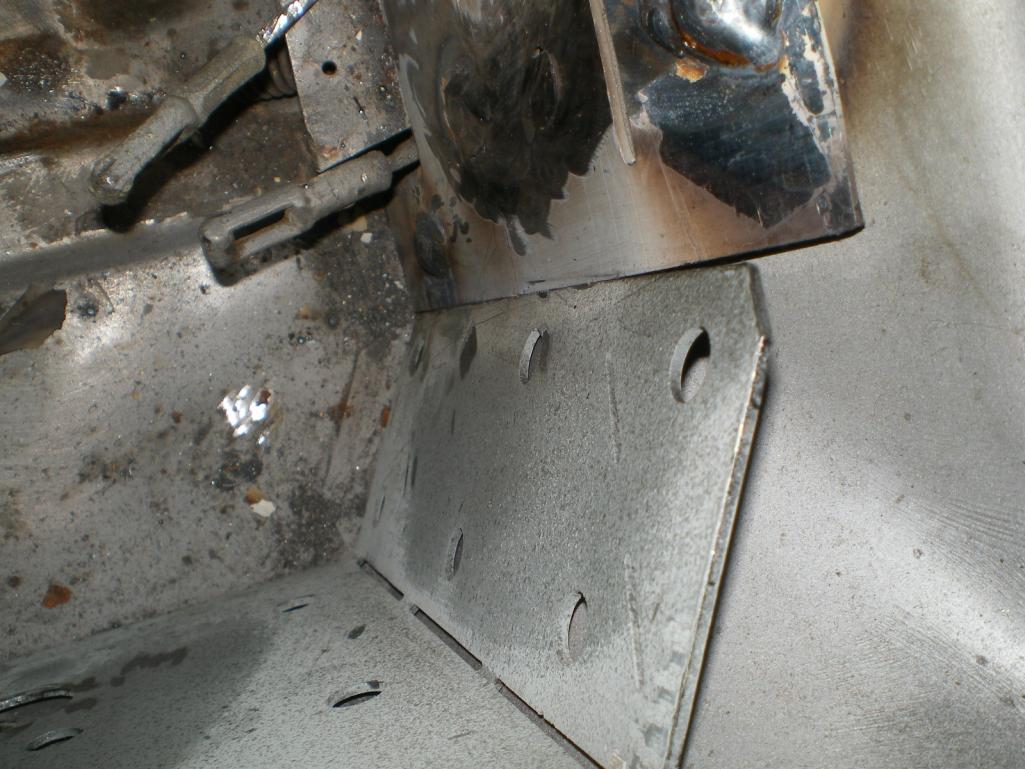 Same view but tacked up 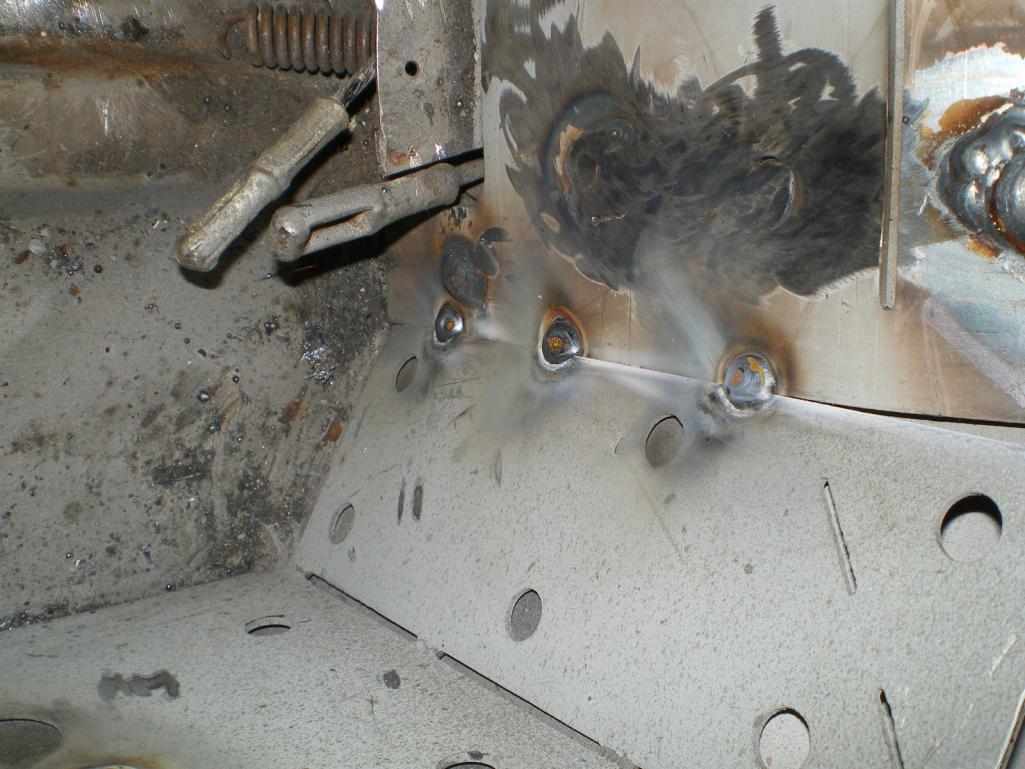 |
| FourBlades |
 Jan 20 2013, 10:10 PM Jan 20 2013, 10:10 PM
Post
#24
|
|
From Wreck to Rockin     Group: Members Posts: 2,056 Joined: 3-December 07 From: Brevard, FL Member No.: 8,414 Region Association: South East States 
|
|
| 76-914 |
 Jan 20 2013, 10:23 PM Jan 20 2013, 10:23 PM
Post
#25
|
|
Repeat Offender & Resident Subaru Antagonist           Group: Members Posts: 13,835 Joined: 23-January 09 From: Temecula, CA Member No.: 9,964 Region Association: Southern California 
|
Here is another view of the same corner but with the top of the corner piece now formed to meet the rounded corner.
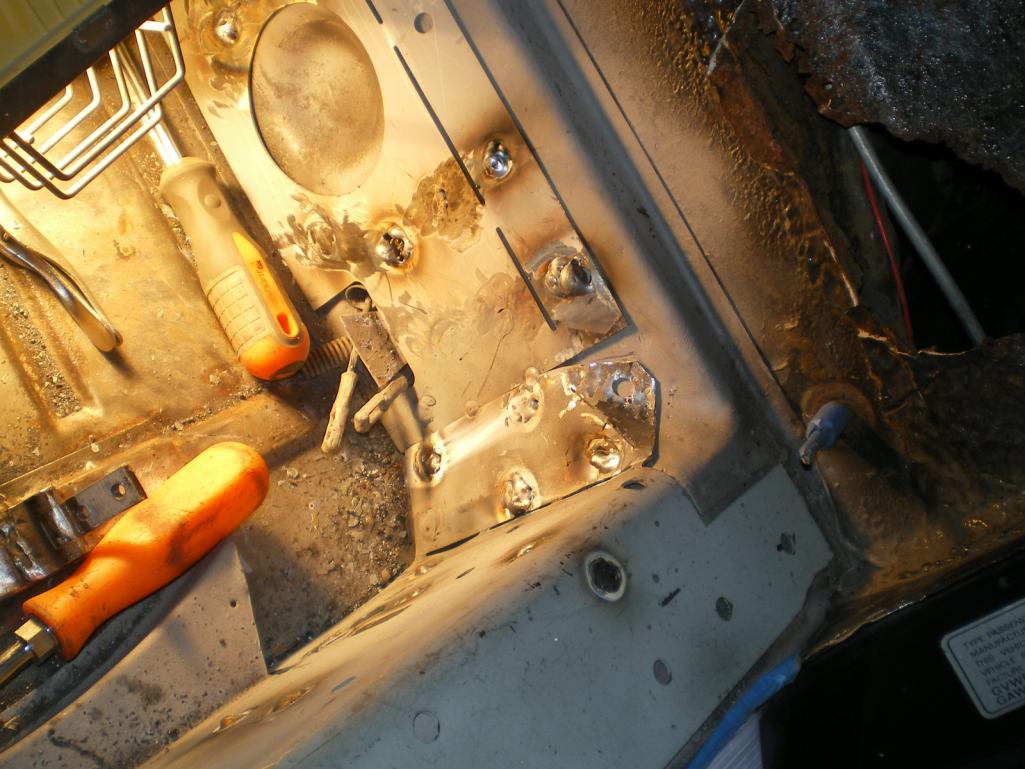 A close up of that "formed" piece. Me thinks beat to death is more appropriate. 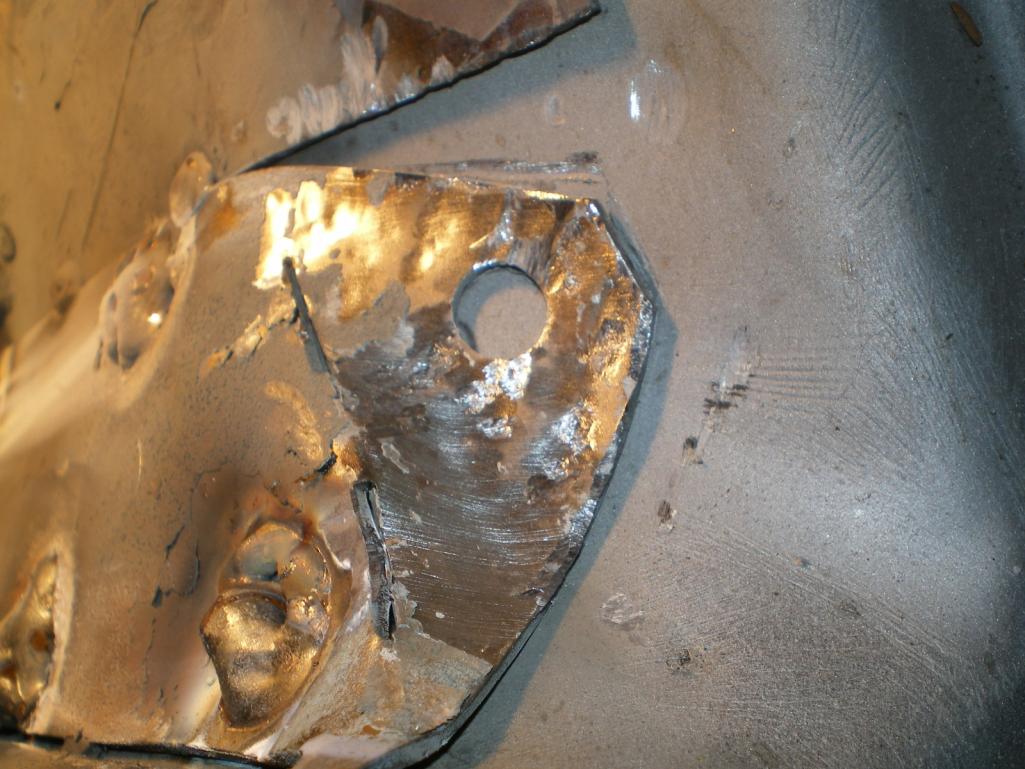 And this is where I'm at until I get by the welding shop and restock my .023. 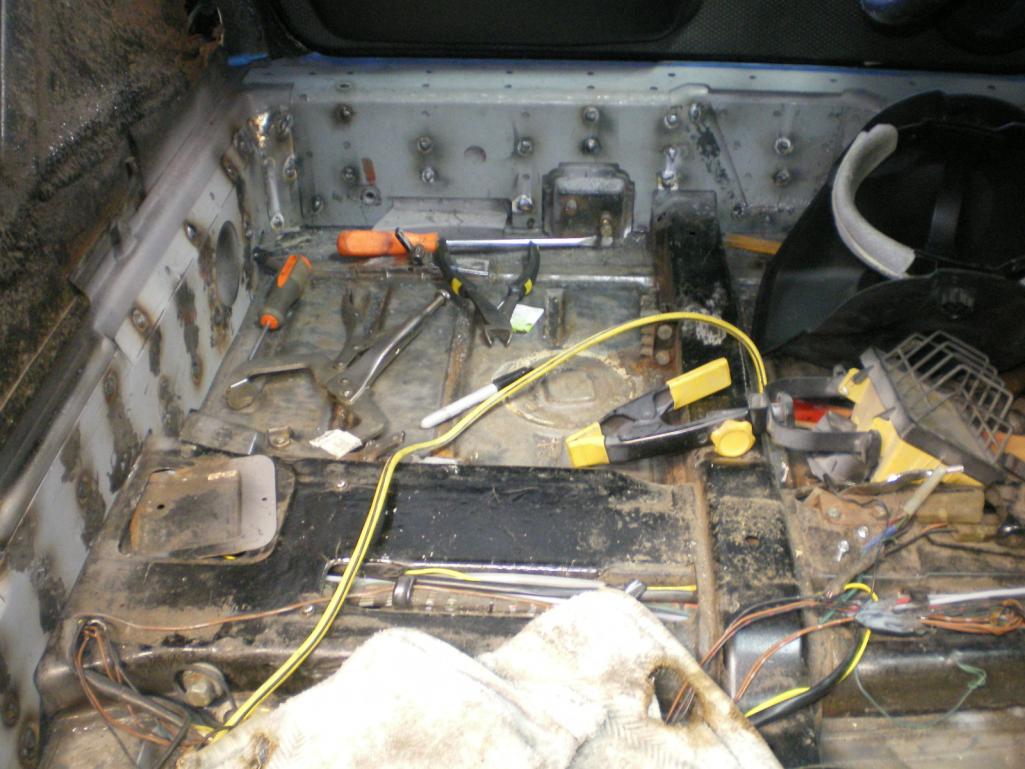 That bottom right hole that is blown wasn't cleaned (IMG:style_emoticons/default/headbang.gif) so I'll move left 3mm and tack it in the seam where it is clean. 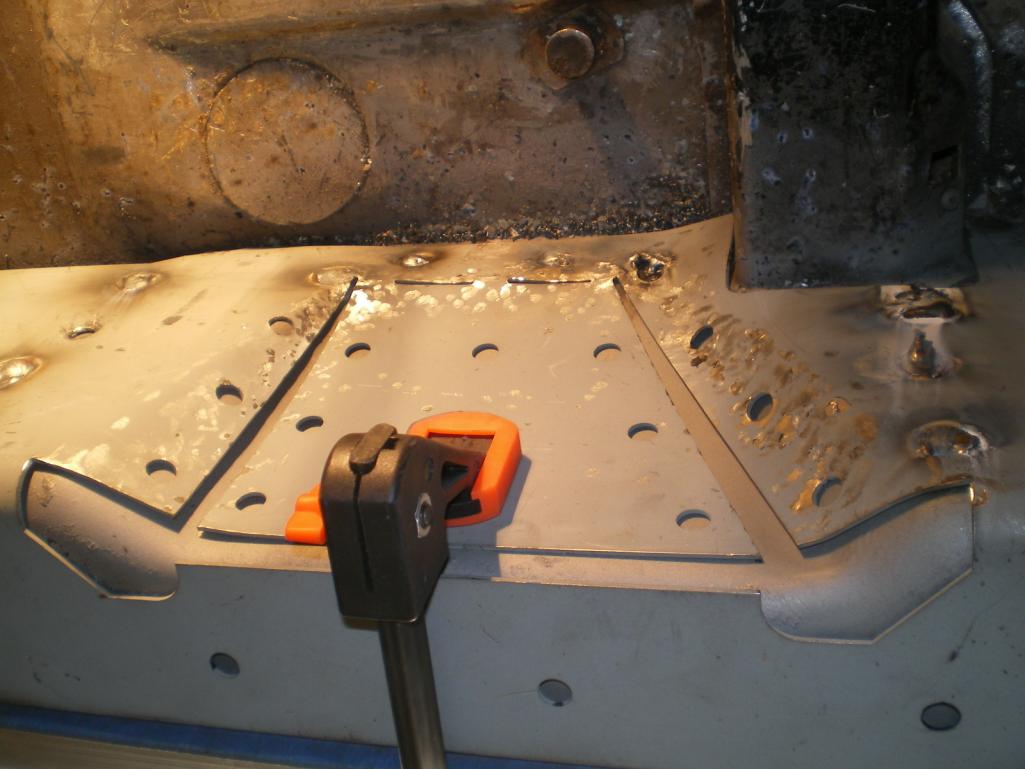 |
| 76-914 |
 Jan 22 2013, 09:01 PM Jan 22 2013, 09:01 PM
Post
#26
|
|
Repeat Offender & Resident Subaru Antagonist           Group: Members Posts: 13,835 Joined: 23-January 09 From: Temecula, CA Member No.: 9,964 Region Association: Southern California 
|
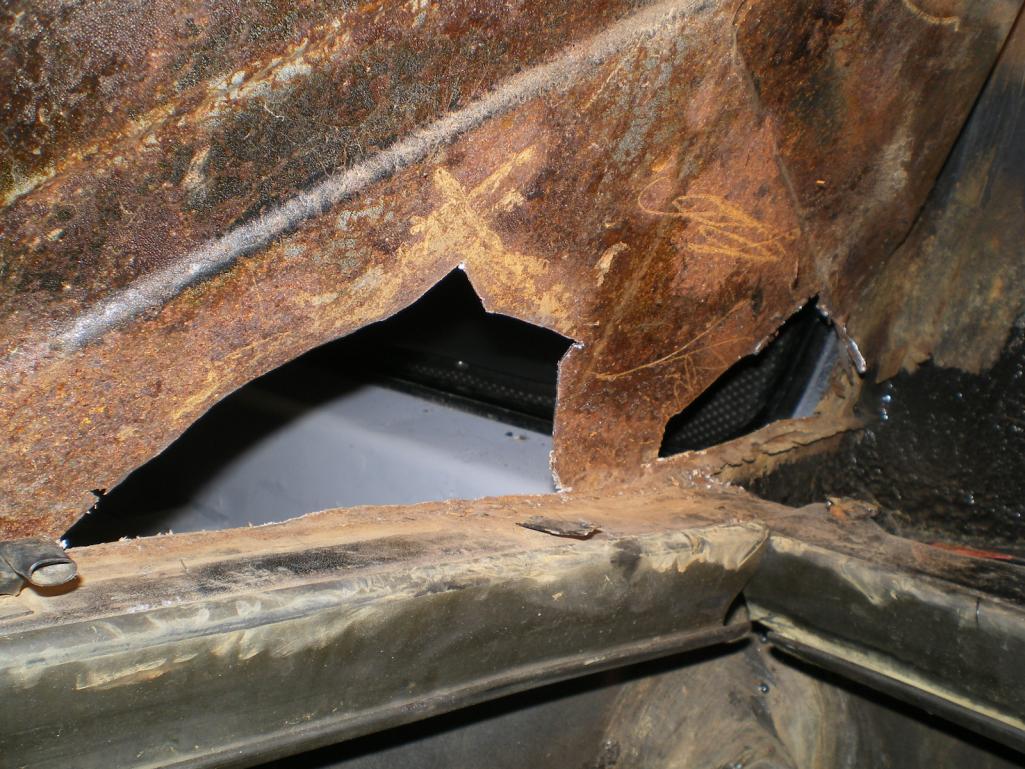
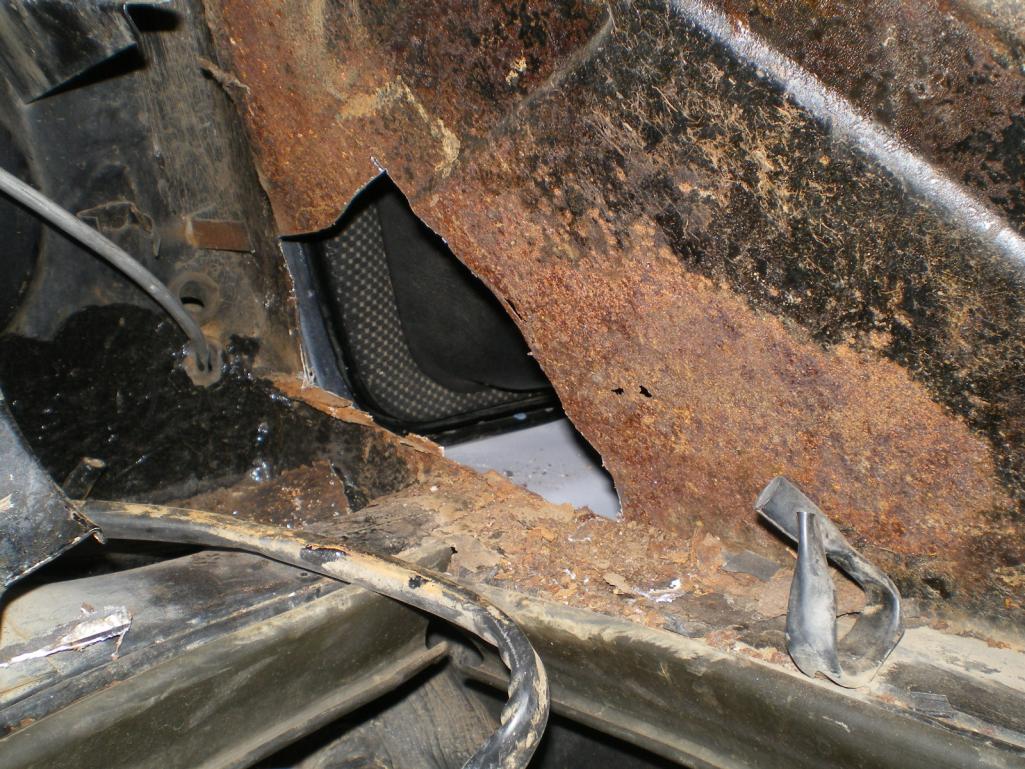
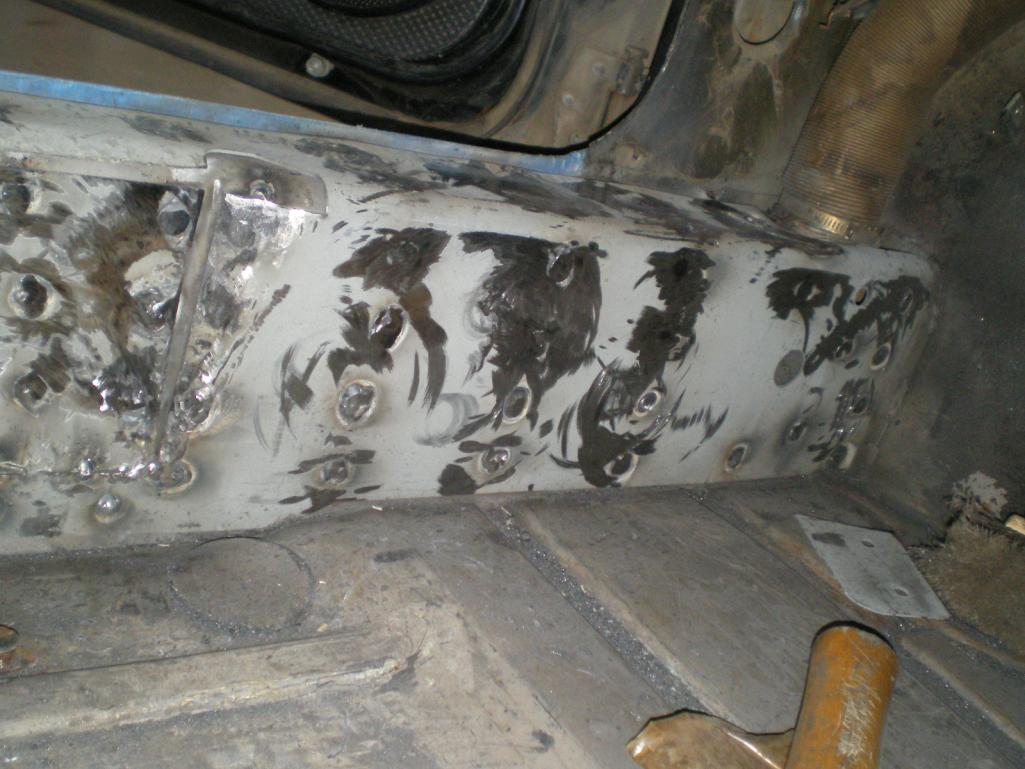
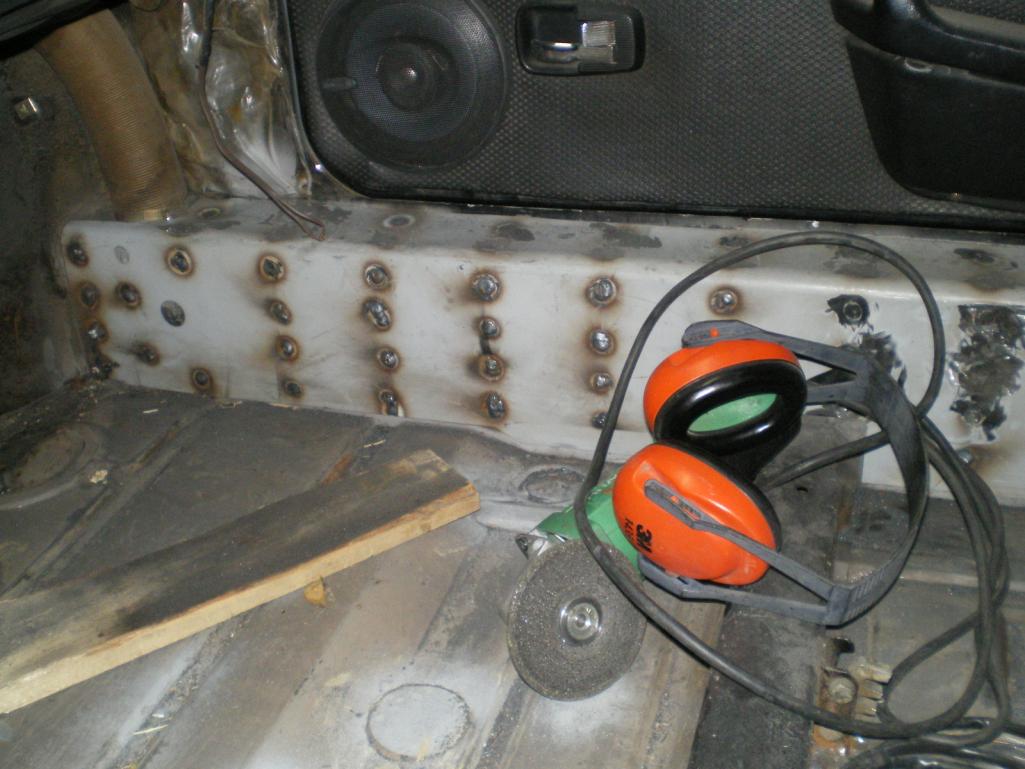
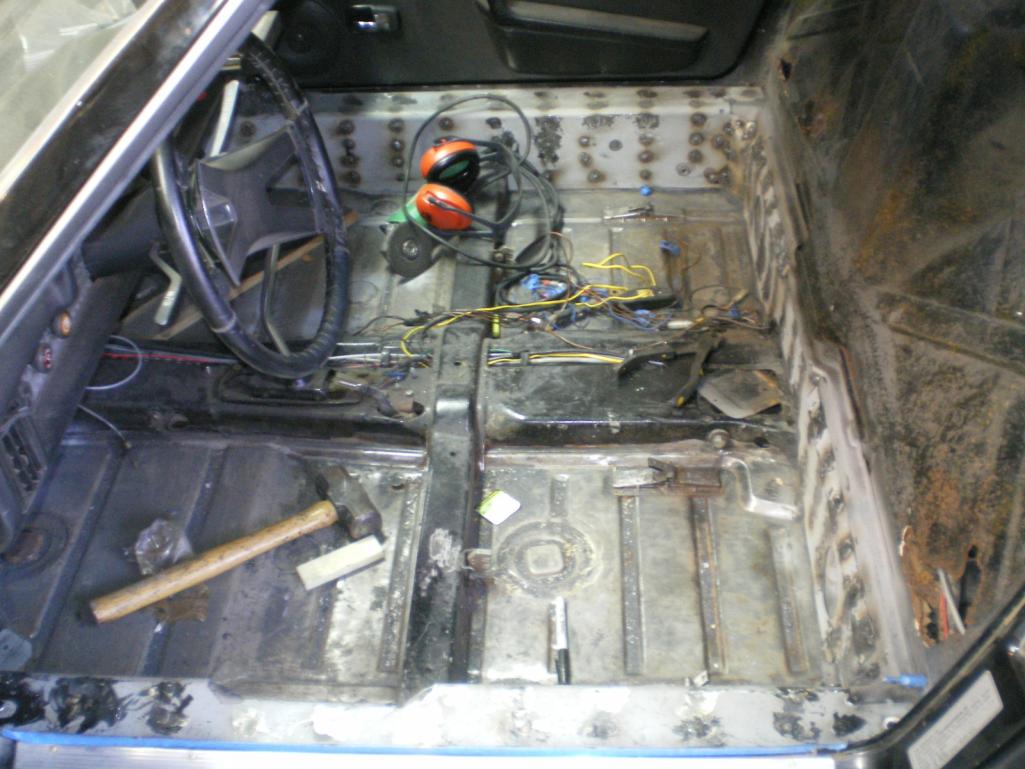
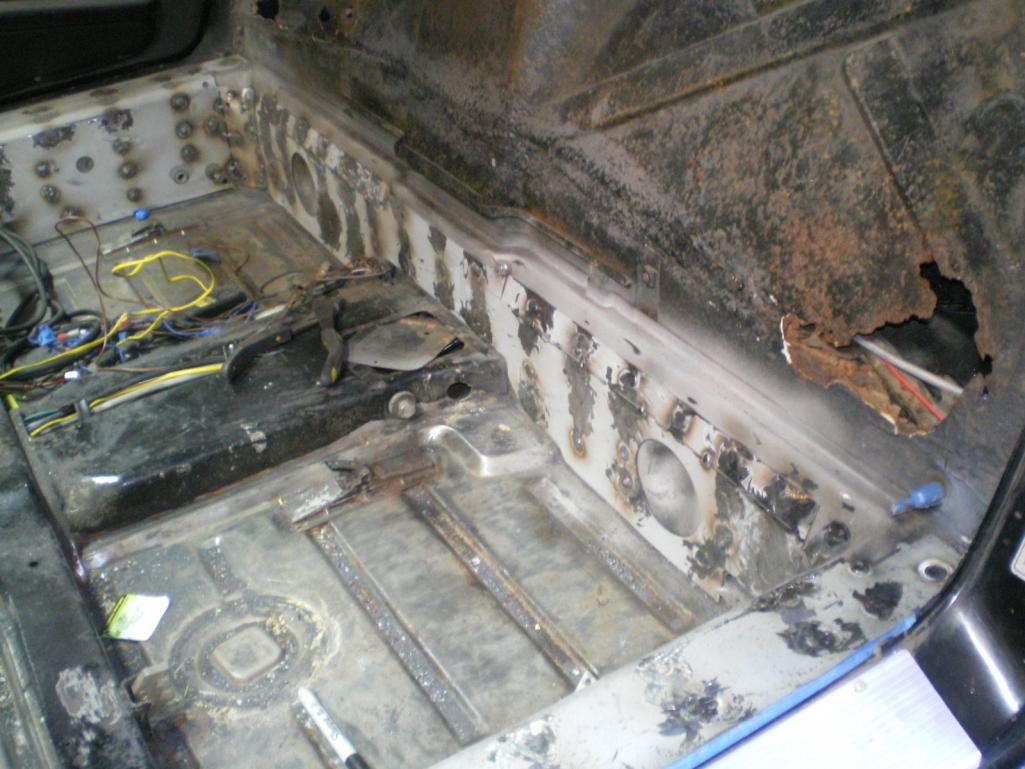
I finally finished the welding of the Engman kit. I didn't purty it up for these pic's. I still need to grind down a few welds, vacuum and prime the bare spots. It looks like Hell now but a little Wurth's and some paint will clean it up. I'm glad that I ran out of the .023 because I also bought some .030 and had much better results on the longs w/ the .030. Faster = less heat. Doors shut just as sweet as before. It's back on the ground. Into the Hell Hole and on to the firewall patch next. I need to clean up some p/o welds around the hinges and battery tray. I think they attempted arc welding. Looks like a mud dabbers nest. (IMG:style_emoticons/default/lol-2.gif) I guess I had better start thinking cooling while I'm in the cut n patch mode. (IMG:style_emoticons/default/idea.gif)
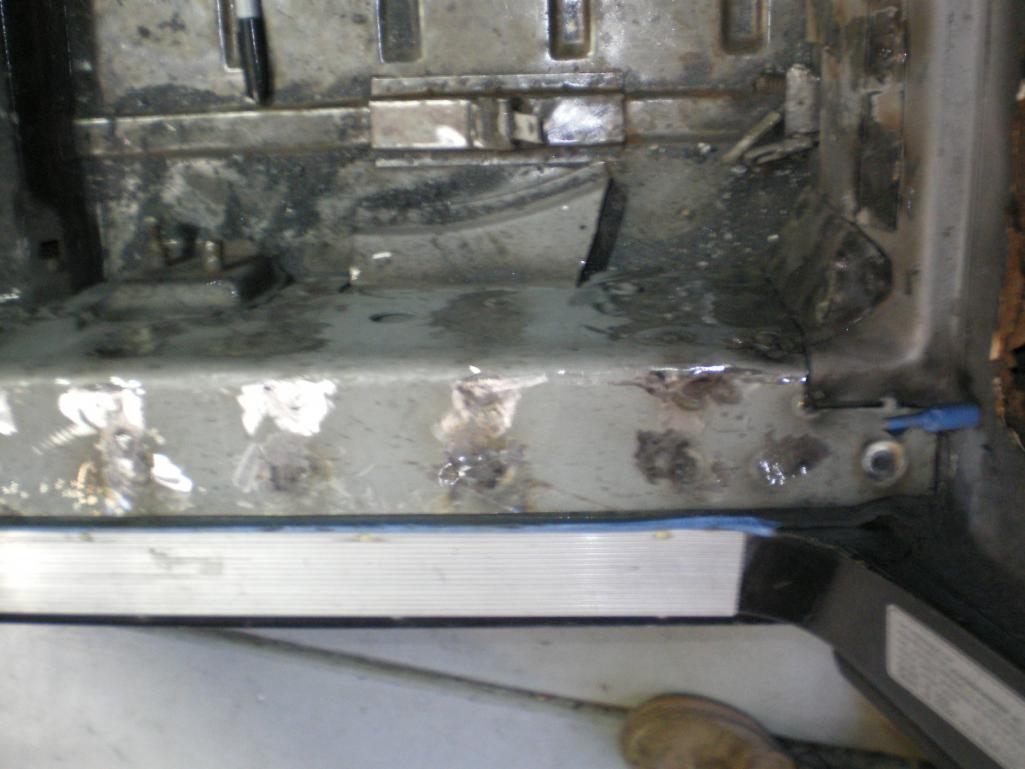 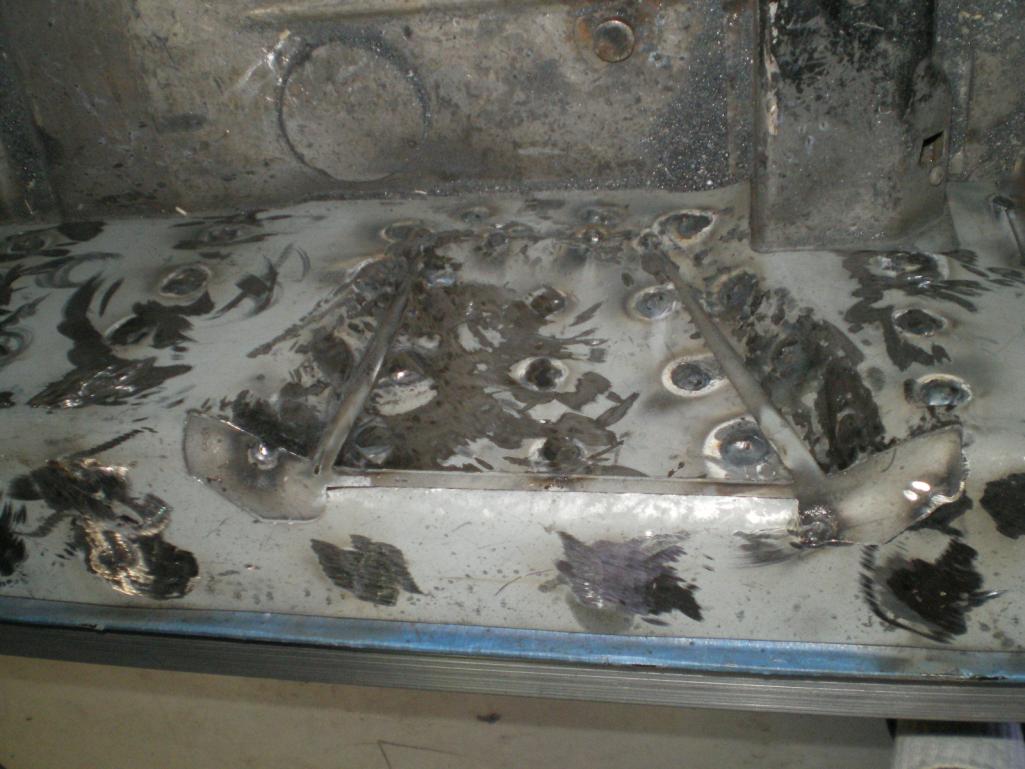     |
| 76-914 |
 Jan 24 2013, 10:13 PM Jan 24 2013, 10:13 PM
Post
#27
|
|
Repeat Offender & Resident Subaru Antagonist           Group: Members Posts: 13,835 Joined: 23-January 09 From: Temecula, CA Member No.: 9,964 Region Association: Southern California 
|
and
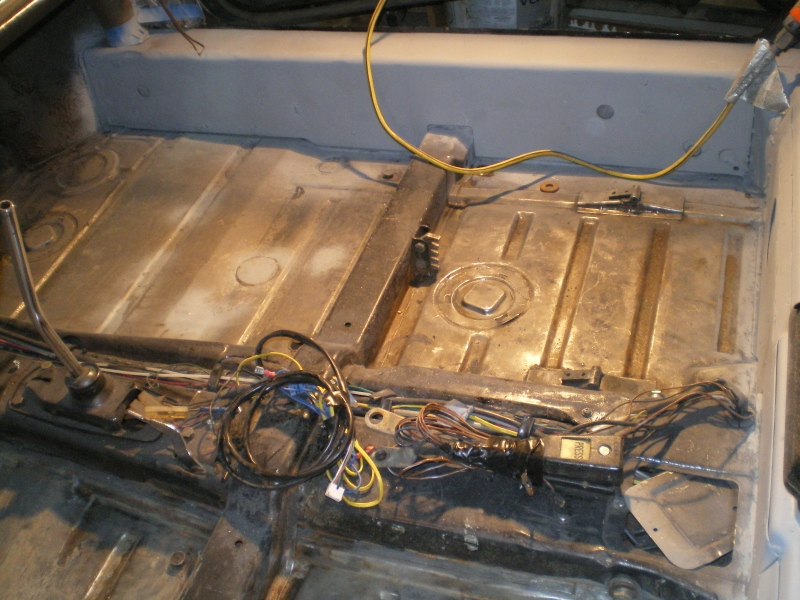 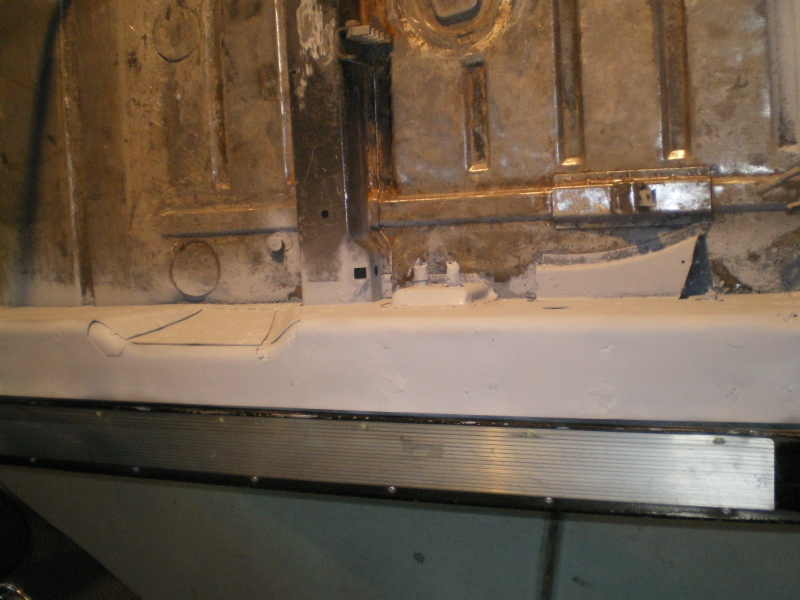 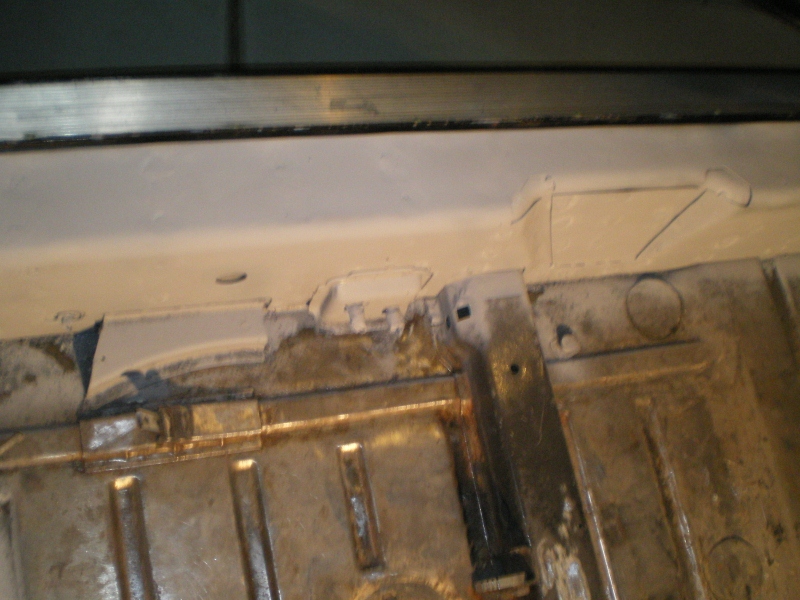 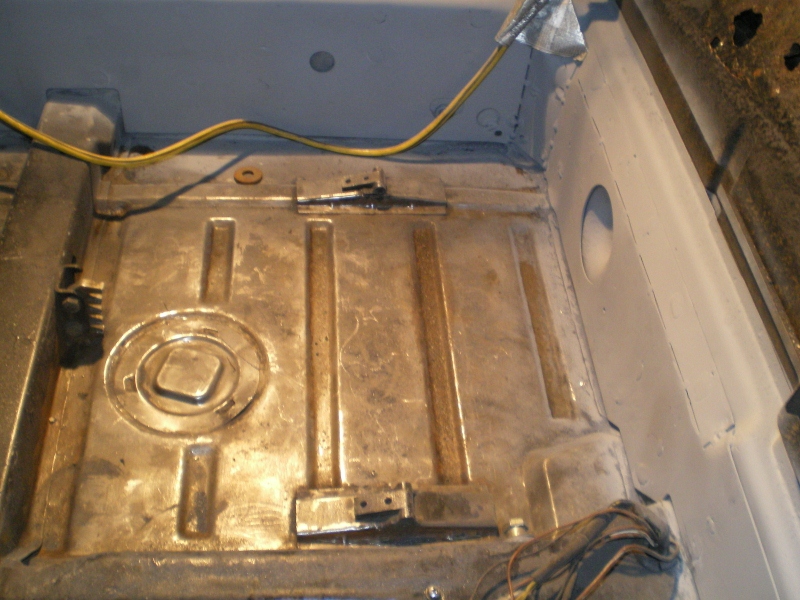 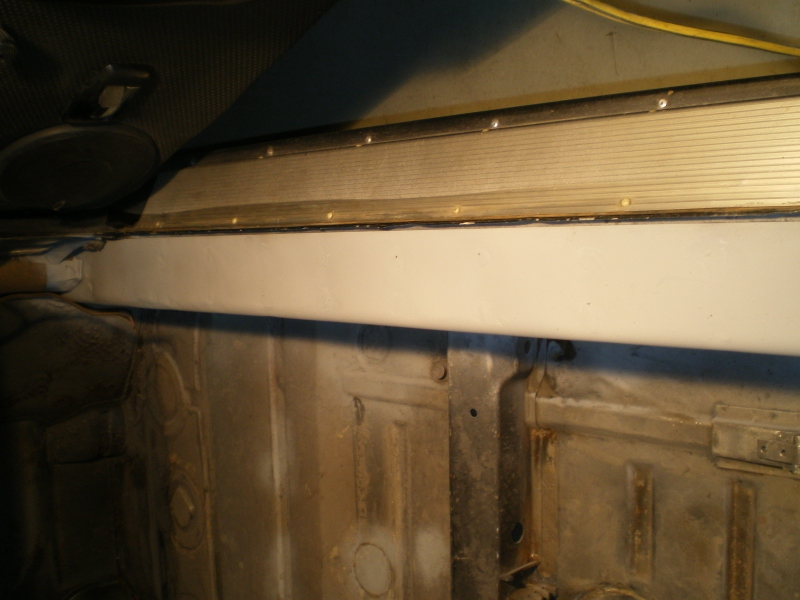 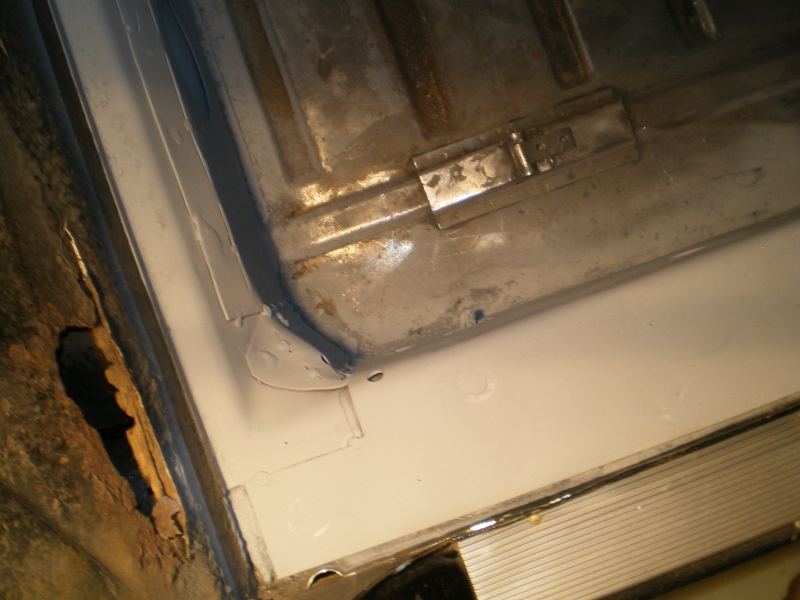 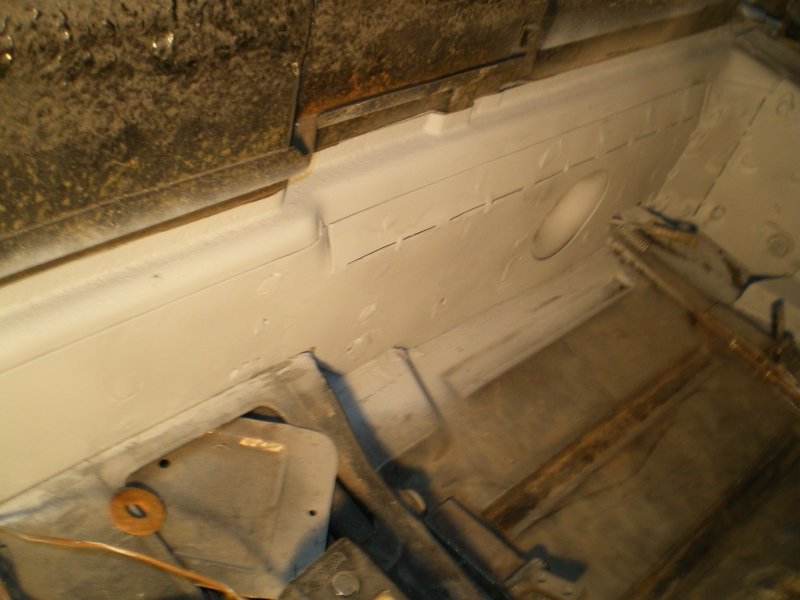 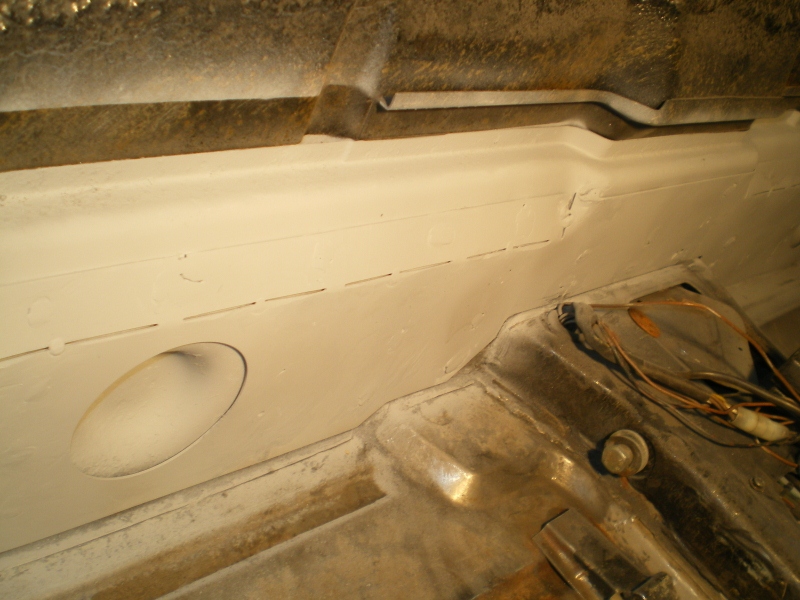 |
| jimkelly |
 Jan 25 2013, 03:52 AM Jan 25 2013, 03:52 AM
Post
#28
|
|
Delaware USA     Group: Members Posts: 4,969 Joined: 5-August 04 From: Delaware, USA Member No.: 2,460 Region Association: MidAtlantic Region |
fantastic pics (IMG:style_emoticons/default/aktion035.gif)
do you plan to seam seal the entire perimeter and perferations? (IMG:style_emoticons/default/popcorn[1].gif) |
| 76-914 |
 Jan 25 2013, 01:24 PM Jan 25 2013, 01:24 PM
Post
#29
|
|
Repeat Offender & Resident Subaru Antagonist           Group: Members Posts: 13,835 Joined: 23-January 09 From: Temecula, CA Member No.: 9,964 Region Association: Southern California 
|
Thx Jim, and yes I have some Wurth's seam sealer that will go on before I paint it.
|
| 76-914 |
 Jan 25 2013, 01:51 PM Jan 25 2013, 01:51 PM
Post
#30
|
|
Repeat Offender & Resident Subaru Antagonist           Group: Members Posts: 13,835 Joined: 23-January 09 From: Temecula, CA Member No.: 9,964 Region Association: Southern California 
|
Just got off the phone after discussing metal shrinkage with Ceasar (phatt911) and realized that this might be of some use to those considering a stiffner kit. As shown in an earlier pic, I measured the door gap at 3 equidistant locations on both doors prior to any welding on the long portions. I did NOT brace the door but did this instead. After leveling (and that is a trick) the car I would weld 3 spots (front, middle and rear to keep the weld spots spread out) on one side and then move to the other side and repeat. Never welding any area unless the metal was cool enough to place my dinkus upon. If additional time was needed I would do some grinding instead. After 6 or 8 welds on each side I would check the door gaps again. I welded all of the vertical spots (or sides) before doing the tops. The shrinkage that I experienced was .37mm after welding the sides. After welding the top portions the shrinkage increased to 1mm nominally. Or .63mm. Amazing! Half the area and half as many holes as the sides, yet twice the shrinkage. I had suspected this might be the case and had therefor left the top on during construction just in case. I think that bracing the door is the more prudent action but I like to test the water for myself from time to time and these are my results. Disclaimer: Your results will probably vary. (IMG:style_emoticons/default/smoke.gif)
|
| andys |
 Jan 25 2013, 02:04 PM Jan 25 2013, 02:04 PM
Post
#31
|
|
Advanced Member     Group: Members Posts: 2,165 Joined: 21-May 03 From: Valencia, CA Member No.: 721 Region Association: None 
|
Here are my before and after dimensions. Red is after, units are in inches. The lower parts of the door gap didn't change much, so I omitted those.
Andys Attached image(s) 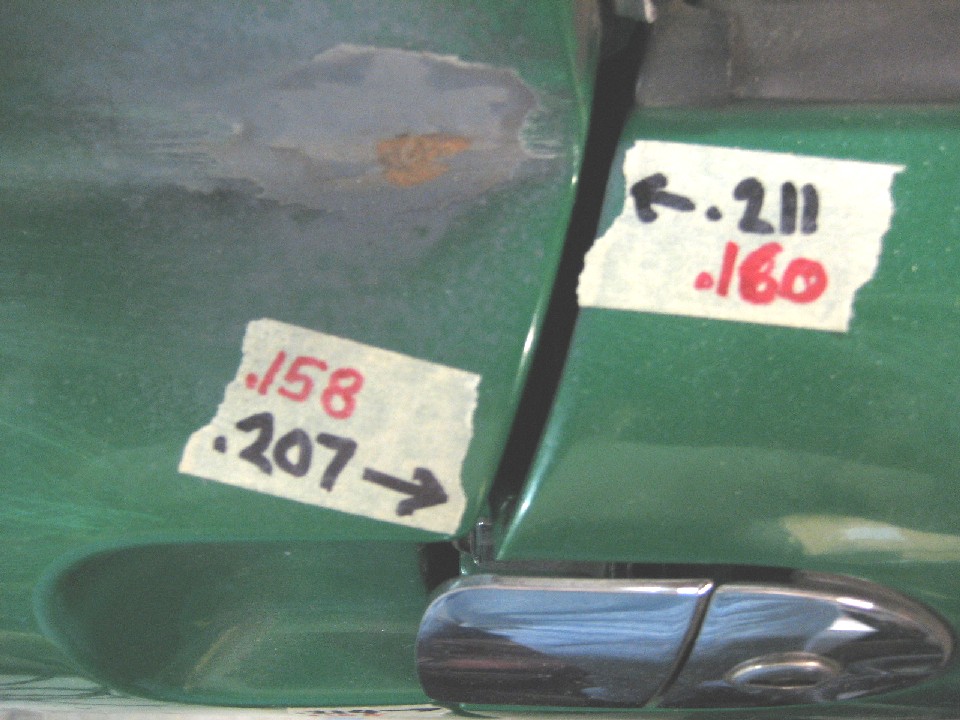 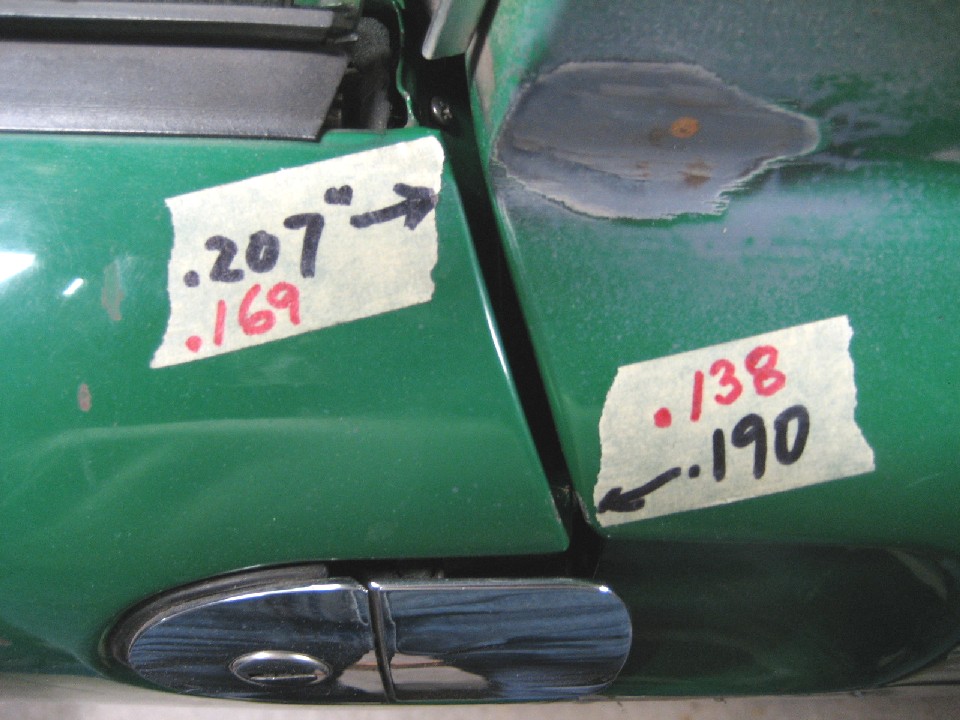 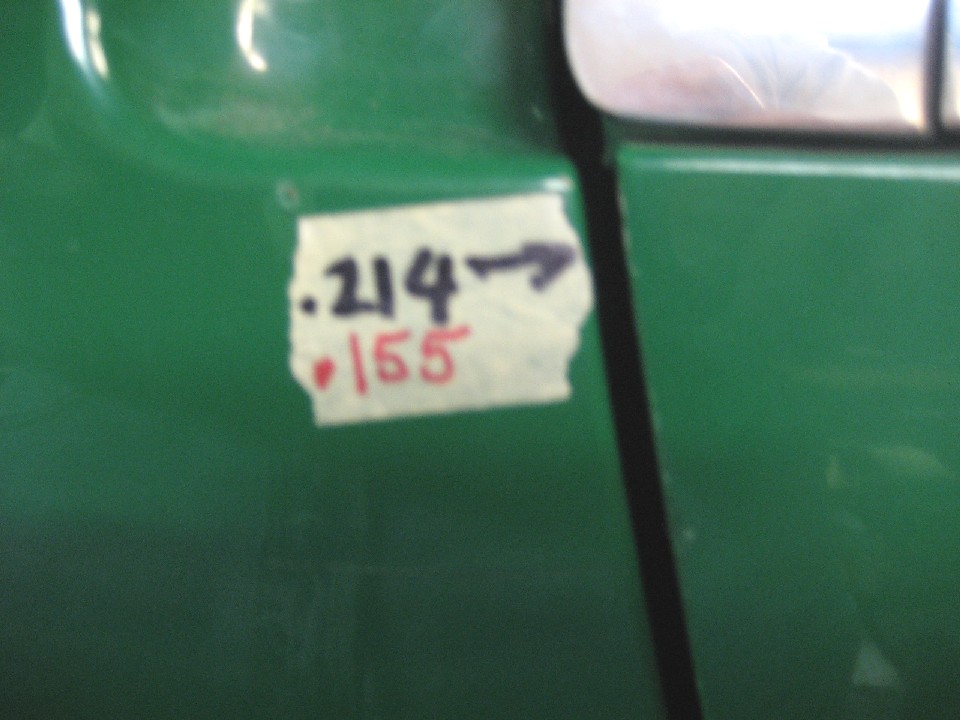 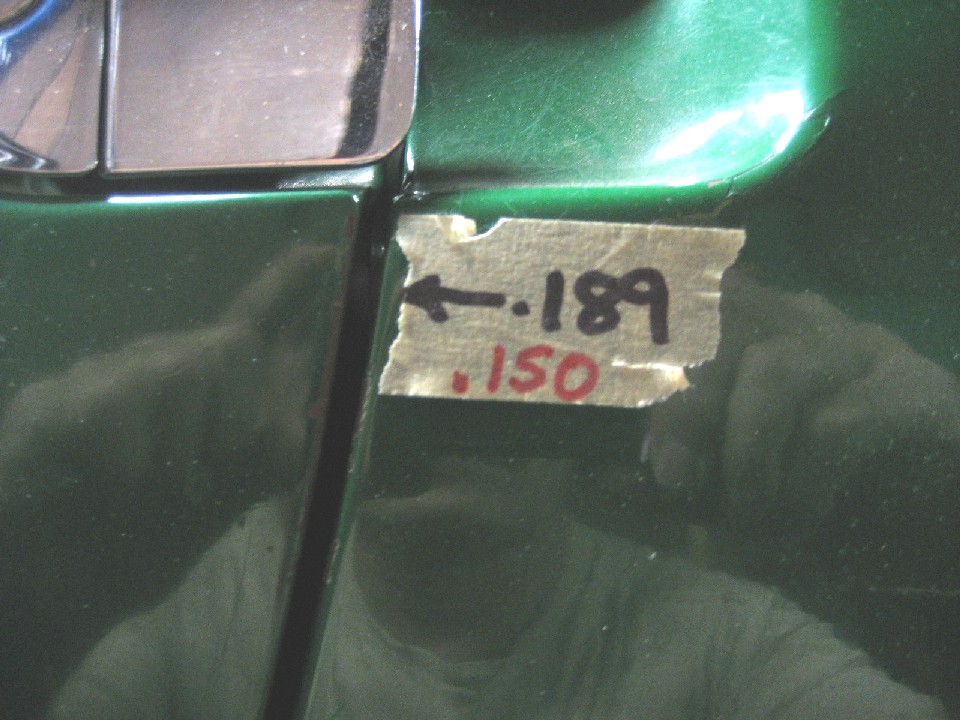
|
| 76-914 |
 Jan 25 2013, 05:40 PM Jan 25 2013, 05:40 PM
Post
#32
|
|
Repeat Offender & Resident Subaru Antagonist           Group: Members Posts: 13,835 Joined: 23-January 09 From: Temecula, CA Member No.: 9,964 Region Association: Southern California 
|
Similar results. Within .01" (.027mm) +/- of each other. (IMG:style_emoticons/default/beerchug.gif)
|
| eric9144 |
 Jan 25 2013, 06:01 PM Jan 25 2013, 06:01 PM
Post
#33
|
|
Advanced Member     Group: Members Posts: 2,789 Joined: 30-March 11 From: San Diego, CA Member No.: 12,876 Region Association: Southern California 
|
(IMG:style_emoticons/default/popcorn[1].gif) This should make the Dawn Patrols more interesting, now we're all going to have "stiffy" envy (IMG:style_emoticons/default/blink.gif) (IMG:style_emoticons/default/av-943.gif)
|
| Chris H. |
 Jan 26 2013, 07:28 AM Jan 26 2013, 07:28 AM
Post
#34
|
|
Senior Member     Group: Members Posts: 4,070 Joined: 2-January 03 From: Chicago 'burbs Member No.: 73 Region Association: Upper MidWest 
|
Top notch details on the Engman install. Thanks a lot for posting.
|
| 76-914 |
 Jan 26 2013, 07:01 PM Jan 26 2013, 07:01 PM
Post
#35
|
|
Repeat Offender & Resident Subaru Antagonist           Group: Members Posts: 13,835 Joined: 23-January 09 From: Temecula, CA Member No.: 9,964 Region Association: Southern California 
|
|
| 76-914 |
 Jan 26 2013, 07:01 PM Jan 26 2013, 07:01 PM
Post
#36
|
|
Repeat Offender & Resident Subaru Antagonist           Group: Members Posts: 13,835 Joined: 23-January 09 From: Temecula, CA Member No.: 9,964 Region Association: Southern California 
|
lfjuysblfc
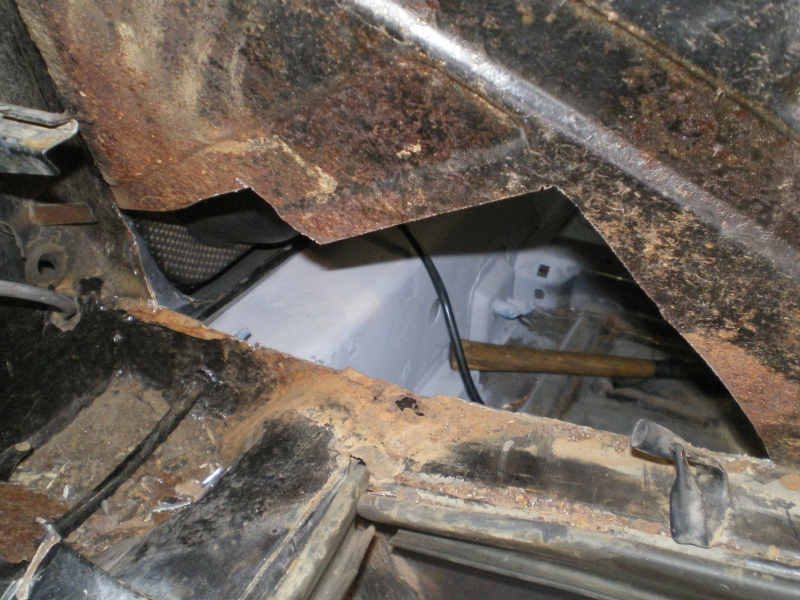 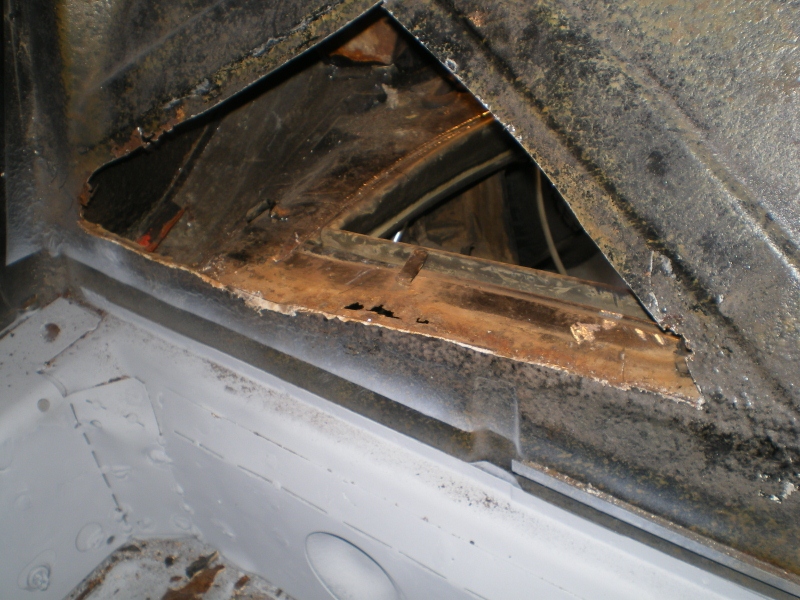 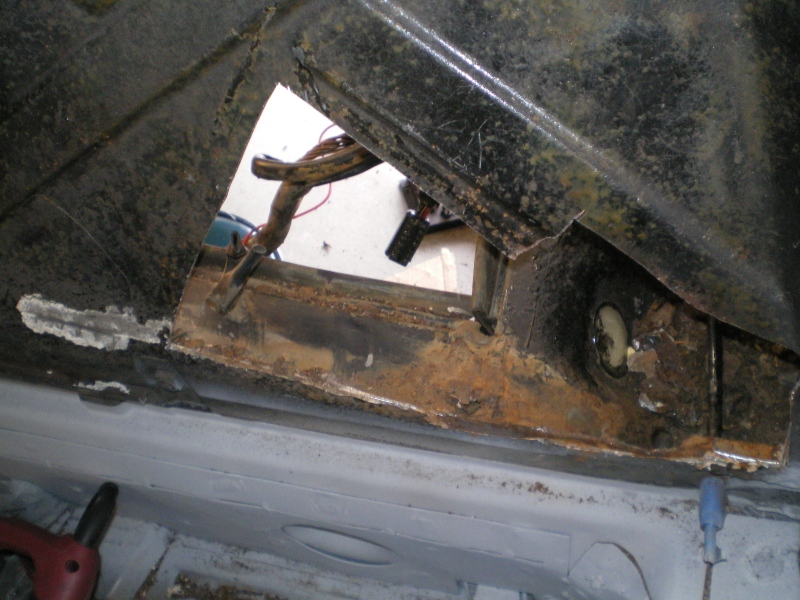 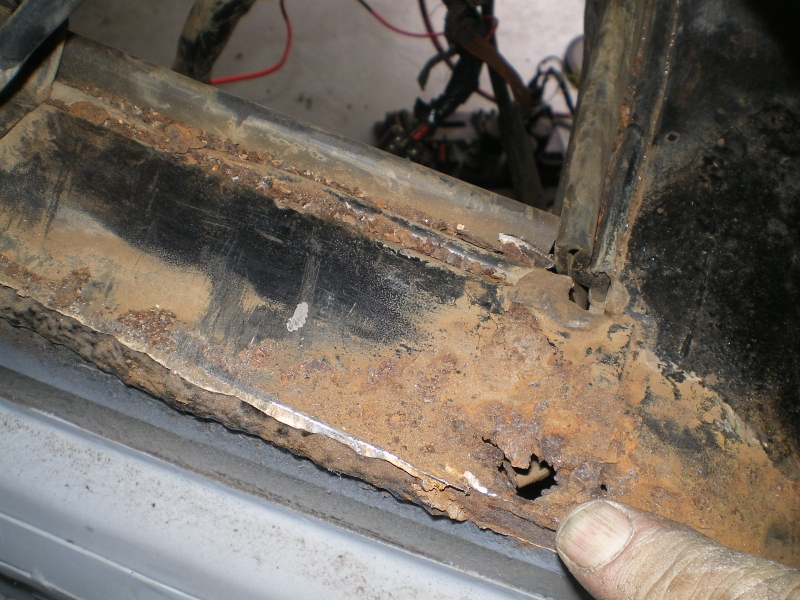 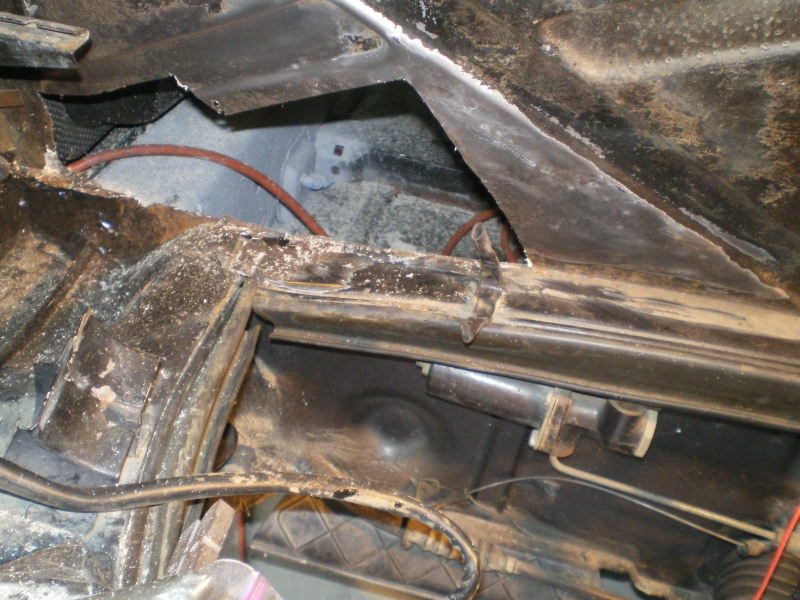 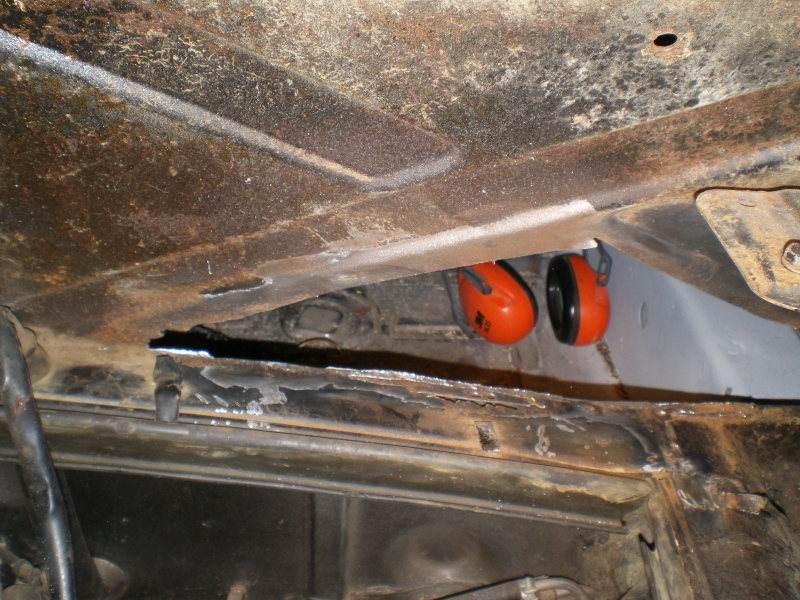 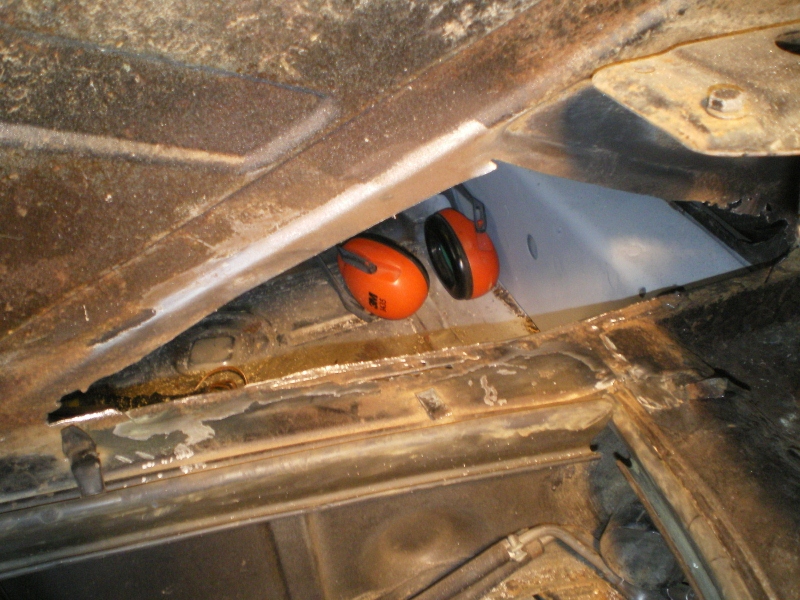 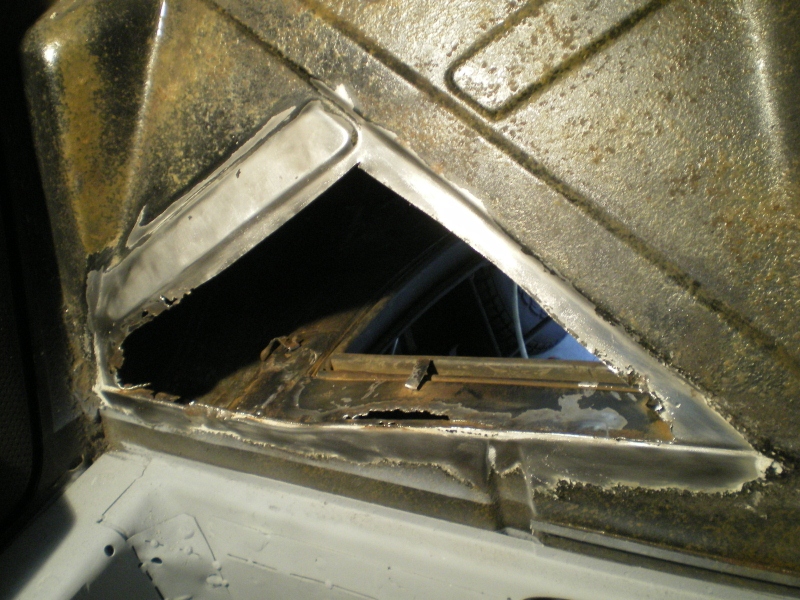 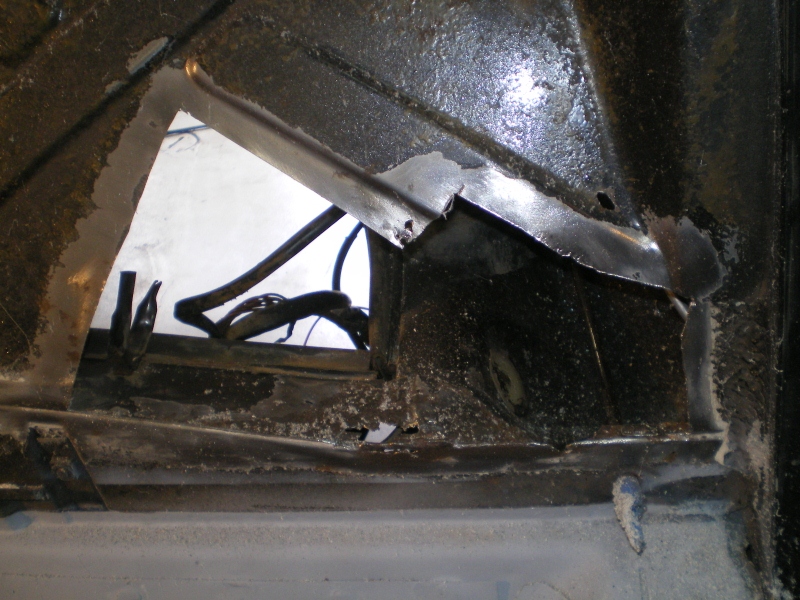 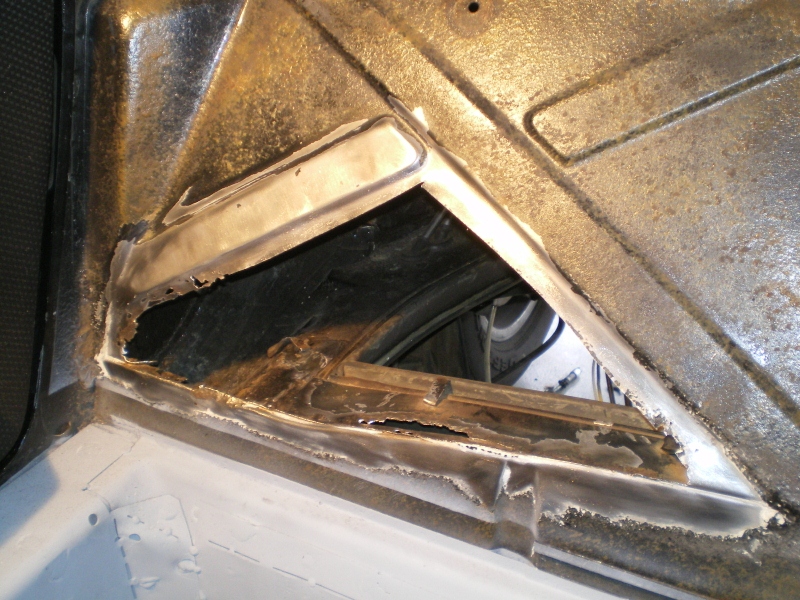 |
| stateofidleness |
 Jan 27 2013, 12:33 AM Jan 27 2013, 12:33 AM
Post
#37
|
|
Senior Member    Group: Members Posts: 810 Joined: 1-September 07 From: Canyon Lake, Texas! Member No.: 8,065 Region Association: None |
*subscribed*
in the same boat. i'll take all the knowledge i can get! (never touched a welder before.. got one for christmas. this'll be my first "small" project with it) |
| 76-914 |
 Feb 1 2013, 06:10 PM Feb 1 2013, 06:10 PM
Post
#38
|
|
Repeat Offender & Resident Subaru Antagonist           Group: Members Posts: 13,835 Joined: 23-January 09 From: Temecula, CA Member No.: 9,964 Region Association: Southern California 
|
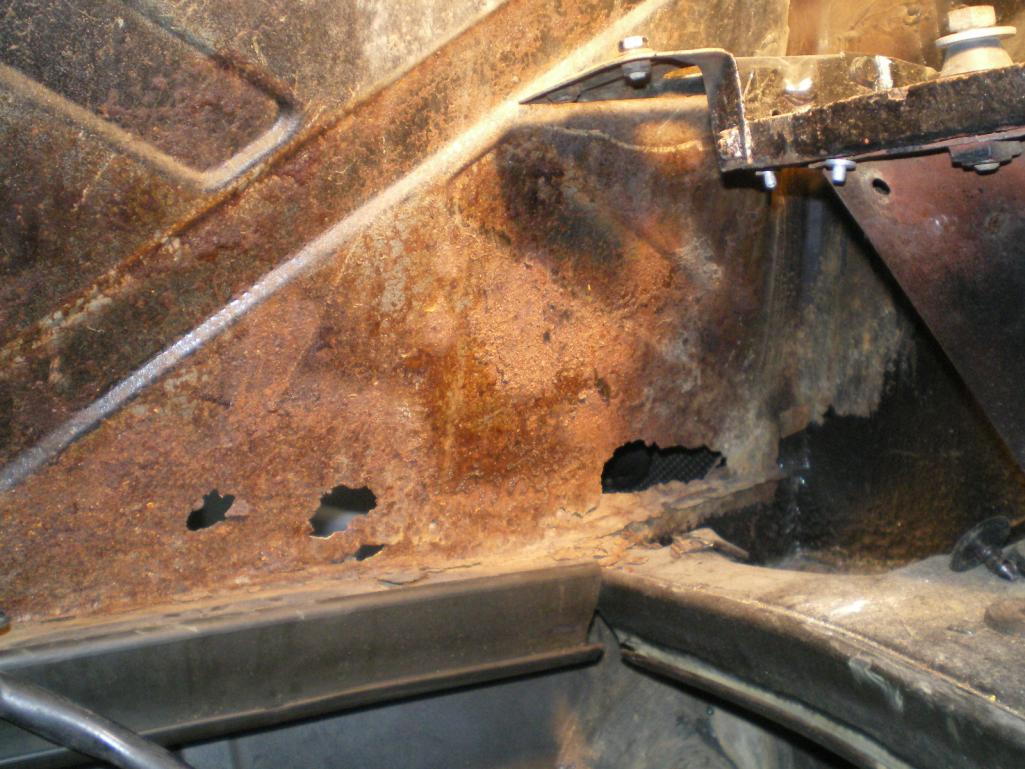
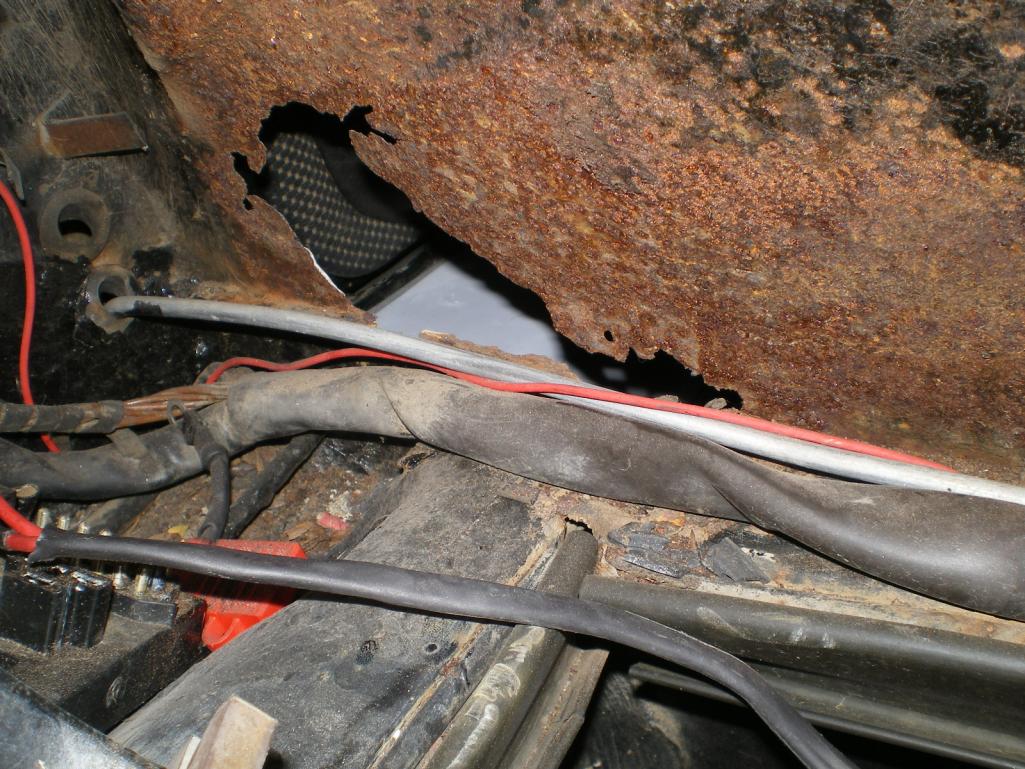
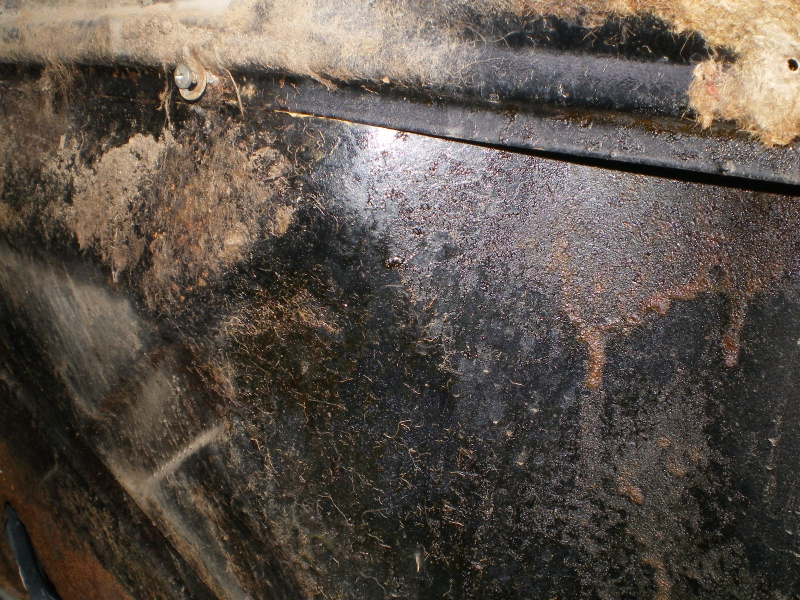
So while I wait for the "correct" size of steel to patch the firewall I thought I would clean up the engine compartment and see if I could find anymore rust. There is a bunch of the old mat stuck to it..........
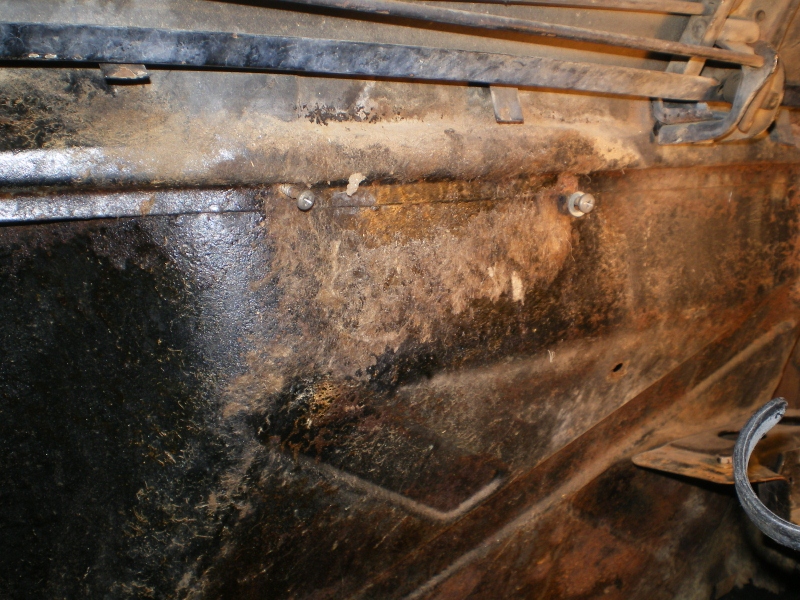 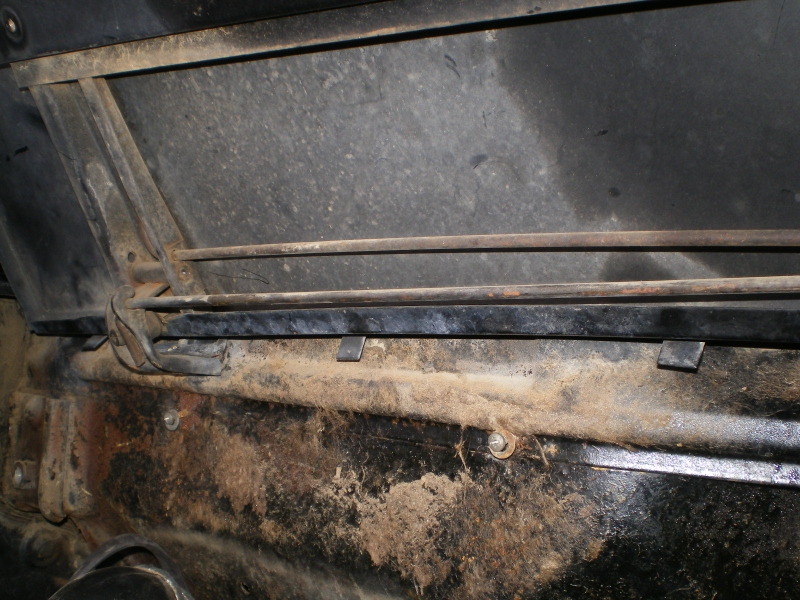  And this looks a little suspicious. Rivets and a rough finish on the panel. 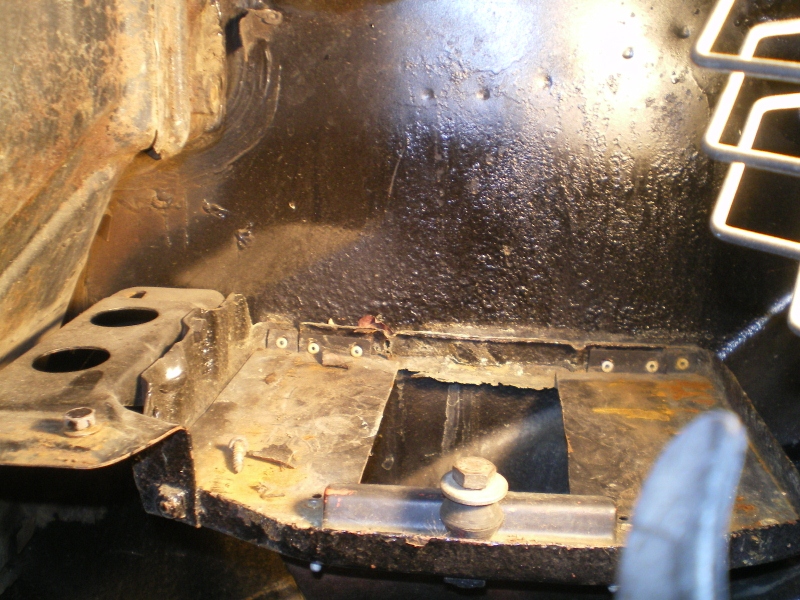 Then there is the matter of this booger by the PO. 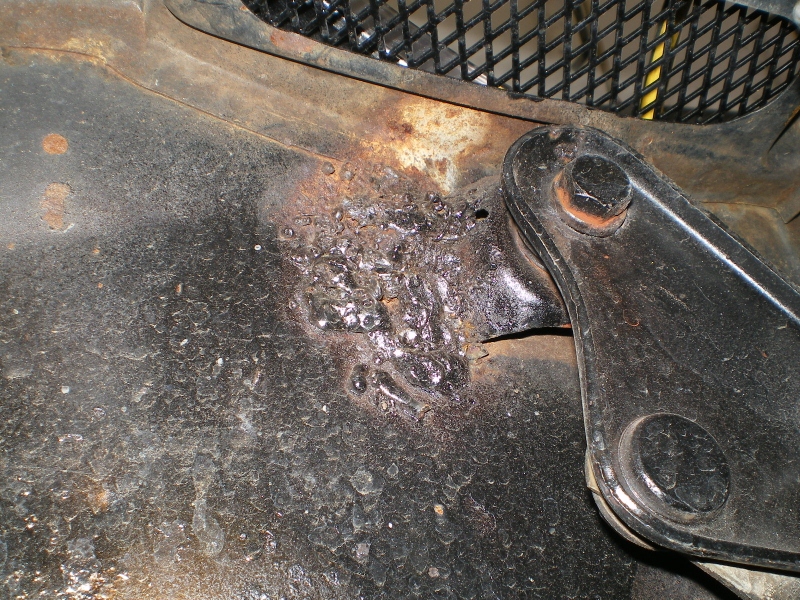 So I drill out the rivets and look what I find. Has anyone seen these before. Obviously stamped steel so mfg'd by someone. 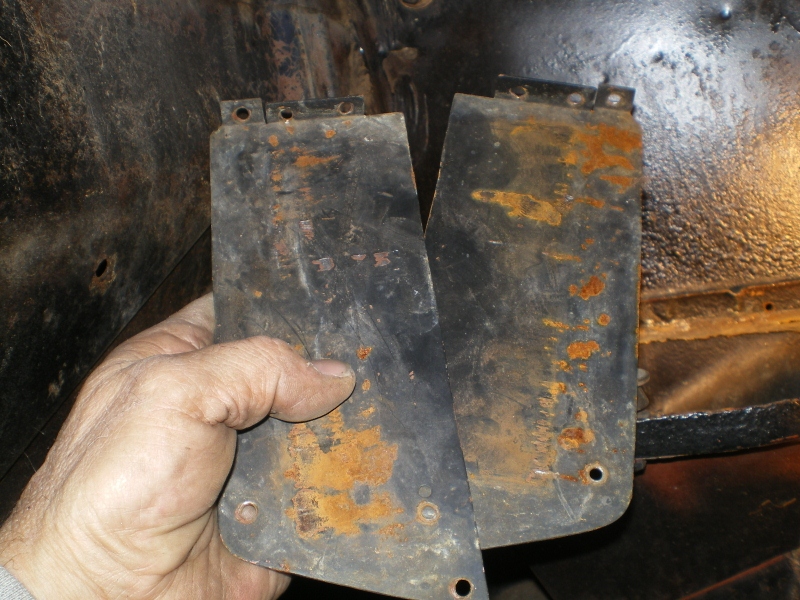 Once they're out this is all that was left of the tray. The pedestal was in good shape but I doubt I will relo a batt here. 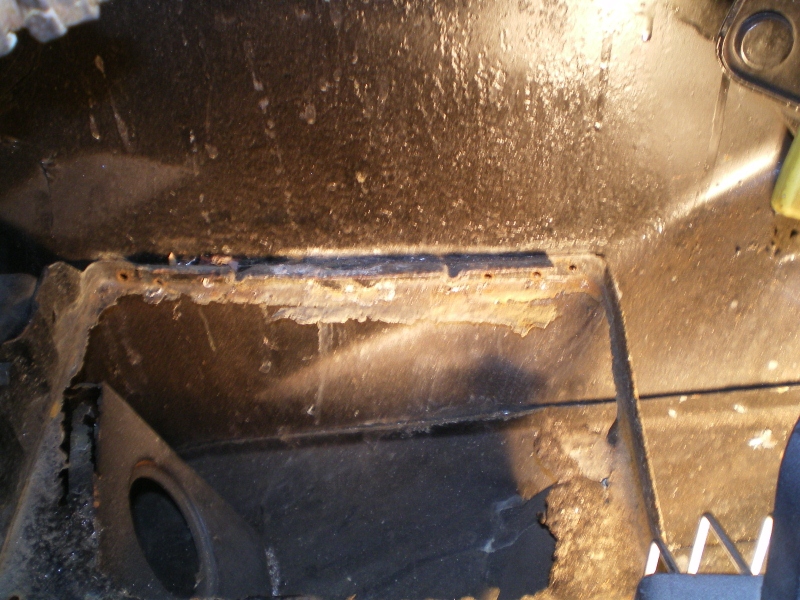 Couple of pic's while getting cleaned. These holes need to be welded up 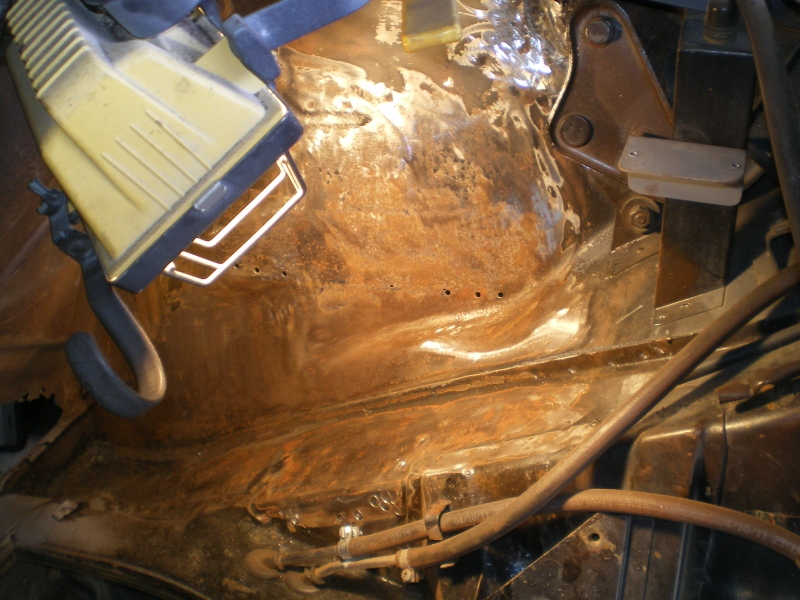 And a small patch here 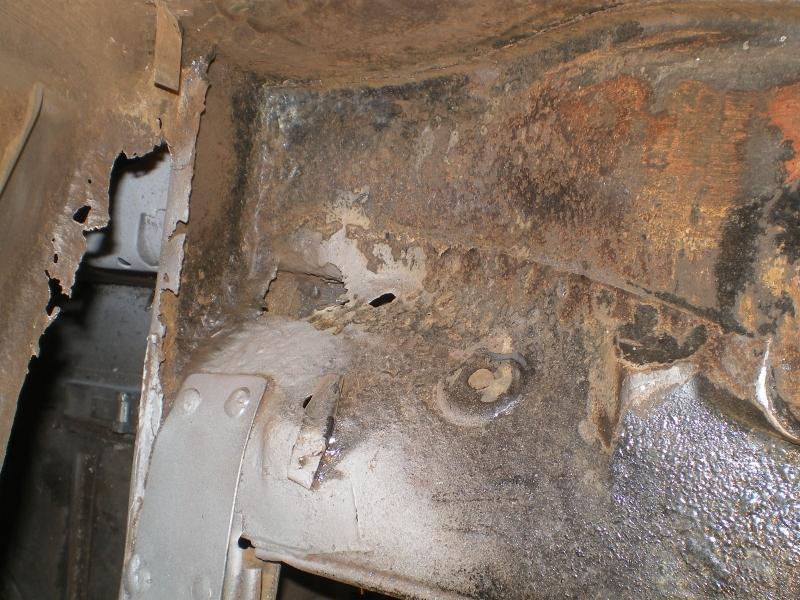 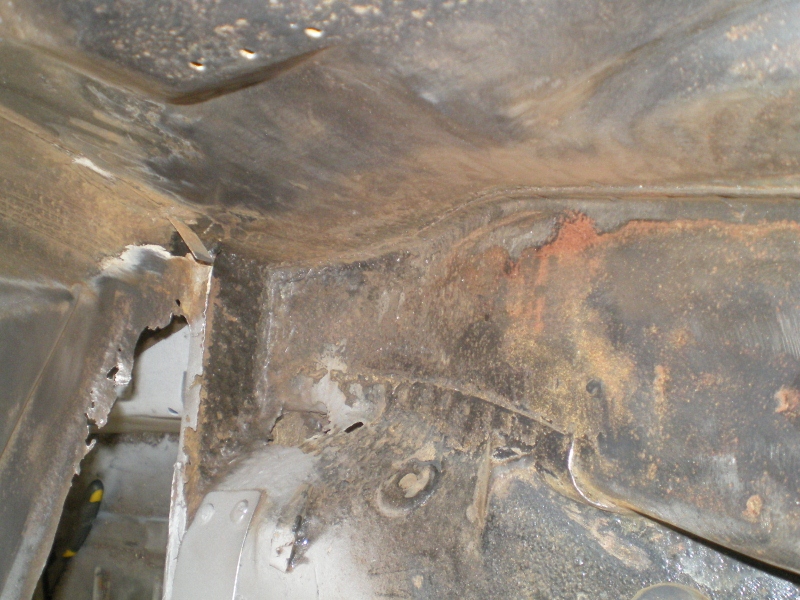 One booger mostly ground down 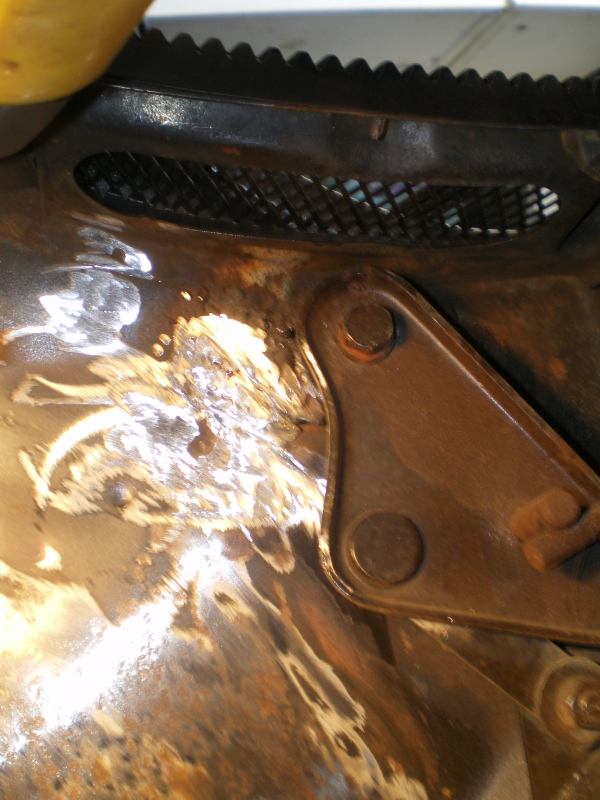 |
| 76-914 |
 Feb 1 2013, 06:10 PM Feb 1 2013, 06:10 PM
Post
#39
|
|
Repeat Offender & Resident Subaru Antagonist           Group: Members Posts: 13,835 Joined: 23-January 09 From: Temecula, CA Member No.: 9,964 Region Association: Southern California 
|
%90 clean. A little more here and there then patch n prime. The side wall behind the batt cleaned up pretty good, too. A little pitted so it will be treated to a phospho shower.
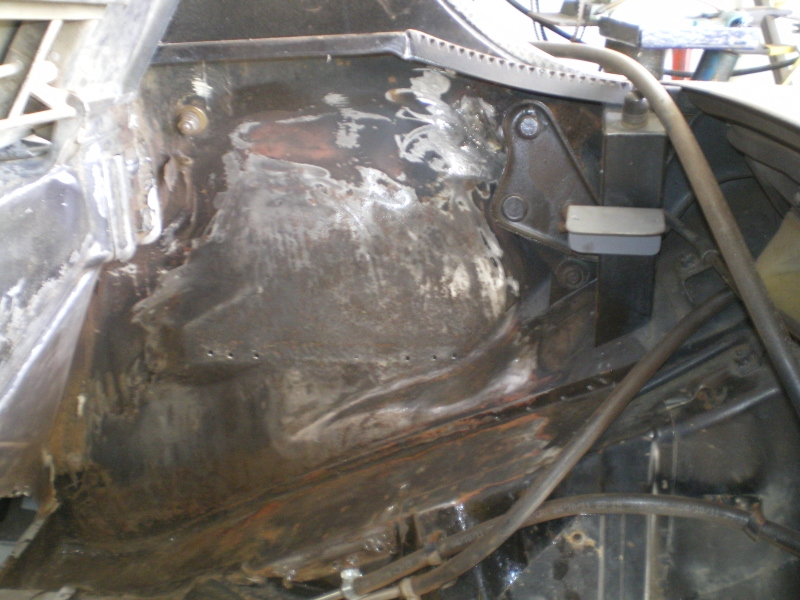 The rest has cleaned up quite well. 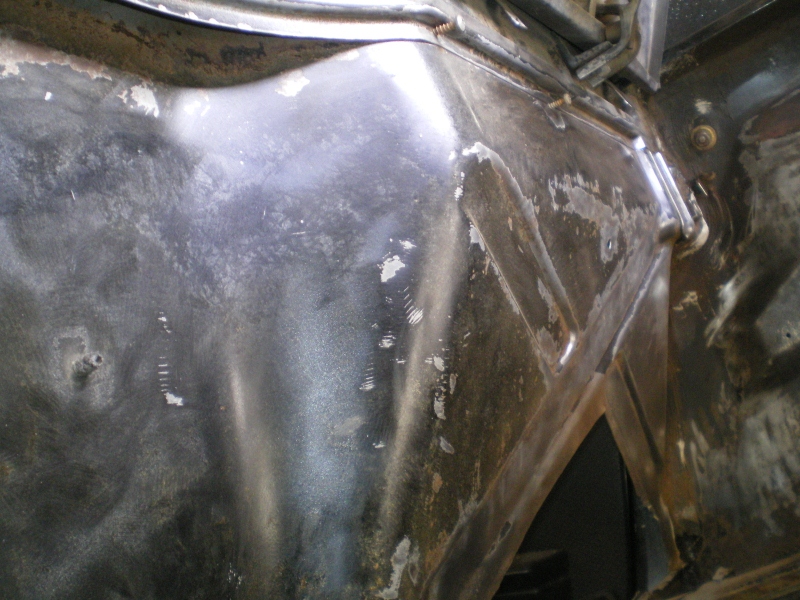 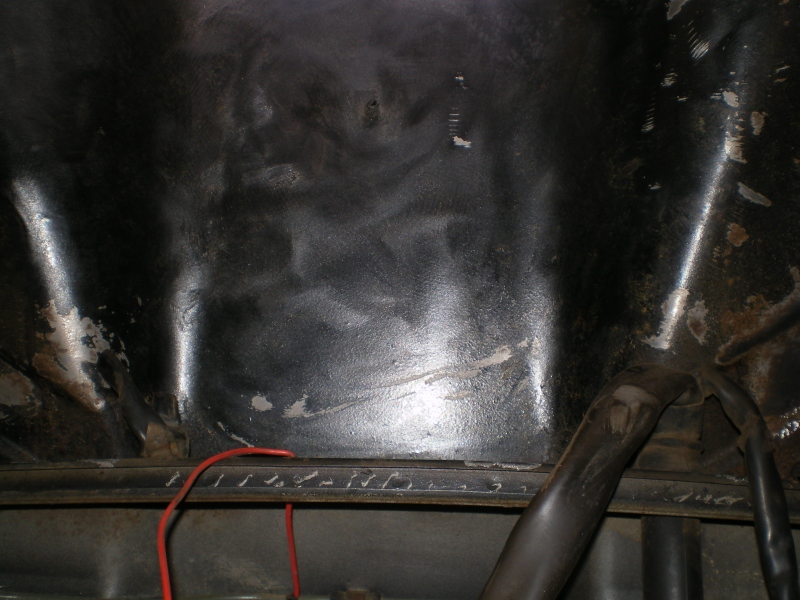 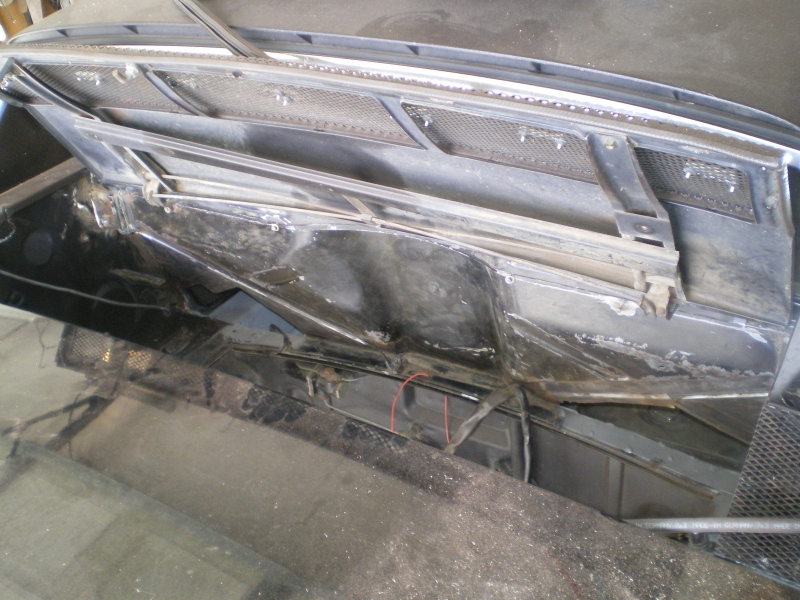 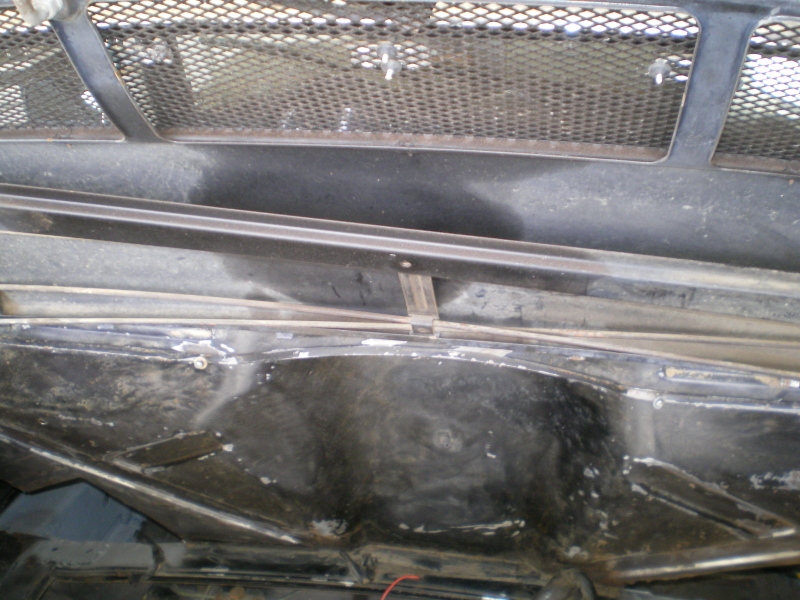 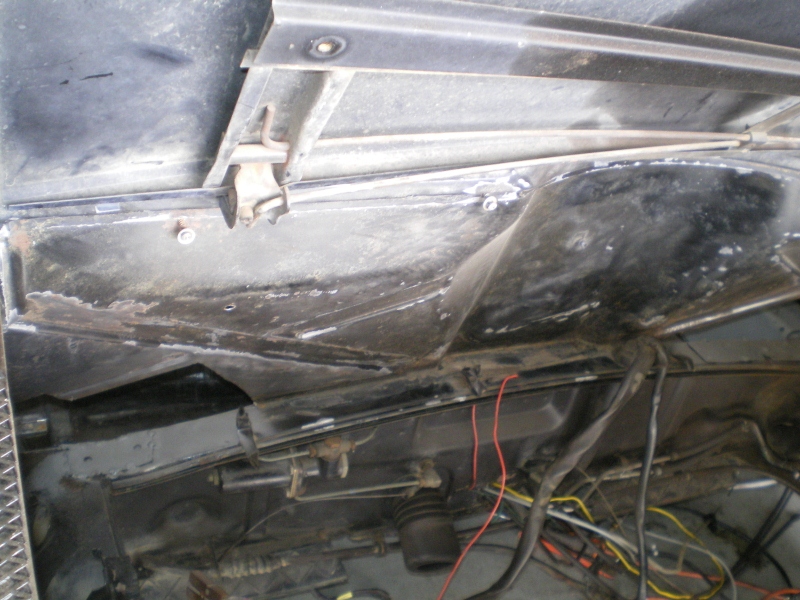 |
| 76-914 |
 Feb 3 2013, 06:15 PM Feb 3 2013, 06:15 PM
Post
#40
|
|
Repeat Offender & Resident Subaru Antagonist           Group: Members Posts: 13,835 Joined: 23-January 09 From: Temecula, CA Member No.: 9,964 Region Association: Southern California 
|
So I need to fill some holes where the batt tray was riveted to the panel. If you look closely you can see the copper spoon thru the holes.
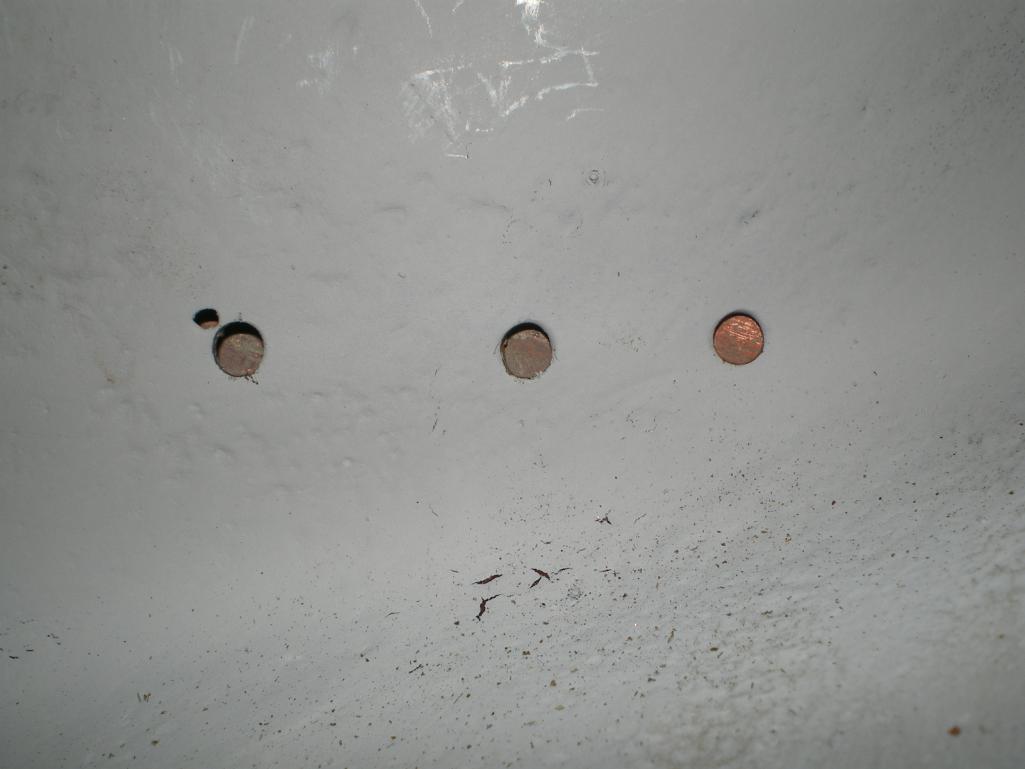 and now they're ground down and gone 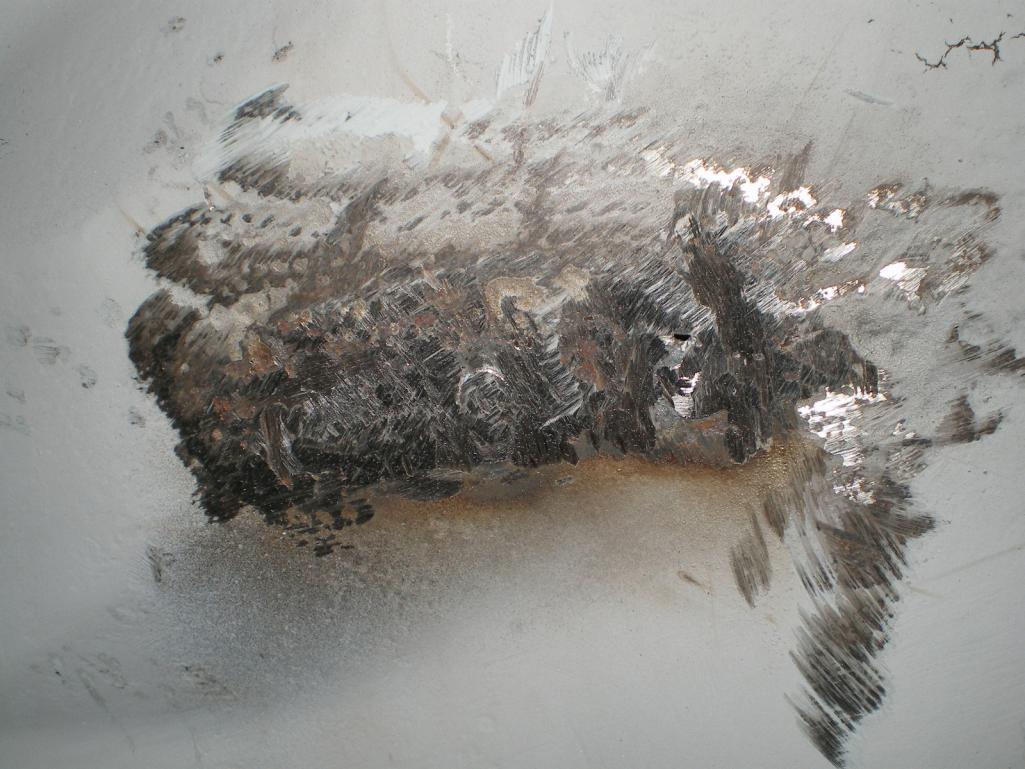 a shot of primer to ward off the rust gods 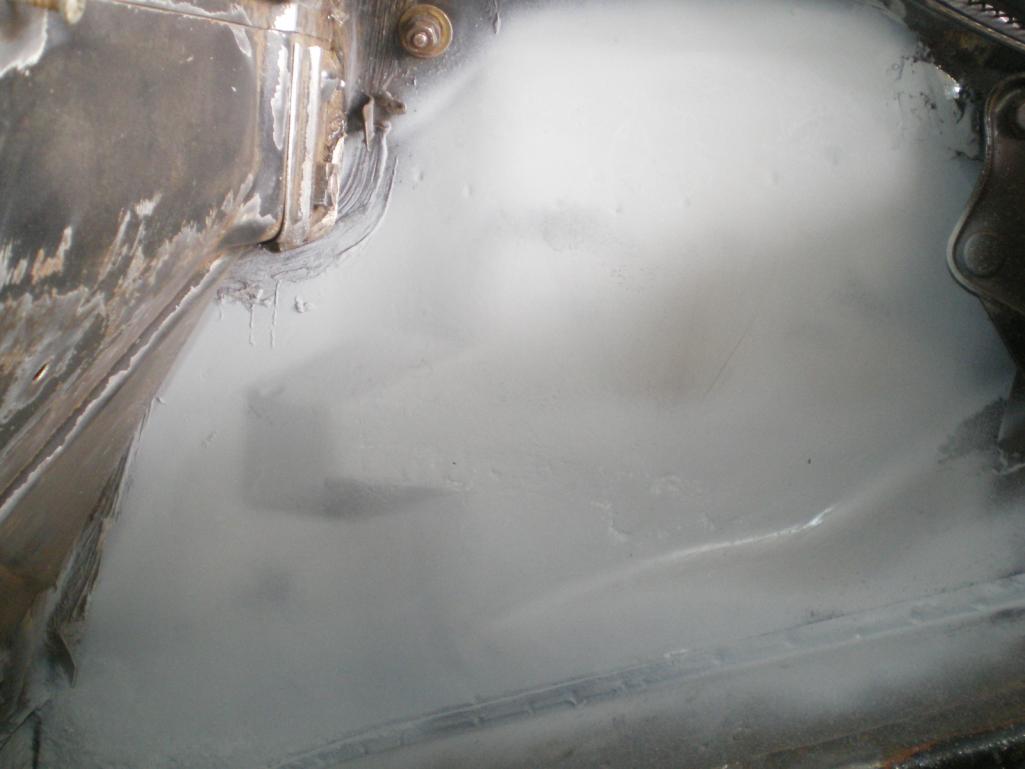 Here is another spot that needs to be filled. Oops, (IMG:style_emoticons/default/chair.gif) I need to re-size these pic's and continue in the next post. 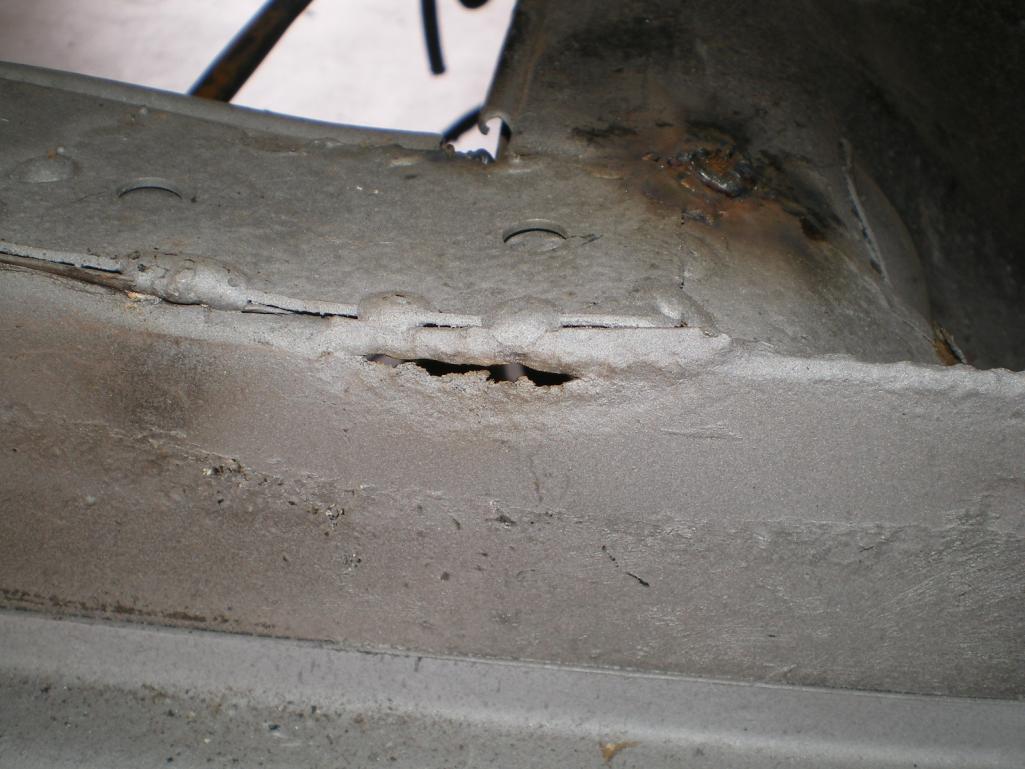 |
  |
1 User(s) are reading this topic (1 Guests and 0 Anonymous Users)
0 Members:

|
Lo-Fi Version | Time is now: 8th January 2026 - 07:49 AM |
Invision Power Board
v9.1.4 © 2026 IPS, Inc.


