|
|
|
Porsche, and the Porsche crest are registered trademarks of Dr. Ing. h.c. F. Porsche AG.
This site is not affiliated with Porsche in any way. Its only purpose is to provide an online forum for car enthusiasts. All other trademarks are property of their respective owners. |
|
|


| r3dplanet |
 Mar 12 2013, 08:00 PM Mar 12 2013, 08:00 PM
Post
#1
|
|
Senior Member  Group: Members Posts: 679 Joined: 3-September 05 From: Portland, Oregon Member No.: 4,741 Region Association: None |
So I decided to pull the throttle body (valve) from my car in order to rebuild it. The throttle valve had a tendency to leak and stick. It was also moderately dirty. At the time I was on a personal mission to pull and restore every major component of the D-Jet system. Since then, I've performed similar operations on the MPS, AAR, etc. Perhaps I'll document those operations in a similar way.
My car is a 1971, but the engine is a 1973. I know that other engines use a top-mounted throttle valve, but it's actually quite similar to the side-mounted units like mine. I realize that this isn't superorbital propulsion engineering, but it might be helpful to somebody. Here's the original setup. You can clearly see the part number 022 133 067 under the muck, along with various scratches and nasties. 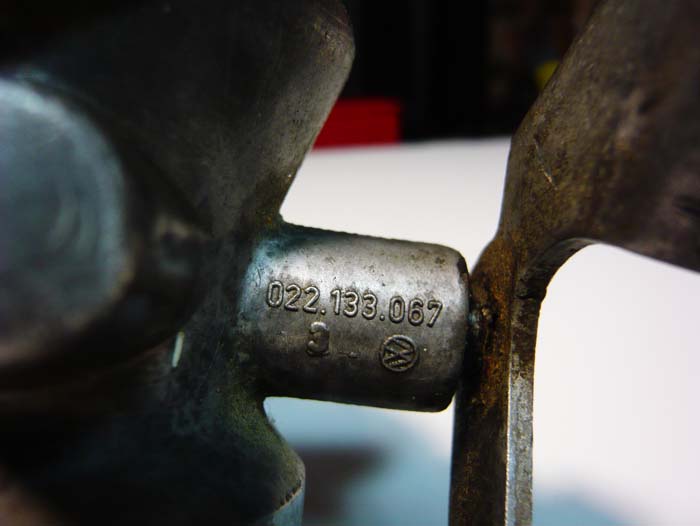 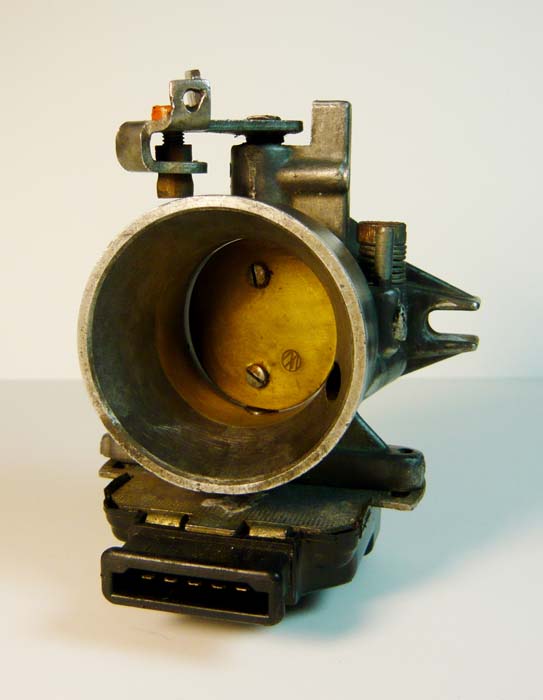 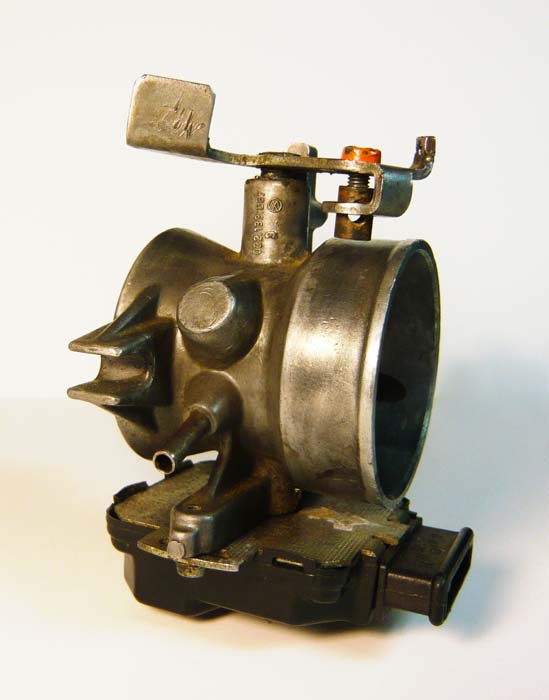 In this photo you can see that there's quite a gap around the brass air valve and inner diameter of the main bore. It seals if the valve is fully closed, but even the smallest relief of the lever allows air to pass. 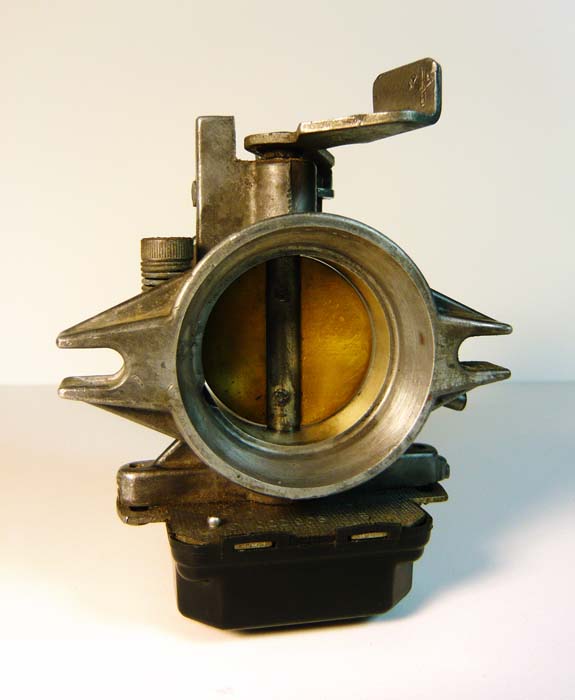 |
   |

 
|
  |
Replies
| r3dplanet |
Mar 12 2013, 08:35 PM
Post
#2
|
|
Senior Member Group: Members Posts: 679 Joined: 3-September 05 From: Portland, Oregon Member No.: 4,741 Region Association: None |
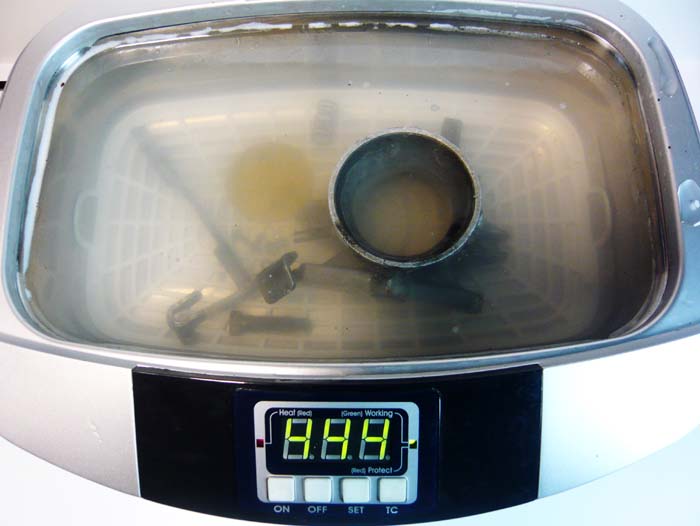
Now drop everything into your ultrasonic cleaner and give it a bath. Don't have one? Well, go out and get one. I use it for everything. I used four rounds with a vinegar and salt solution, followed by a few more rounds with a Simple Green solution.
 For reasons I can't explain, I lost the photo of the actual reaming process. It was easy though. Carefully drill each of the shaft to a depth equal to the length of the bronze bushing. Then buy a reaming hand tool and gently bore out each end of the throttle valve shaft very carefully until you think the bushing will tap in. It should be exactly 3/8" inch. Then carefully tap in a bushing on each side with a small ball peen hammer. Clean with compressed air and then wash it again. I took the extra step of polishing the parts with a Dremel. 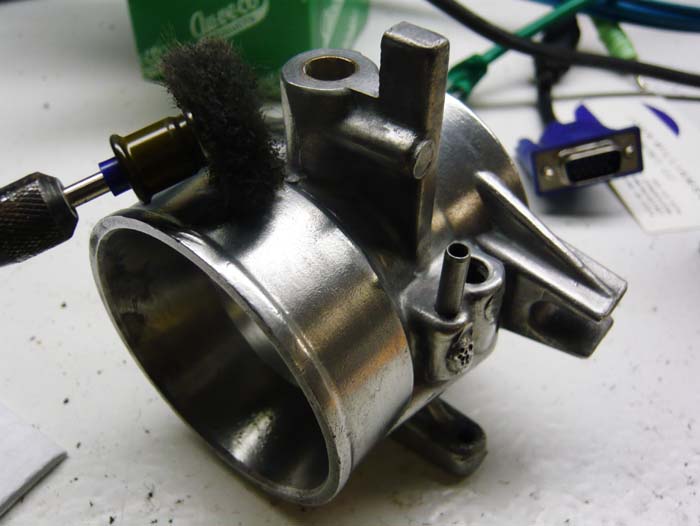 Also, I wrapped some masking tape around the shaft and shot the spring plate with some clear paint to keep it from rusting. 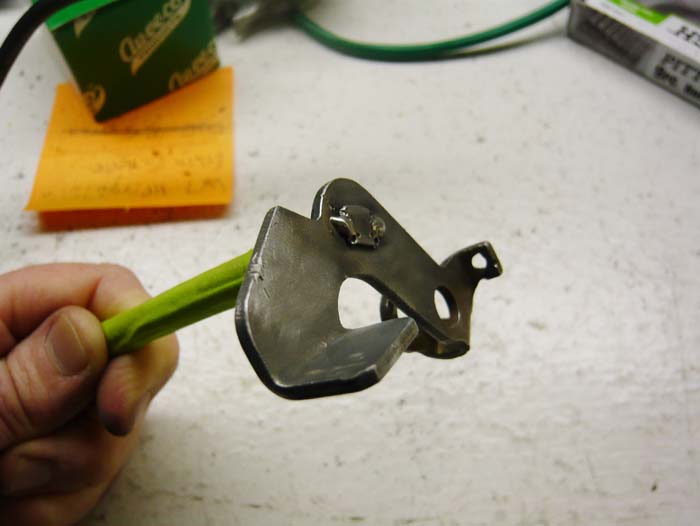 See? Pretty. 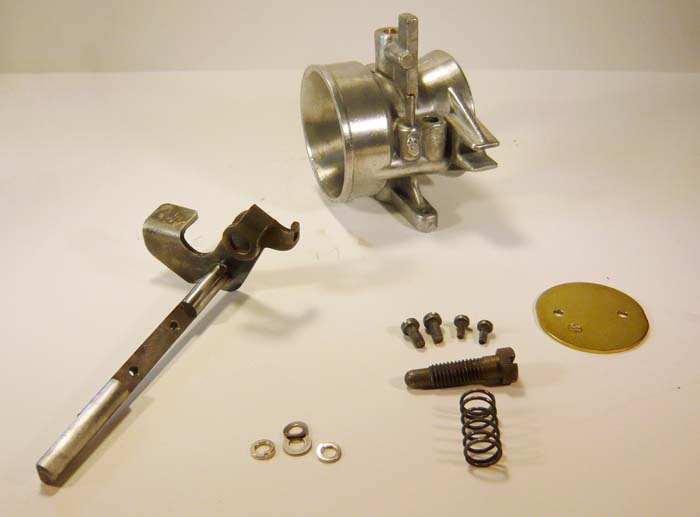 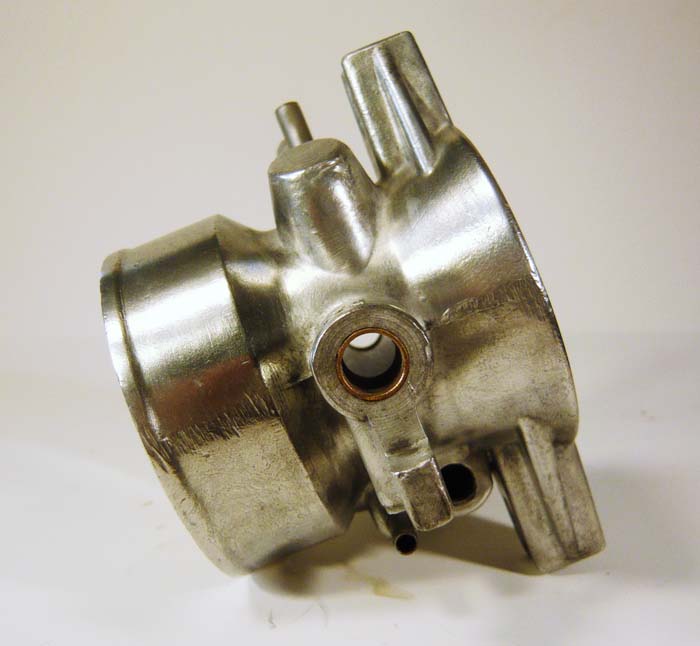 Attached image(s) 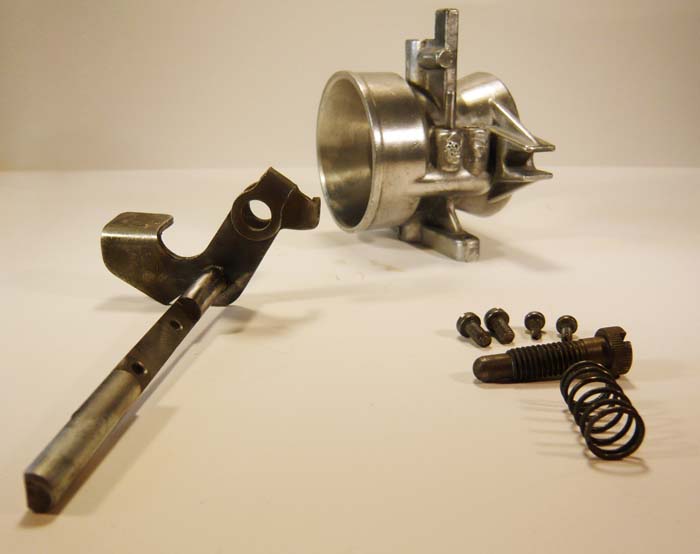 
|
|
|
|
Posts in this topic
 r3dplanet Throttle valve R&R Mar 12 2013, 08:00 PM
 r3dplanet Moving on, pay careful attention not to lose any s... Mar 12 2013, 08:08 PM r3dplanet Next, remove the idle air control valve by unscrew... Mar 12 2013, 08:14 PM r3dplanet Now pull the shaft.
You can see in the n... Mar 12 2013, 08:25 PM r3dplanet Installation is the reverse of removal.
A li... Mar 12 2013, 08:42 PM r3dplanet While I was in there, I took the time to remove th... Mar 12 2013, 08:48 PM Dave_Darling
I love that quote! :)
Mike Cooley used to ... Mar 12 2013, 08:50 PM
r3dplanet Moving on, pay careful attention not to lose any s... Mar 12 2013, 08:08 PM r3dplanet Next, remove the idle air control valve by unscrew... Mar 12 2013, 08:14 PM r3dplanet Now pull the shaft.
You can see in the n... Mar 12 2013, 08:25 PM r3dplanet Installation is the reverse of removal.
A li... Mar 12 2013, 08:42 PM r3dplanet While I was in there, I took the time to remove th... Mar 12 2013, 08:48 PM Dave_Darling
I love that quote! :)
Mike Cooley used to ... Mar 12 2013, 08:50 PM
 r3dplanet I love it, too. It comes from a client of mine tha... Mar 13 2013, 01:19 AM zonedoubt Nice write up! I did some similar r&r on m... Mar 12 2013, 11:22 PM McMark Awesome. I have to do this for my turbo motor. So ... Mar 13 2013, 12:39 AM r3dplanet It's super easy. I'm mechanically inclined... Mar 13 2013, 12:59 AM
 |
1 User(s) are reading this topic (1 Guests and 0 Anonymous Users)
0 Members:

|
Lo-Fi Version | Time is now: 15th May 2024 - 12:31 PM |
Invision Power Board
v9.1.4 © 2024 IPS, Inc.