|
|
|
Porsche, and the Porsche crest are registered trademarks of Dr. Ing. h.c. F. Porsche AG.
This site is not affiliated with Porsche in any way. Its only purpose is to provide an online forum for car enthusiasts. All other trademarks are property of their respective owners. |
|
|

  |

| colingreene |
 Sep 20 2025, 01:11 AM Sep 20 2025, 01:11 AM
Post
#141
|
|
Senior Member  Group: Members Posts: 755 Joined: 17-October 13 From: Southern California Member No.: 16,526 Region Association: Southern California |
I am using the Mad dog mount but I gotta say the more i deal with it the more dissapointing it is.
The mount is clearly cut on a CNC plasma and the edges are all sharp 90s, it takes but a few clicks to put a fillet into the edges to make everything finished better and look nicer. Also where the tabs plug together none of them are fused on the back, whats up with that? the area alloted for the wires to pass through is mediocre at best and really the wires would have had to be bent and twisted far more than I am comfortable with. I wound up cutting about half of that channel out of it and rebuilding a new channel into the mount the accomodate my wiring. Ill post up some pictures of it. |
   |

 
|
| colingreene |
Sep 24 2025, 11:24 PM
Post
#142
|
|
Senior Member Group: Members Posts: 755 Joined: 17-October 13 From: Southern California Member No.: 16,526 Region Association: Southern California |
So the motor mount, The issue I had was that the intended path for the wiring really did not seem to conform to the path the wires took in my car.
The instructions say to cut the bottom of the tab in the center off, and that the wire harness could be twisted to fit. Really with 50 ish year old wiring it felt like a bad idea to go yanking and banking on that. Also it was never even close to fitting, So I elected to cut the mount out in the areas where the wire harness would be rubbing. 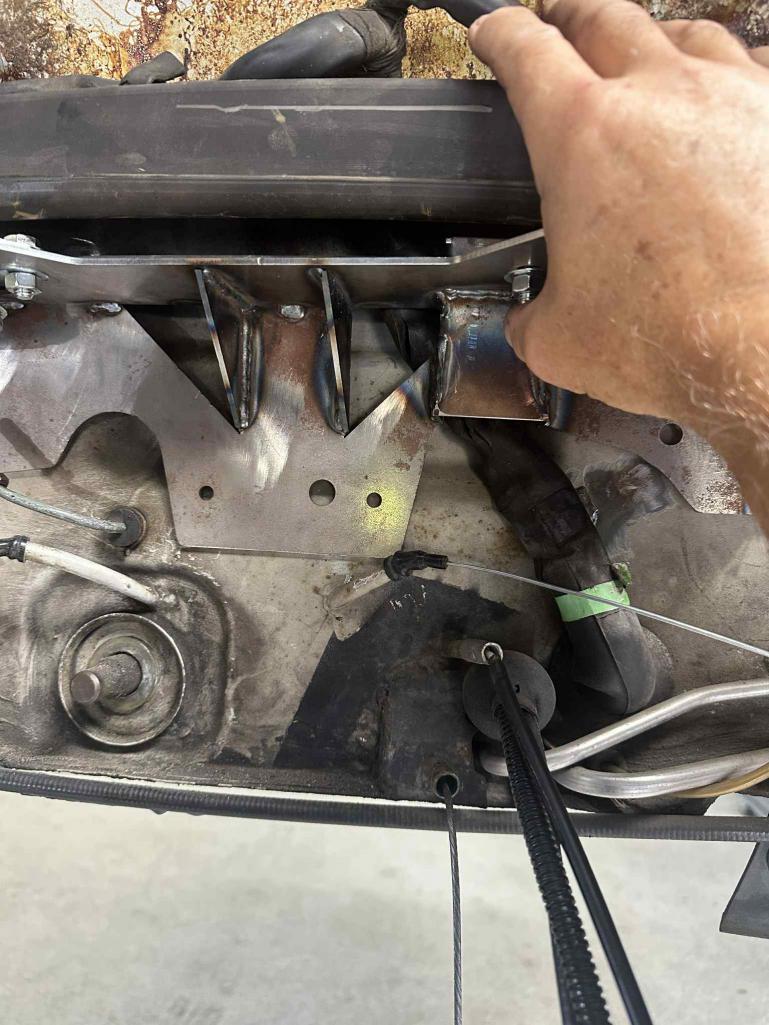 The type 4 motor was pulled and sold to a member on here and the prep for putting the 6 into the car had begun. I also chose to remove the fan stand and some other brackets that wont be used to just clean the place up a bit.  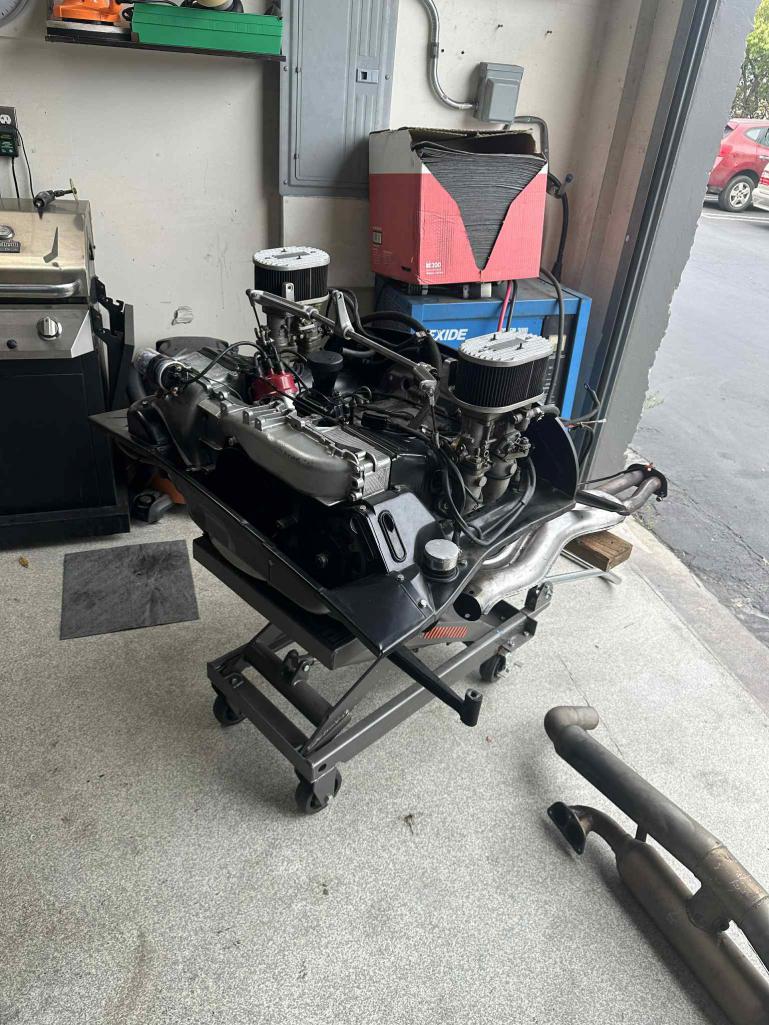 |
|
|
|
| colingreene |
Sep 24 2025, 11:31 PM
Post
#143
|
|
Senior Member Group: Members Posts: 755 Joined: 17-October 13 From: Southern California Member No.: 16,526 Region Association: Southern California |
 The 6 cyl was loaded up and the trans was attached to be able to work on getting the placement of the motor mount dialed in. I avoided putting the side tin on because it fits very tightly when passing the trailing arm pivot bolts. But with using the front tin I was able to work on getting the mount placed correctly and not using the measurement provided as gospel. Here is where I cut the mount out to accomodate the wiring. 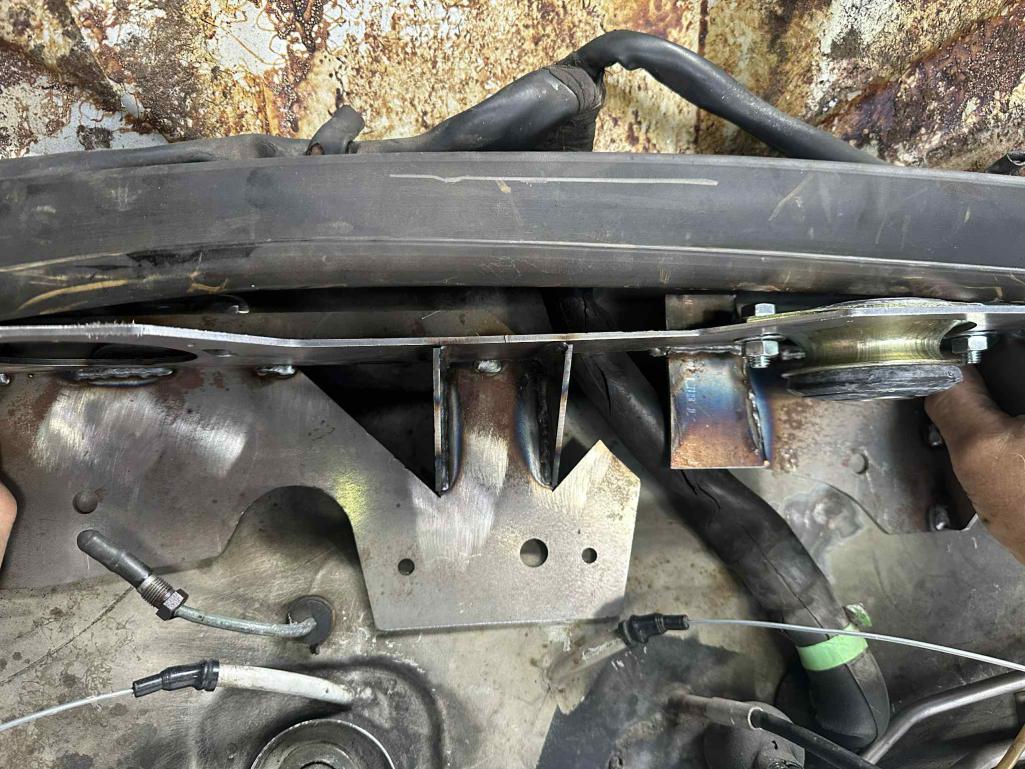 I will say that the 6 is quite a bit heavier than the 4 so I am curious to see how it effects the overall feel of the car. Also the cutting for the oil tank had begun. I used the McMark hole size guide and 3d printed templates to scribe the holes on the metal to get clear markings on where they needed to go. I thought I had access to greely hole punches that would fit for some of them and I did use it for the breather but ultimately elected to cut the large one by hand.  |
|
|
|
| colingreene |
Sep 24 2025, 11:40 PM
Post
#144
|
|
Senior Member Group: Members Posts: 755 Joined: 17-October 13 From: Southern California Member No.: 16,526 Region Association: Southern California |
So heres what the finished engine mount looked like.
Rather than cutting the tail off the center part a Notch was put in to accomodate the heater cable. I also used some other metal i had on hand of the same gauge to box out the modification made to the mount. 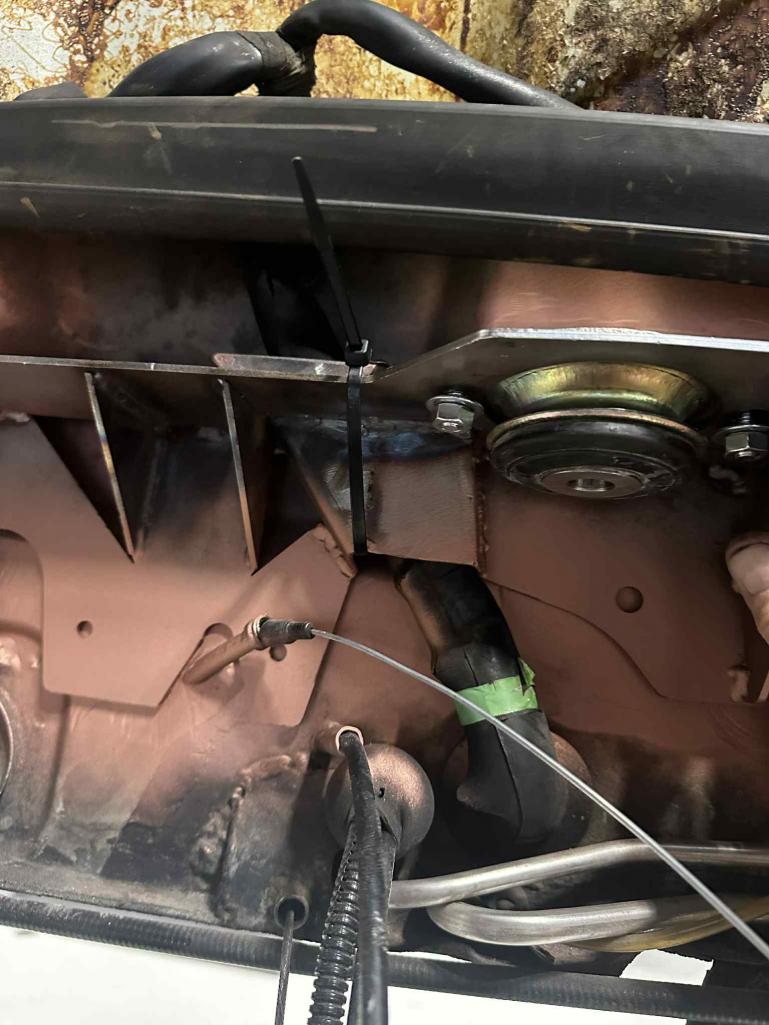 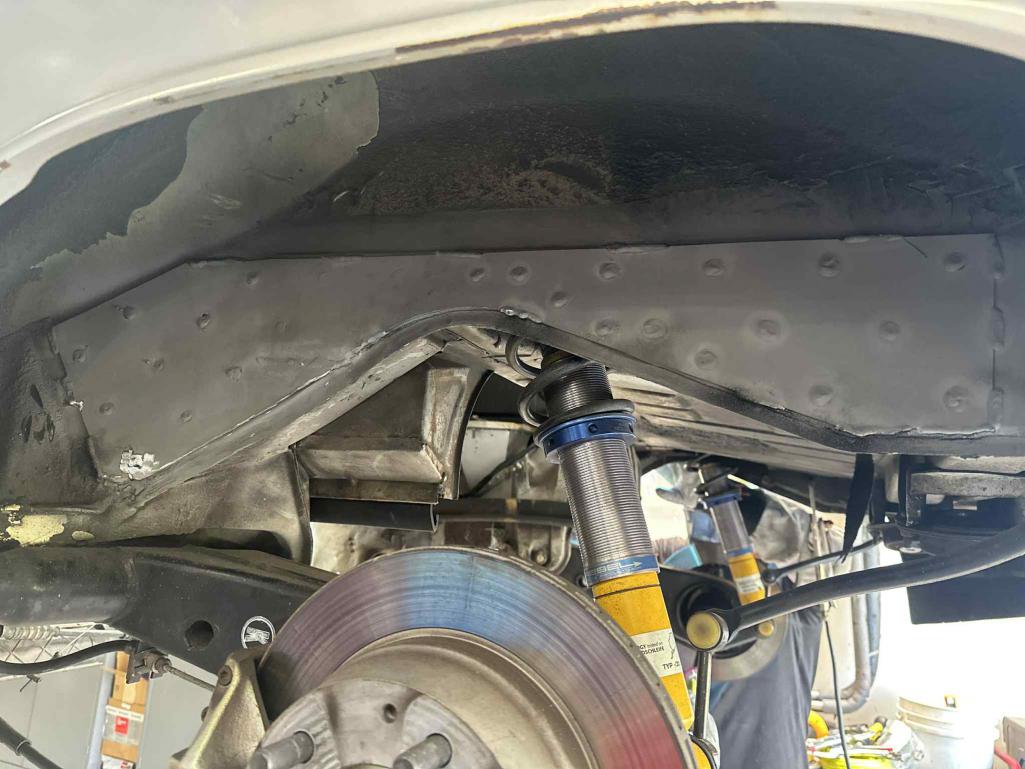 I bet you thought I was a hack when I showed it cut but not finished. The color is from copper rich Upol weld though primer. A few doors down from me is a Panel beater who is more of an artist than just a metal guy. He Loves 914s even if he has a Dino... but he volenteered to weld the mount in and the GT reinforcments. So with all that loaded into the car I was able to eventually Hang the motor in the car. 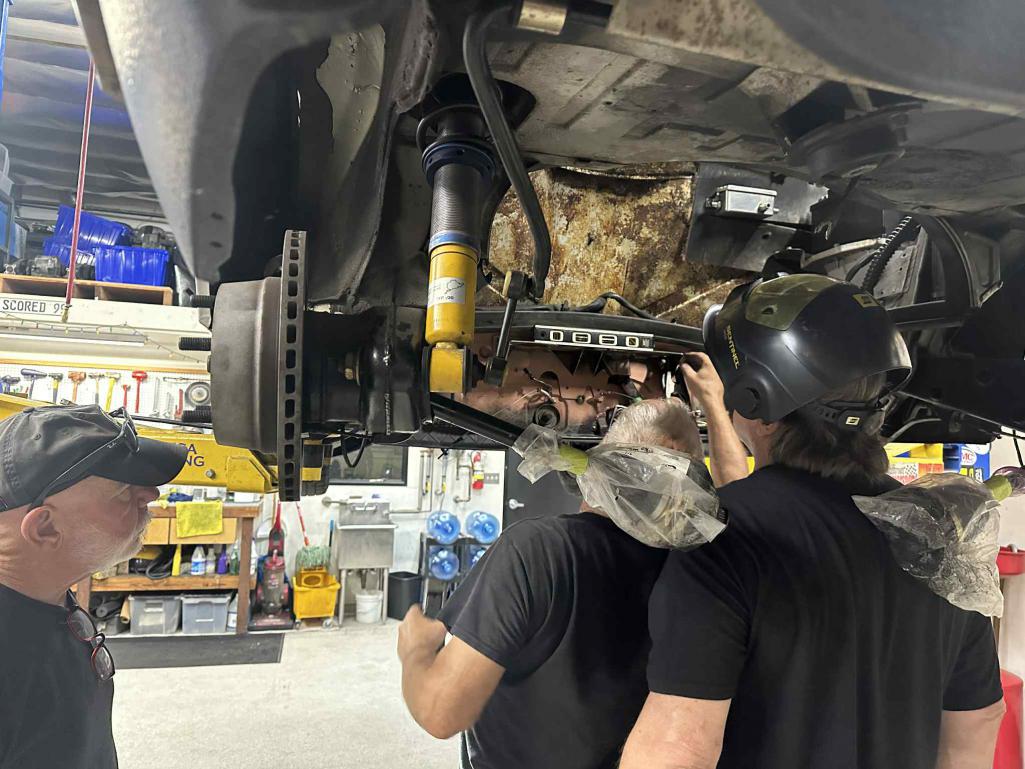 I also chose to remove the type 4 mounts, no going back now...  |
|
|
|
| colingreene |
Sep 24 2025, 11:45 PM
Post
#145
|
|
Senior Member Group: Members Posts: 755 Joined: 17-October 13 From: Southern California Member No.: 16,526 Region Association: Southern California |
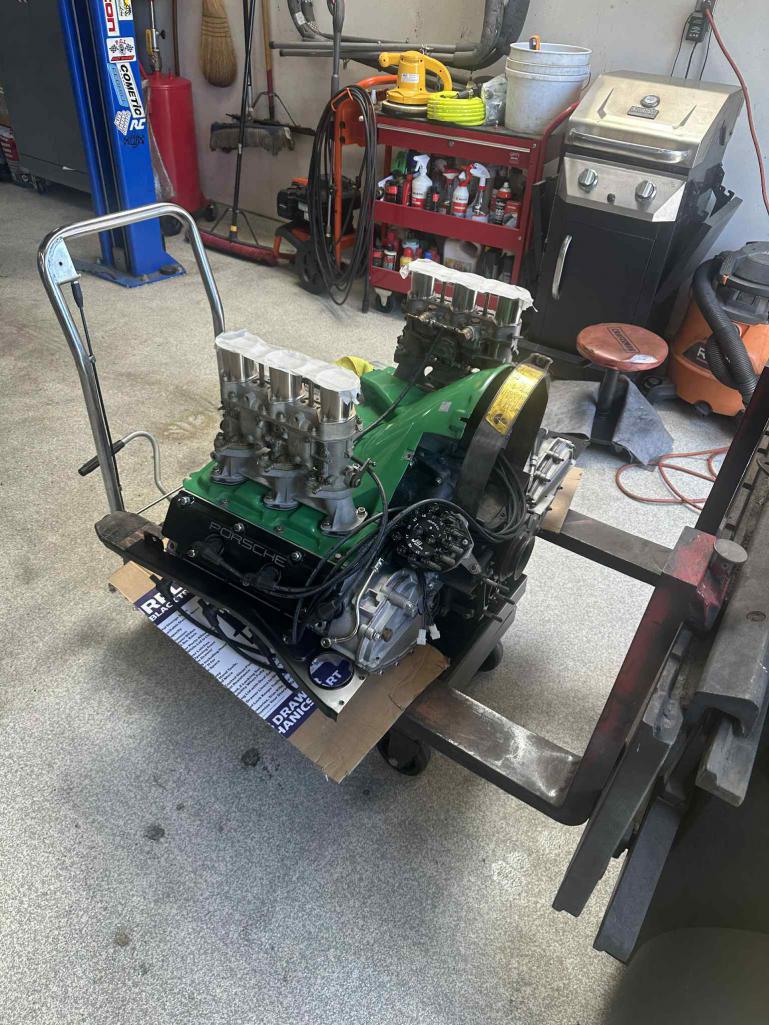
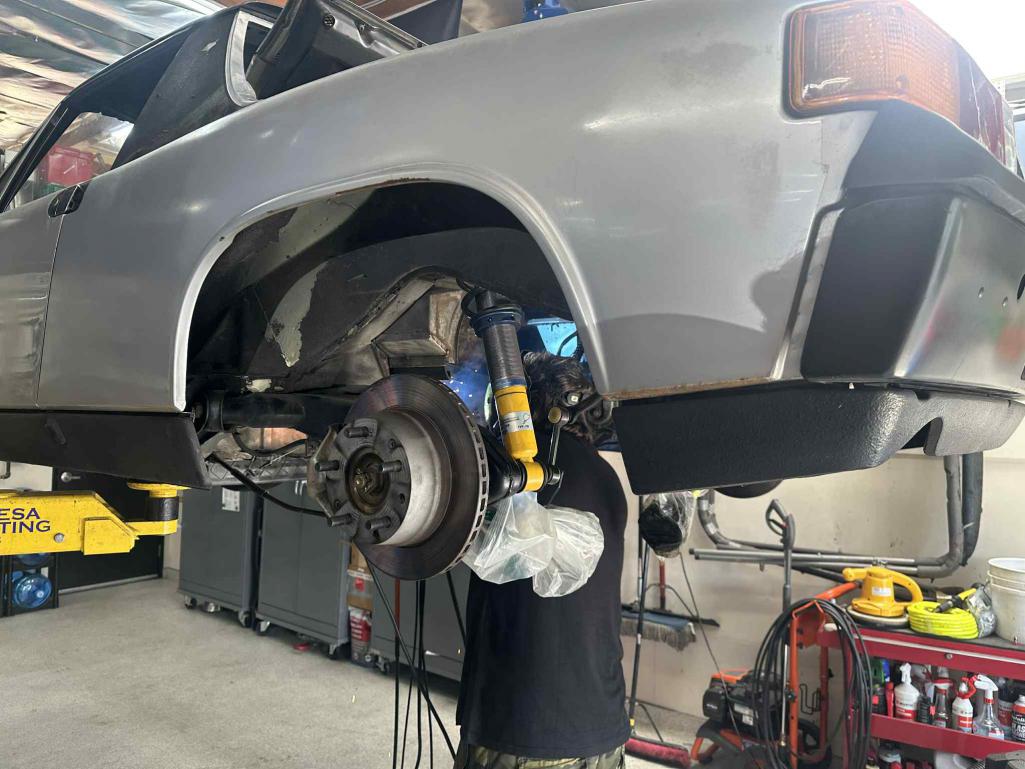 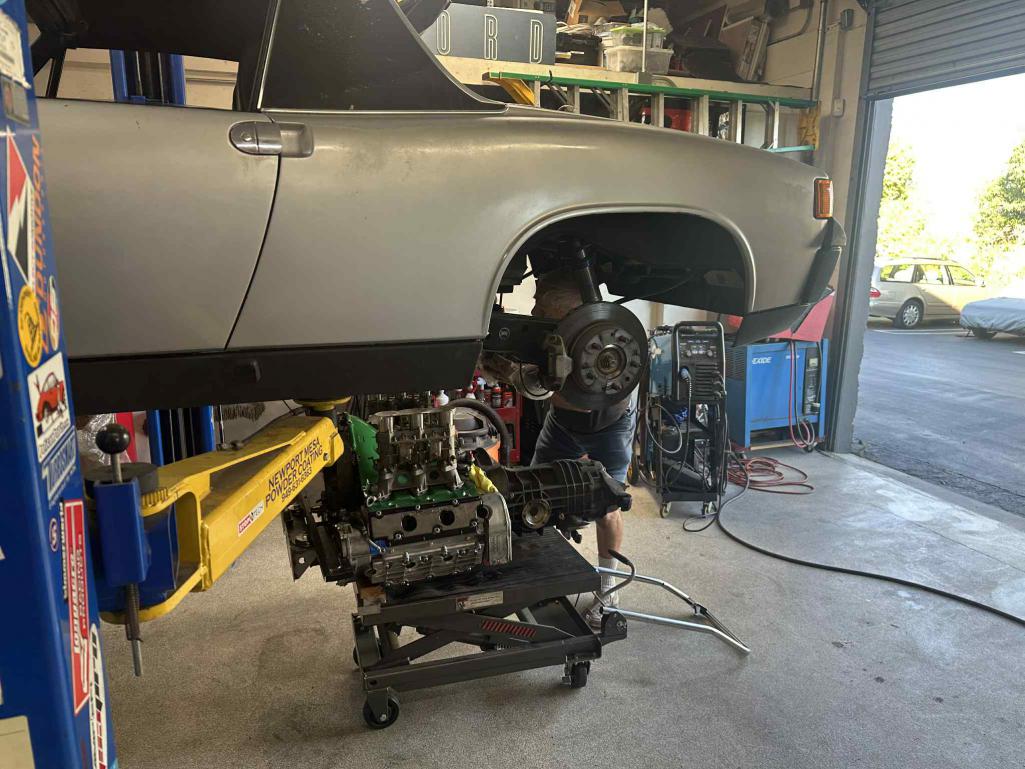 So with the motor hung into the car heres what it looks like. I still need to make some decisions as far as how do i want to route the oil line from the case to the tank. I did buy some lines from MB911 but they are AN, It does not soothe my smooth brain to mix AN and the Cohline hoses on the car. Plus I like the hard line from the OEM 914-6 But it feels like a small acomplishment to have it hung in there. 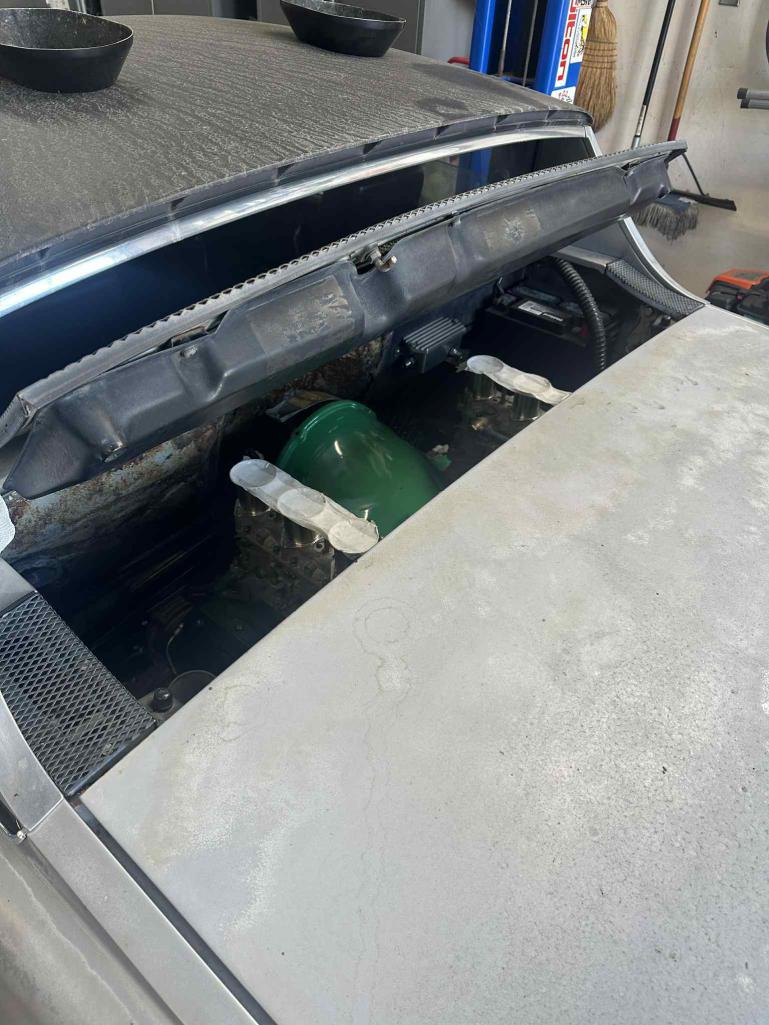 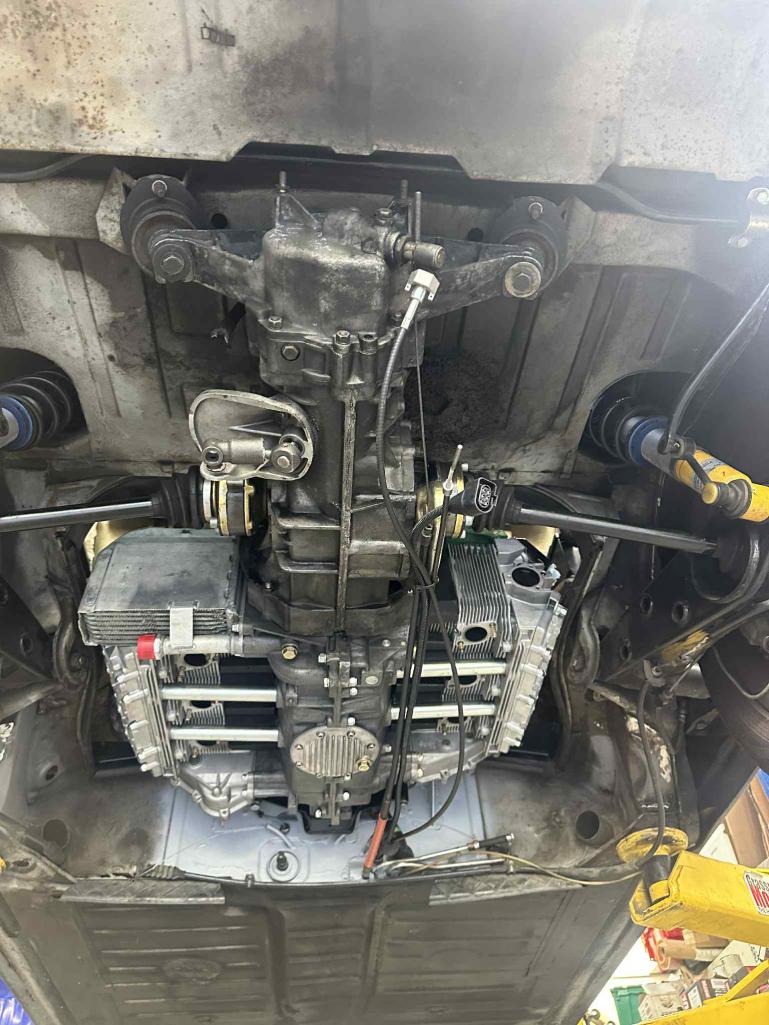 |
|
|
|
| Root_Werks |
Sep 25 2025, 02:02 PM
Post
#146
|
|
Village Idiot Group: Members Posts: 8,996 Joined: 25-May 04 From: About 15NM from Canada Member No.: 2,105 Region Association: Pacific Northwest |
That's such a good feeling getting the power plant back in. Looking good!
|
|
|
|
| colingreene |
Oct 6 2025, 02:37 PM
Post
#147
|
|
Senior Member Group: Members Posts: 755 Joined: 17-October 13 From: Southern California Member No.: 16,526 Region Association: Southern California |
It will probably be in and out another half dozen times as I sort out the brakes and wiring and oil lines. but you are right, its still big progress for me to have it hanging in there the way it will be perminately.
I just need to find a early brake pressure valve now... |
|
|
|
| 930cabman |
Oct 6 2025, 02:48 PM
Post
#148
|
|
Advanced Member Group: Members Posts: 4,687 Joined: 12-November 20 From: Buffalo Member No.: 24,877 Region Association: North East States |
nobody said it was going to be easy, mine is mostly complete, but still a few details
keep with it, soon victory will be yours |
|
|
|
| 76-914 |
Oct 6 2025, 05:26 PM
Post
#149
|
|
Repeat Offender & Resident Subaru Antagonist Group: Members Posts: 13,891 Joined: 23-January 09 From: Temecula, CA Member No.: 9,964 Region Association: Southern California |
LOOKS GOOD. You've reached that milestone whereupon you may now sit in the car and make engine noises while moving the shifter about. (IMG:style_emoticons/default/driving.gif)
|
|
|
|
|
1 User(s) are reading this topic (1 Guests and 0 Anonymous Users)
0 Members:

|
Lo-Fi Version | Time is now: 6th June 2026 - 06:22 AM |
Invision Power Board
v9.1.4 © 2026 IPS, Inc.