|
|
|
Porsche, and the Porsche crest are registered trademarks of Dr. Ing. h.c. F. Porsche AG.
This site is not affiliated with Porsche in any way. Its only purpose is to provide an online forum for car enthusiasts. All other trademarks are property of their respective owners. |
|
|

  |

| Matty900 |
 Sep 29 2017, 12:28 AM Sep 29 2017, 12:28 AM
Post
#481
|
|
Senior Member  Group: Members Posts: 1,305 Joined: 21-February 15 From: Oregon Member No.: 18,454 Region Association: Pacific Northwest |
Thresholds, inner door seal and carpet strips on. (IMG:style_emoticons/default/shades.gif)
Attached thumbnail(s) 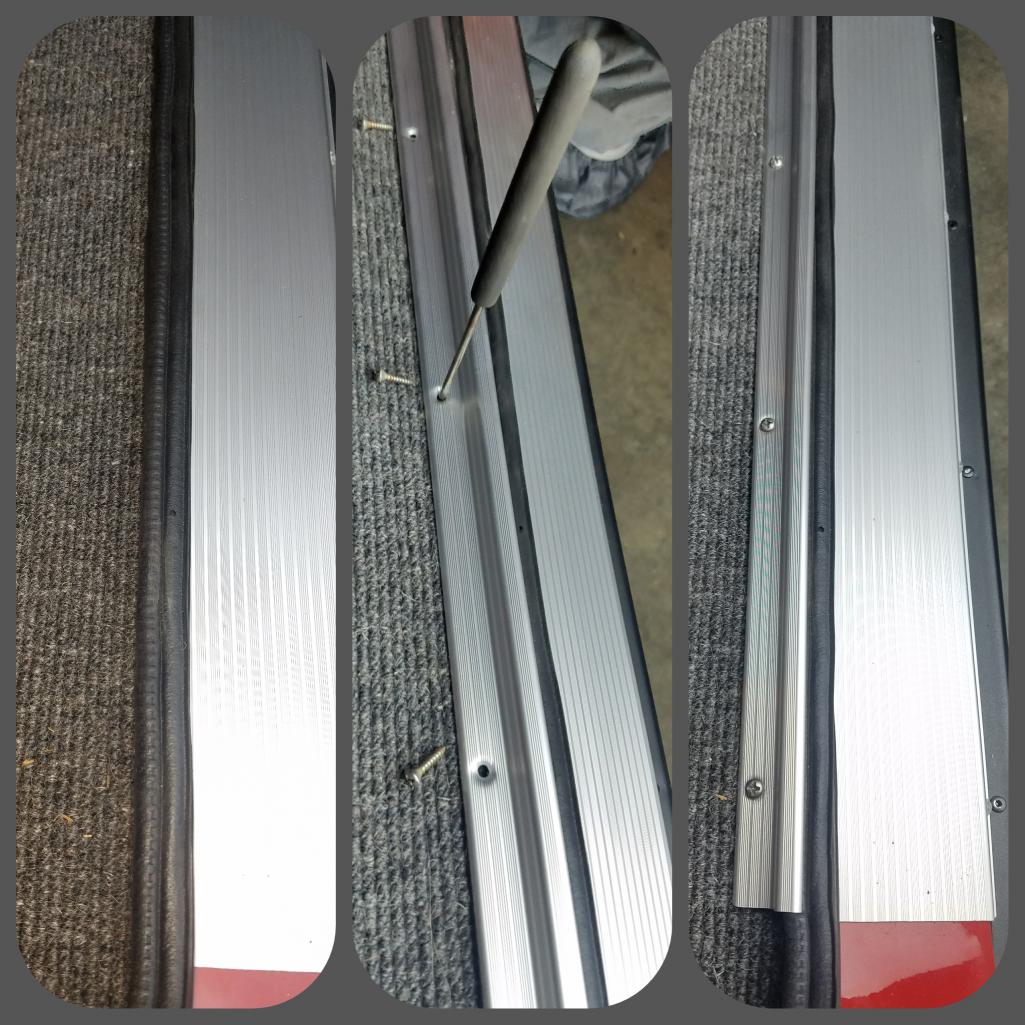
|
   |

 
|
| Matty900 |
Sep 29 2017, 12:32 AM
Post
#482
|
|
Senior Member Group: Members Posts: 1,305 Joined: 21-February 15 From: Oregon Member No.: 18,454 Region Association: Pacific Northwest |
After mistakenly trying to tune the car at altitude at Red Rocks, we decided to tune it back the way it was at our altitude so it can actually run today. After spending a whole bunch of time we realized that Chinese relays suck (IMG:style_emoticons/default/headbang.gif) the fuel pump wasn't pumping again. Probably the crappy Chinese relay again. So we'll save this for another day.
Attached thumbnail(s) 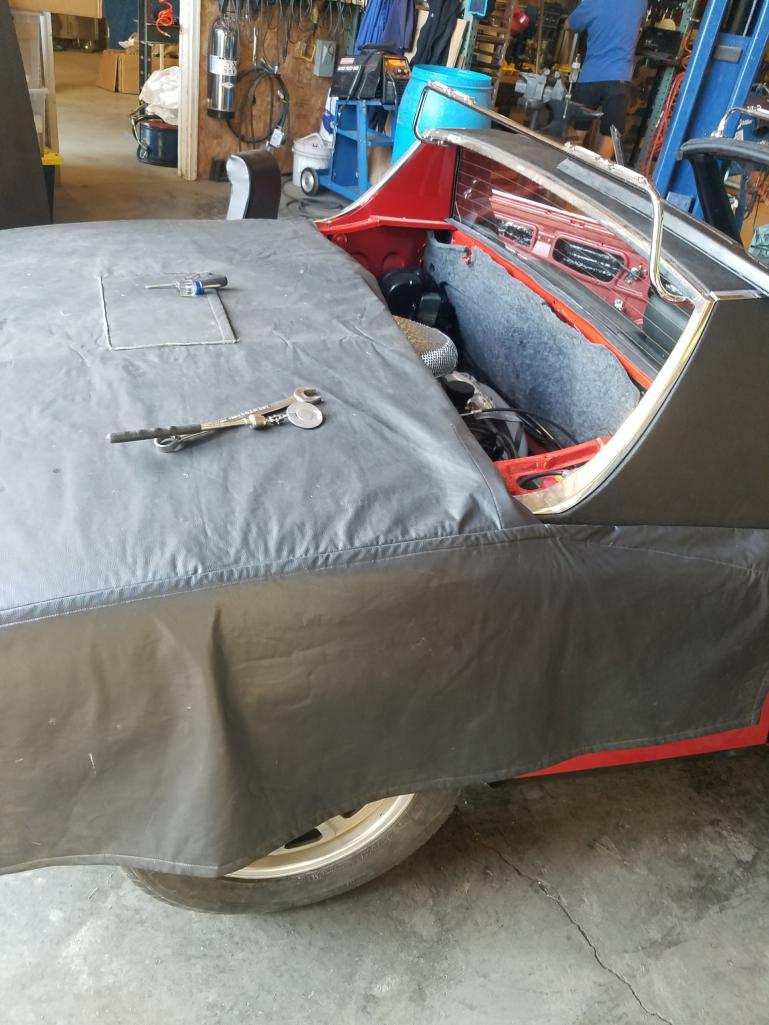
|
|
|
|
| Fatboy007 |
Sep 29 2017, 08:44 AM
Post
#483
|
|
Member Group: Members Posts: 62 Joined: 23-May 17 From: San Diego, ca. Member No.: 21,124 Region Association: Southern California |
Lookin good... sweet ride
|
|
|
|
| Matty900 |
Sep 29 2017, 11:11 AM
Post
#484
|
|
Senior Member Group: Members Posts: 1,305 Joined: 21-February 15 From: Oregon Member No.: 18,454 Region Association: Pacific Northwest |
QUOTE(Fatboy007 @ Sep 29 2017, 07:44 AM)  Lookin good... sweet ride Thank you (IMG:style_emoticons/default/beerchug.gif) |
|
|
|
| cary |
Sep 30 2017, 08:35 AM
Post
#485
|
|
Advanced Member Group: Members Posts: 3,900 Joined: 26-January 04 From: Sherwood Oregon Member No.: 1,608 Region Association: Pacific Northwest |
Another (next) day. Relays checked out ok. We're going to build a tester. KISS
The problem was in the female sockets on the relay board. I'd forgot about the wiring cleanup tool I'd bought at Automotion many years ago. 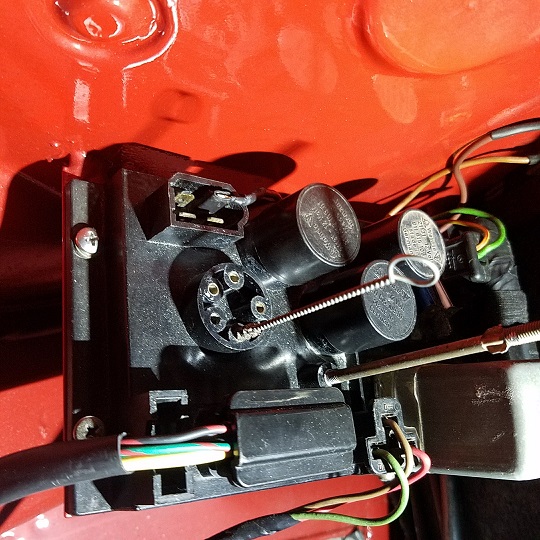 Used the fan socket for an example. 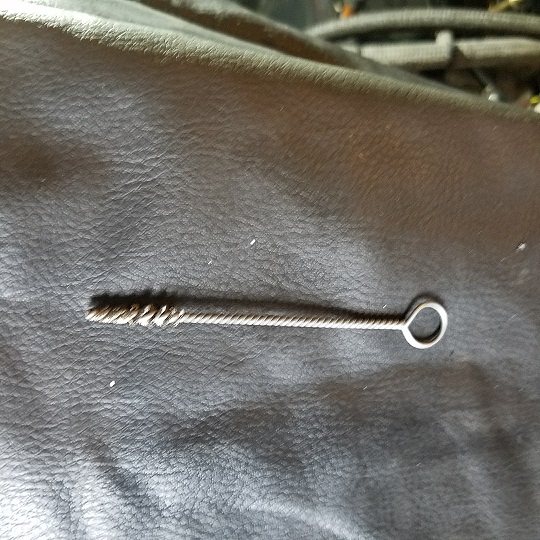 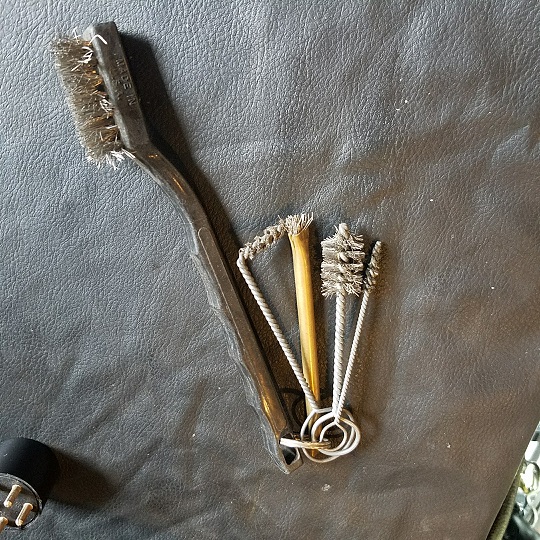 But the gremlins returned, now no spark. Super In Law and Matt can dig into that. Ignition power to the coil. No spark coming out the plug wire. Old School stuff for them to play with. |
|
|
|
| Matty900 |
Oct 7 2017, 11:23 AM
Post
#486
|
|
Senior Member Group: Members Posts: 1,305 Joined: 21-February 15 From: Oregon Member No.: 18,454 Region Association: Pacific Northwest |
My multi gauge in my 72 will not stop flashing chair.gif
First thought was that I needed to reset the master cylinder after the breaks were done. I did that - Still flashing I checked the switch on the emergency brake. I had connected one of the wires for the back pad light to it headbang.gif Fixed that - Still flashing I was blowing a fuse for the drivers side signals. After reading posts I thought this could be indicating I had an issue with lights. I tracked down the ground, fixed the problem - Still flashing I had replaced almost all of the lights in the dash with LEDs. So after reading posts about how the flasher relay works, I swapped these 2 lights and the turn signal lights in the tac back to regular bulbs - Still flashing Any ideas? |
|
|
|
| Matty900 |
Feb 18 2018, 10:53 PM
Post
#487
|
|
Senior Member Group: Members Posts: 1,305 Joined: 21-February 15 From: Oregon Member No.: 18,454 Region Association: Pacific Northwest |
Have an updated in awhile but it's time to get back to work on the car. Had a issue with the paint after trying to get the car done for the Build-Off Challenge and put in a big nasty scratch on the door. Took the car back to the paint shop and Kent was gracious enough take care off all it for me. I had a couple of bubbles that started showing up in the paint as well as my scratch. Turns out they were rust bubbles coming from behind (IMG:style_emoticons/default/blink.gif) 2 were on the hood so there was some rust happening inside of the space between the inner hood and the support. The other was on the fender where the repair had been made and not properly treated inside the fender well.
Attached thumbnail(s) 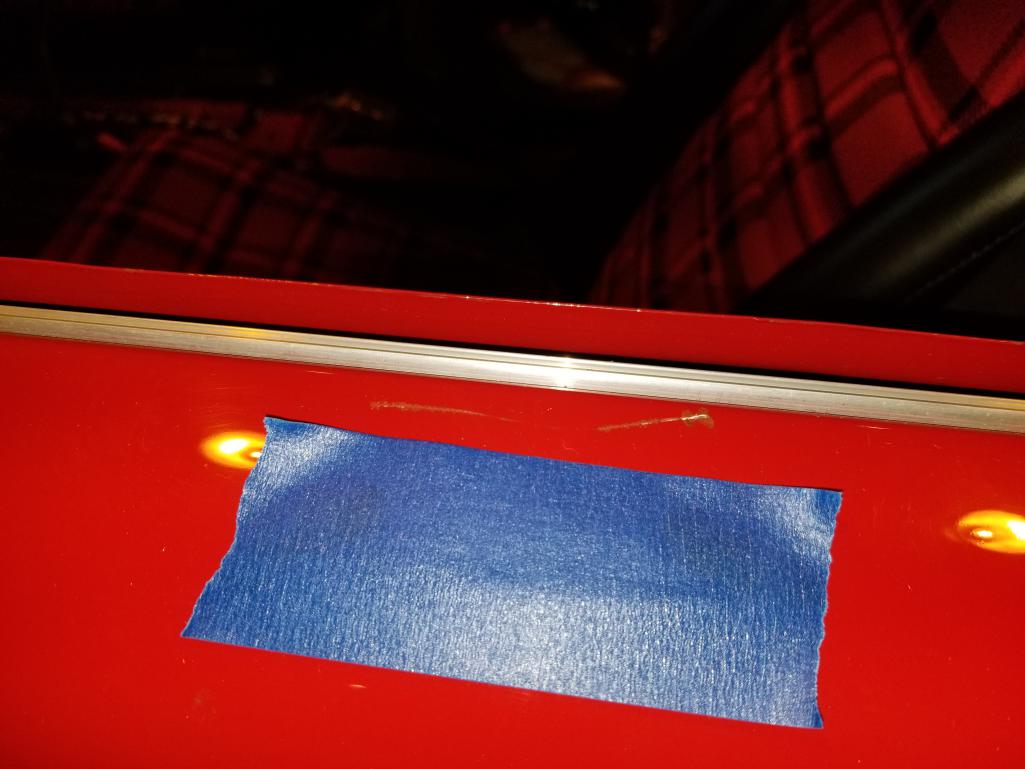 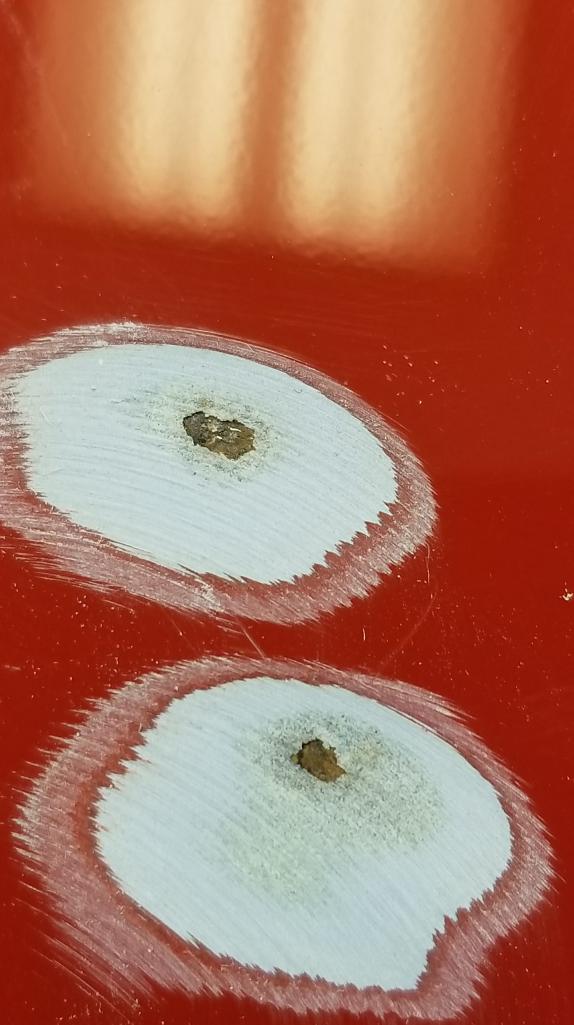
|
|
|
|
| Matty900 |
Feb 18 2018, 10:54 PM
Post
#488
|
|
Senior Member Group: Members Posts: 1,305 Joined: 21-February 15 From: Oregon Member No.: 18,454 Region Association: Pacific Northwest |
Attached thumbnail(s) 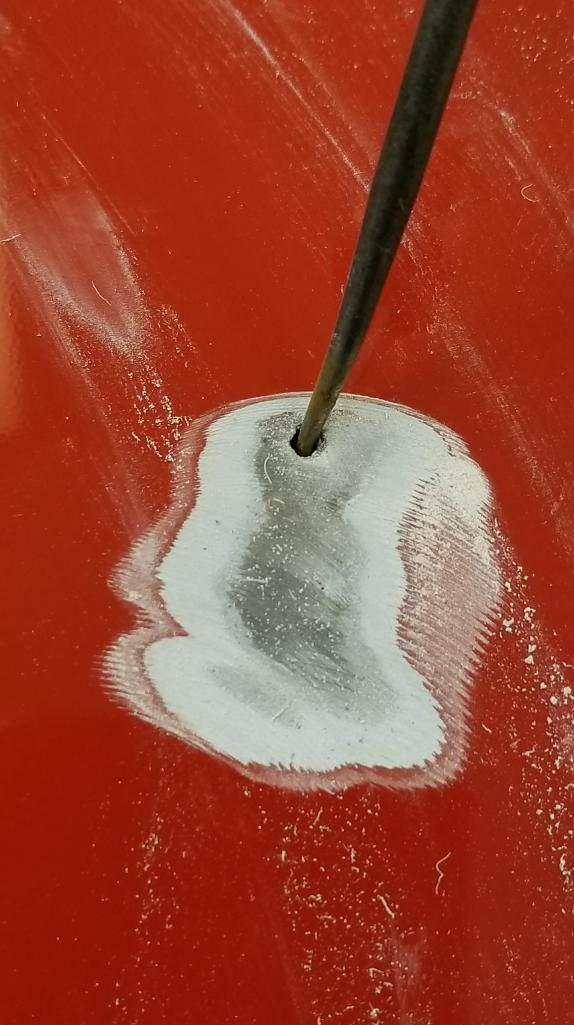
|
|
|
|
| Matty900 |
Feb 18 2018, 11:00 PM
Post
#489
|
|
Senior Member Group: Members Posts: 1,305 Joined: 21-February 15 From: Oregon Member No.: 18,454 Region Association: Pacific Northwest |
Good as new
Attached thumbnail(s) 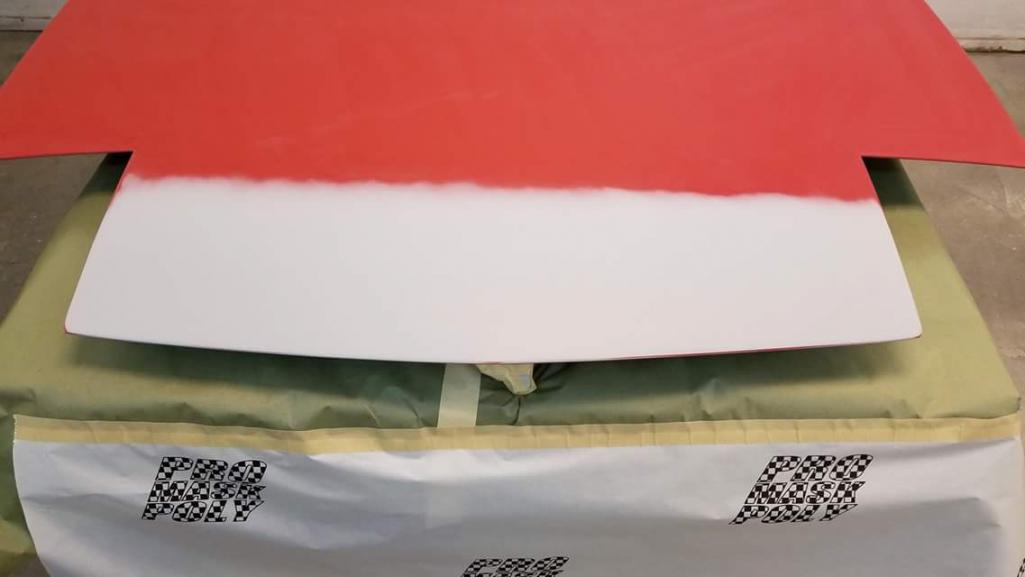 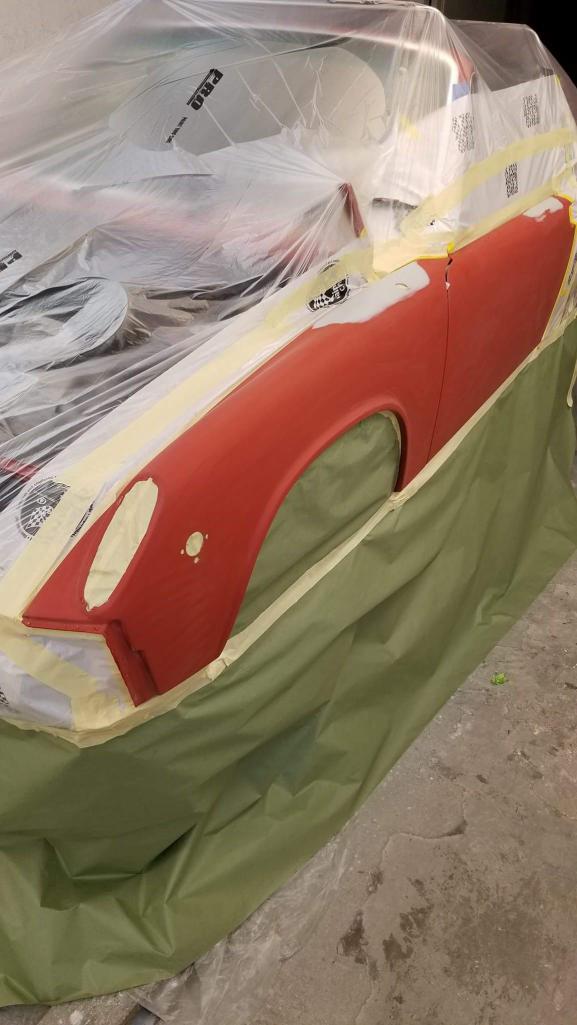 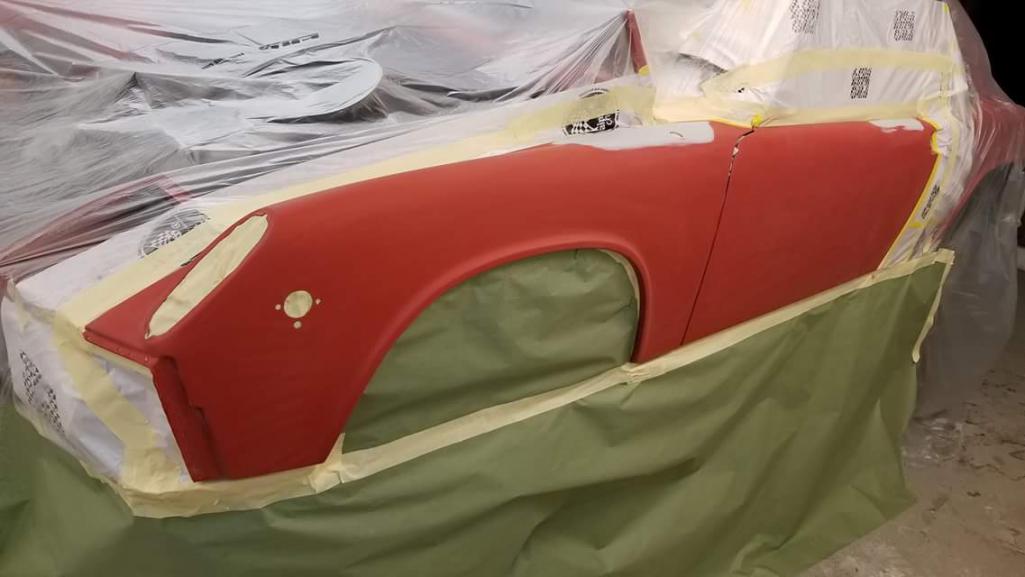
|
|
|
|
| Matty900 |
Feb 18 2018, 11:09 PM
Post
#490
|
|
Senior Member Group: Members Posts: 1,305 Joined: 21-February 15 From: Oregon Member No.: 18,454 Region Association: Pacific Northwest |
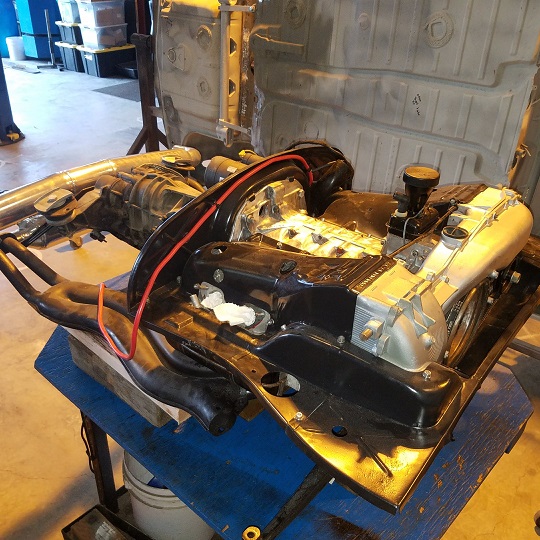
Back to the Barn again. (Middle Motors) Next up we will be pulling the engine and removing the temporary carbs that we put on it to have the car running for the Build-off deadline.
Mario will be sending me this pile of "Some assembly required" Micro Squirt (IMG:style_emoticons/default/piratenanner.gif) Should get interesting Attached thumbnail(s) 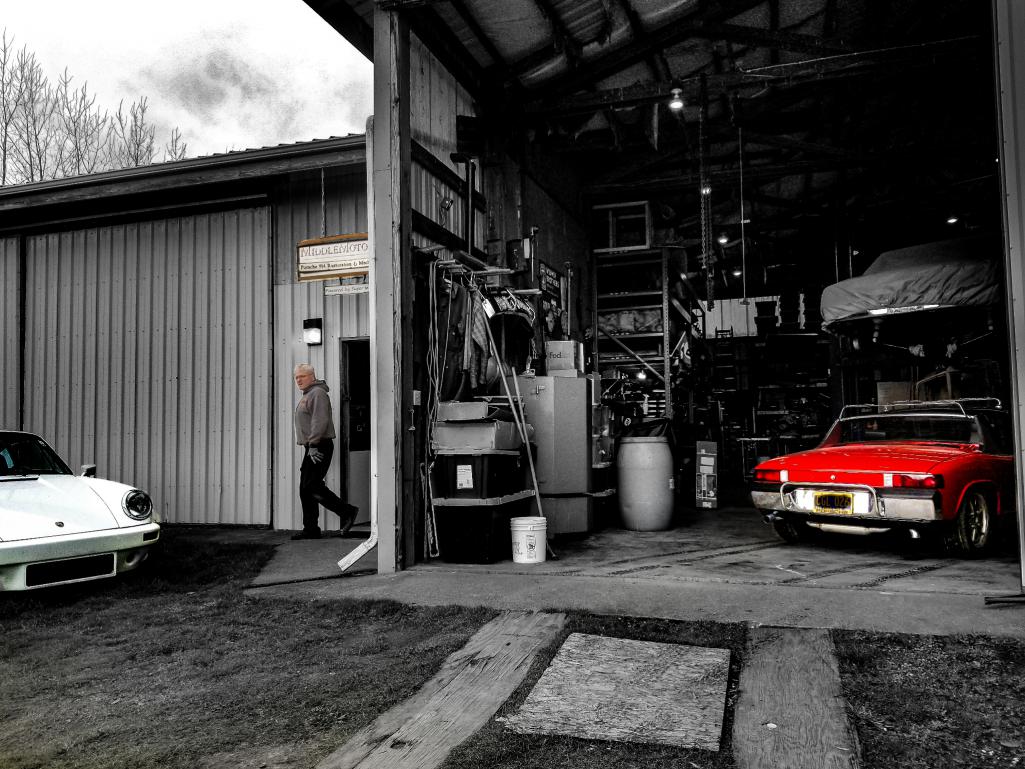 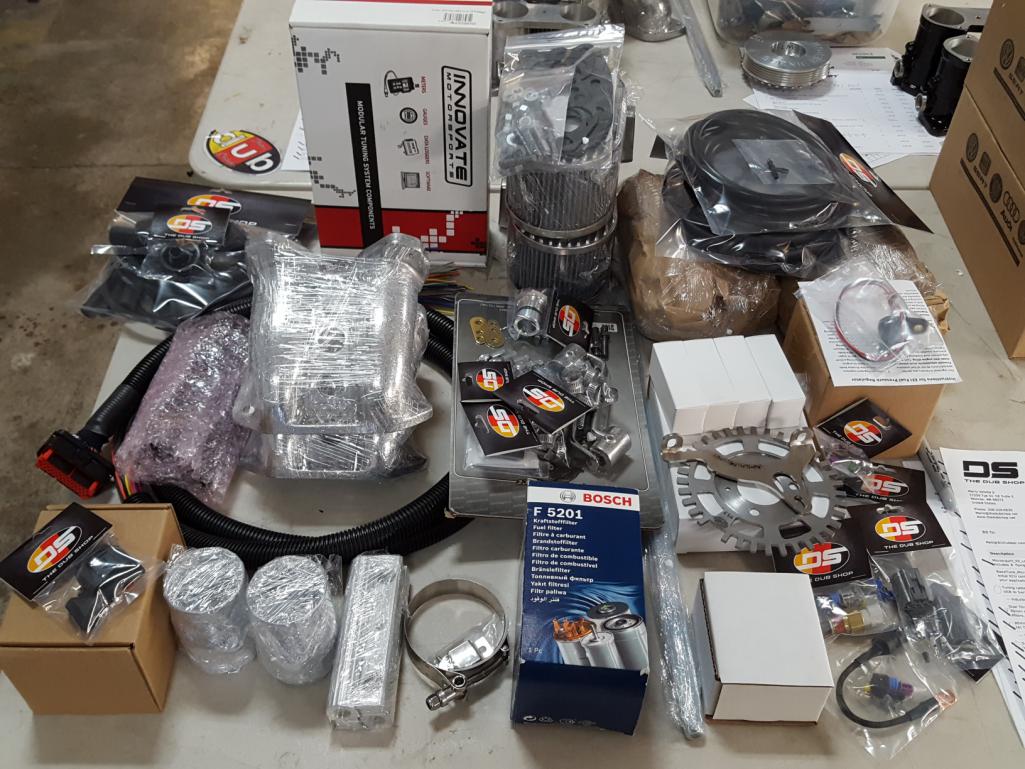
|
|
|
|
| cary |
Mar 4 2018, 06:51 PM
Post
#491
|
|
Advanced Member Group: Members Posts: 3,900 Joined: 26-January 04 From: Sherwood Oregon Member No.: 1,608 Region Association: Pacific Northwest |
While Matt's car is here for The Dub Shop MegaSquirt install. We'll tidy up a couple loose ends so it will be ready to roll when the MegaSquirt is dialed in.
1st. order of business is tidying up a couple wiring gremlins theft from the build off. Left turn signals and the parking brake light had issues. With Spoke's assistance we got those cleared up. Took a bit but every thing is working. Matt is getting a new front turn signal bucket from Bruce. 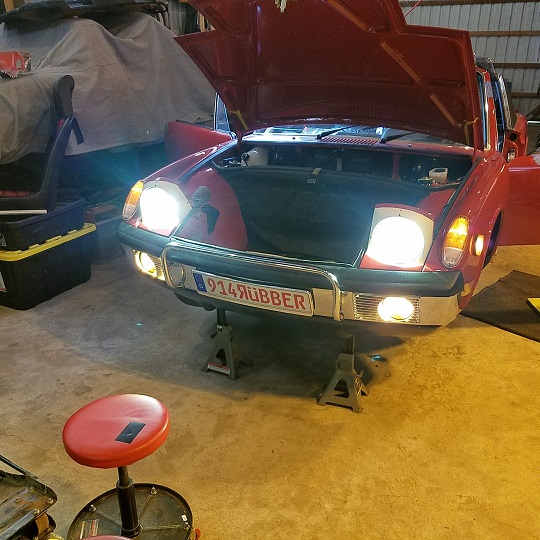 |
|
|
|
| cary |
Mar 4 2018, 06:58 PM
Post
#492
|
|
Advanced Member Group: Members Posts: 3,900 Joined: 26-January 04 From: Sherwood Oregon Member No.: 1,608 Region Association: Pacific Northwest |
2nd item. A tiny fuel drip from the gas tank. (IMG:style_emoticons/default/mad.gif)
I found a couple left overs on the large outlet pipe. The rim of an old fuel sock and what was left of a brass washer. 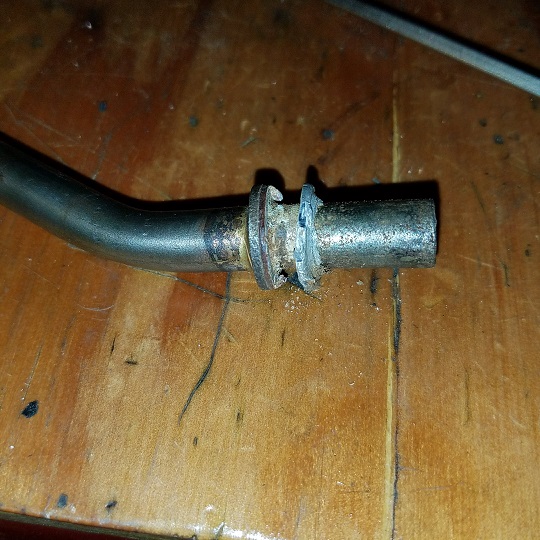 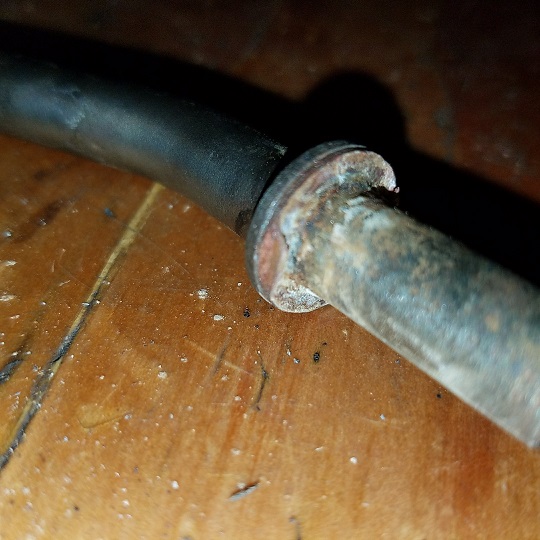 New nuts and brass seals installed . I've been doing a static test for 2 days. Dry as a bone so far. (IMG:style_emoticons/default/biggrin.gif) 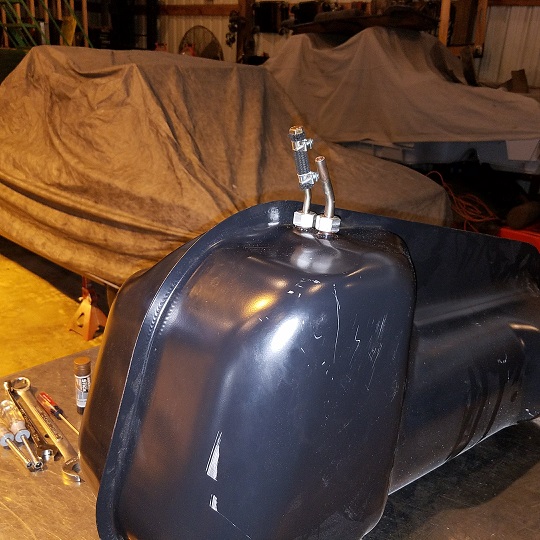 |
|
|
|
| cary |
Mar 4 2018, 07:12 PM
Post
#493
|
|
Advanced Member Group: Members Posts: 3,900 Joined: 26-January 04 From: Sherwood Oregon Member No.: 1,608 Region Association: Pacific Northwest |
3rd. Item. Four of the 6mm threaded weld nuts on the longs that bolt up the outer rocker panels had snapped off bolts. (IMG:style_emoticons/default/mad.gif)
So the snapped off bolts where drilled out and metric nutserts installed. 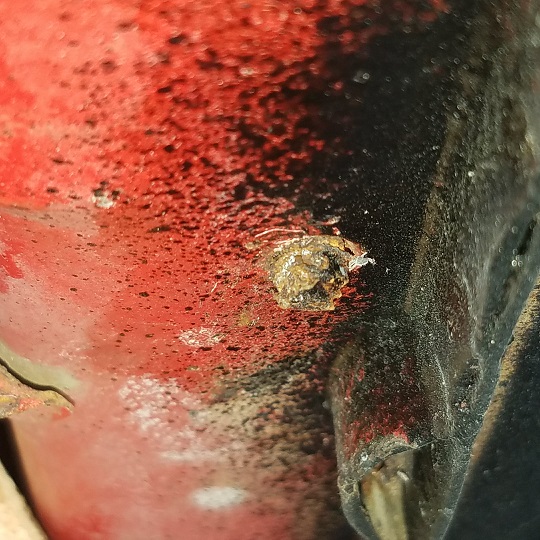 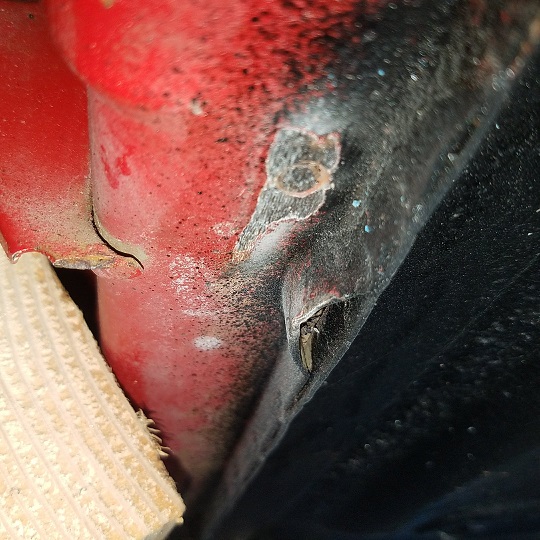 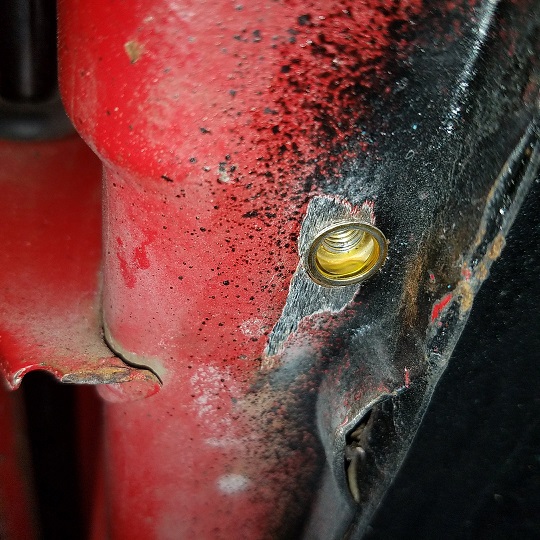 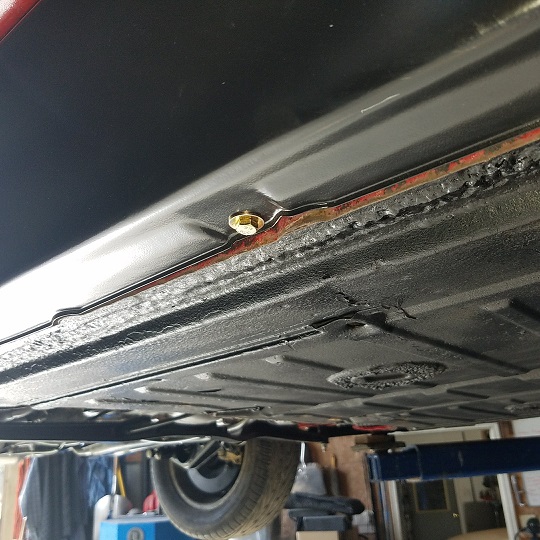 |
|
|
|
| cary |
Mar 4 2018, 07:18 PM
Post
#494
|
|
Advanced Member Group: Members Posts: 3,900 Joined: 26-January 04 From: Sherwood Oregon Member No.: 1,608 Region Association: Pacific Northwest |
While the engine is out for the MegaSquirt install. I'll address the oil leaks on the engine rebuild. So for it looks like push rod seals and valve cover gaskets.
On my rebuild I used Permatex Teflon Sealant on the o -rings and I'm leak free. But I"ll go with the latest and greatest Best Practice. Dow 55. 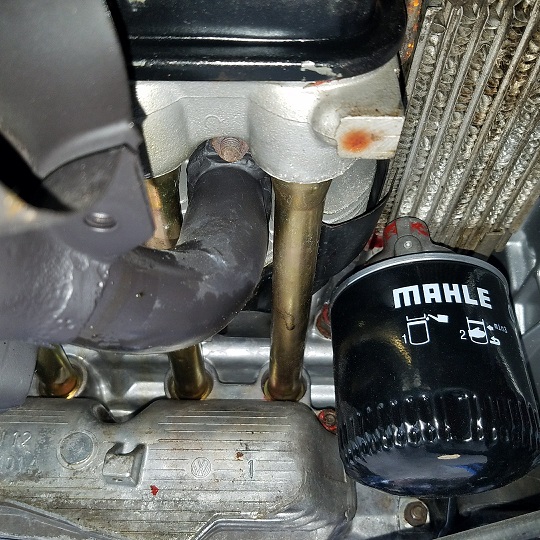 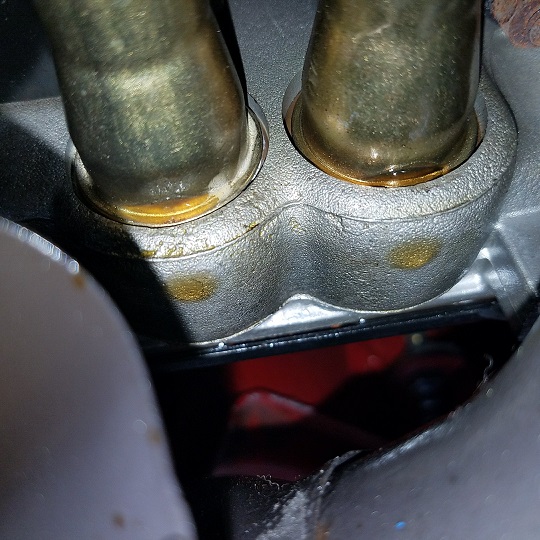 |
|
|
|
| cary |
Mar 4 2018, 07:23 PM
Post
#495
|
|
Advanced Member Group: Members Posts: 3,900 Joined: 26-January 04 From: Sherwood Oregon Member No.: 1,608 Region Association: Pacific Northwest |
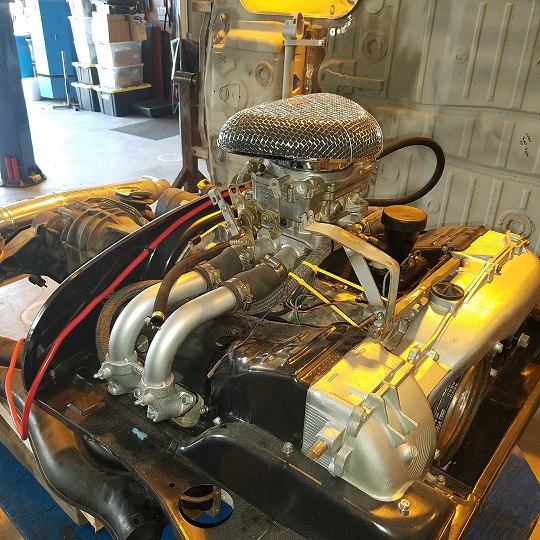
Engines on the table and ready for the MegaSquirt install. This is going to be fun .............
   |
|
|
|
| cary |
Mar 15 2018, 09:04 PM
Post
#496
|
|
Advanced Member Group: Members Posts: 3,900 Joined: 26-January 04 From: Sherwood Oregon Member No.: 1,608 Region Association: Pacific Northwest |
Time for Matt's 72 914 to enter the 21st Century. I'm beginning the install of
MicroSquirt V3. Verify #1 TDC 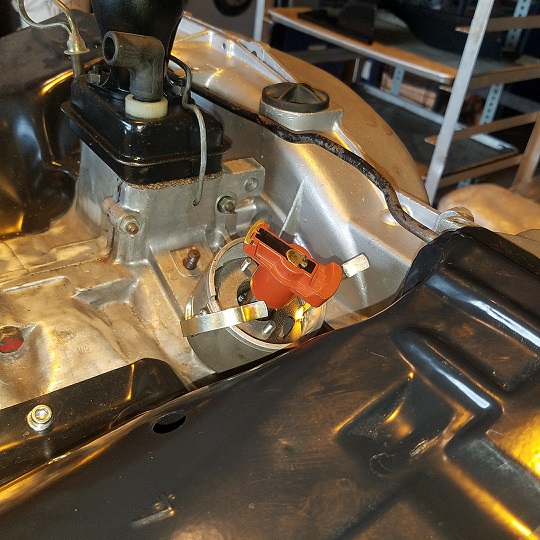 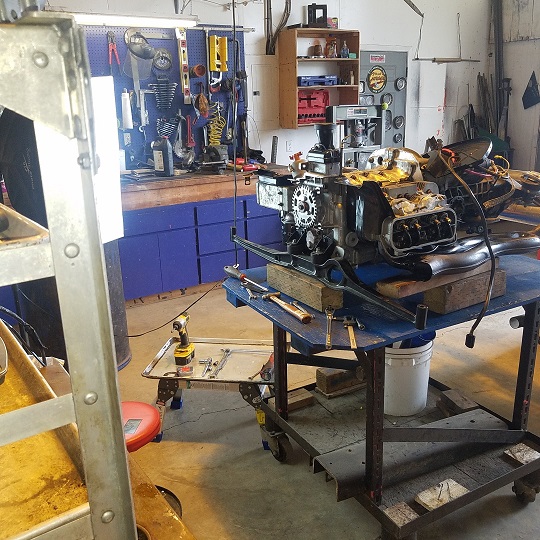 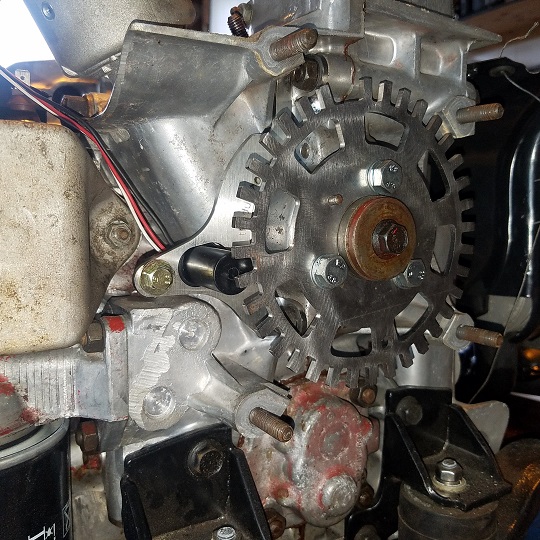 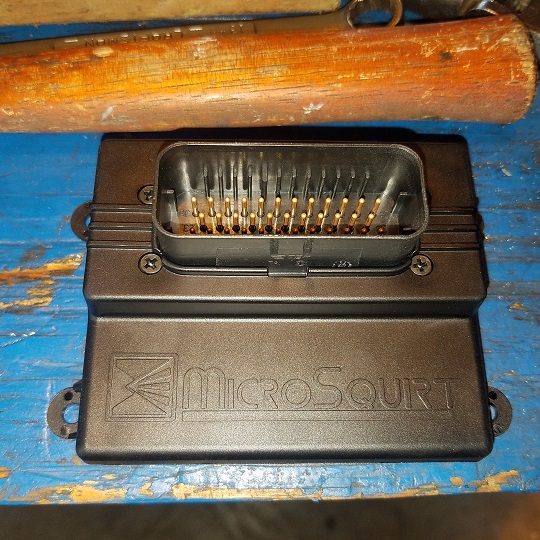 |
|
|
|
| Matty900 |
Mar 16 2018, 11:53 PM
Post
#497
|
|
Senior Member Group: Members Posts: 1,305 Joined: 21-February 15 From: Oregon Member No.: 18,454 Region Association: Pacific Northwest |
Replaced the old Alternator wiring harness with a new one with new grommets.
Attached thumbnail(s) 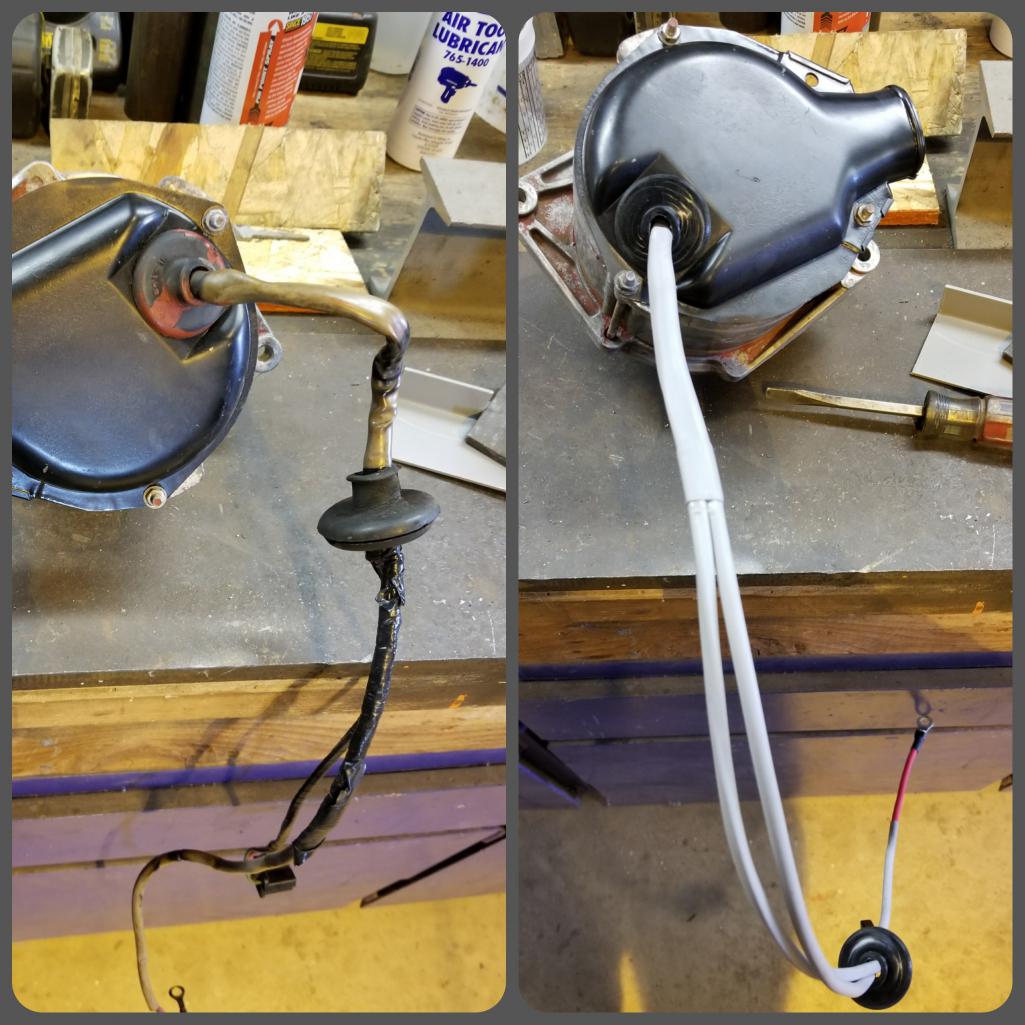
|
|
|
|
| cary |
Mar 17 2018, 06:19 AM
Post
#498
|
|
Advanced Member Group: Members Posts: 3,900 Joined: 26-January 04 From: Sherwood Oregon Member No.: 1,608 Region Association: Pacific Northwest |
Mounted the trigger wheel and crank position sensor to get things started.
But now, off to the oil leaks. Needless to say the valve cover gaskets were leaking. Primary leaks are from the push rod tubes. I'll tackle the left first. Off come the rocker arms ....................  Found a couple issues. Engine has maybe an hour of total run time. 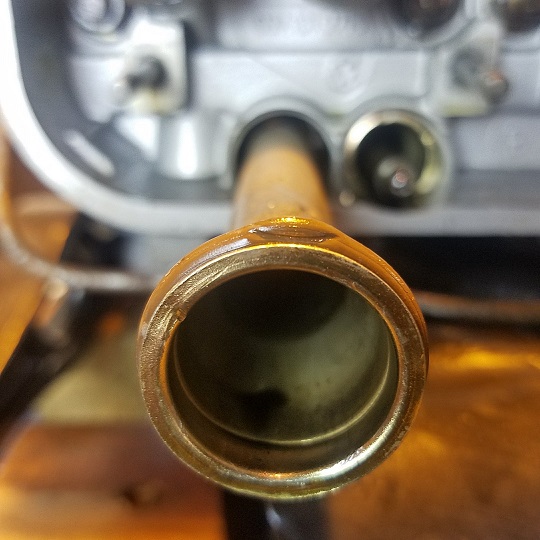 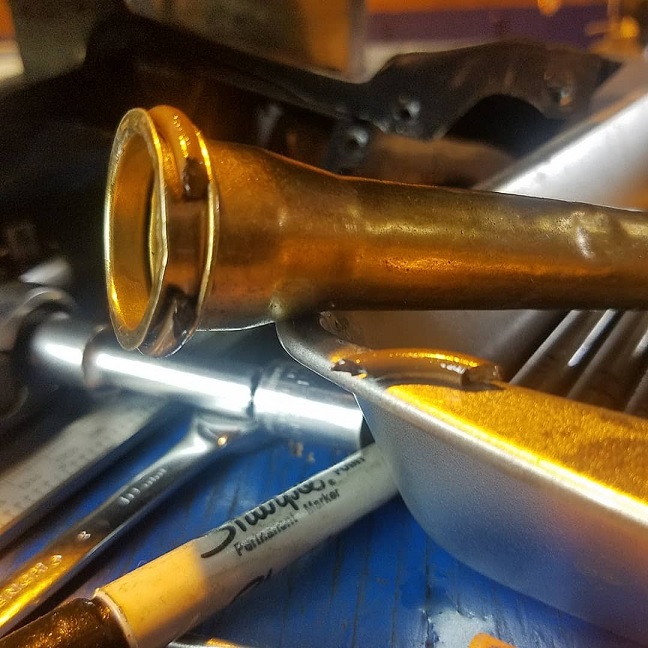 Had trouble pulling out #2 intake tube .............. Had the same trouble putting in the #2 intake tube. The other 3 snapped right in. Then gave them a 180 degree twist. We'll take it back out after the right side is done. Like I've mentioned in other threads I've always used Jake's original Permatex Teflon thread sealant with no leaks. Old school guys just use engine oil. I'm not that lucky. And I hate the old cliche air cooled engines are supposed to leak. So I'm trying DOW 55 seal lube. Looks like cold cream. Going to be a very fast month. Get Matt ready for Route 66 and preparing the Rothsport rally cars for the Mexican 1000. Plus a Hummer service support truck, Dakar style this time. Leaving for Baja the morning of the 18th of April. The race is on .... |
|
|
|
| Cairo94507 |
Mar 17 2018, 06:37 AM
Post
#499
|
|
Michael Group: Members Posts: 10,657 Joined: 1-November 08 From: Auburn, CA Member No.: 9,712 Region Association: Northern California |
Nice work. (IMG:style_emoticons/default/beerchug.gif)
|
|
|
|
| cary |
Mar 23 2018, 11:49 PM
Post
#500
|
|
Advanced Member Group: Members Posts: 3,900 Joined: 26-January 04 From: Sherwood Oregon Member No.: 1,608 Region Association: Pacific Northwest |
Noisy TOP SECRET day at MiddleMotors. Took the day off from Rothsport to get all the distractions out of the way.
#1 . Mounted the XL wiring diagrams onto the foam boards. 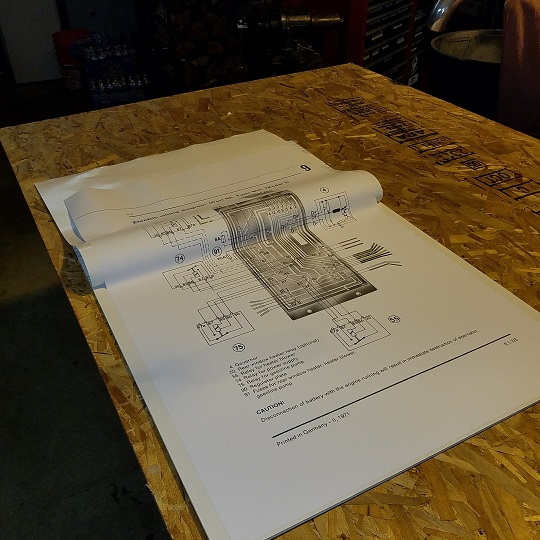 #2 . Then all the noisy stuff is cleaning parts and hardware getting ready for plating. 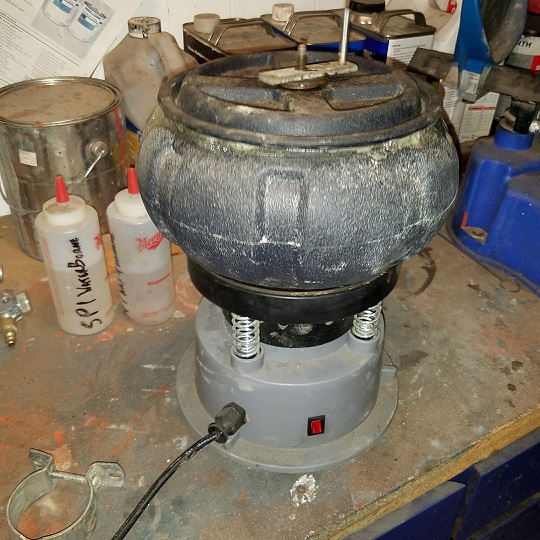 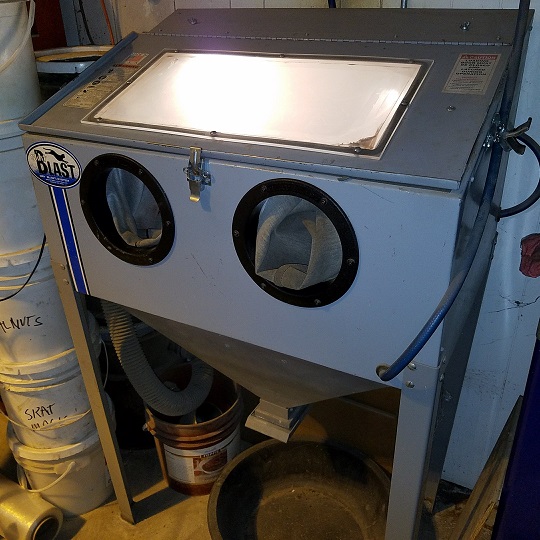 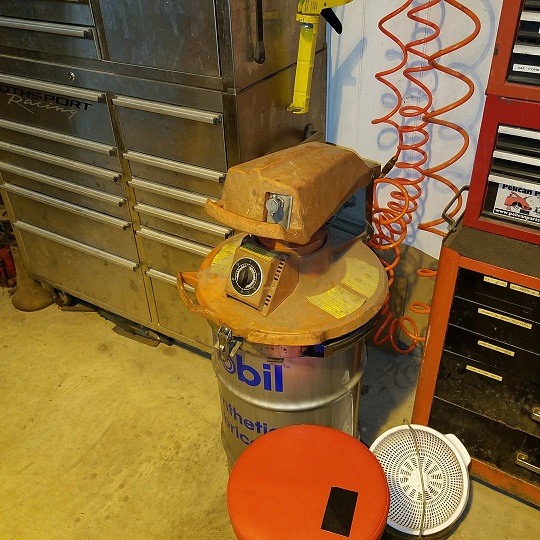  Taylor showed up around 1pm to make more racket in the other room. LOL. |
|
|
|
|
1 User(s) are reading this topic (1 Guests and 0 Anonymous Users)
0 Members:

|
Lo-Fi Version | Time is now: 3rd June 2026 - 12:52 AM |
Invision Power Board
v9.1.4 © 2026 IPS, Inc.