|
|

|
Porsche, and the Porsche crest are registered trademarks of Dr. Ing. h.c. F. Porsche AG.
This site is not affiliated with Porsche in any way. Its only purpose is to provide an online forum for car enthusiasts. All other trademarks are property of their respective owners. |
|
|
  |
| Dave_Darling |
 Sep 12 2016, 08:02 PM Sep 12 2016, 08:02 PM
Post
#341
|
|
914 Idiot                Group: Members Posts: 15,305 Joined: 9-January 03 From: Silicon Valley / Kailua-Kona Member No.: 121 Region Association: Northern California 
|
If that's a stock CHT sensor, just put one probe on the end of the wire and the other on the threaded part to measure resistance. Leave it on the 0-20K ohms range and see what it says. Should be in the 2-3 range (2000-3000 ohms) at room temperature.
--DD |
| cary |
 Sep 13 2016, 07:35 AM Sep 13 2016, 07:35 AM
Post
#342
|
|
Advanced Member     Group: Members Posts: 3,900 Joined: 26-January 04 From: Sherwood Oregon Member No.: 1,608 Region Association: Pacific Northwest 
|
|
| cary |
 Sep 13 2016, 07:39 AM Sep 13 2016, 07:39 AM
Post
#343
|
|
Advanced Member     Group: Members Posts: 3,900 Joined: 26-January 04 From: Sherwood Oregon Member No.: 1,608 Region Association: Pacific Northwest 
|
If that's a stock CHT sensor, just put one probe on the end of the wire and the other on the threaded part to measure resistance. Leave it on the 0-20K ohms range and see what it says. Should be in the 2-3 range (2000-3000 ohms) at room temperature. --DD (IMG:style_emoticons/default/sad.gif) , goes straight to 00.00. More Bad News, it's an 012. I'll have to dig thru my stash on Thursday. |
| cary |
 Sep 16 2016, 08:21 AM Sep 16 2016, 08:21 AM
Post
#344
|
|
Advanced Member     Group: Members Posts: 3,900 Joined: 26-January 04 From: Sherwood Oregon Member No.: 1,608 Region Association: Pacific Northwest 
|
We start the day with a stop at 914 Rubber to pick up some stuff for Mark's car.
Taillight seals & gaskets, trunk bumper, speed nuts & engine lid edge seal. First task. Seam seal the top of the jack point. 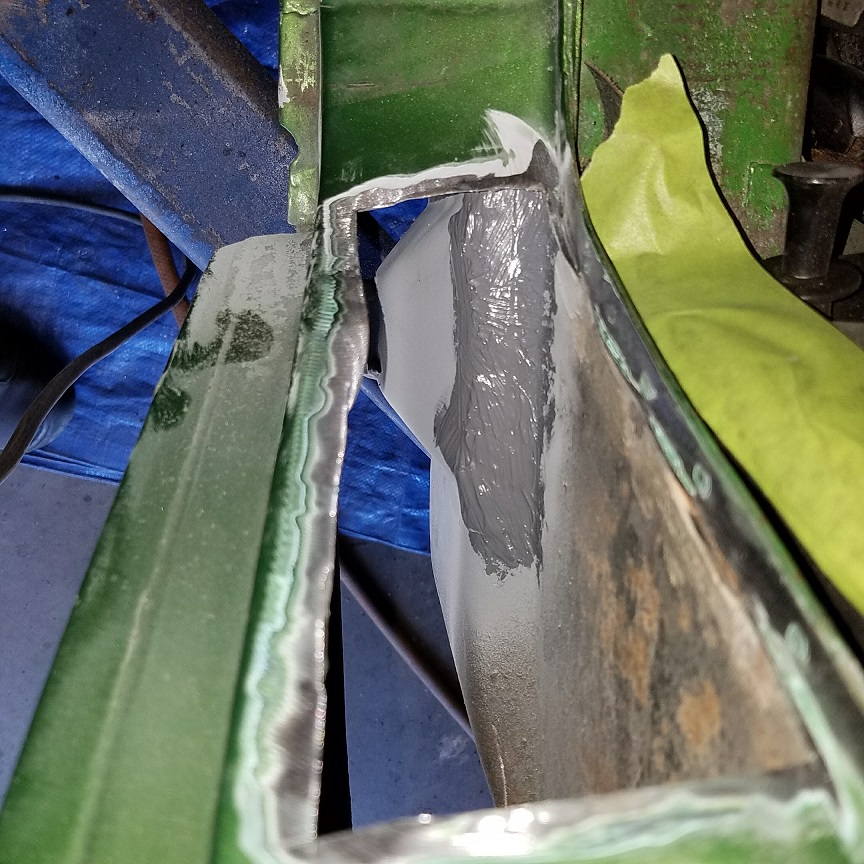 Then on to the tedious task of aligning the trunk. After quite a bit of trial and error we finally get it within 2mm. (IMG:style_emoticons/default/smile.gif) The back and side bow do create quite the challenge. All the time knowing you need the correct panel overhang to keep the water out of the trunk. After looking at quite a few cars I'm using the lens lamination line inside the taillights. 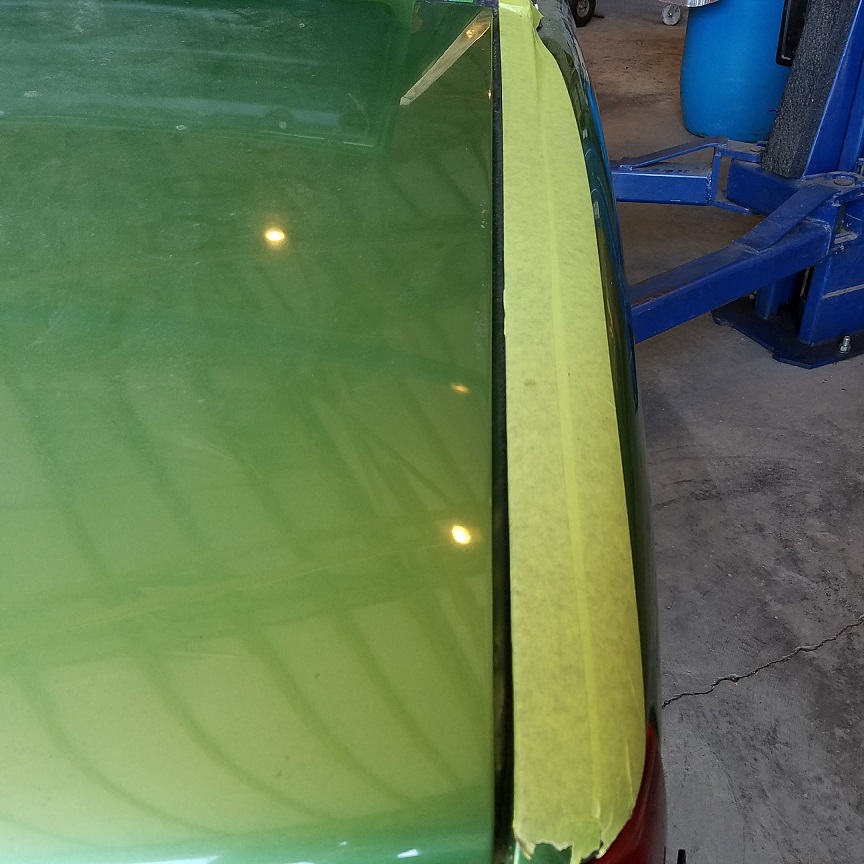 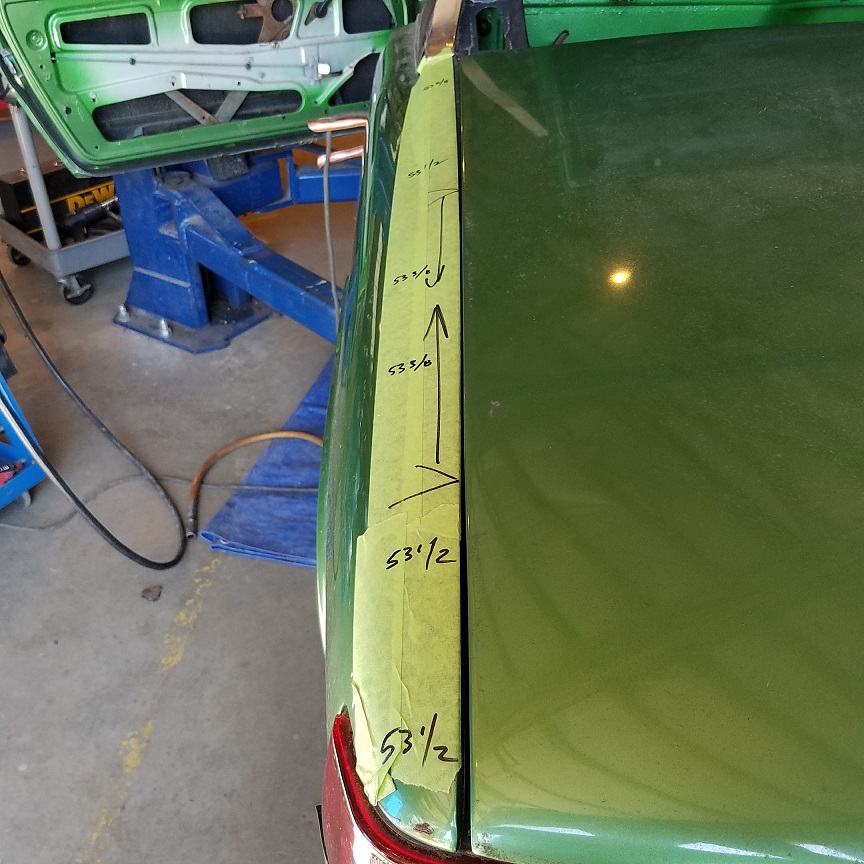 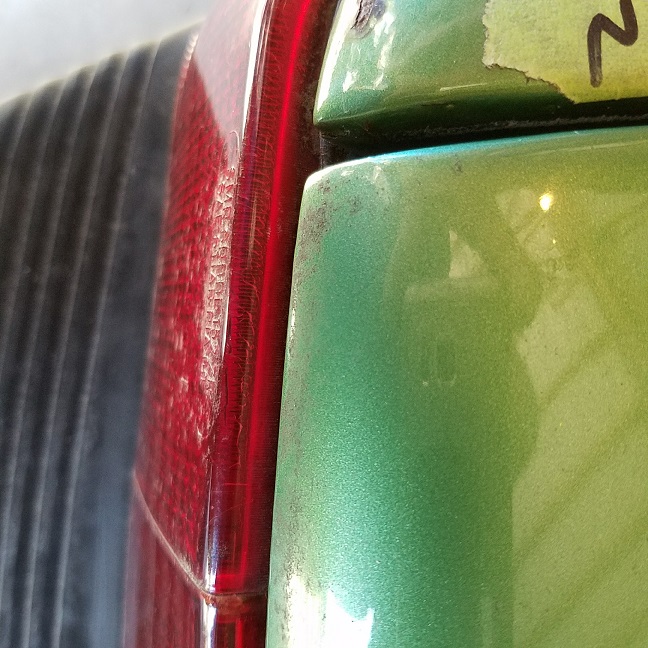 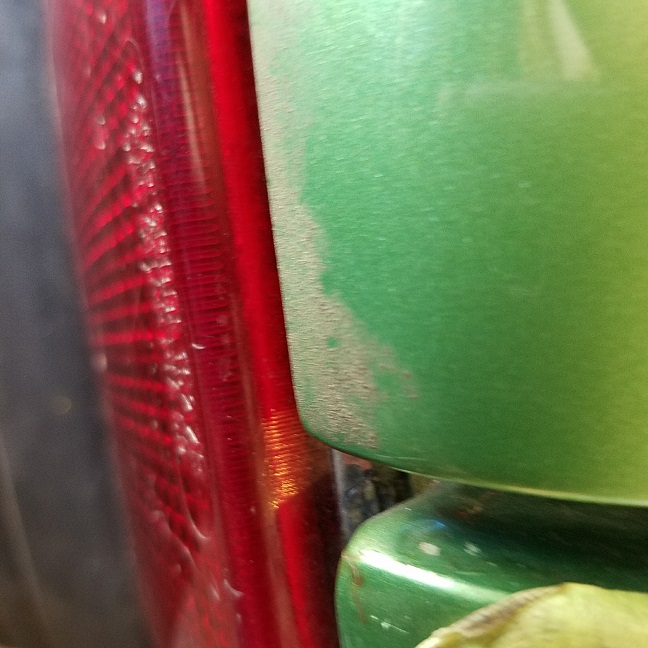 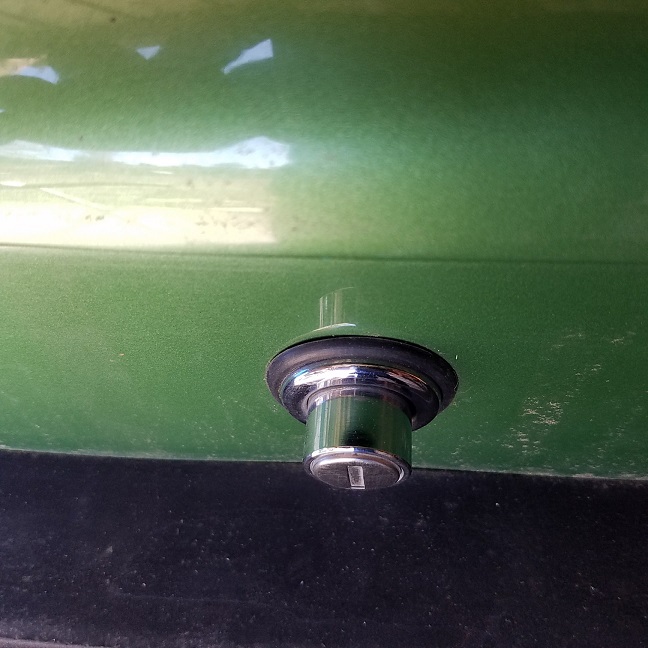 Then on to wrapping up the taillight harness with Mark's harness tape. I love this stuff. 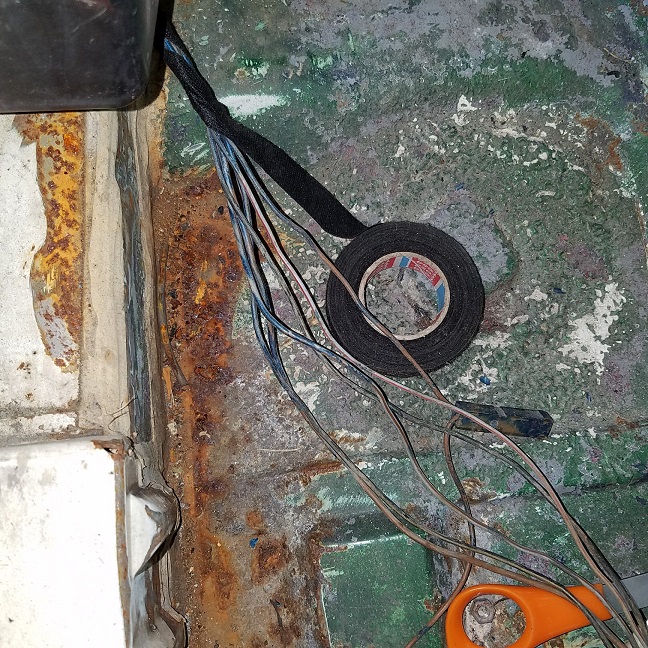 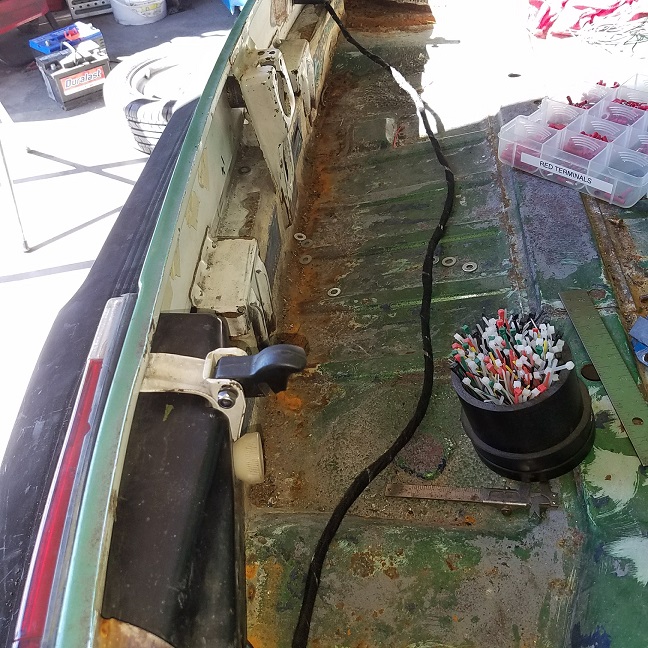 Then welding back in the jack point repair access hole. 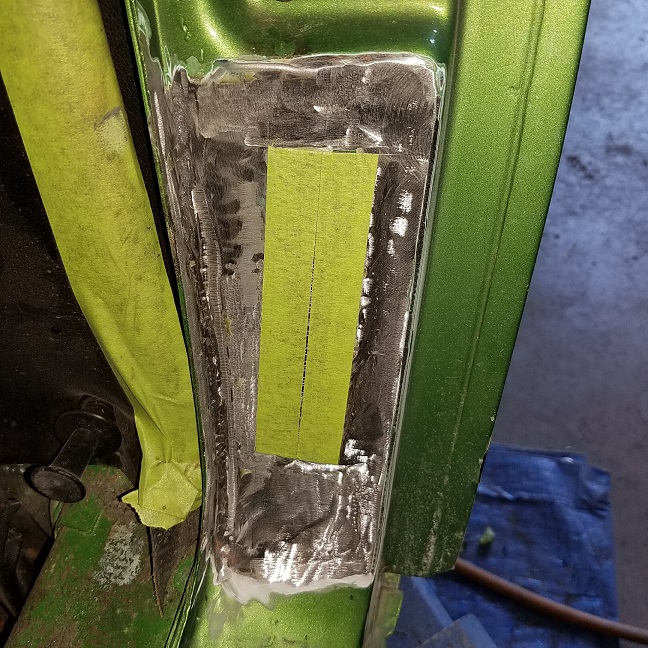 Forgot to shoot a picture at the ed of the day. Filled and primered. |
| cary |
 Sep 17 2016, 08:09 AM Sep 17 2016, 08:09 AM
Post
#345
|
|
Advanced Member     Group: Members Posts: 3,900 Joined: 26-January 04 From: Sherwood Oregon Member No.: 1,608 Region Association: Pacific Northwest 
|
Painted the access hole patch. Mixed to paint code. It's quite a bit darker laid right on top. Can sputtered a couple times and gave me an even darker blob that ran.
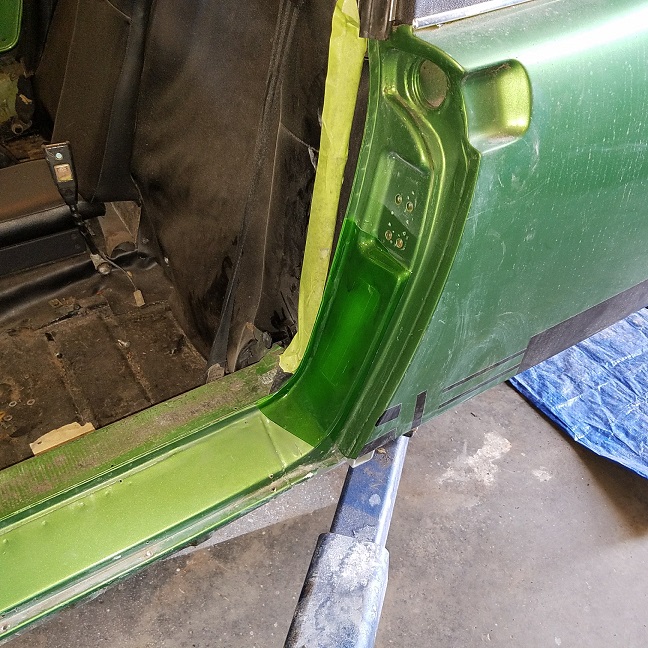 I'll probably wet sand it and repaint the entire piece. Rim in front of vent to the sill seam. Won't be perfect, but a little more sanitary. Trunk finally fitted to my liking ............ 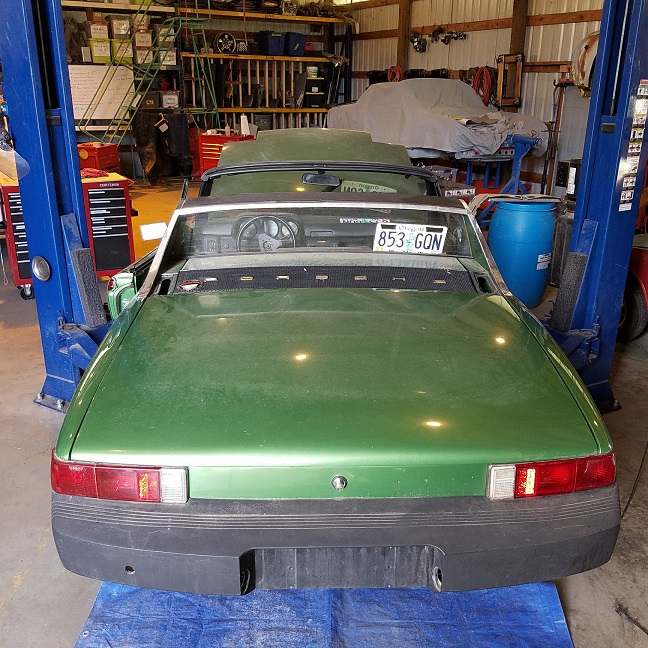 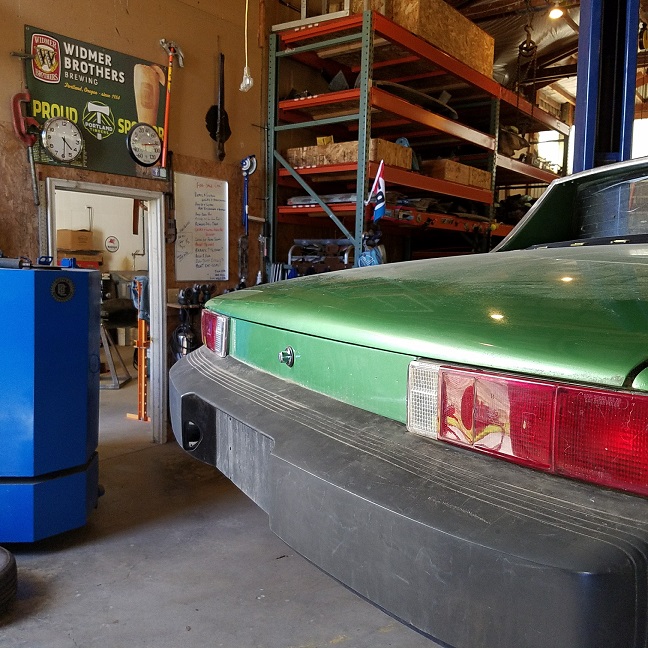 Gave the trunk a once over with the cup brush and hosed the back half down with OSPHO. 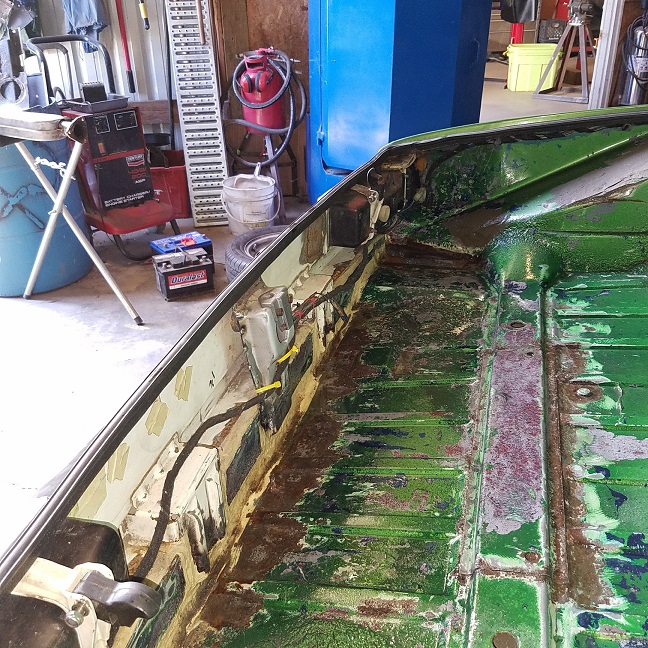 |
| cary |
 Sep 17 2016, 08:33 AM Sep 17 2016, 08:33 AM
Post
#346
|
|
Advanced Member     Group: Members Posts: 3,900 Joined: 26-January 04 From: Sherwood Oregon Member No.: 1,608 Region Association: Pacific Northwest 
|
Then on to the late model heat exchangers.
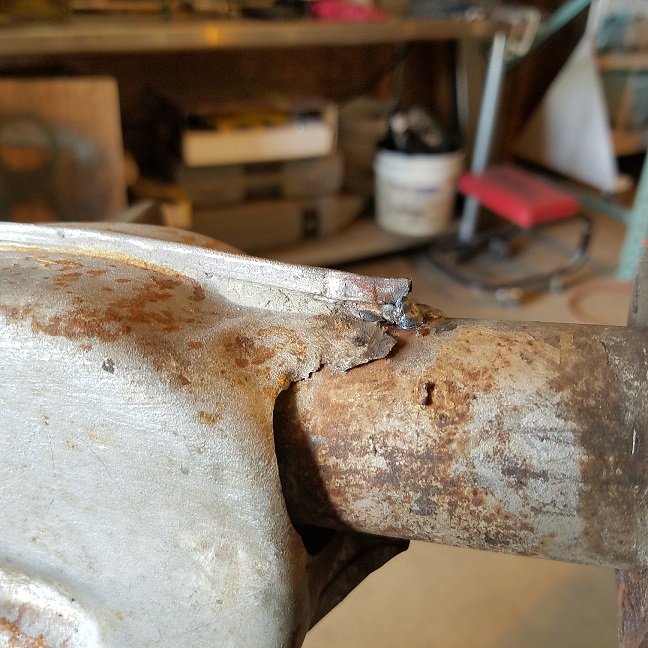 They were originally built with only two welds holding on the heater boxes. Hmmm. 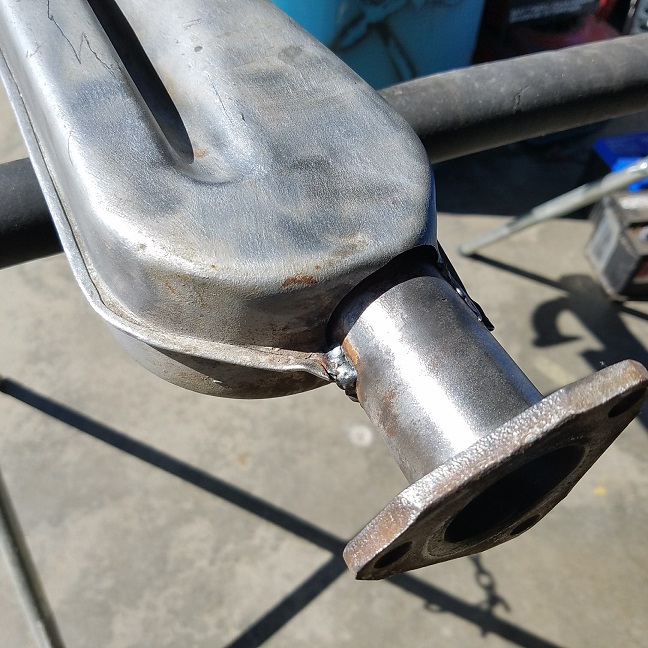 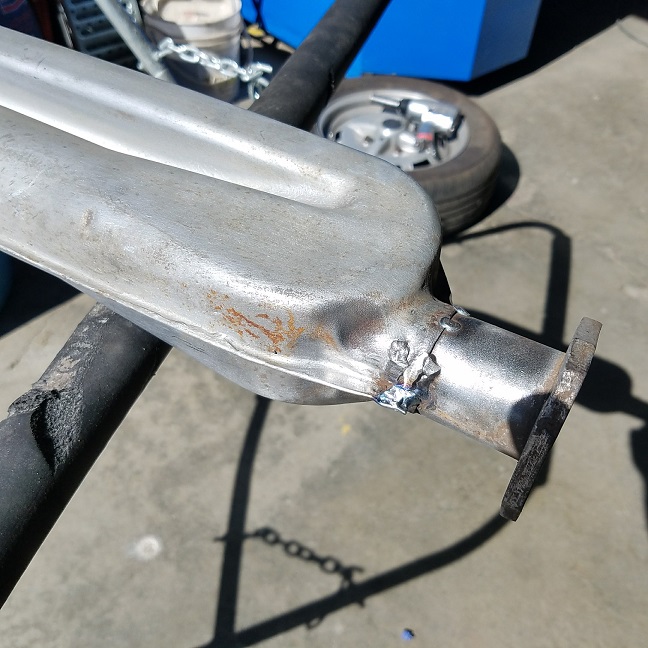 Then after looking at what needs to be done with the right side I determine that the blower feed is missing. (IMG:style_emoticons/default/evilgrin.gif) So I dig thru Mark's box of heater tin. Low and behold theres a new lower portion. Just did a once over thru the exhaust page at The Bus Depot. Where did that part come from ? And a donor top portion from the right side. 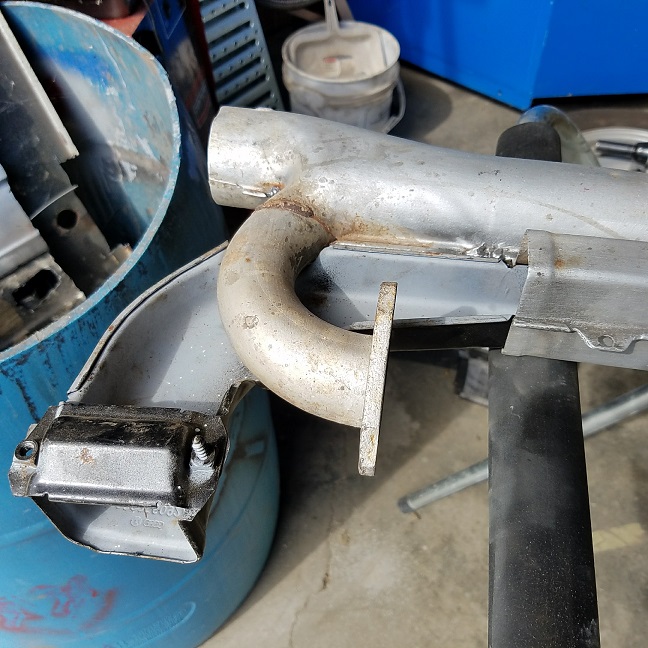 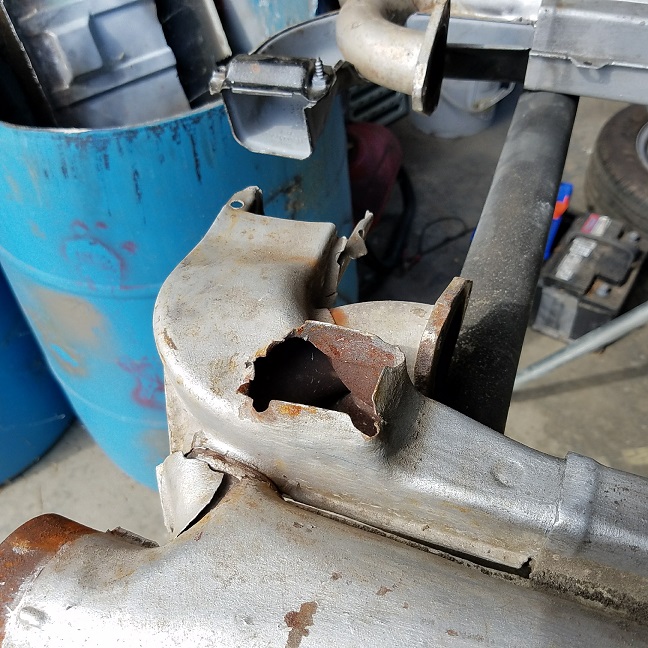 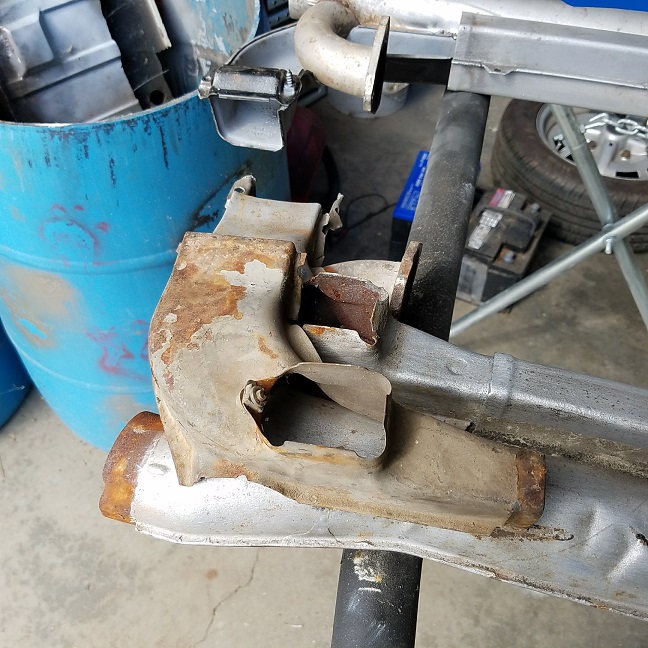 If all else fails we'll create a new left with portions of the right donor. |
| rhodyguy |
 Sep 17 2016, 08:41 AM Sep 17 2016, 08:41 AM
Post
#347
|
|
Chimp Sanctuary NW. Check it out.                Group: Members Posts: 22,252 Joined: 2-March 03 From: Orion's Bell. The BELL! Member No.: 378 Region Association: Galt's Gulch |
Cary, I have a few late late he parts similar to the ones pictured That I have no use for. Send me an address and I'll mail them out.
|
| cary |
 Sep 17 2016, 08:46 AM Sep 17 2016, 08:46 AM
Post
#348
|
|
Advanced Member     Group: Members Posts: 3,900 Joined: 26-January 04 From: Sherwood Oregon Member No.: 1,608 Region Association: Pacific Northwest 
|
PM on the way ...............
|
| cary |
 Sep 19 2016, 08:43 PM Sep 19 2016, 08:43 PM
Post
#349
|
|
Advanced Member     Group: Members Posts: 3,900 Joined: 26-January 04 From: Sherwood Oregon Member No.: 1,608 Region Association: Pacific Northwest 
|
Cary, I have a few late late he parts similar to the ones pictured That I have no use for. Send me an address and I'll mail them out. Thanks Kevin ............parts arrived safe and sound. Like you said, you had the piece we needed. 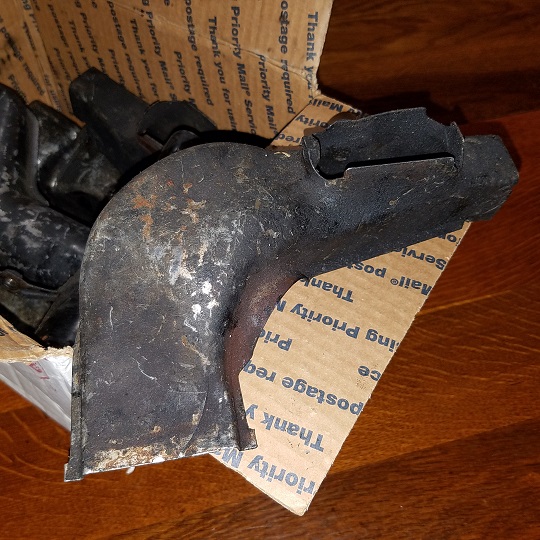 Check for the postage is on the way. |
| Mikey914 |
 Sep 20 2016, 12:44 AM Sep 20 2016, 12:44 AM
Post
#350
|
|
The rubber man           Group: Members Posts: 12,772 Joined: 27-December 04 From: Hillsboro, OR Member No.: 3,348 Region Association: None 
|
Thanks Kevin!!
|
| cary |
 Sep 22 2016, 09:30 PM Sep 22 2016, 09:30 PM
Post
#351
|
|
Advanced Member     Group: Members Posts: 3,900 Joined: 26-January 04 From: Sherwood Oregon Member No.: 1,608 Region Association: Pacific Northwest 
|
Once again, Thanks Kevin.
Went thru the box of exhaust tidbits sent by Kevin and selected the needed pieces. Gave them a good soaking and scrub down in the parts cleaner. Then a trip thru the bead blaster. Then it was time to put them back to work. 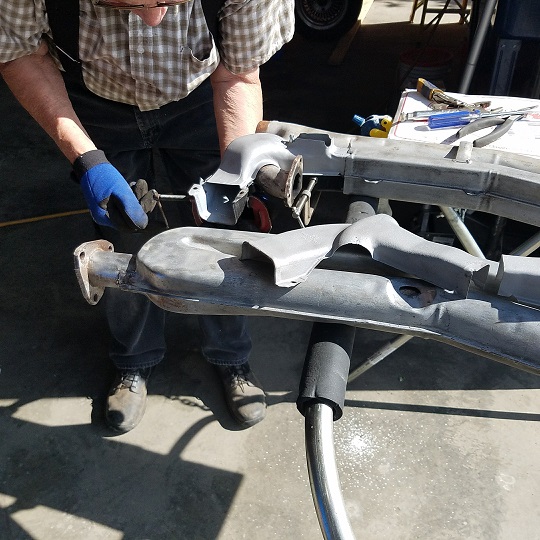 A thing of beauty ....... 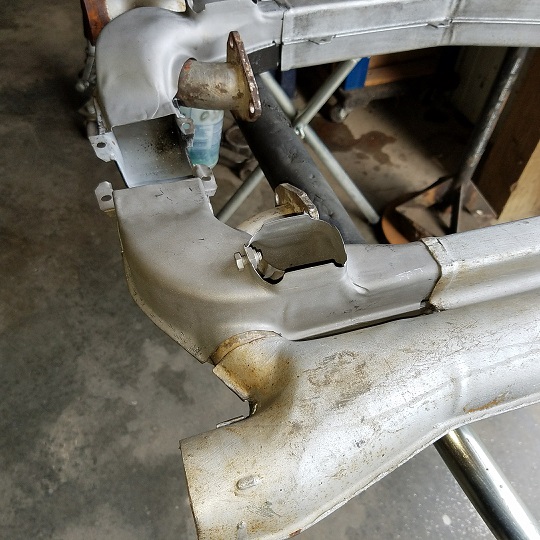 I so want to weld this thing up tight. But I know it needs to remain flexible to allow for fitting to the fan housing. 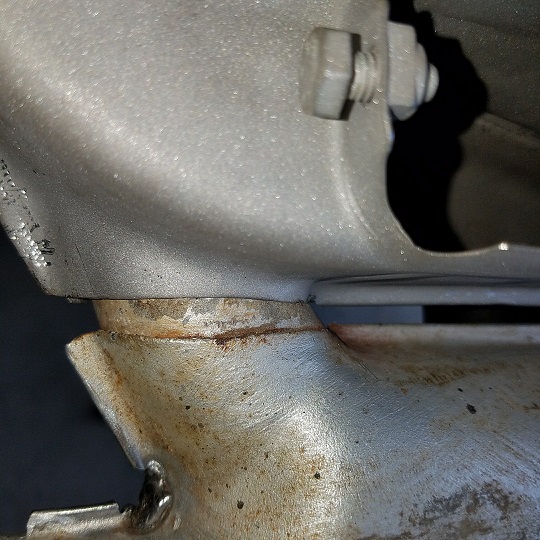 Tomorrow I will finish welding up the cracks. |
| rhodyguy |
 Sep 23 2016, 09:13 AM Sep 23 2016, 09:13 AM
Post
#352
|
|
Chimp Sanctuary NW. Check it out.                Group: Members Posts: 22,252 Joined: 2-March 03 From: Orion's Bell. The BELL! Member No.: 378 Region Association: Galt's Gulch |
I thought the squarish pieces that pass for late model j-tubes looked pretty good too. Glad you could make the parts work. Enjoy....
|
| cary |
 Sep 23 2016, 09:25 PM Sep 23 2016, 09:25 PM
Post
#353
|
|
Advanced Member     Group: Members Posts: 3,900 Joined: 26-January 04 From: Sherwood Oregon Member No.: 1,608 Region Association: Pacific Northwest 
|
Not much progress to report today.
Didn't get out there till 2pm. Then changed out the O2 sensor in the landlords truck. After that we moved the For Sale Car from the 2 post lift to the low rise. Super In Law is working on a small patch for the lower inner firewall. I drained the fuel tank and ran the old gas over to Waste Management. I'm getting it ready to remove the fuel tank so we can install a fresh air blower. The blower in Mark's parts stash works on all three speeds, but the hose ends on the outer case are broken off. (IMG:style_emoticons/default/sad.gif) But on a positive note all three donor/parts cars we have right now have fresh air blowers in them. 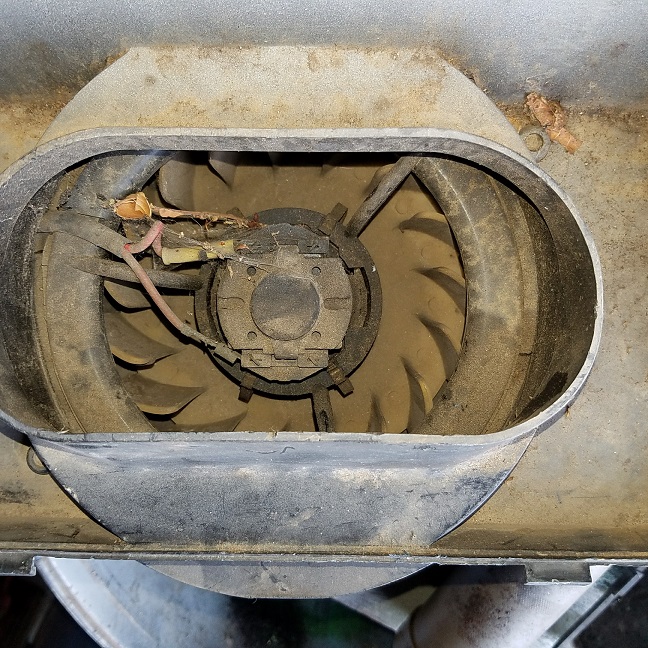 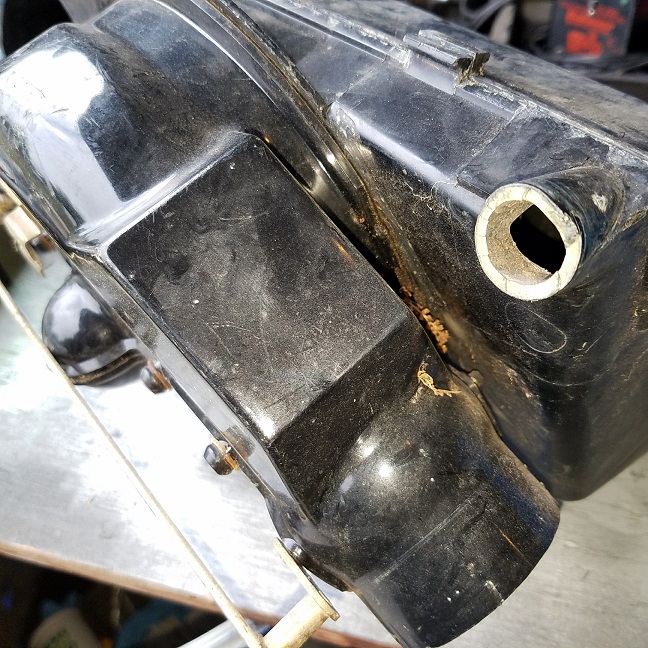 Getting down to the end of the work list. Fresh air blower, complete the engine freshening and brakes. Engine is kind of on hold waiting for an 012 CHT. But if need be I might steal the one off my 74 2L up on the shelf. I'm thinking that engine might become the first Rothsport Motec 2056. Need to save up my lunch money. |
| Mikey914 |
 Sep 24 2016, 12:23 AM Sep 24 2016, 12:23 AM
Post
#354
|
|
The rubber man           Group: Members Posts: 12,772 Joined: 27-December 04 From: Hillsboro, OR Member No.: 3,348 Region Association: None 
|
Thanks Cary,
I've got the CHT project initiated, and will be working on it this next week when I'm back in town. MArk |
| cary |
 Oct 1 2016, 10:19 PM Oct 1 2016, 10:19 PM
Post
#355
|
|
Advanced Member     Group: Members Posts: 3,900 Joined: 26-January 04 From: Sherwood Oregon Member No.: 1,608 Region Association: Pacific Northwest 
|
Moving on to bringing the engine back to life. Start the day with freshening up the distributor. I also cleaned the trigger points and lubed the shaft.
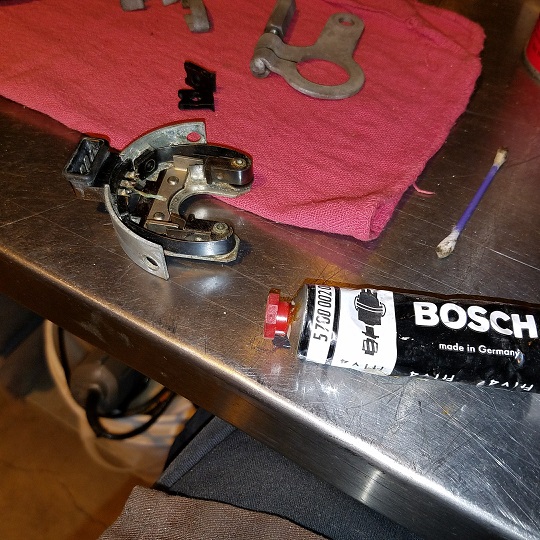 Compared the dizzy part numbers with Brad's parts chart and it looks like this is 73 distributor. Looks like I'll need to verify that all the d-jet parts are compatible. 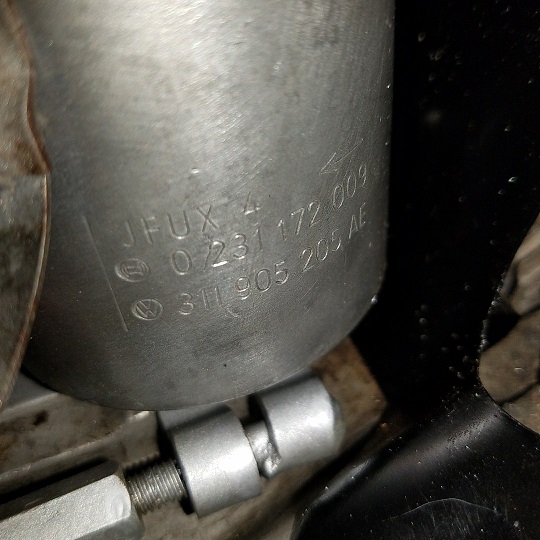 Next I spent some time doing a static timing set up. Which included setting up the TDC marks on both the flywheel and the impeller fan. Marking the dizzy cap. 1,4.3.2. This will make future tune ups a snap ................... 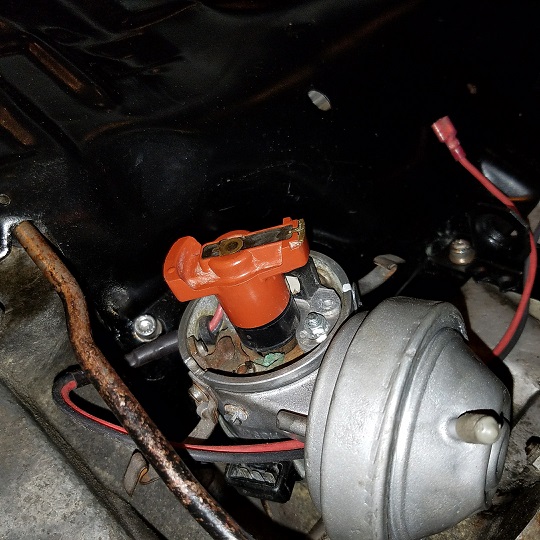 I had marked the engine tin nuts that wouldn't make torque. Looks like the 4 threads that the cheese heads use were stripped out. So I used a little longer standard M6 bolts to tighten them up. (IMG:style_emoticons/default/biggrin.gif) 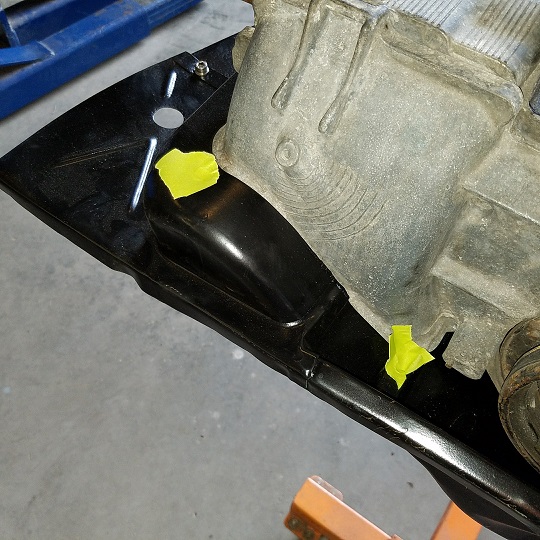 |
| cary |
 Oct 7 2016, 09:59 PM Oct 7 2016, 09:59 PM
Post
#356
|
|
Advanced Member     Group: Members Posts: 3,900 Joined: 26-January 04 From: Sherwood Oregon Member No.: 1,608 Region Association: Pacific Northwest 
|
Short day yesterday. We couldn't get the gear box off our new to us 1.7.
This is the first time I've had a problem. Took us 2 hours of twisting, turning and prying. It finally popped loose. Clutch frozen on to the splines. After that I got the new brakes installed. All done but the bleeding. 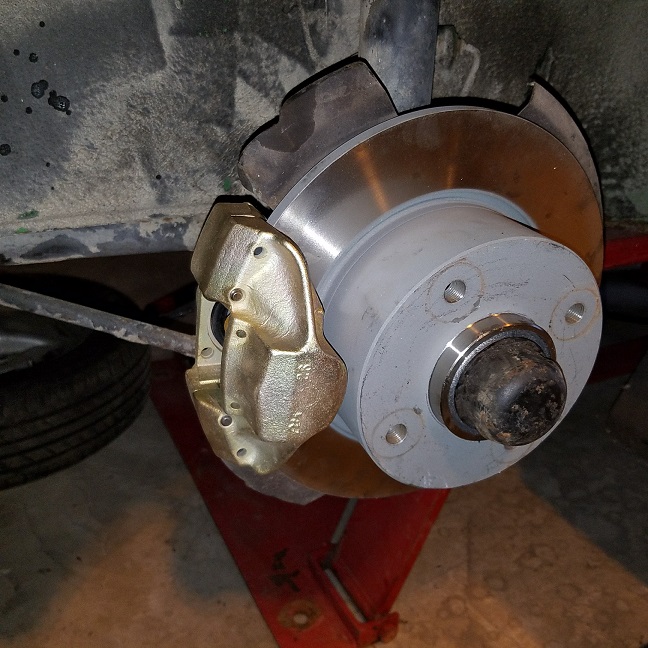 Today was all about putting the fuel injection, ignition and wiring back on the short block. Along the way I'm making sure every component is correct and in spec. So far, so good. Rusty parts are bead blasted and clear coated. Black painted parts are cleaned and or blasted. Then painted with 2-3 coats of Rustoluem. 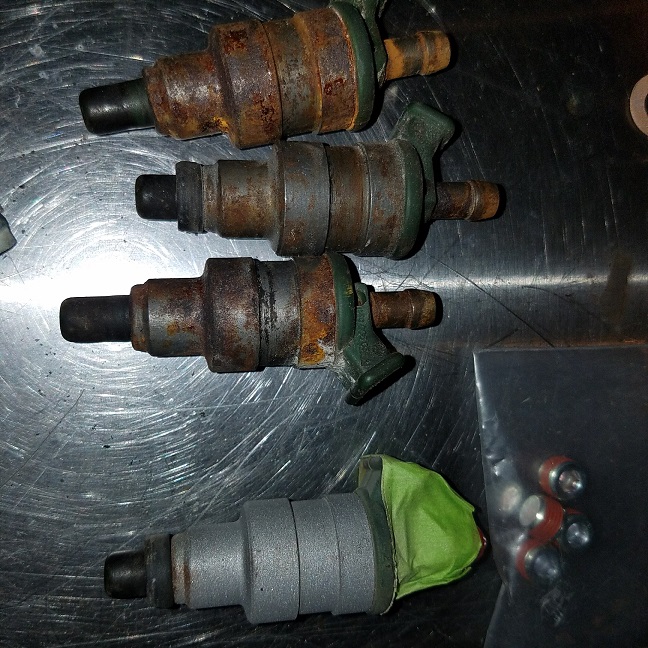 There was a cap on the injector when in was in the blast cabinet 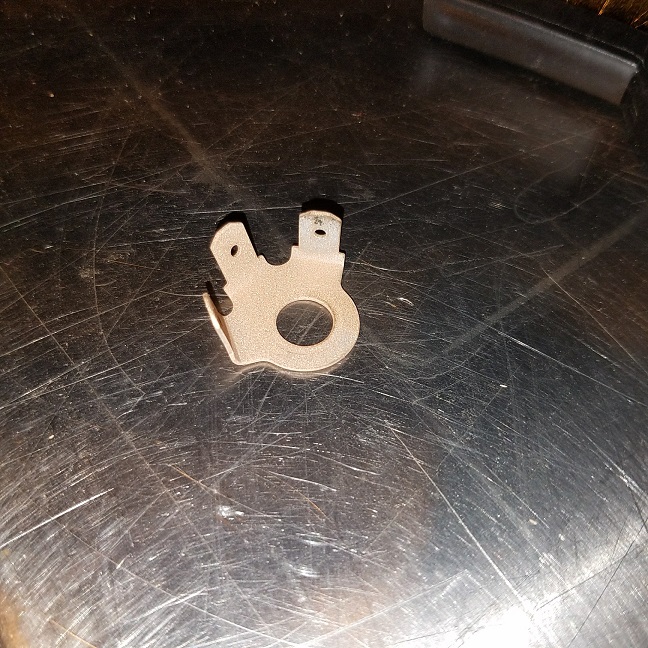 Surgery table .............. 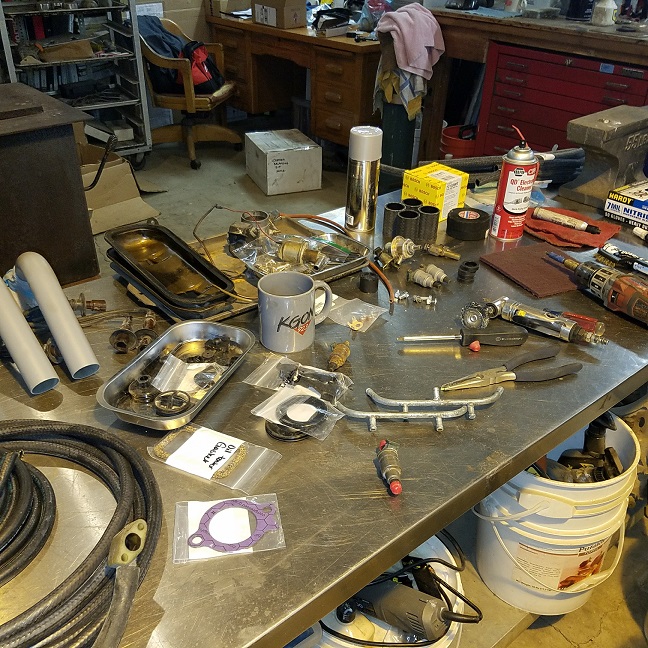 Paint shop open for business .............. 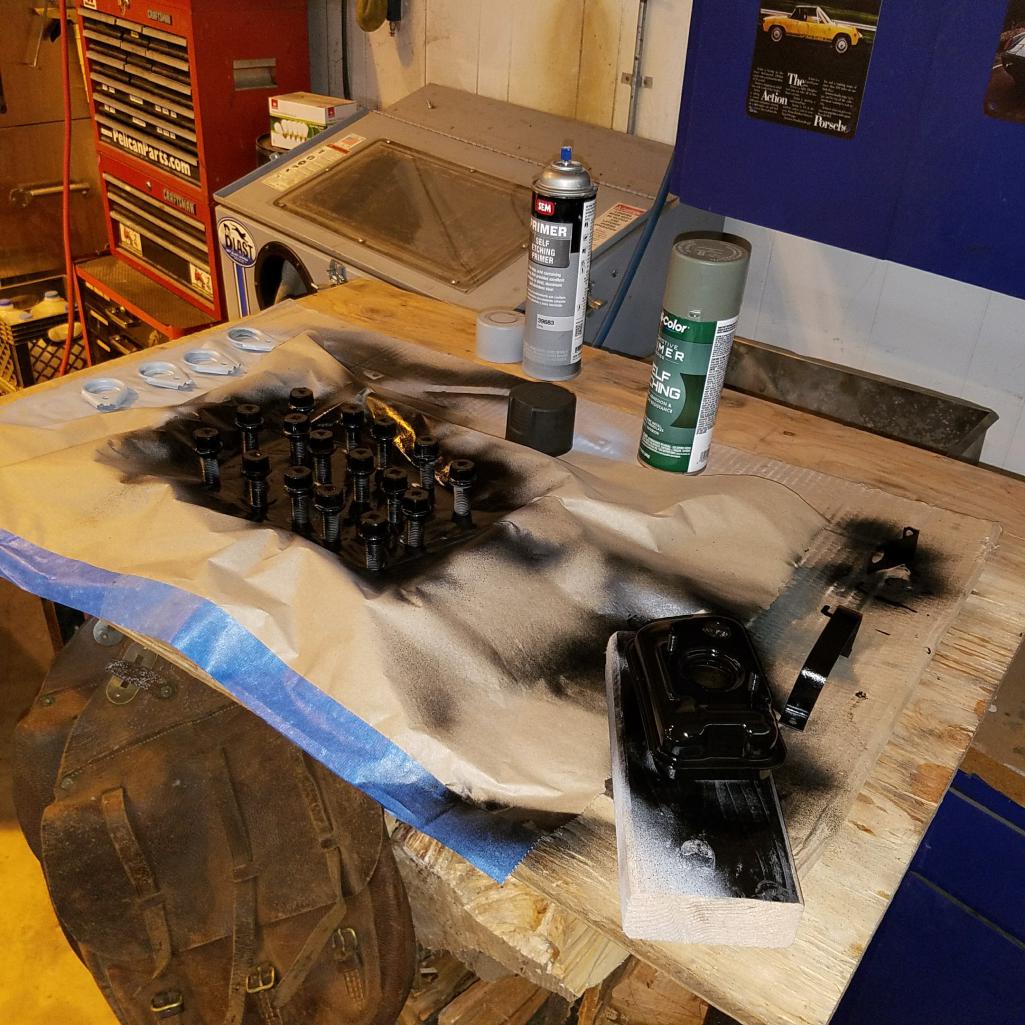 This is the way to adjust the valves. Next time I'm in the same spot I'll see if there's an interest in doing a Saturday afternoon party. 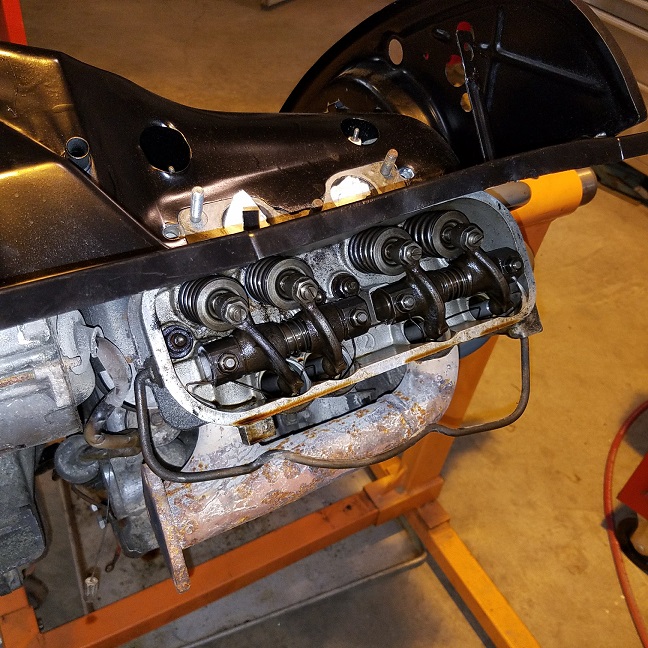 Heading home ................ 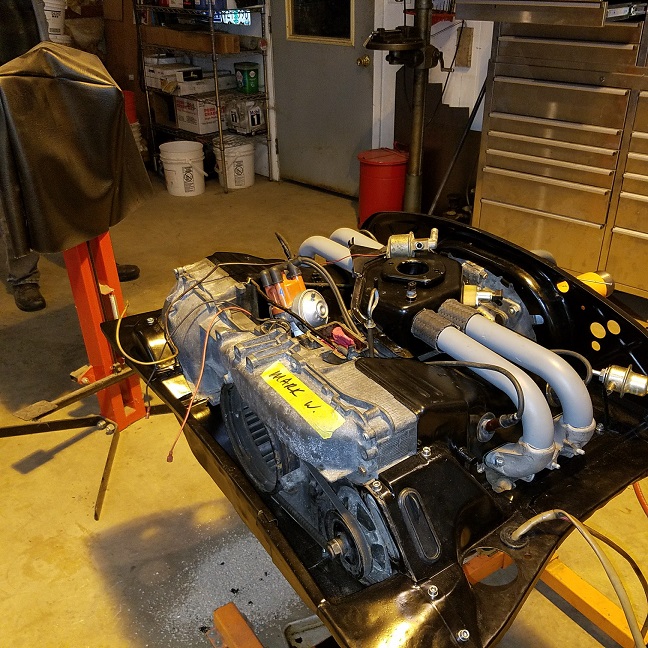 |
| BeatNavy |
 Oct 8 2016, 06:25 AM Oct 8 2016, 06:25 AM
Post
#357
|
|
Certified Professional Scapegoat     Group: Members Posts: 2,956 Joined: 26-February 14 From: Easton, MD Member No.: 17,042 Region Association: MidAtlantic Region 
|
As always, it's great to read your progress, Cary. I enjoy seeing the detail you put into this.
Did you ever get around to making a template for the suspension tie pieces? I know you have other fish to fry, but I'm going to have to deal with this sooner or later. No worries/no pressure, just curious. |
| cary |
 Oct 8 2016, 07:41 AM Oct 8 2016, 07:41 AM
Post
#358
|
|
Advanced Member     Group: Members Posts: 3,900 Joined: 26-January 04 From: Sherwood Oregon Member No.: 1,608 Region Association: Pacific Northwest 
|
Yes. After the shop TV install I'll have Super In Law go back over them.
PM your address and I'll mail you a tracing. I didn't have any takers on my $200+ price tag. LOL. I can't imagine cutting and fitting laying on your back. I think if I got 4-5 commits we could get them down to under $100. I think Mark can have them cut out with a CNC, which would speed up the process. Hand cutting them out takes a bit of time, 12 ga. Saw blades are $25, you have to let the tool cut at its own speed. |
| BeatNavy |
 Oct 8 2016, 07:44 AM Oct 8 2016, 07:44 AM
Post
#359
|
|
Certified Professional Scapegoat     Group: Members Posts: 2,956 Joined: 26-February 14 From: Easton, MD Member No.: 17,042 Region Association: MidAtlantic Region 
|
Yes. After the shop TV install I'll have Super In Law go back over them. PM your address and I'll mail you a tracing. I didn't have any takers on my $200+ price tag. LOL. I can't imagine cutting and fitting laying on your back. I think if I got 4-5 commits we could get them down to under $100. I think Mark can have them cut out with a CNC, which would speed up the process. Hand cutting them out takes a bit of time, 12 ga. Saw blades are $25, you have to let the tool cut at its own speed. Awesome, thanks, Cary. These would definitely be a good thing to have professionally fabricated and available for sale at some point. Maybe this will be my excuse to buy a plasma cutter. Or maybe I'll try to see if Root wouldn't mind cutting a few of these.... PM on the way. |
| Mikey914 |
 Oct 9 2016, 01:05 AM Oct 9 2016, 01:05 AM
Post
#360
|
|
The rubber man           Group: Members Posts: 12,772 Joined: 27-December 04 From: Hillsboro, OR Member No.: 3,348 Region Association: None 
|
We can easily fabricate these. Just needed to work out the details with Cary .
|
  |
2 User(s) are reading this topic (2 Guests and 0 Anonymous Users)
0 Members:

|
Lo-Fi Version | Time is now: 19th December 2025 - 11:35 AM |
Invision Power Board
v9.1.4 © 2025 IPS, Inc.


