

 Twenty-One Years and Counting: The Yellow 914 Project |
|
|

|
Porsche, and the Porsche crest are registered trademarks of Dr. Ing. h.c. F. Porsche AG.
This site is not affiliated with Porsche in any way. Its only purpose is to provide an online forum for car enthusiasts. All other trademarks are property of their respective owners. |
|
|
  |
| RoadGlue |
 Oct 28 2026, 03:53 PM
Post
#221
|
|
Sonoma County Gear Head  Group: Admin Posts: 2,084 Joined: 8-January 03 From: Santa Rosa, CA Member No.: 108 Region Association: Northern California 
 |
QUOTE(pfreiburger @ Oct 27 2026, 10:08 PM)  Great thoughts, been there, totally understand. HOWEVER, honesty compels me to admit that I now work much differently than I did back then. I suspect that some of the old buds would find me to be a PITA now - more methodical, less slam bang. Regardless, the shop is my happy place - just walking in the door puts a smile on my face. I can relate to all that, and it led me to reflect a little on my own slam-bang journey. My father, bless him, was a heavy mechanic for both Chrysler and then Ford when I was a young'n. We always had a fleet of old cars scattered around the property for him to tinker with, but never in a way that instilled any sort of mechanical confidence. "Good enough" meant that if it wasn't leaking too much or catching on fire, it was good to go. I counted sixteen vehicles at one time. The garage on our property was always filled with the echoes of him cursing as he powered his way through greasy, filthy projects, often having to redo work he'd messed up on the first try. He's not a patient man, but he sure is stubborn. Those two don't really mix when it comes to getting a job done right. That's all I really knew, and so those first years of wrenching on cars weren't particularly fulfilling. If something broke, I'd have to fix it because paying someone wasn't possible. And since I didn't have the funds, good enough was good enough. Unlearning his methodology, or lack of it, took a lot of years. Thankfully, while in high school, I joined the aviation class and became good friends with the teacher, who was also an A&P and did everything by the book. He demonstrated the benefits of slowing down, being organized, and cleaning up after yourself as you went along. Discipline. "Is this right?" replaced "Good enough." Well, at least most of the time. Once you adopt that mindfulness mindset, it tends to propagate to a lot of other areas of your life... but I digress, this is a car forum, right? The few friends I still have who wrench on 914s are thankfully some of the more methodically minded people I know, so when we do get together, we're all in good company. Thanks for chiming in! |
   |

 
|
| RoadGlue |
Oct 28 2026, 04:37 PM
Post
#222
|
|
Sonoma County Gear Head Group: Admin Posts: 2,084 Joined: 8-January 03 From: Santa Rosa, CA Member No.: 108 Region Association: Northern California
|
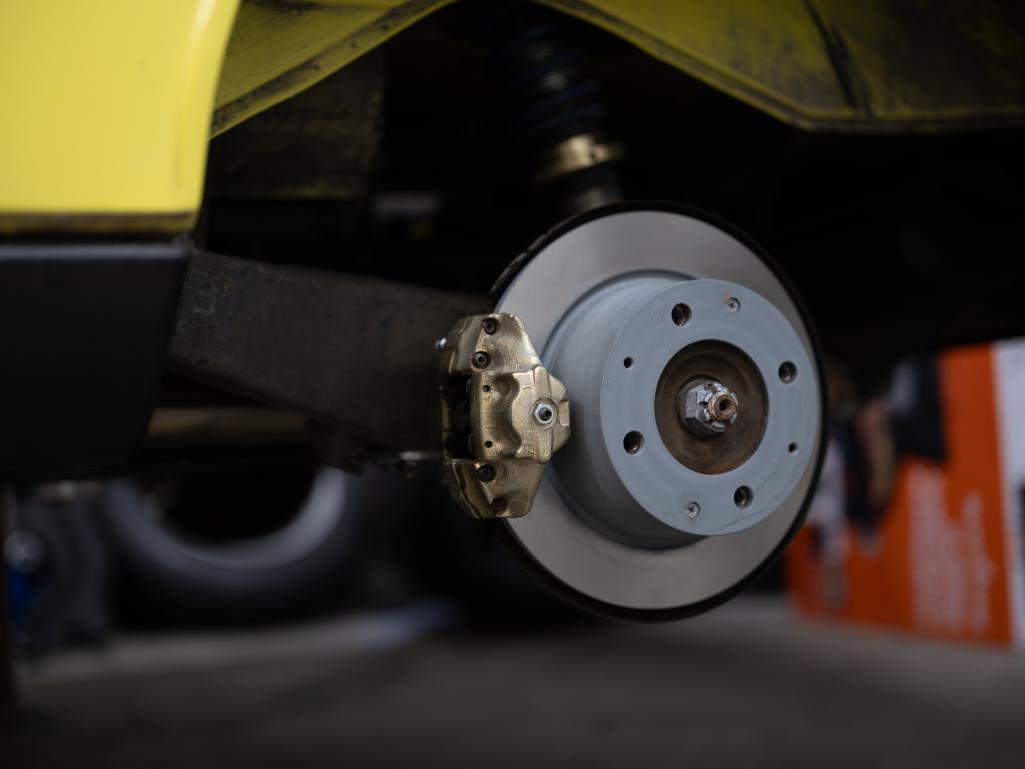
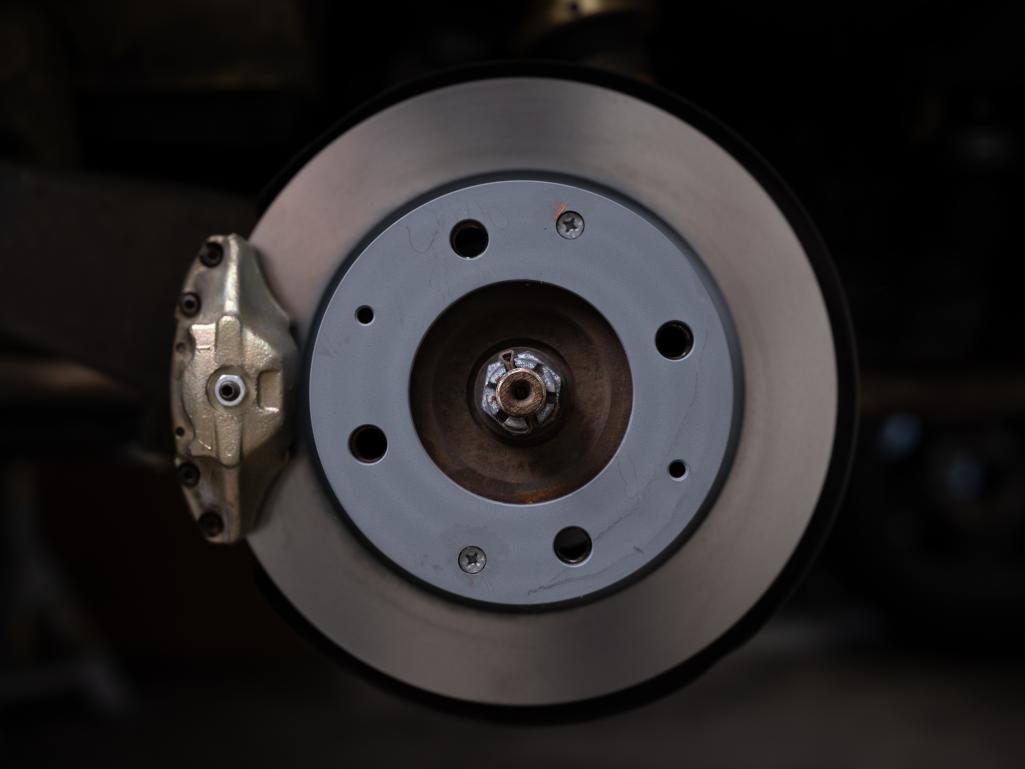
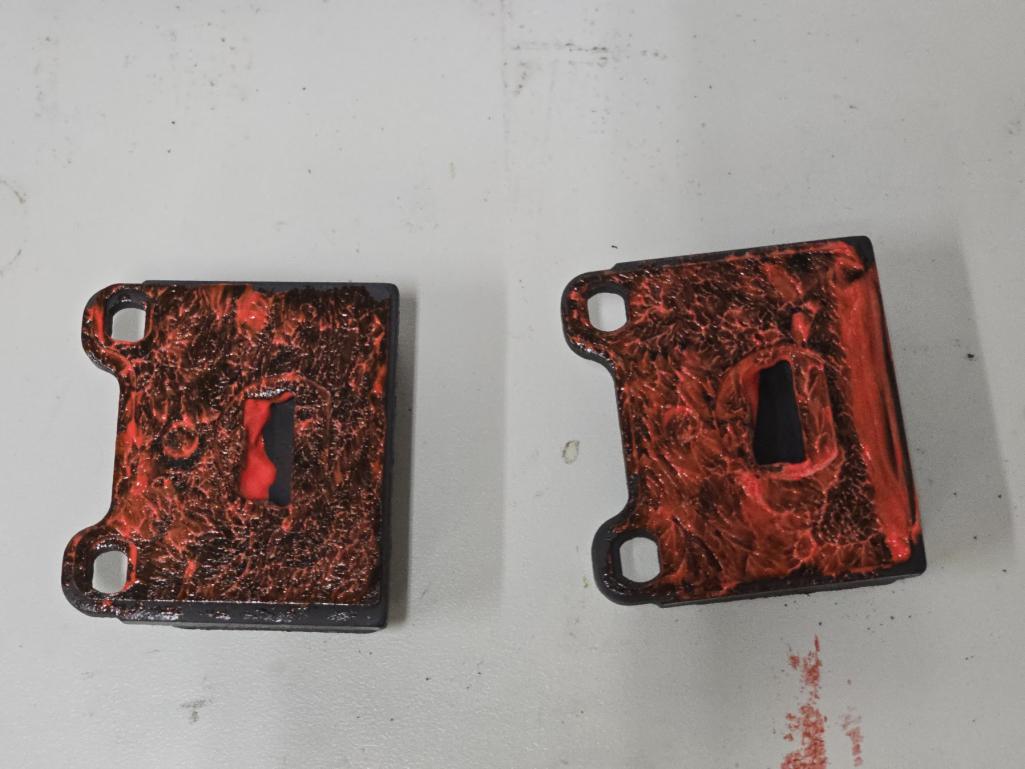
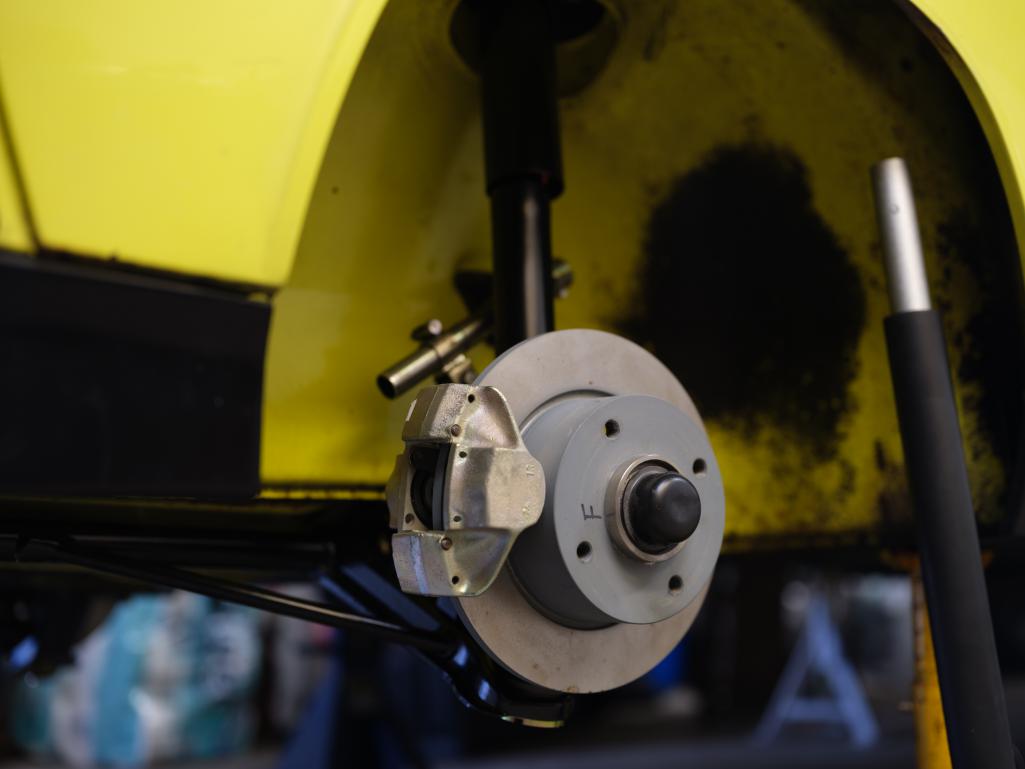
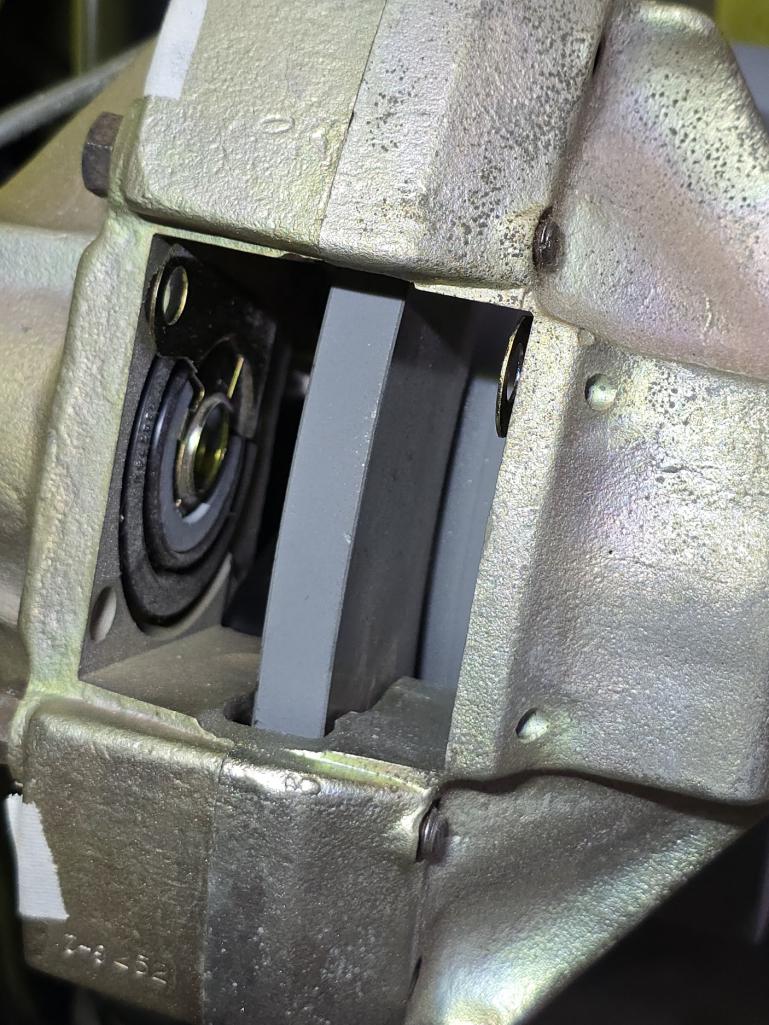
The rear calipers all ready to go.
  |
|
|
|
| RoadGlue |
Oct 28 2026, 04:41 PM
Post
#223
|
|
Sonoma County Gear Head Group: Admin Posts: 2,084 Joined: 8-January 03 From: Santa Rosa, CA Member No.: 108 Region Association: Northern California
|
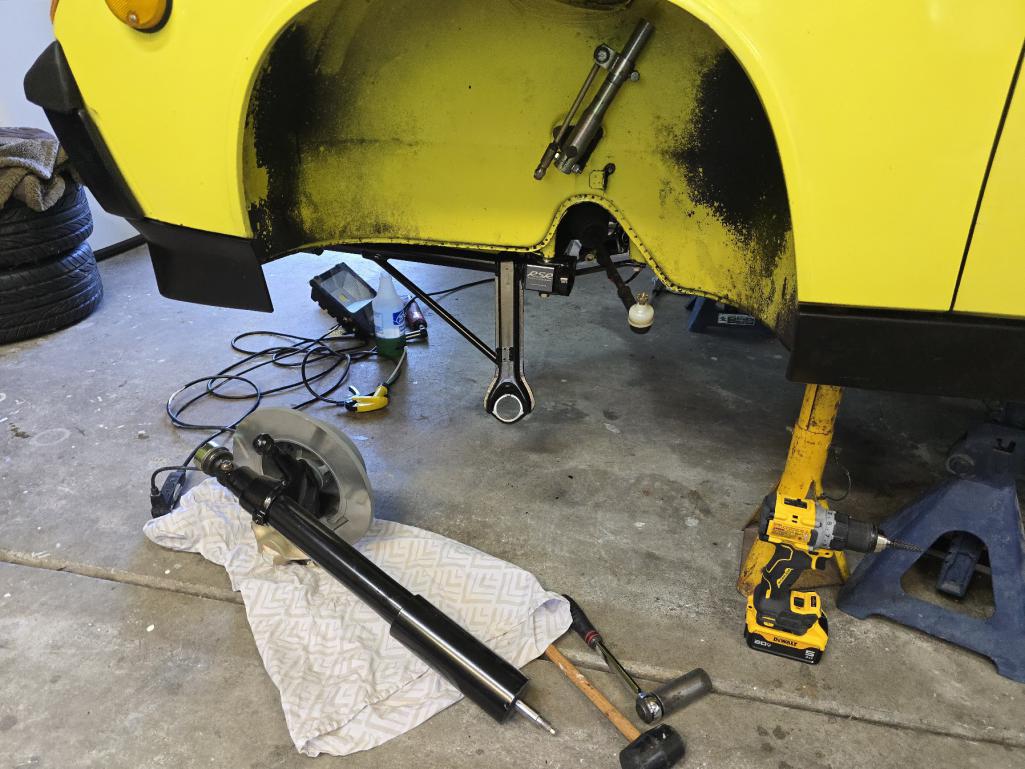
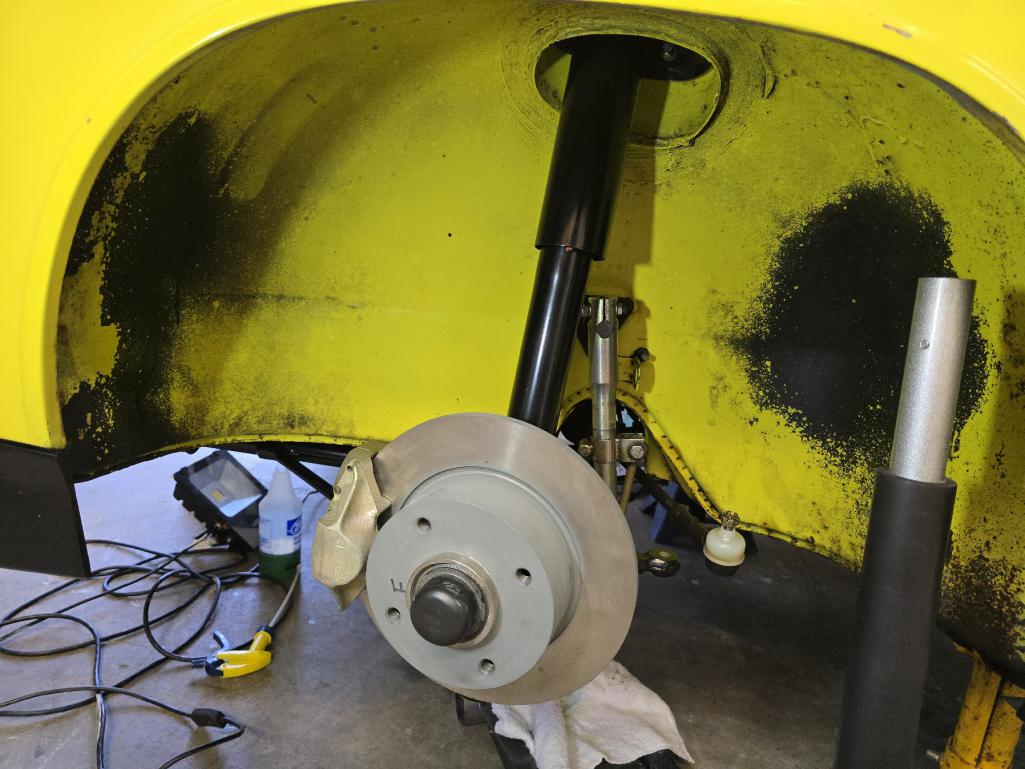
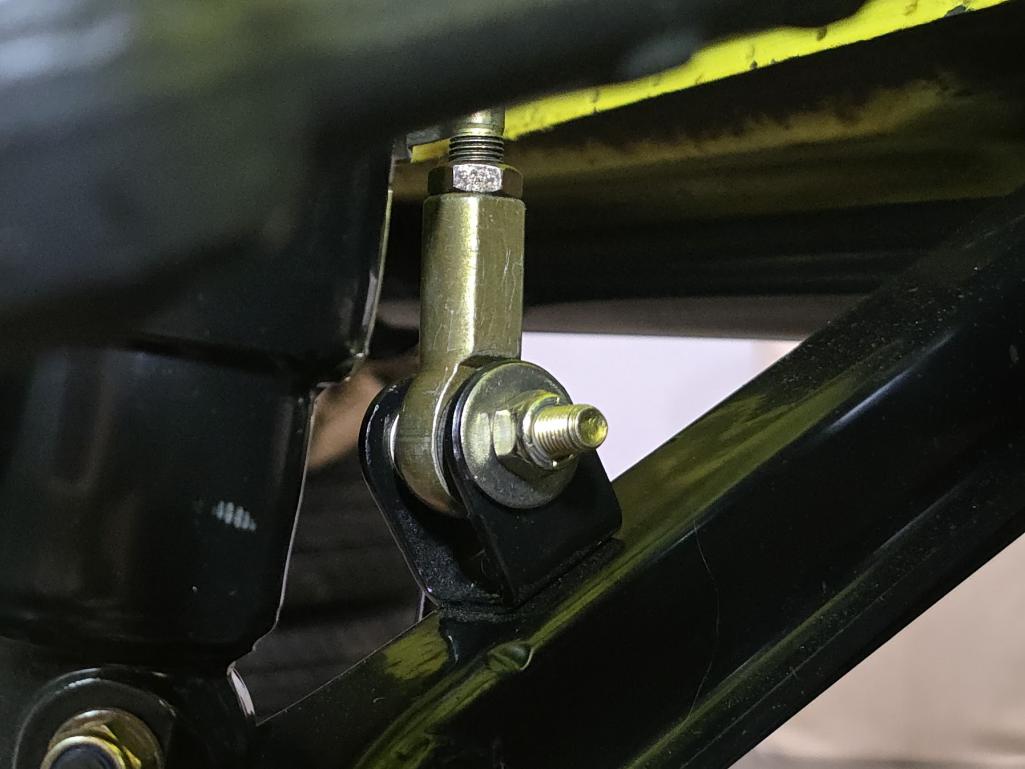
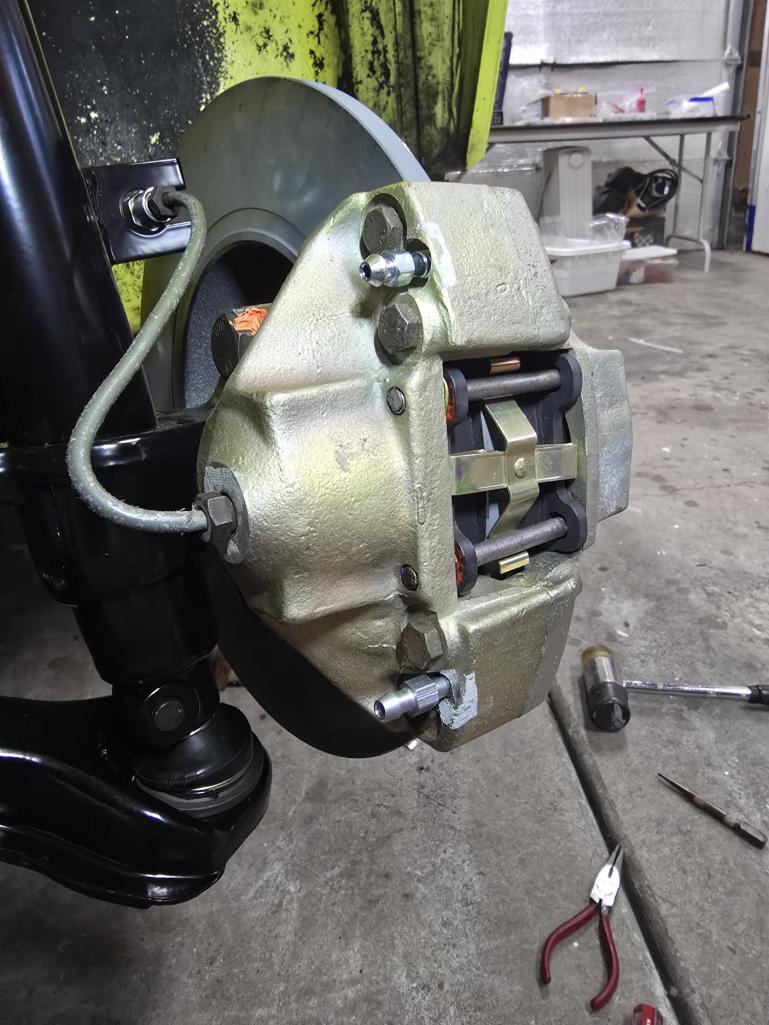
All pretty straightforward here, though trying to lift this in by myself while compressing the strut and attaching the ball joint nut was less than ideal. Now that I think of it, I'm pretty sure my wife lent me a hand.
       |
|
|
|
| RoadGlue |
Oct 28 2026, 04:45 PM
Post
#224
|
|
Sonoma County Gear Head Group: Admin Posts: 2,084 Joined: 8-January 03 From: Santa Rosa, CA Member No.: 108 Region Association: Northern California
|
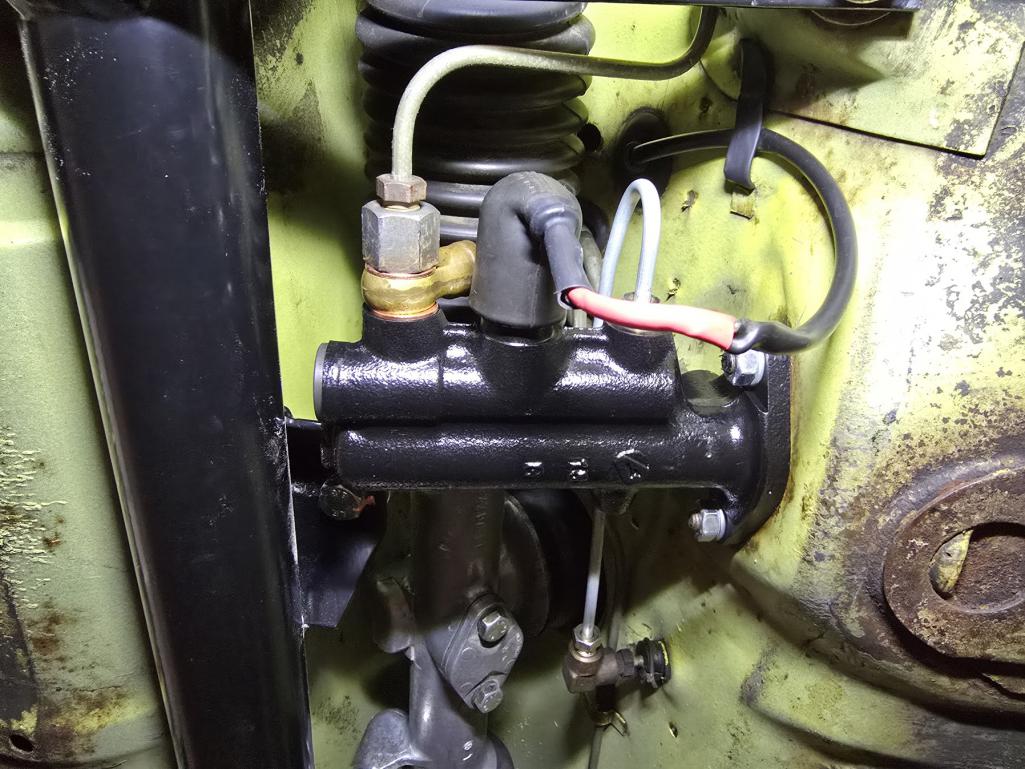
It was good to get the m/c all buttoned up. I added a new connector and some strain relief shrink tubing to the sensor wire as the original sheathing was cracked and brittle.
 Tops in, but the 914 Rubber poly bushings are thicker than the OEM rubber and barely compressed enough to get the KONI top nuts fully seated. Attached thumbnail(s) 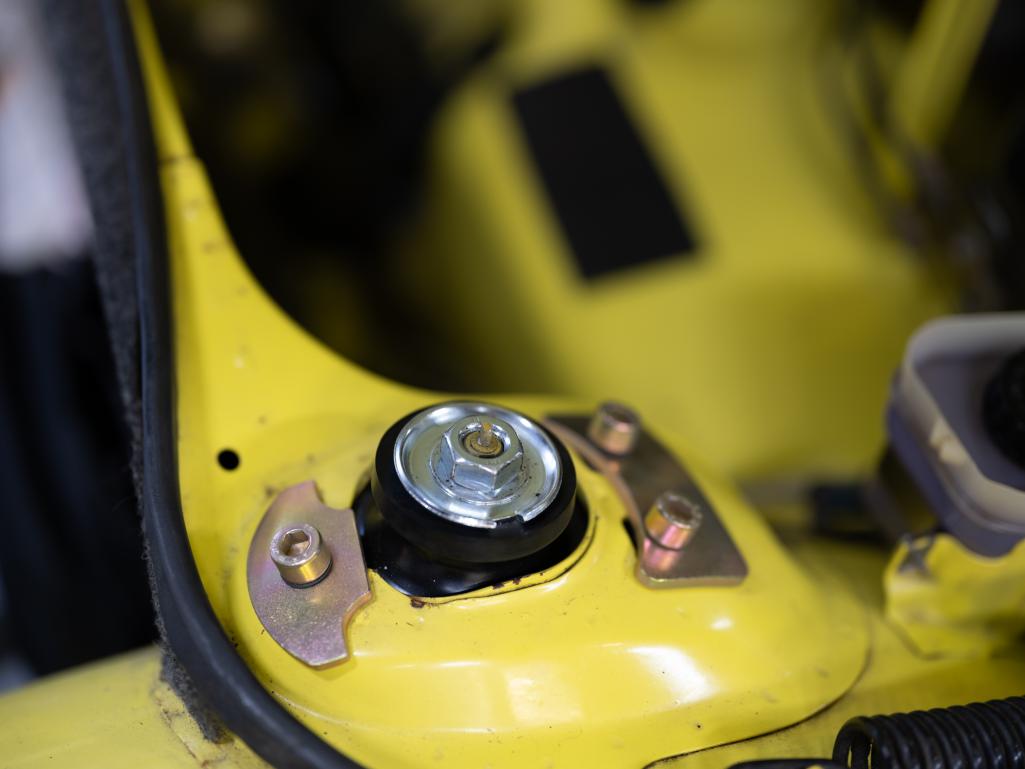
|
|
|
|
| RoadGlue |
Oct 28 2026, 04:51 PM
Post
#225
|
|
Sonoma County Gear Head Group: Admin Posts: 2,084 Joined: 8-January 03 From: Santa Rosa, CA Member No.: 108 Region Association: Northern California
|
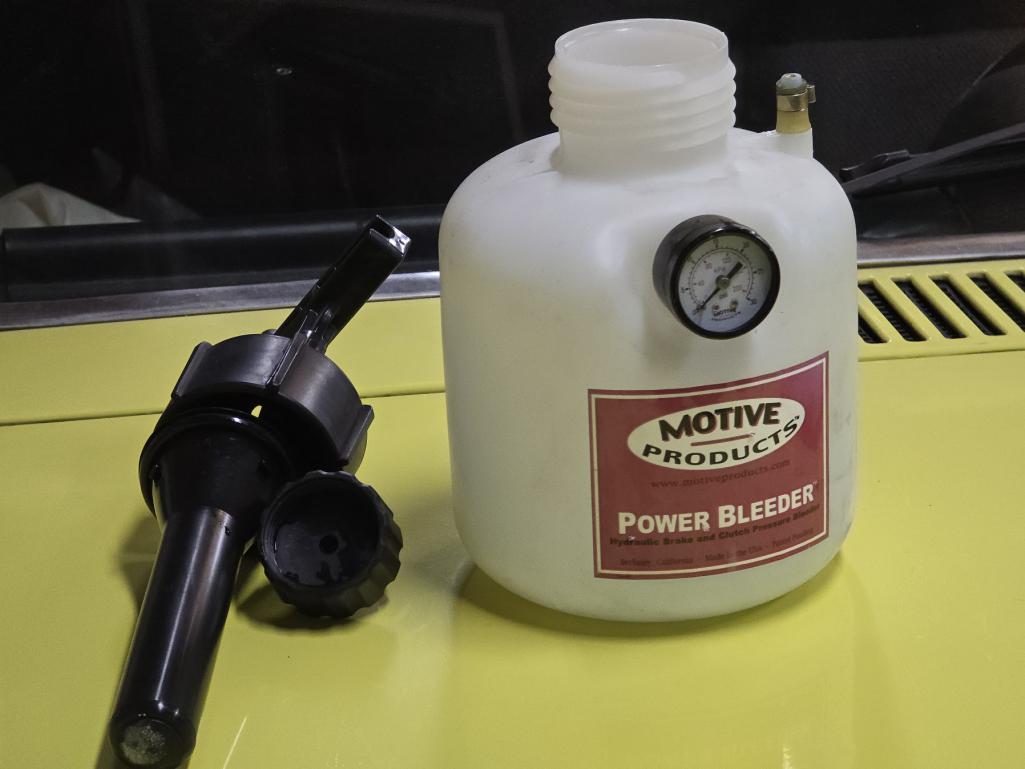
I found my 20-year old power bleeder and while it did hold pressure and had a functioning gauge, the lines were unsurprisingly cracked and needed replacing. Amazingly, the manufacturer had everything in stock, so I went ahead and got what I needed to refurb it.
 I have two bottles of the ATE DOT 4 brake fluid, but I first flushed everything out with some Lucas DOT 4 fluid as I knew there would be some crud in the system. 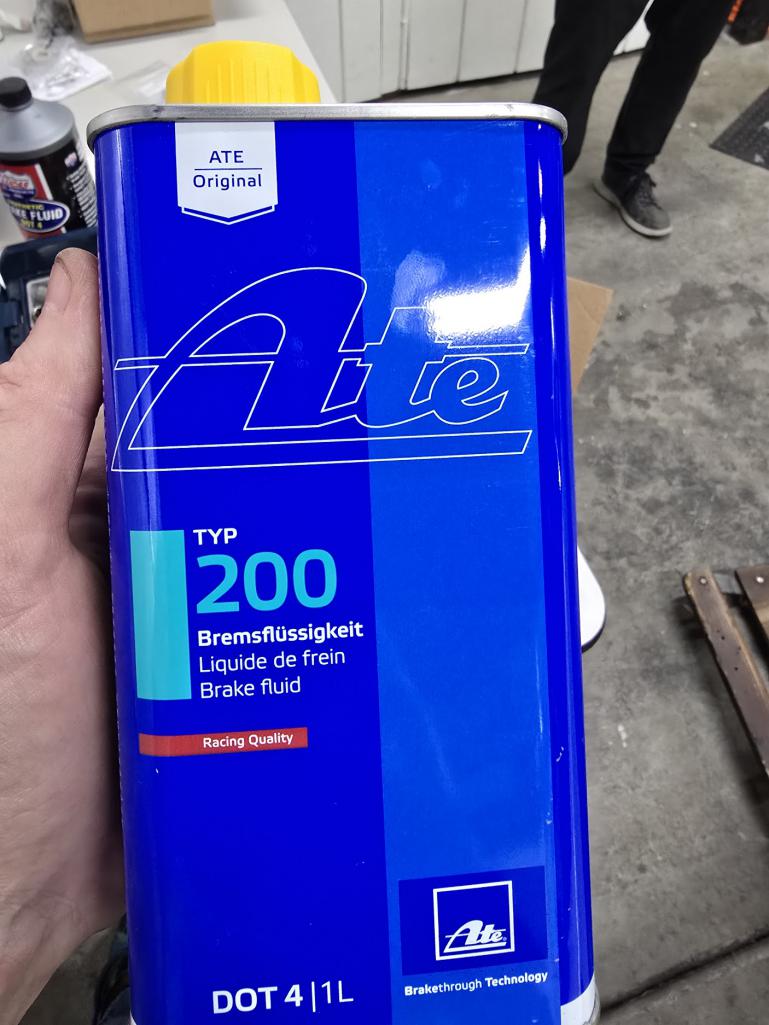 All ready to go here. 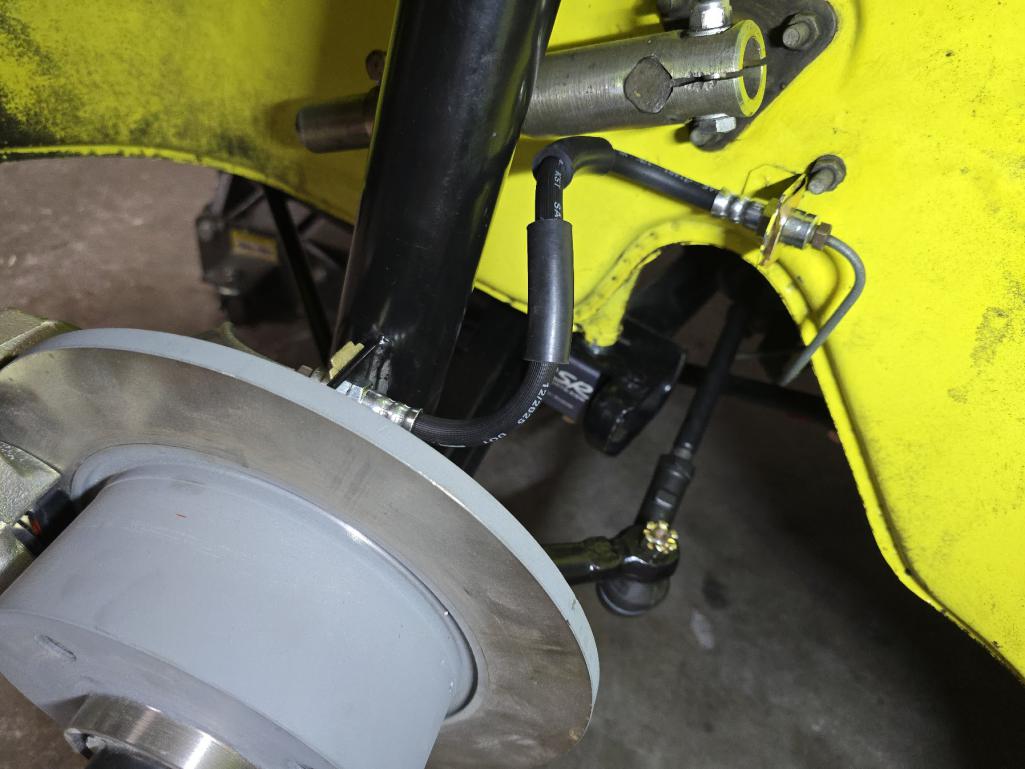 Still on stands, slightly less junk on it at this point. 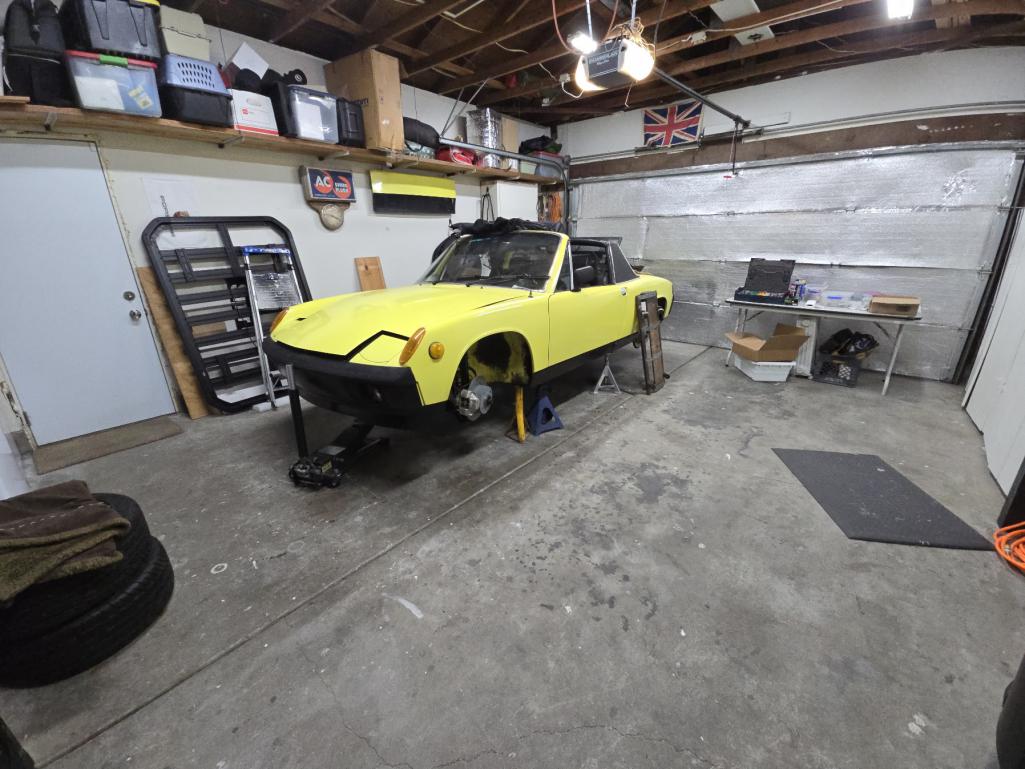 |
|
|
|
| RoadGlue |
Oct 28 2026, 04:55 PM
Post
#226
|
|
Sonoma County Gear Head Group: Admin Posts: 2,084 Joined: 8-January 03 From: Santa Rosa, CA Member No.: 108 Region Association: Northern California
|
I had a lot of brake fluid, so I tried my best to really flush things out. Pretty nasty.
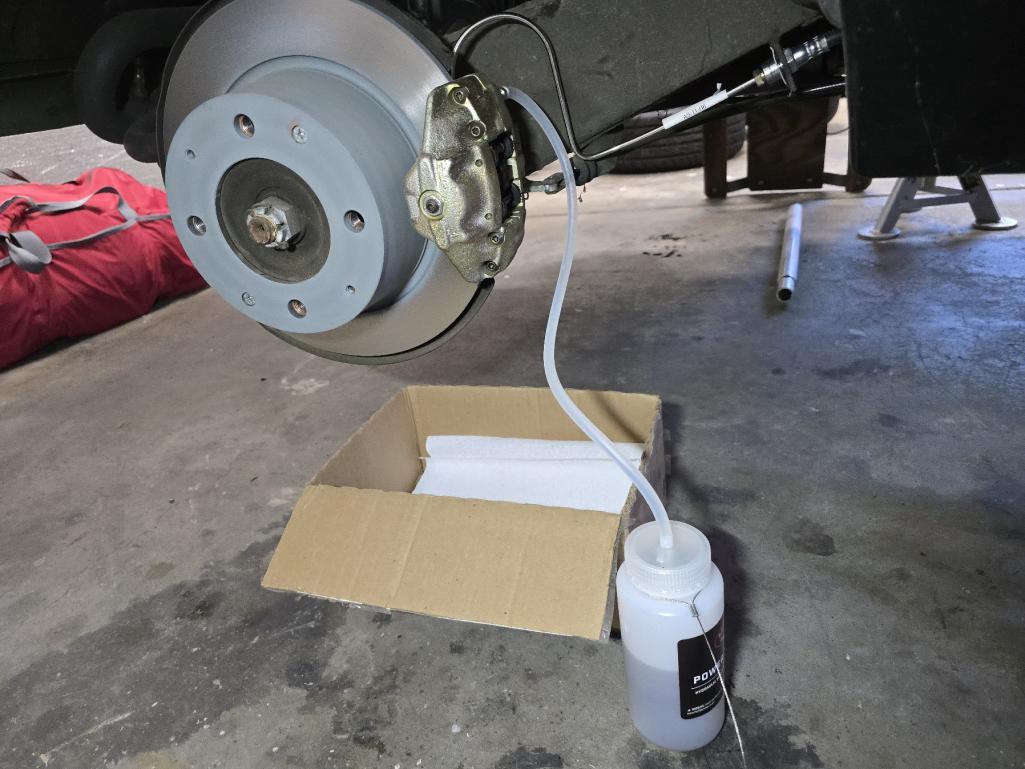 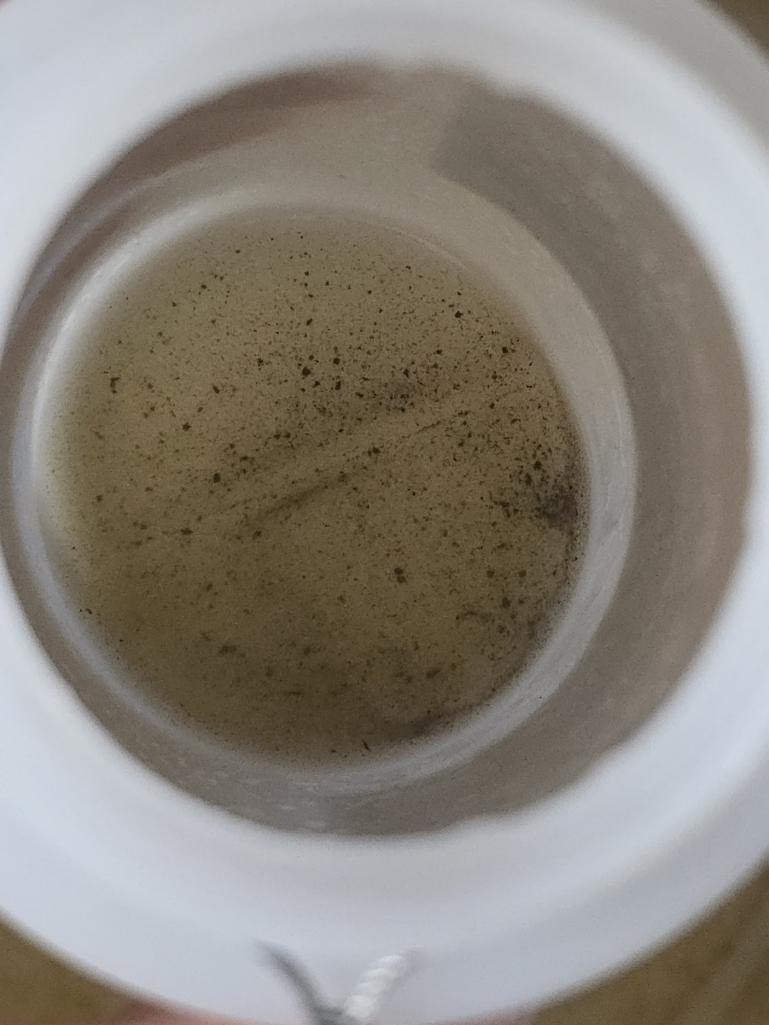 After many years, I had a functioning brake pedal again. I'll bleed them one more time once I get it back on the road. |
|
|
|
| RoadGlue |
Oct 28 2026, 05:05 PM
Post
#227
|
|
Sonoma County Gear Head Group: Admin Posts: 2,084 Joined: 8-January 03 From: Santa Rosa, CA Member No.: 108 Region Association: Northern California
|
With the brakes done'ish, I directed my efforts back at the front end. I lubricated the torsion bars and and popped them into the A-arms.
I probably over-punched the a-arm caps, but I did paint them with enamel as directed by the Haynes manual which prevents them from rusting, and also seals the torsion bars from water, etc. 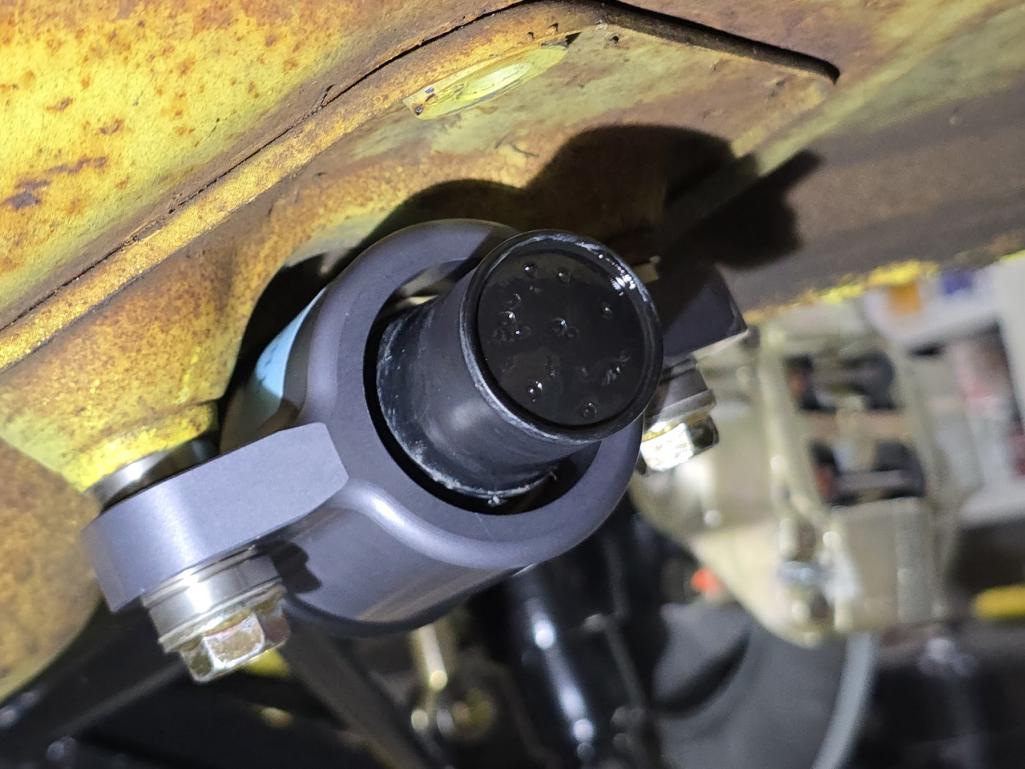 The book also called for a particular grease on the torsion bar adjusters, so I went ahead and ordered it. Not sure that I have pic of it smeared on the threads and contact point, but you're welcome to use your imagination. The grease seems even stickier than normal bearing grease, but then again I may just be trying to convince myself that it's different than the bearing grease I've been using elsewhere on the car. 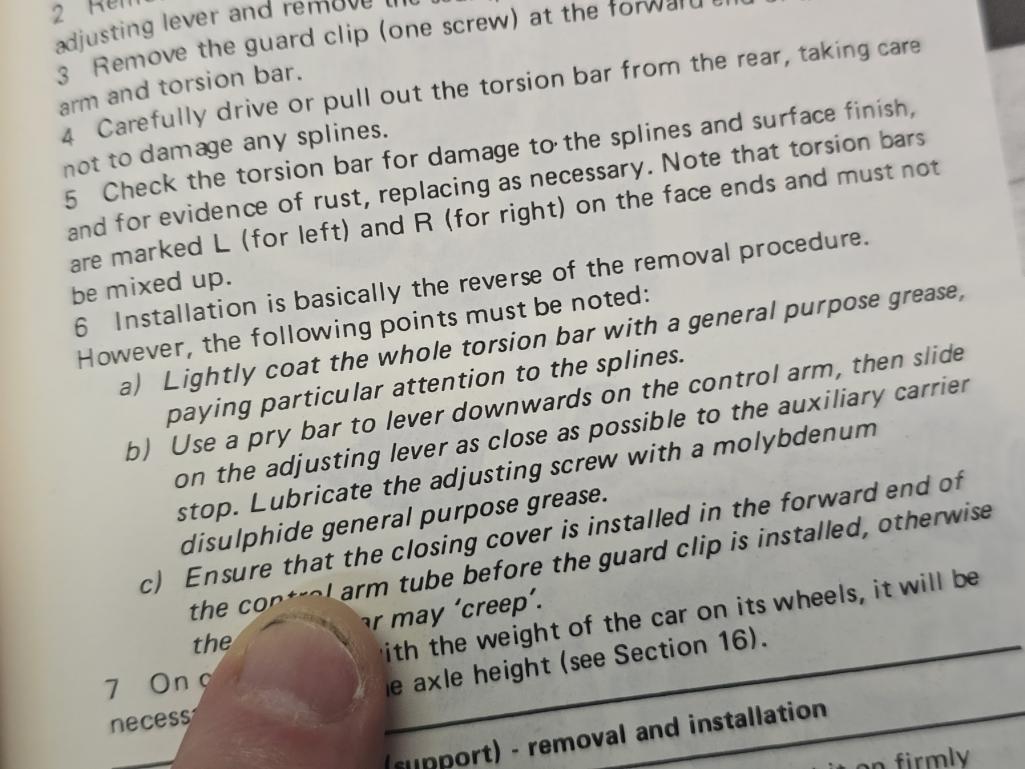 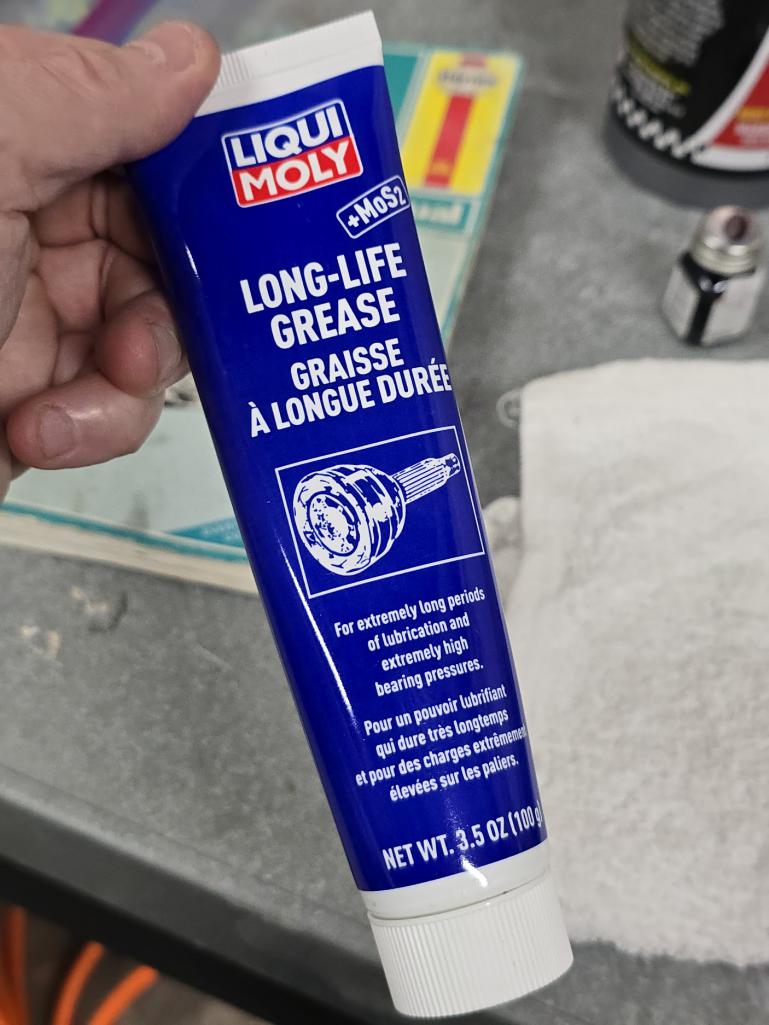 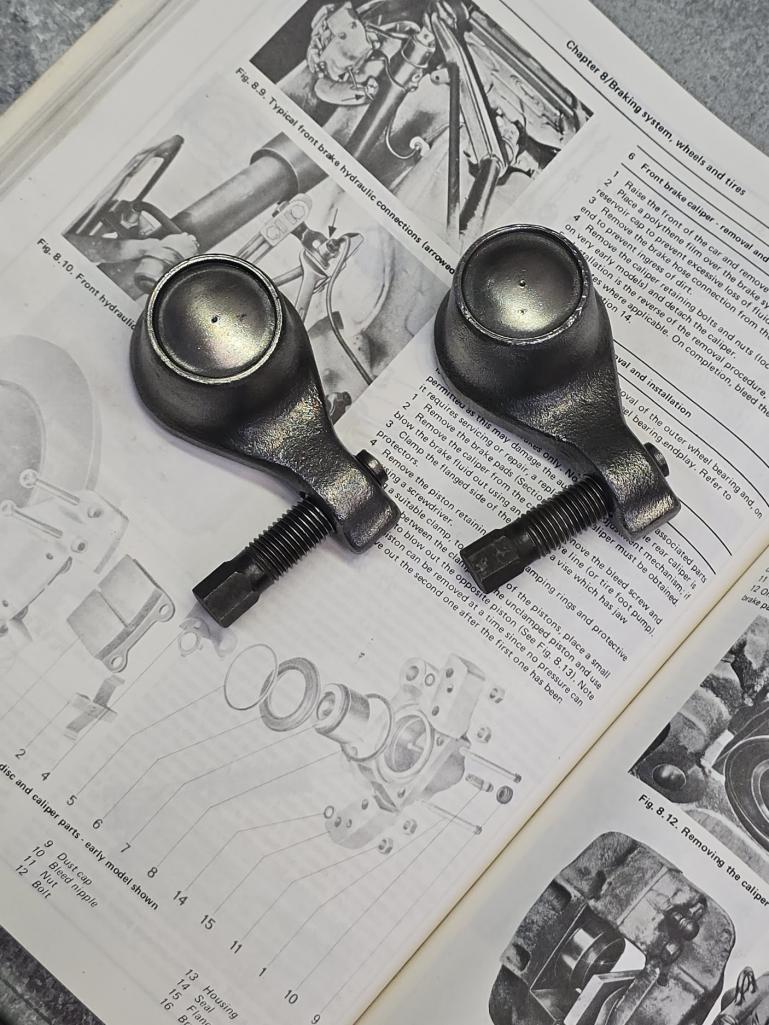 Foam washer, check. 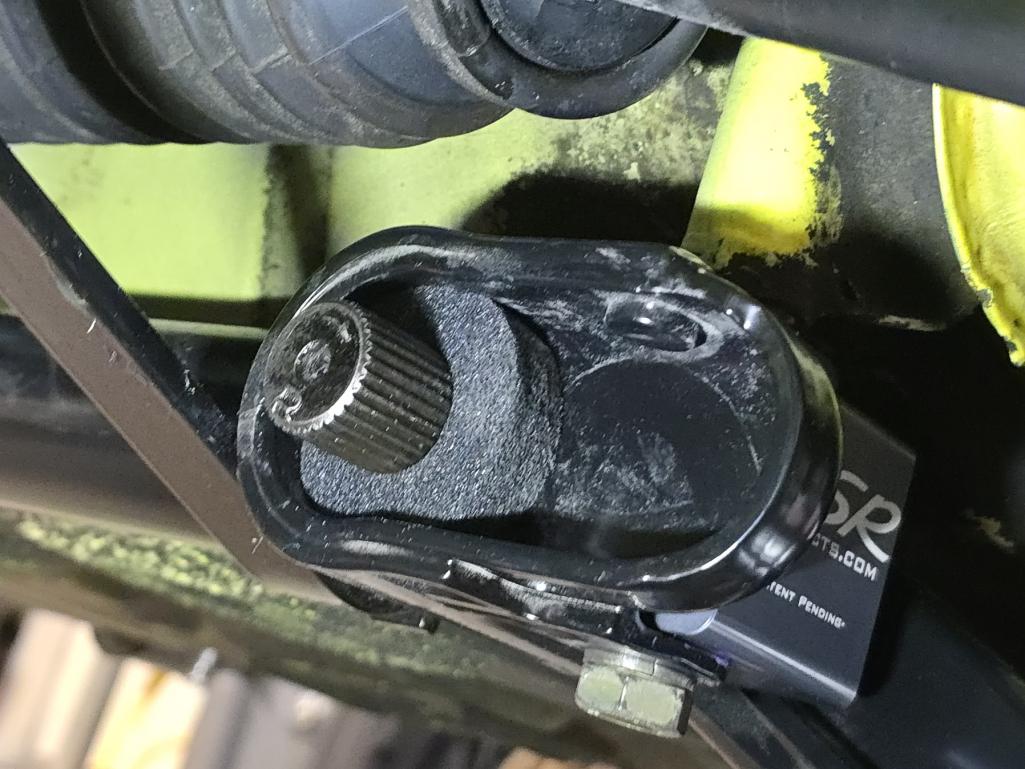 Installed, before I slathered on the grease. 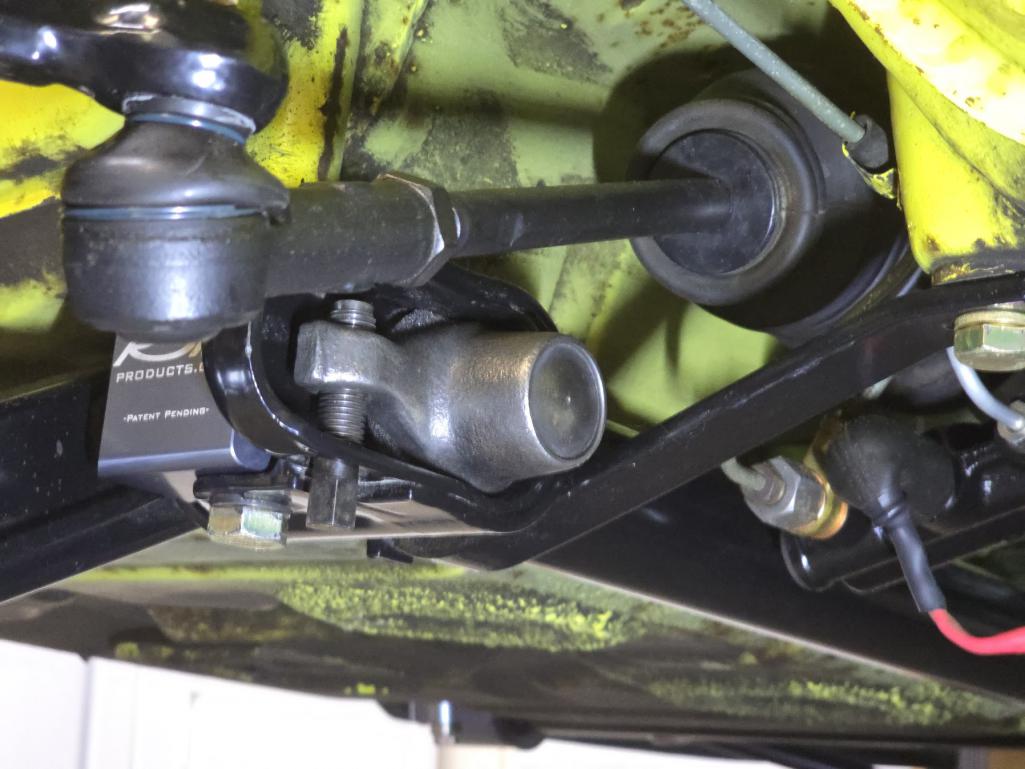 |
|
|
|
| RoadGlue |
Oct 28 2026, 05:29 PM
Post
#228
|
|
Sonoma County Gear Head Group: Admin Posts: 2,084 Joined: 8-January 03 From: Santa Rosa, CA Member No.: 108 Region Association: Northern California
|
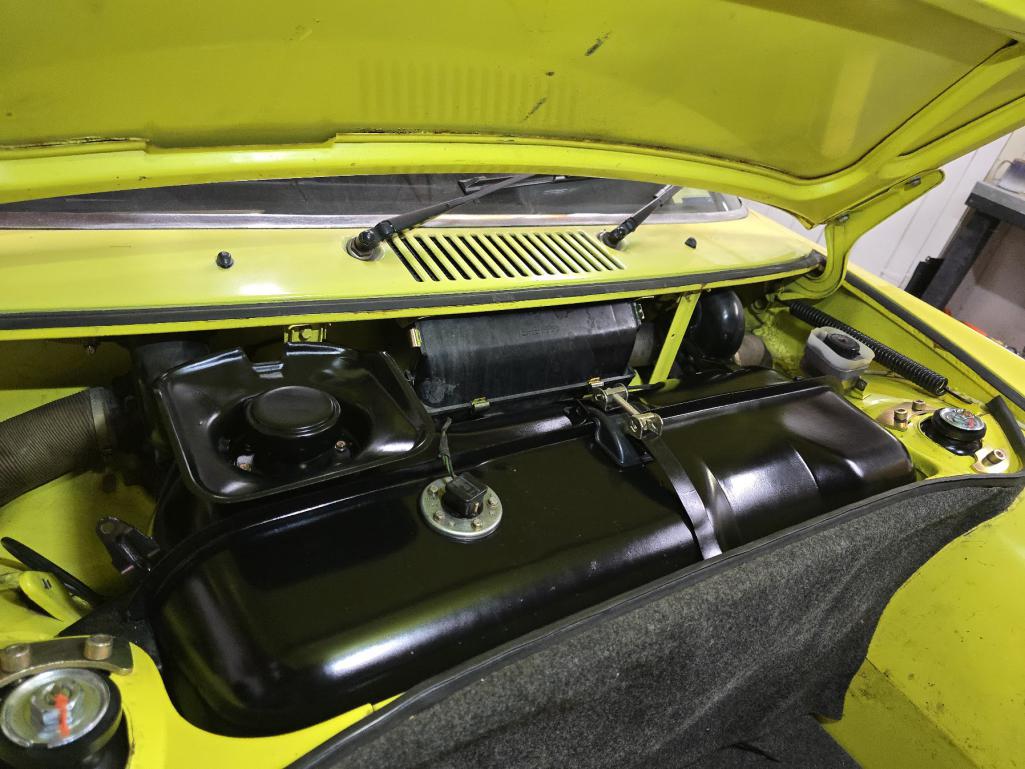
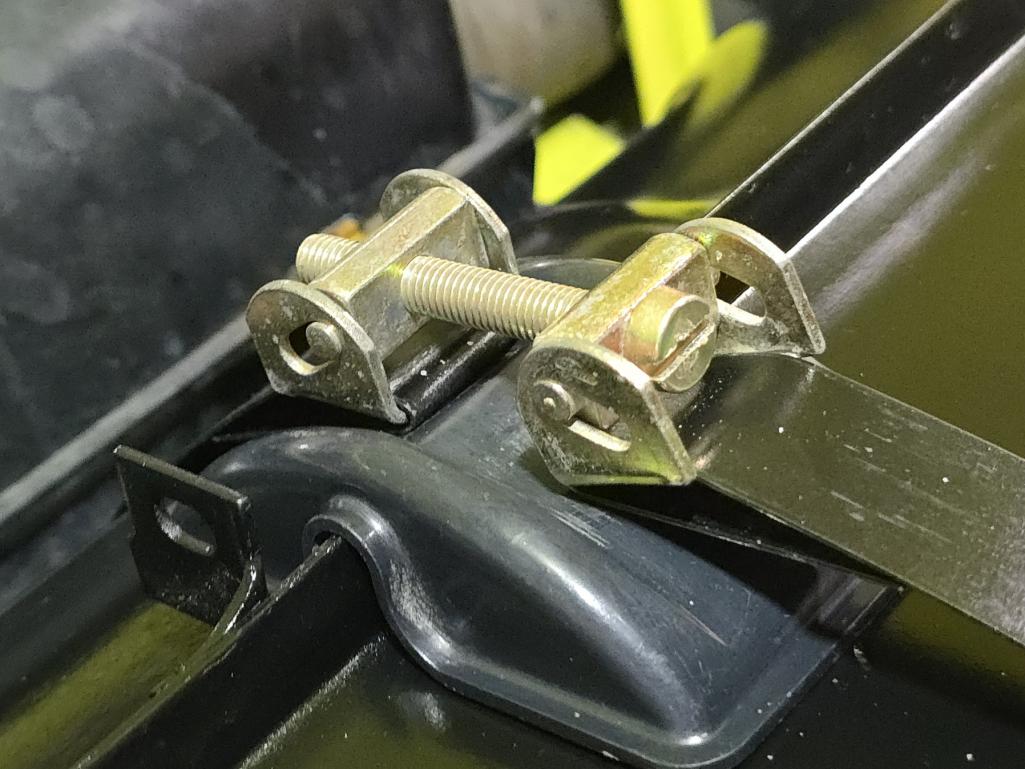
Another side quest was bringing some life back into the old tank. The previous owner, perhaps with this current owner's assistance at the time, opted to fix some light surface rust by applying a healthy coat of POR-15 over the entire tank, fittings and all.
Remember when POR-15 was all the rage? Andy sure does (IMG:style_emoticons/default/shades.gif) Anyway, I gave the entire tank a sanding and then really went to down on the few spots where surface rust had started to appear again, mainly where it had been in content with the carpet pads. I've since replaced the pads with closed-cell foam as it won't hold water like the carpet did. Once primered, I used Rust-Oleum Satin Black with their 5 in 1 spray nozzle. I was skeptical, but that noddle has fan settings and they were so much nicer than the normal cone pattern you normally get. My only critique is that their satin is still too glossy. I'd contemplated hitting it with a matte clear coat, but then decided I should just let it cure and put it back together again. Sometimes the juice ain't worth the squeeze. 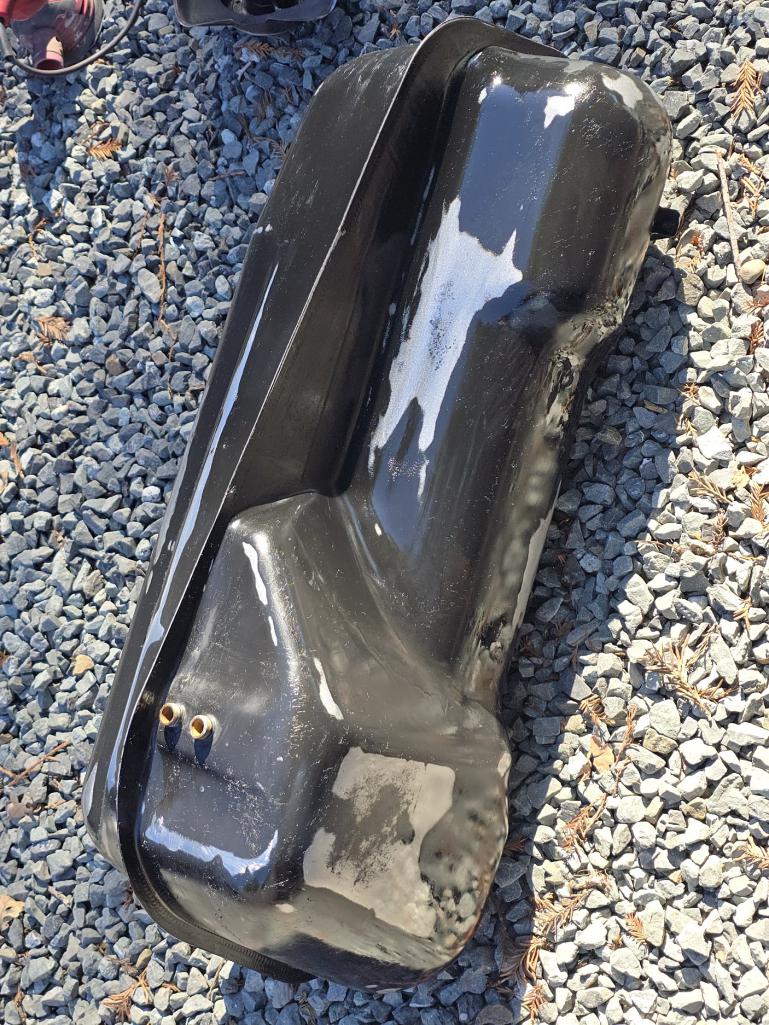 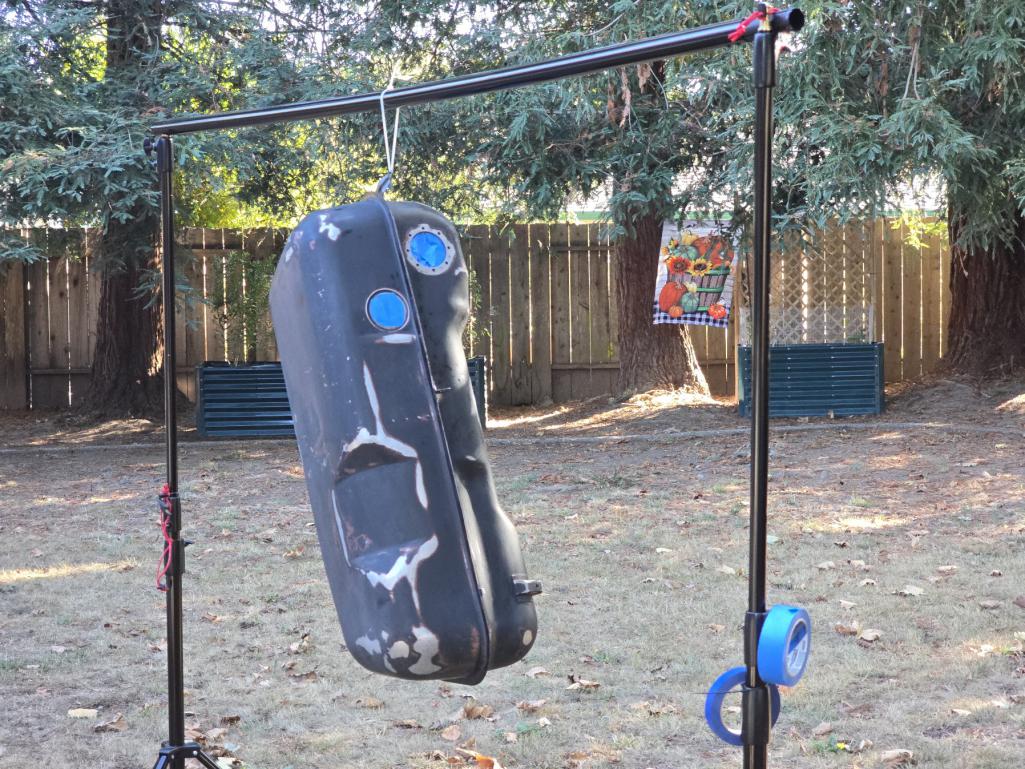 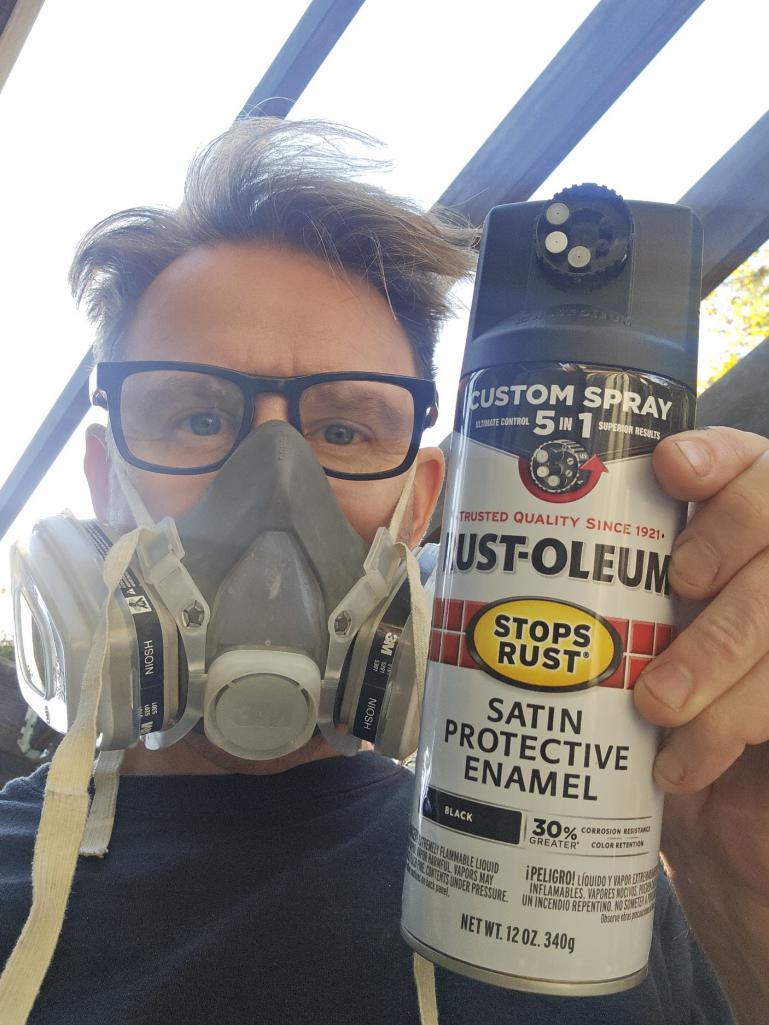 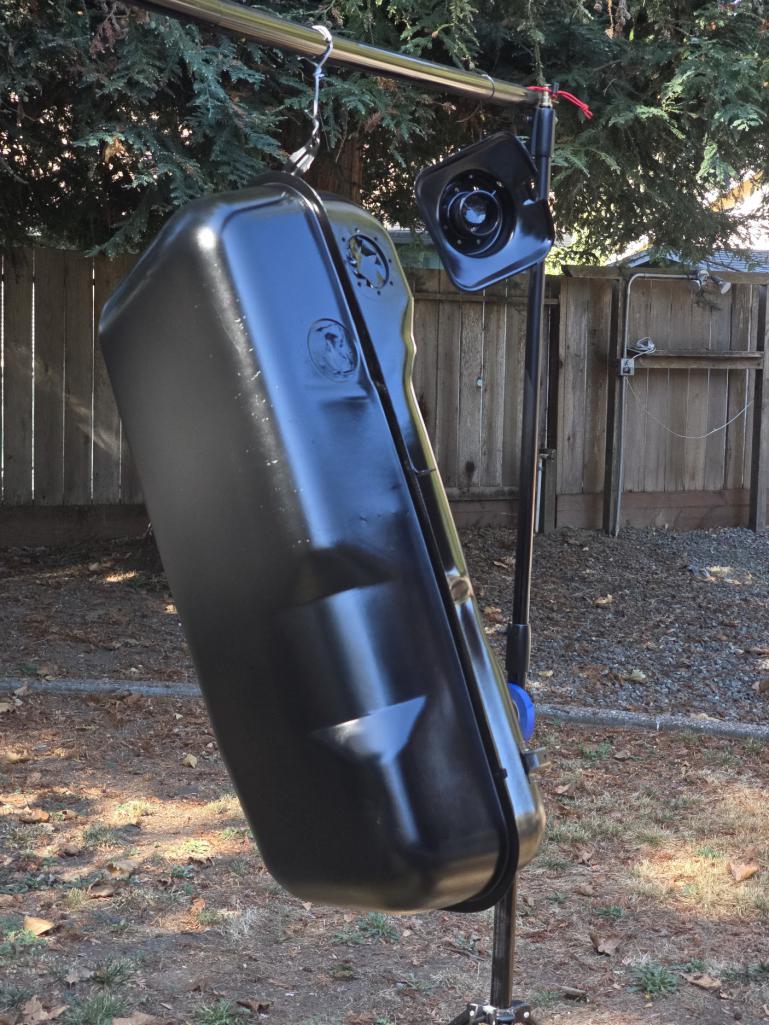 |
|
|
|
| RoadGlue |
Oct 28 2026, 05:30 PM
Post
#229
|
|
Sonoma County Gear Head Group: Admin Posts: 2,084 Joined: 8-January 03 From: Santa Rosa, CA Member No.: 108 Region Association: Northern California
|
Side note:
Photography backdrop stands make for a great parts hanger for spray painting. |
|
|
|
| RoadGlue |
Oct 28 2026, 06:11 PM
Post
#230
|
|
Sonoma County Gear Head Group: Admin Posts: 2,084 Joined: 8-January 03 From: Santa Rosa, CA Member No.: 108 Region Association: Northern California
|
I didn't trust that the fittings on the bottom tank would be leak-free if I tried to reinstall them without giving them a little love. After using heat to get them apart, I found they both had felt washers and I think one side may have had an aluminum washer as well. This sent me down a rabbit hole of trying to find the original felt washers.
My initial efforts came back with nada, so I sent ChatGPT on a high-thinking-level search. It led me to some old posts here that referred to a member that had been making them, but all those posts dried up about four years ago and I couldn't find any related member vendor posts. AA sells a kit with the two tubes, aluminum nuts and copper washers. Copper. PET calls for two felt washers, but the more I dug around, the more I saw that people had been successfully using copper washers instead. I also caught a thread here where someone suggested annealing the copper to soften it and remove work-hardening before installation. Oh great, another rabbit hole! But he was right. It's easy to do and there's no downside from annealing, so that's what I did. Once tightened, I poured a half cup of water (I know, I know) into the tank, and it was holding tight. Obviously that's not putting any head pressure on the fittings, but it gave me some hope. I dumped the water, dried out any residual moisture and then installed the sender and filler neck, both with new gaskets. 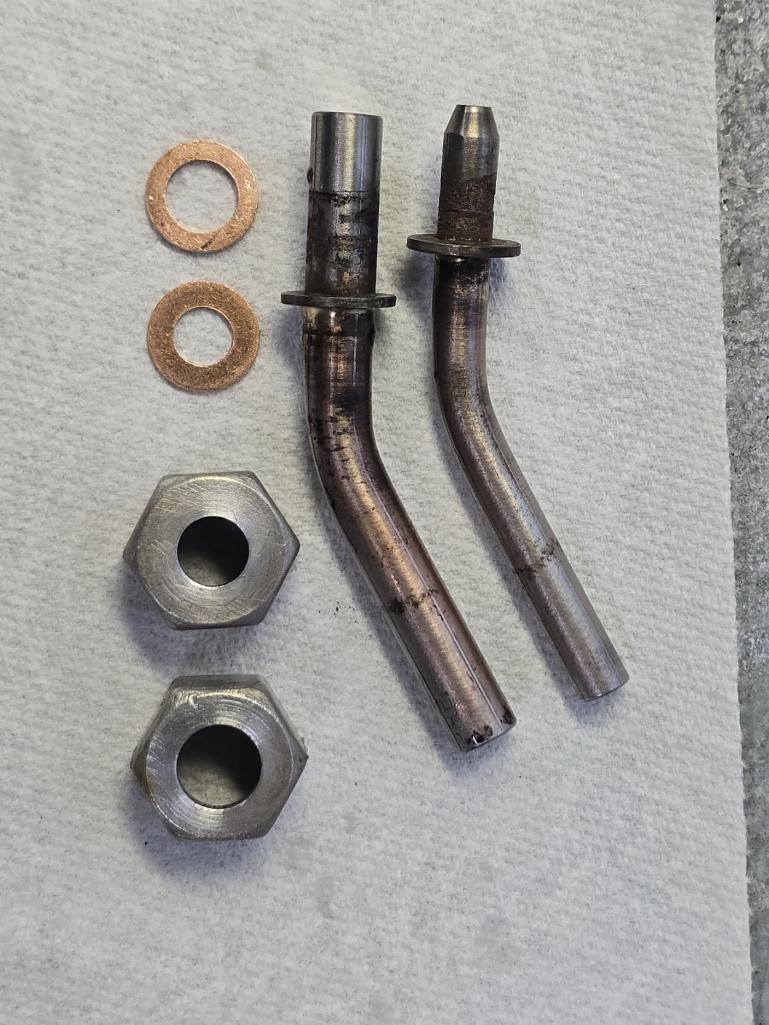 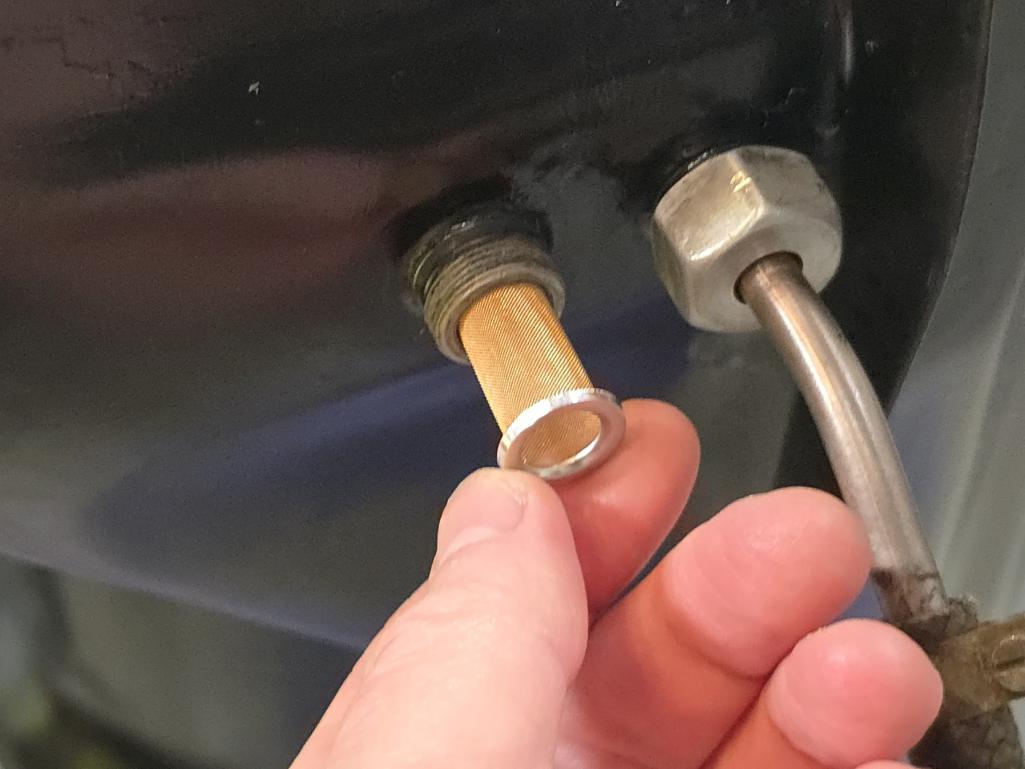 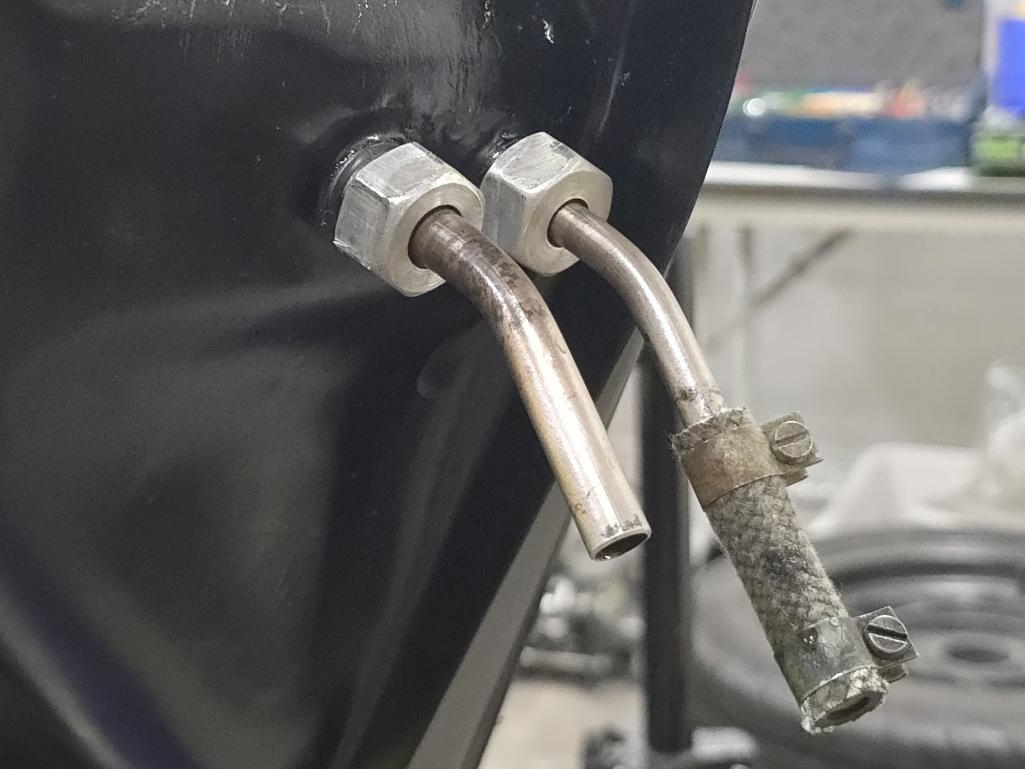 I've capped off the return line as I have single stainless line in the center tunnel as that's all I need for carbs. I did look into capping off the inlet fitting, but didn't find any great solutions. |
|
|
|
| RoadGlue |
Oct 28 2026, 06:14 PM
Post
#231
|
|
Sonoma County Gear Head Group: Admin Posts: 2,084 Joined: 8-January 03 From: Santa Rosa, CA Member No.: 108 Region Association: Northern California
|
  |
|
|
|
| RoadGlue |
Oct 28 2026, 06:25 PM
Post
#232
|
|
Sonoma County Gear Head Group: Admin Posts: 2,084 Joined: 8-January 03 From: Santa Rosa, CA Member No.: 108 Region Association: Northern California
|
I was discussing the tank with my buddy Doug (hi Doug), and I'd mentioned how I had relocated the low-pressure rotary fuel pump from under the engine bay to under the fuel tank, similar to what the factory had done later on. He brought up a few considerations, which also made me think about how many times over the years I've had no-run scenarios where I'd had to access the fuel pump for diagnostic or replacement purposes.
That led me to imagine sitting on the side of the interstate with a full tank and a broken fuel pump buried underneath. Screw that. So the other night I ripped it out and will be relocating both the pump and filter back to the engine bay. Prior to removal: 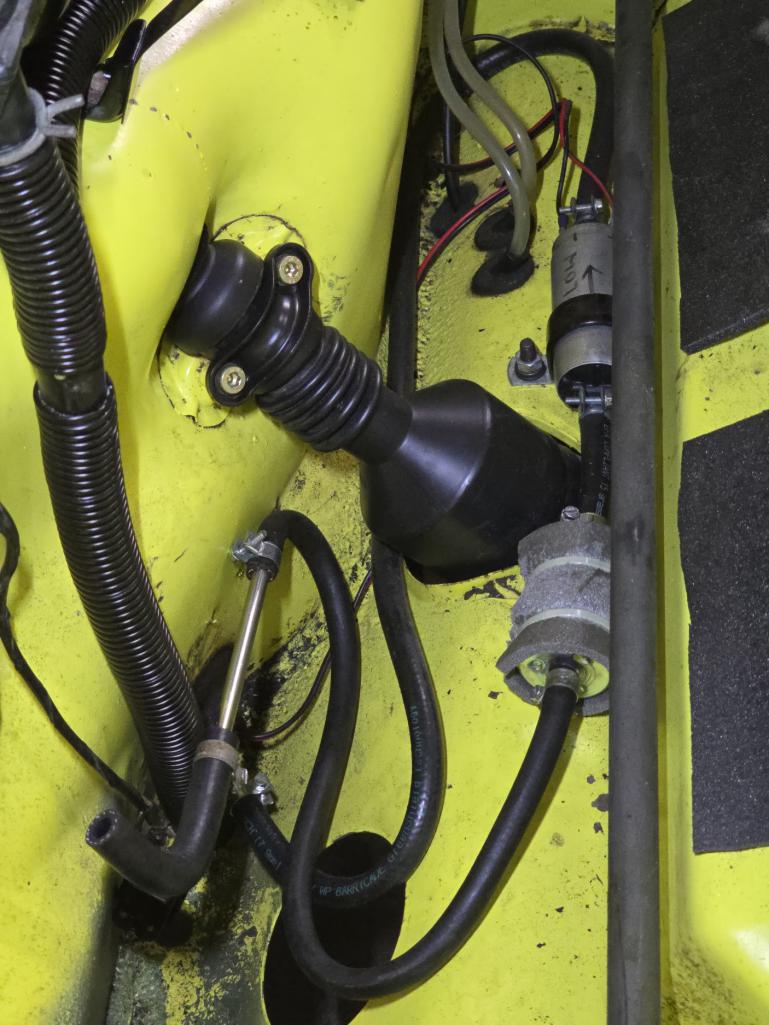 |
|
|
|
| RoadGlue |
Oct 28 2026, 06:28 PM
Post
#233
|
|
Sonoma County Gear Head Group: Admin Posts: 2,084 Joined: 8-January 03 From: Santa Rosa, CA Member No.: 108 Region Association: Northern California
|
We're nearly back to real time. Thanks for hanging on.
I lowered the front end onto ramps for the first time in many years the other night. With the car "on the ground" you're supposed to smack the front RSR bushing carriers back with a mallet to take up any slop, then torque them to spec. 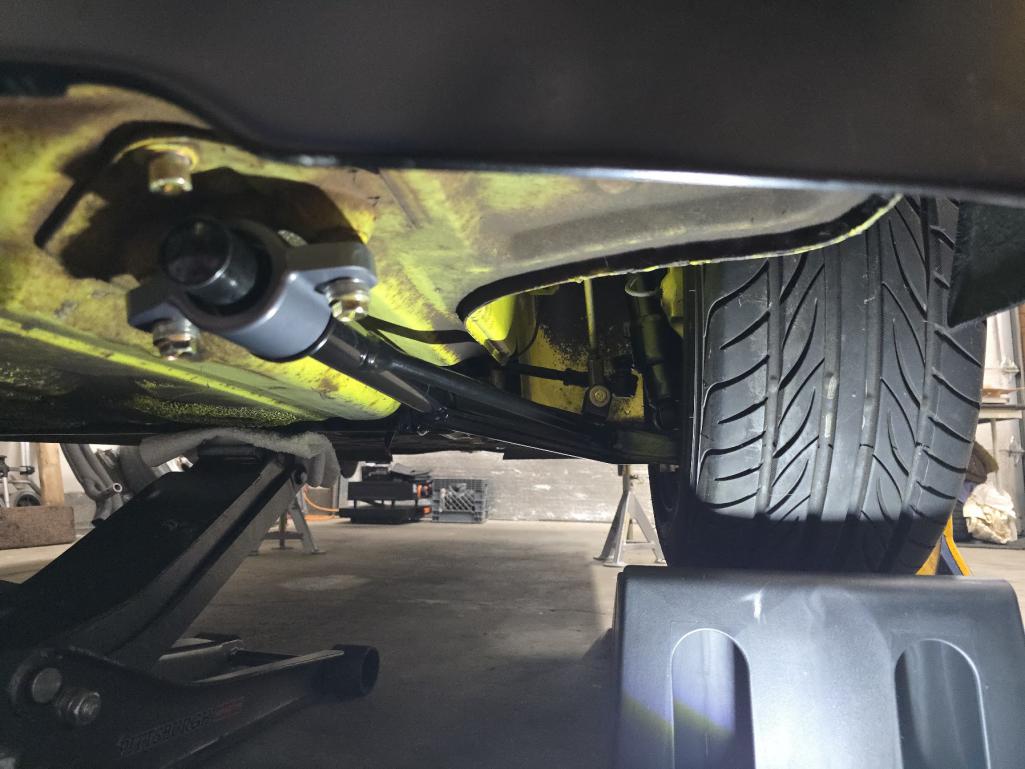 I still need to perform a basic front alignment, but it sure is nice seeing her on partly on the ground. I also needed to get more clearance in the back for the next tasks. 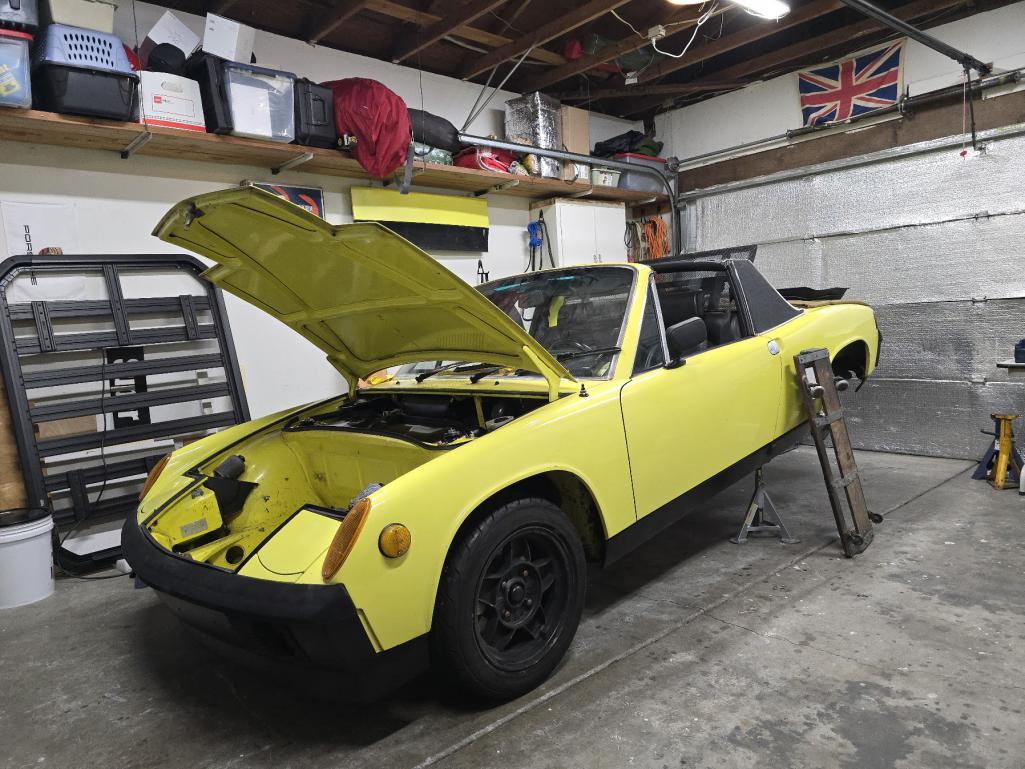 |
|
|
|
| RoadGlue |
Oct 28 2026, 07:59 PM
Post
#234
|
|
Sonoma County Gear Head Group: Admin Posts: 2,084 Joined: 8-January 03 From: Santa Rosa, CA Member No.: 108 Region Association: Northern California
|
I'll sheepishly admit that I've been running mismatched exhaust heat exchangers since the motor rebuild. Long story short, I intended on running stock HE's as I only have one good stainless unit due to a prior mishap. However, I couldn't get the driver's side HE to seal correctly, so out of desperation I installed the SS HE I had lying around and lived with it.
That never sat right with me, and I have doubts that they flow the same as one another, which could cause some tunability problems. Hoping to fix the issue, I took a flat file across both mating surfaces on the steel exhaust, and it's now about as good as I can make it short of bringing it to a machinist to have the faces milled. Since I'd annealed the copper washers on the tank's fuel fittings (see a few posts prior to this one), I dug into whether or not I should also anneal the exhaust sealing rings, being that they're also copper. Once again, I sent ChatGPT out on a research mission. Sure enough, in the instructions on 914rubber.com's installation help guide (https://914rubber.com/exhaust-manifold-gasket), they say to: "Anneal before use. To do so stick to top of pipe with grease, heat with torch until red hot and then drop in water. This will soften the metal allowing it to seal better." Now I'm no scientist, but I don't see why you should have to stick them to the top of a pipe with grease. So I brought out my trusty fireblock and heated them with my propane torch until they glowed red hot. You also don't have to drop them into water, though unlike steel, dropping copper into water won't harden them, so that's okay too. You can also let them air cool. I read elsewhere that you can tell if copper has been annealed by dropping the item lightly onto a hard surface and listening to the sound it makes. If it "pings," then it's work hardened (from the original stamping/machining process), and if it makes more of a dull "pong" sound, it's annealed. I tested them before and after, and sure enough, that was the case. This guide gets into the weeds about Type 4 exhaust sealing if you're interested: https://www.richardatwell.com/technical/Exhaust.html I torqued everything to spec, plus a little more, and thankfully all the exhaust studs held this time. I expect to have to come back and retorque after a few outings. Hopefully it won't leak. (IMG:style_emoticons/default/wacko.gif) Mismatched heat exhangers - 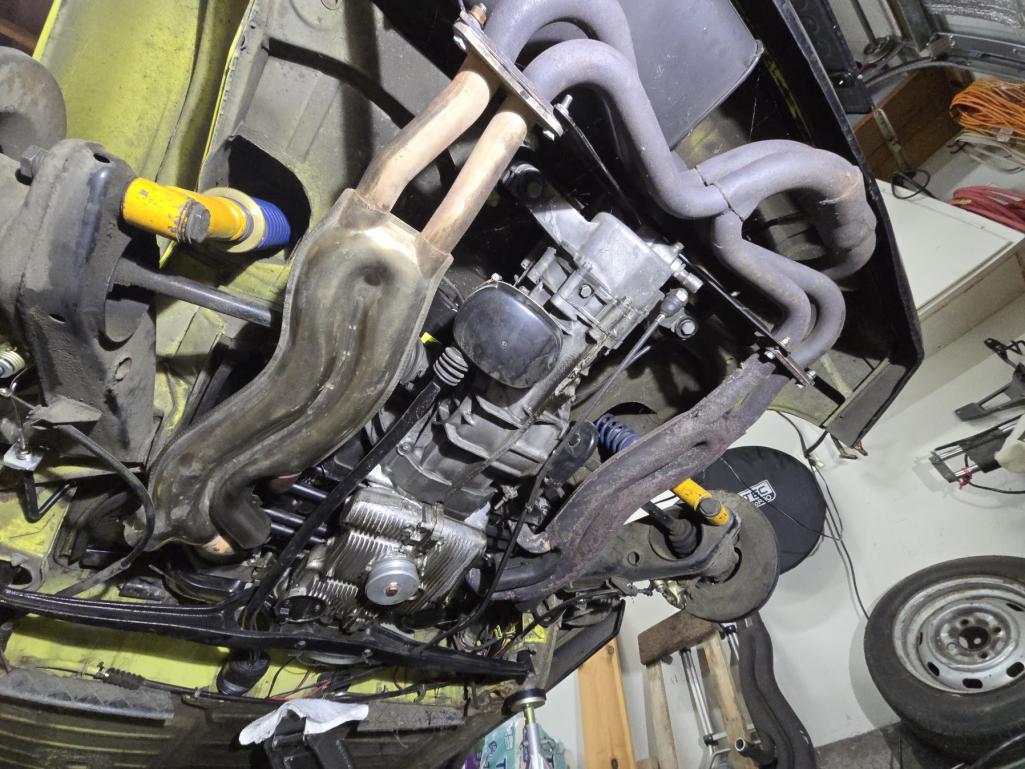 Annealing - 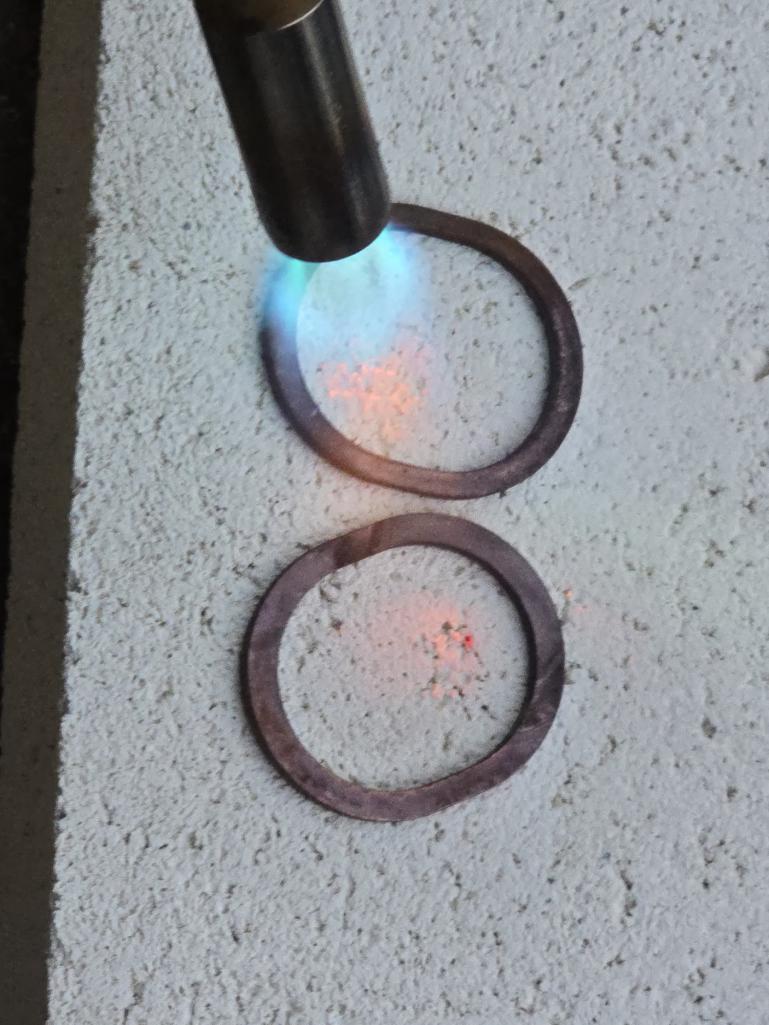 Stock heat exchanger hopefully ready to go in and not leak this time - 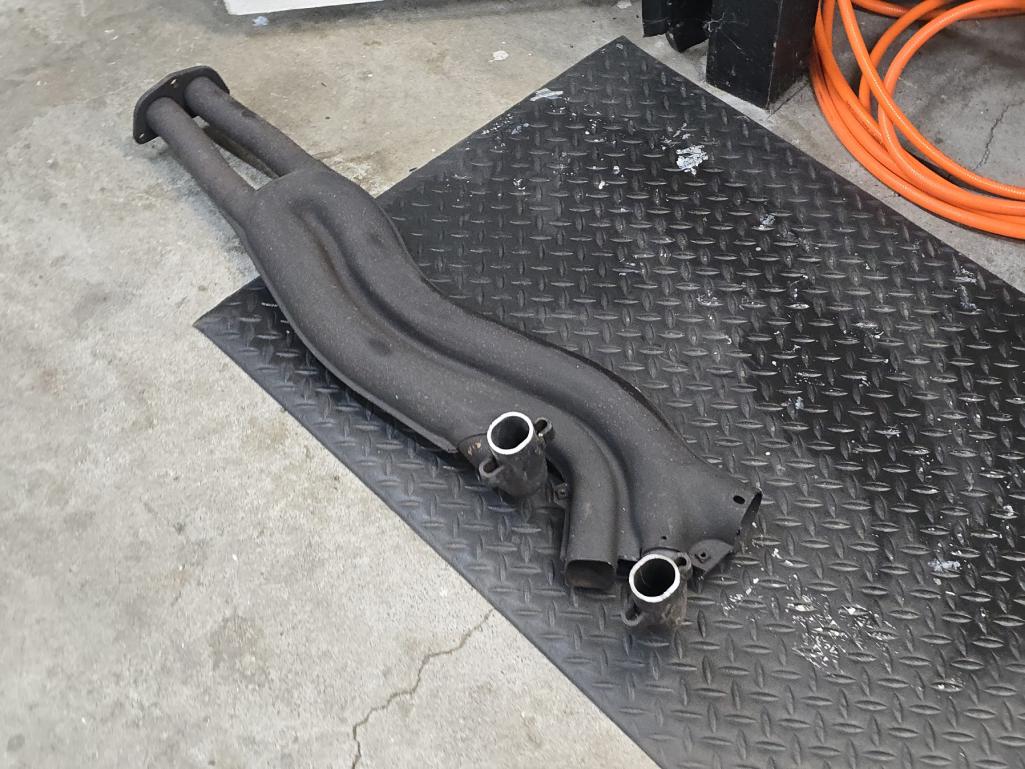 Installed, nothing broke, yay - 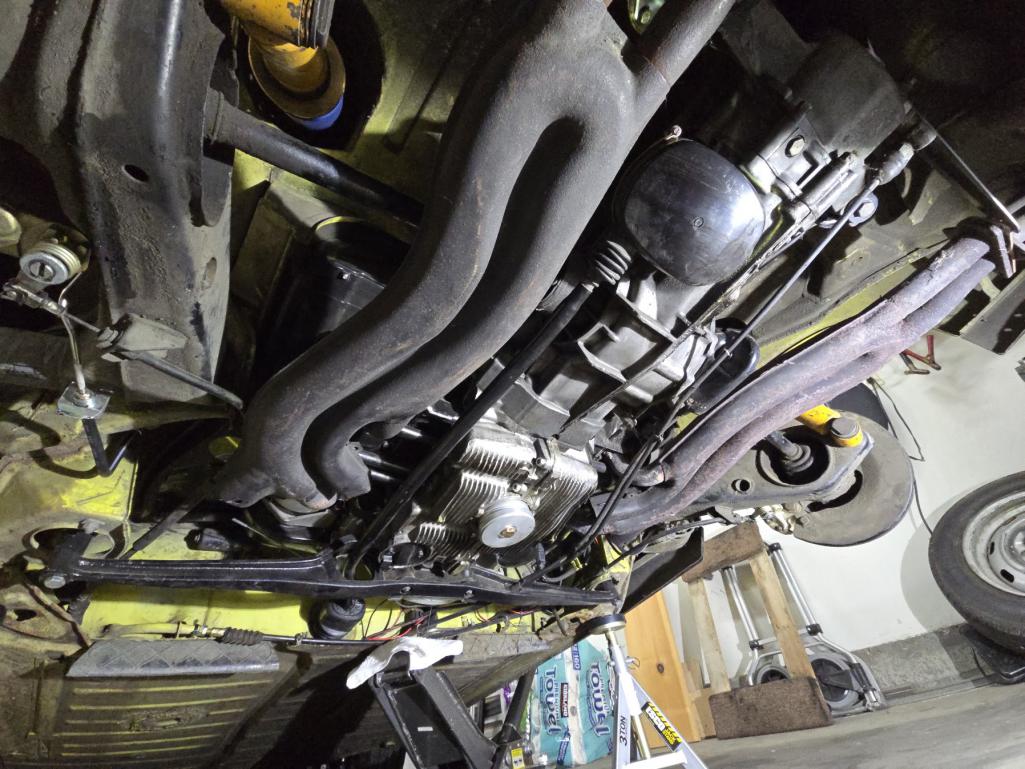 |
|
|
|
| RoadGlue |
Oct 28 2026, 08:04 PM
Post
#235
|
|
Sonoma County Gear Head Group: Admin Posts: 2,084 Joined: 8-January 03 From: Santa Rosa, CA Member No.: 108 Region Association: Northern California
|
While I'm under here, I need to mount the fuel pump and filter, redo some of the fuel line routing, adjust the valves, and install the CF Performance Spherical shift linkage bushing to fix the firewall bushing issue.
Once the car is down on all four wheels, I can start to dive into the 44 IDFs again, fix some funky linkage issues, and install the 123 Ignition distributor. Then back up with the front end, get the steering toe and center figured out, check all the bolts again for tightness, and then I guess it's onto test driving. The tires have tread, but they're aged out and I wasn't a fan anyway. I also need a new tire for the spare. More updates once I get some more work done. Thanks for following along! (IMG:style_emoticons/default/beerchug.gif) |
|
|
|
|
1 User(s) are reading this topic (1 Guests and 0 Anonymous Users)
0 Members:

|
Lo-Fi Version | Time is now: 1st November 2026 - 04:47 AM |
Invision Power Board
v9.1.4 © 2026 IPS, Inc.