|
|
|
Porsche, and the Porsche crest are registered trademarks of Dr. Ing. h.c. F. Porsche AG.
This site is not affiliated with Porsche in any way. Its only purpose is to provide an online forum for car enthusiasts. All other trademarks are property of their respective owners. |
|
|

  |

| Andyrew |
 Feb 14 2020, 11:16 AM Feb 14 2020, 11:16 AM
Post
#2261
|
|
Spooling.... Please wait  Group: Members Posts: 13,381 Joined: 20-January 03 From: Riverbank, Ca Member No.: 172 Region Association: Northern California |
QUOTE(tygaboy @ Feb 13 2020, 11:27 AM)  I had some scrap carbon fiber so thought I'd see how I could do trimming it to fit the recesses. I figured I could use the male component of the stamping die as a template. I clamped the carbon to the die, trimmed it then used 80 grit sanding pad on an angle grinder to take it to the final size. That worked like a charm and took like 20 seconds! This piece is about 2X thicker than I'd use so the "real" piece will sit better in the recess. But a successful proof of concept, so I know I'm good to go on the dog house cover, and these main panels, should I opt to go this way. One thing to remember is to cut and finish each piece of carbon so the weave sits at the same angle across all the pieces and looks like the metal was placed over a single piece. Shouldn't be hard to do, I just need to remember and do it! (IMG:style_emoticons/default/laugh.gif) That looks good! Also should provide some sound deadening, I would assume you would use the same panel bonding stuff, which would give it the needed flex. I cant wait!!! Im guessing were only a couple months away to seeing the car in primer/paint? |
   |

 
|
| tygaboy |
Feb 14 2020, 01:40 PM
Post
#2262
|
|
914 Guru Group: Members Posts: 5,844 Joined: 6-October 15 From: Petaluma, CA Member No.: 19,241 Region Association: Northern California |
QUOTE(Andyrew @ Feb 14 2020, 09:16 AM) That looks good! Also should provide some sound deadening, I would assume you would use the same panel bonding stuff, which would give it the needed flex. I cant wait!!! Im guessing were only a couple months away to seeing the car in primer/paint? Thanks @Andyrew - I'm hoping things will happen that quickly. I need to finish ALL the fab work, which now looks like it's going to include a fixed roof. Hello @914forme ! I'm leaning toward a sheet metal/tubing frame and bonding on a carbon skin. I'm starting on the frame today to see if I can come up with something that will work. |
|
|
|
| tygaboy |
Feb 14 2020, 01:42 PM
Post
#2263
|
|
914 Guru Group: Members Posts: 5,844 Joined: 6-October 15 From: Petaluma, CA Member No.: 19,241 Region Association: Northern California |
I'm sure you're getting tired of seeing this fire wall stuff so let's call this the final one, because... it's done!
Presenting one custom fire wall, ready for the paint shop! (IMG:style_emoticons/default/piratenanner.gif) Attached thumbnail(s) 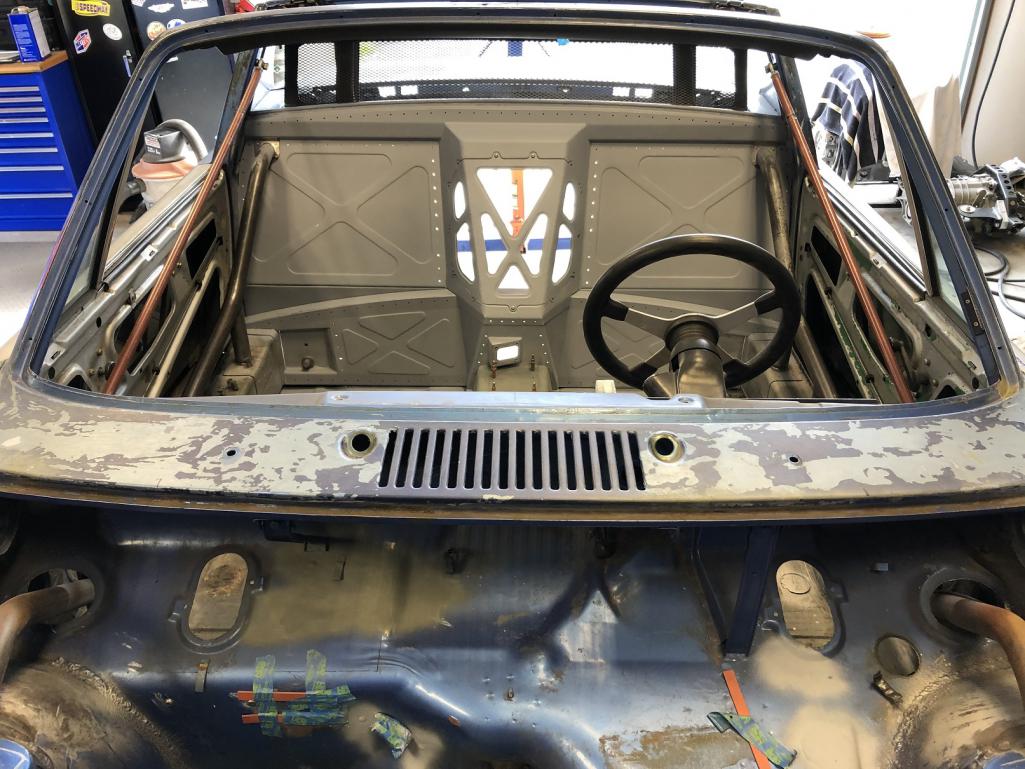
|
|
|
|
| djway |
Feb 14 2020, 02:56 PM
Post
#2264
|
|
Senior Member Group: Members Posts: 787 Joined: 16-October 15 From: Riverside Member No.: 19,266 Region Association: Southern California |
It's a Beauty Clark (IMG:style_emoticons/default/smile.gif)
|
|
|
|
| Krieger |
Feb 14 2020, 04:05 PM
Post
#2265
|
|
Advanced Member Group: Members Posts: 4,869 Joined: 24-May 04 From: Santa Rosa CA Member No.: 2,104 Region Association: None |
(IMG:style_emoticons/default/aktion035.gif) HOORAY! Looks really good!
|
 |
|
| FourBlades |
Feb 14 2020, 04:20 PM
Post
#2266
|
|
From Wreck to Rockin Group: Members Posts: 2,056 Joined: 3-December 07 From: Brevard, FL Member No.: 8,414 Region Association: South East States |
|
|
|
|
| sixnotfour |
Feb 14 2020, 04:26 PM
Post
#2267
|
|
914 Wizard Group: Members Posts: 11,291 Joined: 12-September 04 Member No.: 2,744 Region Association: NineFourteenerVille |
(IMG:style_emoticons/default/agree.gif) (IMG:style_emoticons/default/beerchug.gif) it also hides one out of character feature.........................a sqaure corner....I know you are testing us (IMG:style_emoticons/default/happy11.gif) (IMG:style_emoticons/default/wub.gif)
Attached image(s) 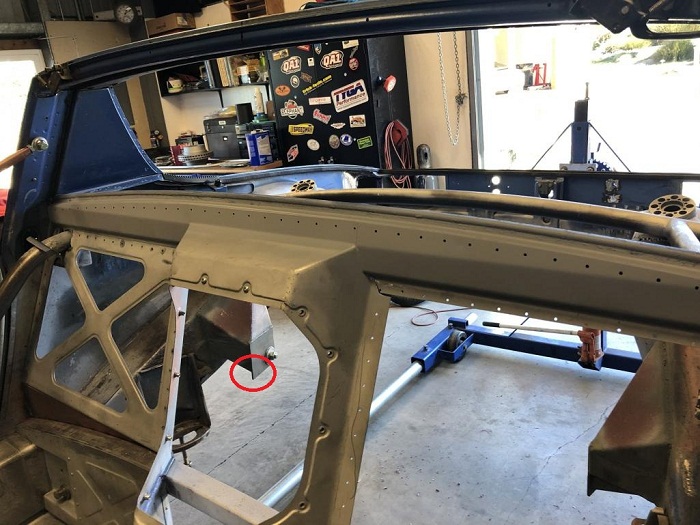
|
|
|
|
| tygaboy |
Feb 14 2020, 07:14 PM
Post
#2268
|
|
914 Guru Group: Members Posts: 5,844 Joined: 6-October 15 From: Petaluma, CA Member No.: 19,241 Region Association: Northern California |
QUOTE(sixnotfour @ Feb 14 2020, 02:26 PM) (IMG:style_emoticons/default/agree.gif) (IMG:style_emoticons/default/beerchug.gif) it also hides one out of character feature.........................a sqaure corner....I know you are testing us (IMG:style_emoticons/default/happy11.gif) (IMG:style_emoticons/default/wub.gif) Hey now, @sixnotfour , you'll have to talk to @ChrisFoley about that! (IMG:style_emoticons/default/poke.gif) I just bought the thing and installed it! (IMG:style_emoticons/default/laugh.gif) |
|
|
|
| tygaboy |
Feb 14 2020, 07:17 PM
Post
#2269
|
|
914 Guru Group: Members Posts: 5,844 Joined: 6-October 15 From: Petaluma, CA Member No.: 19,241 Region Association: Northern California |
Thanks for the compliments, everyone. It certainly was a looooooooong time coming so my thanks to y'all for your patience while I worked through all that!
|
|
|
|
| tygaboy |
Feb 14 2020, 07:21 PM
Post
#2270
|
|
914 Guru Group: Members Posts: 5,844 Joined: 6-October 15 From: Petaluma, CA Member No.: 19,241 Region Association: Northern California |
And now on to the next little project: a fixed roof! (IMG:style_emoticons/default/aktion035.gif)
I want to try building a steel frame and bonding on a carbon fiber skin. I want it to look stock, as though it could be removed, not like the 916 with the drip rails and being obviously fully integrated with the windshield frame. So... today I started on two of the components: the mold for the skin and what I'm calling the window seal rails. First the mold. Since I want it to look stock, I can use a stock top to make the mold. I plan to paint the roof (probably black) so I don't need to have everything all perfect with the mold. I had a smoothed top and I hit it with 1500 wet sand, just to tidy it up a bit. Attached thumbnail(s) 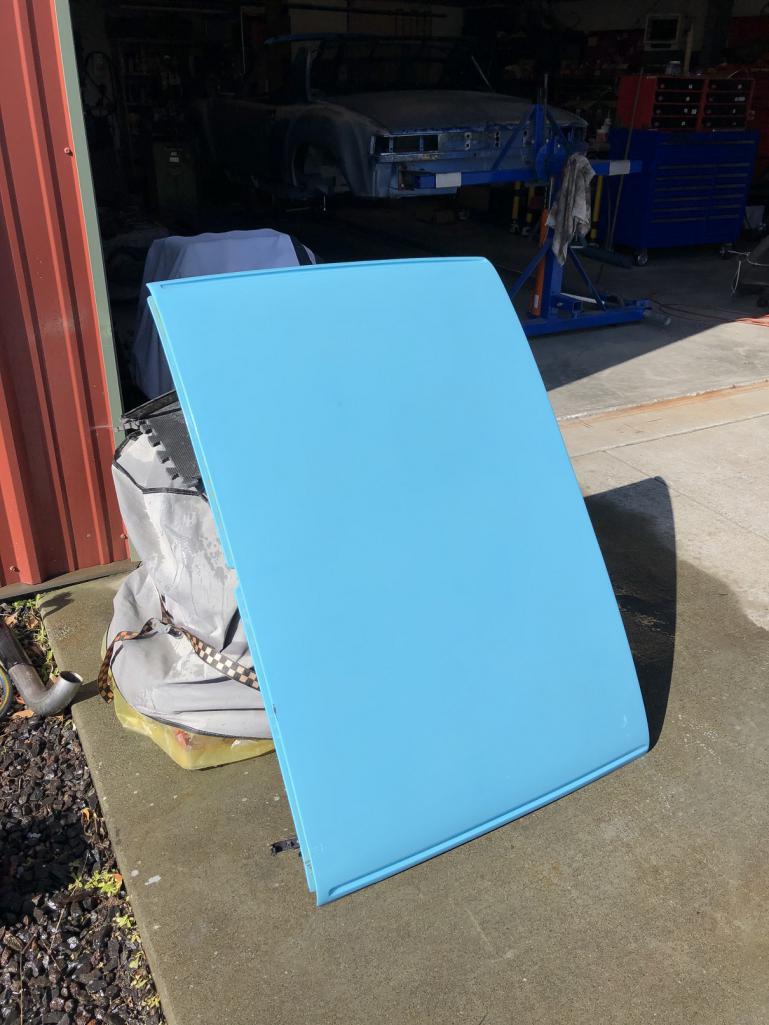
|
|
|
|
| tygaboy |
Feb 14 2020, 07:28 PM
Post
#2271
|
|
914 Guru Group: Members Posts: 5,844 Joined: 6-October 15 From: Petaluma, CA Member No.: 19,241 Region Association: Northern California |
Once it was all dry, it's time for a few coats of mold release wax.
Once that's done, on goes a layer of PVA. Some folks spray this on but I've had just fine results wiping it on with a paper towel. I pour a bunch on and wipe it evenly over the entire surface. Essentially, the PVA forms a very thin layer that prevents the layup from actually touching the part. The only really critical part is that you don't touch it once it starts to dry, else you can peel it off. Attached thumbnail(s) 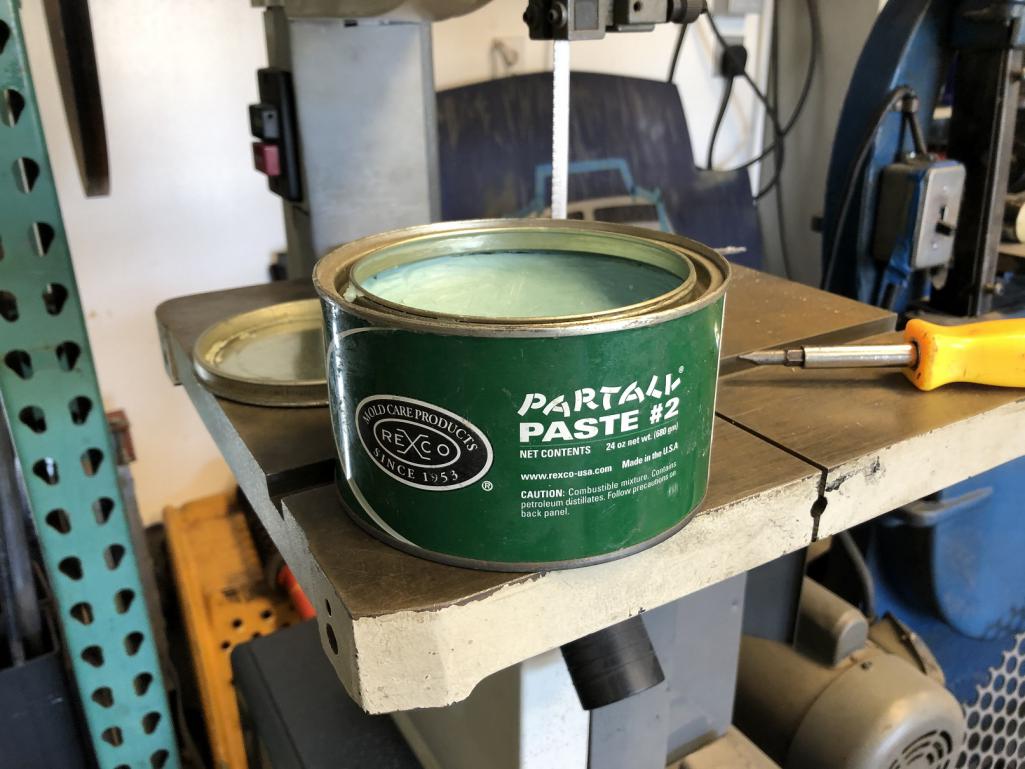 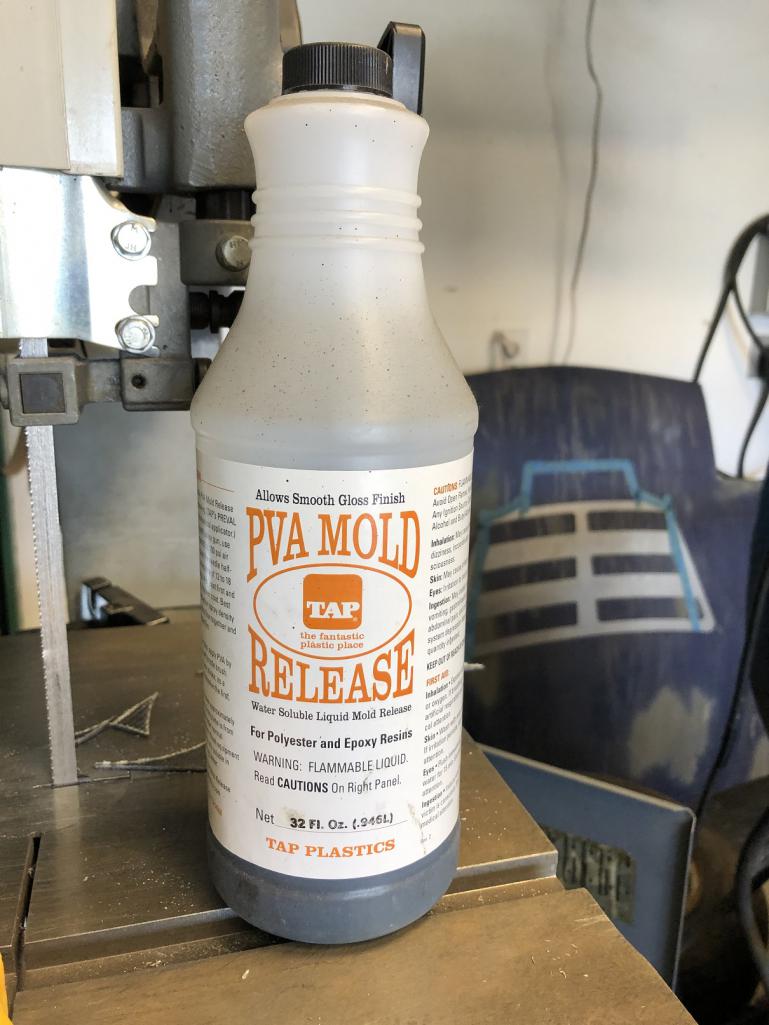
|
|
|
|
| tygaboy |
Feb 14 2020, 07:30 PM
Post
#2272
|
|
914 Guru Group: Members Posts: 5,844 Joined: 6-October 15 From: Petaluma, CA Member No.: 19,241 Region Association: Northern California |
Here's the top waxed and with the PVA dried. Shiny is what you want as this is what will determine the finish of the inside of the mold.
Again, not that critical for my project since the skin will end up being painted but the better things are at this point, the better the part that comes out of the mold. Attached thumbnail(s) 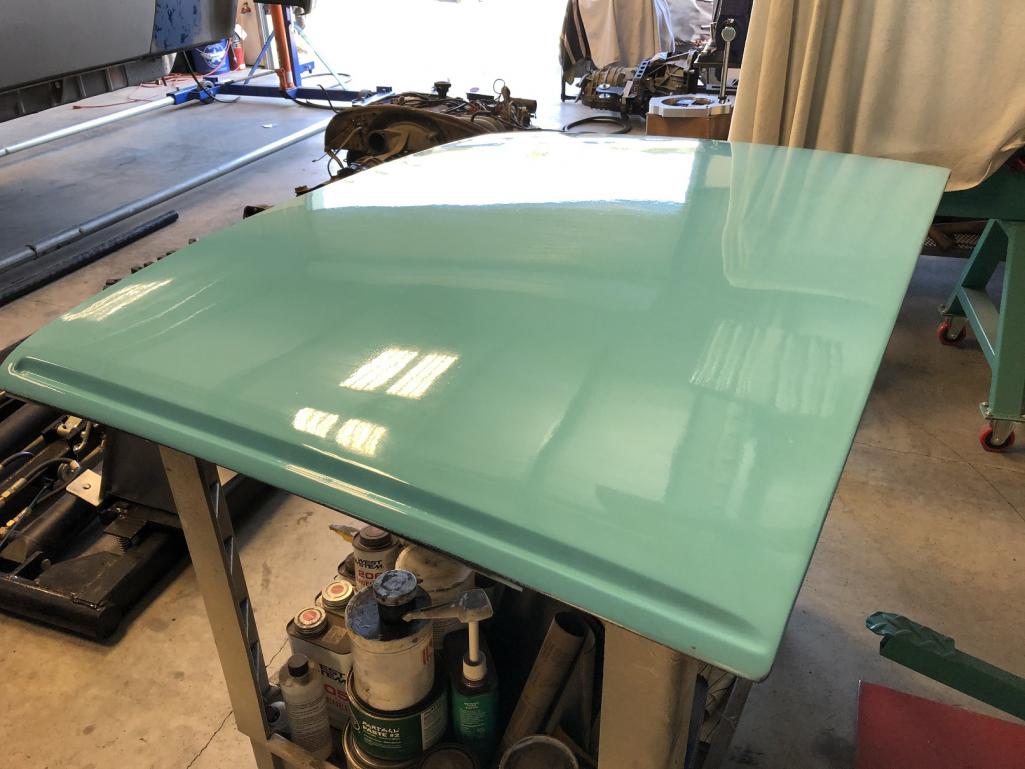
|
|
|
|
| tygaboy |
Feb 14 2020, 07:33 PM
Post
#2273
|
|
914 Guru Group: Members Posts: 5,844 Joined: 6-October 15 From: Petaluma, CA Member No.: 19,241 Region Association: Northern California |
And with the first layers of fiberglass. I use a really lightweight cloth for the first couple layers as it drapes more easily and better conforms to any of the fiddly compound shaped areas, like the front corner of the drip channel.
Attached thumbnail(s) 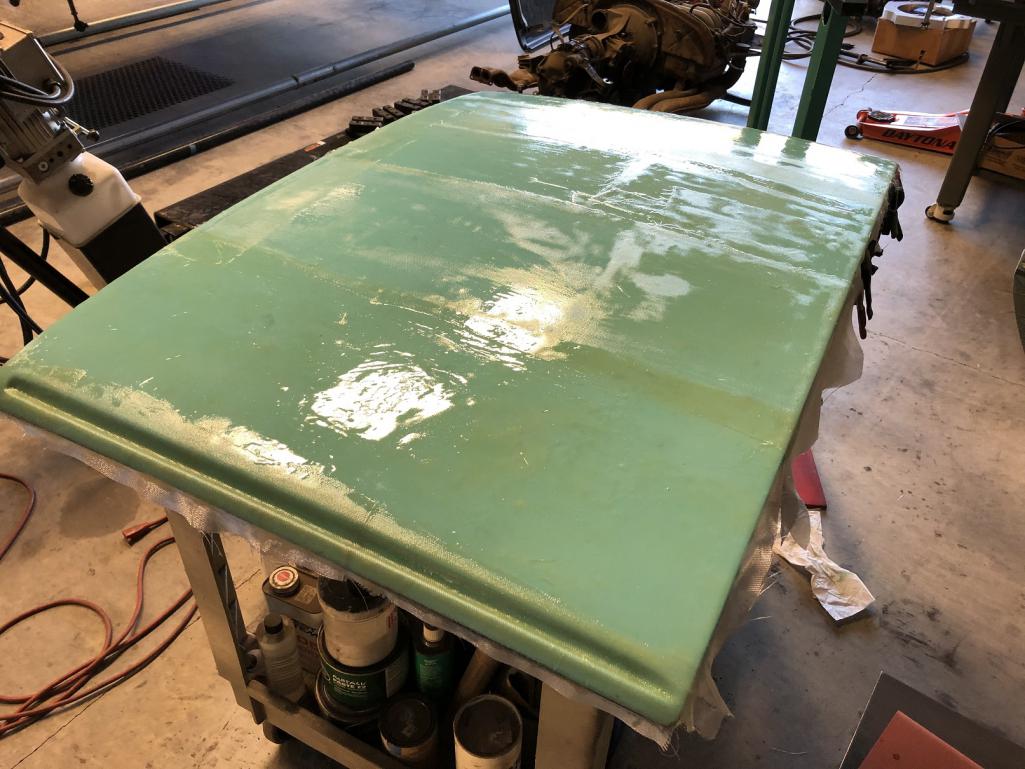
|
|
|
|
| tygaboy |
Feb 14 2020, 07:41 PM
Post
#2274
|
|
914 Guru Group: Members Posts: 5,844 Joined: 6-October 15 From: Petaluma, CA Member No.: 19,241 Region Association: Northern California |
The other component I started on was the driver side window seal rail. I cut and bent up a length of 18ga and went to work with the stretcher.
Stretch, stretch, compare to the edge of the top, oops, too much. Shrink, shrink, compare again... you know the drill. About 387 trips between the stretcher and the car later and I'm almost there! Yes, I know I have to add material to the top of the targa bar to account for the dimension of the seals and other roof elements. My plan is to get a set of window seals attached to these rails then position the assembly so the seals are in the correct location. Once that's done, I weld in the rails. I'll lay up the roof skin and once I have that, I can locate it on the car then "just" (IMG:style_emoticons/default/sawzall-smiley.gif) (IMG:style_emoticons/default/smash.gif) (IMG:style_emoticons/default/welder.gif) connect things together. Wish me luck! Attached thumbnail(s) 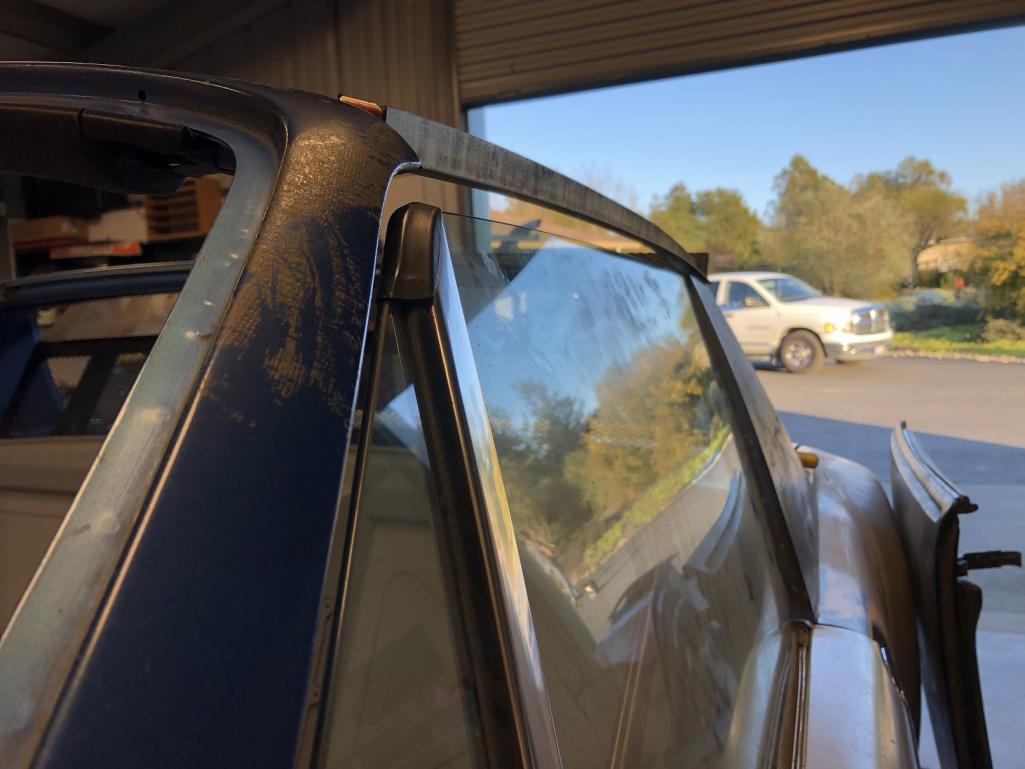 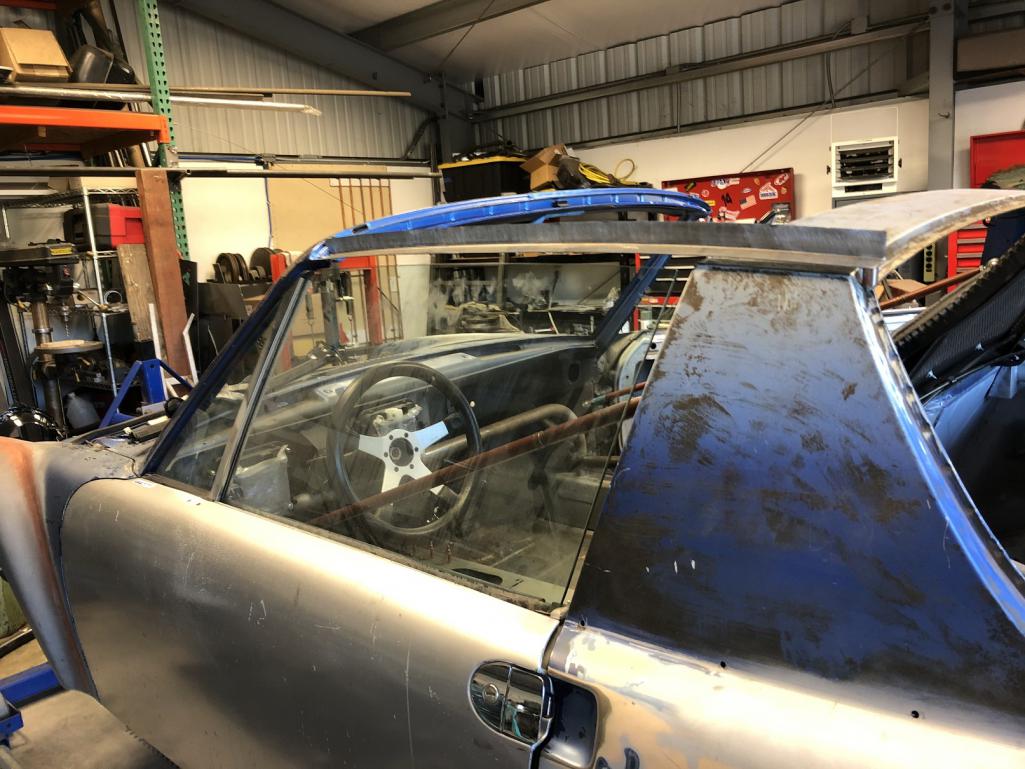
|
|
|
|
| Andyrew |
Feb 14 2020, 10:37 PM
Post
#2275
|
|
Spooling.... Please wait Group: Members Posts: 13,381 Joined: 20-January 03 From: Riverbank, Ca Member No.: 172 Region Association: Northern California |
Your skills, ingenuity, and dedication never ceases to amaze me Chris (IMG:style_emoticons/default/smile.gif)
Such a cool project! |
|
|
|
| Cairo94507 |
Feb 15 2020, 10:42 AM
Post
#2276
|
|
Michael Group: Members Posts: 10,710 Joined: 1-November 08 From: Auburn, CA Member No.: 9,712 Region Association: Northern California |
Amen brother. (IMG:style_emoticons/default/beerchug.gif)
|
|
|
|
| tygaboy |
Feb 17 2020, 02:51 PM
Post
#2277
|
|
914 Guru Group: Members Posts: 5,844 Joined: 6-October 15 From: Petaluma, CA Member No.: 19,241 Region Association: Northern California |
Working away on the window seal rails. Back and forth to the shrinker/stretcher and comparing to the targa top. The surfaces where the seals mount need to be level with each other. This is a good thing in that when I need to position the rails for install, I can simply clamp them to a couple of square tubes that span the width of the car and I'm guaranteed they'll be aligned.
Attached thumbnail(s) 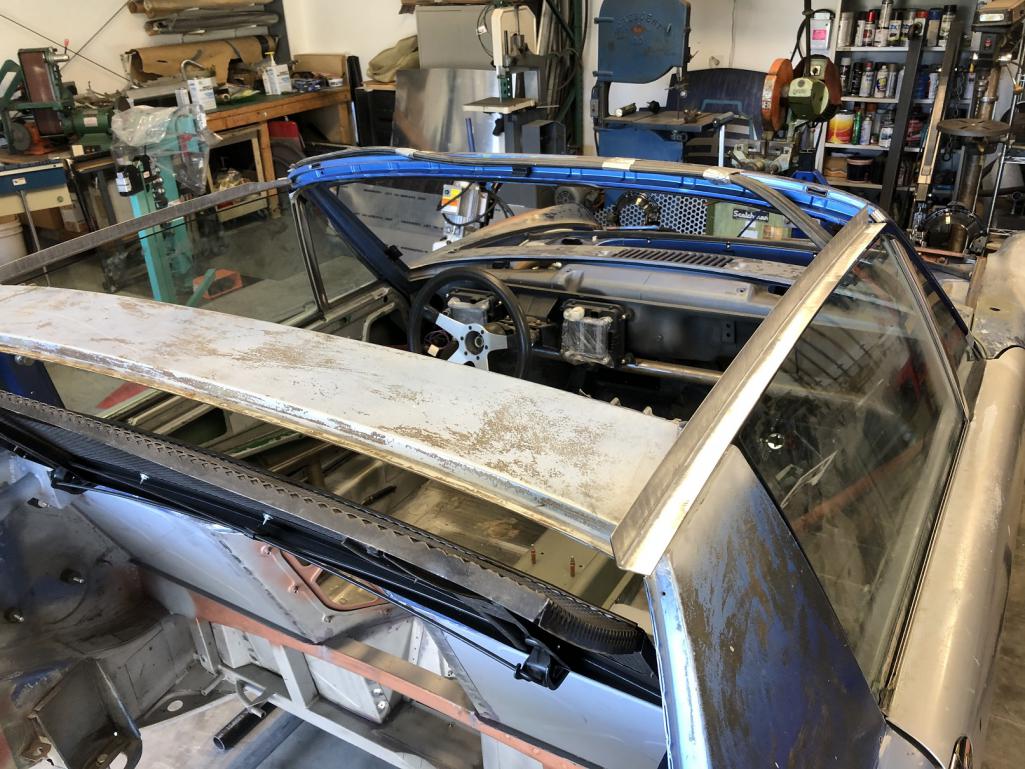 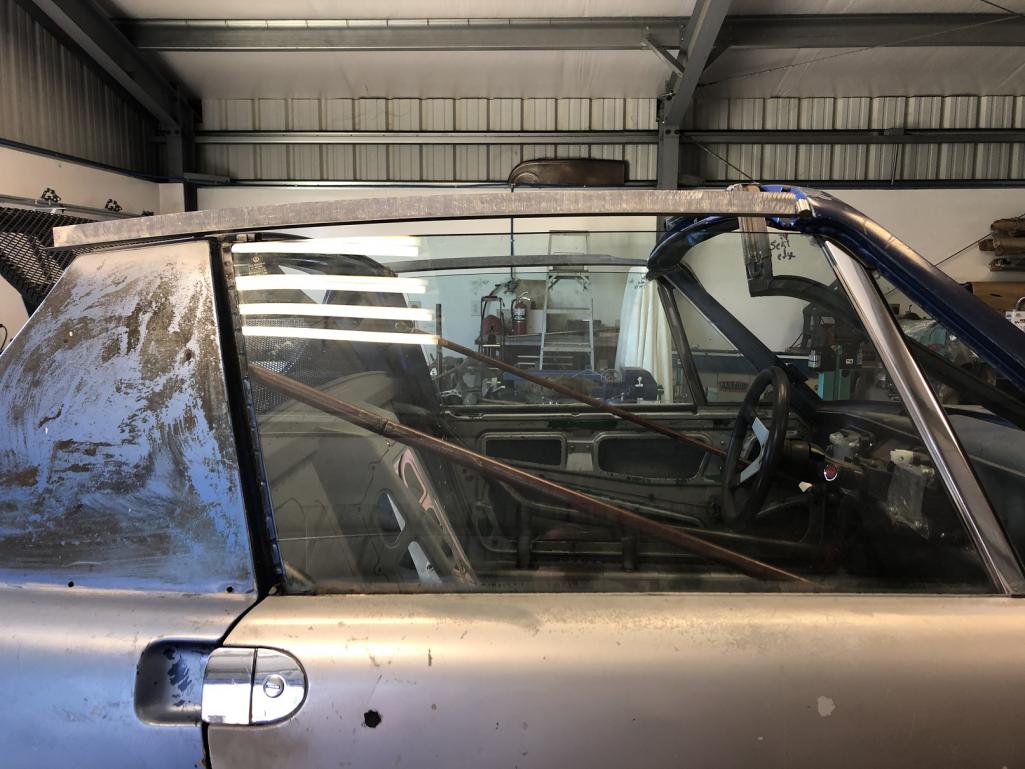
|
|
|
|
| tygaboy |
Feb 17 2020, 02:57 PM
Post
#2278
|
|
914 Guru Group: Members Posts: 5,844 Joined: 6-October 15 From: Petaluma, CA Member No.: 19,241 Region Association: Northern California |
Here's the "splash mold" for the roof skin, getting a bit of solar cure! You can see through it because it's only a few layers thick in most places. You can see I added a few pieces of core mat and layed up over some bent sheet metal to help stiffen things up.
This mold is only going to be used once and the part I'm making needn't be perfect so I did this about as quick and dirty as I could. If it turns out I need a higher quality mold, it's easy enough to make another. Attached thumbnail(s) 
|
|
|
|
| sixnotfour |
Feb 18 2020, 12:18 AM
Post
#2279
|
|
914 Wizard Group: Members Posts: 11,291 Joined: 12-September 04 Member No.: 2,744 Region Association: NineFourteenerVille |
Attached image(s) 
|
|
|
|
| tygaboy |
Feb 18 2020, 02:48 PM
Post
#2280
|
|
914 Guru Group: Members Posts: 5,844 Joined: 6-October 15 From: Petaluma, CA Member No.: 19,241 Region Association: Northern California |
QUOTE(sixnotfour @ Feb 17 2020, 10:18 PM) @sixnotfour - Yes! Like that! Except I'm going to build my X brace to be welded directly to the windshield header and the targa bar. |
|
|
|
|
3 User(s) are reading this topic (3 Guests and 0 Anonymous Users)
0 Members:

|
Lo-Fi Version | Time is now: 20th July 2026 - 11:15 AM |
Invision Power Board
v9.1.4 © 2026 IPS, Inc.