|
|
|
Porsche, and the Porsche crest are registered trademarks of Dr. Ing. h.c. F. Porsche AG.
This site is not affiliated with Porsche in any way. Its only purpose is to provide an online forum for car enthusiasts. All other trademarks are property of their respective owners. |
|
|


| pgollender |
 Nov 12 2017, 12:36 AM Nov 12 2017, 12:36 AM
Post
#1
|
|
Member  Group: Members Posts: 192 Joined: 5-July 11 From: Sacramento Member No.: 13,281 Region Association: Northern California |
Rebuilding a extra 1.7 liter in my spare time.
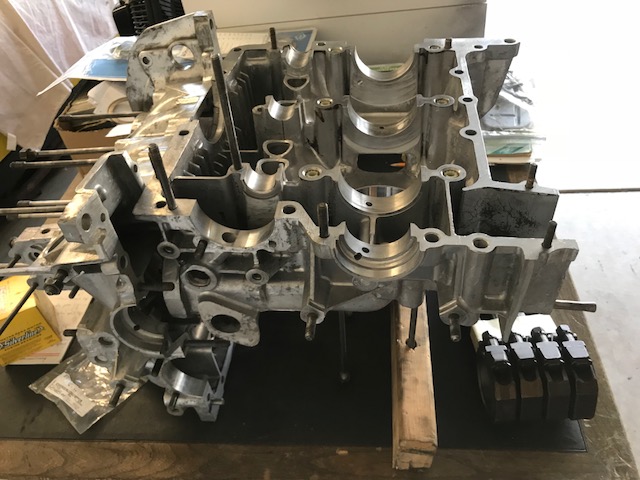 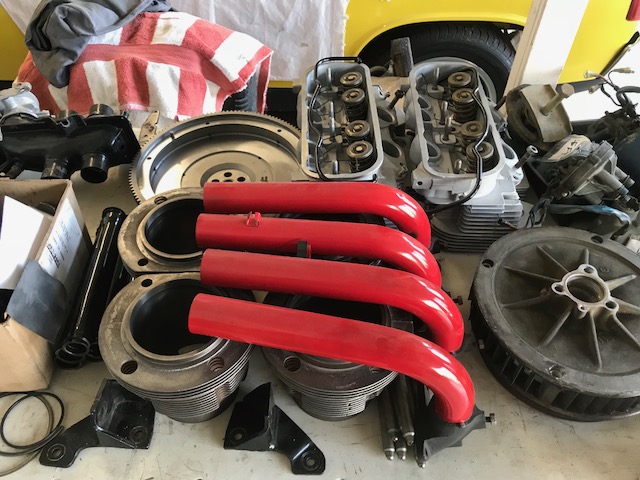 So today I decided to rebuild my MPS that couldn't hold a vacuum. Ordered a kit from Tangerine Racing (Chris Foley). Darn easy job. It took about 40 minutes. I haven't bench tested it yet as I am planning to put it together with the 1.7 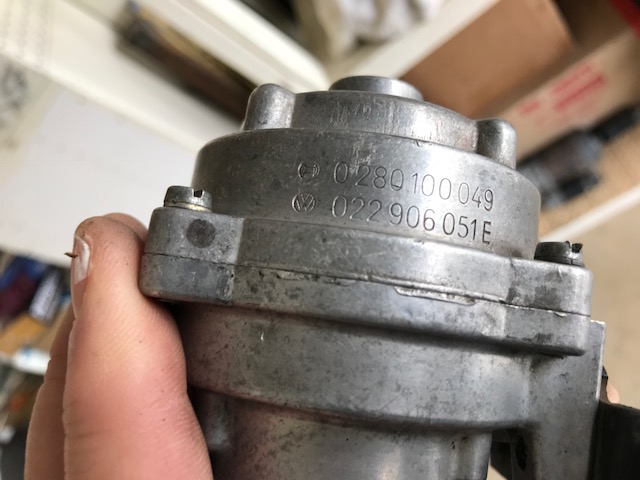 Split the case. (4 screws hold it together) 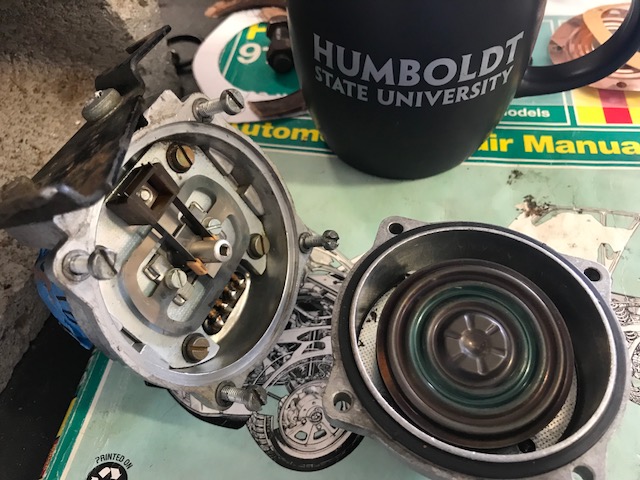 Here are the double Aneroid cells 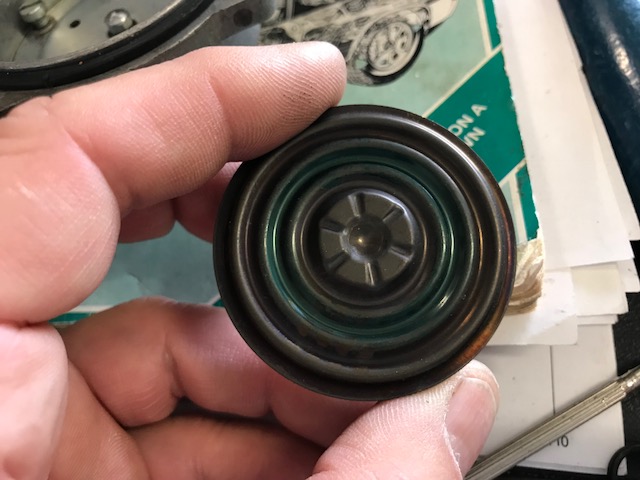 Unless you are going to make your MPS tunable, forget about the removing the epoxy. 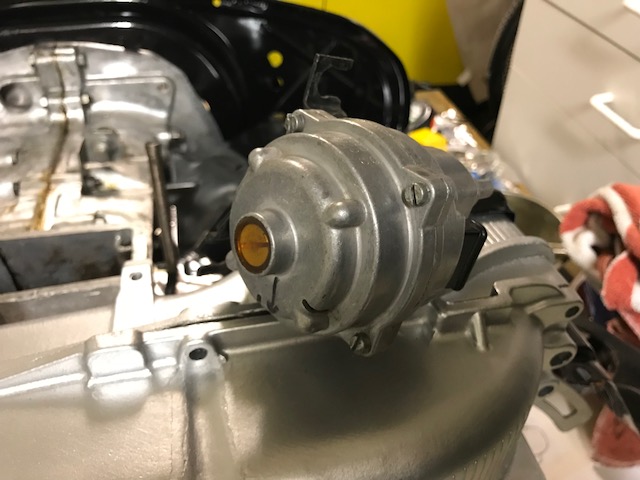 . .You just have to make sure that your inner and outer screw assembly stays the same with respect to the diaphram and each other. Remove the 4 inner screws that hold the part-load stop plate: 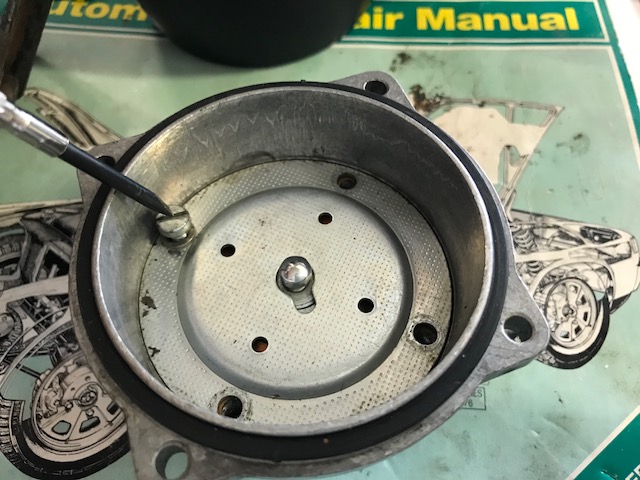 Remove the diaphram assembly. Here's the reason it didn't hold a vacuum (torn diaphram) :  This is the backside of the assembly with the inner screw that faces outwards.  New Foley Kit and instructions: 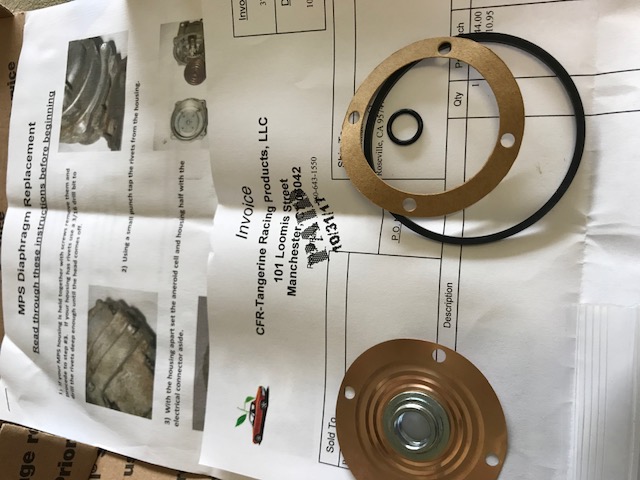 Replace small rubber seal on screw assembly: 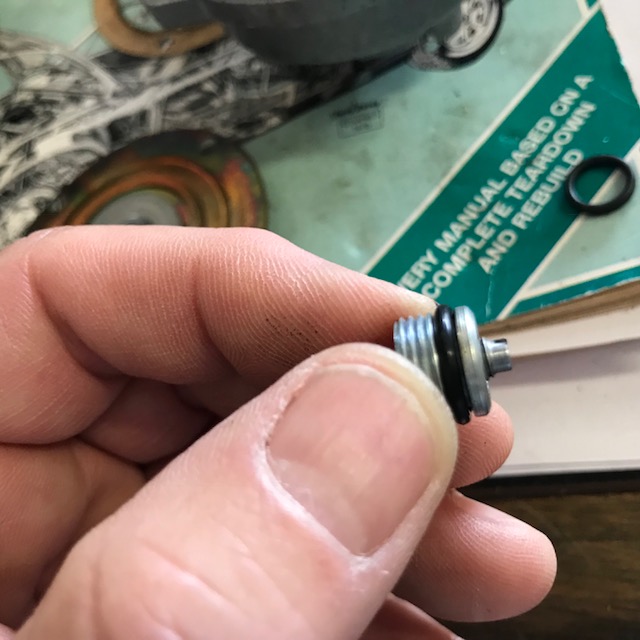 Replace old paper gasket: Coat new one lightly both sides with wheel bearing grease. 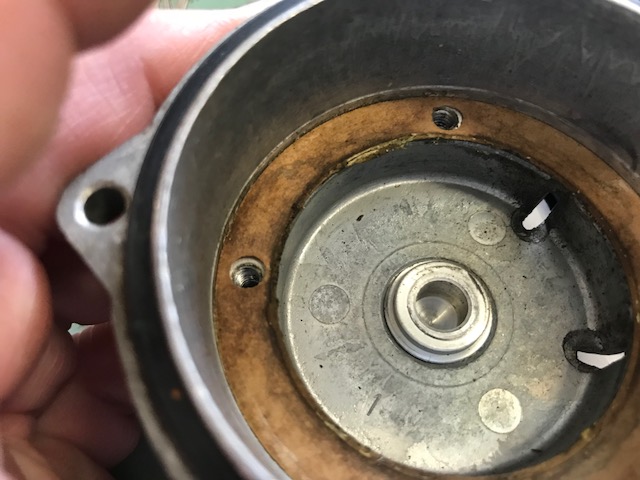 Measure carefully the assembly's depth. A depth measuring tool works best. My outer screw was 1-3/4 threads above the plane of the aluminum surface of the diaphram. Transfer it exactly over to the new diaphram. I found that I had to remove the inner/outer assembly by backing it out from the backside. 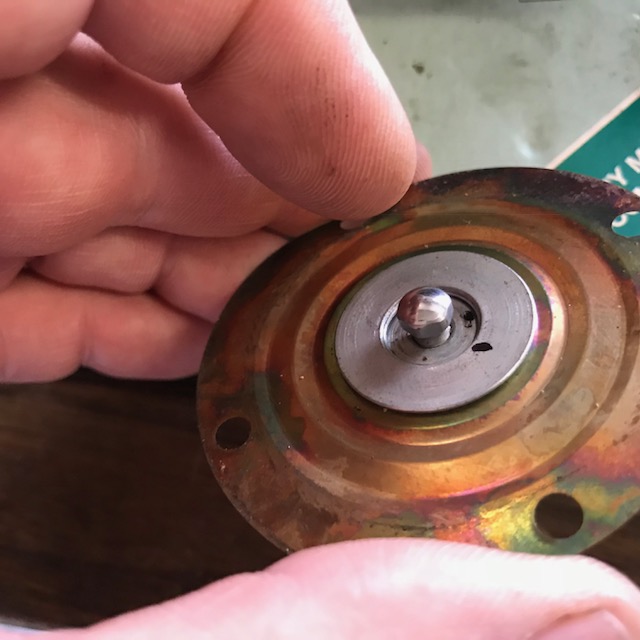 Careful not to change the relationship between the inner and outer screw distances. If you do you will affect how lean/rich your mixture is under either part load or full load conditions. Brad Anders has an excellent article posted on Rennlist describing the effect: https://members.rennlist.com/pbanders/manif...sure_sensor.htm 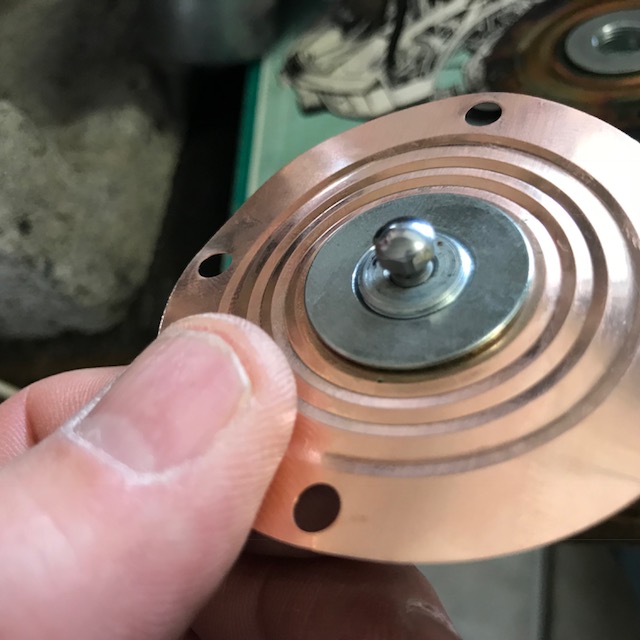 Replace old outer seal: 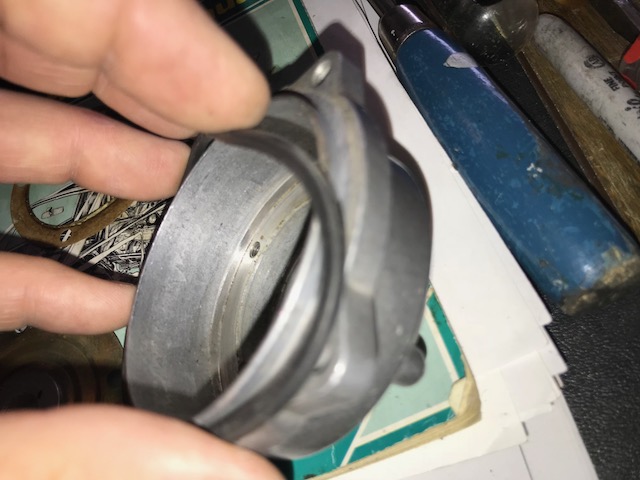 Put it back together: 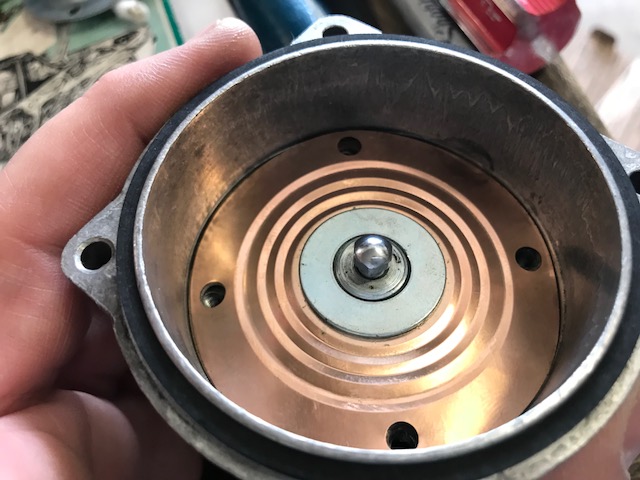 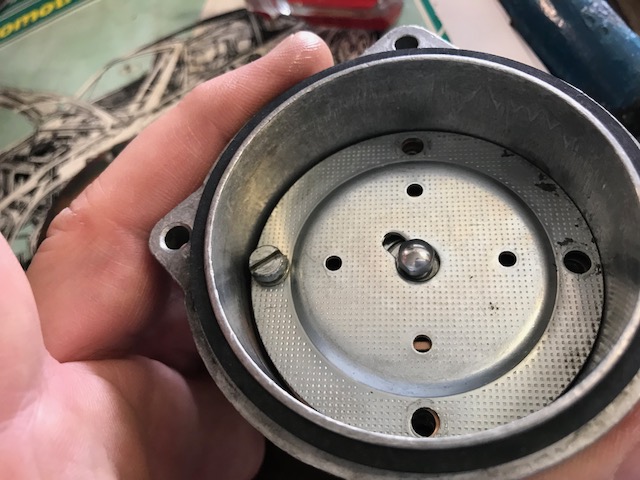 Make sure the weap holes in the assembly point down when mounted back into the car. 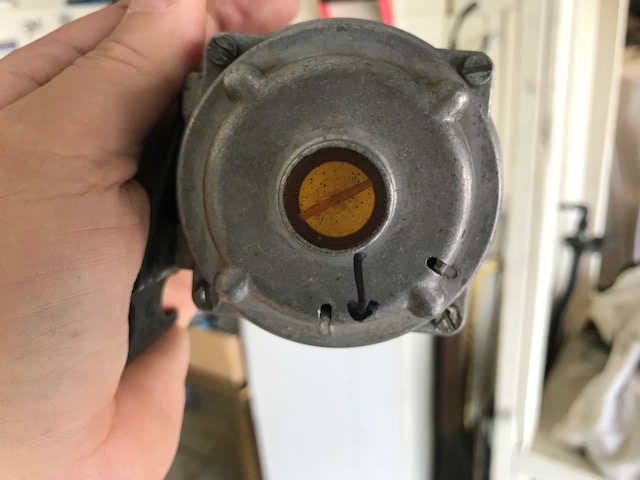 Now back to the grind.... Dry fitting the tins and fan shroud on the short block after welding them up and painting: 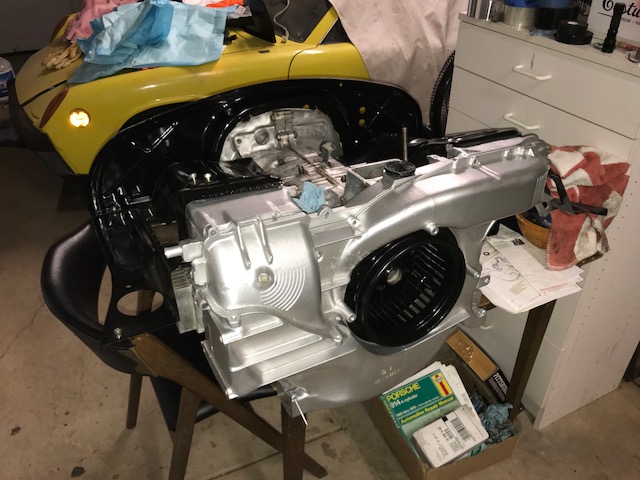 The yellow '74 in the background is next summers 1.8L Turbo (Audi) conversion project inspired by Mike Bellis and Andrew Dalen's 1.8L projects. |
   |

 
|
Posts in this topic
 pgollender replacing the D-jet MPS diaphram Nov 12 2017, 12:36 AM
 Jeff Bowlsby "Measure carefully the assembly's depth.... Nov 12 2017, 08:24 AM
 pgollender [quote name='Jeff Bowlsby' date='Nov 1... Nov 12 2017, 12:11 PM Racer Chris
Chris Foley says you know you are very close to o... Nov 13 2017, 07:41 AM ThePaintedMan
Chris Foley says you know you are very close to ... Nov 13 2017, 08:30 AM
pgollender [quote name='Jeff Bowlsby' date='Nov 1... Nov 12 2017, 12:11 PM Racer Chris
Chris Foley says you know you are very close to o... Nov 13 2017, 07:41 AM ThePaintedMan
Chris Foley says you know you are very close to ... Nov 13 2017, 08:30 AM  |
1 User(s) are reading this topic (1 Guests and 0 Anonymous Users)
0 Members:

|
Lo-Fi Version | Time is now: 7th May 2024 - 01:36 PM |
Invision Power Board
v9.1.4 © 2024 IPS, Inc.