|
|
|
Porsche, and the Porsche crest are registered trademarks of Dr. Ing. h.c. F. Porsche AG.
This site is not affiliated with Porsche in any way. Its only purpose is to provide an online forum for car enthusiasts. All other trademarks are property of their respective owners. |
|
|


| zfisher6164 |
 Jul 22 2019, 09:24 AM Jul 22 2019, 09:24 AM
Post
#1
|
|
Newbie  Group: Members Posts: 41 Joined: 19-January 19 From: California Member No.: 22,809 Region Association: None |
I was not looking forward to changing the targa seal but it really was not that bad.
Lots of silicone grease and a small plastic putty knife so you do not scratch paint. Removal is easy. For the install I put a lot of the silicone grease in the right door channel and slid one side all the way down then pushed the outside channel in with the putty knife. The top curve of the door seal takes the most work. The top part you extend across the top and hit it in with your palm so the metal part grabs the metal flange of the window. Repeat on the other window side. It is greasy but easy to clean and the new seal is much tighter on the top and looks better 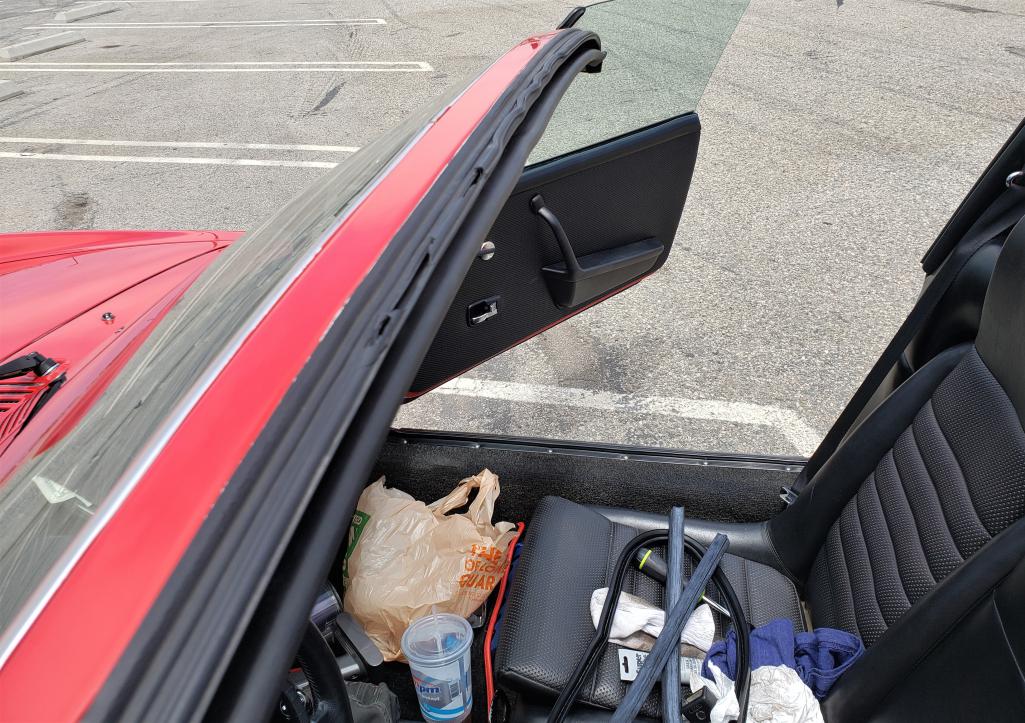 |
   |

 
|
Posts in this topic
 zfisher6164 Main Targa Seal Replacement Jul 22 2019, 09:24 AM
 zfisher6164
I was not looking forward to changing the targa s... Jul 22 2019, 09:27 AM
zfisher6164
I was not looking forward to changing the targa s... Jul 22 2019, 09:27 AM
 zfisher6164
I was not looking forward to changing the targa ... Jul 22 2019, 09:27 AM zfisher6164
[quote name='zfisher6164' post='2731937' date='Ju... Jul 22 2019, 09:38 AM zfisher6164 finished Jul 22 2019, 09:28 AM 914pipe I was just doing this right now and I'm having... Jul 25 2019, 11:08 PM zfisher6164
I was just doing this right now and I'm havin... Jul 28 2019, 02:43 PM Mikey914 Possible you have an earlier version we did. The n... Jul 26 2019, 11:12 AM JamesM Well that explains why I have never been able to g... Jul 29 2019, 05:03 AM 914pipe
Possible you have an earlier version we did. The ... Jul 29 2019, 10:23 PM zfisher6164 the top seal should have metal in the rubber deal ... Jul 29 2019, 08:38 AM
zfisher6164
I was not looking forward to changing the targa ... Jul 22 2019, 09:27 AM zfisher6164
[quote name='zfisher6164' post='2731937' date='Ju... Jul 22 2019, 09:38 AM zfisher6164 finished Jul 22 2019, 09:28 AM 914pipe I was just doing this right now and I'm having... Jul 25 2019, 11:08 PM zfisher6164
I was just doing this right now and I'm havin... Jul 28 2019, 02:43 PM Mikey914 Possible you have an earlier version we did. The n... Jul 26 2019, 11:12 AM JamesM Well that explains why I have never been able to g... Jul 29 2019, 05:03 AM 914pipe
Possible you have an earlier version we did. The ... Jul 29 2019, 10:23 PM zfisher6164 the top seal should have metal in the rubber deal ... Jul 29 2019, 08:38 AM  |
1 User(s) are reading this topic (1 Guests and 0 Anonymous Users)
0 Members:

|
Lo-Fi Version | Time is now: 18th July 2025 - 06:38 PM |
Invision Power Board
v9.1.4 © 2025 IPS, Inc.