|
|
|
Porsche, and the Porsche crest are registered trademarks of Dr. Ing. h.c. F. Porsche AG.
This site is not affiliated with Porsche in any way. Its only purpose is to provide an online forum for car enthusiasts. All other trademarks are property of their respective owners. |
|
|

  |

| bkrantz |
 Jan 7 2020, 09:19 PM Jan 7 2020, 09:19 PM
Post
#141
|
|
914 Guru  Group: Members Posts: 8,696 Joined: 3-August 19 From: SW Colorado Member No.: 23,343 Region Association: Rocky Mountains |
Got distracted by the need to make progress in converting my garage lights from fluorescent to LED, with brighter and whiter light.
Attached thumbnail(s) 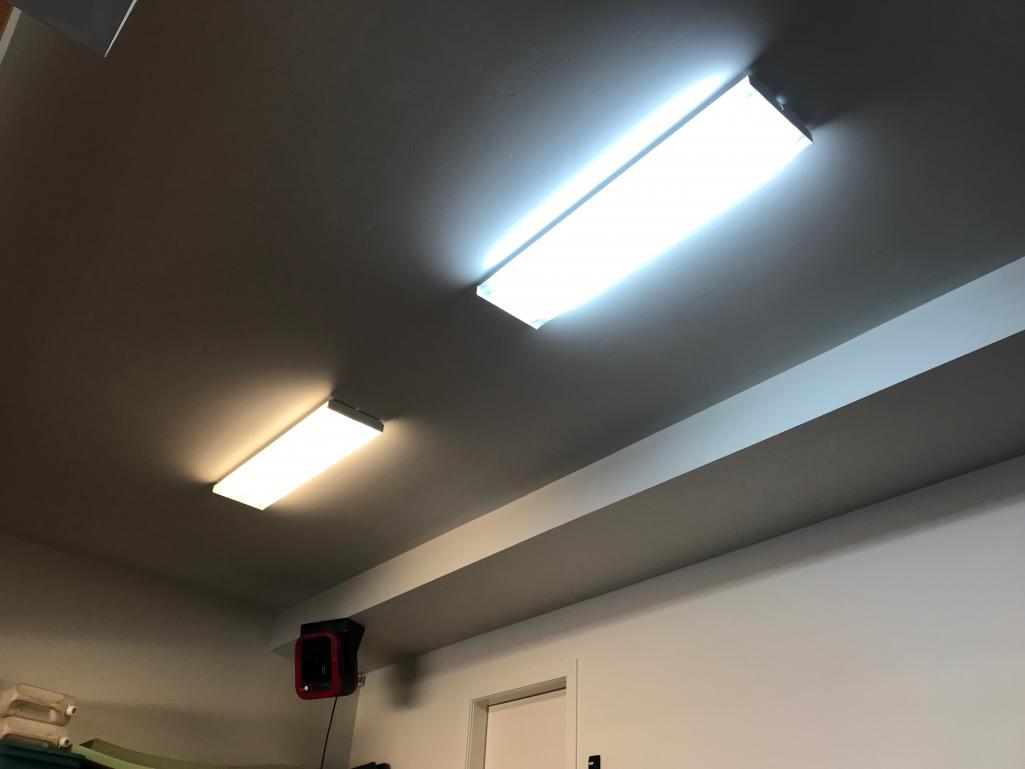
|
   |

 
|
| bkrantz |
Jan 7 2020, 09:22 PM
Post
#142
|
|
914 Guru Group: Members Posts: 8,696 Joined: 3-August 19 From: SW Colorado Member No.: 23,343 Region Association: Rocky Mountains |
The problem is that not only are the LED "bulbs" direct wire, so cannot use the ballast, but the stock sockets are double-pole and must be replaced. I have to strip each fixture down to a bare shell, and then install new sockets.
Attached thumbnail(s) 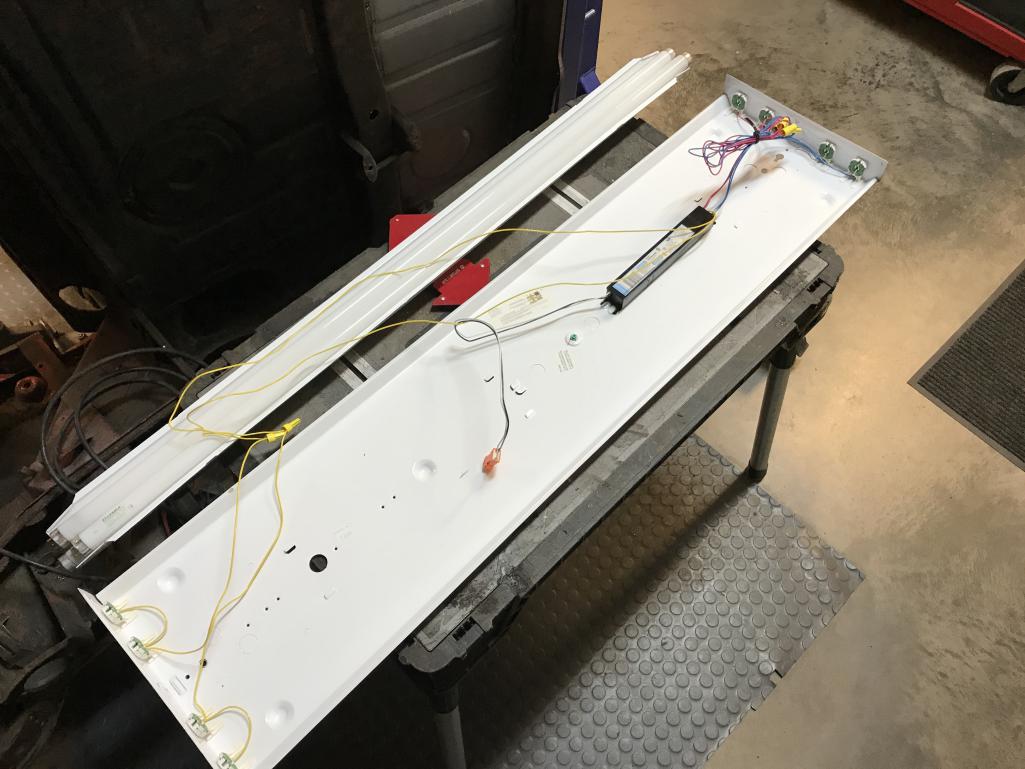
|
|
|
|
| Kansas 914 |
Jan 8 2020, 07:35 AM
Post
#143
|
|
Advanced Member Group: Members Posts: 3,008 Joined: 1-March 03 From: Durango, Colorado Member No.: 373 Region Association: Rocky Mountains |
LED replacements are well worth the time and money.
As I get older I can never have enough light in the garage. I am glad I did mine and might install a few more. |
|
|
|
| bkrantz |
Jan 8 2020, 09:35 PM
Post
#144
|
|
914 Guru Group: Members Posts: 8,696 Joined: 3-August 19 From: SW Colorado Member No.: 23,343 Region Association: Rocky Mountains |
Finished the two fixtures above my work area. Replaced all the sockets and did the direct wiring.
Attached thumbnail(s) 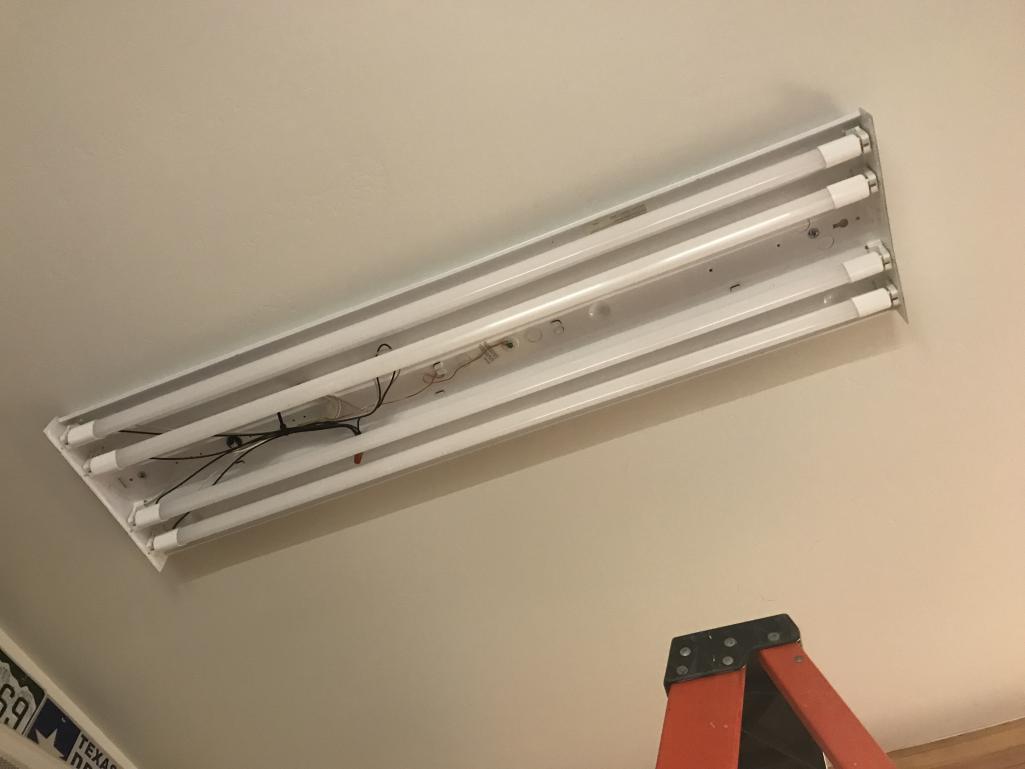
|
|
|
|
| bkrantz |
Jan 8 2020, 09:35 PM
Post
#145
|
|
914 Guru Group: Members Posts: 8,696 Joined: 3-August 19 From: SW Colorado Member No.: 23,343 Region Association: Rocky Mountains |
Let there be light!
Attached thumbnail(s) 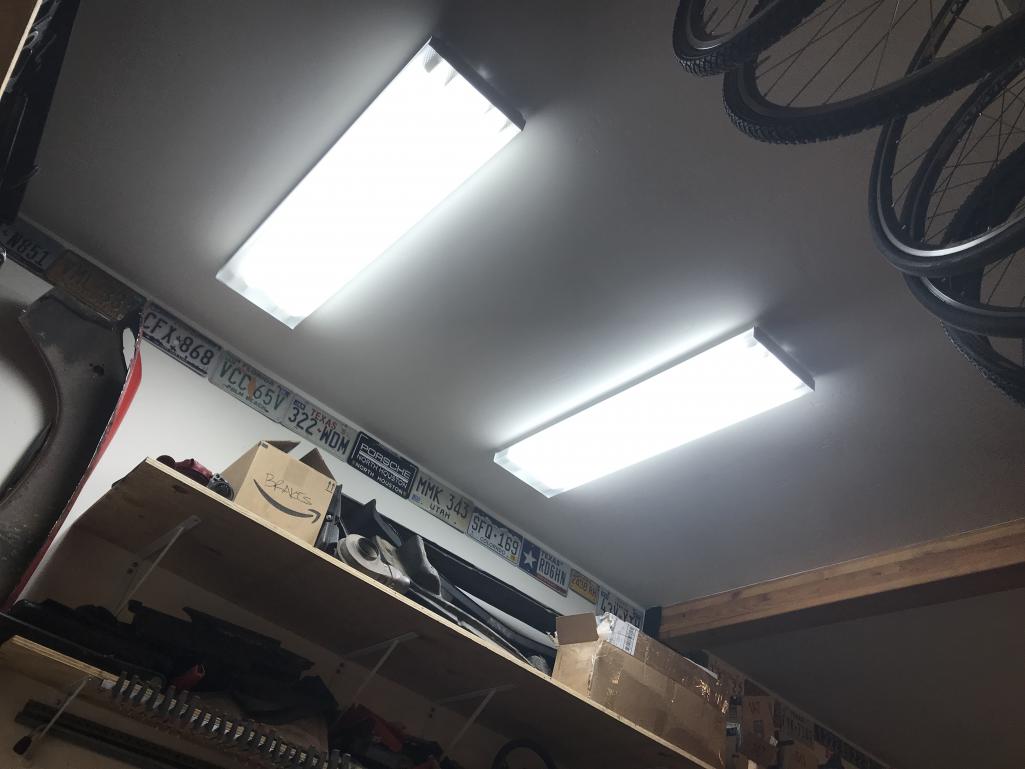
|
|
|
|
| bkrantz |
Jan 8 2020, 09:37 PM
Post
#146
|
|
914 Guru Group: Members Posts: 8,696 Joined: 3-August 19 From: SW Colorado Member No.: 23,343 Region Association: Rocky Mountains |
Had just a bit of time to play, so I tackled the muffler shield. It was still attached to the remnant of the old trunk floor.
Attached thumbnail(s) 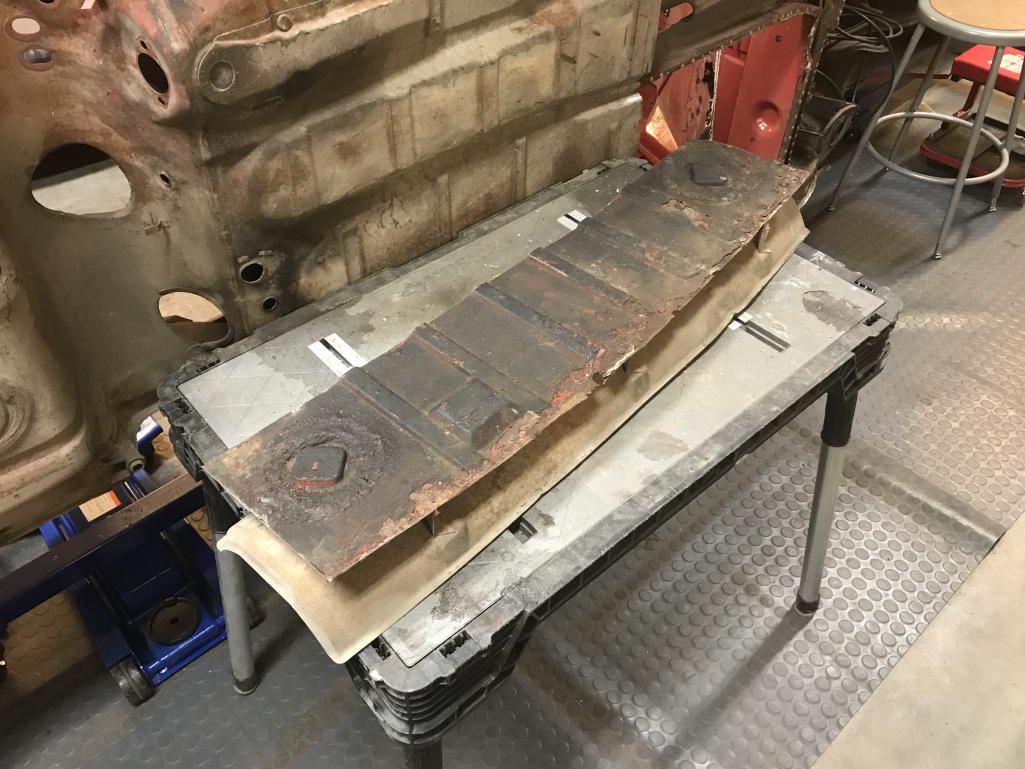
|
|
|
|
| bkrantz |
Jan 8 2020, 09:40 PM
Post
#147
|
|
914 Guru Group: Members Posts: 8,696 Joined: 3-August 19 From: SW Colorado Member No.: 23,343 Region Association: Rocky Mountains |
Drilled out some spot welds, and ground off beads on welded mounts, and then a little hammer work to remove some dents and straighten the edge.
Attached thumbnail(s) 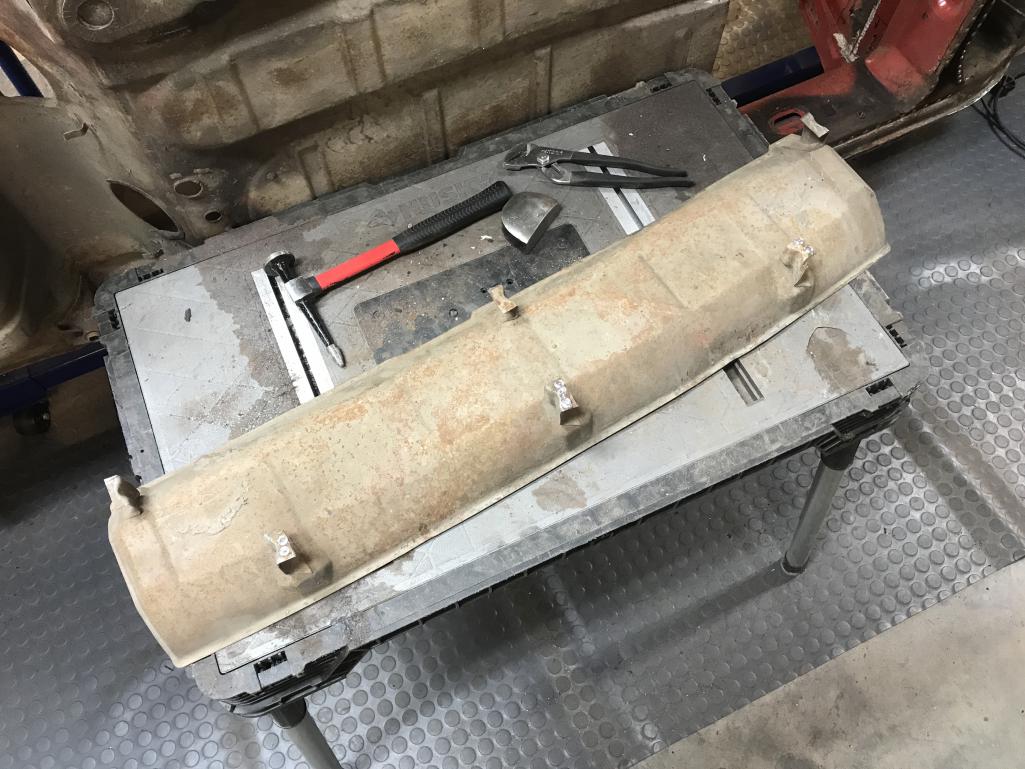
|
|
|
|
| GTSandberg |
Jan 10 2020, 03:02 AM
Post
#148
|
|
Member Group: Members Posts: 63 Joined: 16-August 19 From: Drammen, Norway Member No.: 23,373 Region Association: Europe |
Super thread, superb craftmanship and thorough documentation. Keep it coming!
|
|
|
|
| sixnotfour |
Jan 10 2020, 03:36 AM
Post
#149
|
|
914 Wizard Group: Members Posts: 11,244 Joined: 12-September 04 Member No.: 2,744 Region Association: NineFourteenerVille |
backdate the attachment method for the heat shield....screws,, see the 70s...
|
|
|
|
| bkrantz |
Jan 11 2020, 11:08 PM
Post
#150
|
|
914 Guru Group: Members Posts: 8,696 Joined: 3-August 19 From: SW Colorado Member No.: 23,343 Region Association: Rocky Mountains |
QUOTE(GTSandberg @ Jan 10 2020, 02:02 AM)  Super thread, superb craftmanship and thorough documentation. Keep it coming! Thanks, and will do, after a break to visit my kids. |
|
|
|
| bkrantz |
Jan 11 2020, 11:09 PM
Post
#151
|
|
914 Guru Group: Members Posts: 8,696 Joined: 3-August 19 From: SW Colorado Member No.: 23,343 Region Association: Rocky Mountains |
QUOTE(sixnotfour @ Jan 10 2020, 02:36 AM) backdate the attachment method for the heat shield....screws,, see the 70s... What are the advantages? |
|
|
|
| raynekat |
Jan 11 2020, 11:21 PM
Post
#152
|
|
Advanced Member Group: Members Posts: 2,171 Joined: 30-December 14 From: Coeur d'Alene, Idaho Member No.: 18,263 Region Association: Pacific Northwest |
I was thinking....maybe you could put hydrofoils on this car with a prop coming out of the back. Then you wouldn't need to buy that future bike?
I attached the muffler heat shield with screws on my car. It's been ceramic ally coated and is removable....as if I'll ever need to do that. Looks nice tho. Good work there Bob. |
|
|
|
| bkrantz |
Jan 12 2020, 08:54 PM
Post
#153
|
|
914 Guru Group: Members Posts: 8,696 Joined: 3-August 19 From: SW Colorado Member No.: 23,343 Region Association: Rocky Mountains |
QUOTE(raynekat @ Jan 11 2020, 10:21 PM) I was thinking....maybe you could put hydrofoils on this car with a prop coming out of the back. Then you wouldn't need to buy that future bike? I attached the muffler heat shield with screws on my car. It's been ceramic ally coated and is removable....as if I'll ever need to do that. Looks nice tho. Good work there Bob. Thanks, Doug. Never too many bikes. |
|
|
|
| aggiezig |
Jan 13 2020, 12:17 AM
Post
#154
|
|
Porsche Wannabe Group: Members Posts: 321 Joined: 13-January 16 From: Austin, TX Member No.: 19,557 Region Association: Southwest Region |
Great build so far! Enjoyed reading your progress. Man, all that metalwork makes me thankful that I only had to do floors and trunks on my car. Keep up the good work (IMG:style_emoticons/default/beerchug.gif)
|
|
|
|
| bkrantz |
Jan 13 2020, 11:18 PM
Post
#155
|
|
914 Guru Group: Members Posts: 8,696 Joined: 3-August 19 From: SW Colorado Member No.: 23,343 Region Association: Rocky Mountains |
QUOTE(aggiezig @ Jan 12 2020, 11:17 PM) Great build so far! Enjoyed reading your progress. Man, all that metalwork makes me thankful that I only had to do floors and trunks on my car. Keep up the good work (IMG:style_emoticons/default/beerchug.gif) Thanks. I am actually enjoying this more than I expected. That could change when I get to more finish work. |
|
|
|
| bkrantz |
Jan 20 2020, 09:21 PM
Post
#156
|
|
914 Guru Group: Members Posts: 8,696 Joined: 3-August 19 From: SW Colorado Member No.: 23,343 Region Association: Rocky Mountains |
Back from "vacation" from my retired life, where I do some teaching, research, and consulting from my house in Colorado. Spent a week with my son in Arizona, and pretty much did the same thing.
Anyway, getting back to work on the 914, but first had to play with some new tools, including the Fein dust catcher attachment for the grinder. Works pretty well, and started on the welds around the floor seams. Attached thumbnail(s) 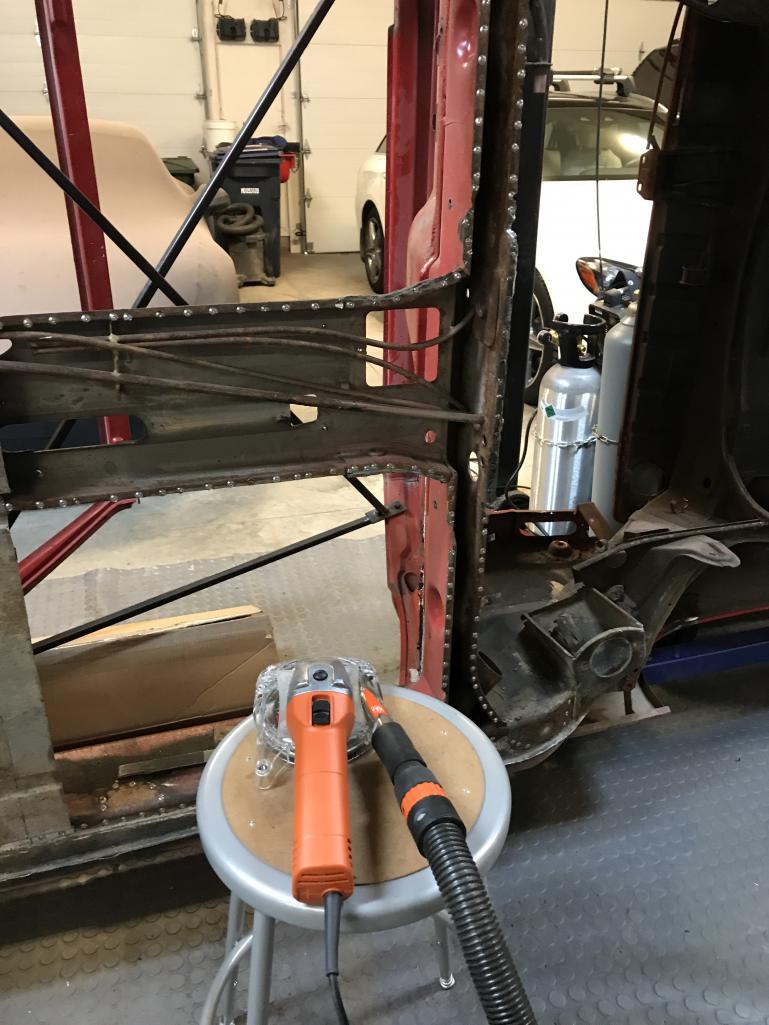
|
|
|
|
| bkrantz |
Jan 20 2020, 09:23 PM
Post
#157
|
|
914 Guru Group: Members Posts: 8,696 Joined: 3-August 19 From: SW Colorado Member No.: 23,343 Region Association: Rocky Mountains |
Dang, the photo posting still does not want to honor my right side up. I have tried opening and saving photos in different ways--and 914World still posts things sideways.
|
|
|
|
| raynekat |
Jan 20 2020, 11:18 PM
Post
#158
|
|
Advanced Member Group: Members Posts: 2,171 Joined: 30-December 14 From: Coeur d'Alene, Idaho Member No.: 18,263 Region Association: Pacific Northwest |
Bob....this is what I do with all my photos....and it seems to work.
After you load them on your computer and before posting them, pull them up in some kind of viewer. On my iMac, it's just the built-in photo viewer. Then rotate them 90 deg, 90 again, 90 again, and another 90 to get them back to where they started from. So rotate them through a total of 360 deg (another way to say the above). Then save them. Now you should be able to post the pics on 914World (or other sites) right side up. I don't know why this goofy little photo dance seems to work, but it always has for me. Gud luk! Ha |
|
|
|
| bkrantz |
Jan 21 2020, 09:35 PM
Post
#159
|
|
914 Guru Group: Members Posts: 8,696 Joined: 3-August 19 From: SW Colorado Member No.: 23,343 Region Association: Rocky Mountains |
Thanks, Doug. That may have worked! I reposted the photo to my previous post, and it looks right.
|
|
|
|
| bkrantz |
Jan 21 2020, 09:37 PM
Post
#160
|
|
914 Guru Group: Members Posts: 8,696 Joined: 3-August 19 From: SW Colorado Member No.: 23,343 Region Association: Rocky Mountains |
No garage work today. I only had a spare hour, and did this instead.
Attached thumbnail(s) 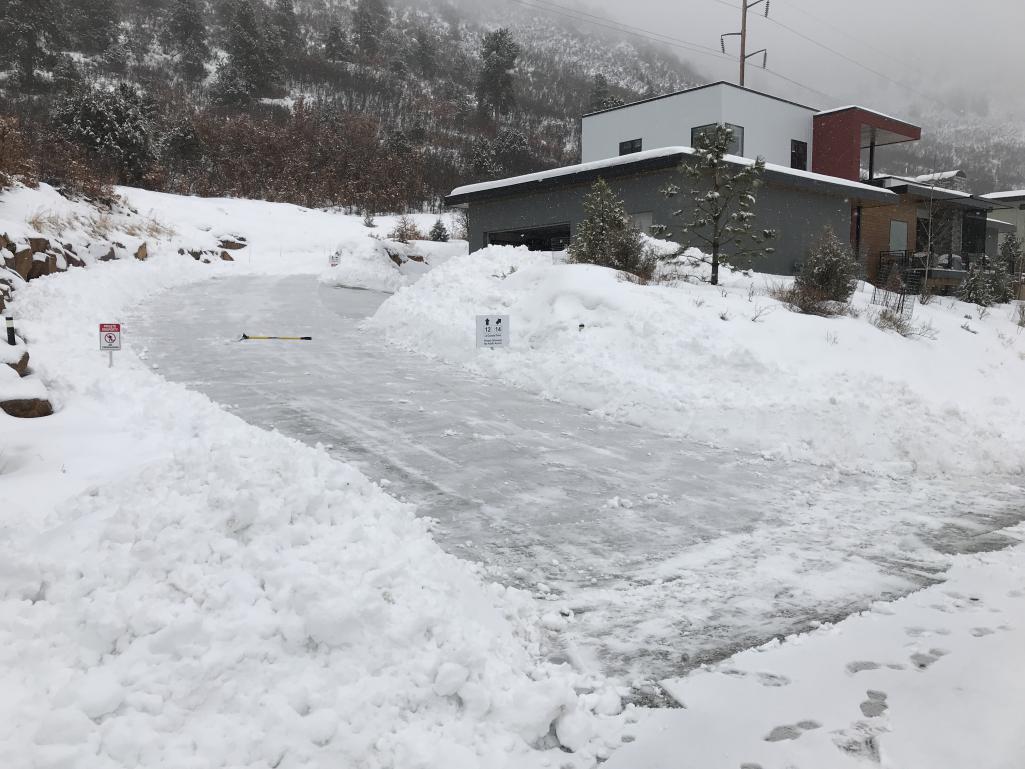
|
|
|
|
|
1 User(s) are reading this topic (1 Guests and 0 Anonymous Users)
0 Members:

|
Lo-Fi Version | Time is now: 15th May 2026 - 10:32 AM |
Invision Power Board
v9.1.4 © 2026 IPS, Inc.