|
|
|
Porsche, and the Porsche crest are registered trademarks of Dr. Ing. h.c. F. Porsche AG.
This site is not affiliated with Porsche in any way. Its only purpose is to provide an online forum for car enthusiasts. All other trademarks are property of their respective owners. |
|
|

  |

| bkrantz |
 Dec 13 2020, 08:14 PM Dec 13 2020, 08:14 PM
Post
#1661
|
|
914 Guru  Group: Members Posts: 8,710 Joined: 3-August 19 From: SW Colorado Member No.: 23,343 Region Association: Rocky Mountains |
Next, SS fuel lines, from Tangerine. These get fed in from the rear.
Attached thumbnail(s) 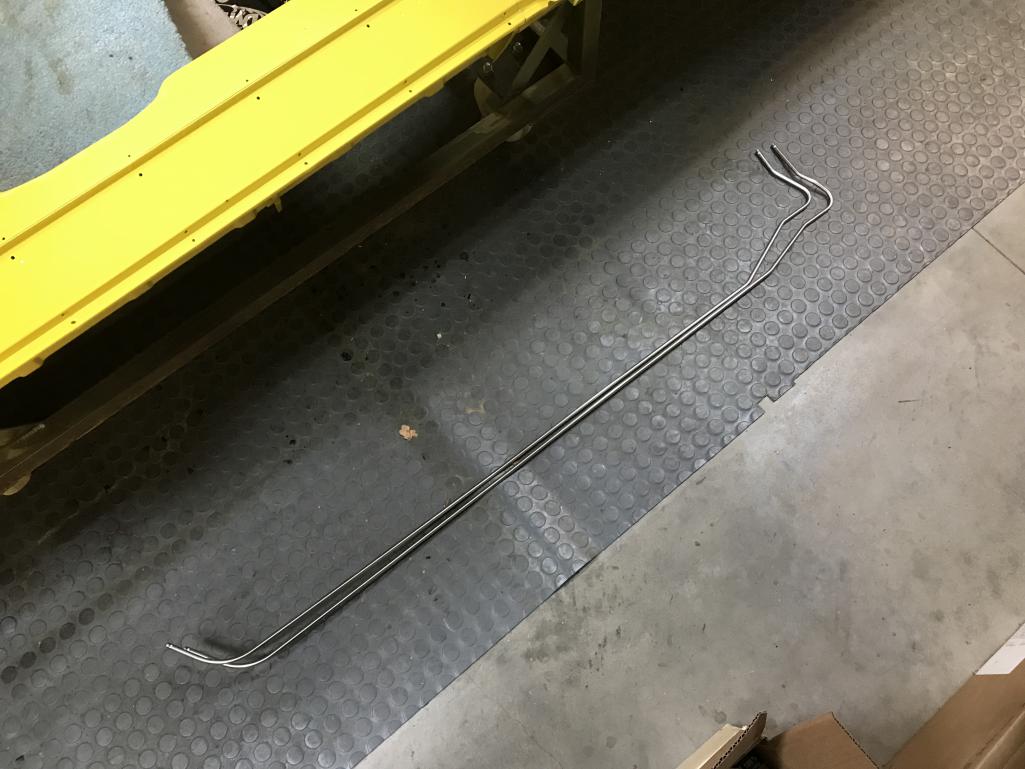
|
   |

 
|
| bkrantz |
Dec 13 2020, 08:18 PM
Post
#1662
|
|
914 Guru Group: Members Posts: 8,710 Joined: 3-August 19 From: SW Colorado Member No.: 23,343 Region Association: Rocky Mountains |
I had a moment of panic, when I could not find the double-hole rubber grommet for the front bulkhead. After looking in the "right" box and not finding it, I went through all the other boxes. Of course, it was in the right box after all. Good think, since this grommet is NLA.
Attached thumbnail(s) 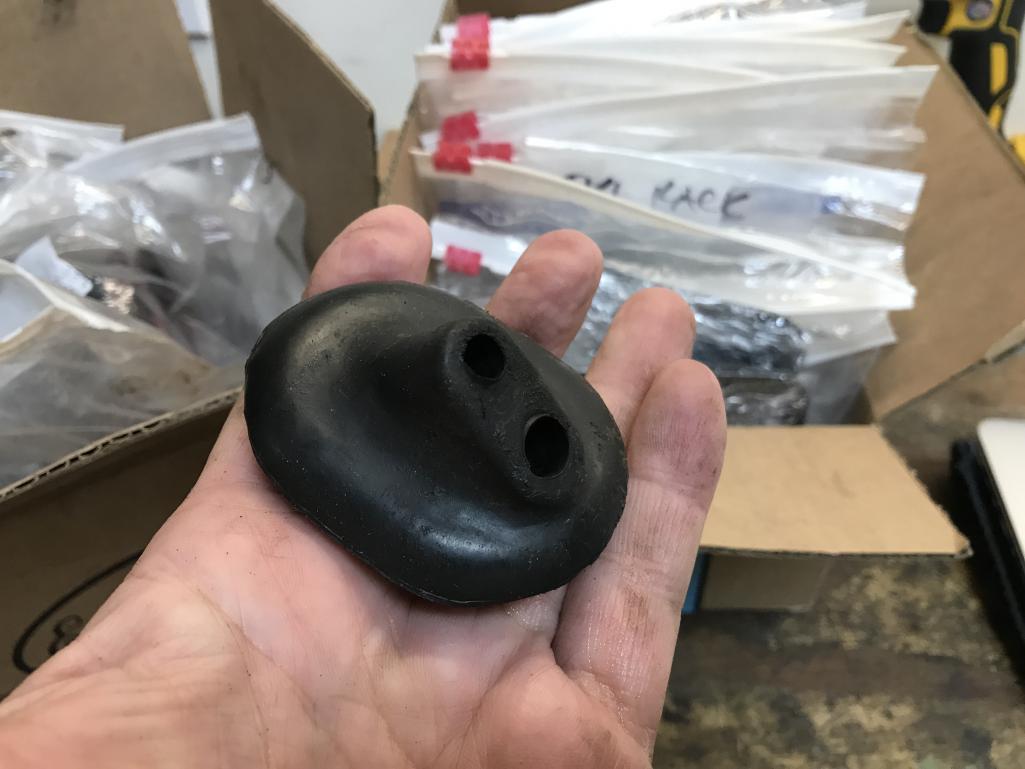
|
|
|
|
| bkrantz |
Dec 13 2020, 08:19 PM
Post
#1663
|
|
914 Guru Group: Members Posts: 8,710 Joined: 3-August 19 From: SW Colorado Member No.: 23,343 Region Association: Rocky Mountains |
Grommet in place.
Attached thumbnail(s) 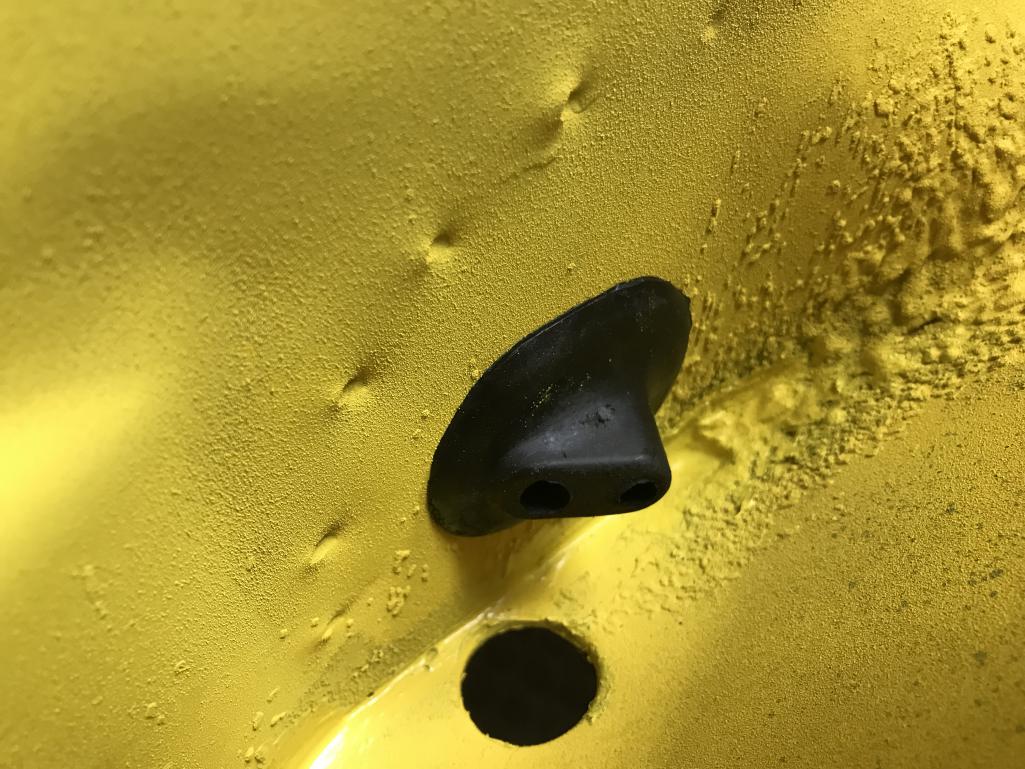
|
|
|
|
| bkrantz |
Dec 13 2020, 08:21 PM
Post
#1664
|
|
914 Guru Group: Members Posts: 8,710 Joined: 3-August 19 From: SW Colorado Member No.: 23,343 Region Association: Rocky Mountains |
And a single grommet in one rear hole. I used some teflon spray lube, and fed the fuel line in. Once started, it was actually easy to push it to the front.
Attached thumbnail(s) 
|
|
|
|
| bkrantz |
Dec 13 2020, 08:22 PM
Post
#1665
|
|
914 Guru Group: Members Posts: 8,710 Joined: 3-August 19 From: SW Colorado Member No.: 23,343 Region Association: Rocky Mountains |
Repeat for the second line.
Attached thumbnail(s) 
|
|
|
|
| bkrantz |
Dec 13 2020, 08:25 PM
Post
#1666
|
|
914 Guru Group: Members Posts: 8,710 Joined: 3-August 19 From: SW Colorado Member No.: 23,343 Region Association: Rocky Mountains |
Front end of the tunnel, with the lines fed through the double-hole grommet.
Attached thumbnail(s) 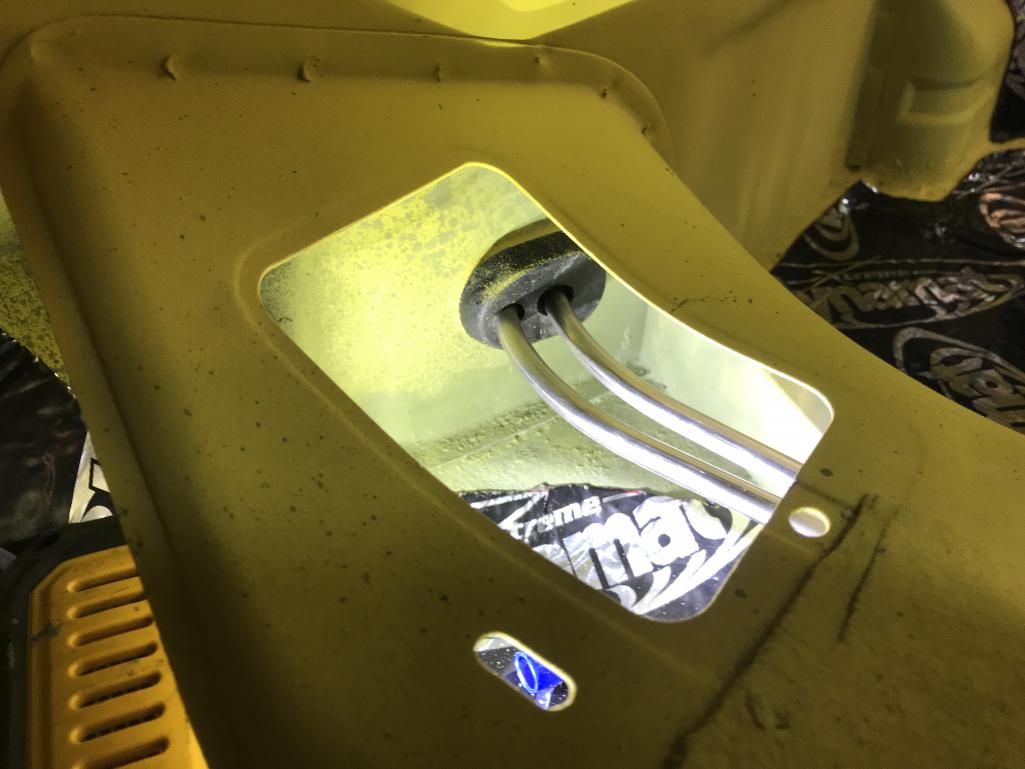
|
|
|
|
| bkrantz |
Dec 13 2020, 08:26 PM
Post
#1667
|
|
914 Guru Group: Members Posts: 8,710 Joined: 3-August 19 From: SW Colorado Member No.: 23,343 Region Association: Rocky Mountains |
Future connections for the fuel tank and relocated pump.
Attached thumbnail(s) 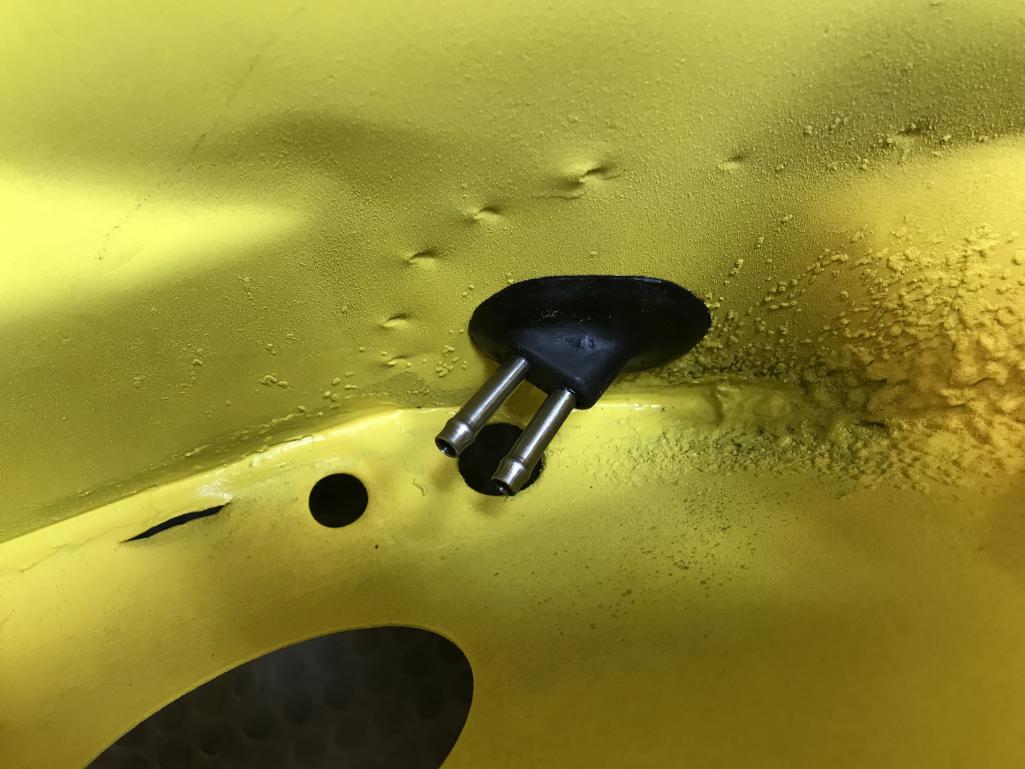
|
|
|
|
| bkrantz |
Dec 13 2020, 08:28 PM
Post
#1668
|
|
914 Guru Group: Members Posts: 8,710 Joined: 3-August 19 From: SW Colorado Member No.: 23,343 Region Association: Rocky Mountains |
One more detail for the fuel lines: fixing them in place using the tabs on the floor of the tunnel, with some rubber hose as protection.
Attached thumbnail(s) 
|
|
|
|
| bkrantz |
Dec 13 2020, 08:29 PM
Post
#1669
|
|
914 Guru Group: Members Posts: 8,710 Joined: 3-August 19 From: SW Colorado Member No.: 23,343 Region Association: Rocky Mountains |
Bonus detail: some more rubber hose collars to keep the lines from vibrating on the rear tunnel floor.
Attached thumbnail(s) 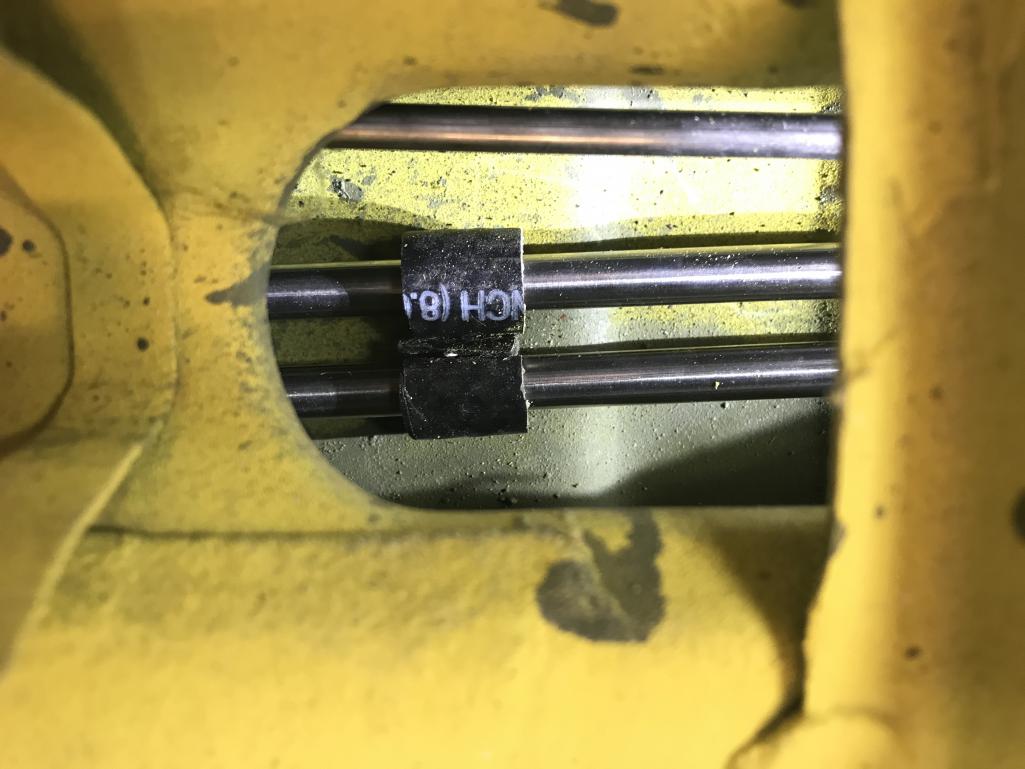
|
|
|
|
| bkrantz |
Dec 13 2020, 08:30 PM
Post
#1670
|
|
914 Guru Group: Members Posts: 8,710 Joined: 3-August 19 From: SW Colorado Member No.: 23,343 Region Association: Rocky Mountains |
Out with the old list (I will get to painting under the side grills later, and clean the threads as I go).
Attached thumbnail(s) 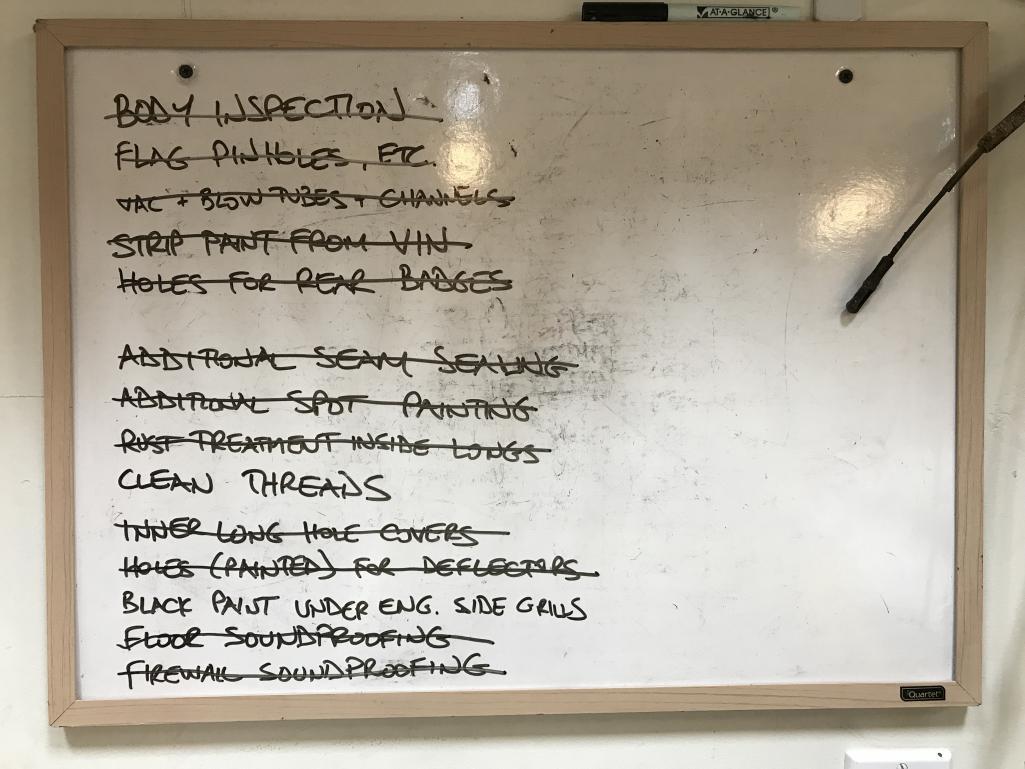
|
|
|
|
| bkrantz |
Dec 13 2020, 08:31 PM
Post
#1671
|
|
914 Guru Group: Members Posts: 8,710 Joined: 3-August 19 From: SW Colorado Member No.: 23,343 Region Association: Rocky Mountains |
In with the new list. Progress already!
Attached thumbnail(s) 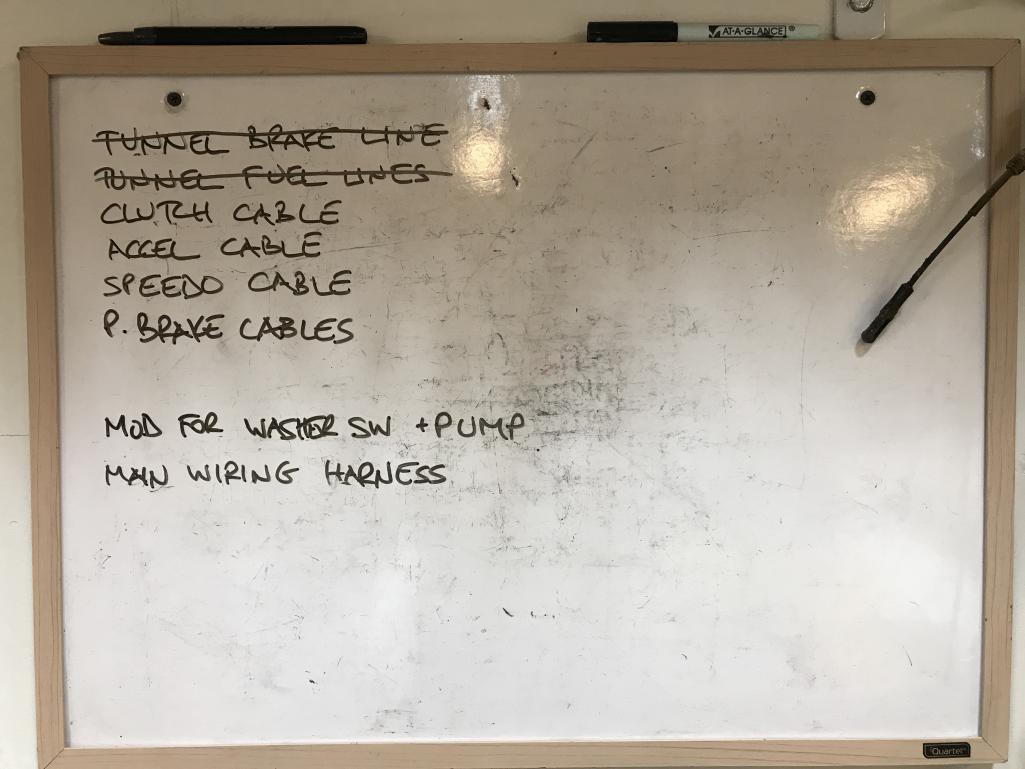
|
|
|
|
| bkrantz |
Dec 14 2020, 07:47 PM
Post
#1672
|
|
914 Guru Group: Members Posts: 8,710 Joined: 3-August 19 From: SW Colorado Member No.: 23,343 Region Association: Rocky Mountains |
Finishing up this detour. The fuse-relay panel is clean, and I wired the washer pump switch and relay. The new relay is the one lower left.
Attached thumbnail(s) 
|
|
|
|
| bkrantz |
Dec 14 2020, 07:49 PM
Post
#1673
|
|
914 Guru Group: Members Posts: 8,710 Joined: 3-August 19 From: SW Colorado Member No.: 23,343 Region Association: Rocky Mountains |
I then re-taped the harness, including new wires to the future pump (coil of white and brown). I will cut to fit and add necessary connectors once the pump is installed.
Attached thumbnail(s) 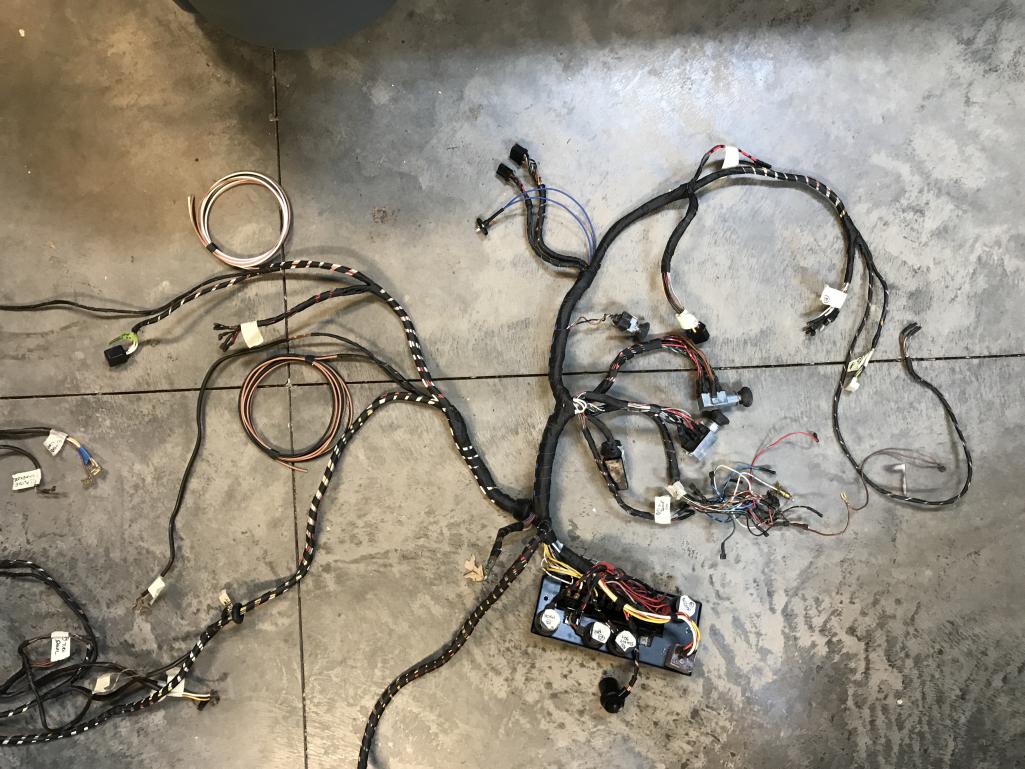
|
|
|
|
| bkrantz |
Dec 14 2020, 07:52 PM
Post
#1674
|
|
914 Guru Group: Members Posts: 8,710 Joined: 3-August 19 From: SW Colorado Member No.: 23,343 Region Association: Rocky Mountains |
Now for the big job--installing the harness. Not really looking forward to this. (IMG:style_emoticons/default/dry.gif)
Attached thumbnail(s) 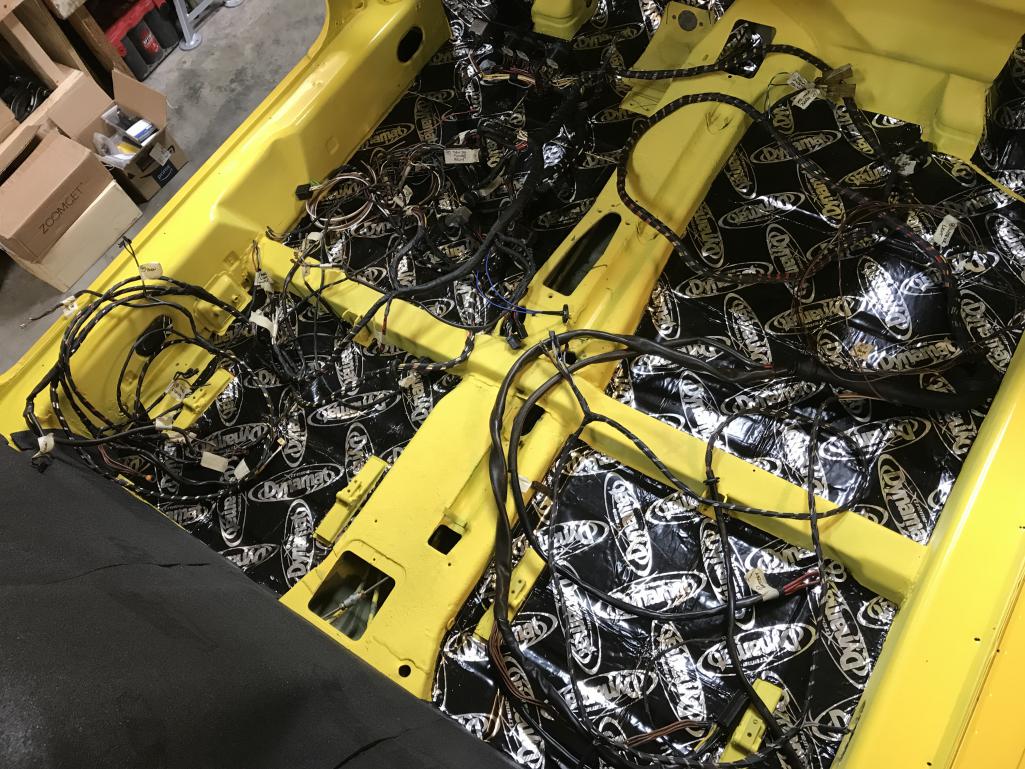
|
|
|
|
| ndfrigi |
Dec 14 2020, 08:05 PM
Post
#1675
|
|
Advanced Member Group: Members Posts: 2,983 Joined: 21-August 11 From: Orange County Member No.: 13,474 Region Association: Southern California |
QUOTE(bkrantz @ Dec 14 2020, 05:49 PM)  I then re-taped the harness, including new wires to the future pump (coil of white and brown). I will cut to fit and add necessary connectors once the pump is installed. wow! congratulations and nicely done on your wiring too! Can you also share the wiring along the center tunnel all the way to the rear wiring? I’m also going to fix my wiring for my 74. thank you! ooops there you go complete wiring except hardly can look at it because of the floor dynamat color. |
|
|
|
| djway |
Dec 14 2020, 08:21 PM
Post
#1676
|
|
Senior Member Group: Members Posts: 787 Joined: 16-October 15 From: Riverside Member No.: 19,266 Region Association: Southern California |
|
|
|
|
| bkrantz |
Dec 15 2020, 08:04 PM
Post
#1677
|
|
914 Guru Group: Members Posts: 8,710 Joined: 3-August 19 From: SW Colorado Member No.: 23,343 Region Association: Rocky Mountains |
QUOTE(ndfrigi @ Dec 14 2020, 07:05 PM) QUOTE(bkrantz @ Dec 14 2020, 05:49 PM) I then re-taped the harness, including new wires to the future pump (coil of white and brown). I will cut to fit and add necessary connectors once the pump is installed. wow! congratulations and nicely done on your wiring too! Can you also share the wiring along the center tunnel all the way to the rear wiring? I’m also going to fix my wiring for my 74. thank you! ooops there you go complete wiring except hardly can look at it because of the floor dynamat color. If you mean showing the rear part of the wiring harness and individual connections, look back on this thread for when I had the harness laid-out during and after when I cleaned and repaired it. If you mean showing the installation in the car, stay tuned. |
|
|
|
| gereed75 |
Dec 16 2020, 08:13 AM
Post
#1678
|
|
Senior Member Group: Members Posts: 1,433 Joined: 19-March 13 From: Pittsburgh PA Member No.: 15,674 Region Association: North East States |
In All likelihood you have seen it but RD has a pretty good video out there on installing the harness.
Really enjoy your threads. Nice work. |
|
|
|
| bkrantz |
Dec 16 2020, 08:03 PM
Post
#1679
|
|
914 Guru Group: Members Posts: 8,710 Joined: 3-August 19 From: SW Colorado Member No.: 23,343 Region Association: Rocky Mountains |
OK, here we go. Prep: good mood, cold beverage, calm music.
Everything on the cardboard is the rear "half" that goes under the cross brace and all the way back to the tail lights. Attached thumbnail(s) 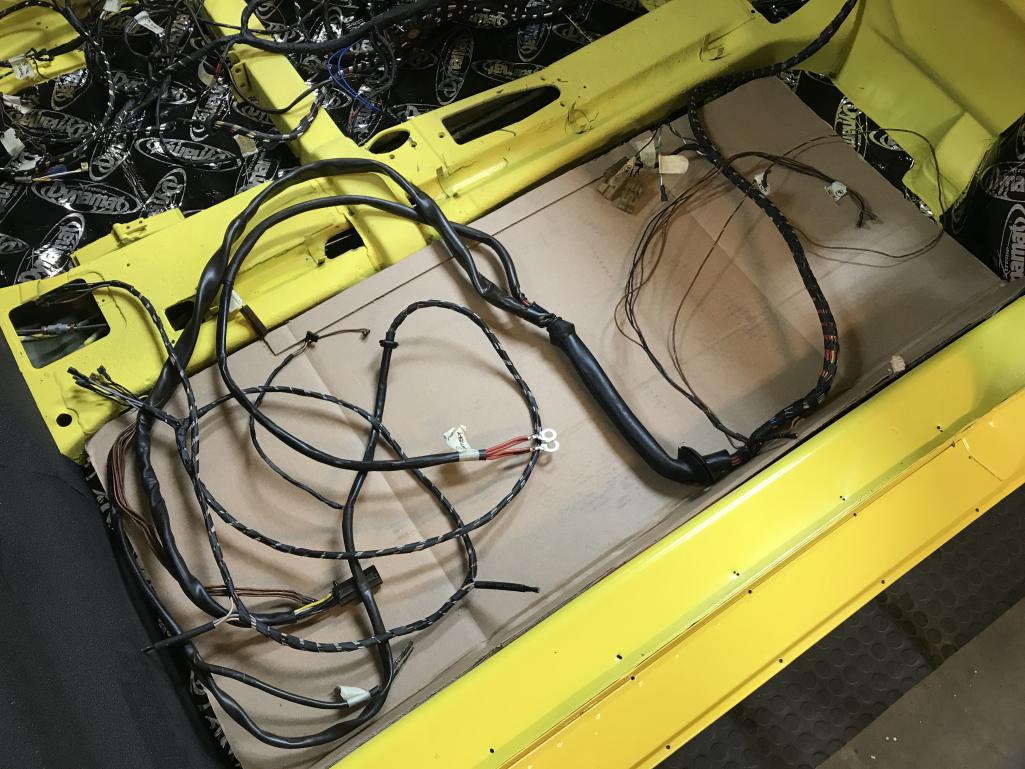
|
|
|
|
| bkrantz |
Dec 16 2020, 08:07 PM
Post
#1680
|
|
914 Guru Group: Members Posts: 8,710 Joined: 3-August 19 From: SW Colorado Member No.: 23,343 Region Association: Rocky Mountains |
To start, I used (mostly) the strategy of feeding the biggest thing through the obstruction first, even if not on the far end of the harness. So here goes the relay board connector under the center tunnel brace.
Attached thumbnail(s) 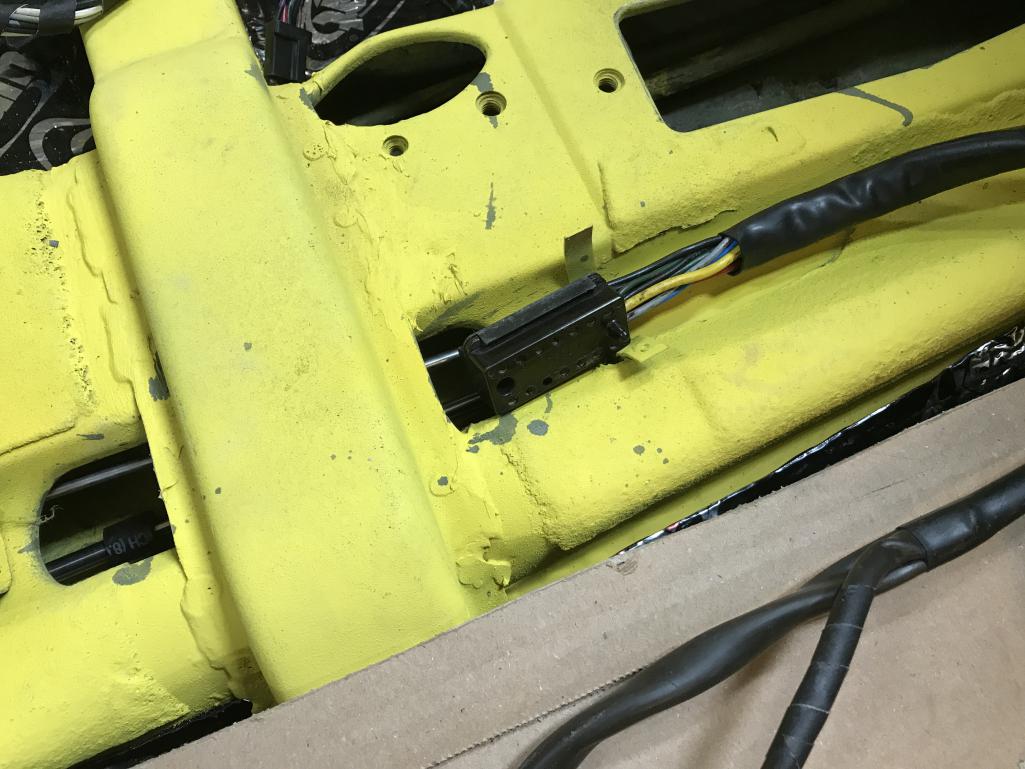
|
|
|
|
|
2 User(s) are reading this topic (2 Guests and 0 Anonymous Users)
0 Members:

|
Lo-Fi Version | Time is now: 1st June 2026 - 08:24 PM |
Invision Power Board
v9.1.4 © 2026 IPS, Inc.