|
|
|
Porsche, and the Porsche crest are registered trademarks of Dr. Ing. h.c. F. Porsche AG.
This site is not affiliated with Porsche in any way. Its only purpose is to provide an online forum for car enthusiasts. All other trademarks are property of their respective owners. |
|
|

  |

| bkrantz |
 Dec 19 2020, 07:53 PM Dec 19 2020, 07:53 PM
Post
#1741
|
|
914 Guru  Group: Members Posts: 8,710 Joined: 3-August 19 From: SW Colorado Member No.: 23,343 Region Association: Rocky Mountains |
Then the stud by the battery. Before...
Attached thumbnail(s) 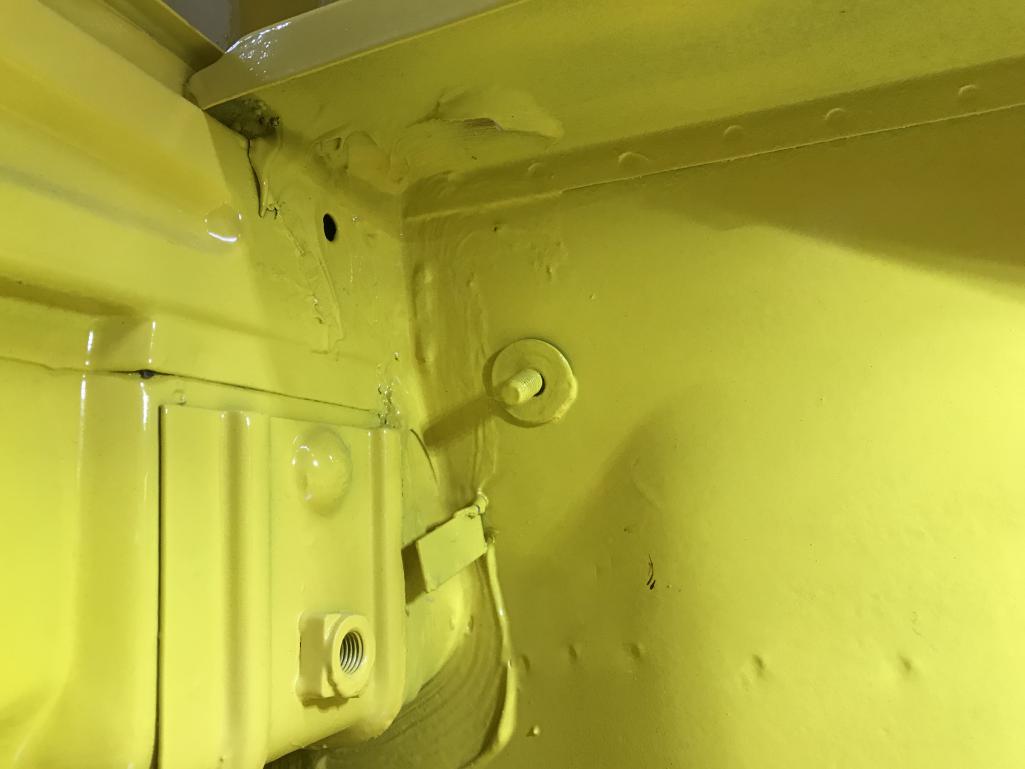
|
   |

 
|
| bkrantz |
Dec 19 2020, 07:54 PM
Post
#1742
|
|
914 Guru Group: Members Posts: 8,710 Joined: 3-August 19 From: SW Colorado Member No.: 23,343 Region Association: Rocky Mountains |
After.
Attached thumbnail(s) 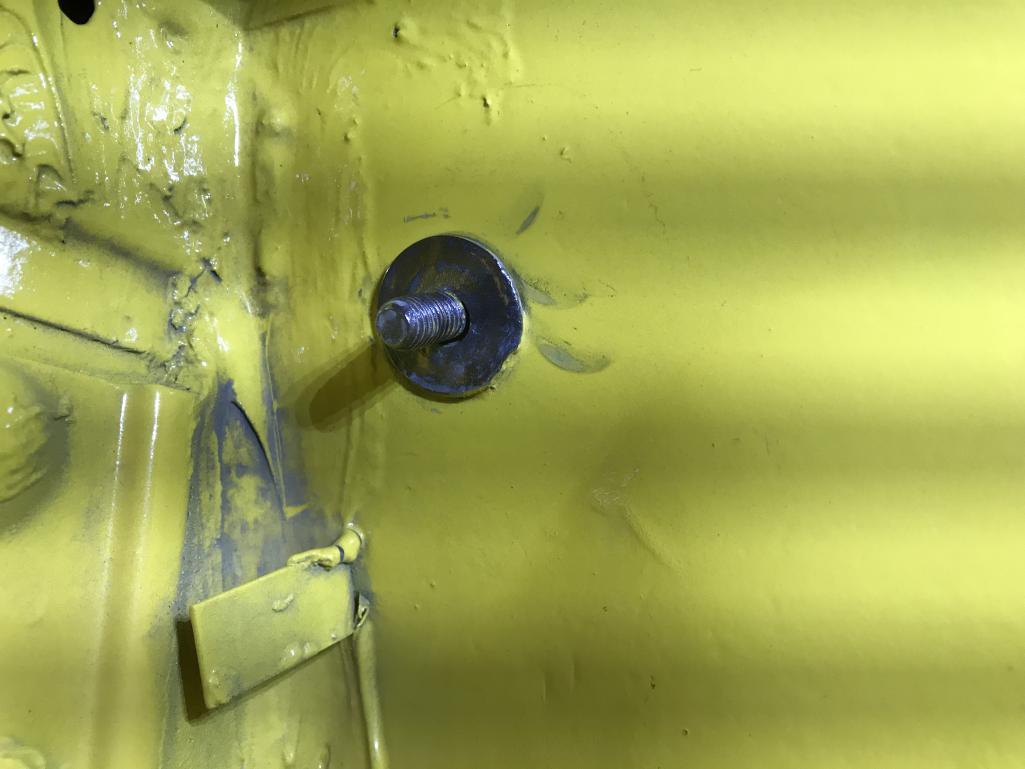
|
|
|
|
| bkrantz |
Dec 19 2020, 07:55 PM
Post
#1743
|
|
914 Guru Group: Members Posts: 8,710 Joined: 3-August 19 From: SW Colorado Member No.: 23,343 Region Association: Rocky Mountains |
And the stud for the transaxle grounding strap.
Attached thumbnail(s) 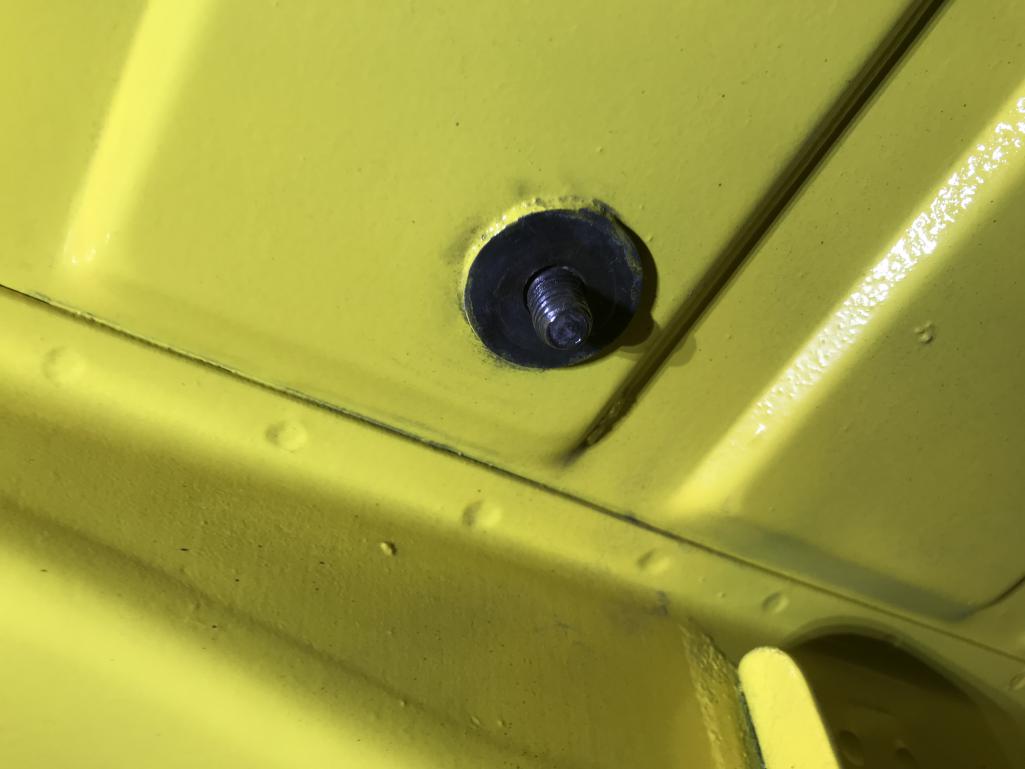
|
|
|
|
| bkrantz |
Dec 19 2020, 07:57 PM
Post
#1744
|
|
914 Guru Group: Members Posts: 8,710 Joined: 3-August 19 From: SW Colorado Member No.: 23,343 Region Association: Rocky Mountains |
OK, ready to start on the harness routing in the engine compartment. But first I have to repair a tear in the harness cover, just above the snorkel.
Attached thumbnail(s) 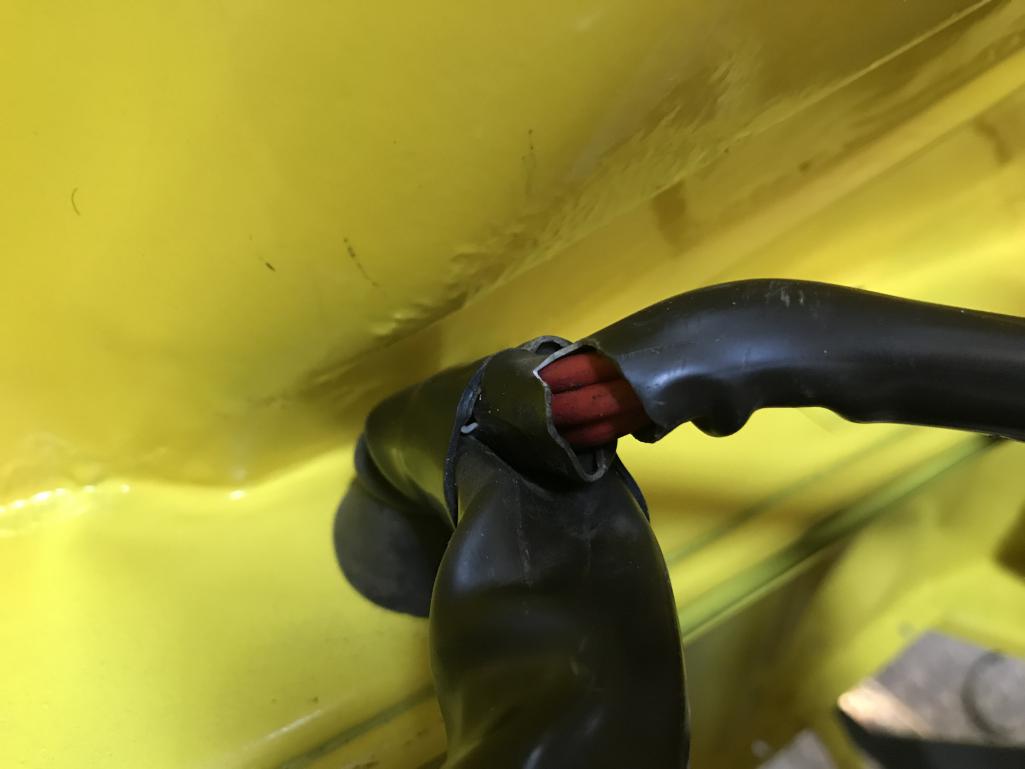
|
|
|
|
| bkrantz |
Dec 19 2020, 07:58 PM
Post
#1745
|
|
914 Guru Group: Members Posts: 8,710 Joined: 3-August 19 From: SW Colorado Member No.: 23,343 Region Association: Rocky Mountains |
Time for some 3M rubber tape.
Attached thumbnail(s) 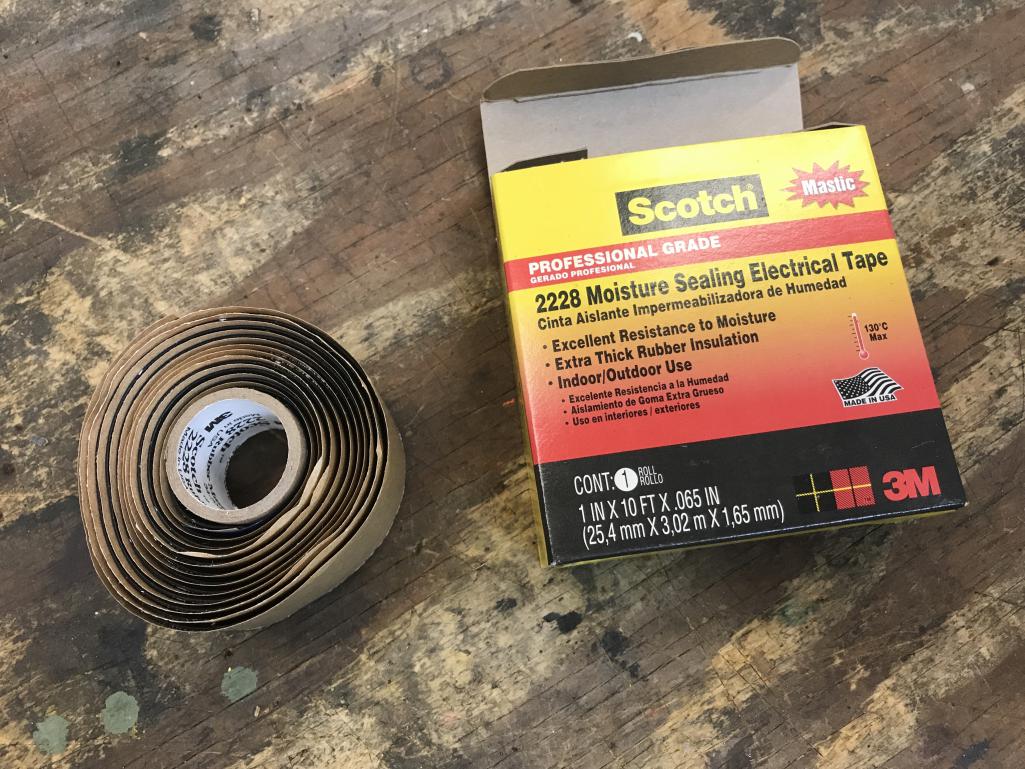
|
|
|
|
| bkrantz |
Dec 19 2020, 08:00 PM
Post
#1746
|
|
914 Guru Group: Members Posts: 8,710 Joined: 3-August 19 From: SW Colorado Member No.: 23,343 Region Association: Rocky Mountains |
Better.
Attached thumbnail(s) 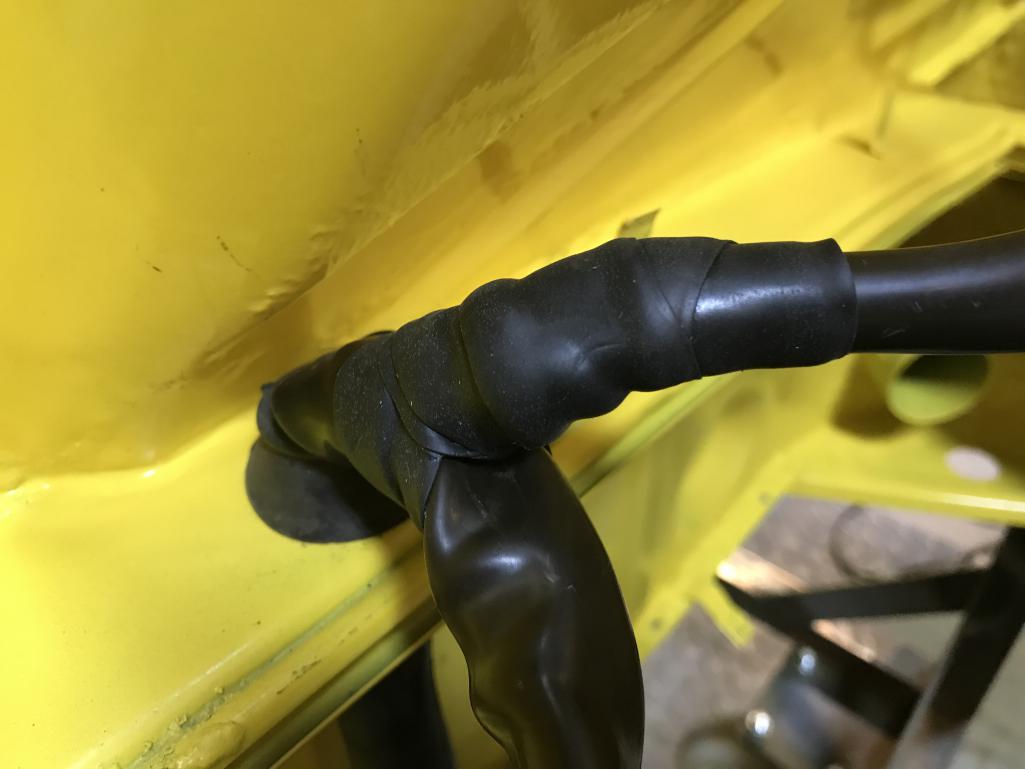
|
|
|
|
| bkrantz |
Dec 19 2020, 08:03 PM
Post
#1747
|
|
914 Guru Group: Members Posts: 8,710 Joined: 3-August 19 From: SW Colorado Member No.: 23,343 Region Association: Rocky Mountains |
Right harness branch, leading to the battery.
Attached thumbnail(s) 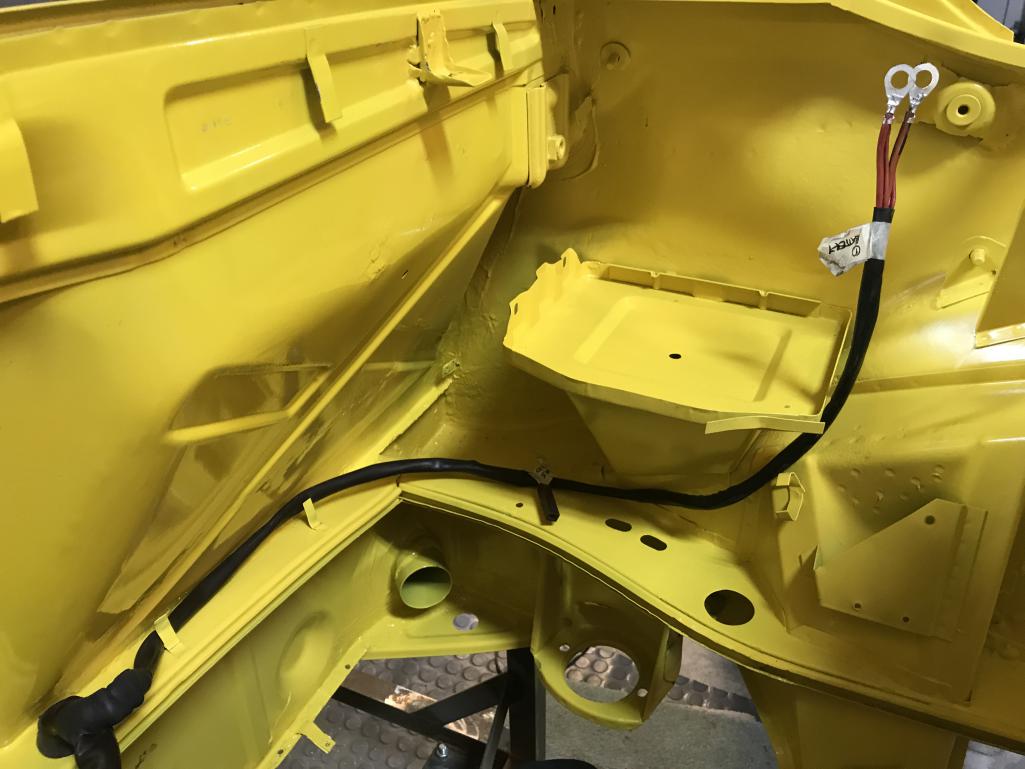
|
|
|
|
| bkrantz |
Dec 19 2020, 08:07 PM
Post
#1748
|
|
914 Guru Group: Members Posts: 8,710 Joined: 3-August 19 From: SW Colorado Member No.: 23,343 Region Association: Rocky Mountains |
Left branch, first to the relay board and the blower fan.
Attached thumbnail(s) 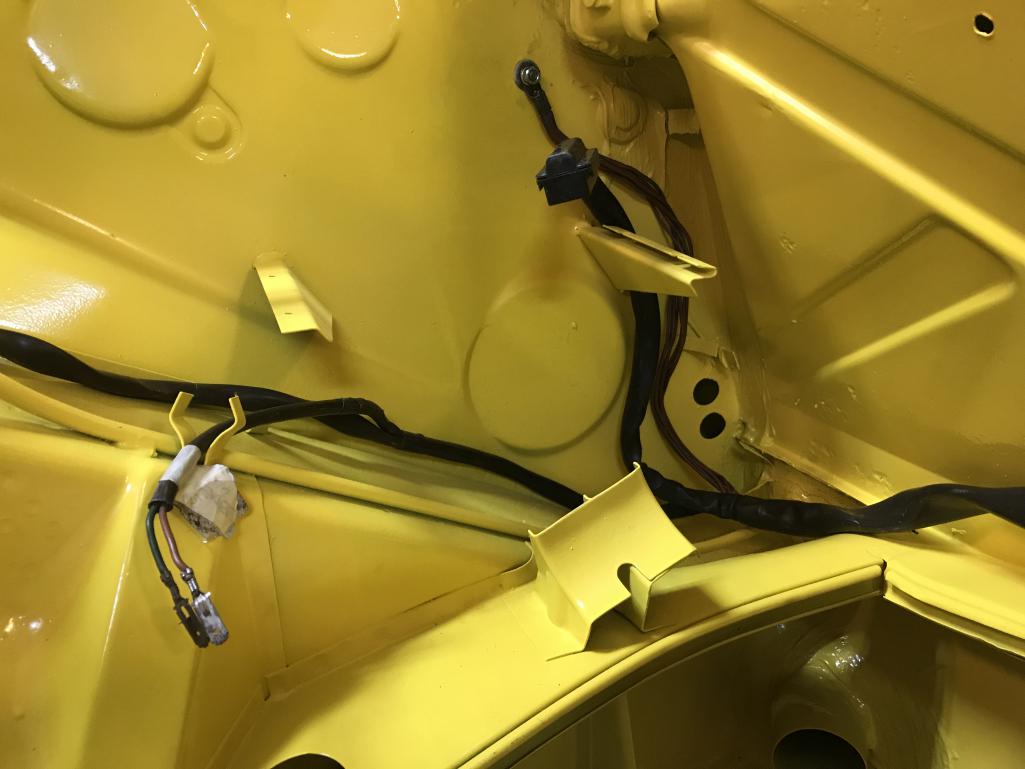
|
|
|
|
| bkrantz |
Dec 19 2020, 08:08 PM
Post
#1749
|
|
914 Guru Group: Members Posts: 8,710 Joined: 3-August 19 From: SW Colorado Member No.: 23,343 Region Association: Rocky Mountains |
And then the lead to the trunk light.
Attached thumbnail(s) 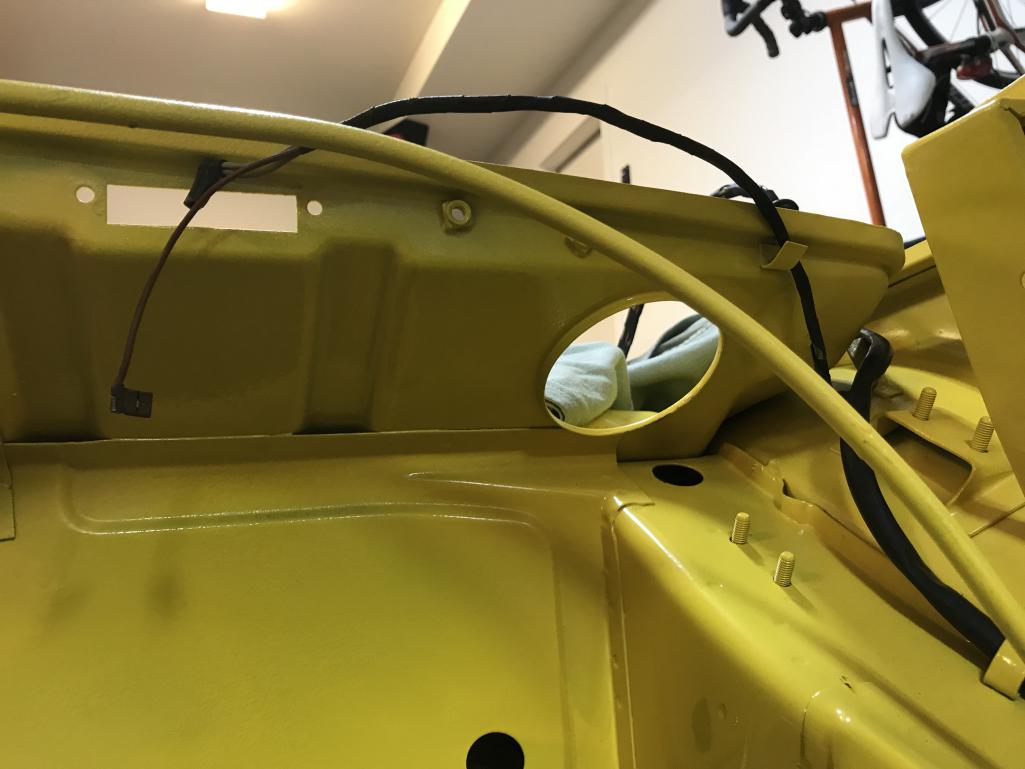
|
|
|
|
| bkrantz |
Dec 19 2020, 08:09 PM
Post
#1750
|
|
914 Guru Group: Members Posts: 8,710 Joined: 3-August 19 From: SW Colorado Member No.: 23,343 Region Association: Rocky Mountains |
Leaving the leads to the tail lights.
Attached thumbnail(s) 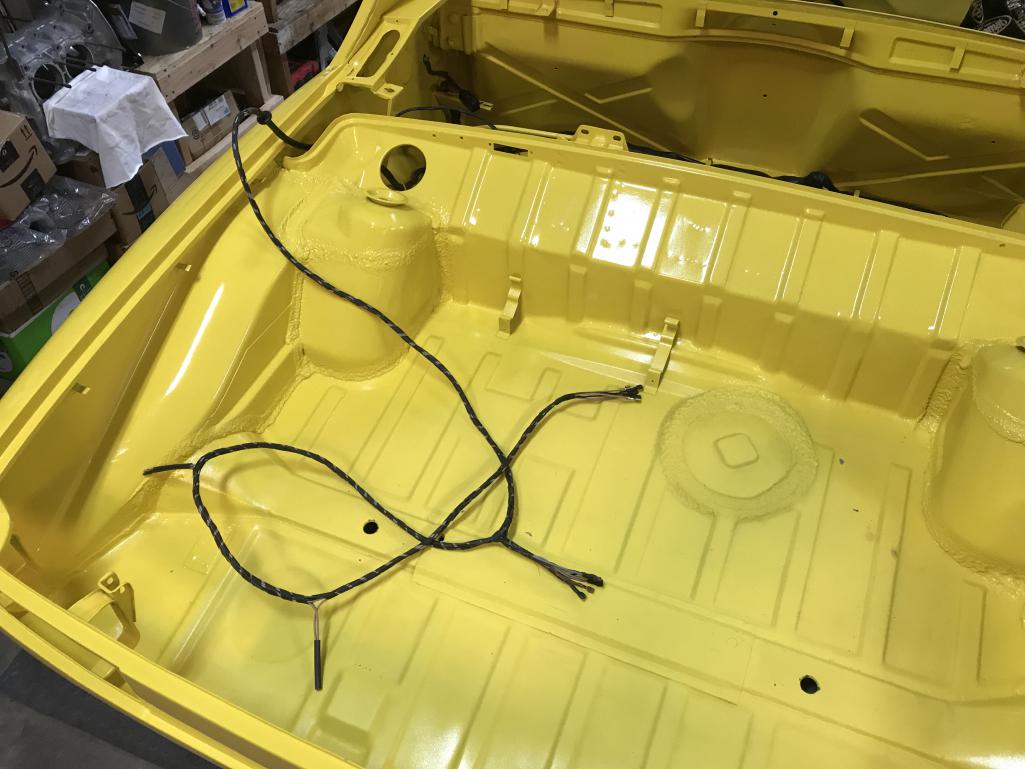
|
|
|
|
| bkrantz |
Dec 19 2020, 08:10 PM
Post
#1751
|
|
914 Guru Group: Members Posts: 8,710 Joined: 3-August 19 From: SW Colorado Member No.: 23,343 Region Association: Rocky Mountains |
First, getting the grommet on the left side in place.
Attached thumbnail(s) 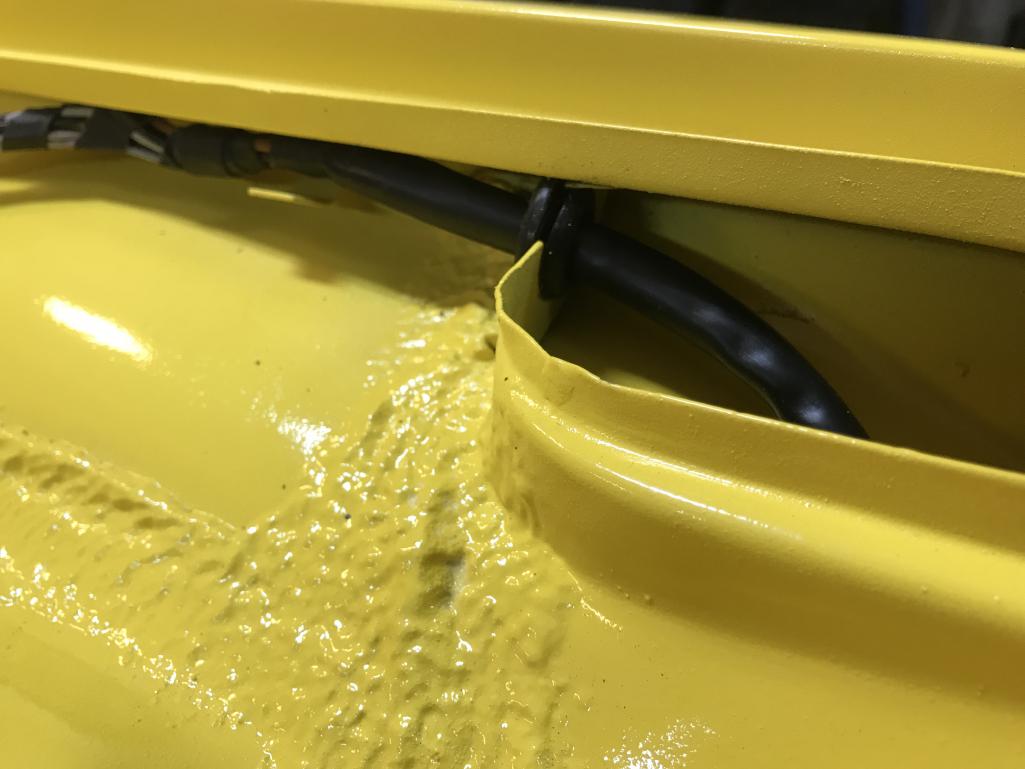
|
|
|
|
| bkrantz |
Dec 19 2020, 08:11 PM
Post
#1752
|
|
914 Guru Group: Members Posts: 8,710 Joined: 3-August 19 From: SW Colorado Member No.: 23,343 Region Association: Rocky Mountains |
And then arranging the harness to the lights.
Attached thumbnail(s) 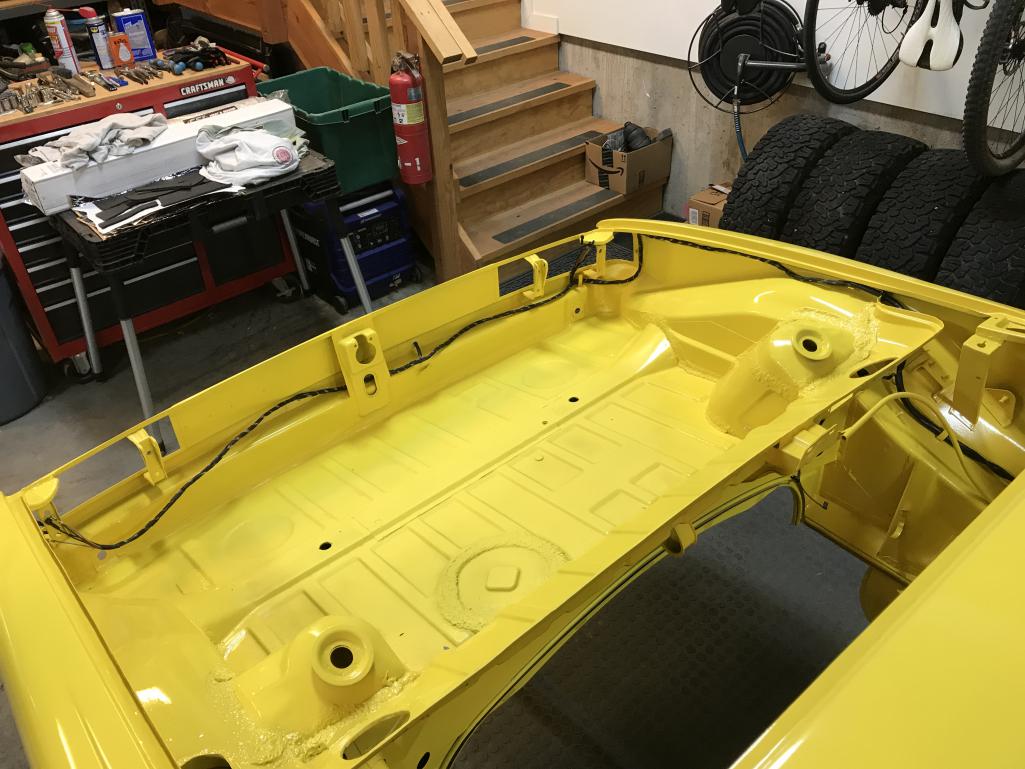
|
|
|
|
| bkrantz |
Dec 19 2020, 08:11 PM
Post
#1753
|
|
914 Guru Group: Members Posts: 8,710 Joined: 3-August 19 From: SW Colorado Member No.: 23,343 Region Association: Rocky Mountains |
Including the license plate lights.
Attached thumbnail(s) 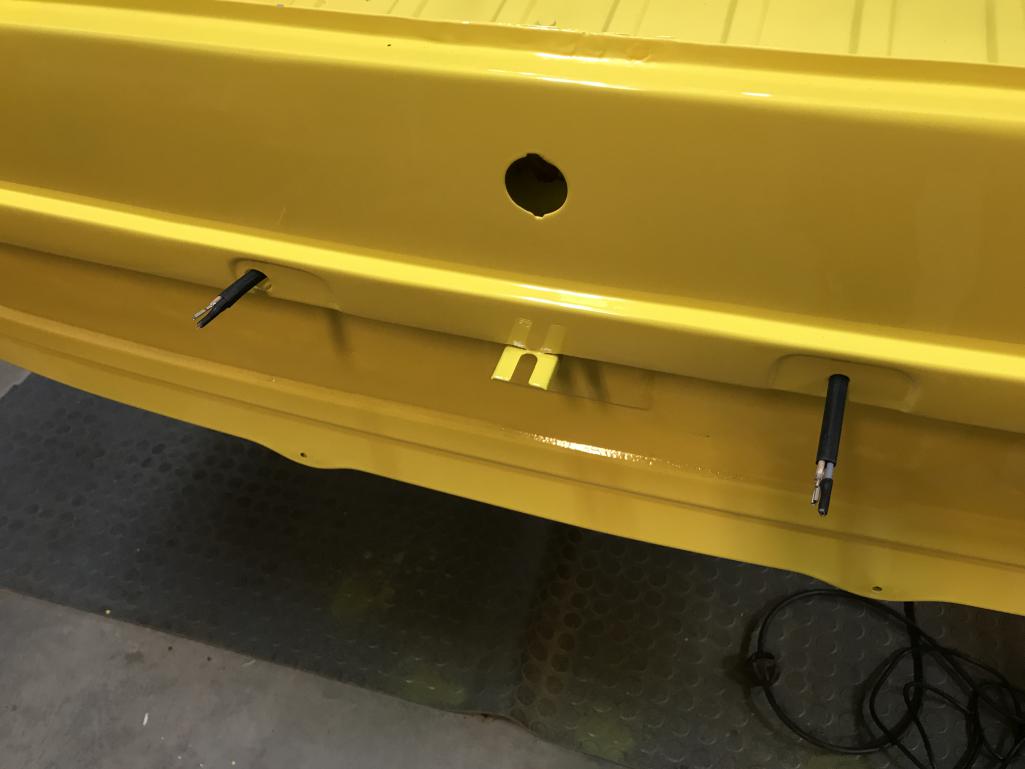
|
|
|
|
| bkrantz |
Dec 19 2020, 08:18 PM
Post
#1754
|
|
914 Guru Group: Members Posts: 8,710 Joined: 3-August 19 From: SW Colorado Member No.: 23,343 Region Association: Rocky Mountains |
I also went back to the passenger compartment, to sort out the wire routing for the parking brake handle switch. The tab for the connector will be on the inside of the cross brace.
Attached thumbnail(s) 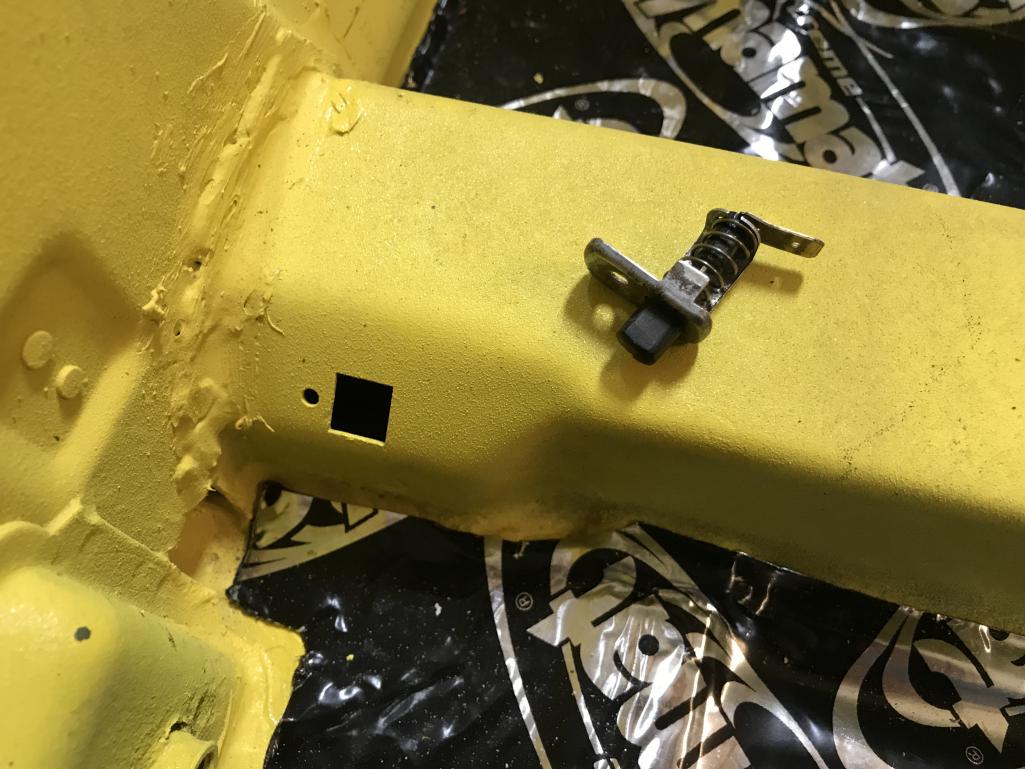
|
|
|
|
| bkrantz |
Dec 19 2020, 08:20 PM
Post
#1755
|
|
914 Guru Group: Members Posts: 8,710 Joined: 3-August 19 From: SW Colorado Member No.: 23,343 Region Association: Rocky Mountains |
Here's my planned routing (but inside the cross brace). Looks like enough wire.
Attached thumbnail(s) 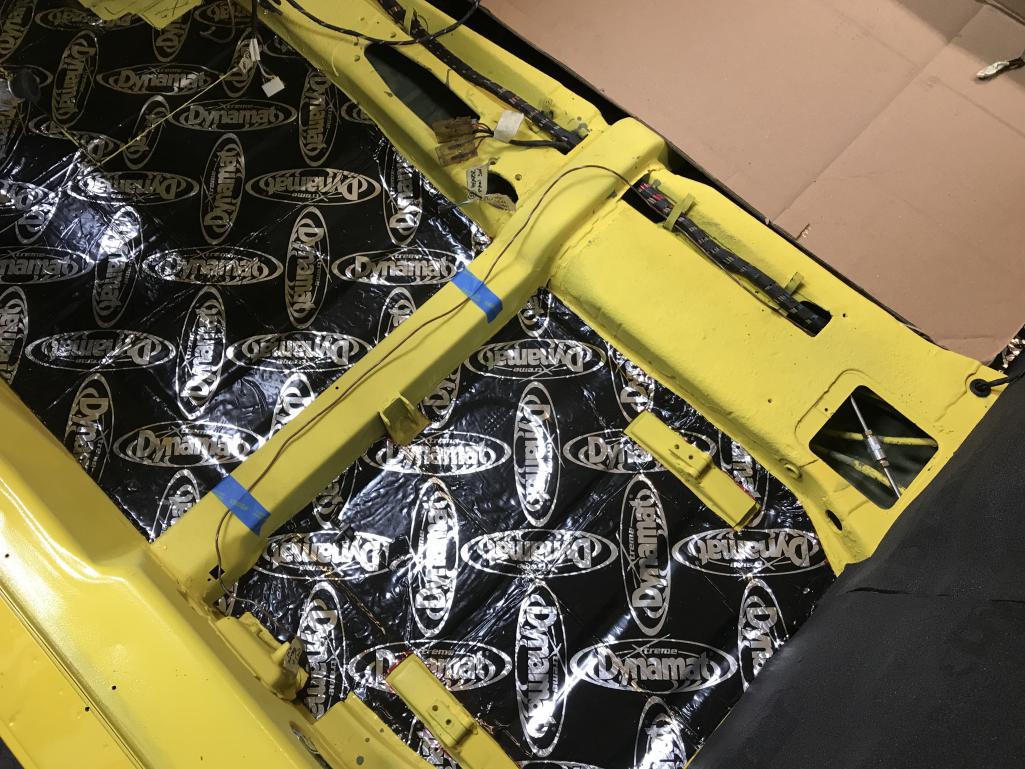
|
|
|
|
| bkrantz |
Dec 19 2020, 08:21 PM
Post
#1756
|
|
914 Guru Group: Members Posts: 8,710 Joined: 3-August 19 From: SW Colorado Member No.: 23,343 Region Association: Rocky Mountains |
To fish the lead, I used a length of welding wire, starting from the center tunnel.
Attached thumbnail(s) 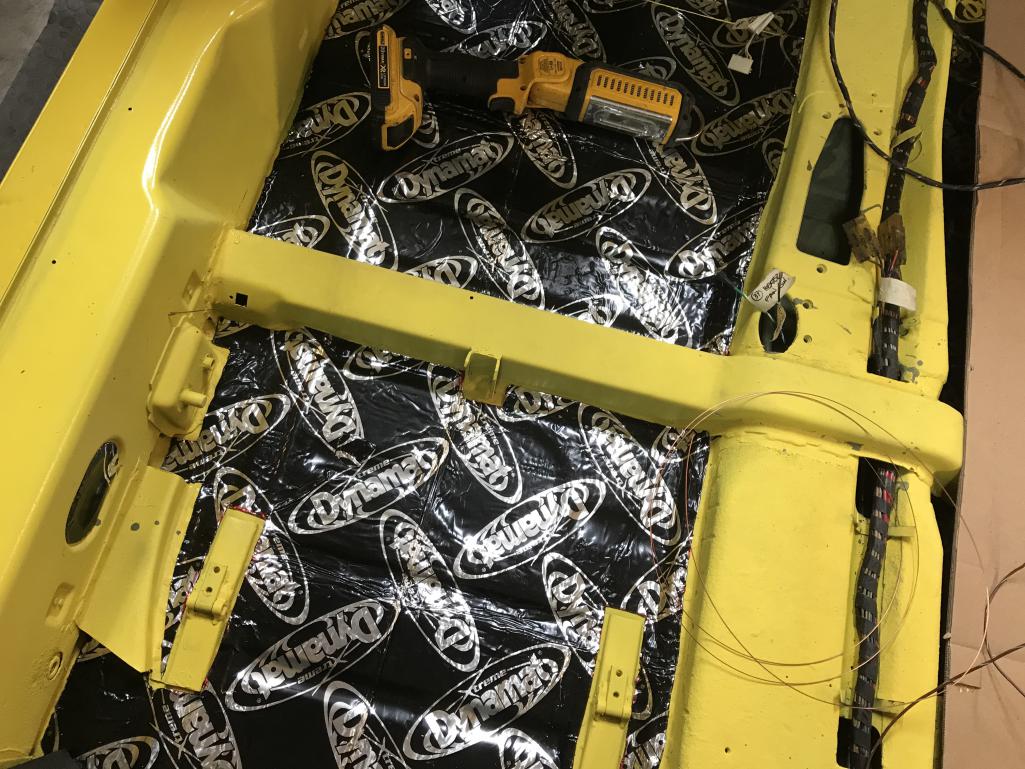
|
|
|
|
| bkrantz |
Dec 19 2020, 08:22 PM
Post
#1757
|
|
914 Guru Group: Members Posts: 8,710 Joined: 3-August 19 From: SW Colorado Member No.: 23,343 Region Association: Rocky Mountains |
The end popped out the switch hole on the first try! Luck is better than skill?
Attached thumbnail(s) 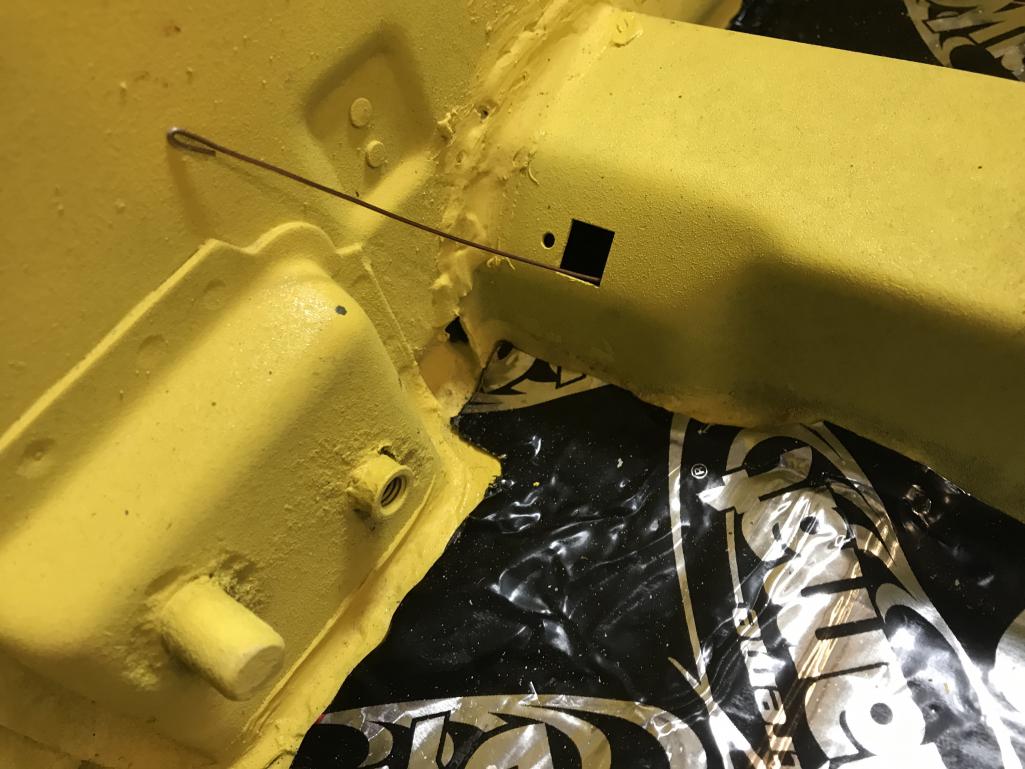
|
|
|
|
| bkrantz |
Dec 19 2020, 08:23 PM
Post
#1758
|
|
914 Guru Group: Members Posts: 8,710 Joined: 3-August 19 From: SW Colorado Member No.: 23,343 Region Association: Rocky Mountains |
That made it easy to pull the switch lead.
Attached thumbnail(s) 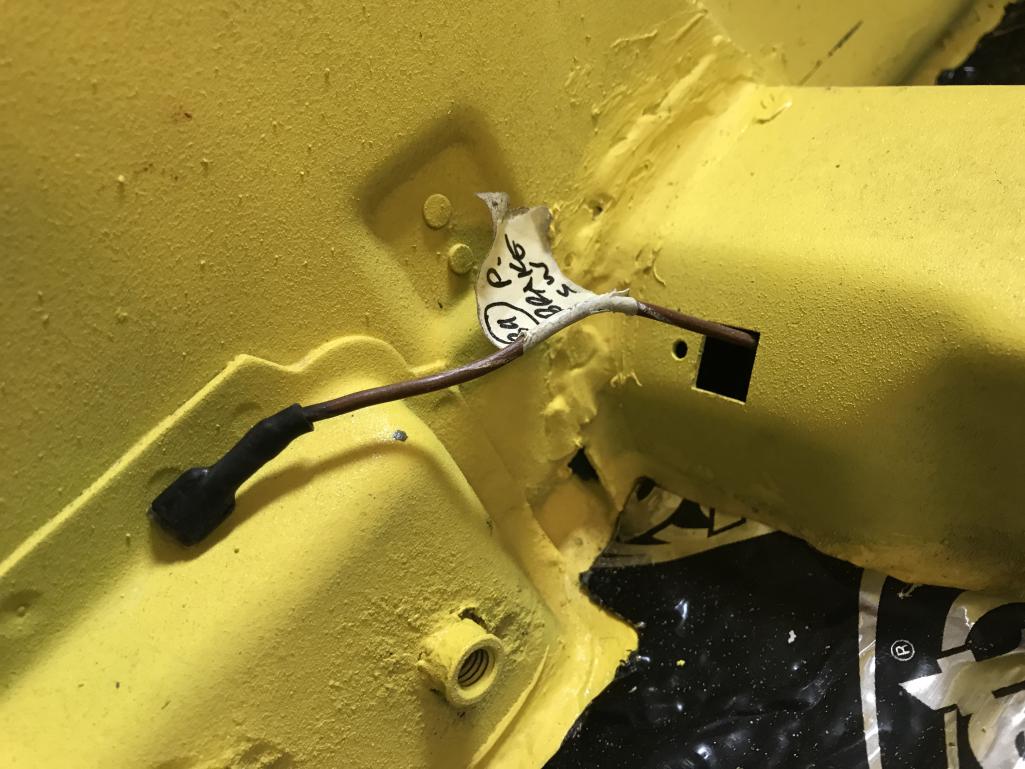
|
|
|
|
| djway |
Dec 19 2020, 09:33 PM
Post
#1759
|
|
Senior Member Group: Members Posts: 787 Joined: 16-October 15 From: Riverside Member No.: 19,266 Region Association: Southern California |
This whole thing has left me feeling WIRED (IMG:style_emoticons/default/blink.gif) (IMG:style_emoticons/default/smile.gif)
|
|
|
|
| bkrantz |
Dec 20 2020, 08:43 PM
Post
#1760
|
|
914 Guru Group: Members Posts: 8,710 Joined: 3-August 19 From: SW Colorado Member No.: 23,343 Region Association: Rocky Mountains |
QUOTE(djway @ Dec 19 2020, 08:33 PM)  This whole thing has left me feeling WIRED (IMG:style_emoticons/default/blink.gif) (IMG:style_emoticons/default/smile.gif) You and me both. Between disconnecting and removing the harness, cleaning, testing, and repairing it, and now installing it, playing with wires has consumed at least a month! |
|
|
|
|
1 User(s) are reading this topic (1 Guests and 0 Anonymous Users)
0 Members:

|
Lo-Fi Version | Time is now: 25th May 2026 - 02:00 PM |
Invision Power Board
v9.1.4 © 2026 IPS, Inc.