|
|
|
Porsche, and the Porsche crest are registered trademarks of Dr. Ing. h.c. F. Porsche AG.
This site is not affiliated with Porsche in any way. Its only purpose is to provide an online forum for car enthusiasts. All other trademarks are property of their respective owners. |
|
|

  |

| bkrantz |
 Jan 23 2021, 08:21 PM Jan 23 2021, 08:21 PM
Post
#2061
|
|
914 Guru  Group: Members Posts: 8,710 Joined: 3-August 19 From: SW Colorado Member No.: 23,343 Region Association: Rocky Mountains |
Bracket installed inside the fender, wires connected, and boot attached.
Attached thumbnail(s) 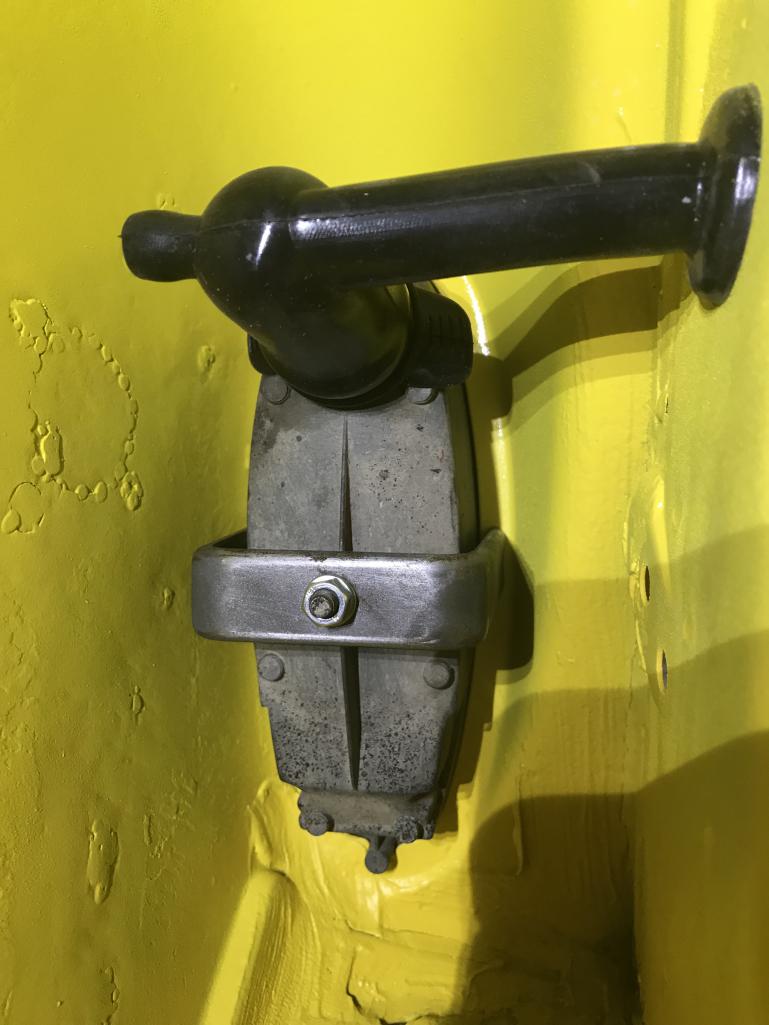
|
   |

 
|
| bkrantz |
Jan 23 2021, 08:24 PM
Post
#2062
|
|
914 Guru Group: Members Posts: 8,710 Joined: 3-August 19 From: SW Colorado Member No.: 23,343 Region Association: Rocky Mountains |
Going through the parts I removed in 2019, I found only one original screw for the lens. The PO had used a variety of other hardware.
Attached thumbnail(s) 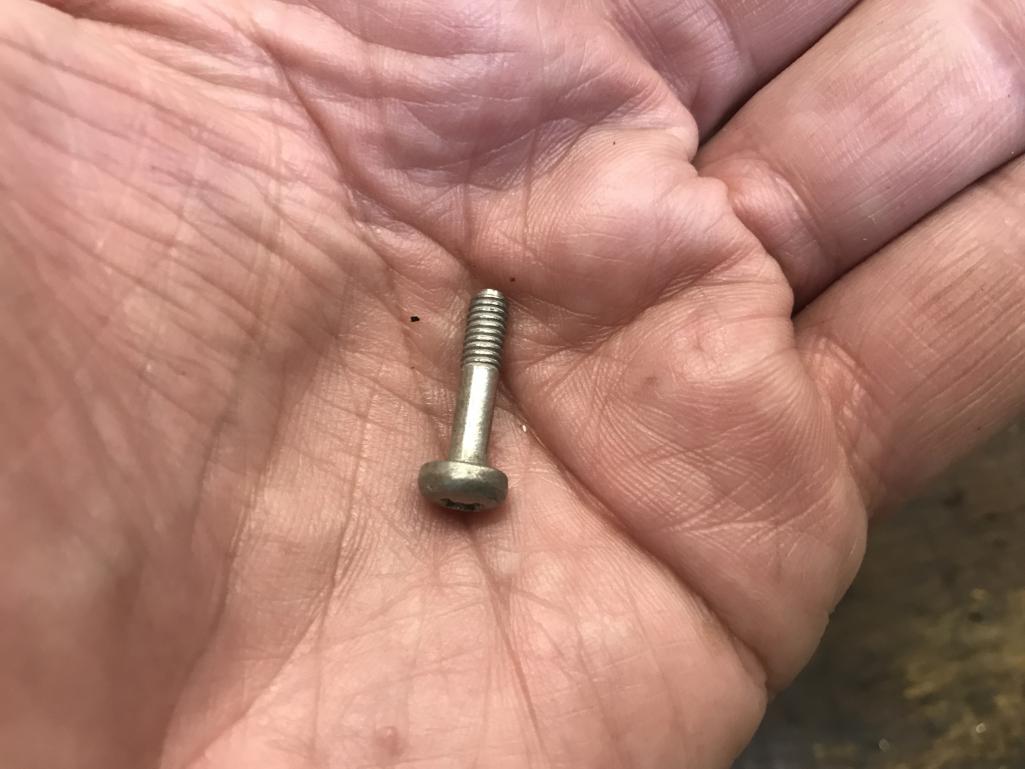
|
|
|
|
| bkrantz |
Jan 23 2021, 08:25 PM
Post
#2063
|
|
914 Guru Group: Members Posts: 8,710 Joined: 3-August 19 From: SW Colorado Member No.: 23,343 Region Association: Rocky Mountains |
Anyway, one lens in place with one screw looks good to me.
Attached thumbnail(s) 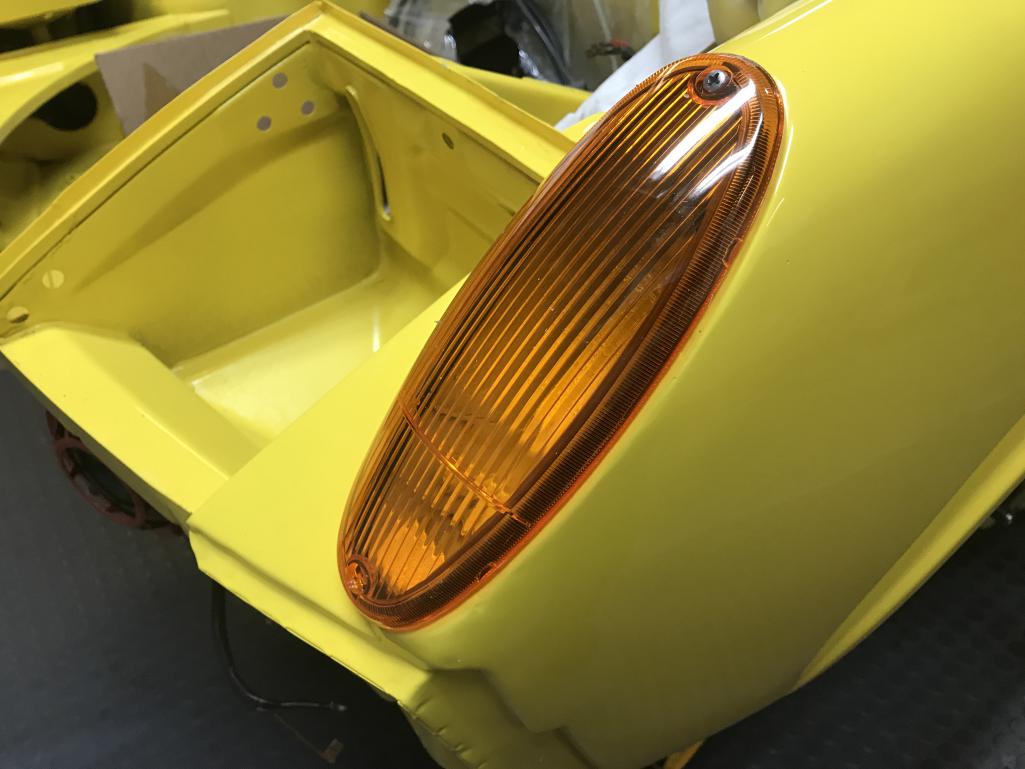
|
|
|
|
| bkrantz |
Jan 23 2021, 08:27 PM
Post
#2064
|
|
914 Guru Group: Members Posts: 8,710 Joined: 3-August 19 From: SW Colorado Member No.: 23,343 Region Association: Rocky Mountains |
I also got a new tool, an official Porsche ball joint retaining ring wrench.
Attached thumbnail(s) 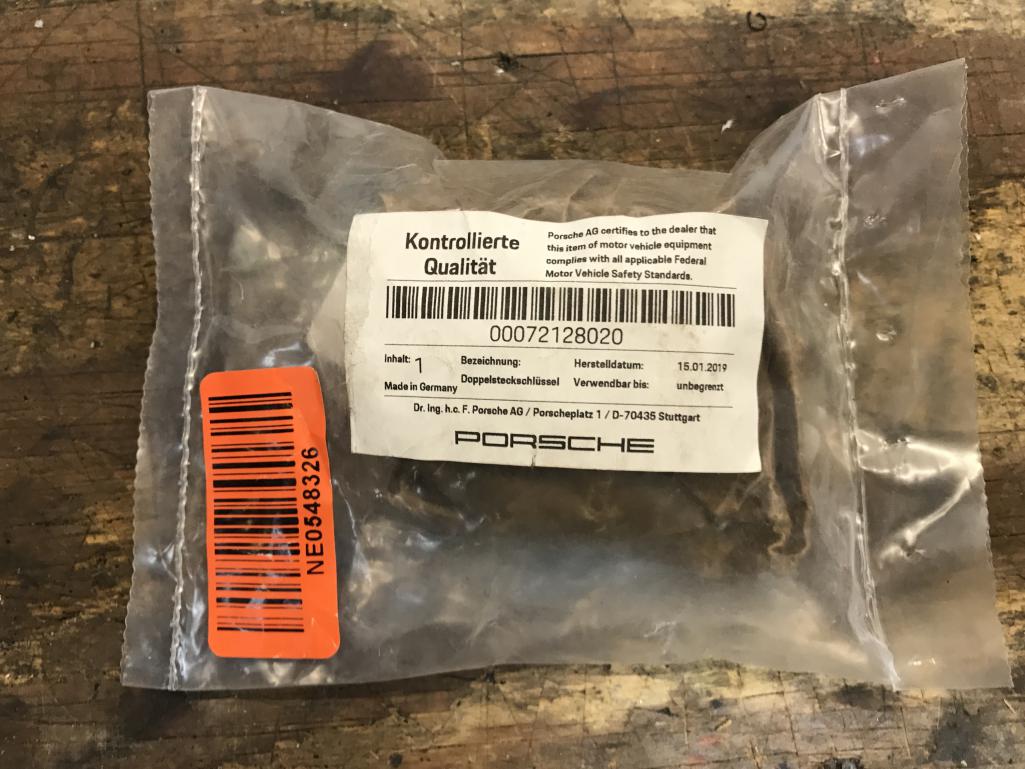
|
|
|
|
| bkrantz |
Jan 23 2021, 08:28 PM
Post
#2065
|
|
914 Guru Group: Members Posts: 8,710 Joined: 3-August 19 From: SW Colorado Member No.: 23,343 Region Association: Rocky Mountains |
This socket has tabs that exactly fit the notches in the ring.
Attached thumbnail(s) 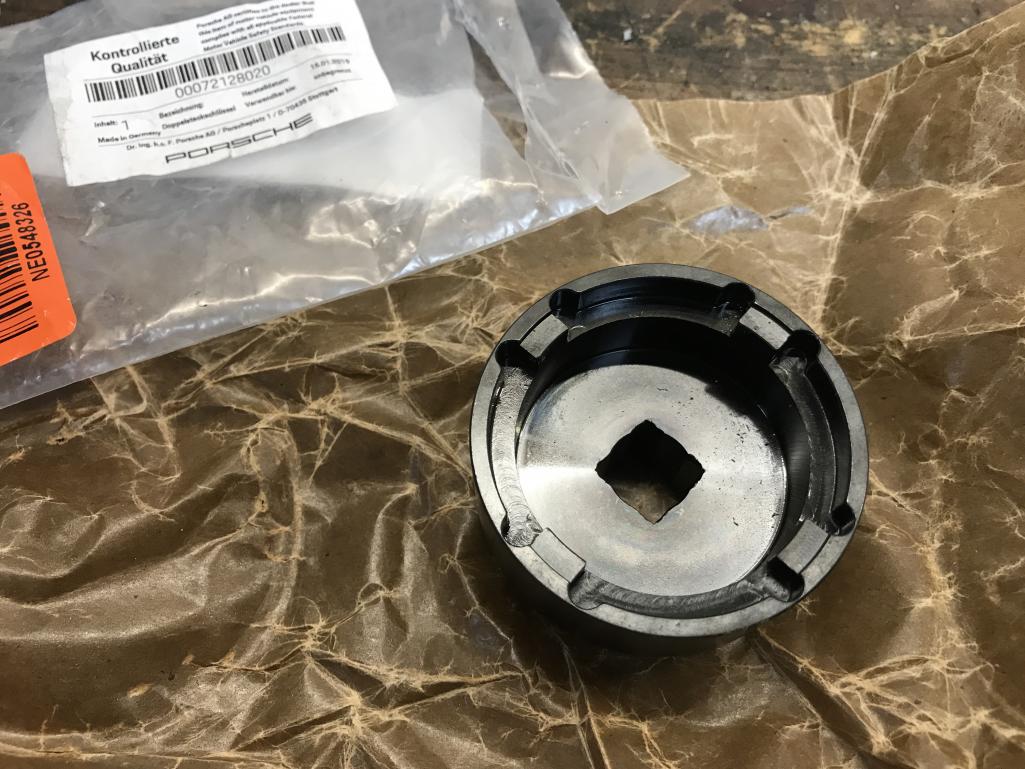
|
|
|
|
| bkrantz |
Jan 23 2021, 08:41 PM
Post
#2066
|
|
914 Guru Group: Members Posts: 8,710 Joined: 3-August 19 From: SW Colorado Member No.: 23,343 Region Association: Rocky Mountains |
Back to my set up with torque wrench and floor jack. This time I was able to get to 25 kg-m without the socket slipping.
Attached thumbnail(s) 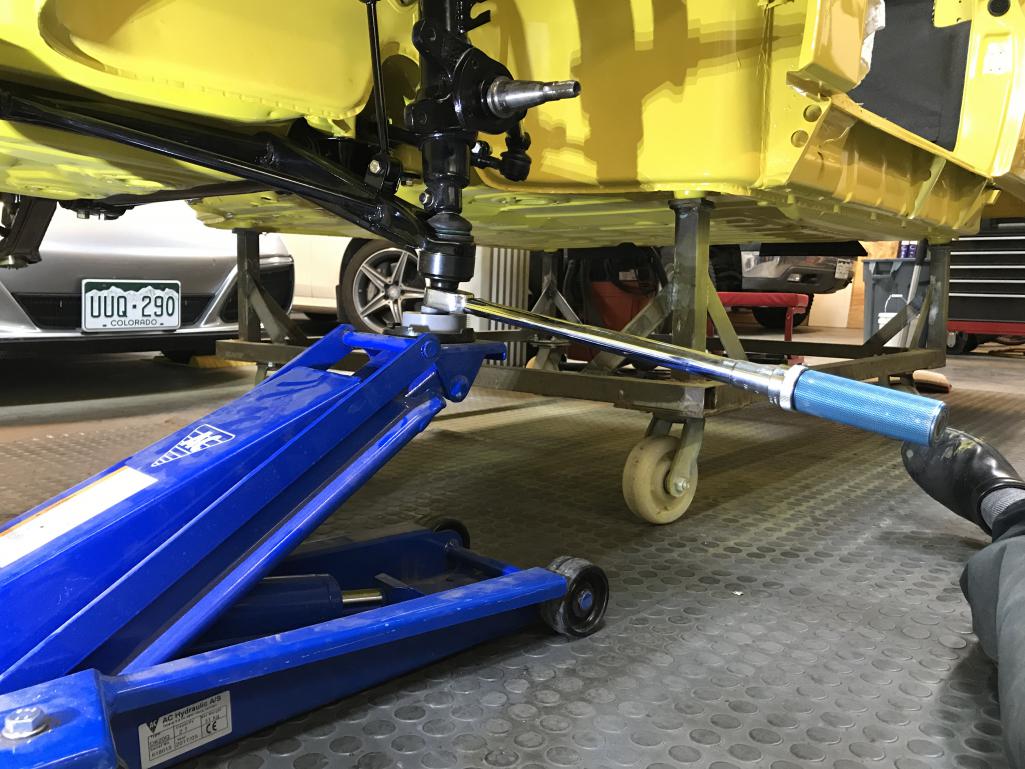
|
|
|
|
| bkrantz |
Jan 23 2021, 08:43 PM
Post
#2067
|
|
914 Guru Group: Members Posts: 8,710 Joined: 3-August 19 From: SW Colorado Member No.: 23,343 Region Association: Rocky Mountains |
And then install a new tab washer.
Attached thumbnail(s) 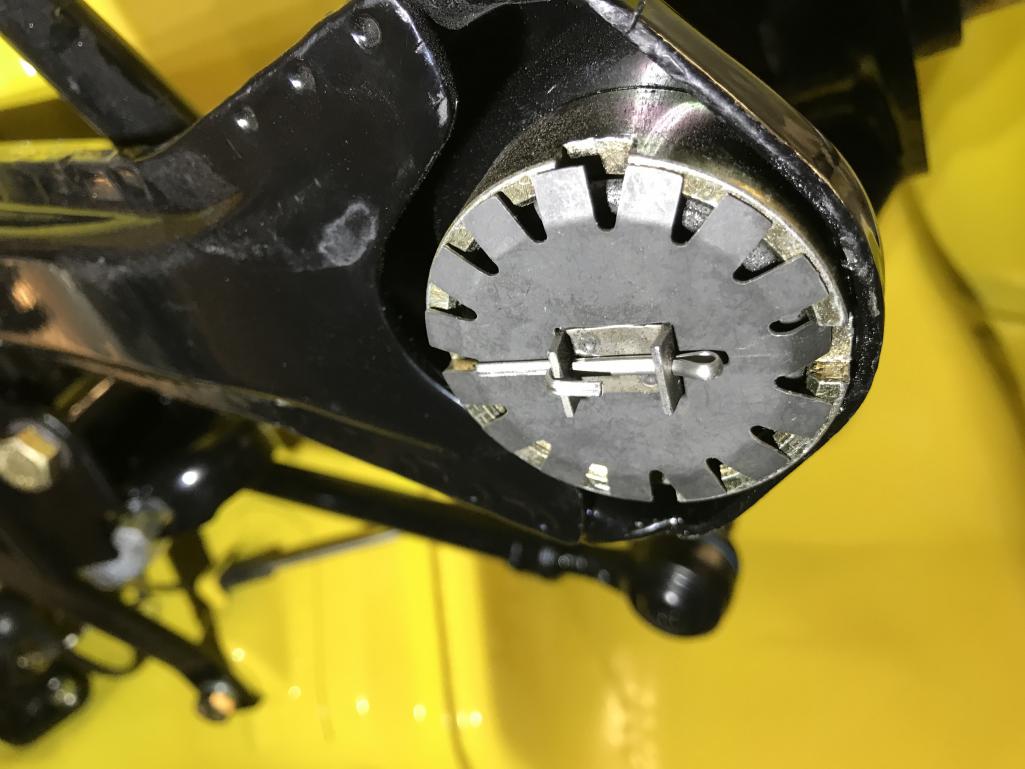
|
|
|
|
| bkrantz |
Jan 23 2021, 08:45 PM
Post
#2068
|
|
914 Guru Group: Members Posts: 8,710 Joined: 3-August 19 From: SW Colorado Member No.: 23,343 Region Association: Rocky Mountains |
Other things received: modified CV joints from PMB. These have splines that actually fit the 914-4 shafts.
Attached thumbnail(s) 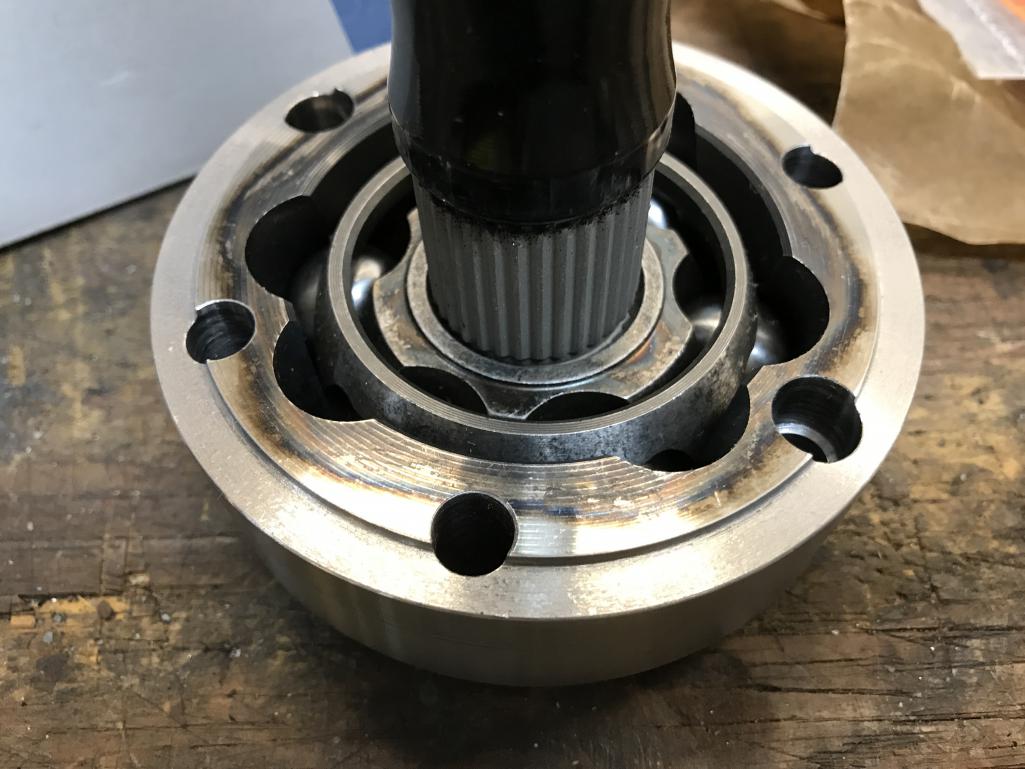
|
|
|
|
| bkrantz |
Jan 23 2021, 08:46 PM
Post
#2069
|
|
914 Guru Group: Members Posts: 8,710 Joined: 3-August 19 From: SW Colorado Member No.: 23,343 Region Association: Rocky Mountains |
I restored the trunk light.
Attached thumbnail(s) 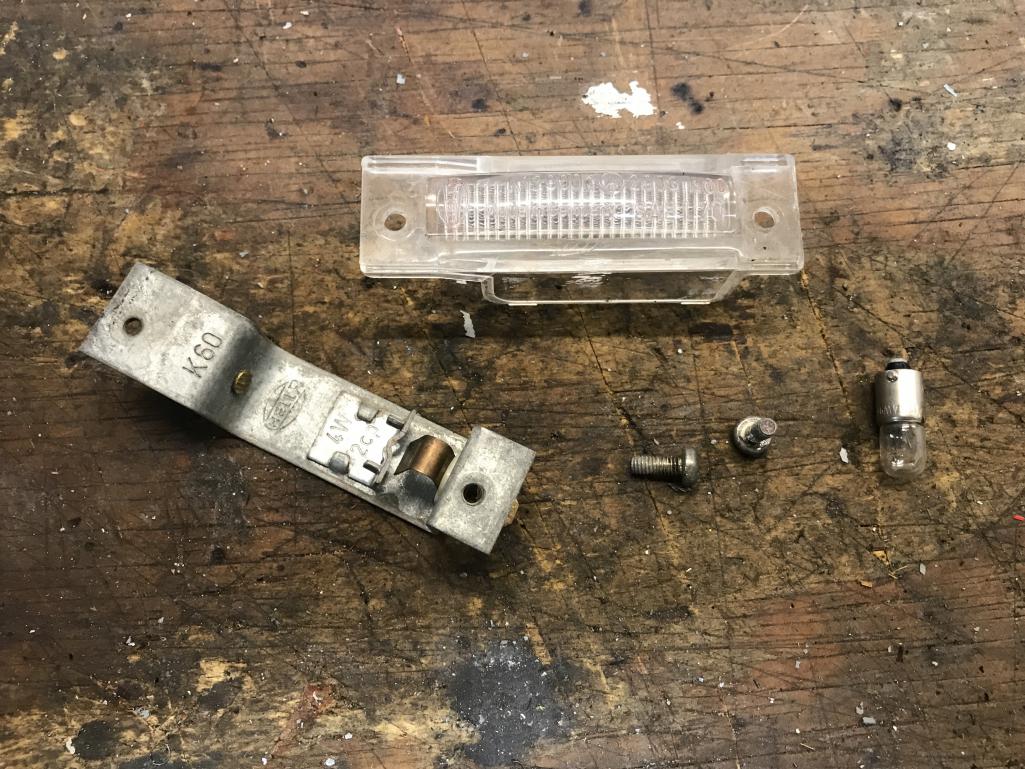
|
|
|
|
| bkrantz |
Jan 23 2021, 08:47 PM
Post
#2070
|
|
914 Guru Group: Members Posts: 8,710 Joined: 3-August 19 From: SW Colorado Member No.: 23,343 Region Association: Rocky Mountains |
And installed it.
Attached thumbnail(s) 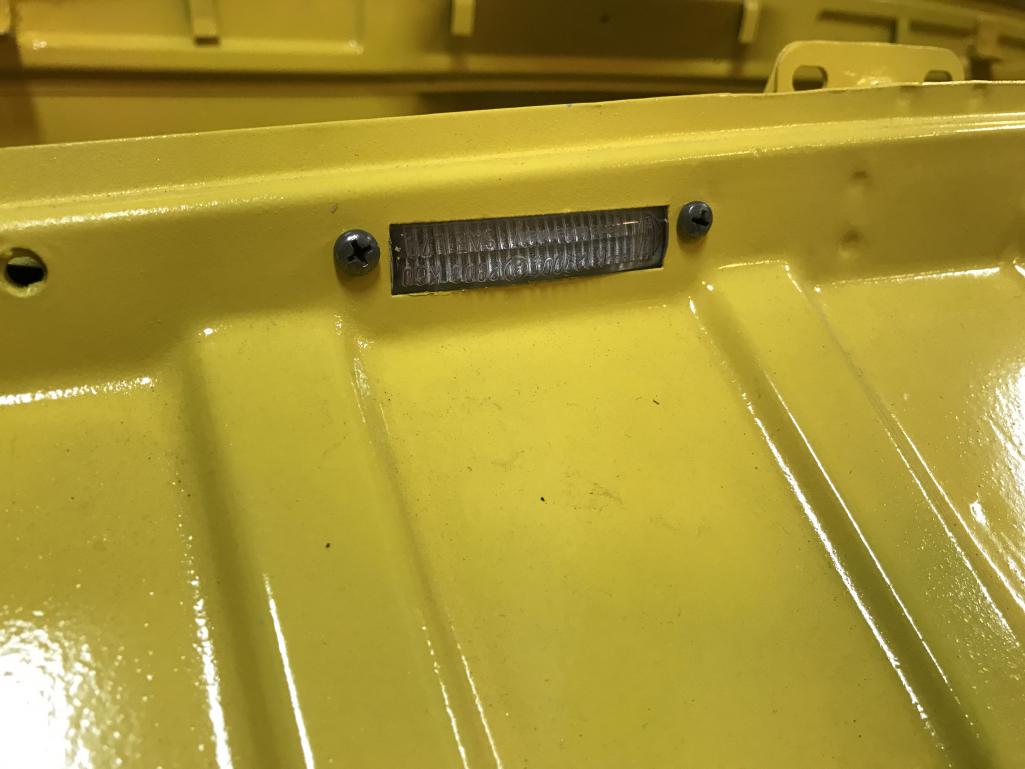
|
|
|
|
| bkrantz |
Jan 23 2021, 08:49 PM
Post
#2071
|
|
914 Guru Group: Members Posts: 8,710 Joined: 3-August 19 From: SW Colorado Member No.: 23,343 Region Association: Rocky Mountains |
And I started on installing the relocated fuel pump. This might go under the tank, inside the body shell.
Attached thumbnail(s) 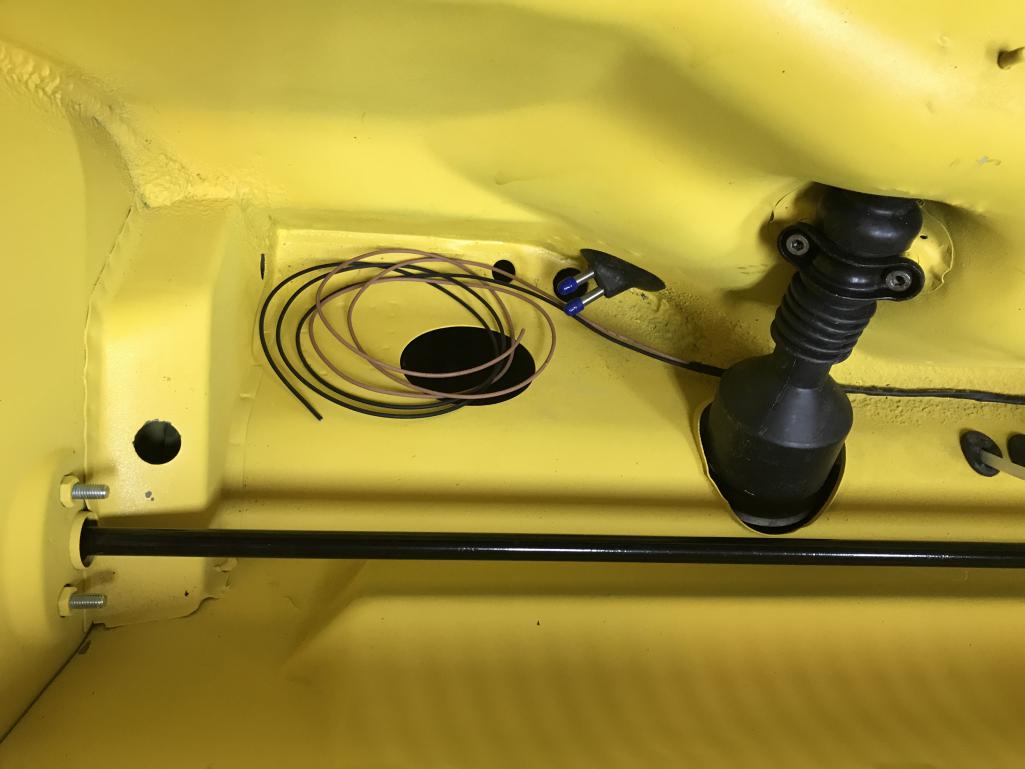
|
|
|
|
| bkrantz |
Jan 23 2021, 08:50 PM
Post
#2072
|
|
914 Guru Group: Members Posts: 8,710 Joined: 3-August 19 From: SW Colorado Member No.: 23,343 Region Association: Rocky Mountains |
To check for clearance, I lowered the gas tank into place.
Attached thumbnail(s) 
|
|
|
|
| bkrantz |
Jan 23 2021, 08:52 PM
Post
#2073
|
|
914 Guru Group: Members Posts: 8,710 Joined: 3-August 19 From: SW Colorado Member No.: 23,343 Region Association: Rocky Mountains |
There might be space, but this location will probably require removing the tank to access the pump. The other option is within the steering cavity, on the bottom of the body.
Attached thumbnail(s) 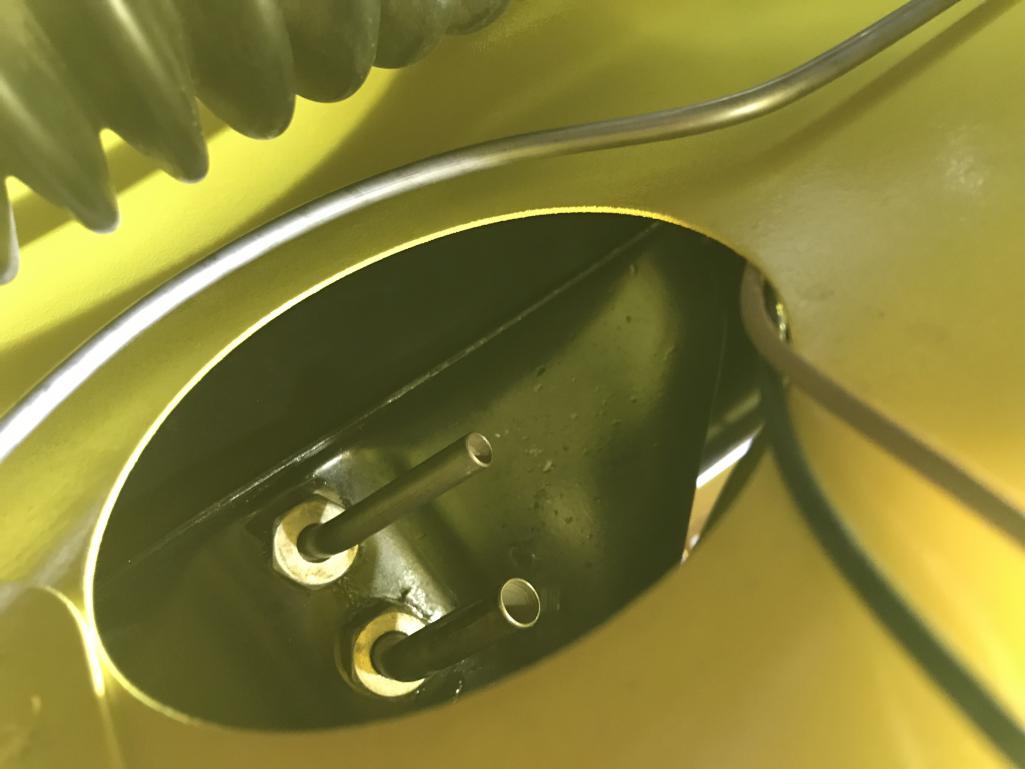
|
|
|
|
| bkrantz |
Jan 23 2021, 08:55 PM
Post
#2074
|
|
914 Guru Group: Members Posts: 8,710 Joined: 3-August 19 From: SW Colorado Member No.: 23,343 Region Association: Rocky Mountains |
One other project started: painting the parts for the headlights. I found a semi-gloss gray Rustoleum spray that is pretty close to original, applied over self-etching primer.
Attached thumbnail(s) 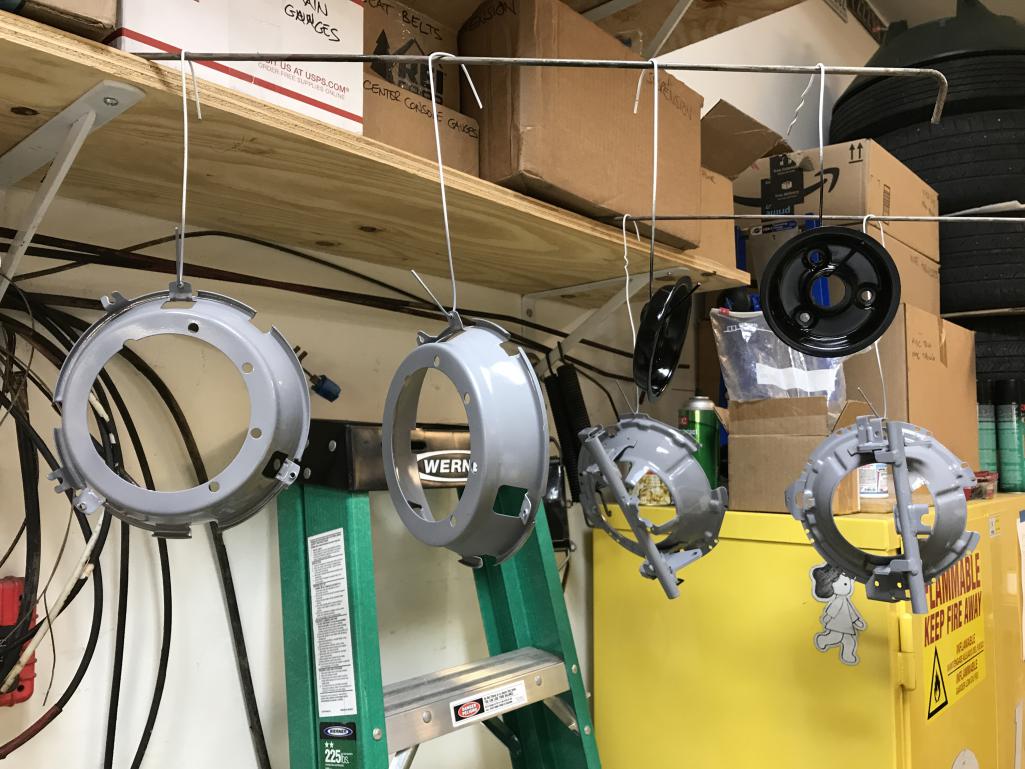
|
|
|
|
| ndfrigi |
Jan 23 2021, 09:05 PM
Post
#2075
|
|
Advanced Member Group: Members Posts: 2,983 Joined: 21-August 11 From: Orange County Member No.: 13,474 Region Association: Southern California |
nice you’re able to fix your issue attaching pictures. I do follow your build thread and learning a lot from it. Thanks again!
|
|
|
|
| bkrantz |
Jan 24 2021, 07:58 PM
Post
#2076
|
|
914 Guru Group: Members Posts: 8,710 Joined: 3-August 19 From: SW Colorado Member No.: 23,343 Region Association: Rocky Mountains |
More work on mounting the fuel pump. I am still not sure where, but I favor under the tank and inside the body cavity. To check for clearance, I made a template to show the position of the bottom of the tank.
Attached thumbnail(s) 
|
|
|
|
| bkrantz |
Jan 24 2021, 07:59 PM
Post
#2077
|
|
914 Guru Group: Members Posts: 8,710 Joined: 3-August 19 From: SW Colorado Member No.: 23,343 Region Association: Rocky Mountains |
Looks like the stock pump mount will fit here.
Attached thumbnail(s) 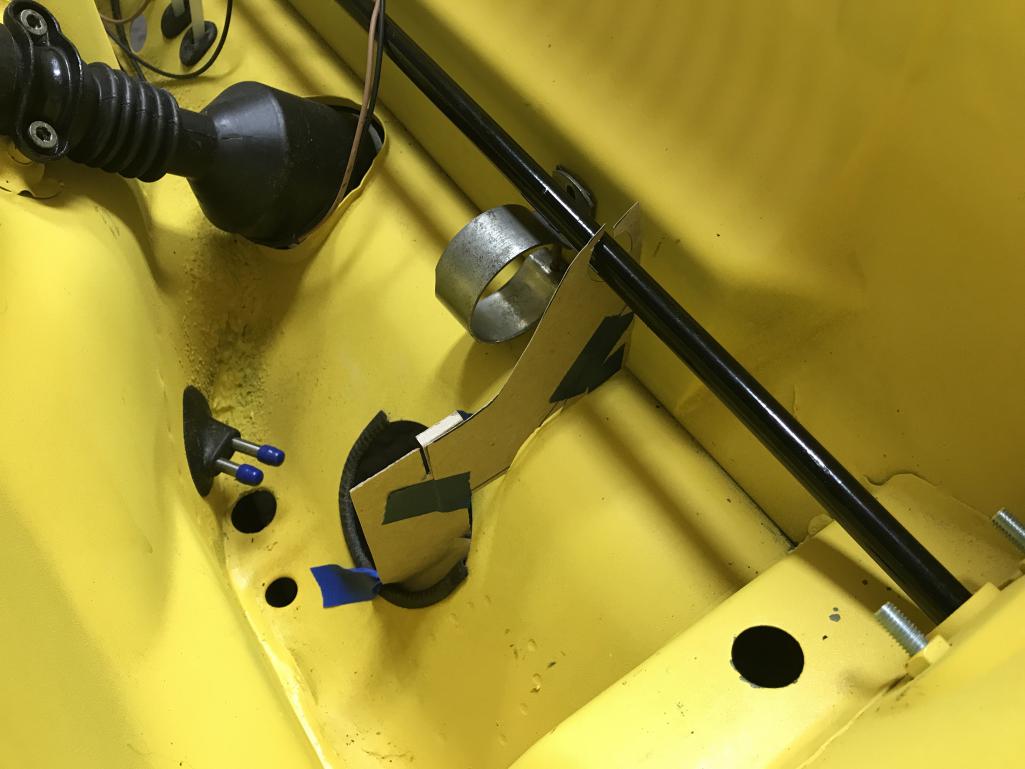
|
|
|
|
| bkrantz |
Jan 24 2021, 08:00 PM
Post
#2078
|
|
914 Guru Group: Members Posts: 8,710 Joined: 3-August 19 From: SW Colorado Member No.: 23,343 Region Association: Rocky Mountains |
Clearance check.
Attached thumbnail(s) 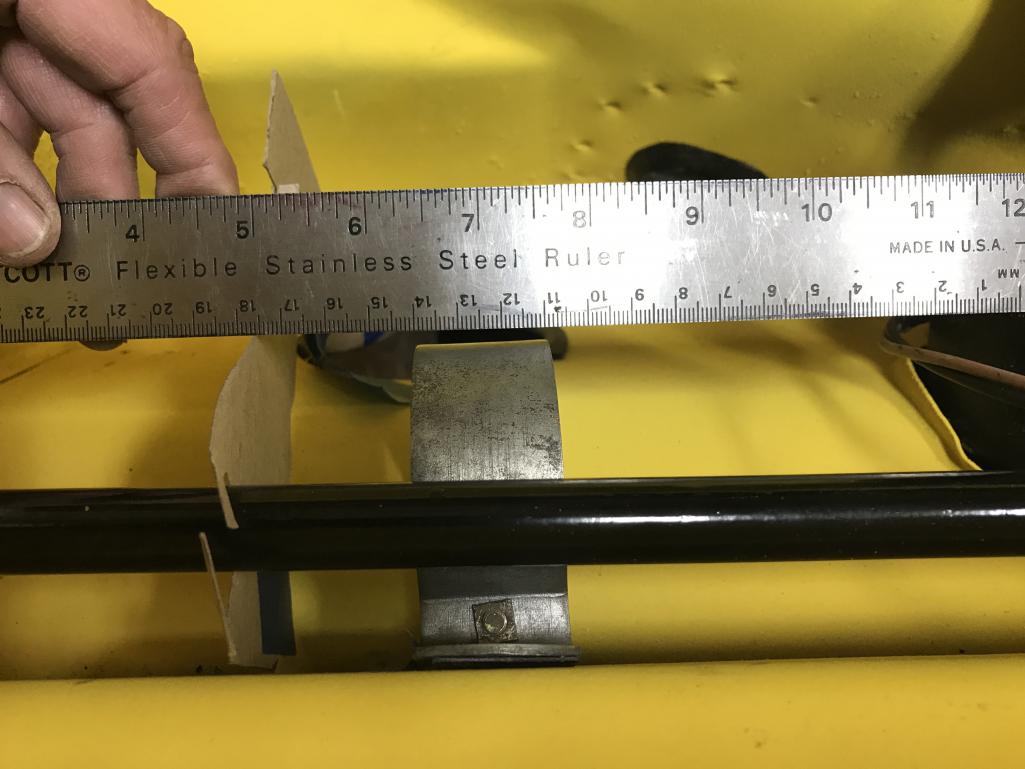
|
|
|
|
| bkrantz |
Jan 24 2021, 08:00 PM
Post
#2079
|
|
914 Guru Group: Members Posts: 8,710 Joined: 3-August 19 From: SW Colorado Member No.: 23,343 Region Association: Rocky Mountains |
Possible location.
Attached thumbnail(s) 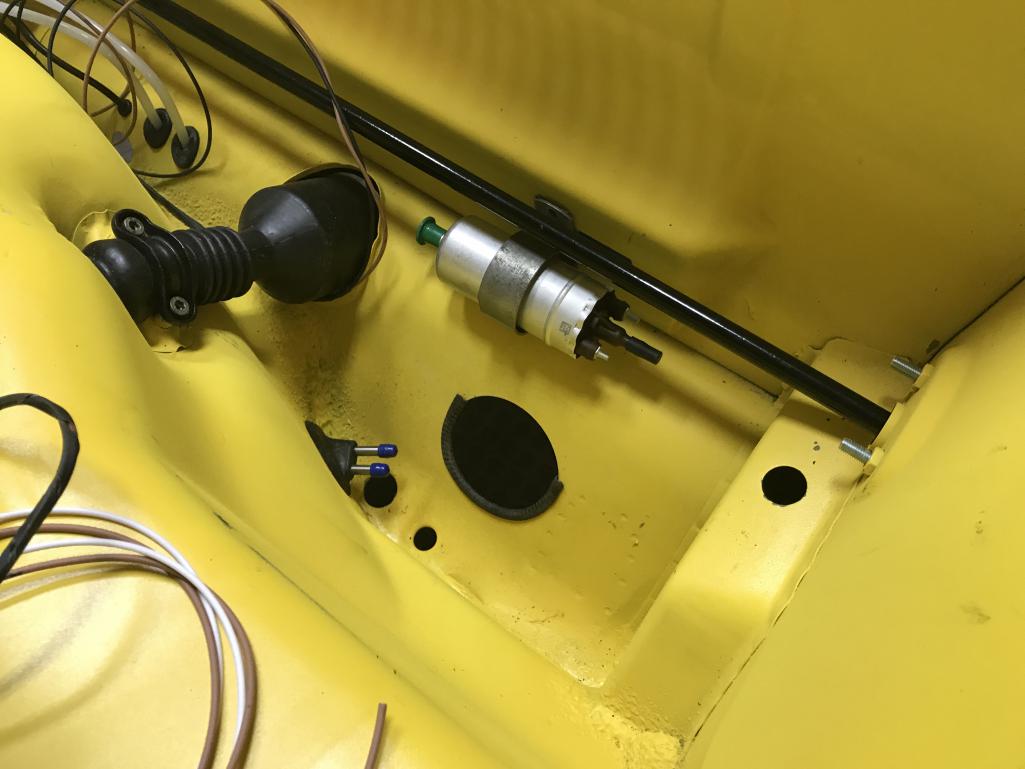
|
|
|
|
| bkrantz |
Jan 24 2021, 08:04 PM
Post
#2080
|
|
914 Guru Group: Members Posts: 8,710 Joined: 3-August 19 From: SW Colorado Member No.: 23,343 Region Association: Rocky Mountains |
In the spirit of playing with as many different things as possible, I also pulled out the trim and vinyl for the targa hoop. This lower strip is the new Porsche part, which, like some others have mentioned, has a slightly different curve radius at the rear end. I marked the upper edge with a dry-erase marker.
Attached thumbnail(s) 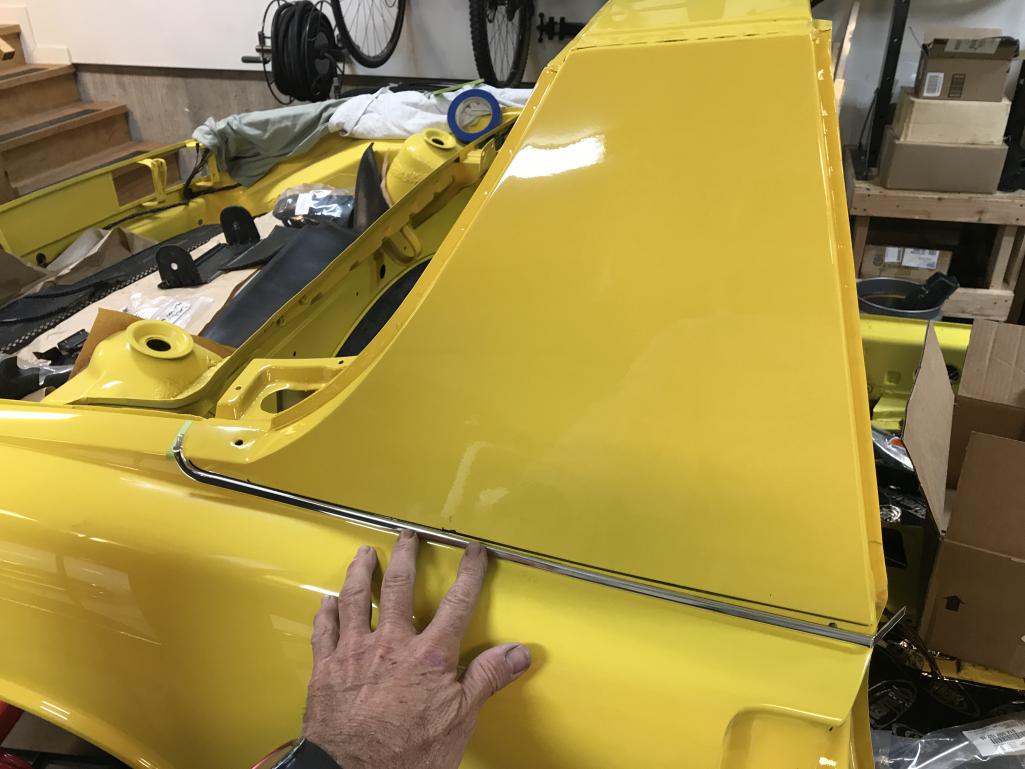
|
|
|
|
|
4 User(s) are reading this topic (4 Guests and 0 Anonymous Users)
0 Members:

|
Lo-Fi Version | Time is now: 25th May 2026 - 05:40 AM |
Invision Power Board
v9.1.4 © 2026 IPS, Inc.