|
|
|
Porsche, and the Porsche crest are registered trademarks of Dr. Ing. h.c. F. Porsche AG.
This site is not affiliated with Porsche in any way. Its only purpose is to provide an online forum for car enthusiasts. All other trademarks are property of their respective owners. |
|
|

  |

| bkrantz |
 Oct 8 2021, 07:42 PM Oct 8 2021, 07:42 PM
Post
#3841
|
|
914 Guru  Group: Members Posts: 8,530 Joined: 3-August 19 From: SW Colorado Member No.: 23,343 Region Association: Rocky Mountains |
Test fit, with the new clip taped to the cushion bottom.
Attached thumbnail(s) 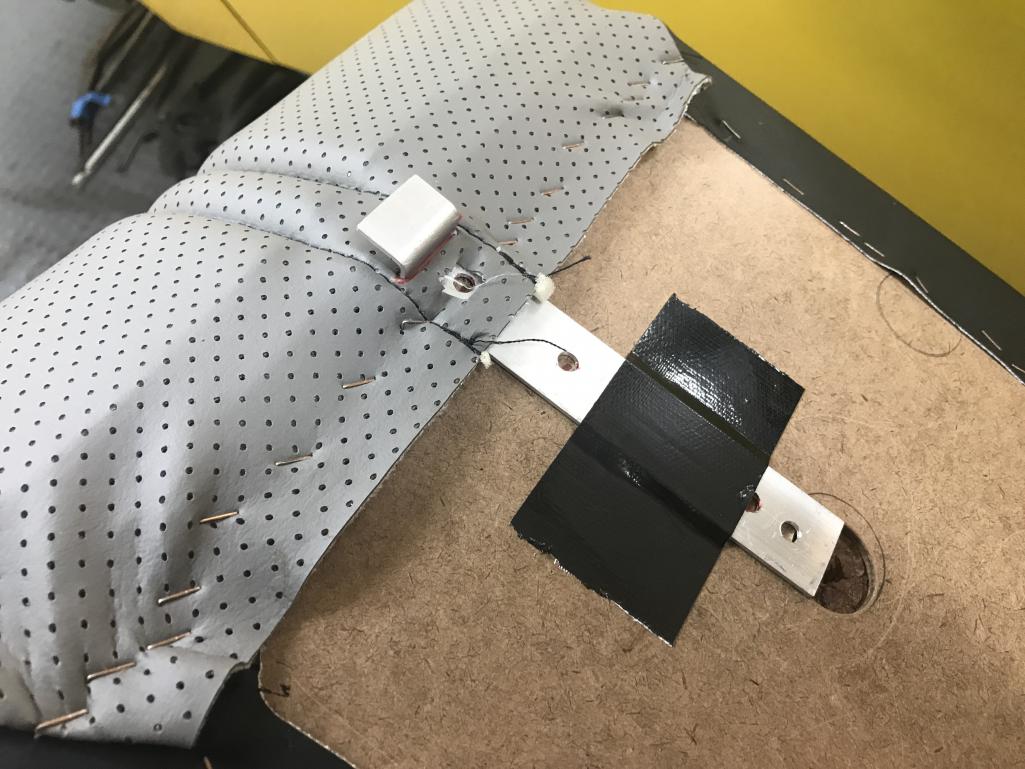
|
   |

 
|
| bkrantz |
Oct 8 2021, 07:45 PM
Post
#3842
|
|
914 Guru Group: Members Posts: 8,530 Joined: 3-August 19 From: SW Colorado Member No.: 23,343 Region Association: Rocky Mountains |
The test showed the clip in the right location, but it needs a slight angle adjustment.
Attached thumbnail(s) 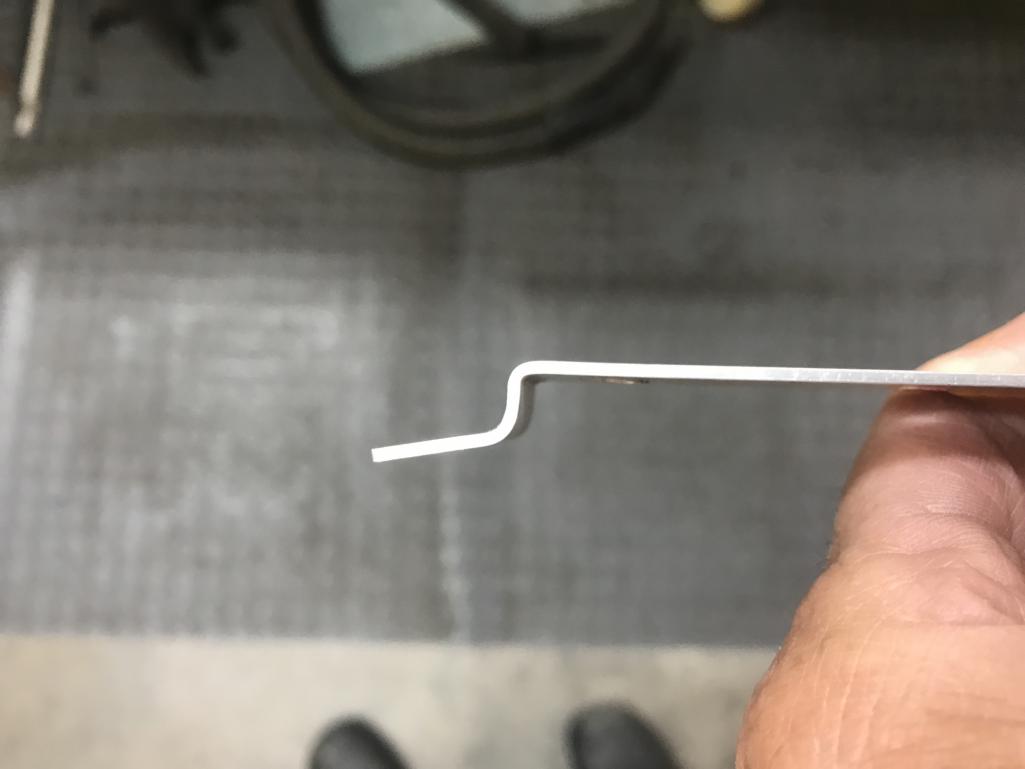
|
|
|
|
| bkrantz |
Oct 8 2021, 07:46 PM
Post
#3843
|
|
914 Guru Group: Members Posts: 8,530 Joined: 3-August 19 From: SW Colorado Member No.: 23,343 Region Association: Rocky Mountains |
To attach the clips, I used some sheet metal screws. Just in case the cushion collapses to zero, I blunted the screw tips.
Attached thumbnail(s) 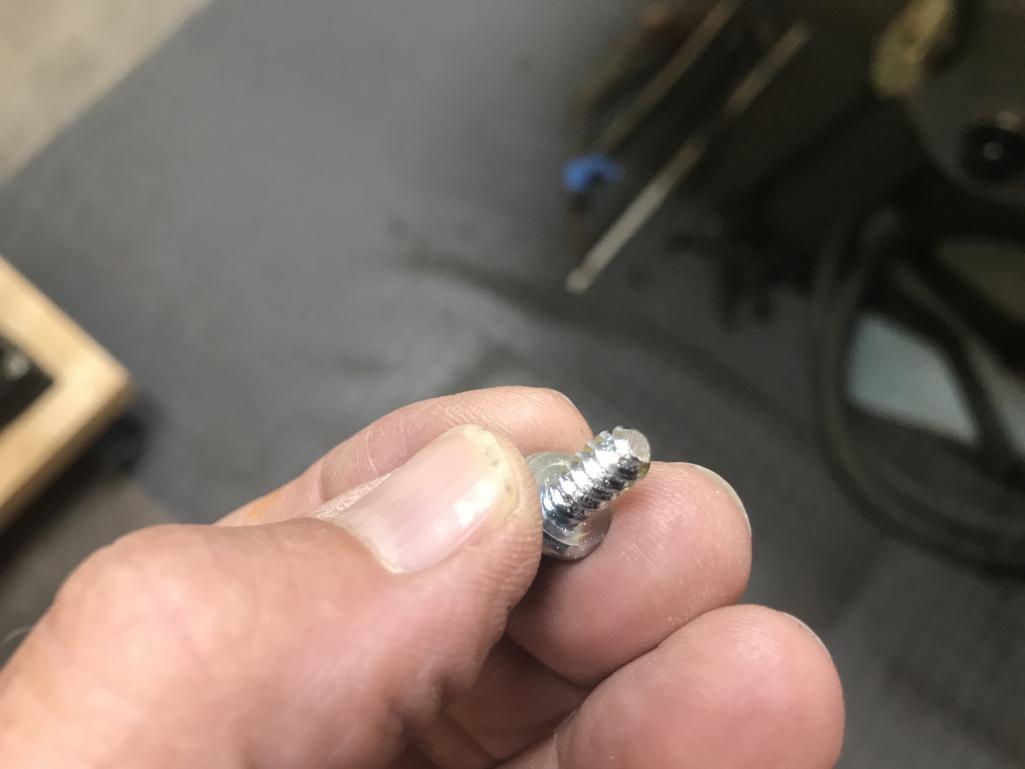
|
|
|
|
| bkrantz |
Oct 8 2021, 07:46 PM
Post
#3844
|
|
914 Guru Group: Members Posts: 8,530 Joined: 3-August 19 From: SW Colorado Member No.: 23,343 Region Association: Rocky Mountains |
New clip in place.
Attached thumbnail(s) 
|
|
|
|
| bkrantz |
Oct 8 2021, 07:47 PM
Post
#3845
|
|
914 Guru Group: Members Posts: 8,530 Joined: 3-August 19 From: SW Colorado Member No.: 23,343 Region Association: Rocky Mountains |
And...it works. The front of the cushion will not lift up.
Attached thumbnail(s) 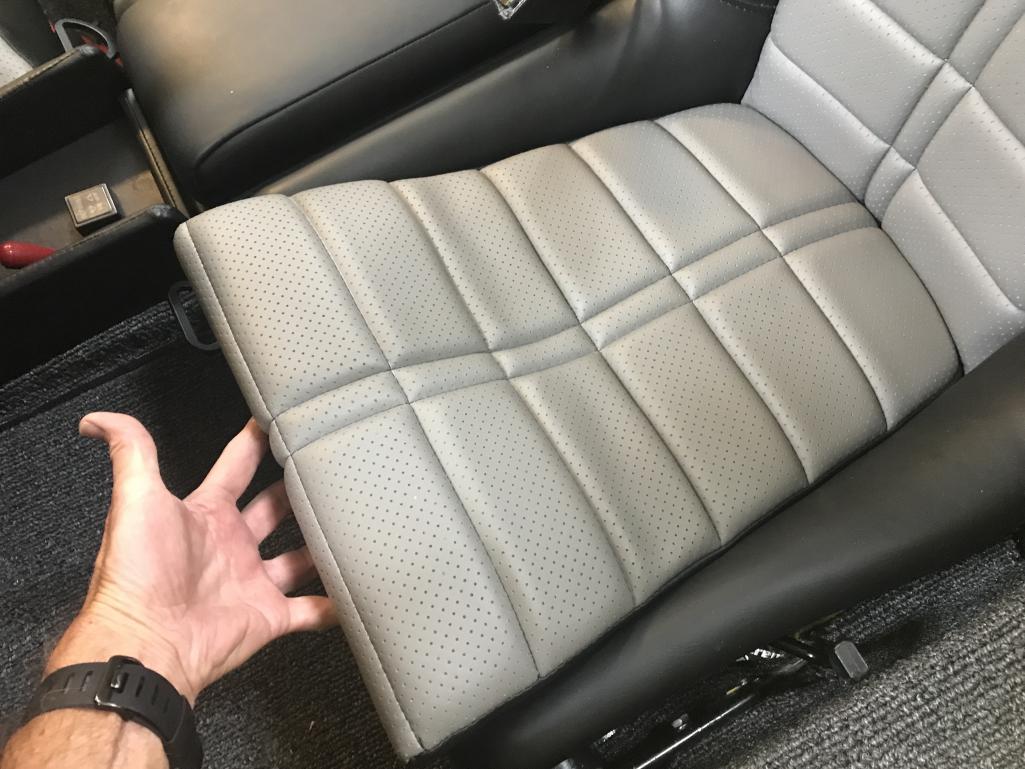
|
|
|
|
| bkrantz |
Oct 8 2021, 07:48 PM
Post
#3846
|
|
914 Guru Group: Members Posts: 8,530 Joined: 3-August 19 From: SW Colorado Member No.: 23,343 Region Association: Rocky Mountains |
And I made the same thing for the passenger side.
Attached thumbnail(s) 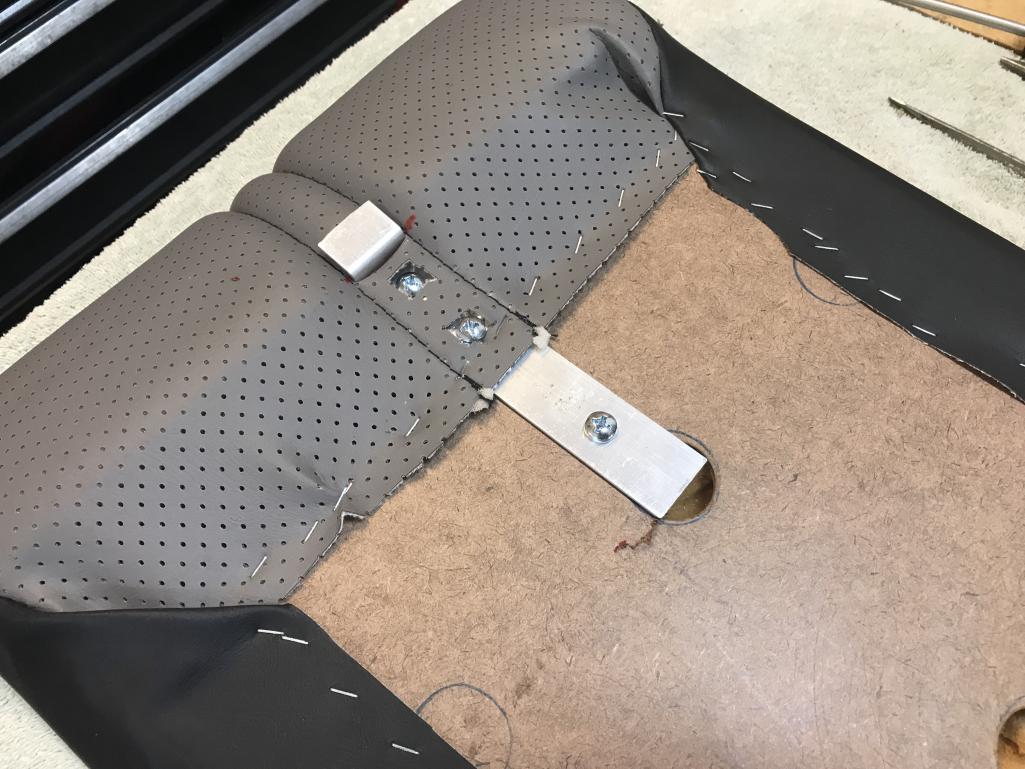
|
|
|
|
| bkrantz |
Oct 9 2021, 07:47 PM
Post
#3847
|
|
914 Guru Group: Members Posts: 8,530 Joined: 3-August 19 From: SW Colorado Member No.: 23,343 Region Association: Rocky Mountains |
I got some new 5/16 (8 mm) drill bits. I found Milwaukee cobalt bits at Home Depot, labeled for hard metal, including stainless steel. I also slowed down the drill RPM and used cutting oil. Much better drilling success.
Attached thumbnail(s) 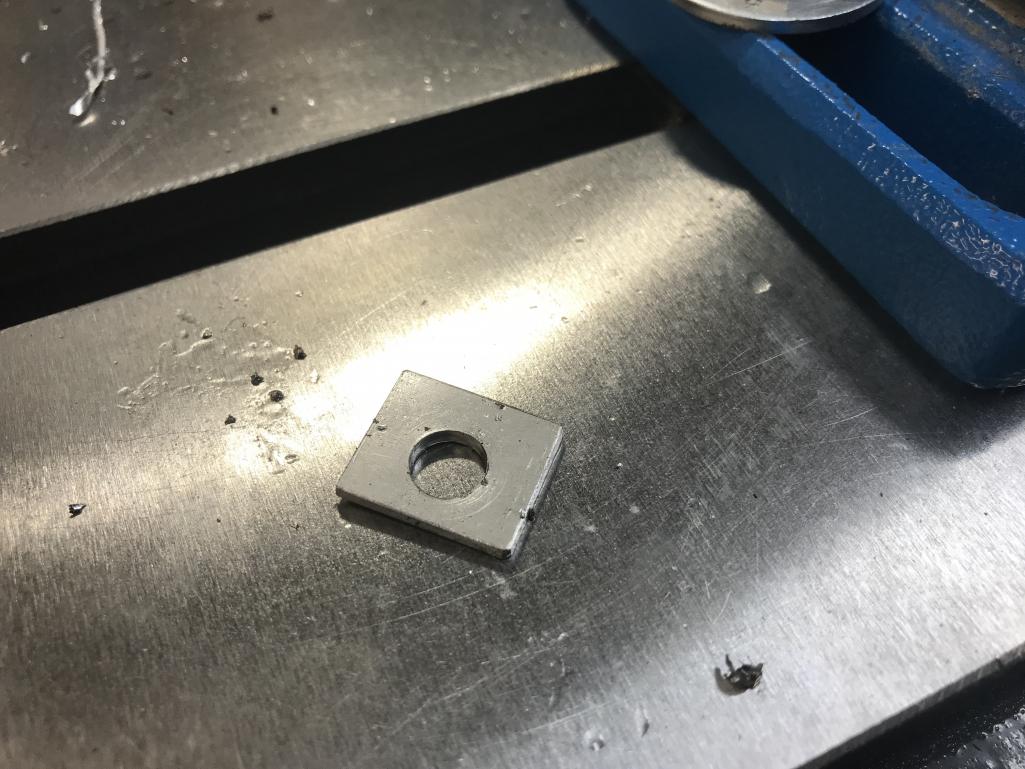
|
|
|
|
| bkrantz |
Oct 9 2021, 07:48 PM
Post
#3848
|
|
914 Guru Group: Members Posts: 8,530 Joined: 3-August 19 From: SW Colorado Member No.: 23,343 Region Association: Rocky Mountains |
Holes drilled in 8 shims with the proper offset.
Attached thumbnail(s) 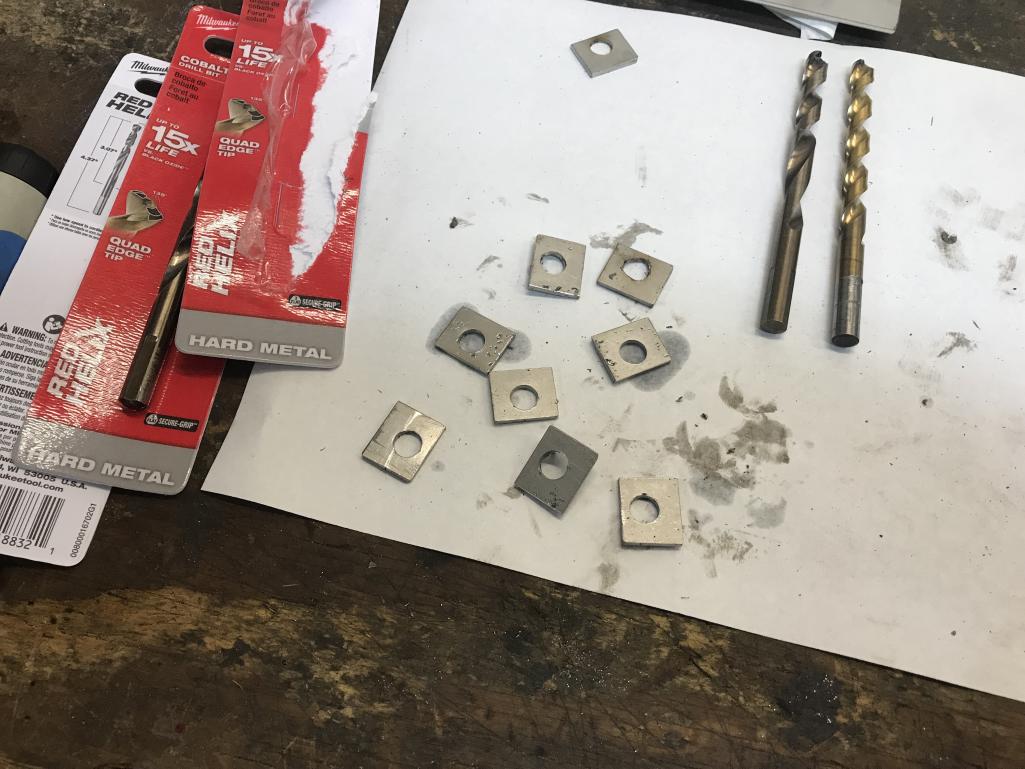
|
|
|
|
| bkrantz |
Oct 9 2021, 07:50 PM
Post
#3849
|
|
914 Guru Group: Members Posts: 8,530 Joined: 3-August 19 From: SW Colorado Member No.: 23,343 Region Association: Rocky Mountains |
And then de-burred. Ready to get back to engine assembly.
Attached thumbnail(s) 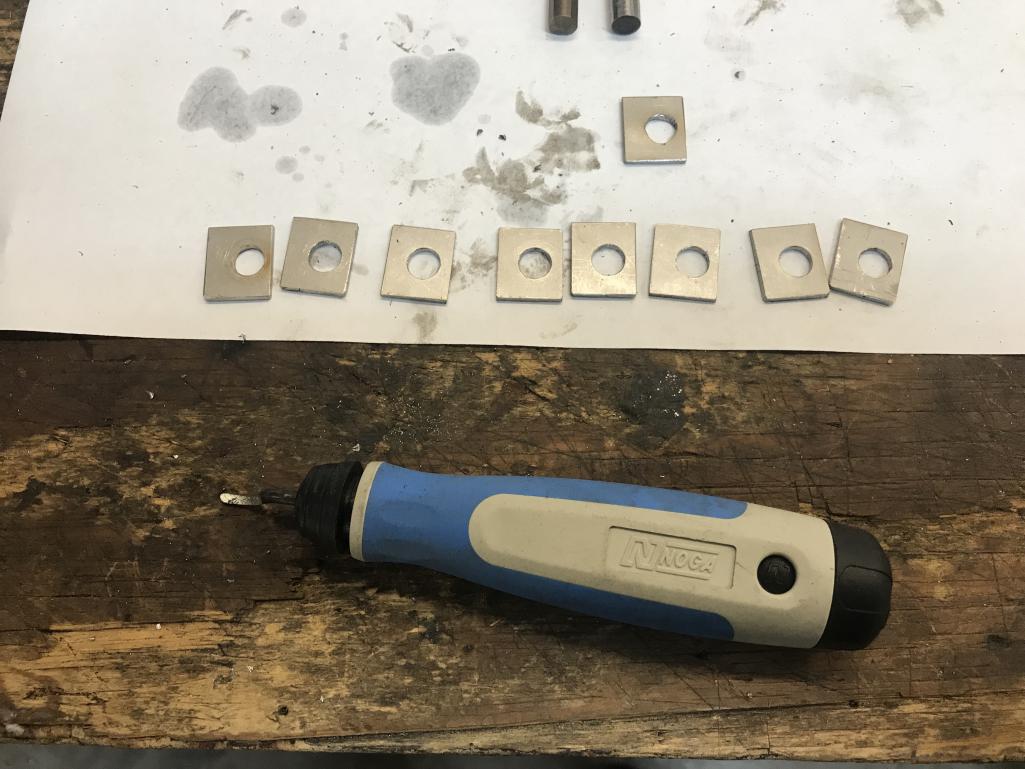
|
|
|
|
| bkrantz |
Oct 9 2021, 07:51 PM
Post
#3850
|
|
914 Guru Group: Members Posts: 8,530 Joined: 3-August 19 From: SW Colorado Member No.: 23,343 Region Association: Rocky Mountains |
Shims in place, under the rocker shaft towers.
Attached thumbnail(s) 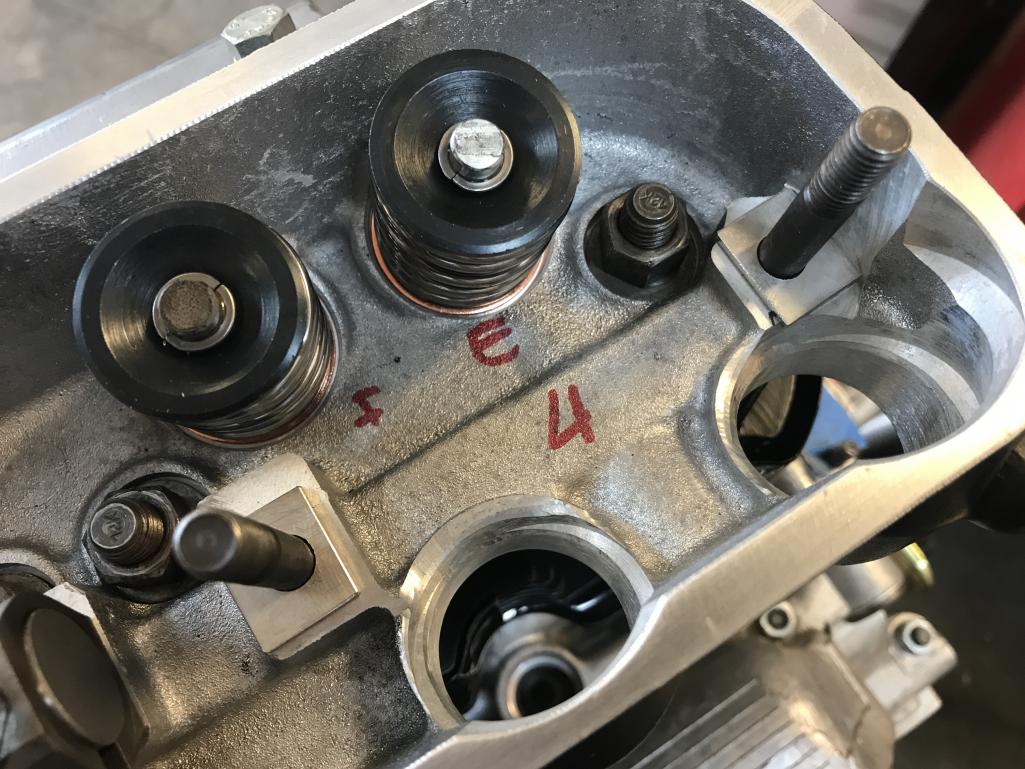
|
|
|
|
| bkrantz |
Oct 9 2021, 07:52 PM
Post
#3851
|
|
914 Guru Group: Members Posts: 8,530 Joined: 3-August 19 From: SW Colorado Member No.: 23,343 Region Association: Rocky Mountains |
Ready for new pushrod tubes and seals.
Attached thumbnail(s) 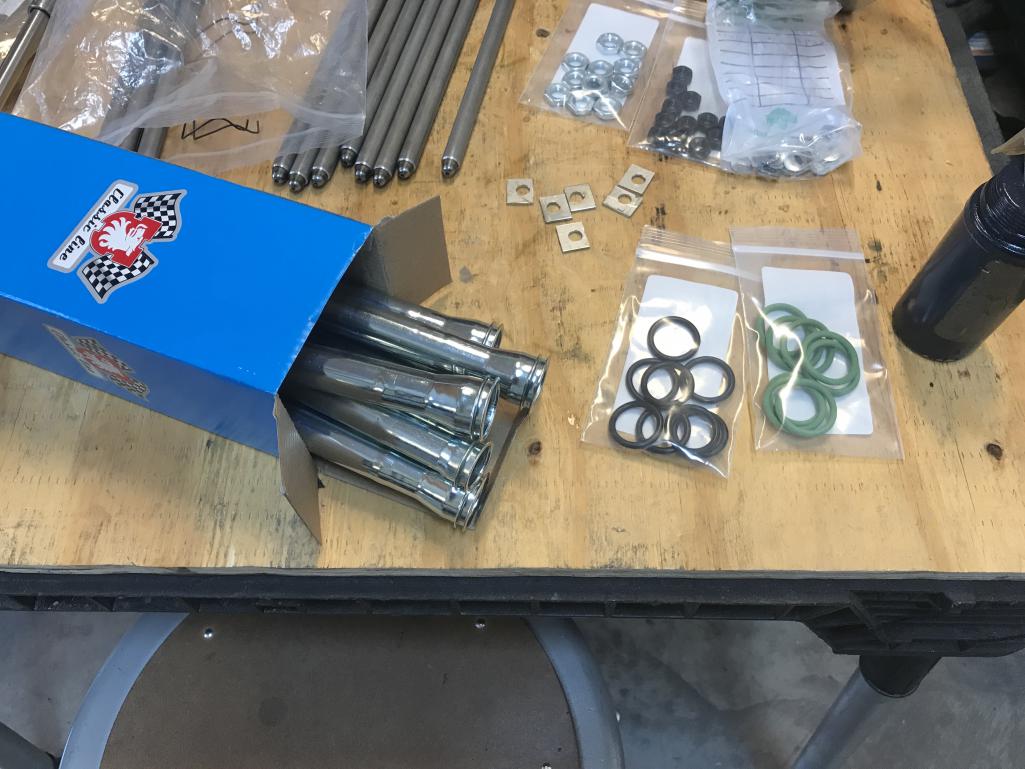
|
|
|
|
| bkrantz |
Oct 9 2021, 07:56 PM
Post
#3852
|
|
914 Guru Group: Members Posts: 8,530 Joined: 3-August 19 From: SW Colorado Member No.: 23,343 Region Association: Rocky Mountains |
Lots of oil on the seals before rolling them onto the tubes, and then I pushed the tubes into place.
Attached thumbnail(s) 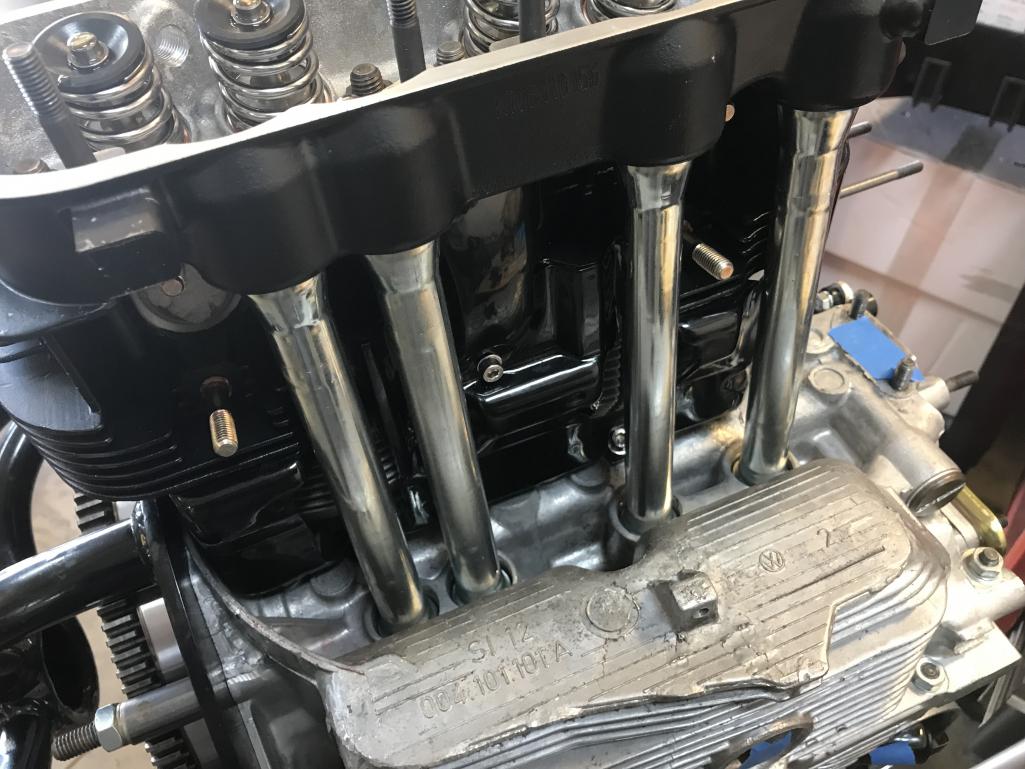
|
|
|
|
| bkrantz |
Oct 9 2021, 07:57 PM
Post
#3853
|
|
914 Guru Group: Members Posts: 8,530 Joined: 3-August 19 From: SW Colorado Member No.: 23,343 Region Association: Rocky Mountains |
I even remembered the pushrod retaining wires.
Attached thumbnail(s) 
|
|
|
|
| bkrantz |
Oct 9 2021, 08:02 PM
Post
#3854
|
|
914 Guru Group: Members Posts: 8,530 Joined: 3-August 19 From: SW Colorado Member No.: 23,343 Region Association: Rocky Mountains |
After lubing the rockers, shafts, spacers, pushrods, and adjusters, I put everything together and torqued the new high-strength retaining nuts. And then I gave the adjusters a quick clearance setting. One side done!
Attached thumbnail(s) 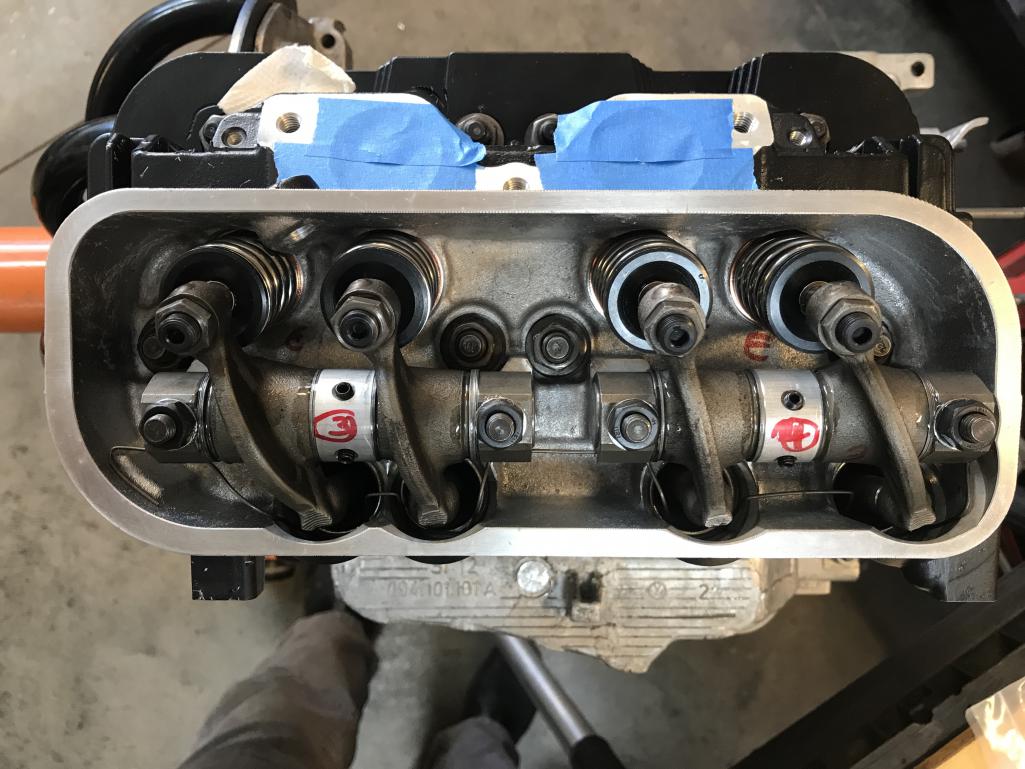
|
|
|
|
| bkrantz |
Oct 10 2021, 08:10 PM
Post
#3855
|
|
914 Guru Group: Members Posts: 8,530 Joined: 3-August 19 From: SW Colorado Member No.: 23,343 Region Association: Rocky Mountains |
I just got started on the other side today, when the weather outside proved too tempting.
Attached thumbnail(s) 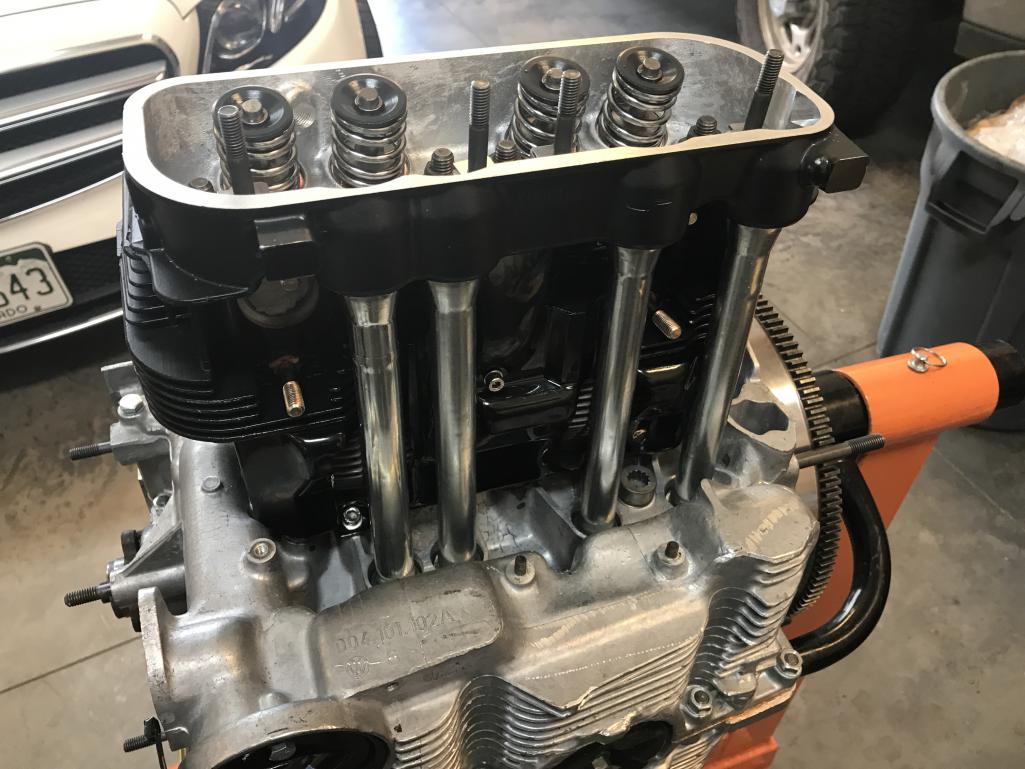
|
|
|
|
| bkrantz |
Oct 10 2021, 08:13 PM
Post
#3856
|
|
914 Guru Group: Members Posts: 8,530 Joined: 3-August 19 From: SW Colorado Member No.: 23,343 Region Association: Rocky Mountains |
We took a 3 hour hike in the San Juan Mountains, and the aspen colors were stunning.
Attached thumbnail(s) 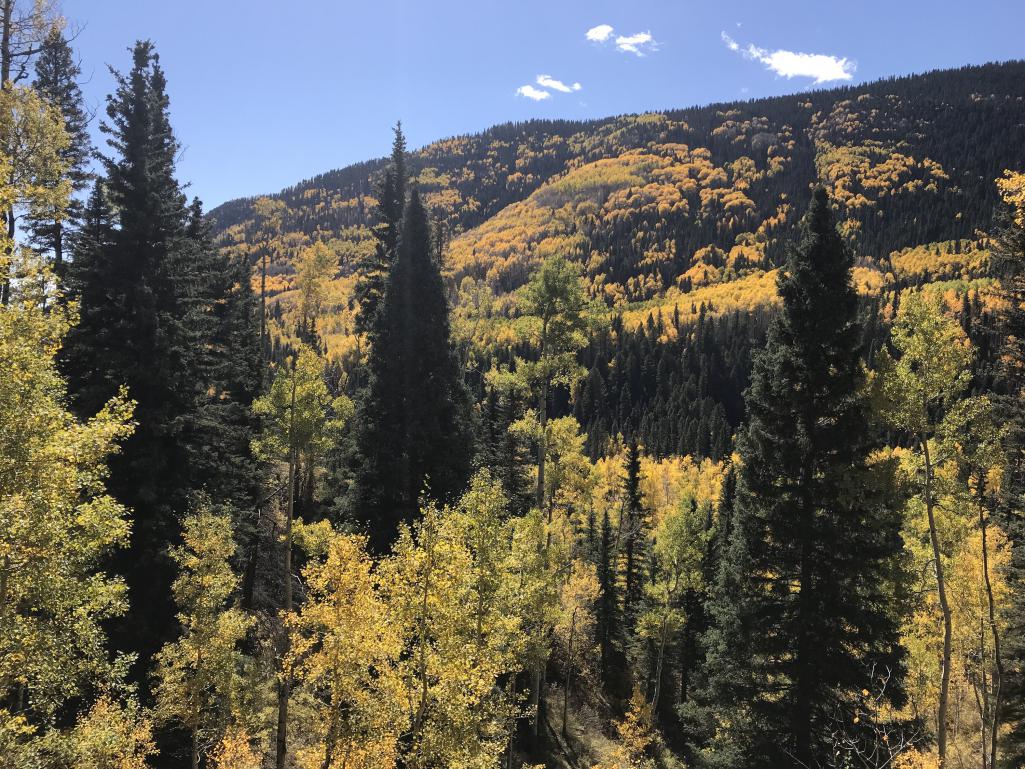
|
|
|
|
| nivekdodge |
Oct 10 2021, 09:35 PM
Post
#3857
|
|
Member Group: Members Posts: 329 Joined: 28-August 21 From: Pittsburgh Pa Member No.: 25,860 Region Association: MidAtlantic Region |
QUOTE(bkrantz @ Aug 5 2021, 09:44 PM)  Here's the re-plated latch installed. Those pieces look fantastic, may I ask the process? |
|
|
|
| Puebloswatcop |
Oct 11 2021, 07:57 AM
Post
#3858
|
|
Senior Member Group: Members Posts: 1,680 Joined: 27-December 14 From: Mineola, Texas Member No.: 18,258 Region Association: Southwest Region |
QUOTE(bkrantz @ Oct 10 2021, 07:13 PM) We took a 3 hour hike in the San Juan Mountains, and the aspen colors were stunning. That is the one thing I do miss about Colorado, Fall is so beautiful |
|
|
|
| bkrantz |
Oct 11 2021, 07:20 PM
Post
#3859
|
|
914 Guru Group: Members Posts: 8,530 Joined: 3-August 19 From: SW Colorado Member No.: 23,343 Region Association: Rocky Mountains |
QUOTE(nivekdodge @ Oct 10 2021, 09:35 PM) QUOTE(bkrantz @ Aug 5 2021, 09:44 PM) Here's the re-plated latch installed. Those pieces look fantastic, may I ask the process? Easy process! Just clean the old parts and send to FPS (www.fpswi.com), and specify what finish you want. They are quick and cost-effective. |
|
|
|
| bkrantz |
Oct 11 2021, 07:23 PM
Post
#3860
|
|
914 Guru Group: Members Posts: 8,530 Joined: 3-August 19 From: SW Colorado Member No.: 23,343 Region Association: Rocky Mountains |
Left side valve gear in place and quickly adjusted.
Attached thumbnail(s) 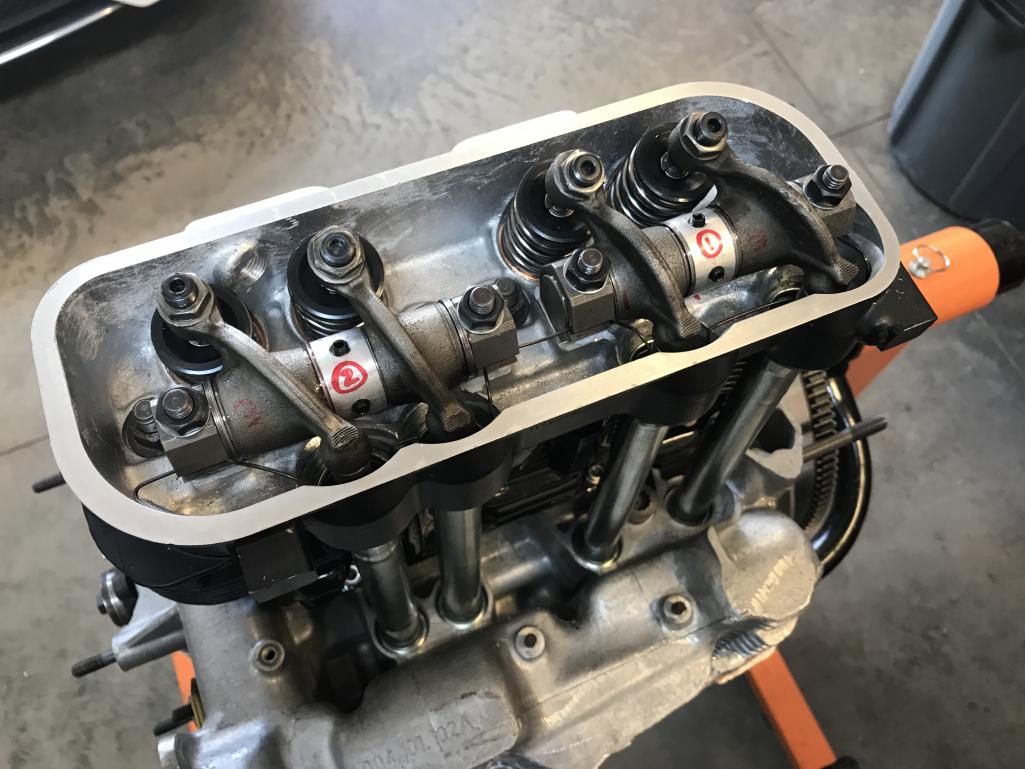
|
|
|
|
|
3 User(s) are reading this topic (3 Guests and 0 Anonymous Users)
0 Members:

|
Lo-Fi Version | Time is now: 18th November 2025 - 11:47 AM |
Invision Power Board
v9.1.4 © 2025 IPS, Inc.