|
|
|
Porsche, and the Porsche crest are registered trademarks of Dr. Ing. h.c. F. Porsche AG.
This site is not affiliated with Porsche in any way. Its only purpose is to provide an online forum for car enthusiasts. All other trademarks are property of their respective owners. |
|
|

  |

| 914werke |
 Nov 3 2021, 10:31 AM Nov 3 2021, 10:31 AM
Post
#4061
|
|
"I got blisters on me fingers"  Group: Members Posts: 11,457 Joined: 22-March 03 From: USofA Member No.: 453 Region Association: Pacific Northwest |
Since you are in there why not replace the sender with a whip & remotely mount the OE sender &/or possibly pressure sender ?
|
   |

 
|
| bkrantz |
Nov 3 2021, 06:51 PM
Post
#4062
|
|
914 Guru Group: Members Posts: 8,530 Joined: 3-August 19 From: SW Colorado Member No.: 23,343 Region Association: Rocky Mountains |
QUOTE(914werke @ Nov 3 2021, 10:31 AM)  Since you are in there why not replace the sender with a whip & remotely mount the OE sender &/or possibly pressure sender ? Hi, Rich--are you trying to get me into more trouble? But good idea, and maybe something for the future. |
|
|
|
| seanpaulmc |
Nov 4 2021, 05:37 PM
Post
#4063
|
|
Member Group: Members Posts: 399 Joined: 6-December 16 From: Orlando, FL Member No.: 20,649 Region Association: South East States |
QUOTE(bkrantz @ Nov 2 2021, 09:40 PM) QUOTE(seanpaulmc @ Nov 2 2021, 12:37 PM) QUOTE(bkrantz @ Oct 29 2021, 09:35 PM) Alternator ready to install. Bob, Are you using the gaskets with the rebuild? There is one for the back cover and another kind for the front where it mates with the Tin. This front one I cannot locate. Also, I have read on here, some alternator rebuilds can have an issue with the stud for the harness inside the back grounding on the cover. Confirm there is sufficient clearance. Wouldn’t want any surprises with all that new shiny stuff. Love your build! Sean Thanks, Sean. I made a rear gasket, and have a front gasket (plastic ring) in-bound. Good reminder on the stud--mine has good clearance (and a new rubber boot). Of course you've got this covered! Where did you source the front gasket (plastic ring) from? Thanks, |
|
|
|
| bkrantz |
Nov 4 2021, 07:42 PM
Post
#4064
|
|
914 Guru Group: Members Posts: 8,530 Joined: 3-August 19 From: SW Colorado Member No.: 23,343 Region Association: Rocky Mountains |
QUOTE(seanpaulmc @ Nov 4 2021, 05:37 PM) QUOTE(bkrantz @ Nov 2 2021, 09:40 PM) QUOTE(seanpaulmc @ Nov 2 2021, 12:37 PM) QUOTE(bkrantz @ Oct 29 2021, 09:35 PM) Alternator ready to install. Bob, Are you using the gaskets with the rebuild? There is one for the back cover and another kind for the front where it mates with the Tin. This front one I cannot locate. Also, I have read on here, some alternator rebuilds can have an issue with the stud for the harness inside the back grounding on the cover. Confirm there is sufficient clearance. Wouldn’t want any surprises with all that new shiny stuff. Love your build! Sean Thanks, Sean. I made a rear gasket, and have a front gasket (plastic ring) in-bound. Good reminder on the stud--mine has good clearance (and a new rubber boot). Of course you've got this covered! Where did you source the front gasket (plastic ring) from? Thanks, I put a WTB notice in the classifieds, and a kind 914Worlder had one for sale. |
|
|
|
| bkrantz |
Nov 4 2021, 07:47 PM
Post
#4065
|
|
914 Guru Group: Members Posts: 8,530 Joined: 3-August 19 From: SW Colorado Member No.: 23,343 Region Association: Rocky Mountains |
This arrived via Fedex yesterday.
Attached thumbnail(s) 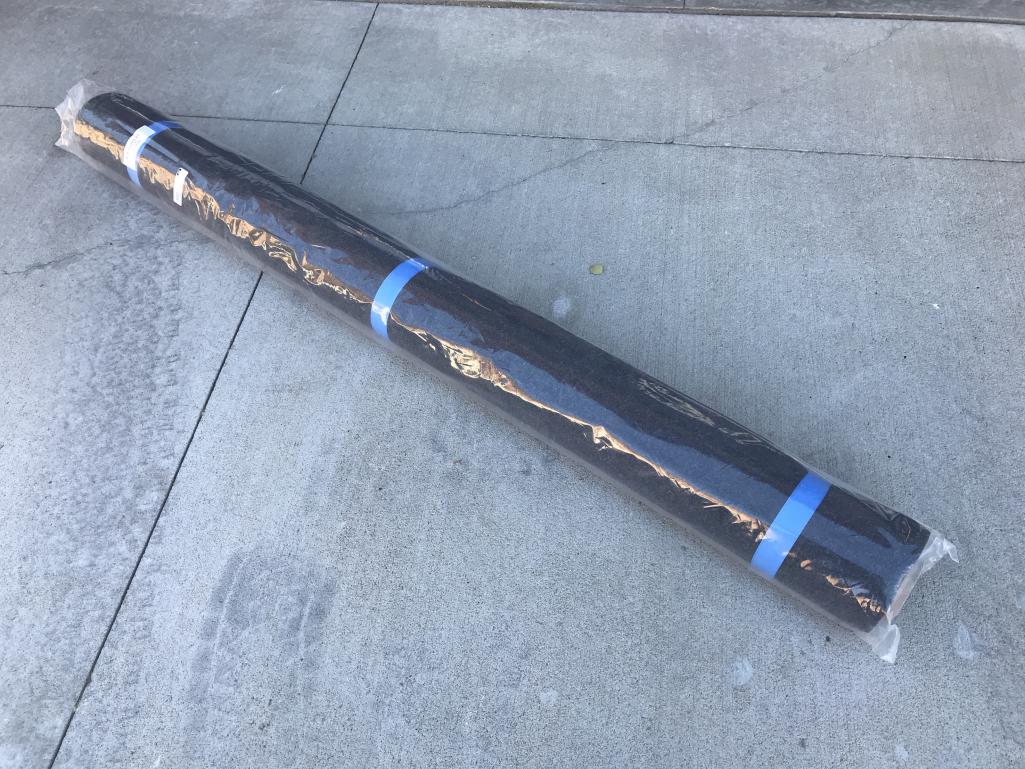
|
|
|
|
| bkrantz |
Nov 4 2021, 07:48 PM
Post
#4066
|
|
914 Guru Group: Members Posts: 8,530 Joined: 3-August 19 From: SW Colorado Member No.: 23,343 Region Association: Rocky Mountains |
That's 3 yards of 72 inch wide Perlon, in gray. I want enough to take care of the frunk, headliner, and more.
Attached thumbnail(s) 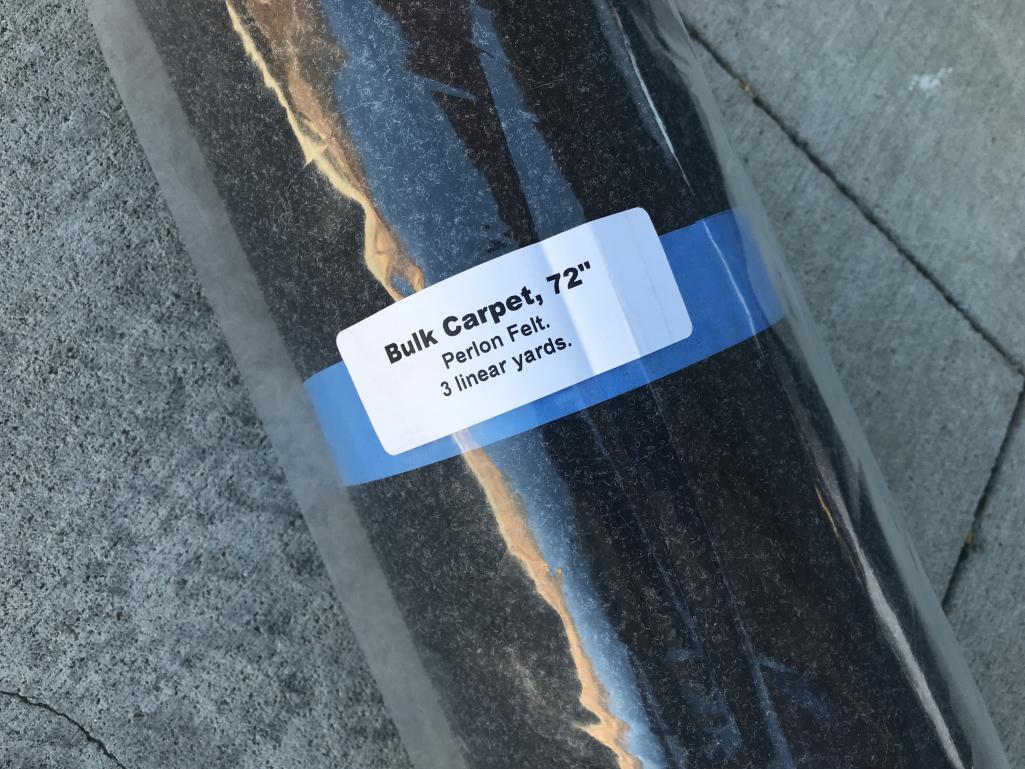
|
|
|
|
| bkrantz |
Nov 4 2021, 07:49 PM
Post
#4067
|
|
914 Guru Group: Members Posts: 8,530 Joined: 3-August 19 From: SW Colorado Member No.: 23,343 Region Association: Rocky Mountains |
Laying out frunk pieces. That's the original bulkhead cover and my new custom floor.
Attached thumbnail(s) 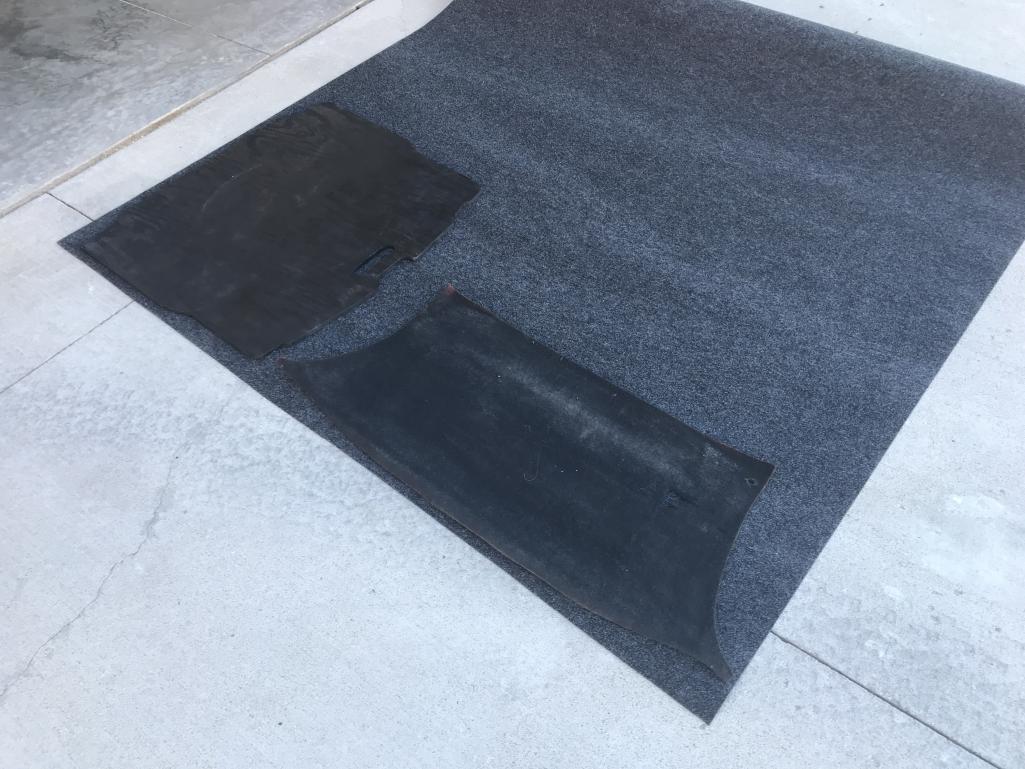
|
|
|
|
| bkrantz |
Nov 4 2021, 07:51 PM
Post
#4068
|
|
914 Guru Group: Members Posts: 8,530 Joined: 3-August 19 From: SW Colorado Member No.: 23,343 Region Association: Rocky Mountains |
Masking off the frunk bulkhead.
Attached thumbnail(s) 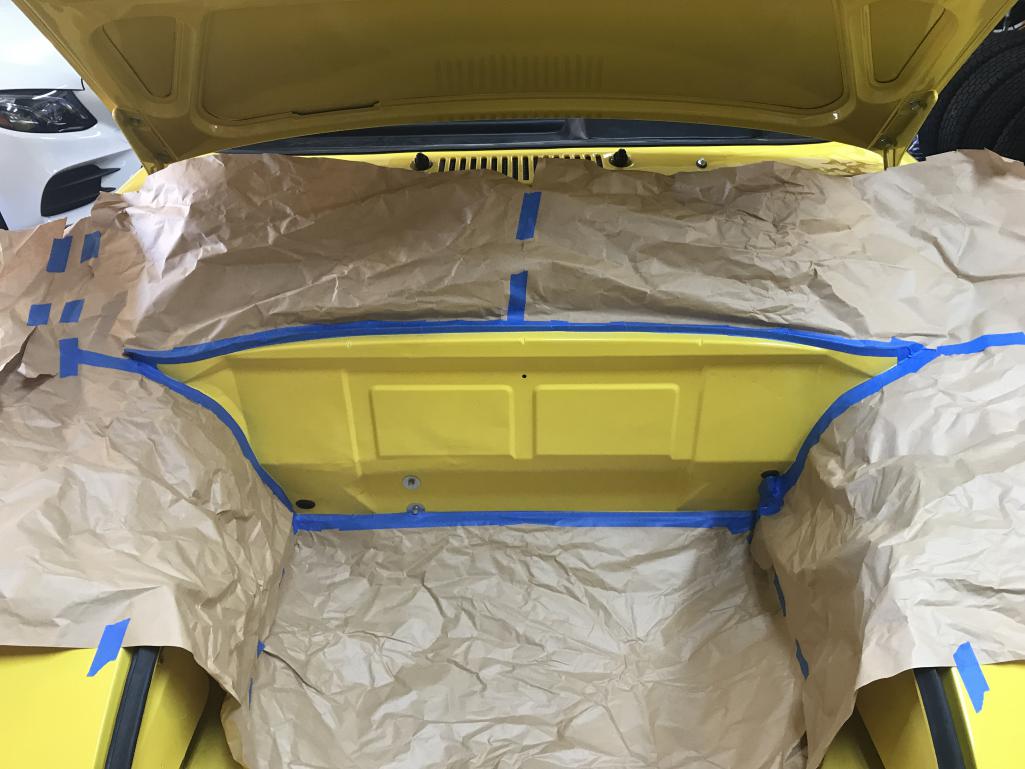
|
|
|
|
| bkrantz |
Nov 4 2021, 07:53 PM
Post
#4069
|
|
914 Guru Group: Members Posts: 8,530 Joined: 3-August 19 From: SW Colorado Member No.: 23,343 Region Association: Rocky Mountains |
Another job for Weldwood contact adhesive spray.
Attached thumbnail(s) 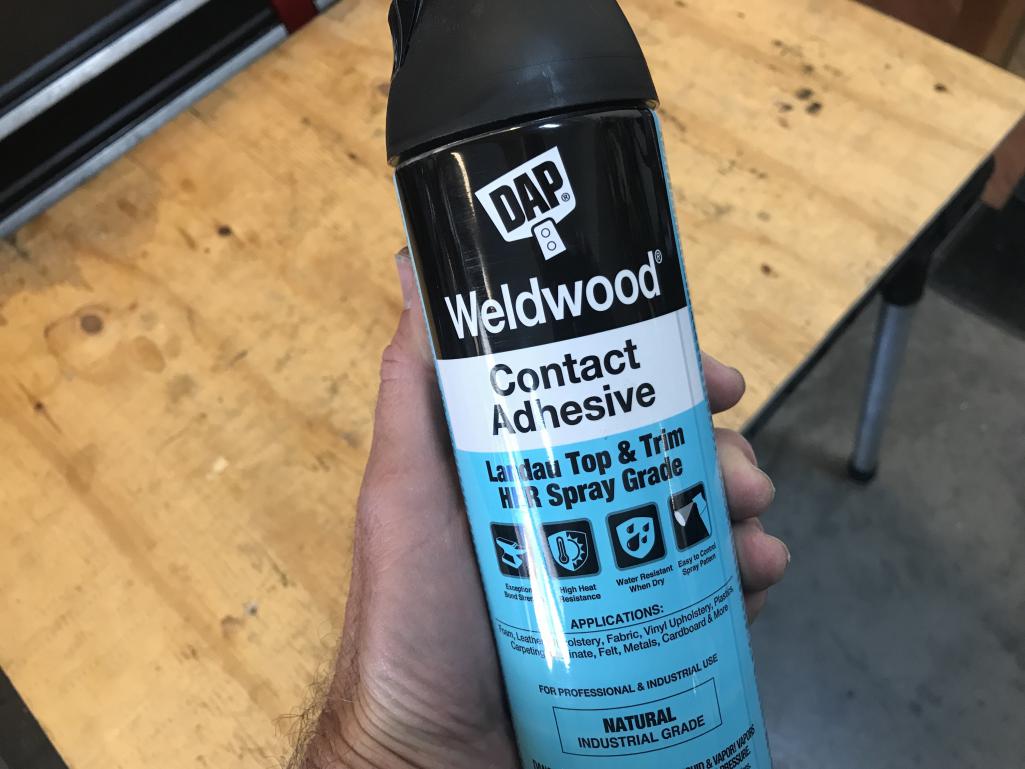
|
|
|
|
| bkrantz |
Nov 4 2021, 07:54 PM
Post
#4070
|
|
914 Guru Group: Members Posts: 8,530 Joined: 3-August 19 From: SW Colorado Member No.: 23,343 Region Association: Rocky Mountains |
It takes a double coat on the Perlon.
Attached thumbnail(s) 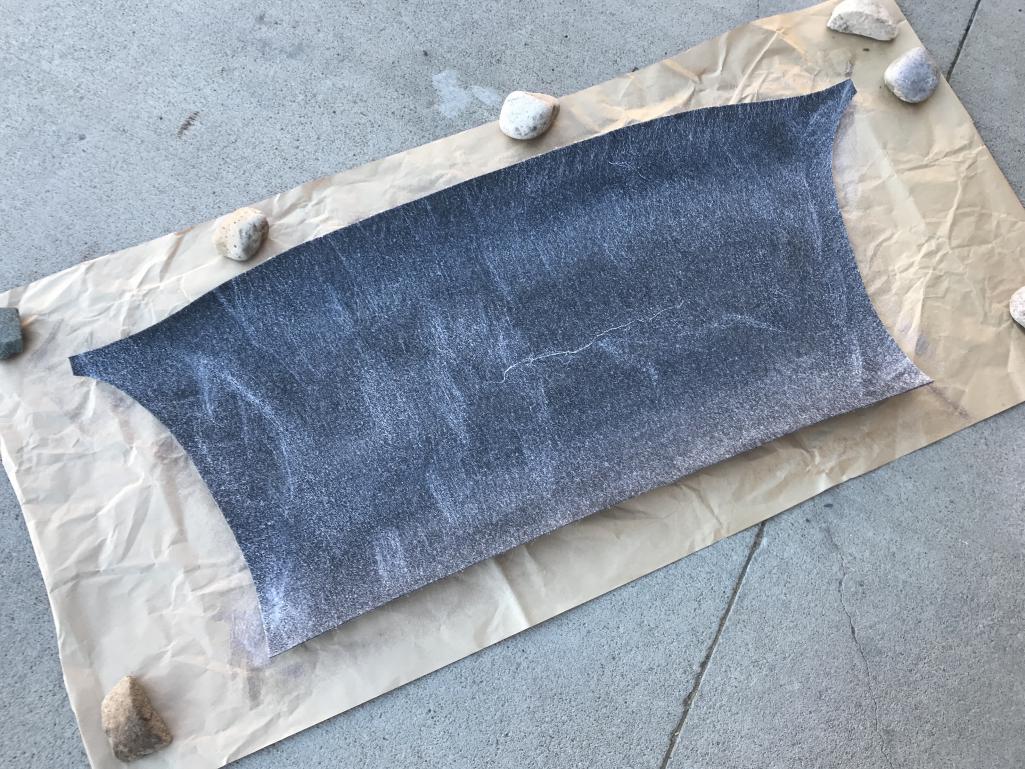
|
|
|
|
| bkrantz |
Nov 4 2021, 07:54 PM
Post
#4071
|
|
914 Guru Group: Members Posts: 8,530 Joined: 3-August 19 From: SW Colorado Member No.: 23,343 Region Association: Rocky Mountains |
Stuck on, and upper rubber gasket replaced.
Attached thumbnail(s) 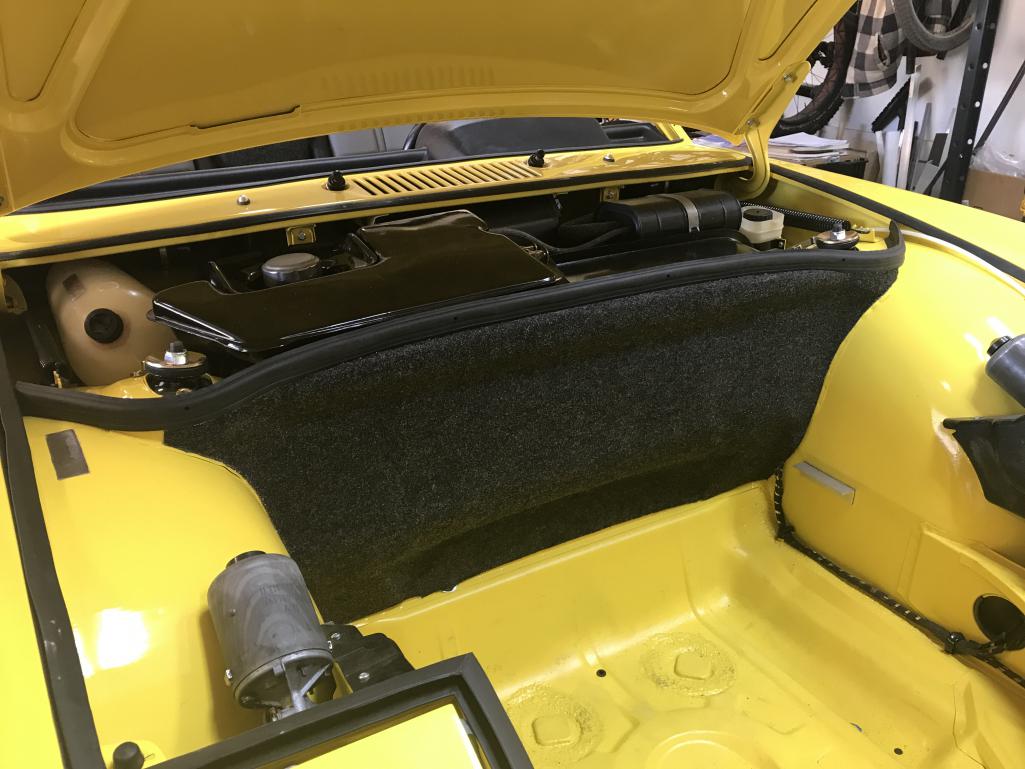
|
|
|
|
| bkrantz |
Nov 4 2021, 07:57 PM
Post
#4072
|
|
914 Guru Group: Members Posts: 8,530 Joined: 3-August 19 From: SW Colorado Member No.: 23,343 Region Association: Rocky Mountains |
Floor with the Perlon stuck on the top side (I hope). The floor is not symmetrical, due to notches for the wire bundle and the frunk release.
Attached thumbnail(s) 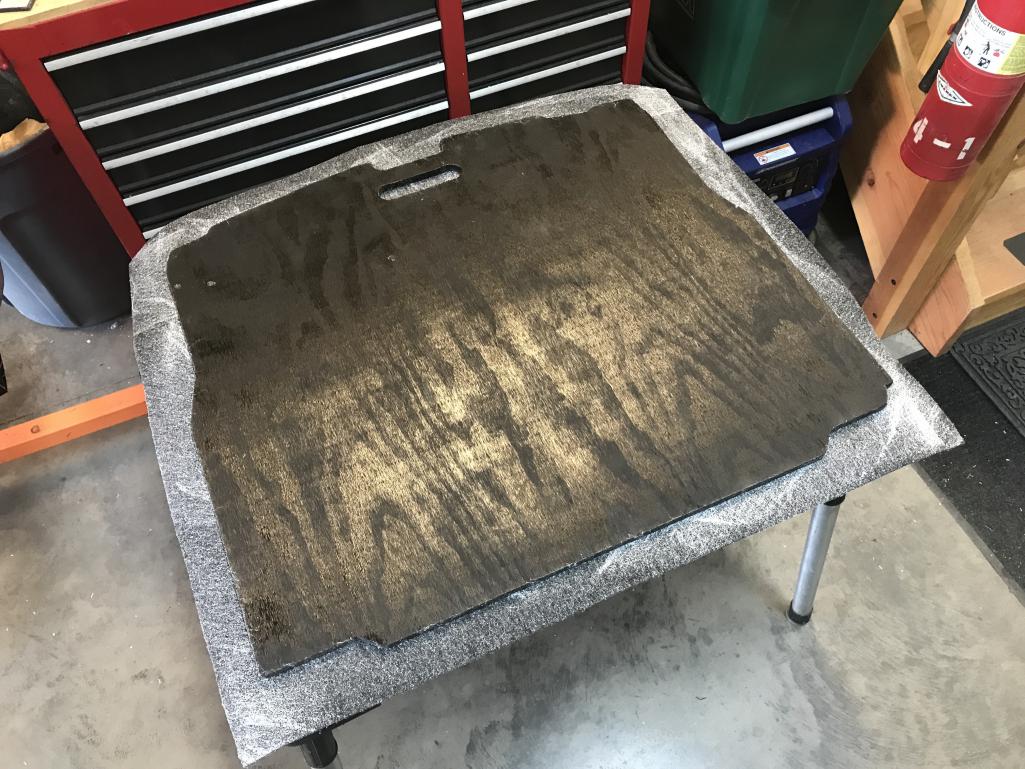
|
|
|
|
| bkrantz |
Nov 4 2021, 07:59 PM
Post
#4073
|
|
914 Guru Group: Members Posts: 8,530 Joined: 3-August 19 From: SW Colorado Member No.: 23,343 Region Association: Rocky Mountains |
I folded the Perlon over the edges, and glued onto the underside.
Attached thumbnail(s) 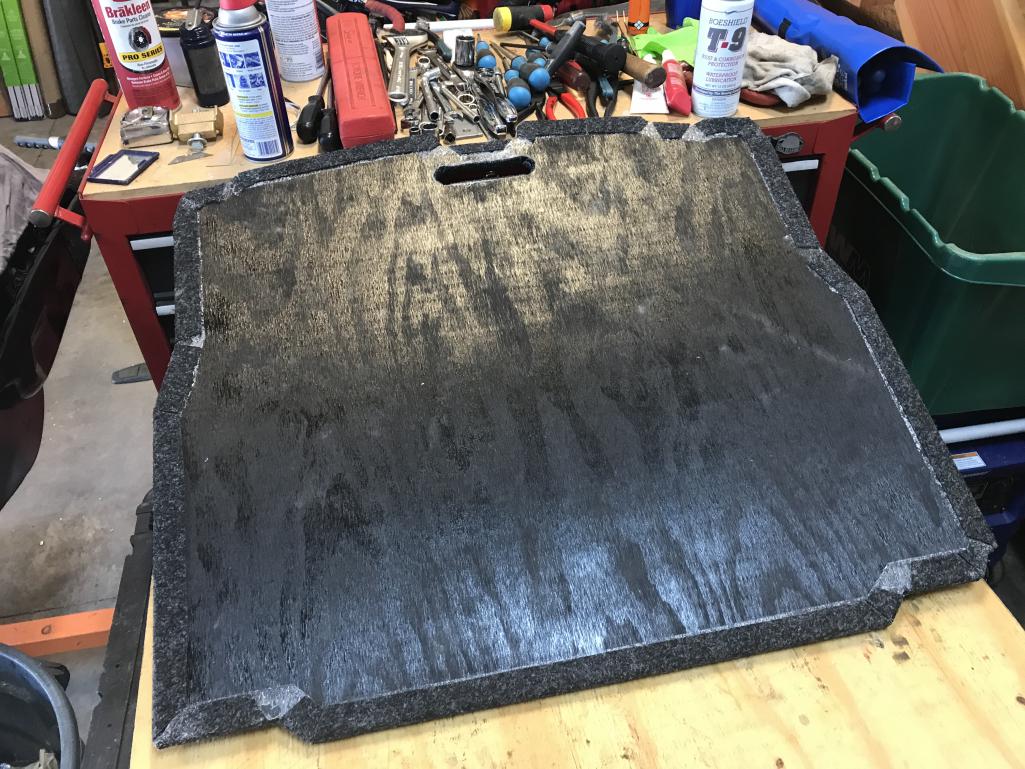
|
|
|
|
| bkrantz |
Nov 4 2021, 08:00 PM
Post
#4074
|
|
914 Guru Group: Members Posts: 8,530 Joined: 3-August 19 From: SW Colorado Member No.: 23,343 Region Association: Rocky Mountains |
It fits! And a snug fit, like I was hoping.
Attached thumbnail(s) 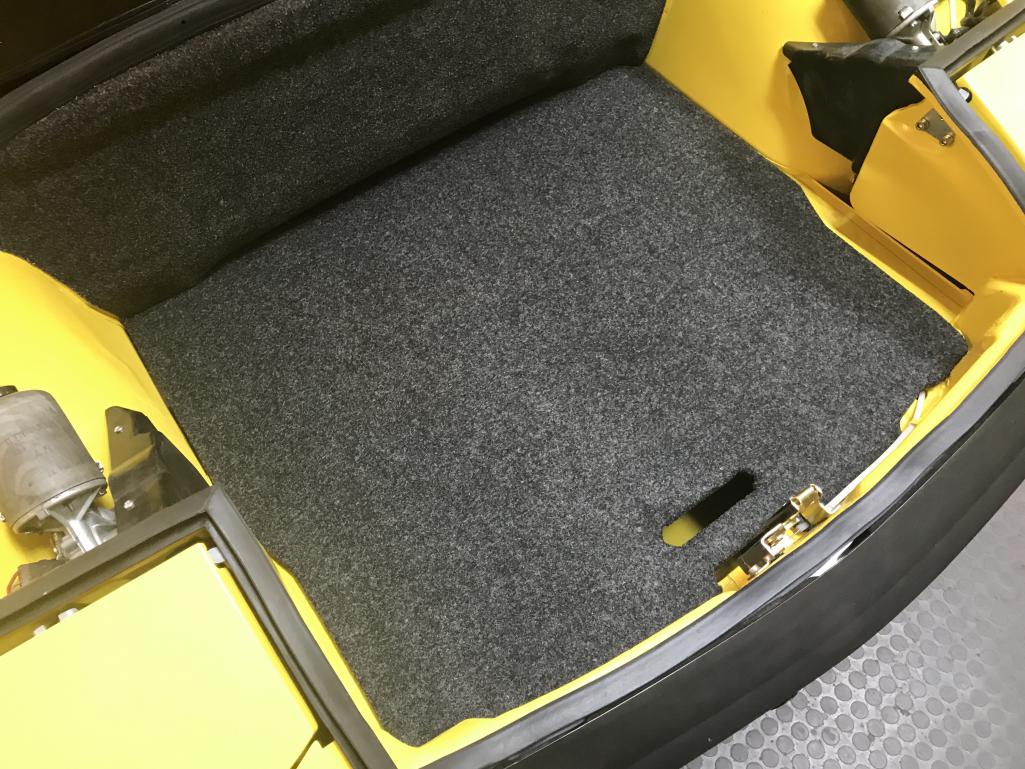
|
|
|
|
| bkrantz |
Nov 4 2021, 08:01 PM
Post
#4075
|
|
914 Guru Group: Members Posts: 8,530 Joined: 3-August 19 From: SW Colorado Member No.: 23,343 Region Association: Rocky Mountains |
Now the frunk is really done.
Attached thumbnail(s) 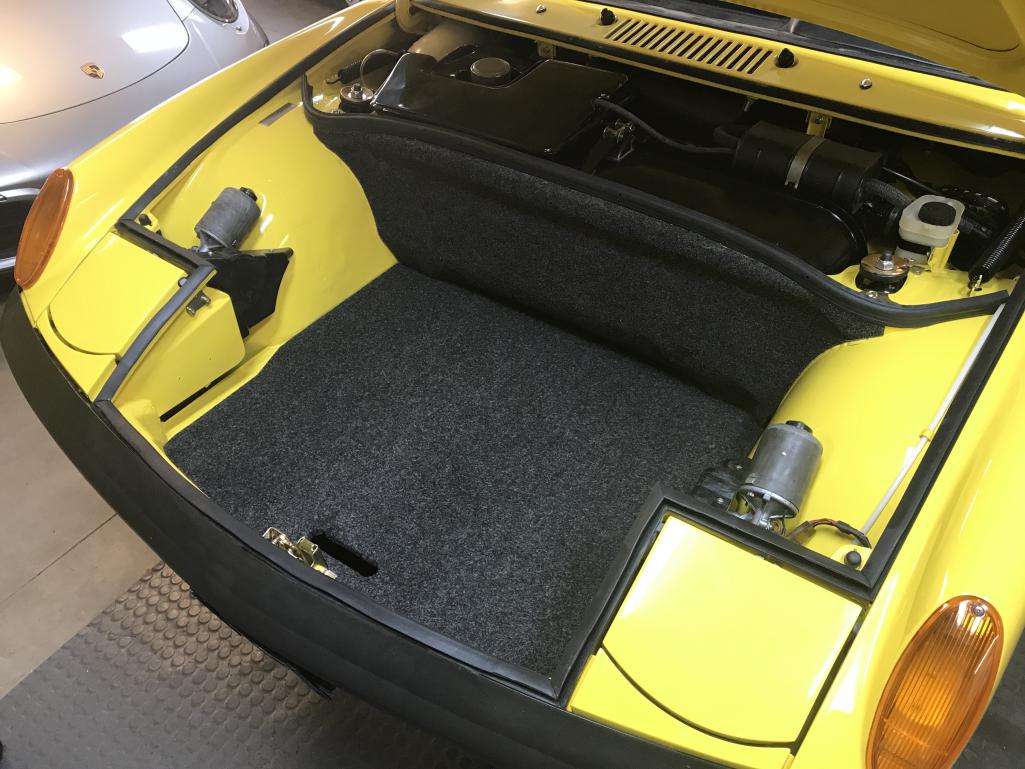
|
|
|
|
| Arno914 |
Nov 5 2021, 01:38 AM
Post
#4076
|
|
Member Group: Members Posts: 233 Joined: 13-May 20 From: near Frankfurt, Germany Member No.: 24,260 Region Association: Germany |
Awesome detail, awesome work! (IMG:style_emoticons/default/aktion035.gif) I really do enjoy to follow your built.
Just to be picky: The SILVER VIN PLATE is still missing in this beautiful front trunk. (IMG:style_emoticons/default/biggrin.gif) Arno |
|
|
|
| kroelofsen |
Nov 5 2021, 12:42 PM
Post
#4077
|
|
Member Group: Members Posts: 101 Joined: 27-June 19 From: The Netherlands Member No.: 23,255 Region Association: Europe |
Incredible work you are doing! Realy nice…
|
|
|
|
| bkrantz |
Nov 5 2021, 07:17 PM
Post
#4078
|
|
914 Guru Group: Members Posts: 8,530 Joined: 3-August 19 From: SW Colorado Member No.: 23,343 Region Association: Rocky Mountains |
QUOTE(Arno914 @ Nov 5 2021, 01:38 AM) Awesome detail, awesome work! (IMG:style_emoticons/default/aktion035.gif) I really do enjoy to follow your built. Just to be picky: The SILVER VIN PLATE is still missing in this beautiful front trunk. (IMG:style_emoticons/default/biggrin.gif) Arno Yeah, the original(?) headlight box did not have one, and I spliced in another with the front right corner from a donor--also lacking the plate. I might have to get a repro. |
|
|
|
| Puebloswatcop |
Nov 6 2021, 08:06 AM
Post
#4079
|
|
Senior Member Group: Members Posts: 1,680 Joined: 27-December 14 From: Mineola, Texas Member No.: 18,258 Region Association: Southwest Region |
As always your work looks awesome Bob. The frunk floor is a piece of art.
|
|
|
|
| bkrantz |
Nov 6 2021, 07:47 PM
Post
#4080
|
|
914 Guru Group: Members Posts: 8,530 Joined: 3-August 19 From: SW Colorado Member No.: 23,343 Region Association: Rocky Mountains |
Today, I started on the doors, beginning with the right side. First step was to rinse the inside, which still had some blasting media inside.
Attached thumbnail(s) 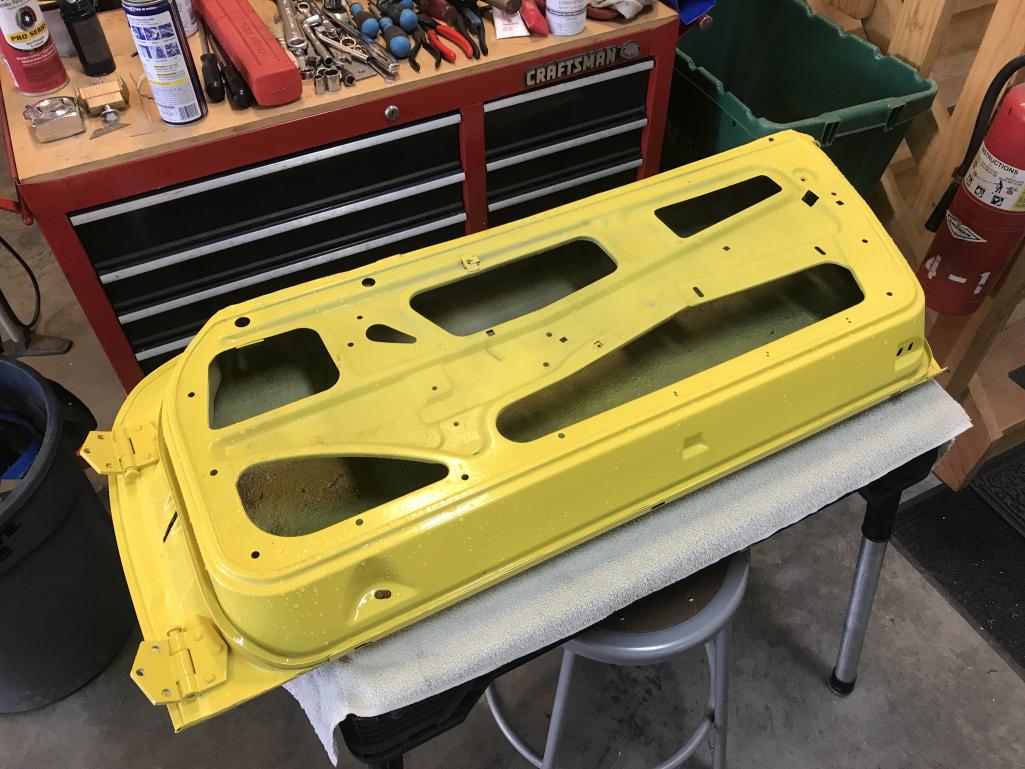
|
|
|
|
|
3 User(s) are reading this topic (3 Guests and 0 Anonymous Users)
0 Members:

|
Lo-Fi Version | Time is now: 17th November 2025 - 09:18 AM |
Invision Power Board
v9.1.4 © 2025 IPS, Inc.