|
|
|
Porsche, and the Porsche crest are registered trademarks of Dr. Ing. h.c. F. Porsche AG.
This site is not affiliated with Porsche in any way. Its only purpose is to provide an online forum for car enthusiasts. All other trademarks are property of their respective owners. |
|
|

  |

| bbrock |
 May 8 2020, 10:40 AM May 8 2020, 10:40 AM
Post
#621
|
|
914 Guru  Group: Members Posts: 5,269 Joined: 17-February 17 From: Montana Member No.: 20,845 Region Association: Rocky Mountains |
QUOTE(Kansas 914 @ May 8 2020, 08:32 AM)  I wonder if there is a chemical that would "eat" the foam and not damage the metal? Not fun to work with but toluene or xylene would probably do it. I'm no chemist but that stuff seems to like to eat foam in my limited experience. |
   |

 
|
| BeatNavy |
May 8 2020, 03:50 PM
Post
#622
|
|
Certified Professional Scapegoat Group: Members Posts: 2,956 Joined: 26-February 14 From: Easton, MD Member No.: 17,042 Region Association: MidAtlantic Region |
Is that the same foam used in the body above tail lights (and in sail panel)? I think @ClayPerrine recommends just spraying brake cleaner on it. He says that dissolves it pretty nicely. At least I think it was brake cleaner.
|
 |
|
| bkrantz |
May 8 2020, 08:55 PM
Post
#623
|
|
914 Guru Group: Members Posts: 8,558 Joined: 3-August 19 From: SW Colorado Member No.: 23,343 Region Association: Rocky Mountains |
Not sure. The foam in the trunk lid rib is yellow, very rigid, and somewhat porous. What I dug out of one rear fender is white, slightly flexible, and rubbery.
|
|
|
|
| bkrantz |
May 8 2020, 08:57 PM
Post
#624
|
|
914 Guru Group: Members Posts: 8,558 Joined: 3-August 19 From: SW Colorado Member No.: 23,343 Region Association: Rocky Mountains |
In any case, I made a foam scooping and pulling tool out of a piece of 1/4 inch steel rod. Stiff enough to work but bendable to change the angle of the "head" inside the rib.
Attached thumbnail(s) 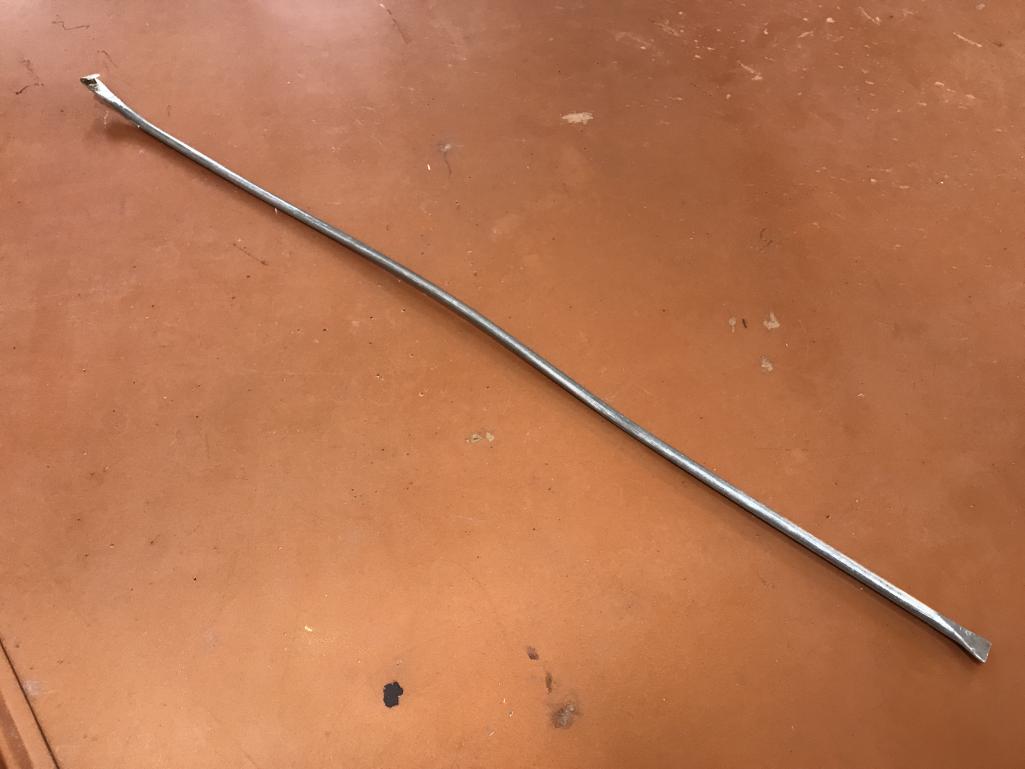
|
|
|
|
| bkrantz |
May 8 2020, 08:58 PM
Post
#625
|
|
914 Guru Group: Members Posts: 8,558 Joined: 3-August 19 From: SW Colorado Member No.: 23,343 Region Association: Rocky Mountains |
After a couple of hours:
Attached thumbnail(s) 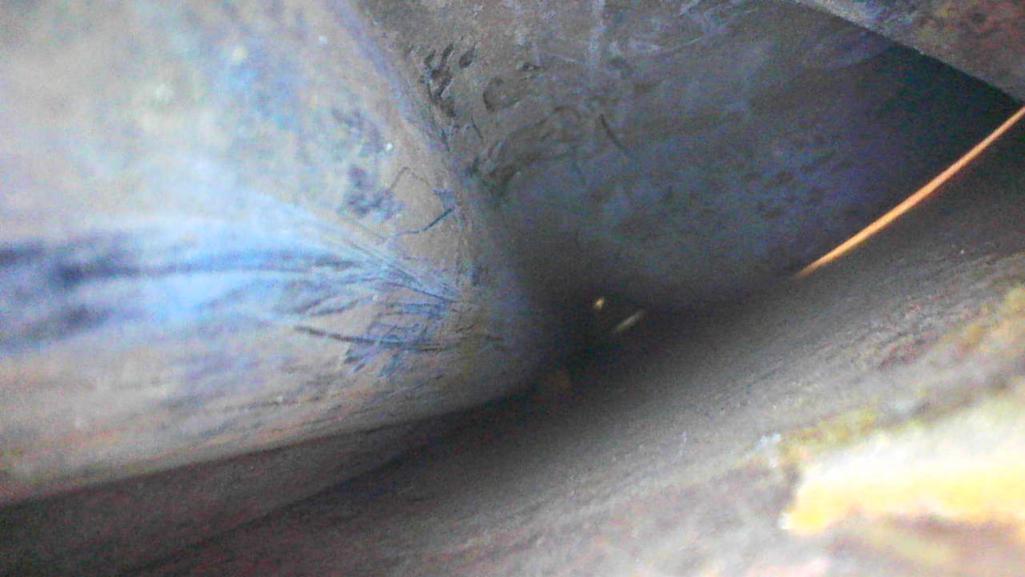
|
|
|
|
| bkrantz |
May 8 2020, 08:58 PM
Post
#626
|
|
914 Guru Group: Members Posts: 8,558 Joined: 3-August 19 From: SW Colorado Member No.: 23,343 Region Association: Rocky Mountains |
I got 99% of the foam. And the rust looks minimal.
Attached thumbnail(s) 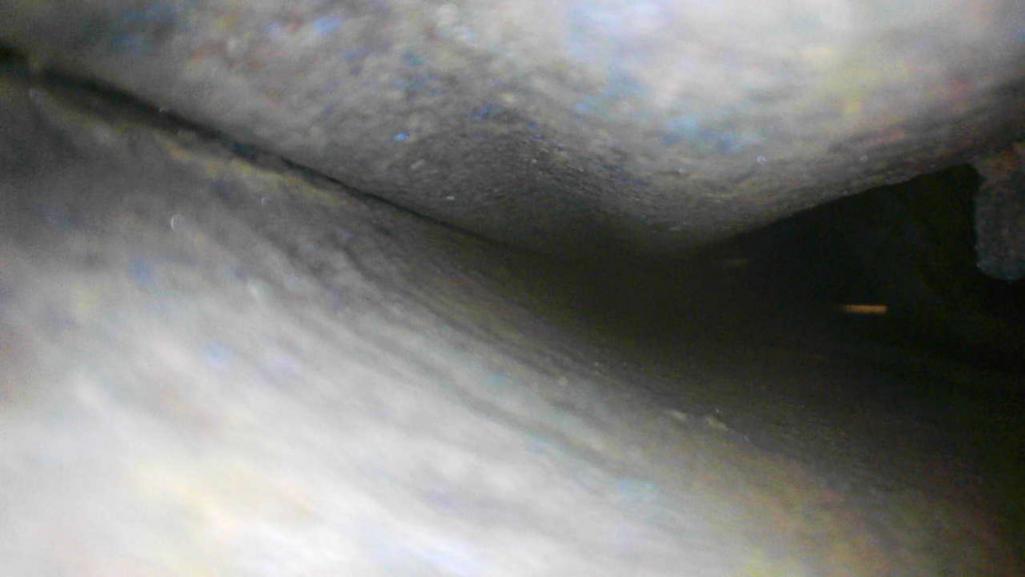
|
|
|
|
| gereed75 |
May 9 2020, 04:45 AM
Post
#627
|
|
Senior Member Group: Members Posts: 1,409 Joined: 19-March 13 From: Pittsburgh PA Member No.: 15,674 Region Association: North East States |
Some brake cleaners may work to dissolve foam, but there are various formulations.
Generally acetone is effective for dissolving most plastics and foams. It is readily available at big box stores. Never really tried it on Porsche foam. Also very rough on paint. Use carefully. |
|
|
|
| Dion |
May 9 2020, 06:24 AM
Post
#628
|
|
RN Group: Members Posts: 2,920 Joined: 16-September 04 From: Audubon,PA Member No.: 2,766 Region Association: MidAtlantic Region |
I don’t know how I missed this thread, maybe the title threw me off.
Just read it to here. FANTASTIC WORK. I’ll be following now. Awesome that your son is involved too. Look forward to more. Cheers |
|
|
|
| bkrantz |
May 9 2020, 08:11 PM
Post
#629
|
|
914 Guru Group: Members Posts: 8,558 Joined: 3-August 19 From: SW Colorado Member No.: 23,343 Region Association: Rocky Mountains |
Thanks, Dion. Doing the work, and the documentation, keeps me going.
|
|
|
|
| bkrantz |
May 9 2020, 08:12 PM
Post
#630
|
|
914 Guru Group: Members Posts: 8,558 Joined: 3-August 19 From: SW Colorado Member No.: 23,343 Region Association: Rocky Mountains |
Speaking of foam, has anyone replaced the foam in the trunk lid rib? With what?
|
|
|
|
| bkrantz |
May 9 2020, 08:13 PM
Post
#631
|
|
914 Guru Group: Members Posts: 8,558 Joined: 3-August 19 From: SW Colorado Member No.: 23,343 Region Association: Rocky Mountains |
More work on the trunk lid today. Here's the hole cleaned up.
Attached thumbnail(s) 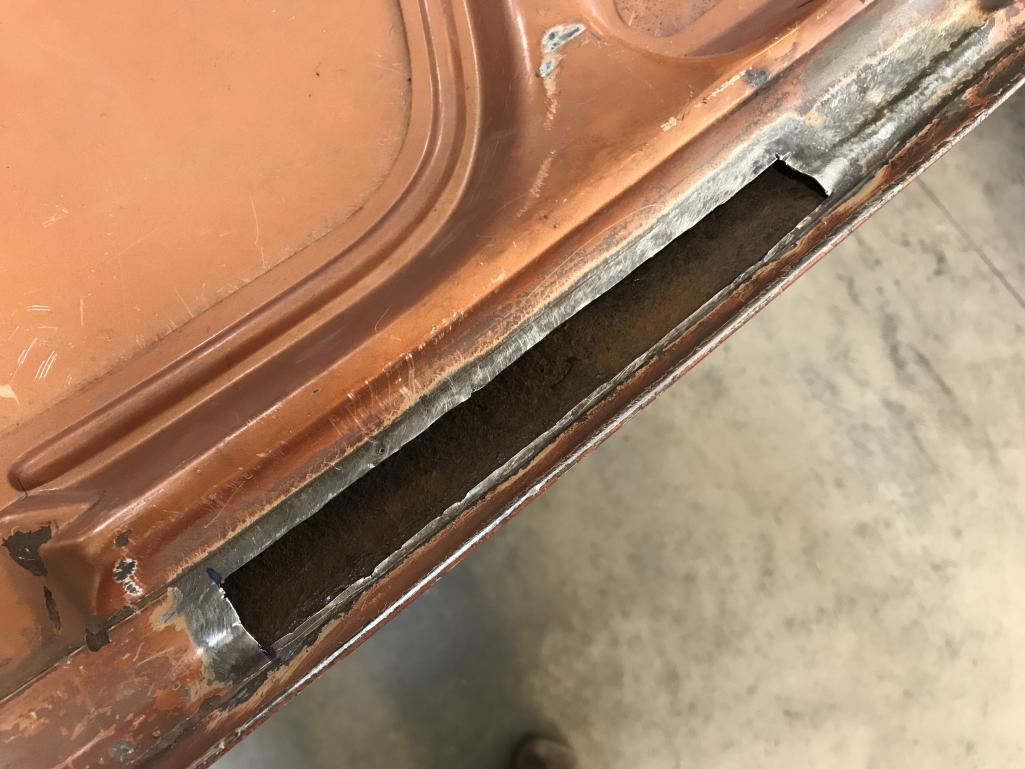
|
|
|
|
| bkrantz |
May 9 2020, 08:14 PM
Post
#632
|
|
914 Guru Group: Members Posts: 8,558 Joined: 3-August 19 From: SW Colorado Member No.: 23,343 Region Association: Rocky Mountains |
The patch requires a double curve, one sharper and one constant radius. I got pretty close.
Attached thumbnail(s) 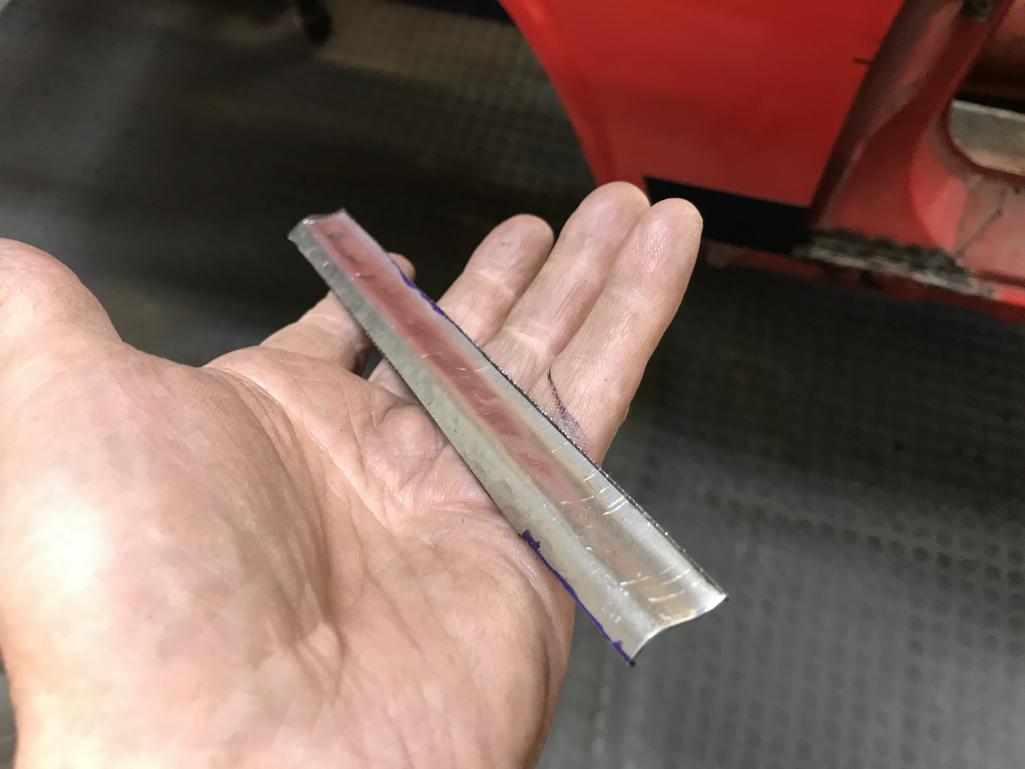
|
|
|
|
| bkrantz |
May 9 2020, 08:15 PM
Post
#633
|
|
914 Guru Group: Members Posts: 8,558 Joined: 3-August 19 From: SW Colorado Member No.: 23,343 Region Association: Rocky Mountains |
Fit in place.
Attached thumbnail(s) 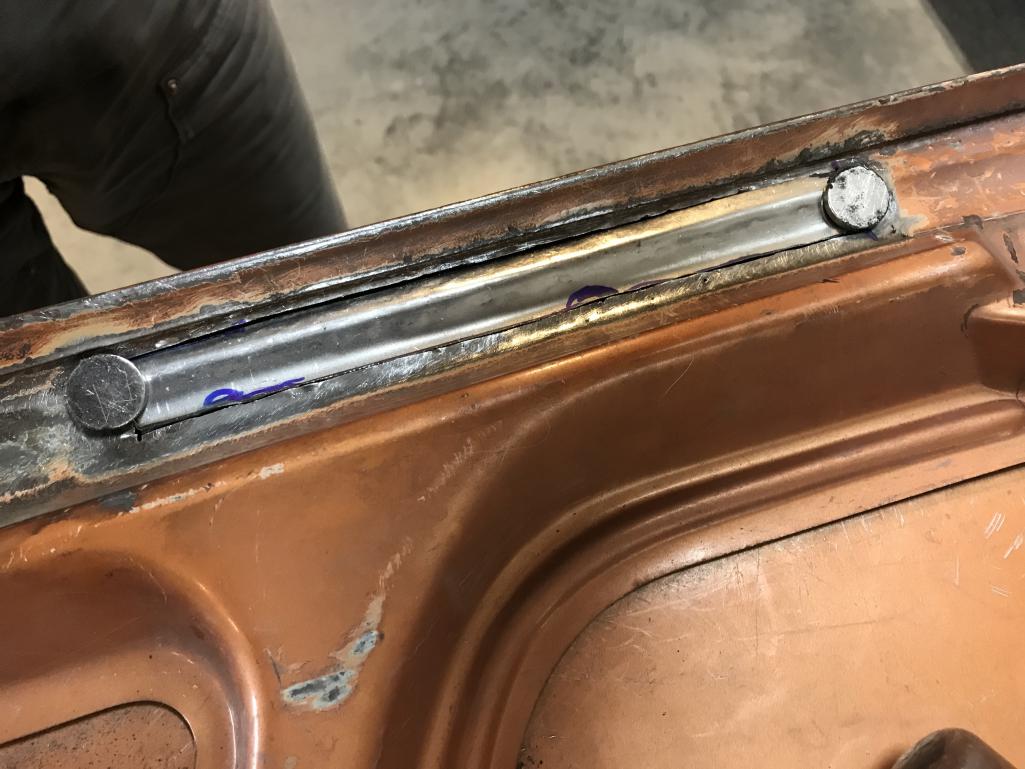
|
|
|
|
| bkrantz |
May 9 2020, 08:16 PM
Post
#634
|
|
914 Guru Group: Members Posts: 8,558 Joined: 3-August 19 From: SW Colorado Member No.: 23,343 Region Association: Rocky Mountains |
Tack-welded in place. The thin metal around the edge of the hole behaved better than expected.
Attached thumbnail(s) 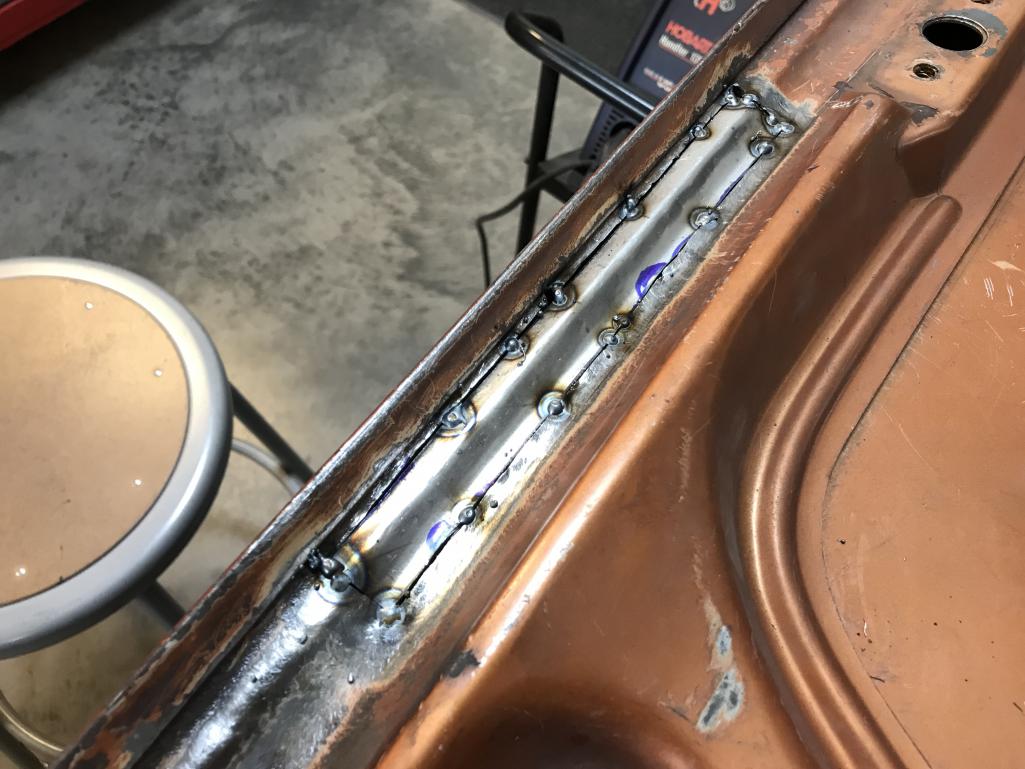
|
|
|
|
| bkrantz |
May 9 2020, 08:17 PM
Post
#635
|
|
914 Guru Group: Members Posts: 8,558 Joined: 3-August 19 From: SW Colorado Member No.: 23,343 Region Association: Rocky Mountains |
And all welded in place. Grinding tomorrow.
Attached thumbnail(s) 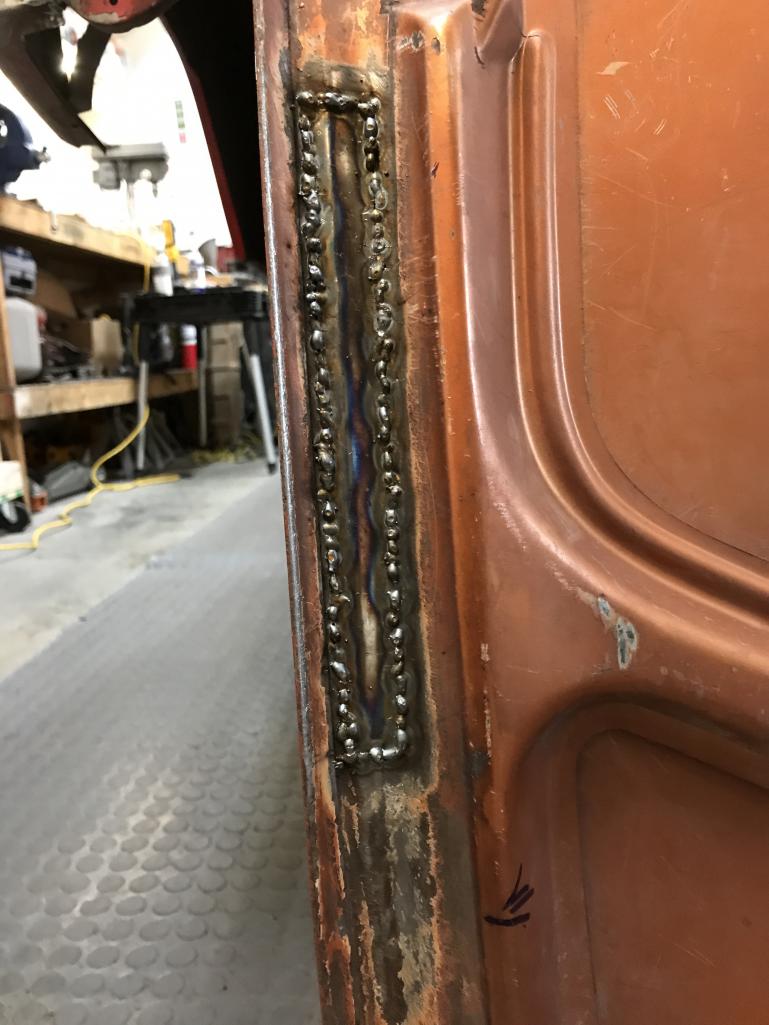
|
|
|
|
| bkrantz |
May 9 2020, 08:18 PM
Post
#636
|
|
914 Guru Group: Members Posts: 8,558 Joined: 3-August 19 From: SW Colorado Member No.: 23,343 Region Association: Rocky Mountains |
I also welded a small crack in the rib along the right side.
Attached thumbnail(s) 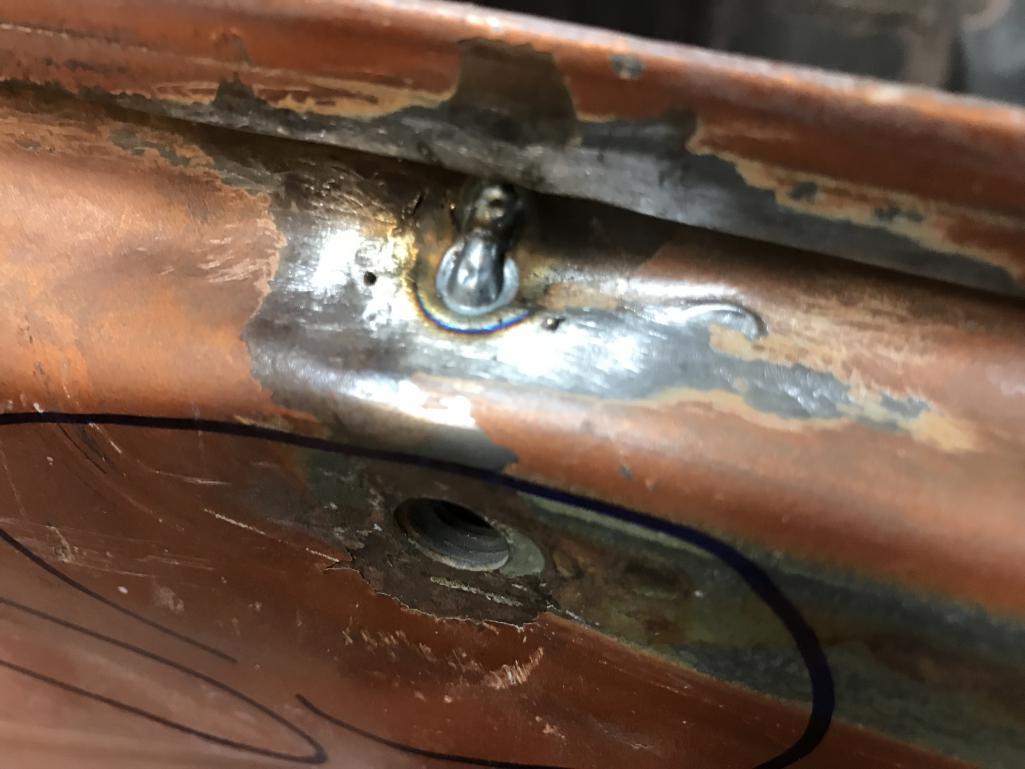
|
|
|
|
| bkrantz |
May 9 2020, 08:19 PM
Post
#637
|
|
914 Guru Group: Members Posts: 8,558 Joined: 3-August 19 From: SW Colorado Member No.: 23,343 Region Association: Rocky Mountains |
And I welded two holes in the middle of the trunk lid skin, probably from a luggage rack. I guess that was a thing at some time.
Attached thumbnail(s) 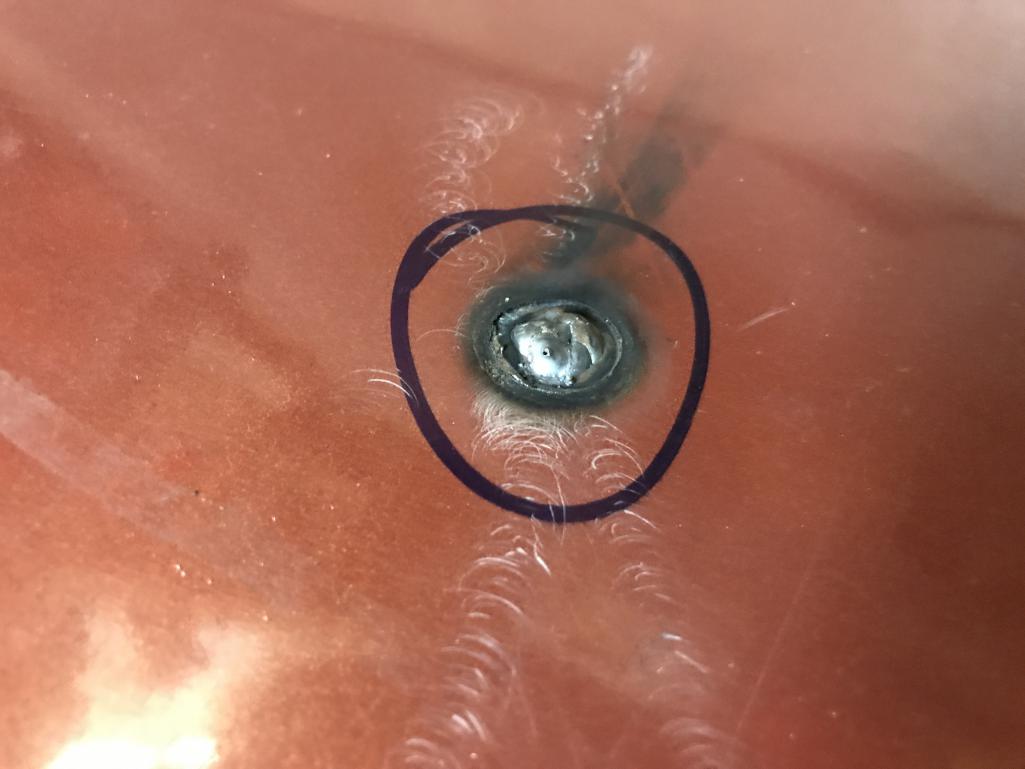
|
|
|
|
| bkrantz |
May 10 2020, 08:11 PM
Post
#638
|
|
914 Guru Group: Members Posts: 8,558 Joined: 3-August 19 From: SW Colorado Member No.: 23,343 Region Association: Rocky Mountains |
Got back to work on the trunk lid today. Grinding down the luggage rack holes I filled:
Attached thumbnail(s) 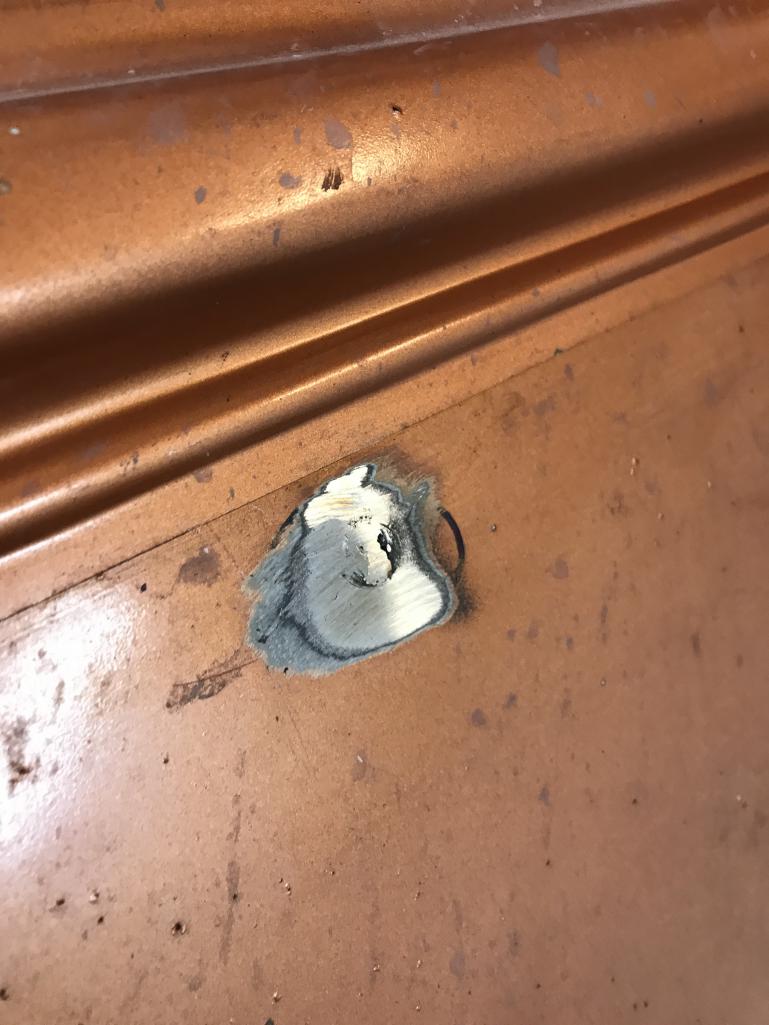
|
|
|
|
| bkrantz |
May 10 2020, 08:12 PM
Post
#639
|
|
914 Guru Group: Members Posts: 8,558 Joined: 3-August 19 From: SW Colorado Member No.: 23,343 Region Association: Rocky Mountains |
Grinding down the crack welding in the right side rib:
Attached thumbnail(s) 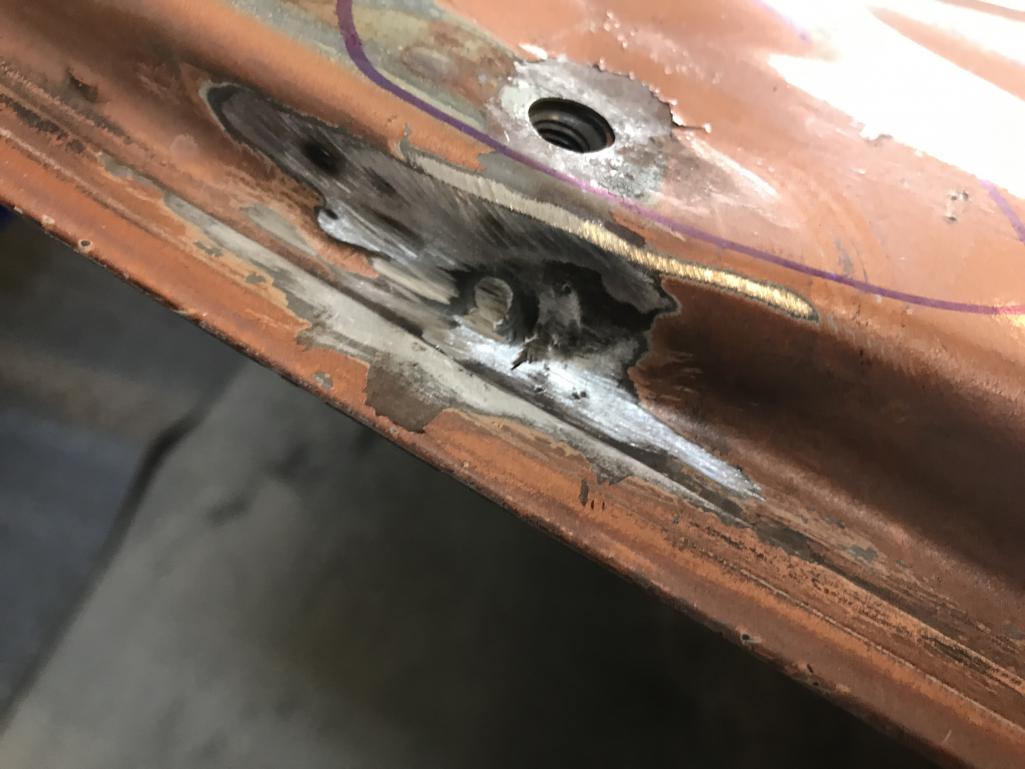
|
|
|
|
| bkrantz |
May 10 2020, 08:13 PM
Post
#640
|
|
914 Guru Group: Members Posts: 8,558 Joined: 3-August 19 From: SW Colorado Member No.: 23,343 Region Association: Rocky Mountains |
And grinding down the welding around the patch. I am pretty happy with this one.
Attached thumbnail(s) 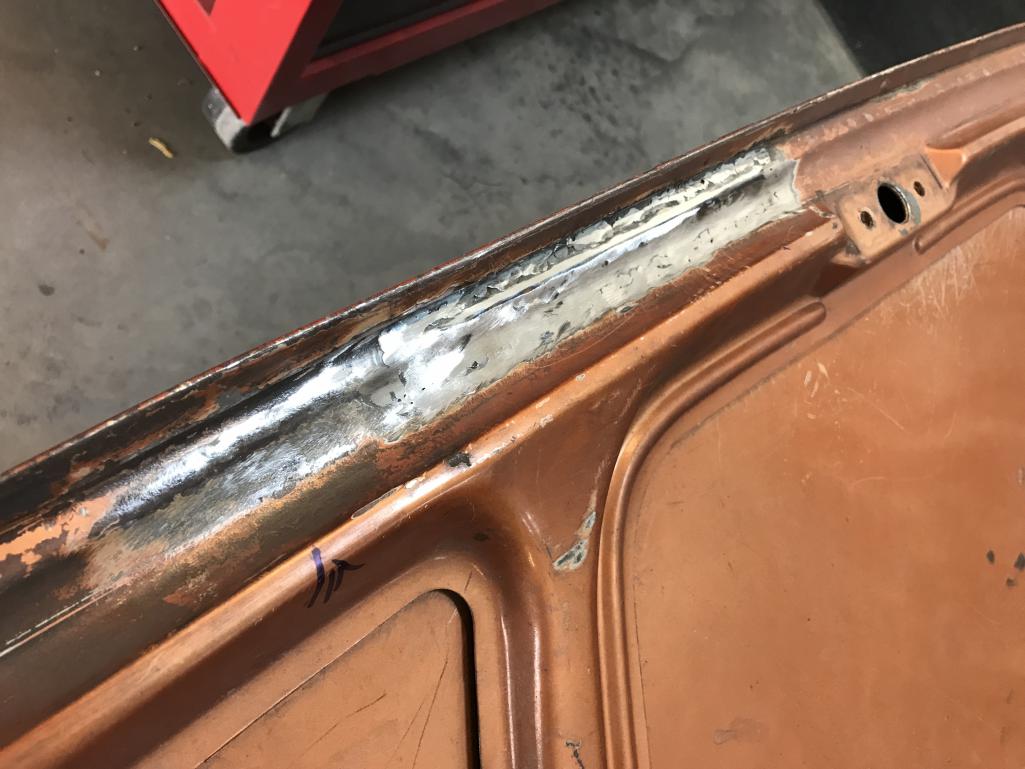
|
|
|
|
|
6 User(s) are reading this topic (6 Guests and 0 Anonymous Users)
0 Members:

|
Lo-Fi Version | Time is now: 20th December 2025 - 07:34 PM |
Invision Power Board
v9.1.4 © 2025 IPS, Inc.