|
|
|
Porsche, and the Porsche crest are registered trademarks of Dr. Ing. h.c. F. Porsche AG.
This site is not affiliated with Porsche in any way. Its only purpose is to provide an online forum for car enthusiasts. All other trademarks are property of their respective owners. |
|
|

  |

| Cairo94507 |
 Jun 19 2020, 02:00 PM Jun 19 2020, 02:00 PM
Post
#61
|
|
Michael  Group: Members Posts: 9,719 Joined: 1-November 08 From: Auburn, CA Member No.: 9,712 Region Association: Northern California |
The underside looks nice. I think a lot of people use the bed-liner type spray on the underneath. It's tough and provides a nice sound insulating benefit too. (IMG:style_emoticons/default/beerchug.gif)
|
   |

 
|
| 9146C |
Jun 19 2020, 04:29 PM
Post
#62
|
|
Member Group: Members Posts: 228 Joined: 14-September 19 From: US Member No.: 23,460 Region Association: None |
QUOTE(Cairo94507 @ Jun 19 2020, 03:00 PM)  The underside looks nice. I think a lot of people use the bed-liner type spray on the underneath. It's tough and provides a nice sound insulating benefit too. (IMG:style_emoticons/default/beerchug.gif) Thank you for the feedback! I'm really pleased with how the Upol coating turned out...and how relatively easy it was to apply. As mentioned, some may not like it, but, I think it looks great and it should be very durable for the bottom side. Thanks again! |
|
|
|
| bbrock |
Jun 21 2020, 09:12 AM
Post
#63
|
|
914 Guru Group: Members Posts: 5,269 Joined: 17-February 17 From: Montana Member No.: 20,845 Region Association: Rocky Mountains |
QUOTE(9146C @ Jun 12 2020, 12:38 PM) I think the bottom side is finally done! (I suspect some folks won't necessarily approve of my choice of bottom coating...) Media blasted the entire bottom side, sealed all the seams with SEM Seam Sealer, epoxy primed the underside, then finished sprayed with UPOL Raptor Bedliner...I'm happy how it turned out...I was never a fan of colored wheel wells, although if one were inclined, I'm sure you could paint directly over the textured bedliner for a close to factory "ripple" look. Finally on to the top side finish bodywork/filling. It's been a long six months! Great work! A lot of us use UPOL Raptor as undercoating. I had mine tinted to match the body color but a lot of cars left the dealer with black undercoating so IMHO, either works. I love the Raptor in this application. |
|
|
|
| 9146C |
Jun 25 2020, 12:21 PM
Post
#64
|
|
Member Group: Members Posts: 228 Joined: 14-September 19 From: US Member No.: 23,460 Region Association: None |
@bbrock : Great work! A lot of us use UPOL Raptor as undercoating. I had mine tinted to match the body color but a lot of cars left the dealer with black undercoating so IMHO, either works. I love the Raptor in this application.
[/quote] Great point on the "tintability" of the UPOL Raptor Liner! Thank you! Starting now with the surface filling. Mounted the doors temporarily...really, really happy how the door gaps turned out...that was always on my mind following the longitudinal repair, as well as the height of the replacement sail panels at the door handle. Starting to come together. Attached thumbnail(s) 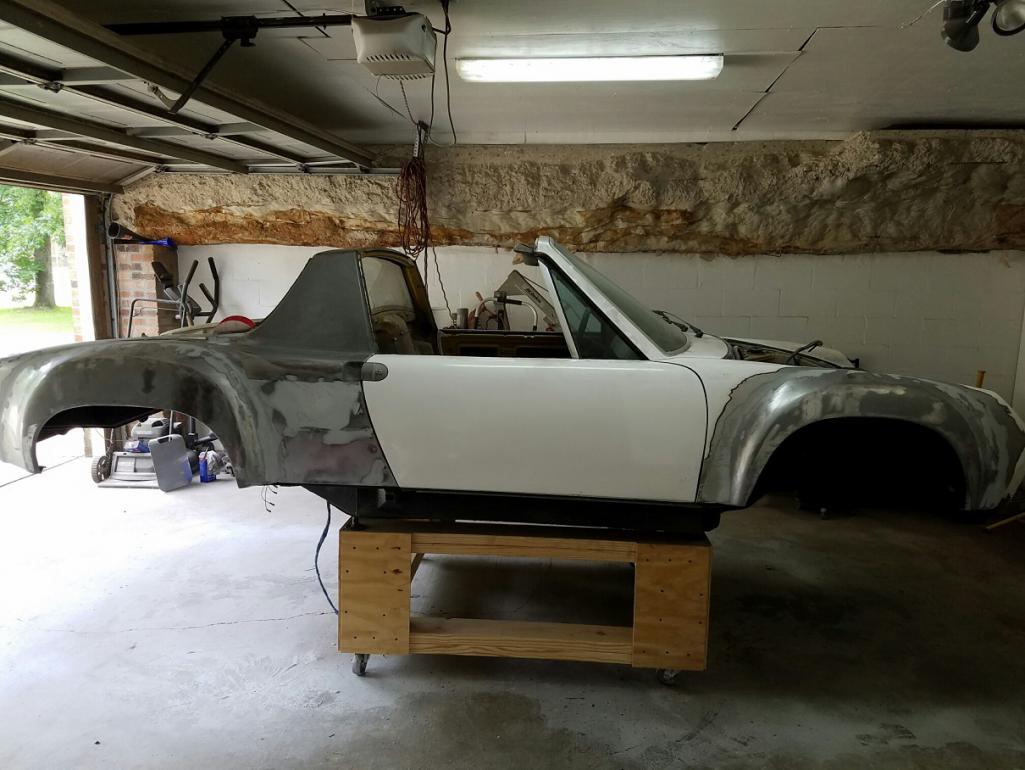 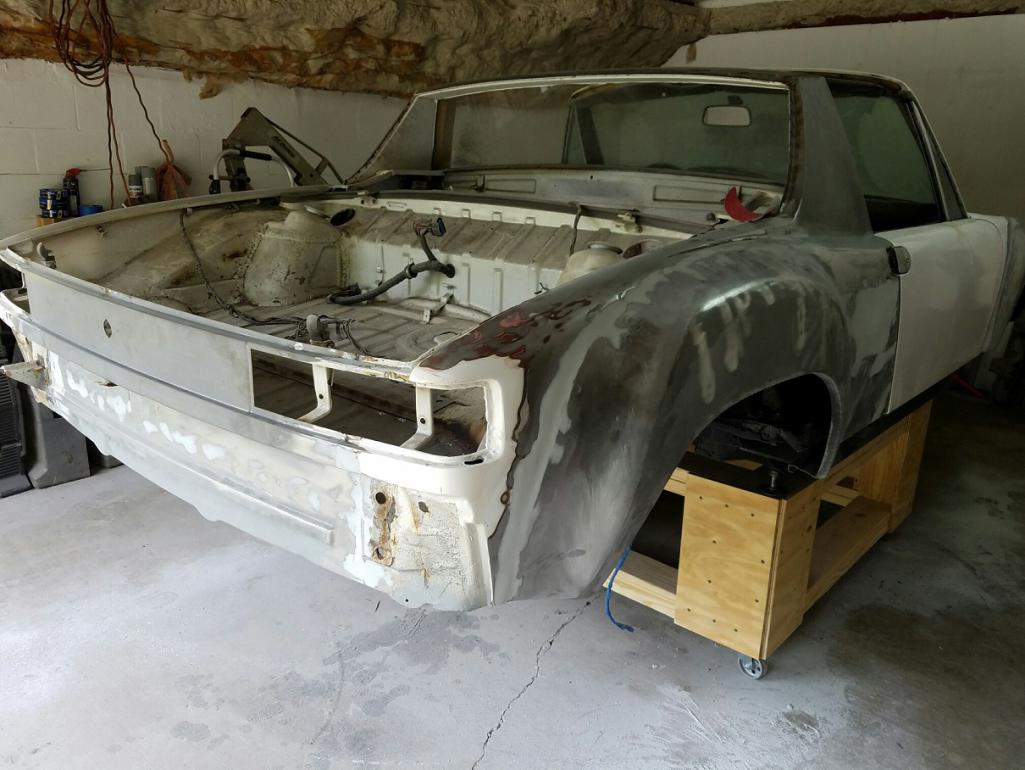 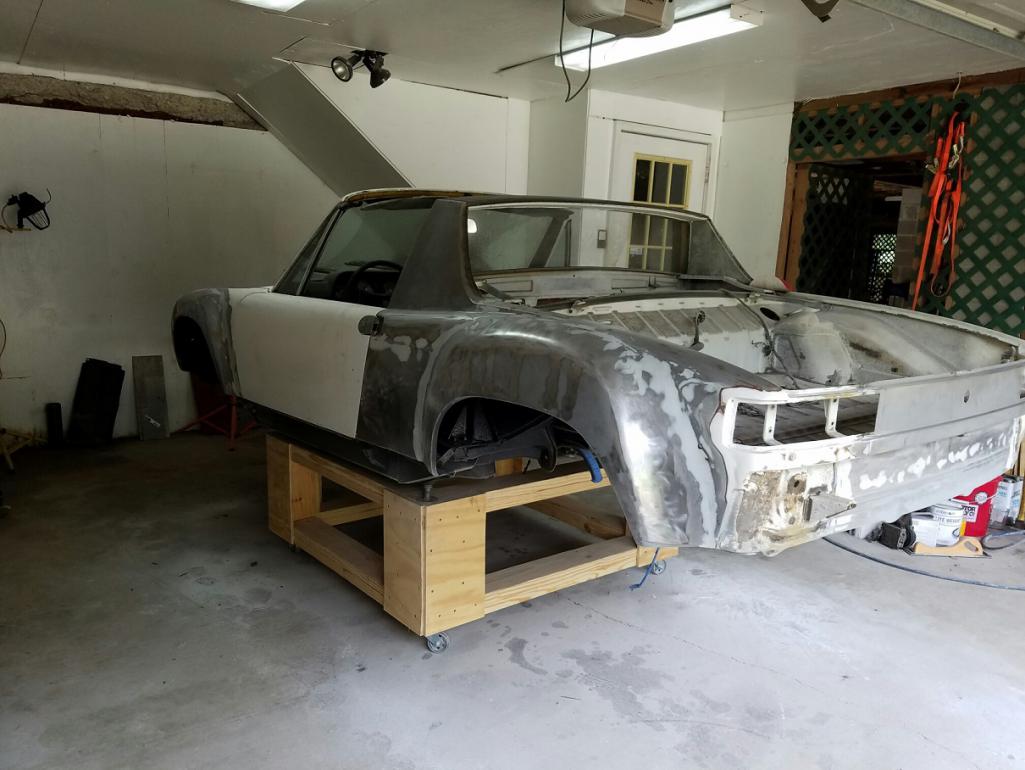
|
|
|
|
| 9146C |
Jul 23 2020, 03:49 PM
Post
#65
|
|
Member Group: Members Posts: 228 Joined: 14-September 19 From: US Member No.: 23,460 Region Association: None |
Fill, sand, prime, repeat...
Sometimes it seems never ending! I finally started using a half sheet of sandpaper wrapped around a 2" PVC pipe to get the contour of the fender flares...looking a whole lot better without the look of cottage cheese! The dark primer has been my guide coat to check for smoothness...sanded off after every new application. The "oil canning" on the flares was a little disappointing, but, that's working itself out too. Hoping to get everything sanded down by next week to apply an initial coat of polyester primer. Attached thumbnail(s) 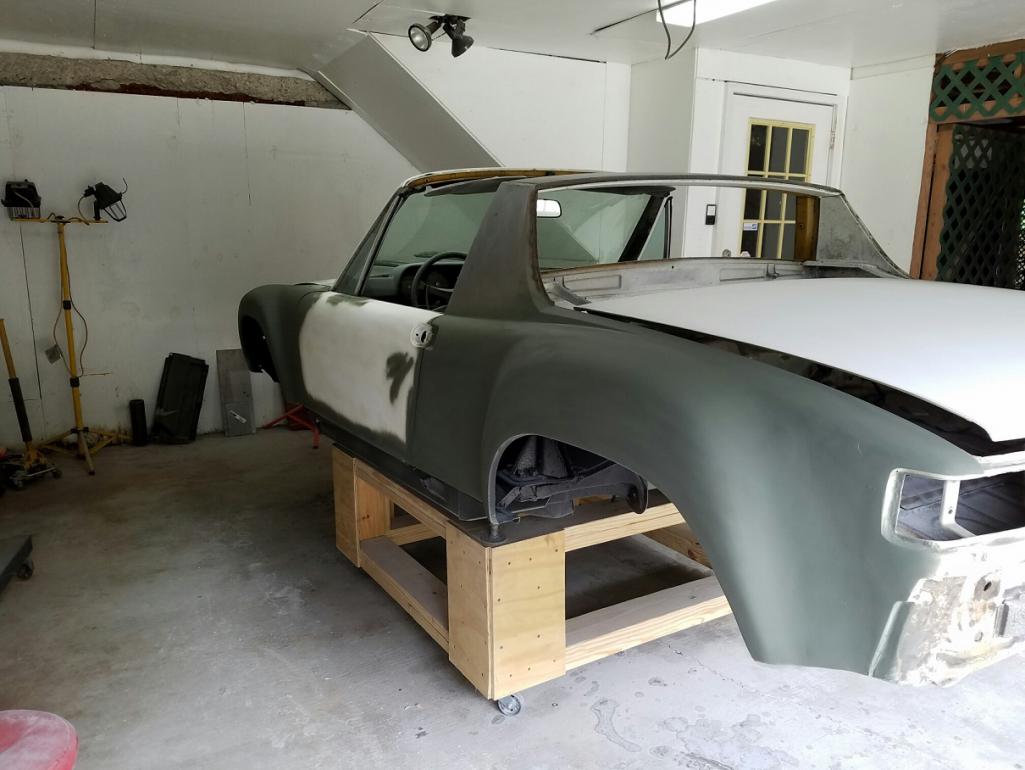 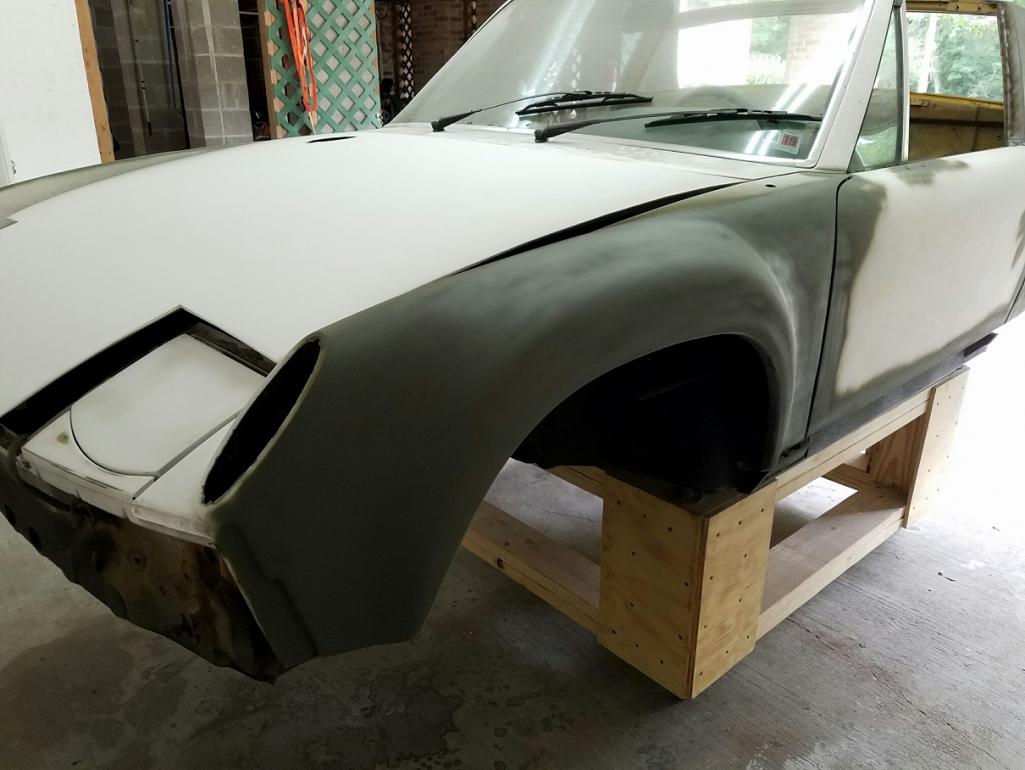 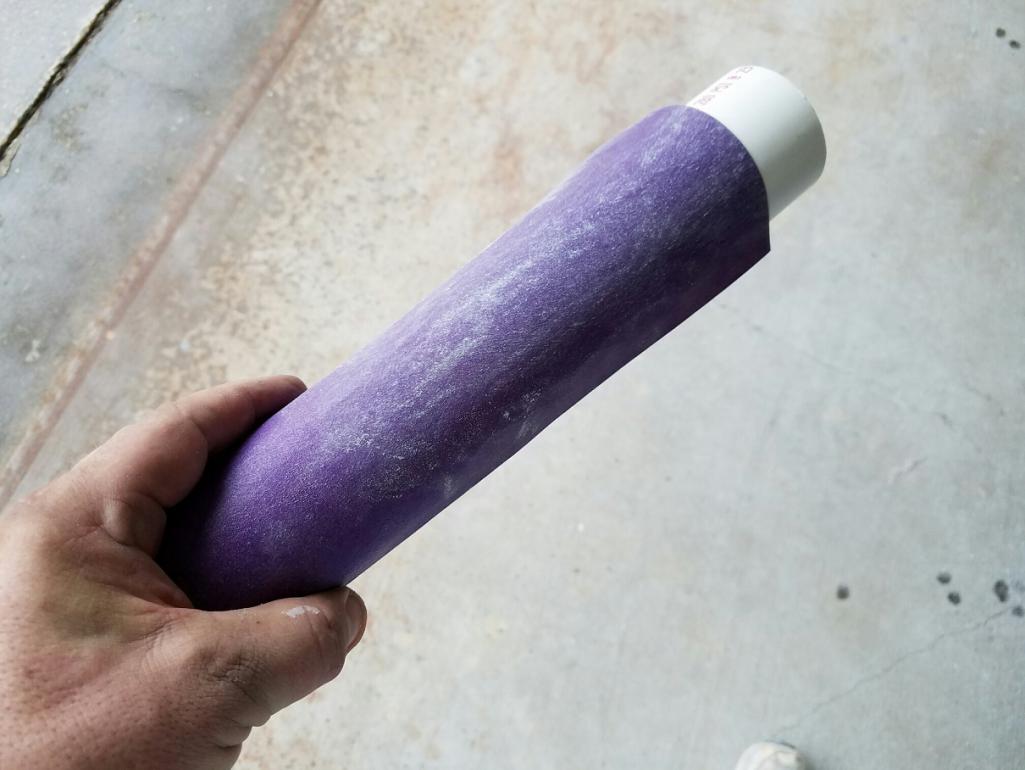 
|
|
|
|
| Cairo94507 |
Jul 23 2020, 04:38 PM
Post
#66
|
|
Michael Group: Members Posts: 9,719 Joined: 1-November 08 From: Auburn, CA Member No.: 9,712 Region Association: Northern California |
How are you addressing the oil canning? You definitely do not want to have that problem when you put color on. Torch, hammer, dolly and a compressed air line should take care to it. (IMG:style_emoticons/default/beerchug.gif)
|
|
|
|
| porschetub |
Jul 23 2020, 08:17 PM
Post
#67
|
|
Advanced Member Group: Members Posts: 4,697 Joined: 25-July 15 From: New Zealand Member No.: 18,995 Region Association: None |
QUOTE(Cairo94507 @ Jul 24 2020, 10:38 AM) How are you addressing the oil canning? You definitely do not want to have that problem when you put color on. Torch, hammer, dolly and a compressed air line should take care to it. (IMG:style_emoticons/default/beerchug.gif) Depends how bad really and perhaps too late ,the way the OP is working he should get it right and certainly has the skills,if the car is repainted in white its less of an issue also. Well done (IMG:style_emoticons/default/smilie_pokal.gif) . |
|
|
|
| Dion |
Jul 24 2020, 05:16 AM
Post
#68
|
|
RN Group: Members Posts: 2,762 Joined: 16-September 04 From: Audubon,PA Member No.: 2,766 Region Association: MidAtlantic Region |
Another thread I’ve somehow not seen before.
That’s some very nice work. Look forward to seeing and learning more. Cheers, Dion |
|
|
|
| rgalla9146 |
Jul 24 2020, 06:18 AM
Post
#69
|
|
Advanced Member Group: Members Posts: 4,545 Joined: 23-November 05 From: Paramus NJ Member No.: 5,176 Region Association: None |
At you skill level I'm sure you'll resolve the oil can issue.
Can I suggest a method to shape the flare flanges ? There are pictures and a description in my build thread 'GT project' big day attached is a pic of the idea. White GT ? Great color ! Attached thumbnail(s) 
|
|
|
|
| 9146C |
Jul 24 2020, 07:50 AM
Post
#70
|
|
Member Group: Members Posts: 228 Joined: 14-September 19 From: US Member No.: 23,460 Region Association: None |
Thanks for the feedback everyone!
The "oil canning" I experienced was primarily on the top side of the rear flares with several indentations as delivered. The front flares were much better with only 1 or 2 imperfections. If I had access to an English Wheel, it may have been easier to smooth out the rears before installation. After welding the fenders on, I did heat/hammer out the worst of the indentations. I'm actually using the Evercoat 156 body filler...very easy to work with. Surprisingly, the foot long 2" PVC pipe (using a rotating hand movement) really helped to smooth out the transition of the body/flares. I'm really happy with the location/blend of the front and rear flares based on the numerous photos I studied prior to installing these. @rgalla9146 : Certainly enjoyed viewing your thread! Thanks! (More motivation for me!) Next week, I'll be sending my transmission up to Dr Evil to have my Wavetrac LSD installed and have an inspection performed on the internals...excited for this work to be completed as my project progresses. |
|
|
|
| 9146C |
Jul 31 2020, 02:26 PM
Post
#71
|
|
Member Group: Members Posts: 228 Joined: 14-September 19 From: US Member No.: 23,460 Region Association: None |
Getting closer...maybe 3-4 small areas to complete...
Attached thumbnail(s) 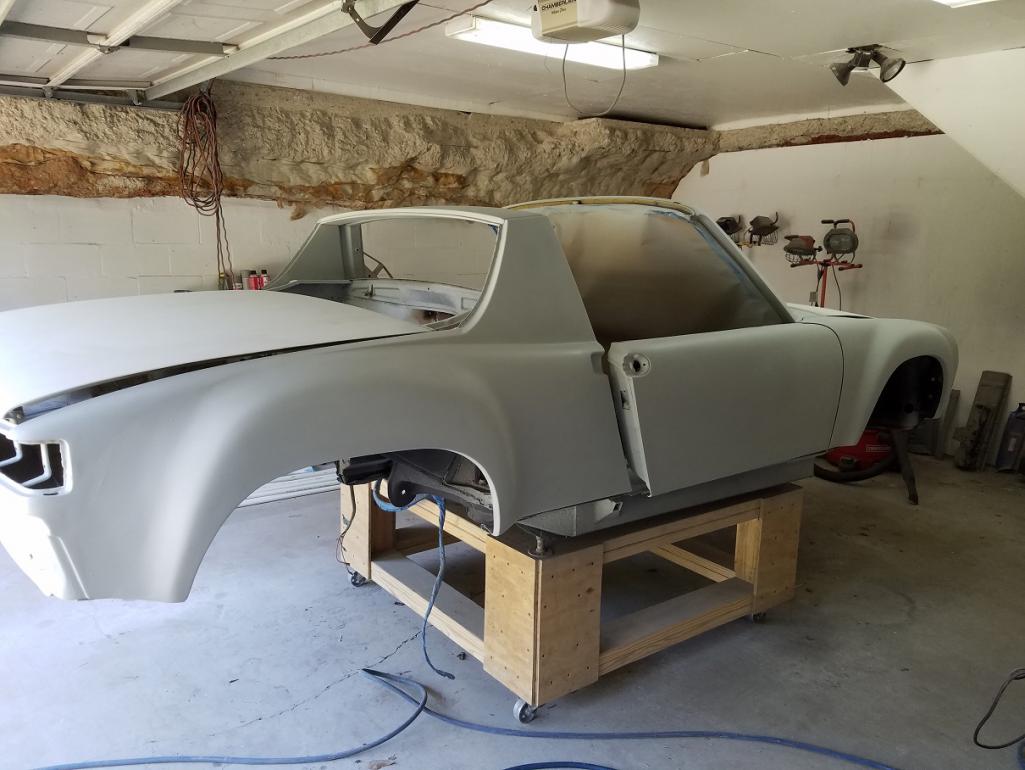 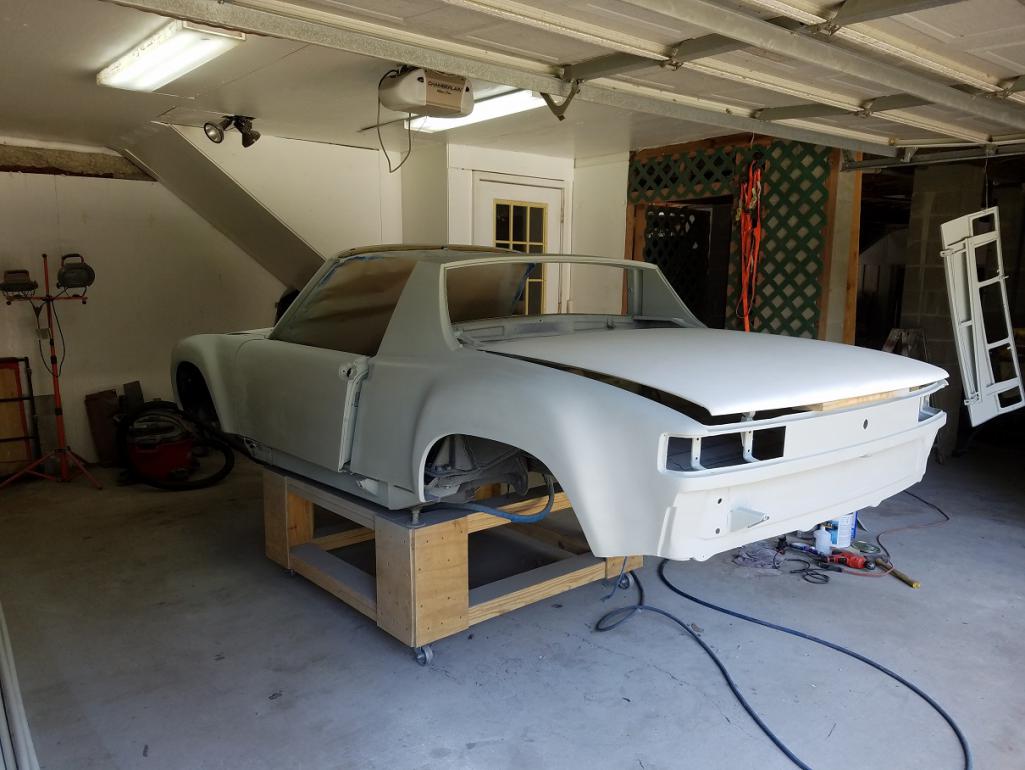 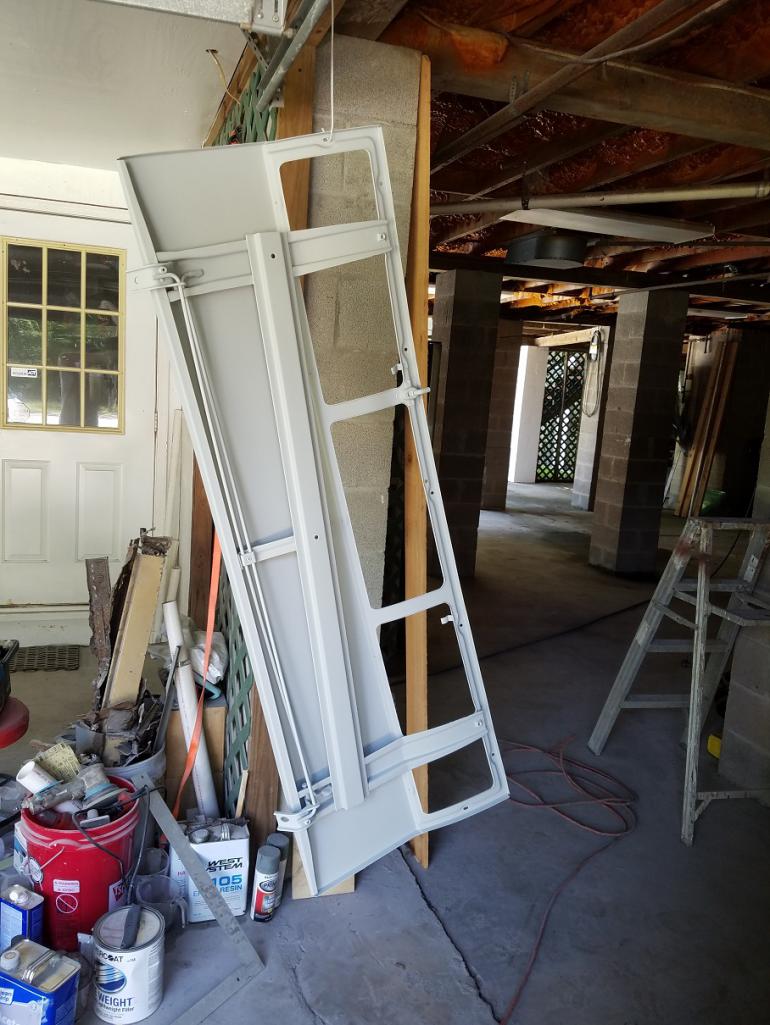
|
|
|
|
| Cairo94507 |
Jul 31 2020, 03:53 PM
Post
#72
|
|
Michael Group: Members Posts: 9,719 Joined: 1-November 08 From: Auburn, CA Member No.: 9,712 Region Association: Northern California |
That looks terrific. I can't wait to see it all blocked and in color. (IMG:style_emoticons/default/beerchug.gif)
|
|
|
|
| djway |
Aug 1 2020, 12:31 AM
Post
#73
|
|
Senior Member Group: Members Posts: 787 Joined: 16-October 15 From: Riverside Member No.: 19,266 Region Association: Southern California |
Thats gonna make a nice coffee table once you get the car off of it .....
|
|
|
|
| 9146C |
Aug 22 2020, 03:12 PM
Post
#74
|
|
Member Group: Members Posts: 228 Joined: 14-September 19 From: US Member No.: 23,460 Region Association: None |
This has been an exercise in patience!!
Twice before, I thought I had it "perfect"...only to find imperfections again! Third time is a charm! (Third coat of polyester primer that is...after finding new "issues" after the two previous coats.) This should be my final block sand now and then apply a single coat of urethane primer prior to top coat. Finally happy how this has turned out. Attached thumbnail(s) 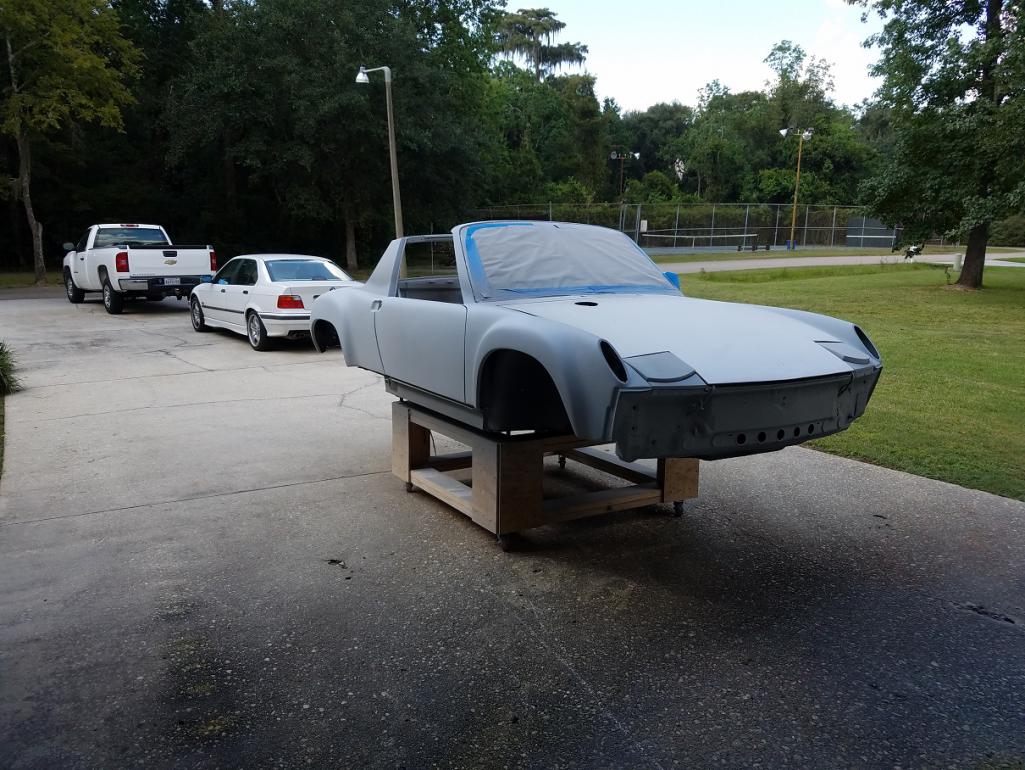 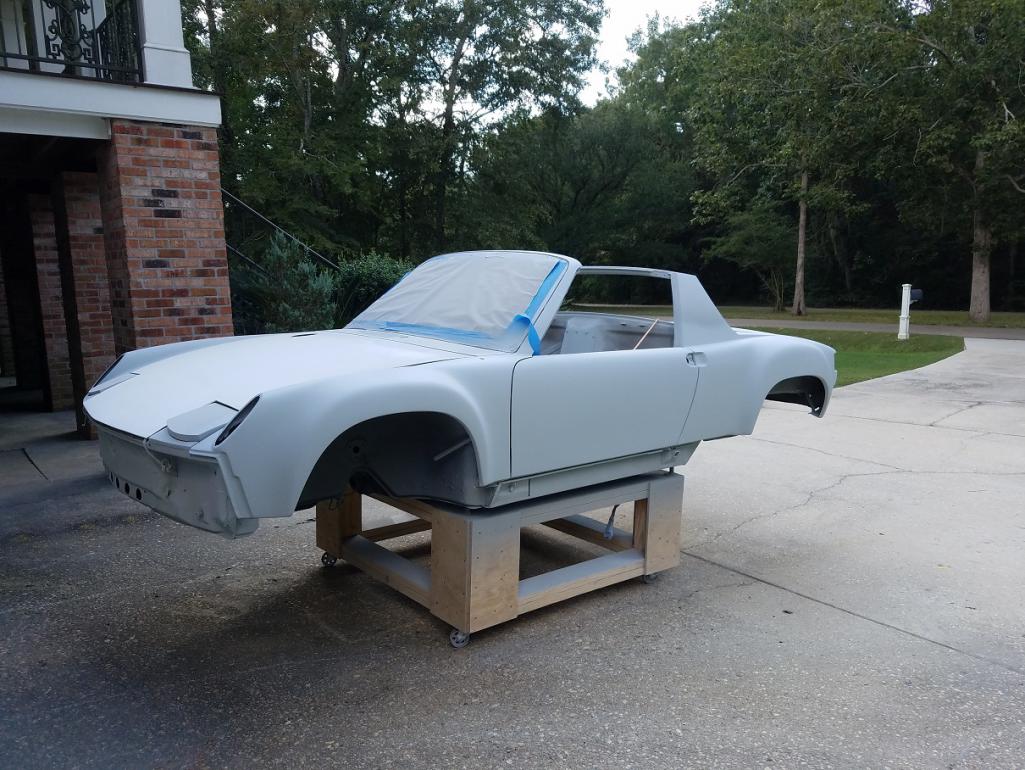 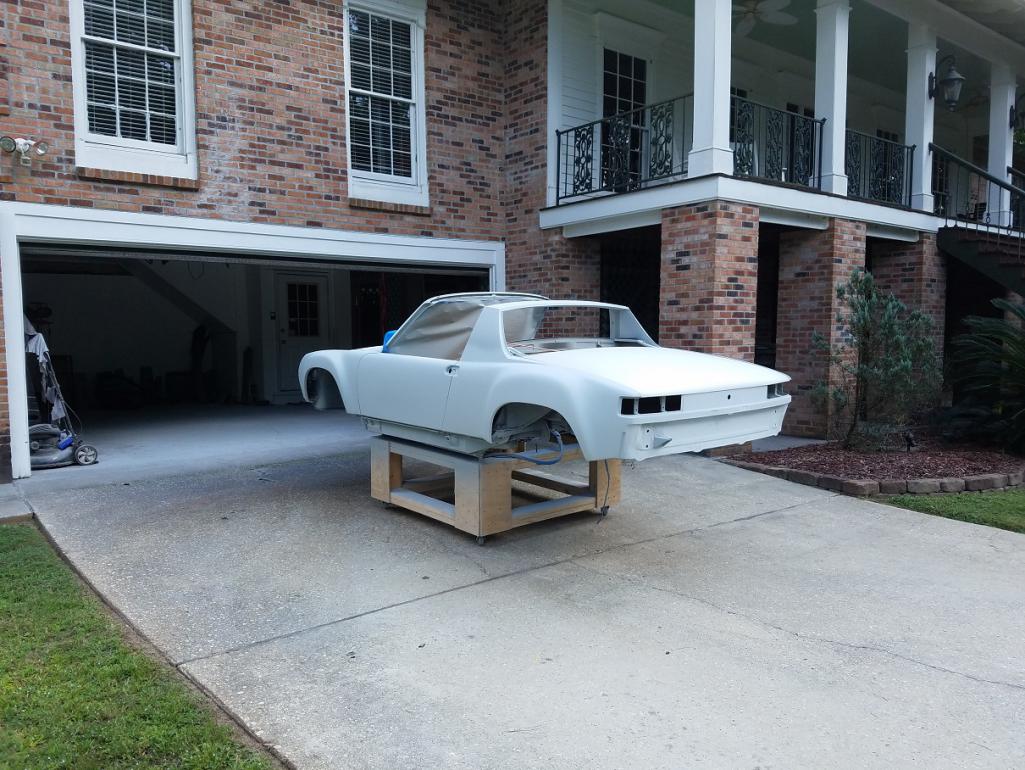
|
|
|
|
| horizontally-opposed |
Aug 22 2020, 03:54 PM
Post
#75
|
|
Advanced Member Group: Members Posts: 3,430 Joined: 12-May 04 From: San Francisco Member No.: 2,058 Region Association: None |
Your work is deeply inspiring!
Just got lost in your pics for awhile, and so cool to see where the car started and where it is now. SO much possibility and fun from here... (IMG:style_emoticons/default/beerchug.gif) |
|
|
|
| bbrock |
Aug 22 2020, 05:49 PM
Post
#76
|
|
914 Guru Group: Members Posts: 5,269 Joined: 17-February 17 From: Montana Member No.: 20,845 Region Association: Rocky Mountains |
Nice! Mine took three rounds of polyester and block sanding too so I know that feeling. She's looking great!
|
|
|
|
| 9146C |
Aug 23 2020, 08:03 PM
Post
#77
|
|
Member Group: Members Posts: 228 Joined: 14-September 19 From: US Member No.: 23,460 Region Association: None |
Thank you for the words of encouragement Gentlemen!
Truthfully, I think I may be teetering on the brink of "project burn-out". Thankfully, I can see the light at the end of the tunnel. Just a rough guesstimate, but, estimating I've worked on this for about 20-25 hours per week for the last 40 weeks. I knew it wasn't going to be easy (nothing worthwhile ever is!)...I just underestimated what it was really going to take. It's much clearer to me now why many people here have said to buy the best 914 you can afford! So true! At least I'll have the experience under my belt when it's said and done! I'll be taking a little bit of a breather the next few weeks...Louisiana's infamous "Love Bug Season" is not a good time for paint work! Appreciate this community for the help and inspiration! |
|
|
|
| 9146C |
Aug 28 2020, 02:04 PM
Post
#78
|
|
Member Group: Members Posts: 228 Joined: 14-September 19 From: US Member No.: 23,460 Region Association: None |
Block sanded the third coat of poly primer. Still have some sanding left to do (primarily the door jams and the engine lid), but, getting closer to spraying the urethane primer prior to top coat.
Attached thumbnail(s) 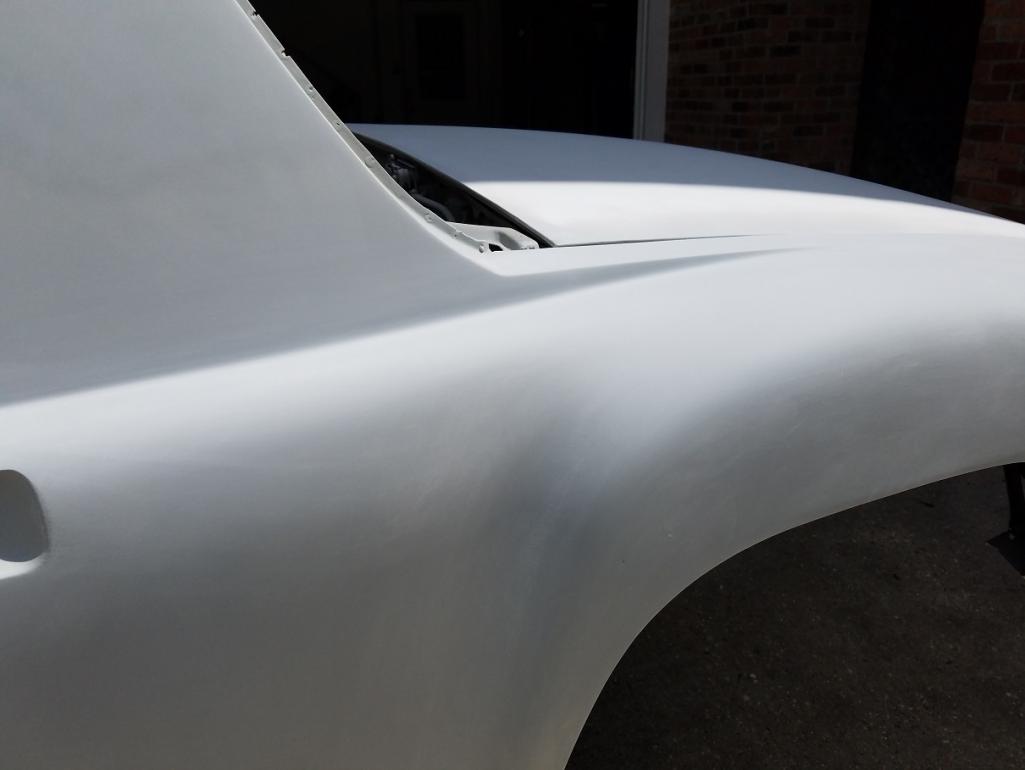 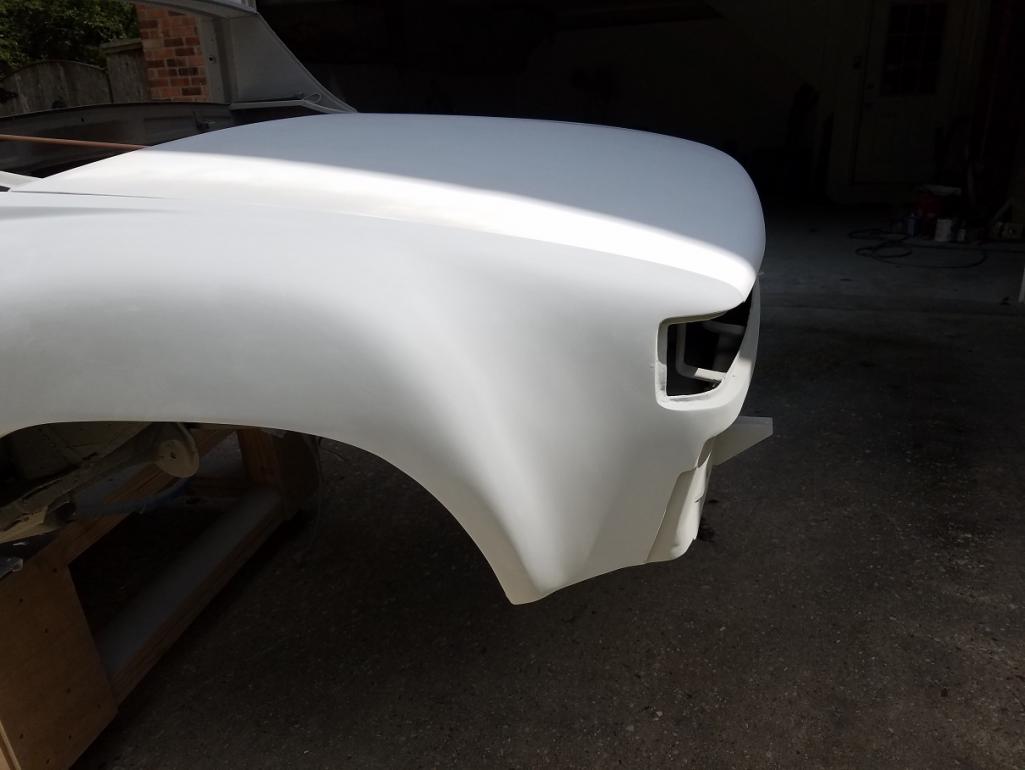 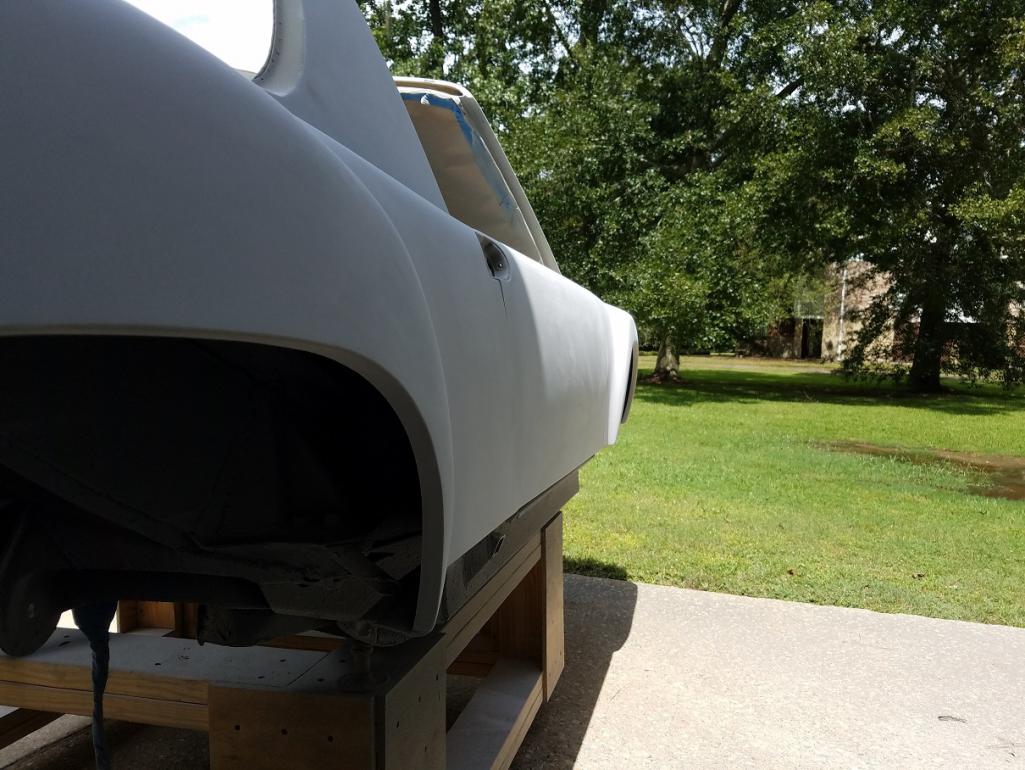 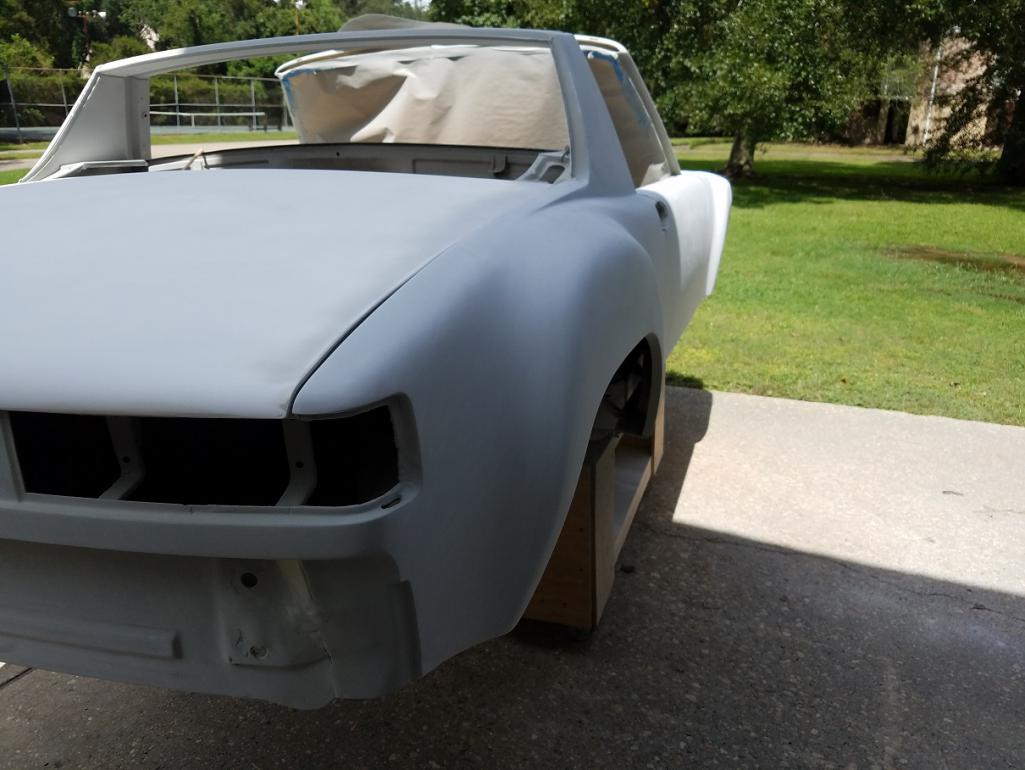  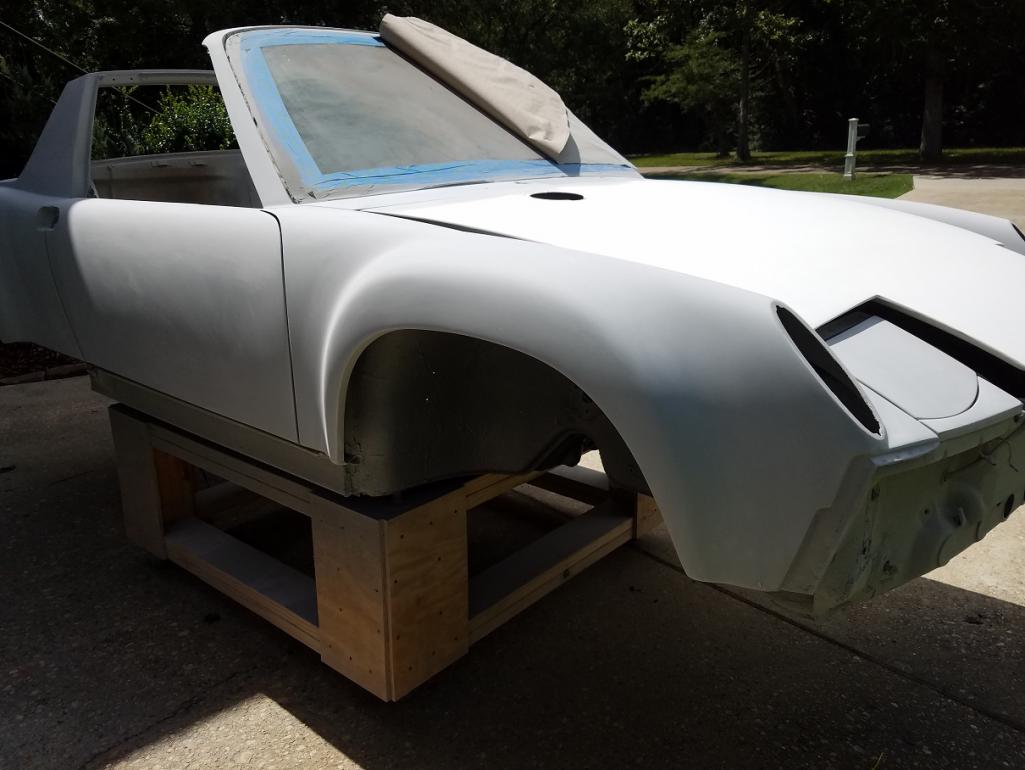 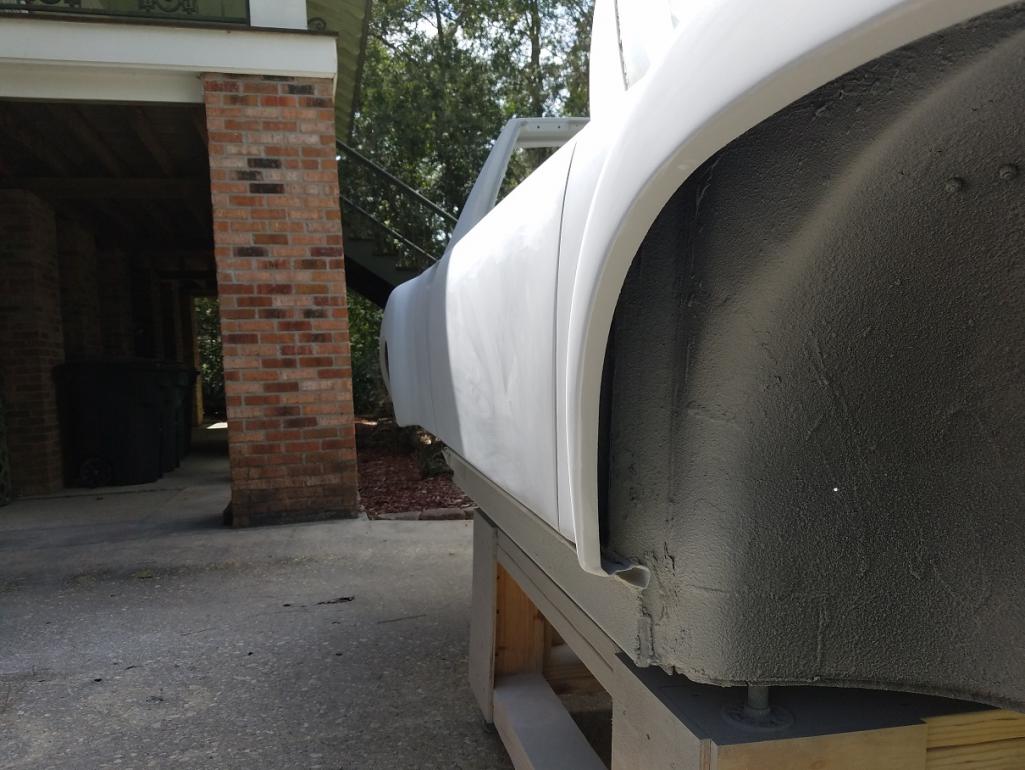 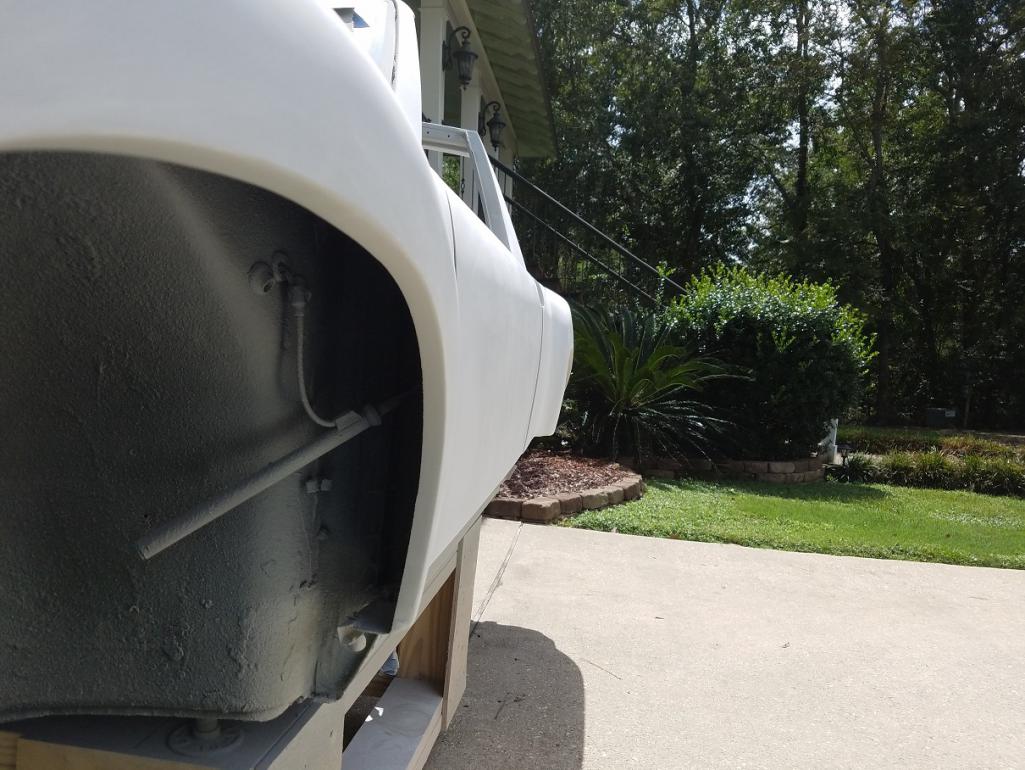 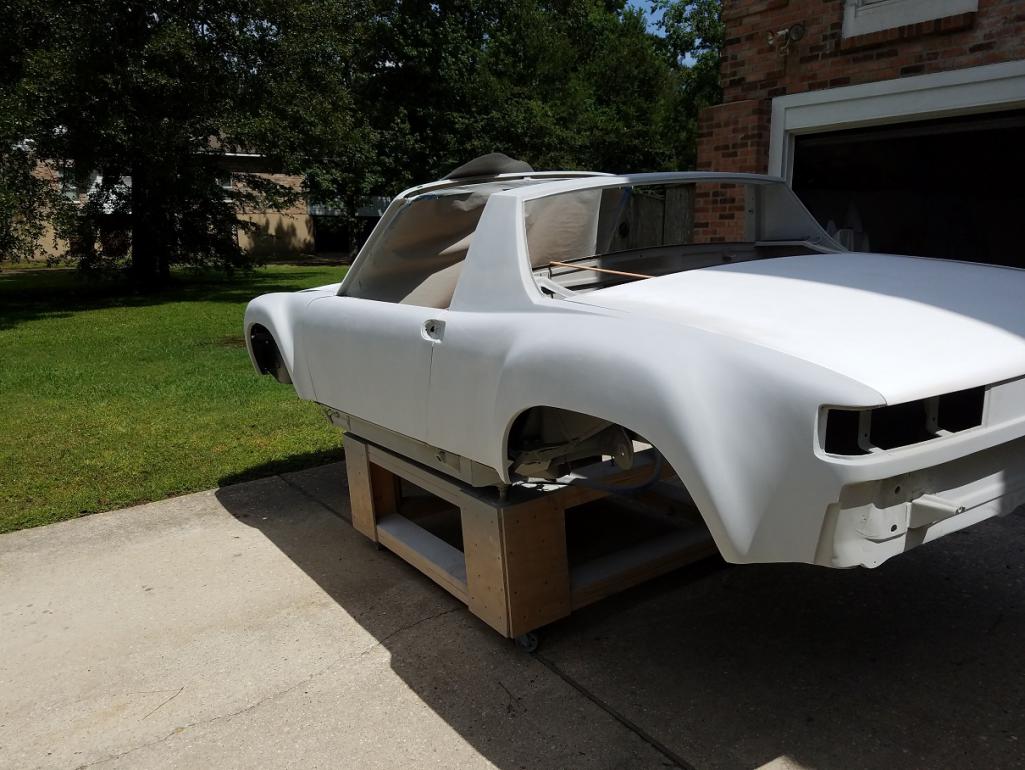
|
|
|
|
| Root_Werks |
Aug 28 2020, 02:24 PM
Post
#79
|
|
Village Idiot Group: Members Posts: 8,308 Joined: 25-May 04 From: About 5NM from Canada Member No.: 2,105 Region Association: Pacific Northwest |
So close! Get some color on that 914! (IMG:style_emoticons/default/biggrin.gif)
|
|
|
|
| Cairo94507 |
Aug 28 2020, 05:47 PM
Post
#80
|
|
Michael Group: Members Posts: 9,719 Joined: 1-November 08 From: Auburn, CA Member No.: 9,712 Region Association: Northern California |
Looking great. (IMG:style_emoticons/default/smilie_pokal.gif)
Looks like you are but I always check the fender well lip edges and the bottoms of the fenders and doors. I see lots of painted 914s where they seem to overlook those areas when painting. (IMG:style_emoticons/default/beerchug.gif) |
|
|
|
|
1 User(s) are reading this topic (1 Guests and 0 Anonymous Users)
0 Members:

|
Lo-Fi Version | Time is now: 28th April 2024 - 08:40 PM |
Invision Power Board
v9.1.4 © 2024 IPS, Inc.