|
|
|
Porsche, and the Porsche crest are registered trademarks of Dr. Ing. h.c. F. Porsche AG.
This site is not affiliated with Porsche in any way. Its only purpose is to provide an online forum for car enthusiasts. All other trademarks are property of their respective owners. |
|
|


| macnichol |
 Jun 29 2020, 02:25 PM Jun 29 2020, 02:25 PM
Post
#1
|
|
Newbie  Group: Members Posts: 40 Joined: 12-June 20 From: Indianapolis, IN Member No.: 24,372 Region Association: NineFourteenerVille |
Hi, saw these cracks on my project 914, are these any cause for concern?
Attached thumbnail(s) 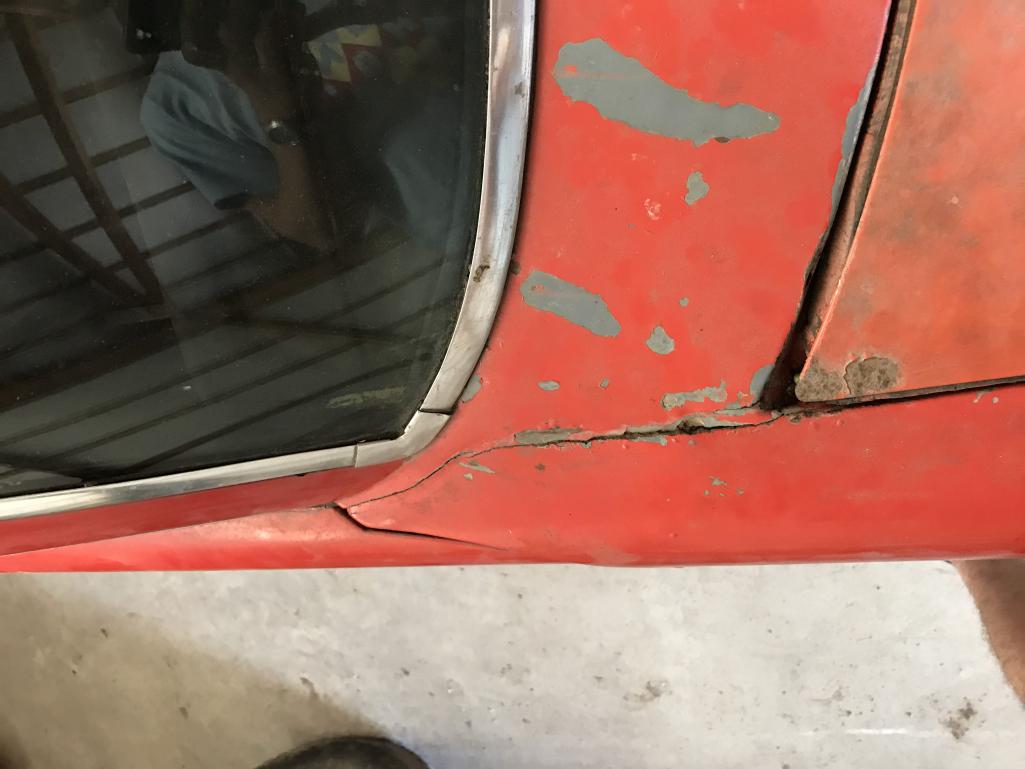 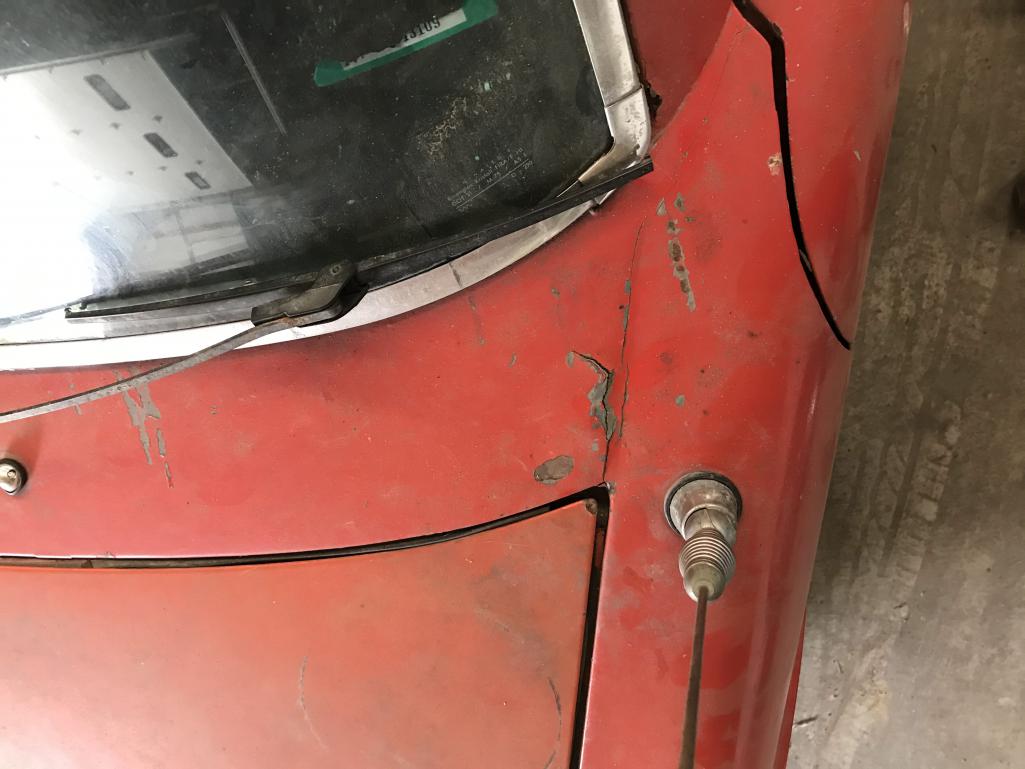 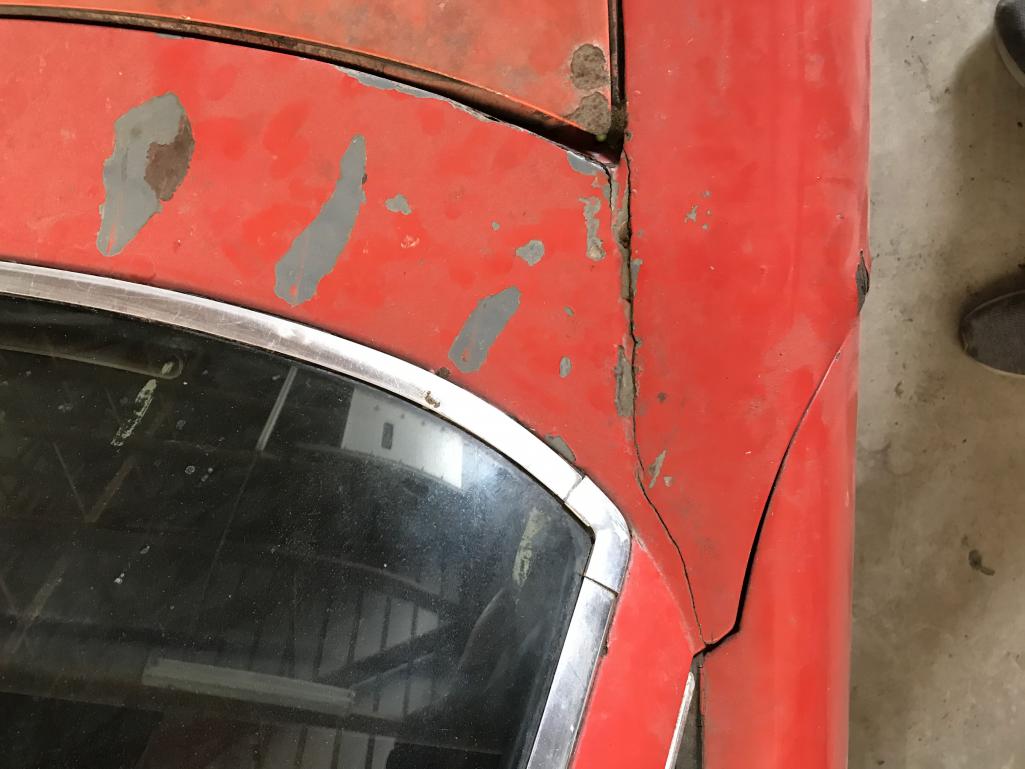 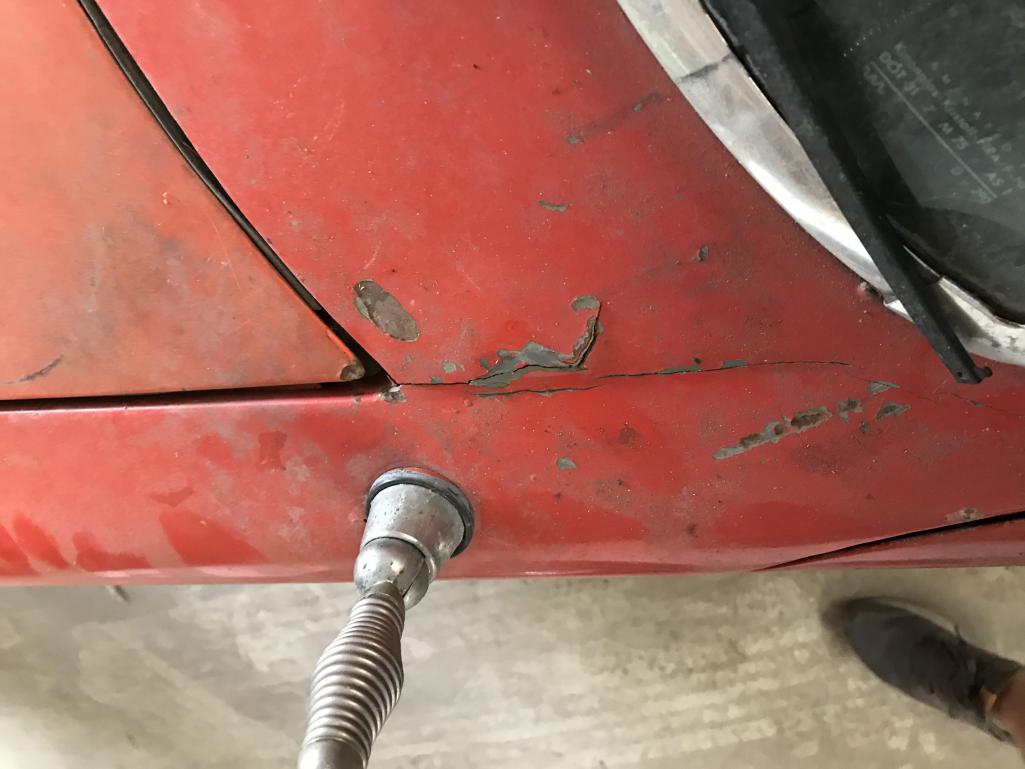
|
   |

 
|
Posts in this topic
 macnichol Potentially concerning cracks in between front quarter panel and door area Jun 29 2020, 02:25 PM
 nditiz1 They are supposed to be there and someone put fill... Jun 29 2020, 02:30 PM bbrock Looks like somebody filled that seam with bondo. ... Jun 29 2020, 02:30 PM brant looks like bondo most likely
the cowl area may be... Jun 29 2020, 02:30 PM Mikey914 Dig what you can out and survey. Maybe you will ge... Jun 29 2020, 02:58 PM Tdskip Welcome and don’t be shy with questions. Jun 29 2020, 03:34 PM UROpartsman What's the best way to remove Bondo in a seam ... Jun 29 2020, 04:14 PM dakotaewing Be careful not to "Buger up" the inside ... Jun 29 2020, 04:33 PM tvdinnerbythepool
This is what it should look like for reference.... Jun 29 2020, 05:51 PM FlacaProductions And here's where to get it - and what the seal... Jun 29 2020, 06:04 PM roblav1 Since the front fenders are spot welded on anyway,... Jun 29 2020, 08:13 PM framos914 Another possibility is that the hood flew open whi... Jun 29 2020, 10:25 PM Mikey914 Now that I look at it closer you have something lu... Jul 1 2020, 12:56 AM davep Okay, first of all since the car is a 1970, what i... Jul 1 2020, 02:18 PM windforfun I removed those plastic "seals" a long t... Jul 1 2020, 03:37 PM
nditiz1 They are supposed to be there and someone put fill... Jun 29 2020, 02:30 PM bbrock Looks like somebody filled that seam with bondo. ... Jun 29 2020, 02:30 PM brant looks like bondo most likely
the cowl area may be... Jun 29 2020, 02:30 PM Mikey914 Dig what you can out and survey. Maybe you will ge... Jun 29 2020, 02:58 PM Tdskip Welcome and don’t be shy with questions. Jun 29 2020, 03:34 PM UROpartsman What's the best way to remove Bondo in a seam ... Jun 29 2020, 04:14 PM dakotaewing Be careful not to "Buger up" the inside ... Jun 29 2020, 04:33 PM tvdinnerbythepool
This is what it should look like for reference.... Jun 29 2020, 05:51 PM FlacaProductions And here's where to get it - and what the seal... Jun 29 2020, 06:04 PM roblav1 Since the front fenders are spot welded on anyway,... Jun 29 2020, 08:13 PM framos914 Another possibility is that the hood flew open whi... Jun 29 2020, 10:25 PM Mikey914 Now that I look at it closer you have something lu... Jul 1 2020, 12:56 AM davep Okay, first of all since the car is a 1970, what i... Jul 1 2020, 02:18 PM windforfun I removed those plastic "seals" a long t... Jul 1 2020, 03:37 PM Mikey914 One of the reasons we made ours rubber :D Jul 1 2020, 04:05 PM
  |
1 User(s) are reading this topic (1 Guests and 0 Anonymous Users)
0 Members:

|
Lo-Fi Version | Time is now: 9th June 2026 - 06:06 PM |
Invision Power Board
v9.1.4 © 2026 IPS, Inc.