|
|
|
Porsche, and the Porsche crest are registered trademarks of Dr. Ing. h.c. F. Porsche AG.
This site is not affiliated with Porsche in any way. Its only purpose is to provide an online forum for car enthusiasts. All other trademarks are property of their respective owners. |
|
|

  |

| ClayPerrine |
 Jun 21 2025, 07:28 PM Jun 21 2025, 07:28 PM
Post
#1101
|
|
Life's been good to me so far.....  Group: Admin Posts: 16,526 Joined: 11-September 03 From: Hurst, TX. Member No.: 1,143 Region Association: NineFourteenerVille |
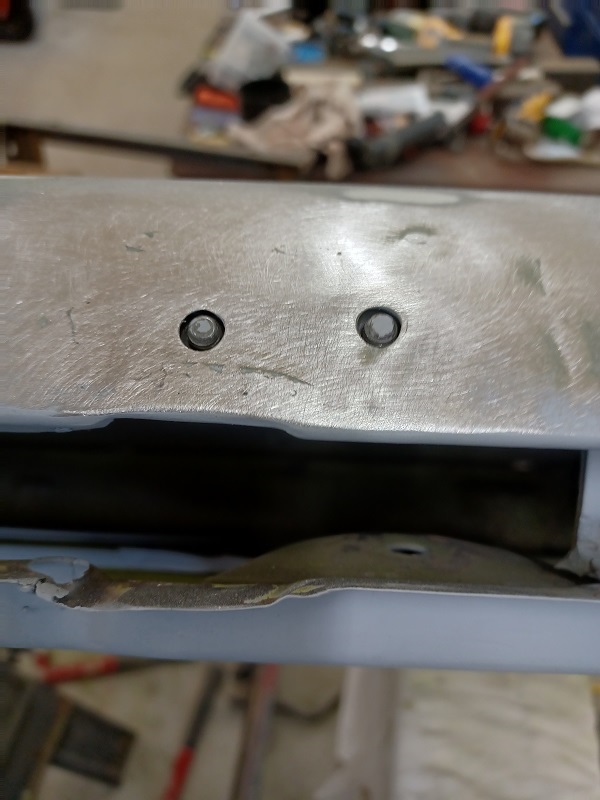
QUOTE(friethmiller @ Jun 20 2025, 08:20 AM)  Kevin, Inspect your holes! (IMG:style_emoticons/default/biggrin.gif) I found a crack in the center square hole where one of the retaining nuts goes. I ground this weld down with the 4 1/2 but still need to get in there with a flat file to re-create the corner. Now that I'm looking at this photo again, I see a potential crack on the other side. Damn! These type repairs save the cussing later on after everything is painted. Keep up the good work! On Betty's 914, I had the passenger side inner door handle pull loose while riding on a spirited trip down the Dragon years ago. I almost landed in her lap! So I put in a 6 inch long strip of 1/4 inch plate steel behind where the square clip nuts go. I anchored it to the door frame, then drilled and tapped the place where the handle mounts, eliminating the clip nuts. All of the anchor points for the inner door handle were re-enforced this way. No more worrying about pulling the handle off the door in hard right hand turns. |
   |

 
|
| bkrantz |
Jun 21 2025, 08:02 PM
Post
#1102
|
|
914 Guru Group: Members Posts: 8,550 Joined: 3-August 19 From: SW Colorado Member No.: 23,343 Region Association: Rocky Mountains |
As always, excellent progress. Like eating an elephant--one bite at a time.
|
|
|
|
| Puebloswatcop |
Jun 23 2025, 06:18 PM
Post
#1103
|
|
Senior Member Group: Members Posts: 1,690 Joined: 27-December 14 From: Mineola, Texas Member No.: 18,258 Region Association: Southwest Region |
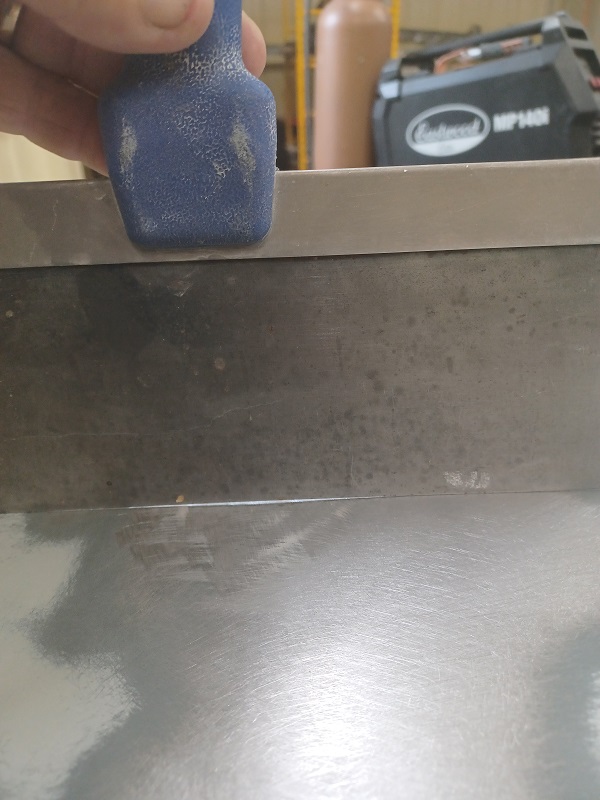
Today I was hopeful that I would finish the drivers side door. I started off by putting bolts in the back side of the mirror mounts and then bringing them just shy of the surface. I figure that way when I fill the low spot there, it will fill the holes, but not the threaded holes underneath.
  |
|
|
|
| Puebloswatcop |
Jun 23 2025, 06:23 PM
Post
#1104
|
|
Senior Member Group: Members Posts: 1,690 Joined: 27-December 14 From: Mineola, Texas Member No.: 18,258 Region Association: Southwest Region |
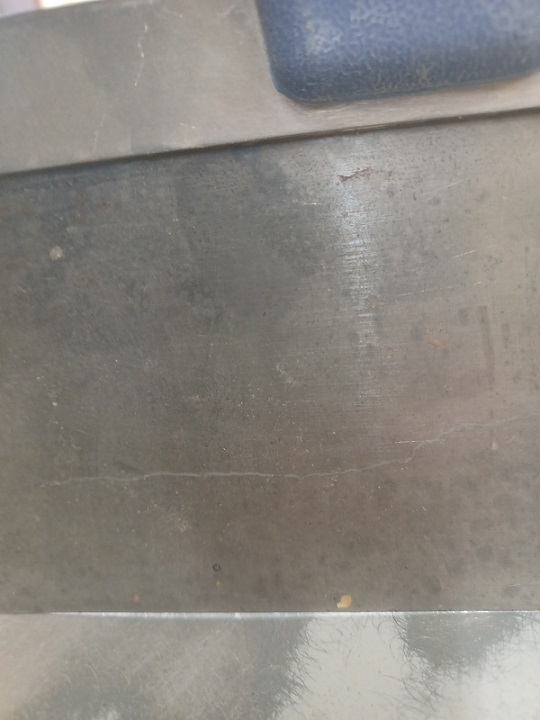
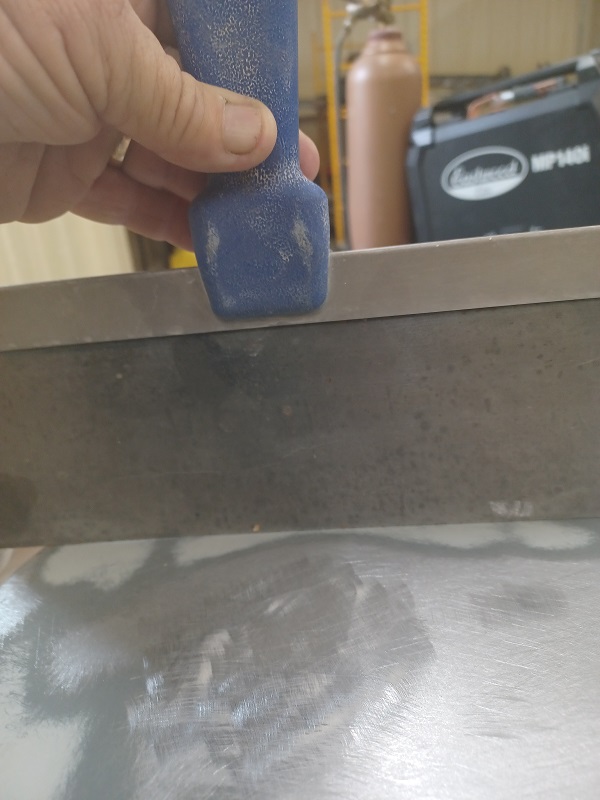
Then I started straight edging the whole door, looking for any major low spots so I could pre-fill them before skinning the door. On some of the smaller dents I tried the new metal disk I bought to try to shrink the dents. I had limited success with that method, mostly on smaller dents.
    |
|
|
|
| Puebloswatcop |
Jun 23 2025, 06:28 PM
Post
#1105
|
|
Senior Member Group: Members Posts: 1,690 Joined: 27-December 14 From: Mineola, Texas Member No.: 18,258 Region Association: Southwest Region |
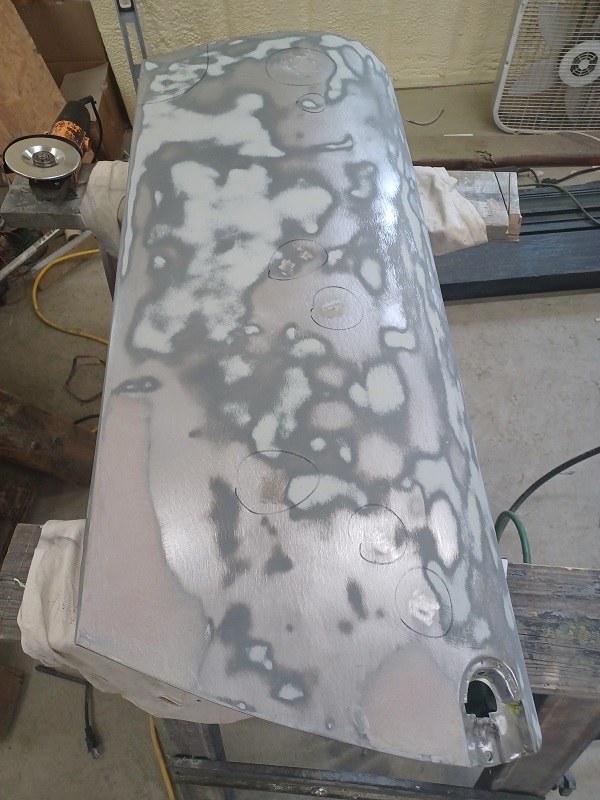
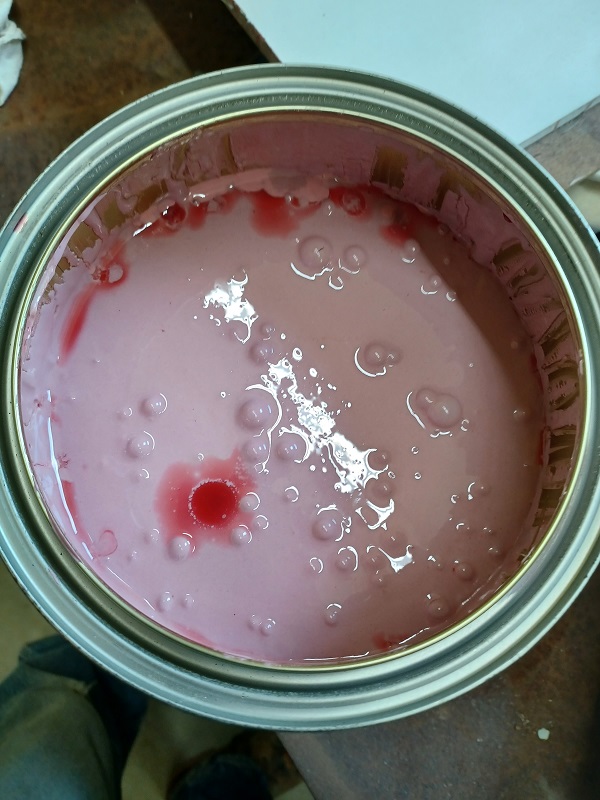
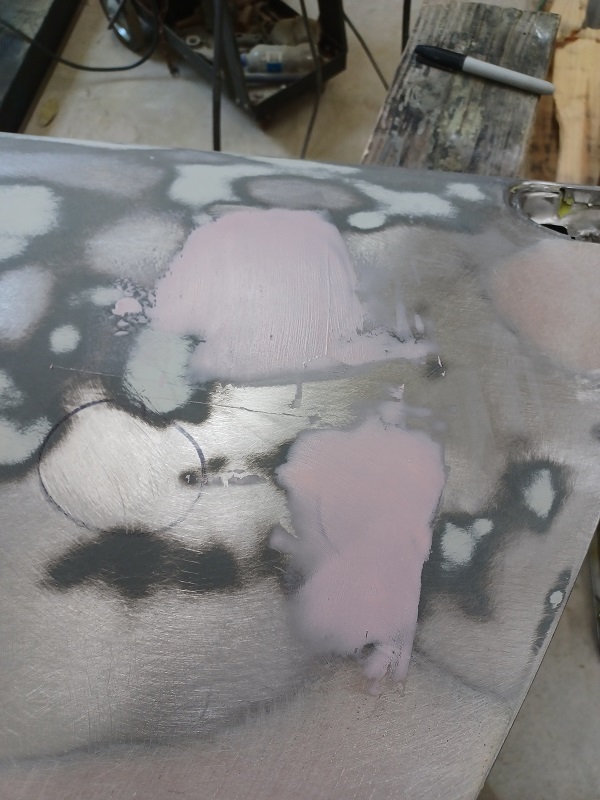
I circled all of the low spots that needed pre-filling and marked them with a sharpie pen, as you can see there were quite a few. Then it was time to start filling those dents, when I opened the filler it looked like it sat for weeks, I just stirred it a few days ago...Stir it again till nice and smooth.
  |
|
|
|
| Puebloswatcop |
Jun 23 2025, 06:30 PM
Post
#1106
|
|
Senior Member Group: Members Posts: 1,690 Joined: 27-December 14 From: Mineola, Texas Member No.: 18,258 Region Association: Southwest Region |
Prefilling all of the low spots
    |
|
|
|
| Puebloswatcop |
Jun 23 2025, 06:39 PM
Post
#1107
|
|
Senior Member Group: Members Posts: 1,690 Joined: 27-December 14 From: Mineola, Texas Member No.: 18,258 Region Association: Southwest Region |
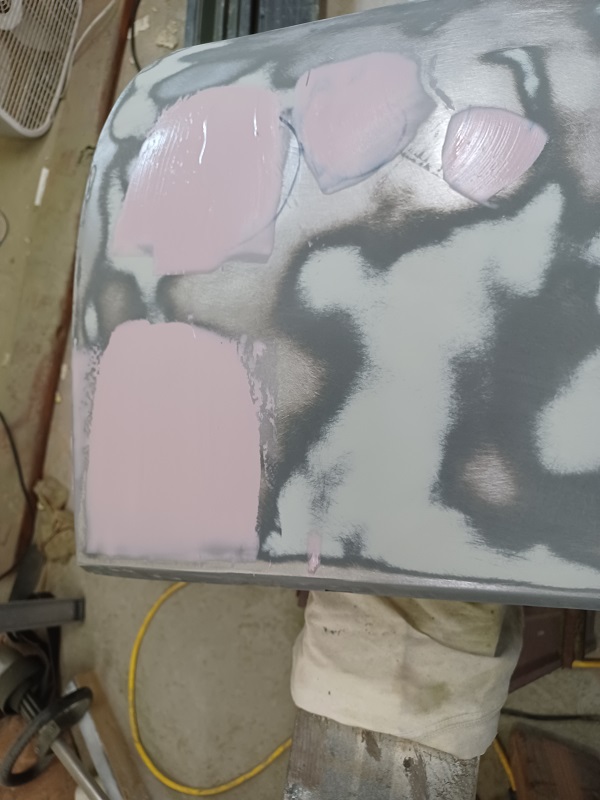
I finished filling the notable low spots then sanded them out. There were some that were still a bit low, but I figured I would level them off when I skim coated the whole door.
  |
|
|
|
| Puebloswatcop |
Jun 23 2025, 06:43 PM
Post
#1108
|
|
Senior Member Group: Members Posts: 1,690 Joined: 27-December 14 From: Mineola, Texas Member No.: 18,258 Region Association: Southwest Region |
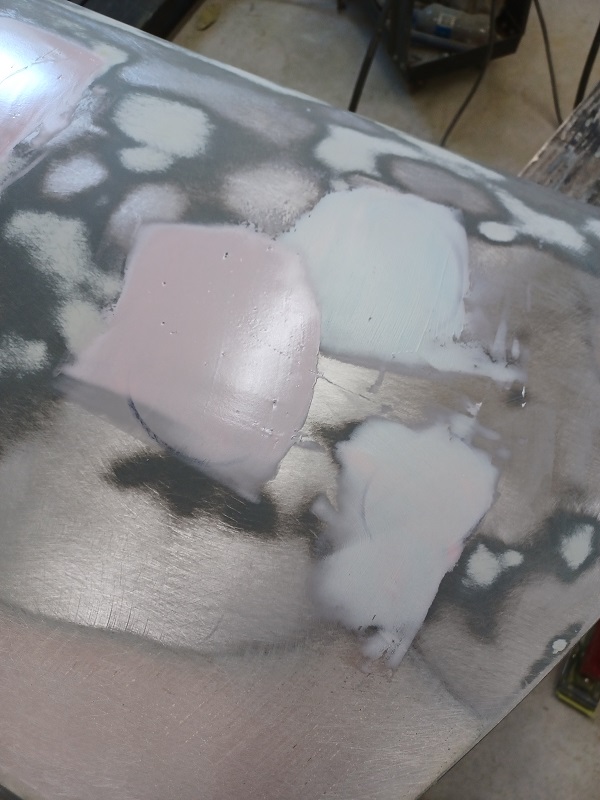
I skim coated the whole door, it took 5 batches of filler so I could get a section filled without the filler starting to harden. While sanding the skim coat, guess what showed its ugly head....Thos "not so deep" low spots. Damn it.
  |
|
|
|
| Puebloswatcop |
Jun 23 2025, 06:51 PM
Post
#1109
|
|
Senior Member Group: Members Posts: 1,690 Joined: 27-December 14 From: Mineola, Texas Member No.: 18,258 Region Association: Southwest Region |
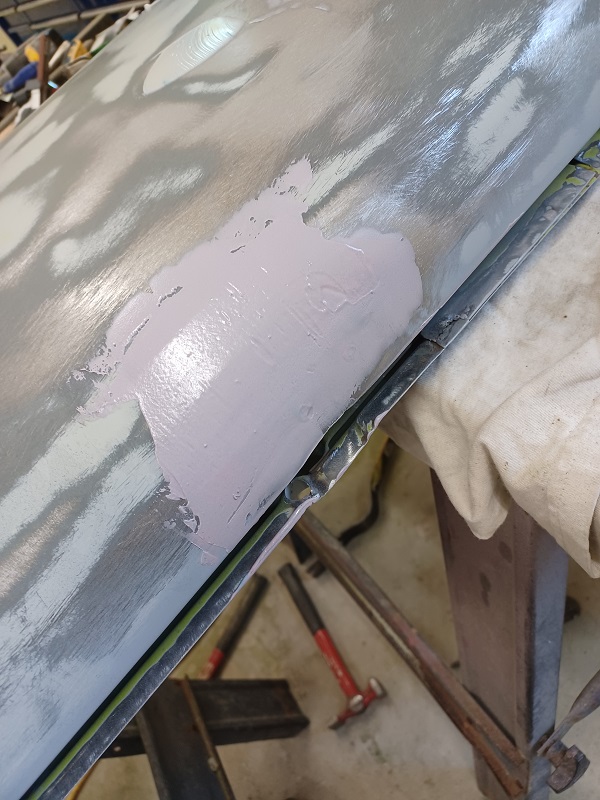
I sanded as deed as I dared to go, and then re-skimmed the low areas again. Of course being mad about having to redo those spots I almost screwed up the hole fill. I always use a different spreader to mix, than I do to apply the filler. This time I grabed my good spreader and mixed and then found that there was filler and hardener that had not mixed that was stuck on the back of the spreader. I hopd that it hadn't got applied to the door, knowing that if it did I would have to remove those spots and start all over again. Luckily no raw paste got into the fills and only a little extra streaks of hardener laded on the door.
  |
|
|
|
| Puebloswatcop |
Jun 23 2025, 06:54 PM
Post
#1110
|
|
Senior Member Group: Members Posts: 1,690 Joined: 27-December 14 From: Mineola, Texas Member No.: 18,258 Region Association: Southwest Region |
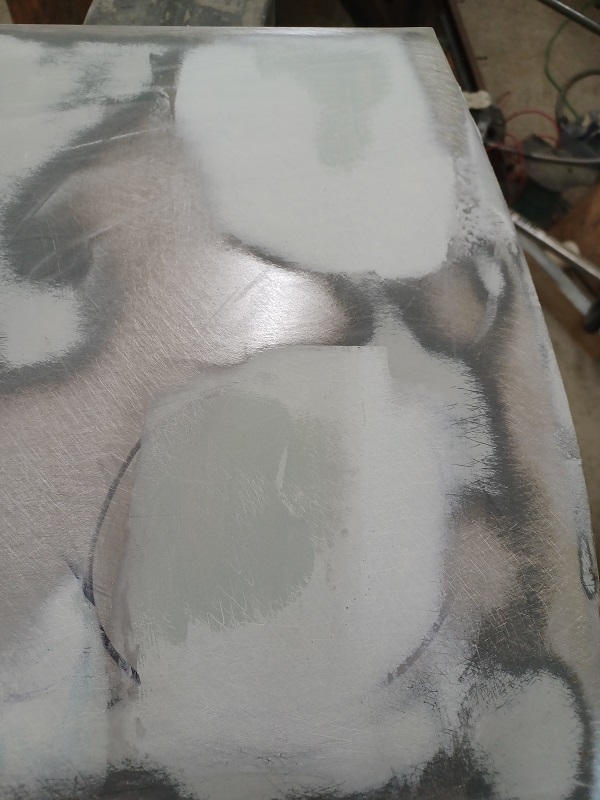
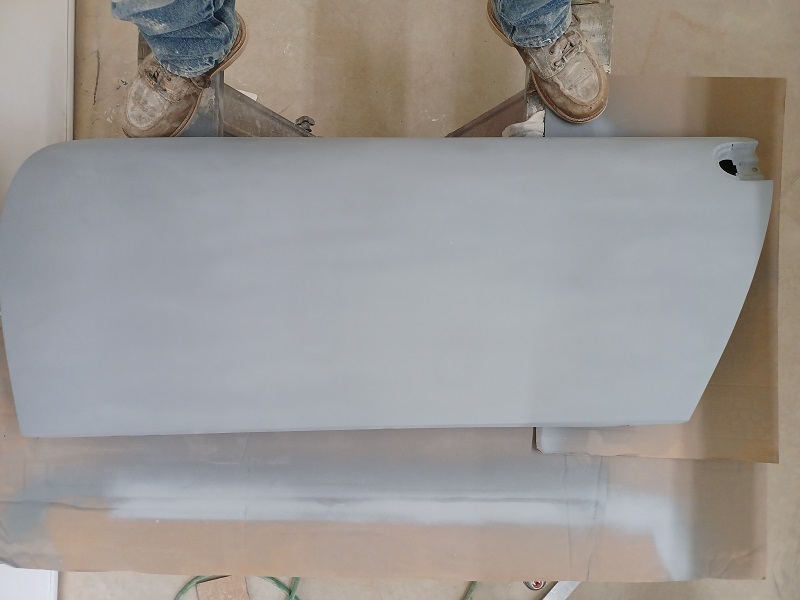
After another hour or so of sanding, I got the finished product I could live with. So I painted the door with primer and it is in its rough finished state...Thank goodness.
  |
|
|
|
| Puebloswatcop |
Jun 24 2025, 02:45 PM
Post
#1111
|
|
Senior Member Group: Members Posts: 1,690 Joined: 27-December 14 From: Mineola, Texas Member No.: 18,258 Region Association: Southwest Region |
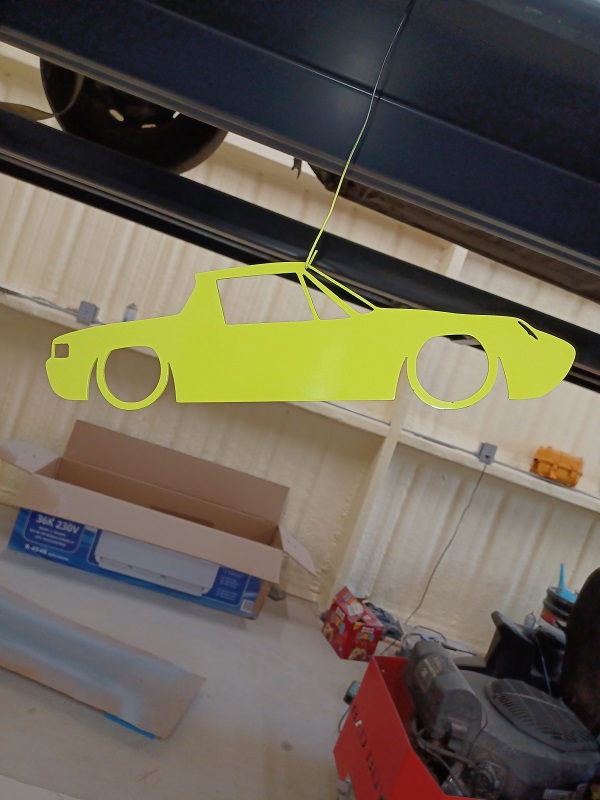
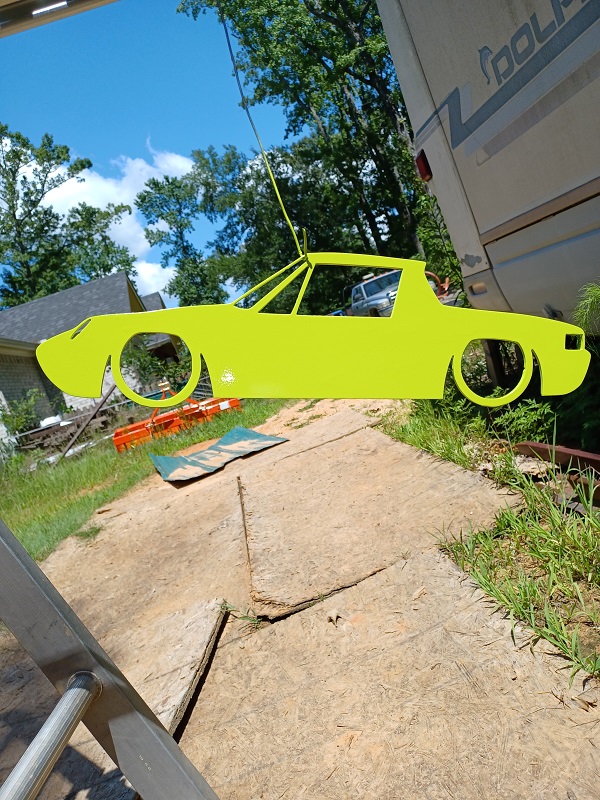
So. Today I decided I was going to paint my car, no not the real car...not ready yet. But one of the metal art cars that I purchased from East Coaster, here on 914 world. Just wanted to paint a sample so I could see if I liked it before laying out a ton of money for paint. Yes it is all I had hoped for.....Porsche Acid Green rocks.
  |
|
|
|
| East coaster |
Jun 24 2025, 05:01 PM
Post
#1112
|
|
Senior Member Group: Members Posts: 1,901 Joined: 28-March 03 From: Millville, NJ Member No.: 487 Region Association: None |
Nice job painting the little teener (IMG:style_emoticons/default/wink.gif)
|
|
|
|
| Puebloswatcop |
Jun 24 2025, 09:15 PM
Post
#1113
|
|
Senior Member Group: Members Posts: 1,690 Joined: 27-December 14 From: Mineola, Texas Member No.: 18,258 Region Association: Southwest Region |
QUOTE(East coaster @ Jun 24 2025, 06:01 PM) Thanks. It was a pretty fun little break from doing body work. It will go up on the wall in my office, along with the other one that you sent. First my grand daughter will have to choose the color for it, which undoubtedly will be a blue. |
|
|
|
| friethmiller |
Jun 25 2025, 06:34 AM
Post
#1114
|
|
Senior Member Group: Members Posts: 1,101 Joined: 10-February 19 From: Austin, TX Member No.: 22,863 Region Association: Southwest Region |
Great job on those doors, Kevin. Hitting snags/difficulties along the way - no issues for you. BTW, love that color! It's going to look awesome on the [bigger] car. (IMG:style_emoticons/default/beerchug.gif)
|
|
|
|
| Puebloswatcop |
Jun 27 2025, 08:18 AM
Post
#1115
|
|
Senior Member Group: Members Posts: 1,690 Joined: 27-December 14 From: Mineola, Texas Member No.: 18,258 Region Association: Southwest Region |
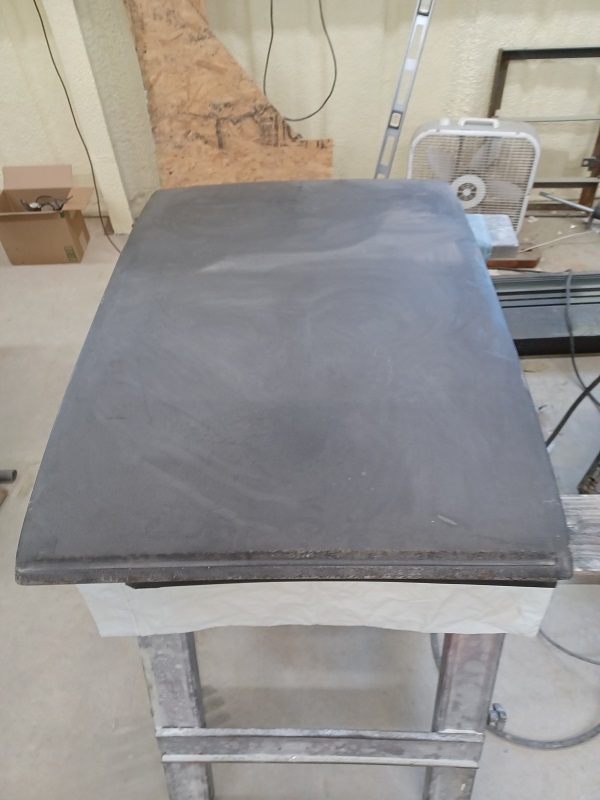
Yesterday my wife informed me that since the shop has been done, she wanted to re-claim her gardening shed,So I moved all of the 914 parts I had stored there to the shop. One of those items was the targa top. So I decided to get to work on that piece.
 |
|
|
|
| Puebloswatcop |
Jun 27 2025, 08:24 AM
Post
#1116
|
|
Senior Member Group: Members Posts: 1,690 Joined: 27-December 14 From: Mineola, Texas Member No.: 18,258 Region Association: Southwest Region |
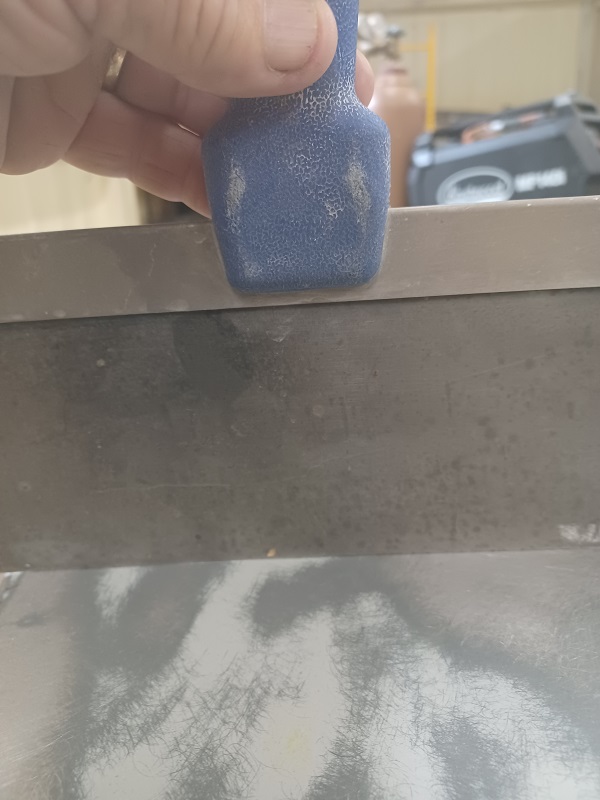
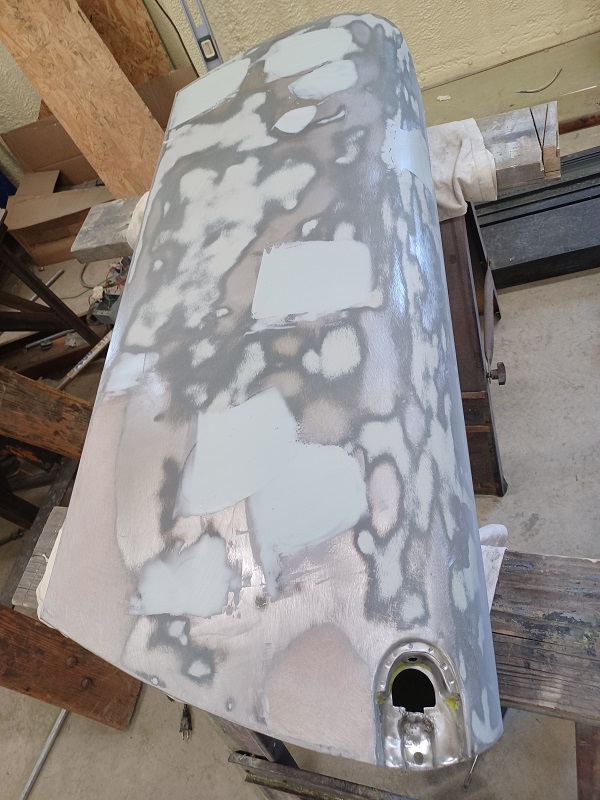
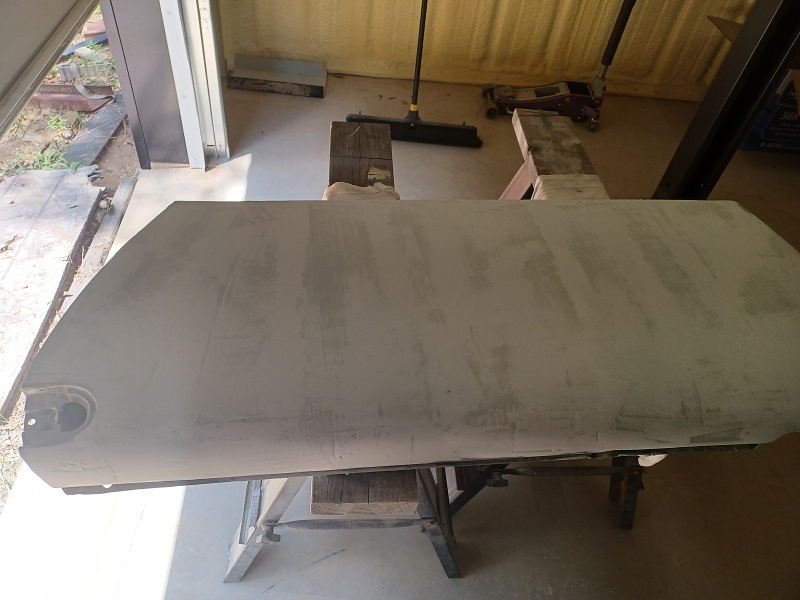
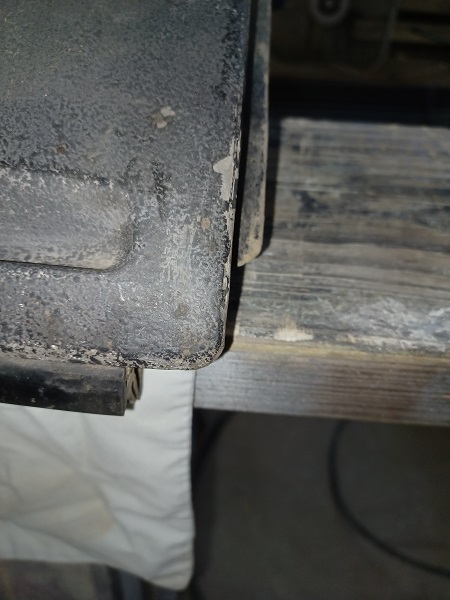
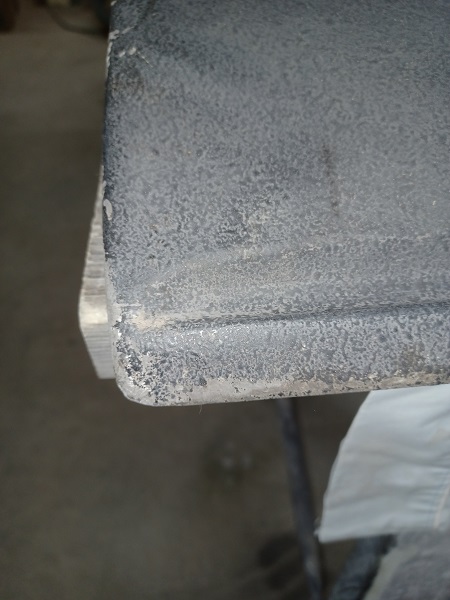
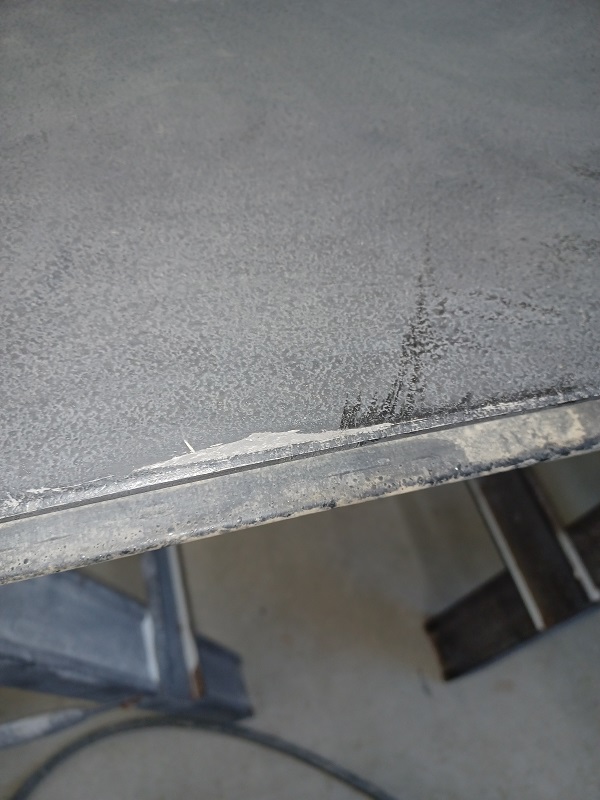
All of the corners are in pretty good shape. The finish coating is worn off, but no breaks or flat spots.
    |
|
|
|
| Puebloswatcop |
Jun 27 2025, 08:26 AM
Post
#1117
|
|
Senior Member Group: Members Posts: 1,690 Joined: 27-December 14 From: Mineola, Texas Member No.: 18,258 Region Association: Southwest Region |
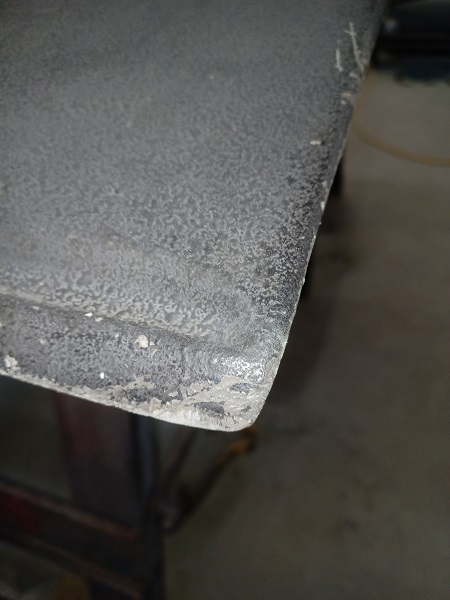
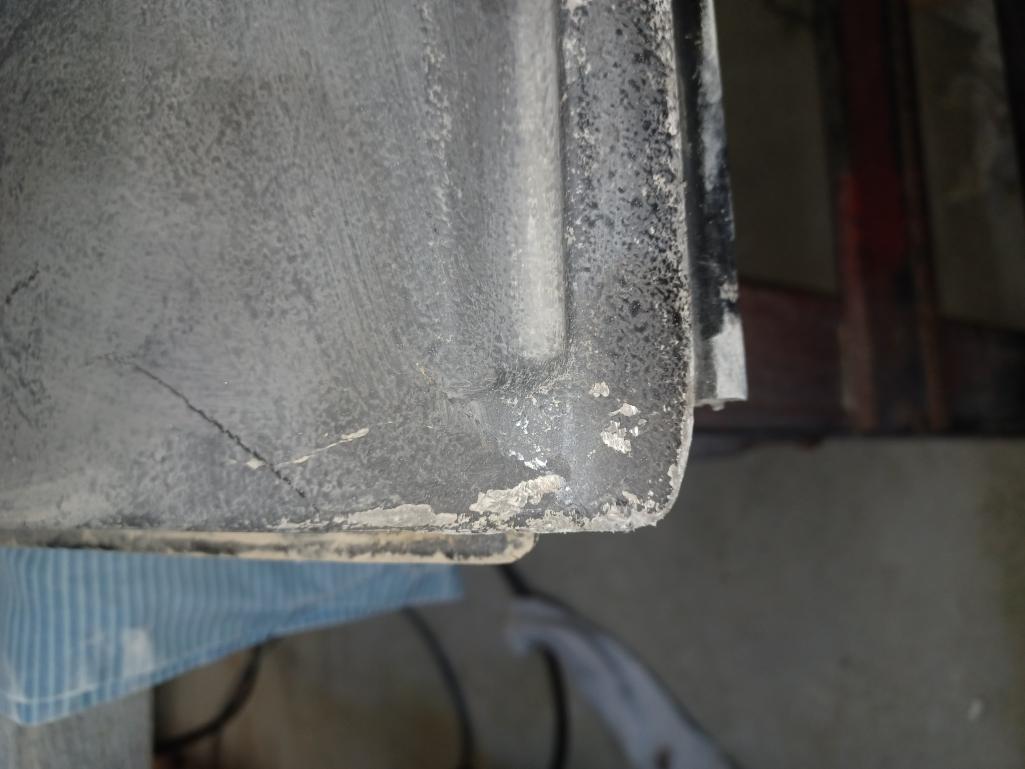
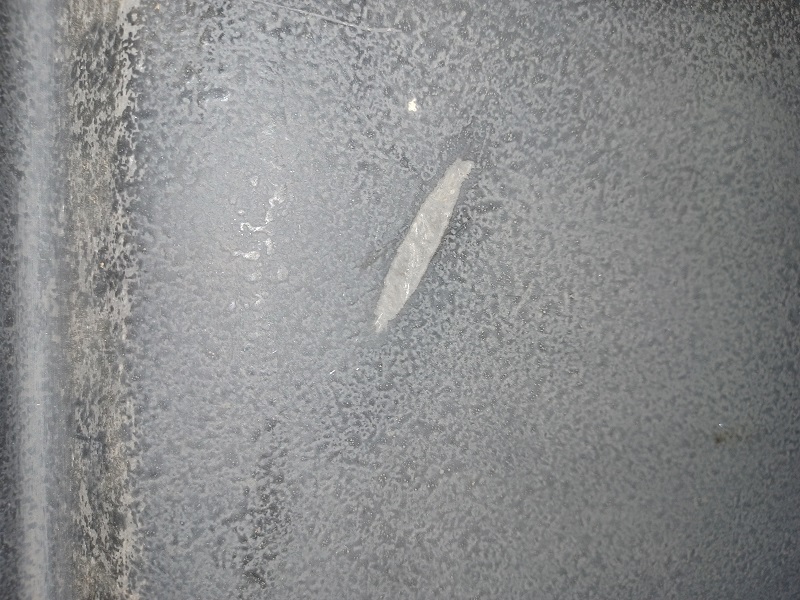
Other than a couple of areas that evidently rubbed against something and rubbed into the gelcoat, the top is in very good condition.
  |
|
|
|
| Puebloswatcop |
Jun 27 2025, 08:28 AM
Post
#1118
|
|
Senior Member Group: Members Posts: 1,690 Joined: 27-December 14 From: Mineola, Texas Member No.: 18,258 Region Association: Southwest Region |
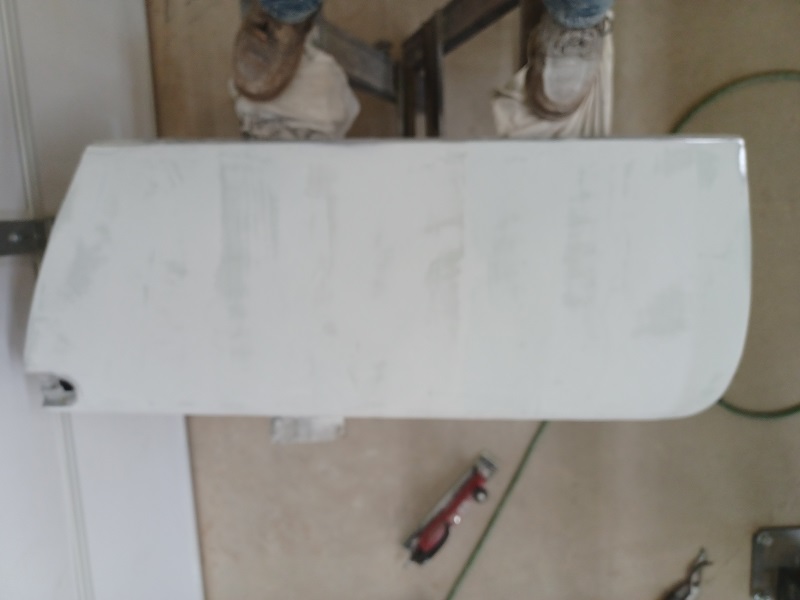
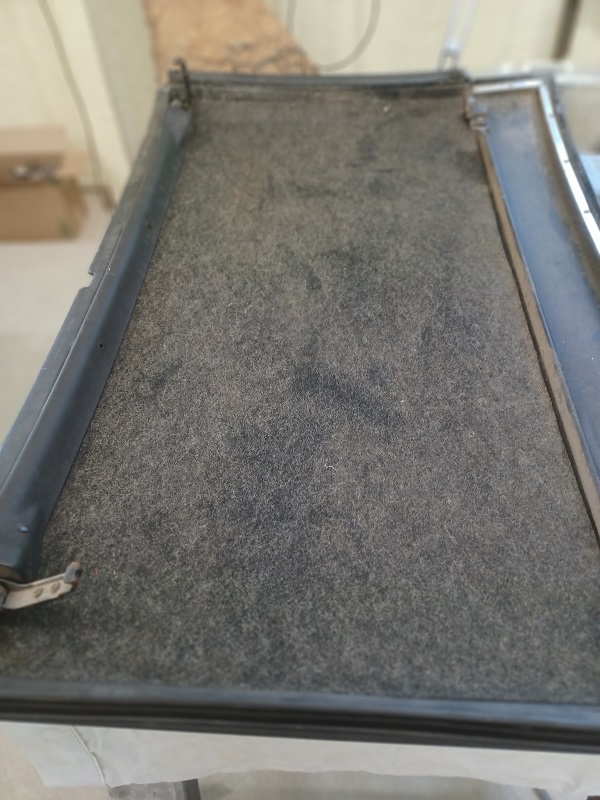
Although the underside is filthy, it is complete to include the headliner.
 |
|
|
|
| Puebloswatcop |
Jun 27 2025, 08:30 AM
Post
#1119
|
|
Senior Member Group: Members Posts: 1,690 Joined: 27-December 14 From: Mineola, Texas Member No.: 18,258 Region Association: Southwest Region |
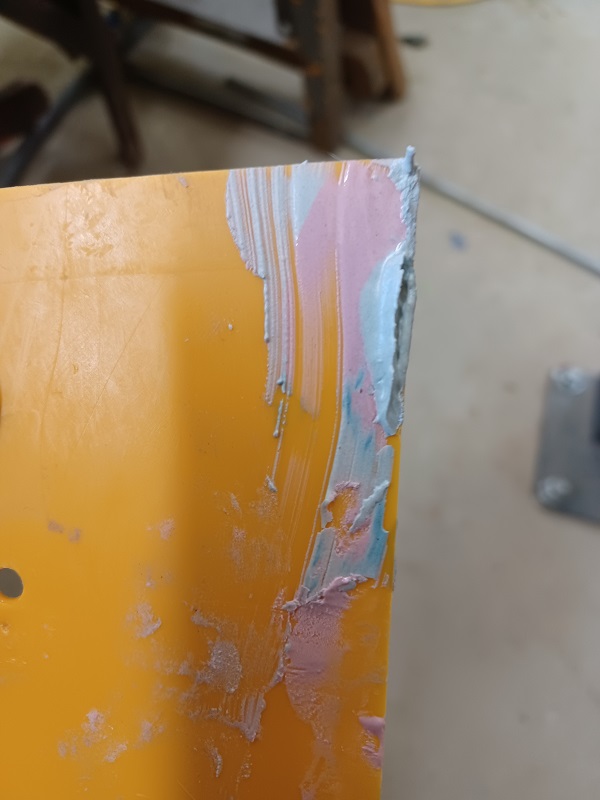
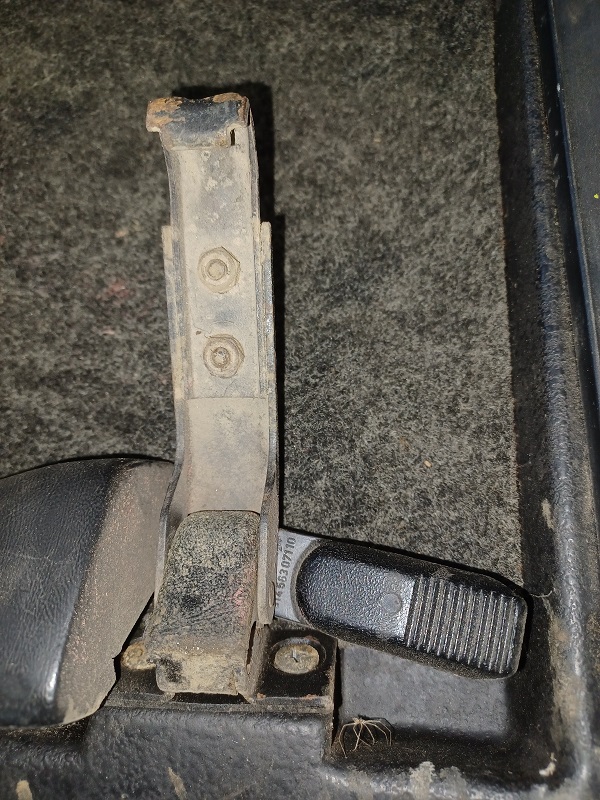
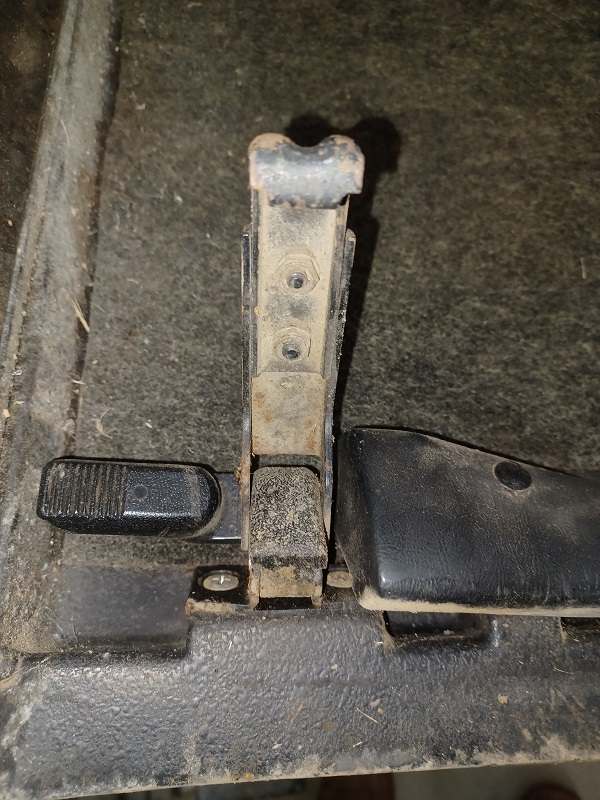
Both of the Front targa latches are there, but will require some serious attention.
  |
|
|
|
| Puebloswatcop |
Jun 27 2025, 08:32 AM
Post
#1120
|
|
Senior Member Group: Members Posts: 1,690 Joined: 27-December 14 From: Mineola, Texas Member No.: 18,258 Region Association: Southwest Region |
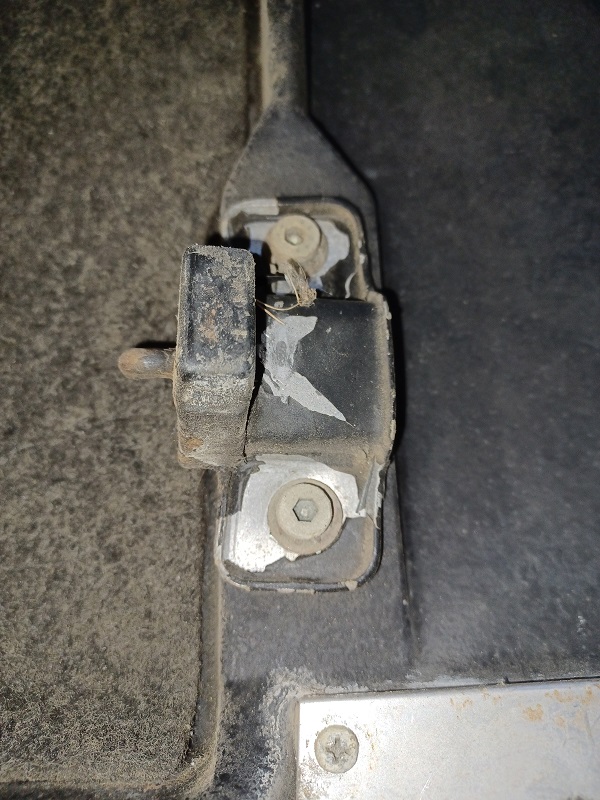
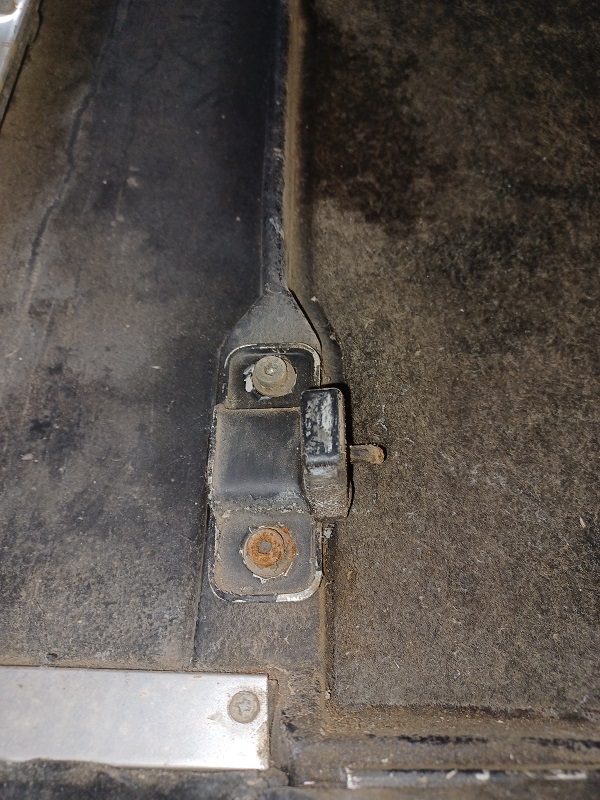
Both rear latch points are there and the rubber portions and the pins are in good shape.
  |
|
|
|
|
1 User(s) are reading this topic (1 Guests and 0 Anonymous Users)
0 Members:

|
Lo-Fi Version | Time is now: 12th December 2025 - 05:12 PM |
Invision Power Board
v9.1.4 © 2025 IPS, Inc.