|
|
|
Porsche, and the Porsche crest are registered trademarks of Dr. Ing. h.c. F. Porsche AG.
This site is not affiliated with Porsche in any way. Its only purpose is to provide an online forum for car enthusiasts. All other trademarks are property of their respective owners. |
|
|

  |

| Puebloswatcop |
 Jun 27 2025, 08:34 AM Jun 27 2025, 08:34 AM
Post
#1121
|
|
Senior Member  Group: Members Posts: 1,690 Joined: 27-December 14 From: Mineola, Texas Member No.: 18,258 Region Association: Southwest Region |
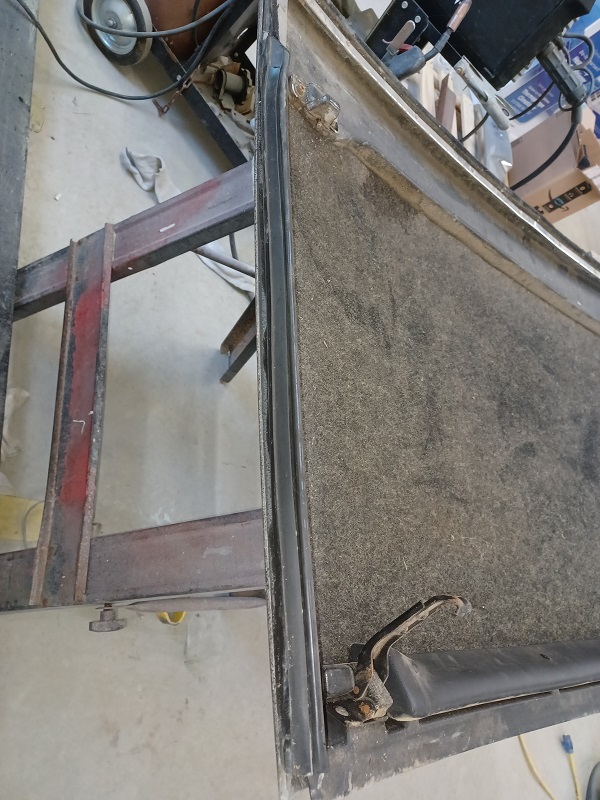
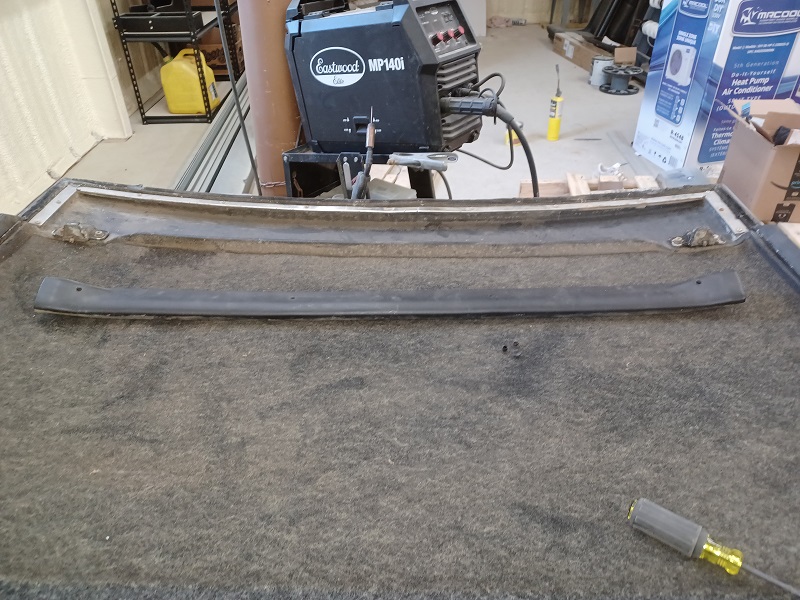
Both of the side seals are original, and there are no rips or teats on either of them
  |
   |

 
|
| Puebloswatcop |
Jun 27 2025, 08:37 AM
Post
#1122
|
|
Senior Member Group: Members Posts: 1,690 Joined: 27-December 14 From: Mineola, Texas Member No.: 18,258 Region Association: Southwest Region |
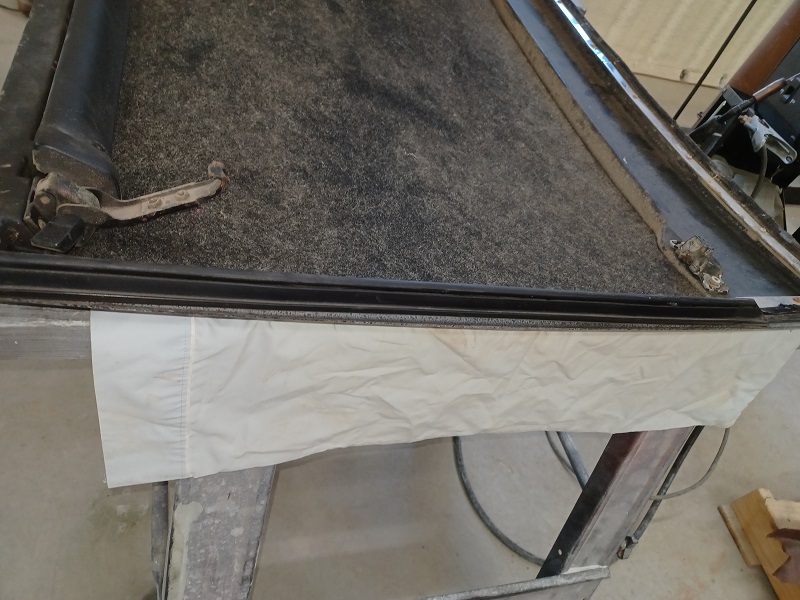
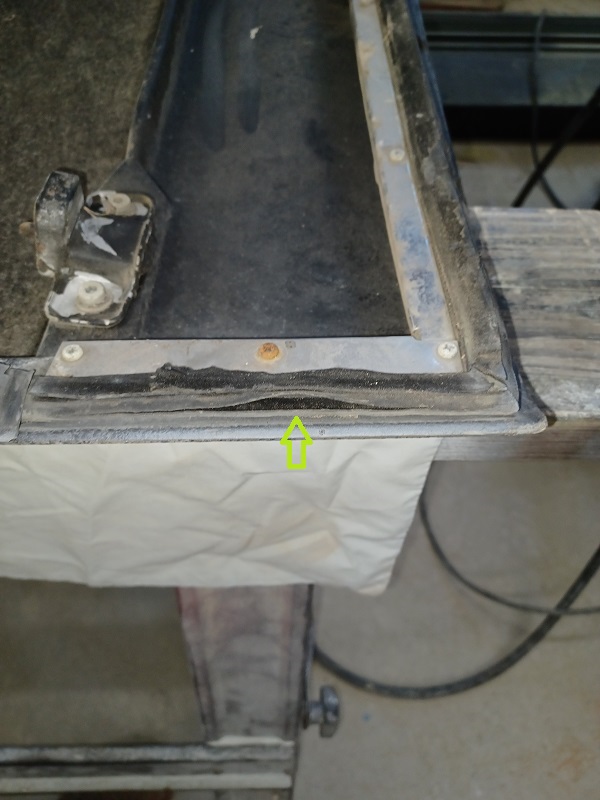
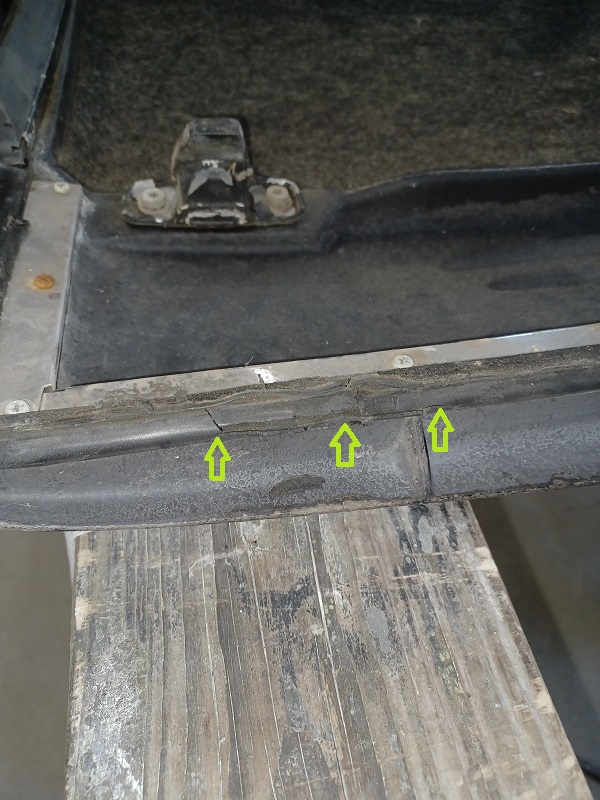
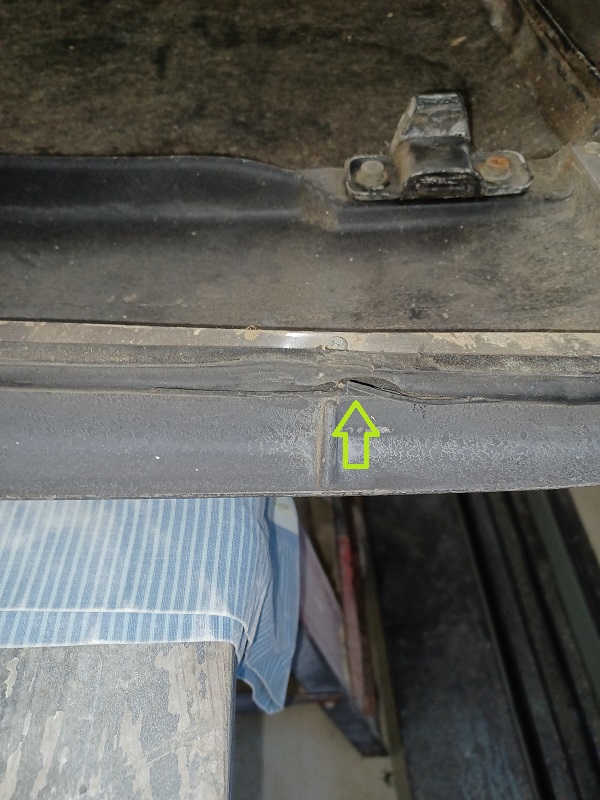
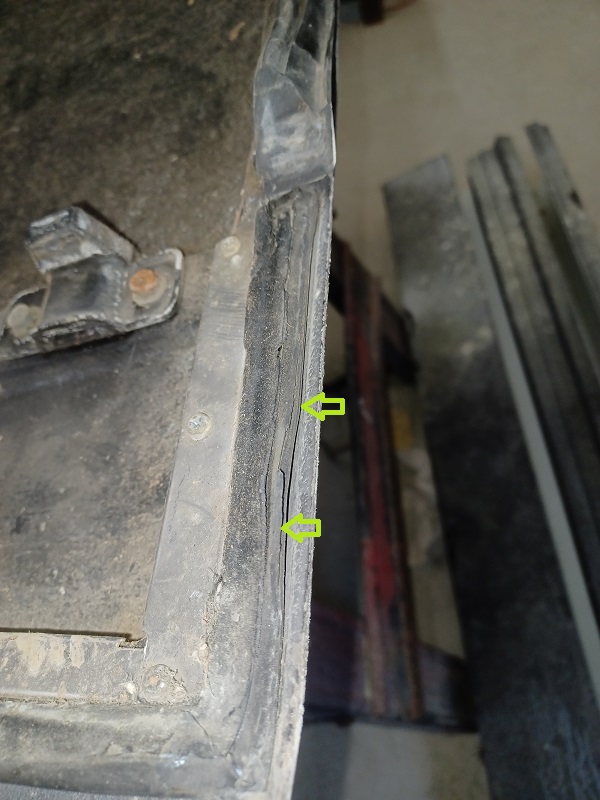
The rear seal is another story. It has many damaged areas and will have to be replaced.
    |
|
|
|
| Puebloswatcop |
Jun 27 2025, 08:41 AM
Post
#1123
|
|
Senior Member Group: Members Posts: 1,690 Joined: 27-December 14 From: Mineola, Texas Member No.: 18,258 Region Association: Southwest Region |
The front targa pad is in excellent shape, there are no splits in the cover and there is no rust or loss of the rubber. Even the areas where the metal is visible, contain no rust.....wow, I finally found a 914 part with no rust on it.
  |
|
|
|
| Puebloswatcop |
Jun 27 2025, 08:51 AM
Post
#1124
|
|
Senior Member Group: Members Posts: 1,690 Joined: 27-December 14 From: Mineola, Texas Member No.: 18,258 Region Association: Southwest Region |
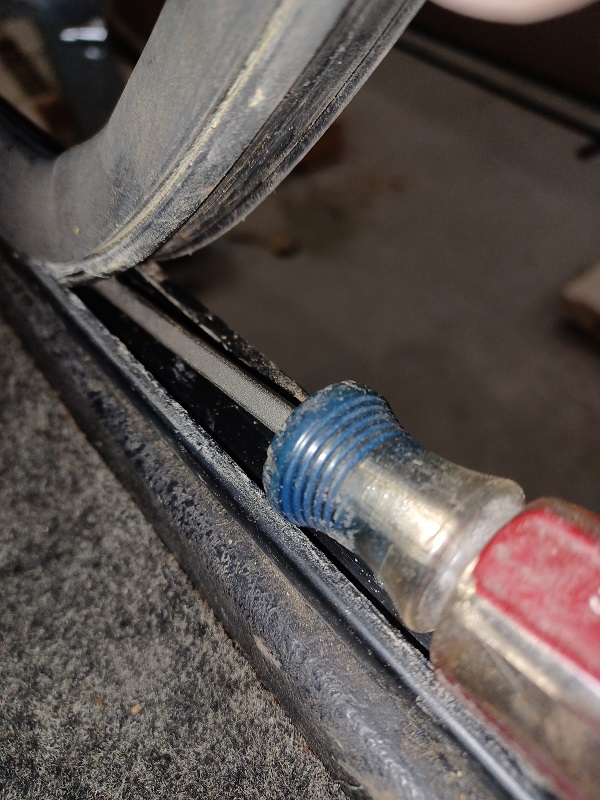
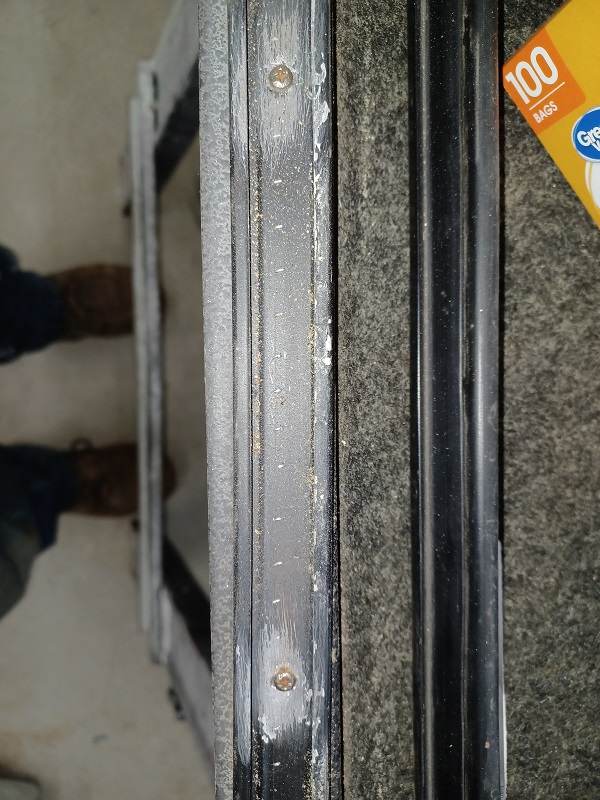
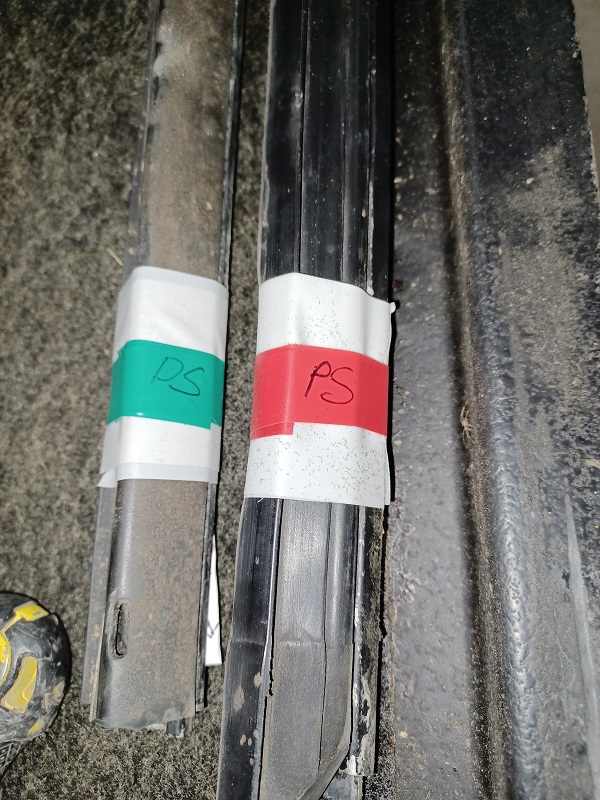
Now I need to find a way to remove the side seals, withoud damaging them. I tried to slide them out of their channels, but they wouldn't budge. Then I looked in the slots at the front of each seal and discovered there were screws in there. I removed the screws, but still no slide. So I carefully inserted a flat tip screw driver under them and cringed as I pulled up on it. Surprisingly it worked quite well. The pressure from the screw driver lifts the ceter of the seal, pulling it out of the slots in both sides of the channel. After removing them, I taped the channell and corresponding seal together so nothing gets mixed up.
   |
|
|
|
| Puebloswatcop |
Jun 27 2025, 08:54 AM
Post
#1125
|
|
Senior Member Group: Members Posts: 1,690 Joined: 27-December 14 From: Mineola, Texas Member No.: 18,258 Region Association: Southwest Region |
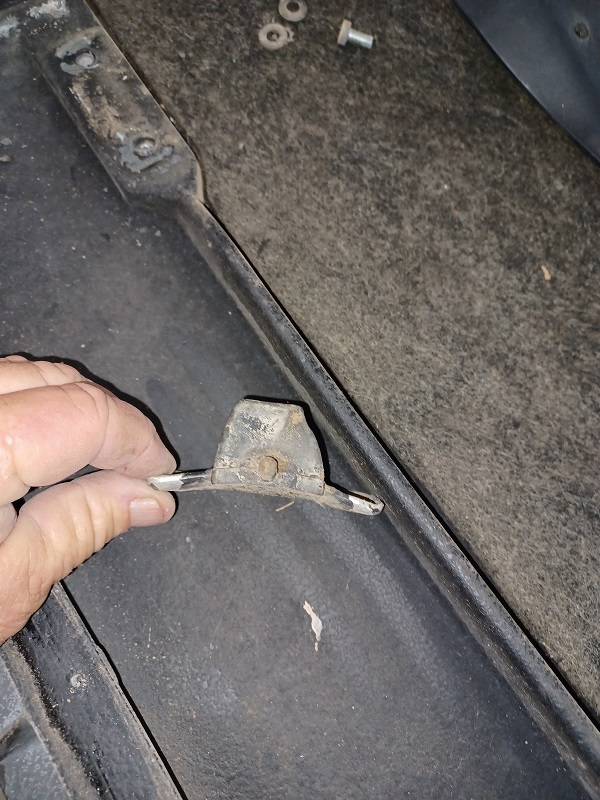
When I was removing the rear latch points, I discovered that the driver side latch was bent significantly...Some one used to mych force when latching it down?
 |
|
|
|
| Puebloswatcop |
Jun 27 2025, 08:59 AM
Post
#1126
|
|
Senior Member Group: Members Posts: 1,690 Joined: 27-December 14 From: Mineola, Texas Member No.: 18,258 Region Association: Southwest Region |
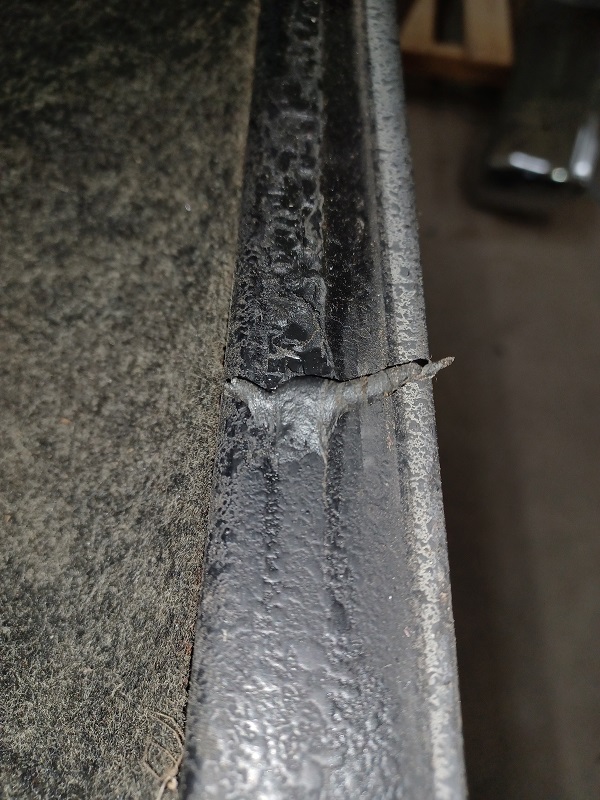
Underneath where the side channels were attached to the top, was a sealant that was very flexible, similar to the winshield sealant. Its like black elephant snot. I tried to remove it with acetone, but it was a no go. What I did discover if I pushe it along the front edge it rolled up in a ball, so I just kept rolling and it came right off.
 |
|
|
|
| Puebloswatcop |
Jun 27 2025, 09:04 AM
Post
#1127
|
|
Senior Member Group: Members Posts: 1,690 Joined: 27-December 14 From: Mineola, Texas Member No.: 18,258 Region Association: Southwest Region |
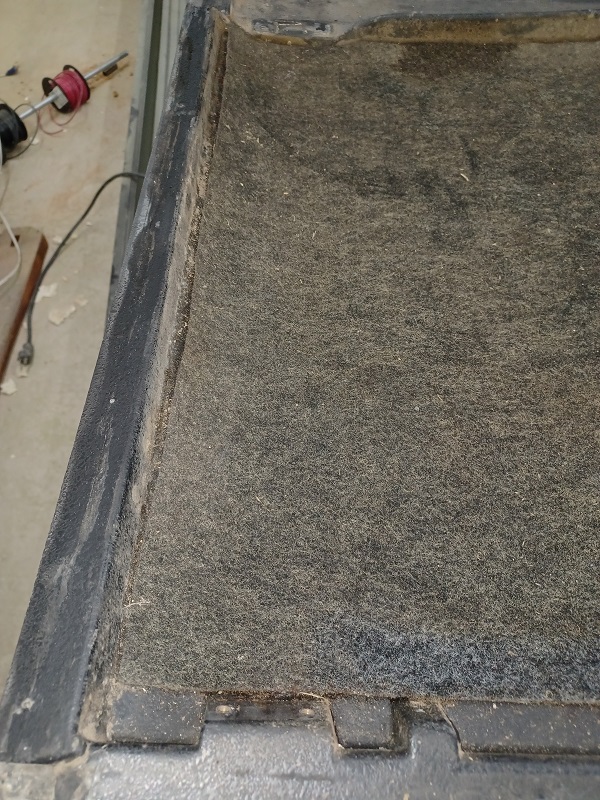
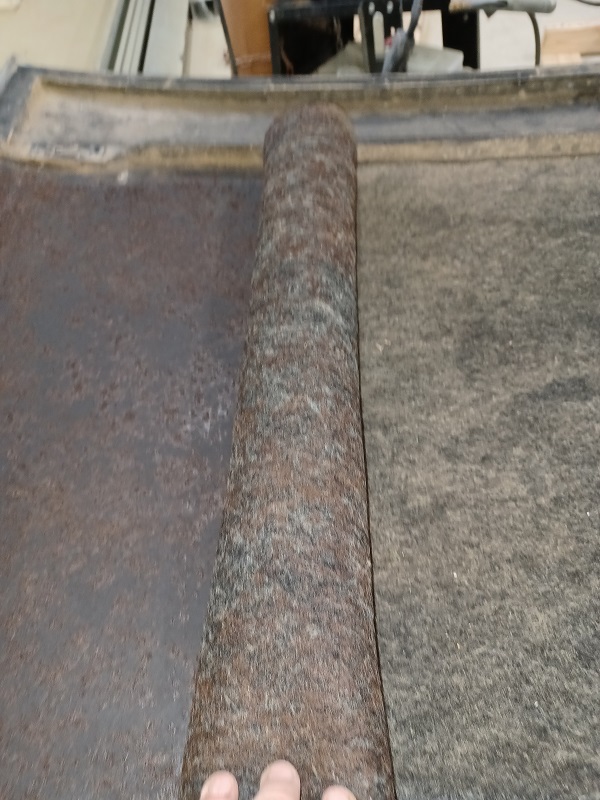
Then it was a matter of removing the headliner, being careful not to tear it apart. Since it too is original, I'd like to clean it and reinstall it. Since the edge was already loose, I began carefully pulling it up. the glue holding it must have disintegrated because it pulled up very easily. Then I just began rolling it, figuring if I hit any place where the glue was still holding strong, it would stop rollin without damaging the headliner. It rolled right off without any problems.
  |
|
|
|
| Puebloswatcop |
Jun 27 2025, 09:09 AM
Post
#1128
|
|
Senior Member Group: Members Posts: 1,690 Joined: 27-December 14 From: Mineola, Texas Member No.: 18,258 Region Association: Southwest Region |
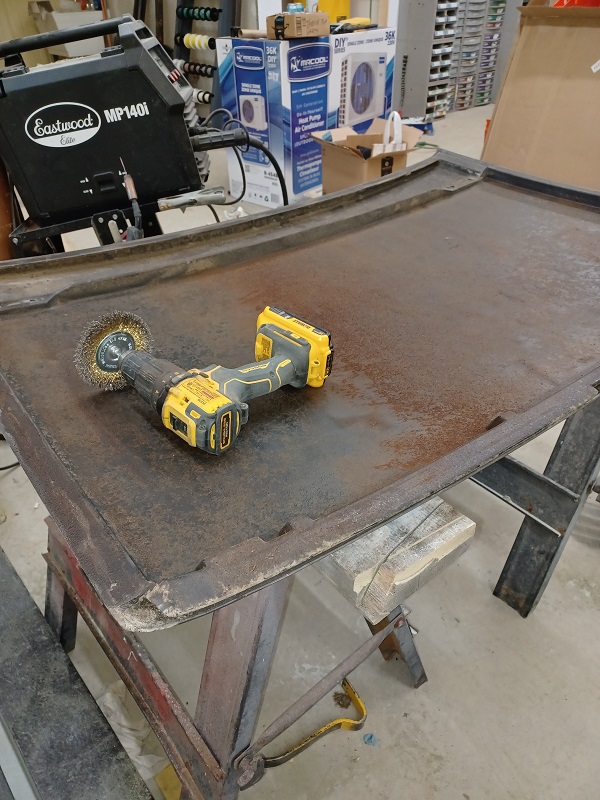
That left the adhesive in the top. I really didn't want to use a chemical to remove the dried adhesive because I didn't want to take a chance of damaging the top. So I used a drill with a brass brush in it . I just ran it at a medium speed with the weight of the drill, (No muscle force) and the adhesive came off very easily.
  |
|
|
|
| friethmiller |
Jun 27 2025, 09:43 AM
Post
#1129
|
|
Senior Member Group: Members Posts: 1,101 Joined: 10-February 19 From: Austin, TX Member No.: 22,863 Region Association: Southwest Region |
Kevin, here's a few pics of my targa top restoration from my other 914. That rub mark on your top is almost identical to mine. It must be from not storing the top correctly and it making contact with the bottom of the trunk. Just make sure to use some high quality, high temp glue, like 3M's 94 spray adhesive. That top is going to get hot when it's on.
Restoring a targa top is actually fun and rewarding - unlike other frustrating tasks we must perform on these cars. Good luck! (IMG:style_emoticons/default/popcorn[1].gif) https://fredriethmiller.smugmug.com/1974-Po...Jul-Sep-2020/62 |
|
|
|
| Puebloswatcop |
Jun 27 2025, 05:03 PM
Post
#1130
|
|
Senior Member Group: Members Posts: 1,690 Joined: 27-December 14 From: Mineola, Texas Member No.: 18,258 Region Association: Southwest Region |
QUOTE(friethmiller @ Jun 27 2025, 10:43 AM)  Kevin, here's a few pics of my targa top restoration from my other 914. That rub mark on your top is almost identical to mine. It must be from not storing the top correctly and it making contact with the bottom of the trunk. Just make sure to use some high quality, high temp glue, like 3M's 94 spray adhesive. That top is going to get hot when it's on. Restoring a targa top is actually fun and rewarding - unlike other frustrating tasks we must perform on these cars. Good luck! (IMG:style_emoticons/default/popcorn[1].gif) https://fredriethmiller.smugmug.com/1974-Po...Jul-Sep-2020/62 Thanks Fred, my next step was going to be going back through different threads in search of advice. And yes, I will definitly use 3M product. I'd hate for the darn thing to fall in my face while driving on a hot summer day... |
|
|
|
| bkrantz |
Jun 27 2025, 08:26 PM
Post
#1131
|
|
914 Guru Group: Members Posts: 8,550 Joined: 3-August 19 From: SW Colorado Member No.: 23,343 Region Association: Rocky Mountains |
QUOTE(Puebloswatcop @ Jun 27 2025, 08:41 AM) The front targa pad is in excellent shape, there are no splits in the cover and there is no rust or loss of the rubber. Even the areas where the metal is visible, contain no rust.....wow, I finally found a 914 part with no rust on it. Careful! The 914 gods don't like that kind of talk. |
|
|
|
| Puebloswatcop |
Jun 28 2025, 07:18 AM
Post
#1132
|
|
Senior Member Group: Members Posts: 1,690 Joined: 27-December 14 From: Mineola, Texas Member No.: 18,258 Region Association: Southwest Region |
bkrantz, You're right Bob, I would hate to go out one morning and find it all shriveled up and rusted through and through
|
|
|
|
| Puebloswatcop |
Jul 1 2025, 10:41 AM
Post
#1133
|
|
Senior Member Group: Members Posts: 1,690 Joined: 27-December 14 From: Mineola, Texas Member No.: 18,258 Region Association: Southwest Region |
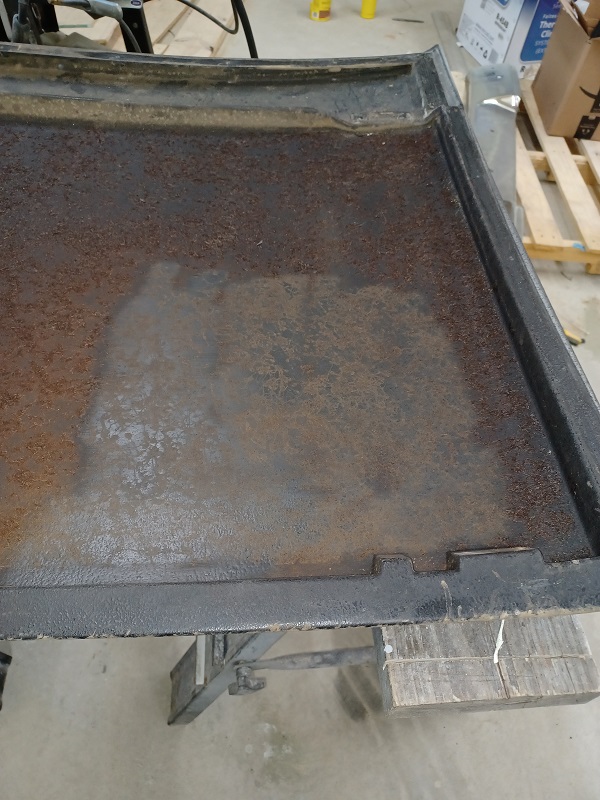
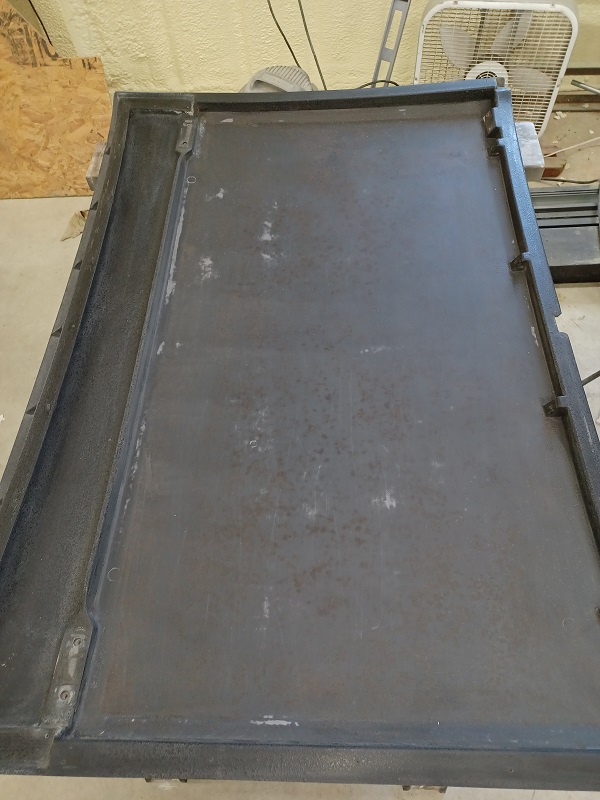
Finished sanding all of the glue off of the under side of the targa top.
 |
|
|
|
| Puebloswatcop |
Jul 1 2025, 10:45 AM
Post
#1134
|
|
Senior Member Group: Members Posts: 1,690 Joined: 27-December 14 From: Mineola, Texas Member No.: 18,258 Region Association: Southwest Region |
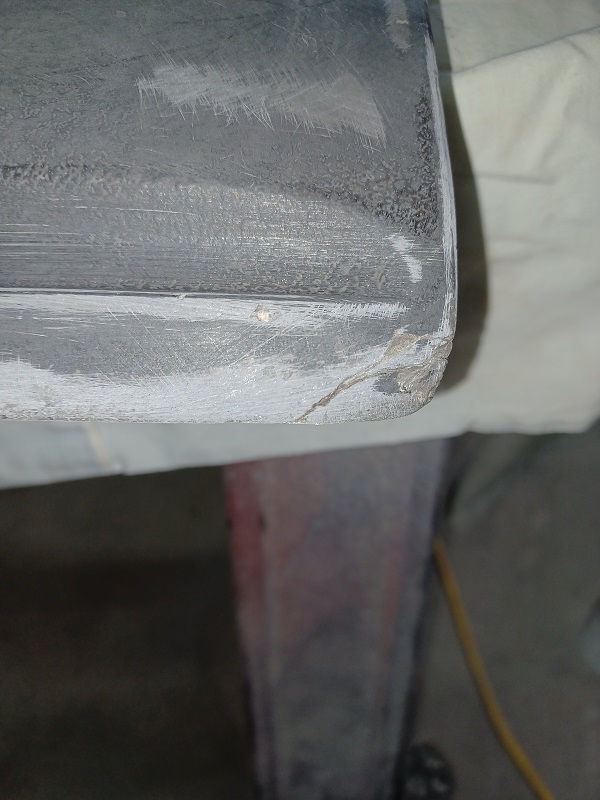
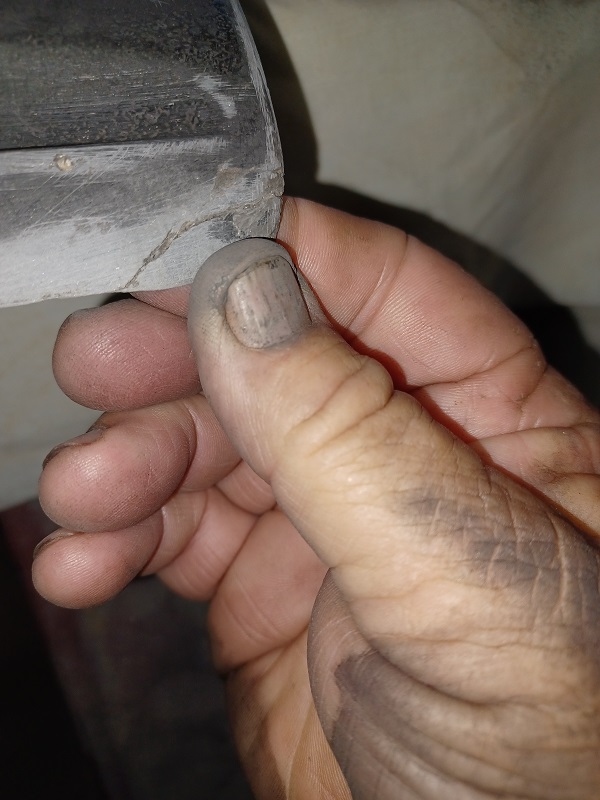
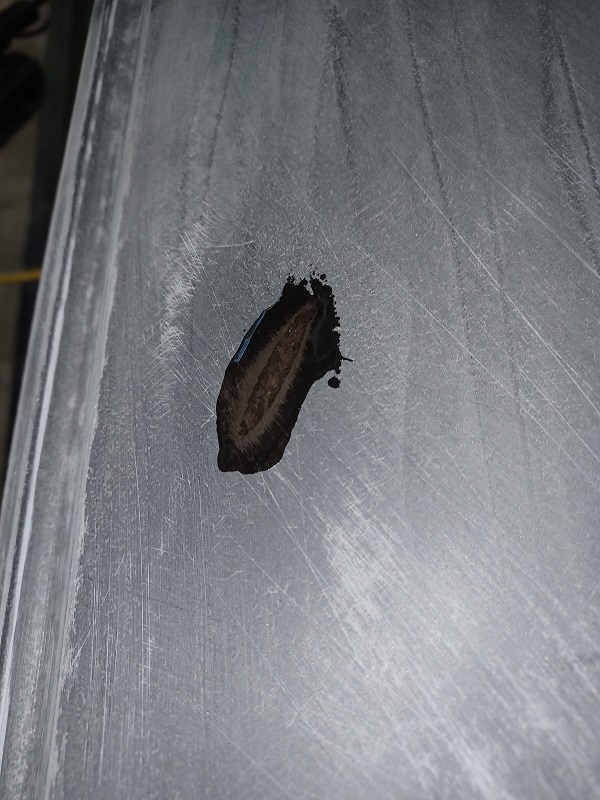
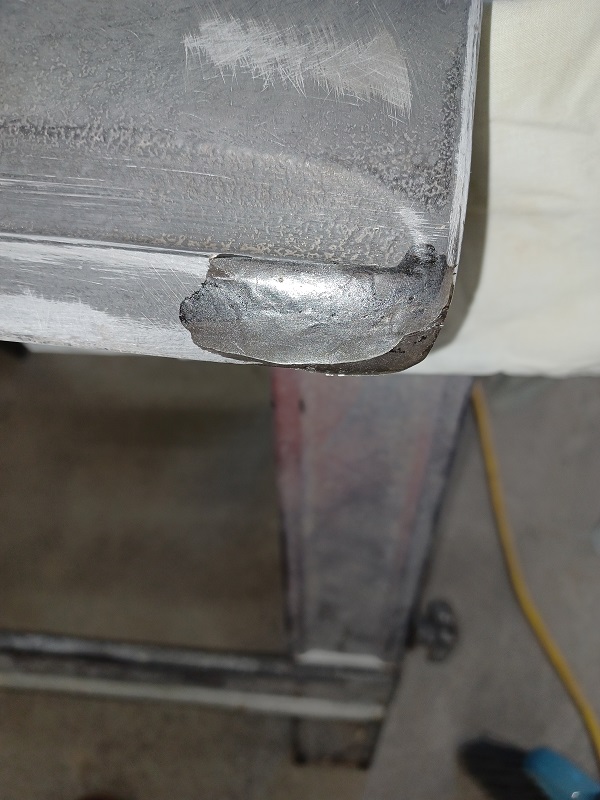
Hey Bob, I must have made the 914 Gods angry. While I was sanding the top, I discovered that there was indeed one corner that had a pretty serious crack in it. Couldn'd see itt before sanding because of the texture. But it was bad enough that it could be easily bent and I am sure if missed it would have broken off at some point.
  |
|
|
|
| Puebloswatcop |
Jul 1 2025, 10:50 AM
Post
#1135
|
|
Senior Member Group: Members Posts: 1,690 Joined: 27-December 14 From: Mineola, Texas Member No.: 18,258 Region Association: Southwest Region |
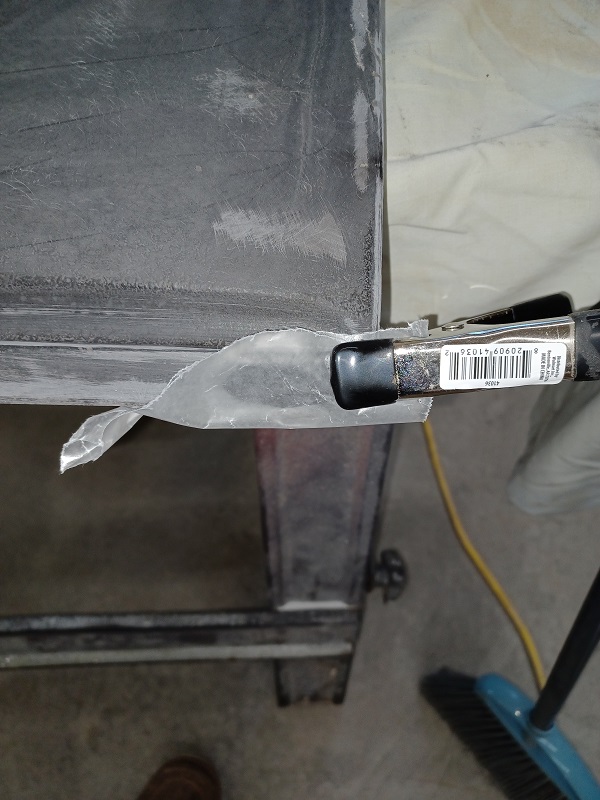
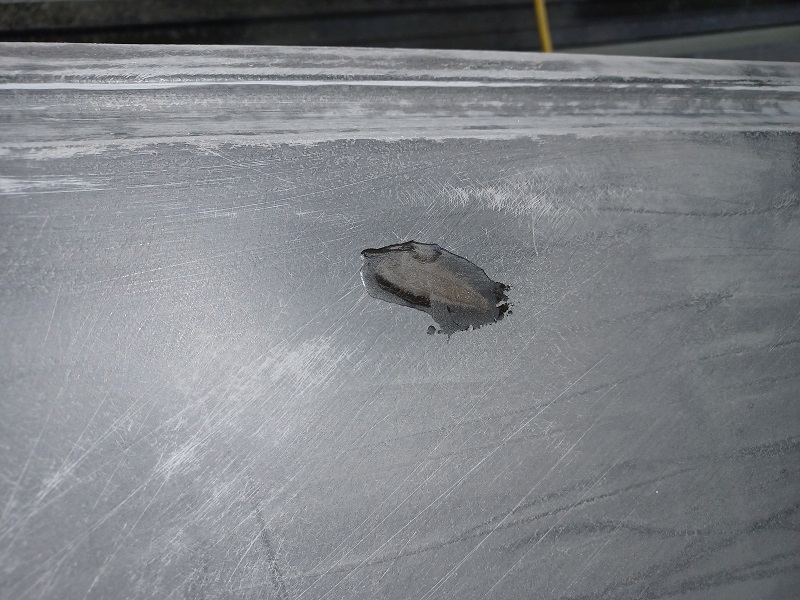
I used fiberglass resin to fill in the crack, then spread some over the top of the crack to re-enforce it, then covered it with wax paper and clamped it in place. The wax paper was simply to keep the clamp from becoming part of the targa top. Since I was mixing resin, I went ahead and filled the other imperfection where something had rubbed a worn spot.
  |
|
|
|
| Puebloswatcop |
Jul 1 2025, 10:57 AM
Post
#1136
|
|
Senior Member Group: Members Posts: 1,690 Joined: 27-December 14 From: Mineola, Texas Member No.: 18,258 Region Association: Southwest Region |
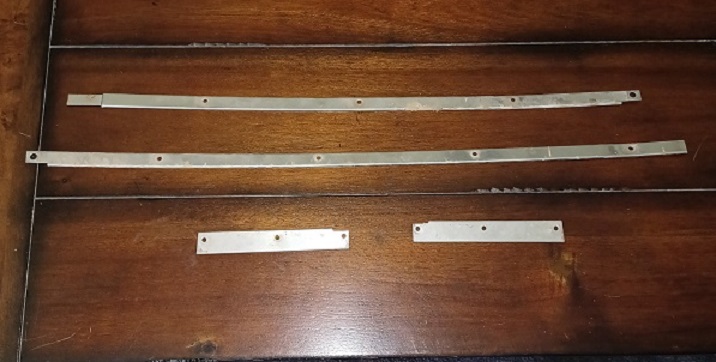
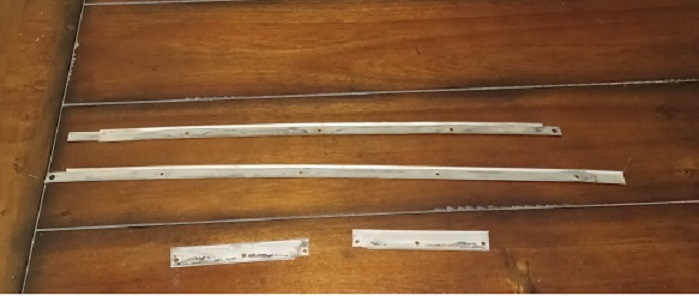
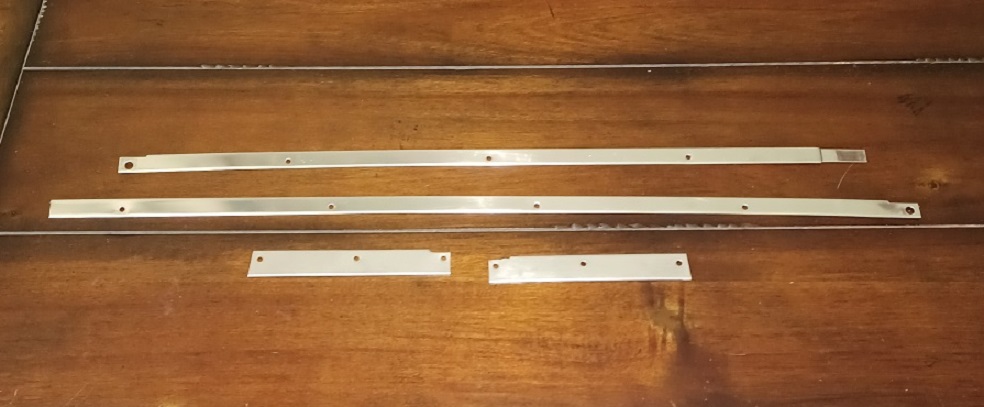
Since I was going to give the resin 24 hours to set up, I finished my day cleaning up the targa top's trim pieces. It really didn't take to long, in fact there was one piece where one of the screw holes was badly dented from someone being a bit over zealous with a screw driver. It took longer to get that straightened out than to clean all of the pieces.
   |
|
|
|
| Puebloswatcop |
Jul 1 2025, 04:53 PM
Post
#1137
|
|
Senior Member Group: Members Posts: 1,690 Joined: 27-December 14 From: Mineola, Texas Member No.: 18,258 Region Association: Southwest Region |
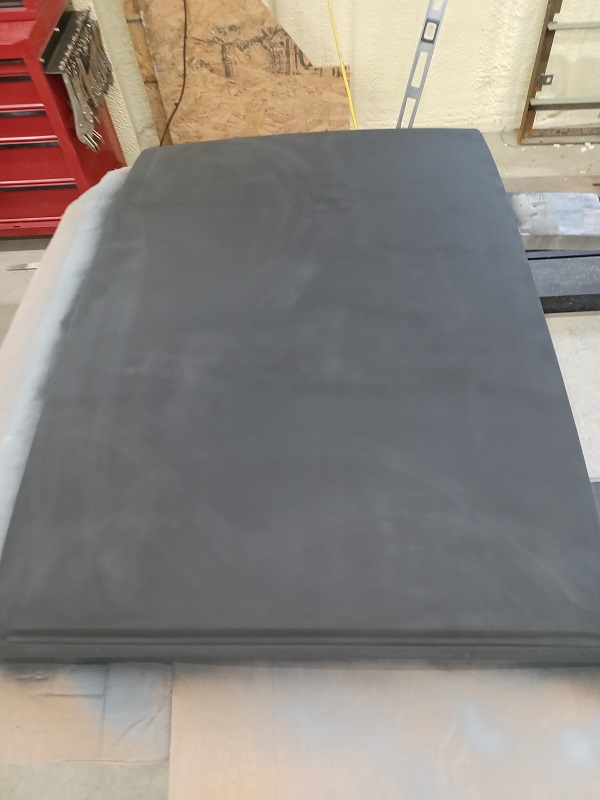
Checked the Resin Fills this morning, everything worked as planned.
  |
|
|
|
| Puebloswatcop |
Jul 1 2025, 04:57 PM
Post
#1138
|
|
Senior Member Group: Members Posts: 1,690 Joined: 27-December 14 From: Mineola, Texas Member No.: 18,258 Region Association: Southwest Region |
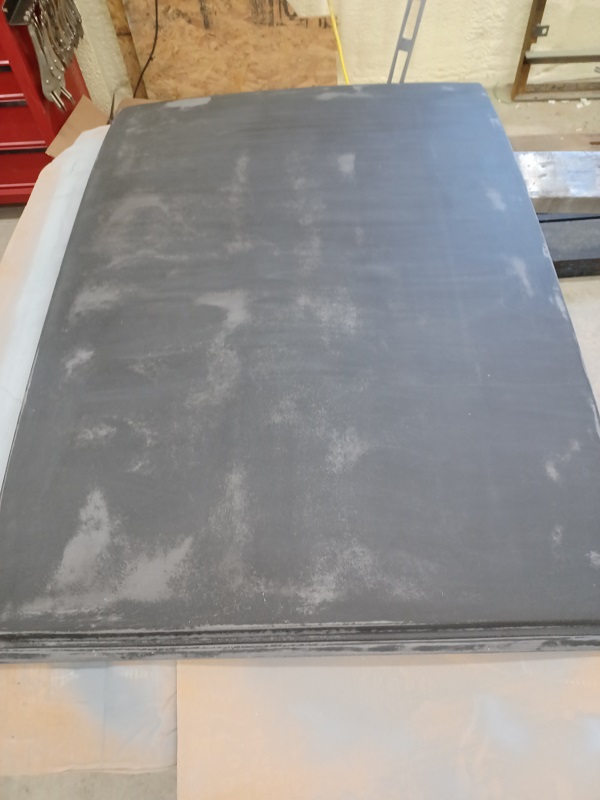
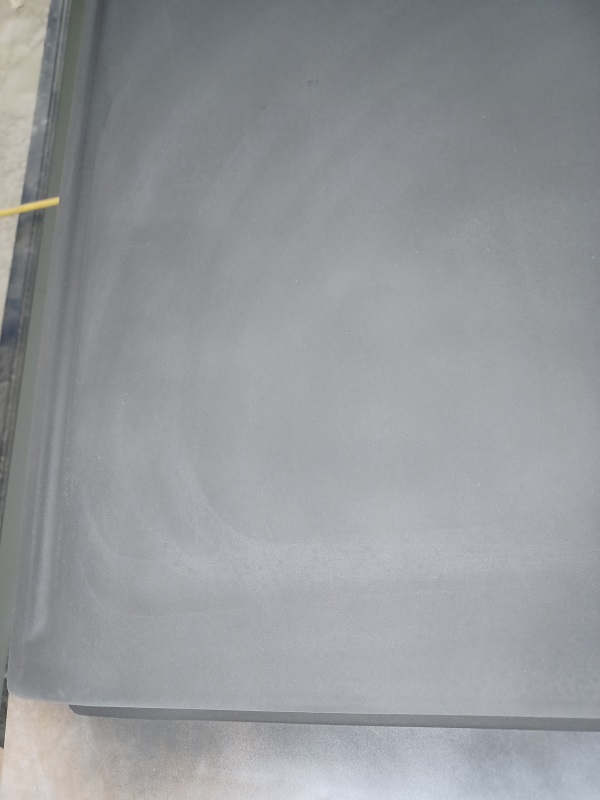
Sorry everyone, but I thought I took pis after I sanded down the fiberglass resin, but I must have forgotten. But here is a pic of the roof after sanding the repairs and wiping it down 4 times. You know what they say...cleanliness is next to Godliness.
 |
|
|
|
| Puebloswatcop |
Jul 1 2025, 04:59 PM
Post
#1139
|
|
Senior Member Group: Members Posts: 1,690 Joined: 27-December 14 From: Mineola, Texas Member No.: 18,258 Region Association: Southwest Region |
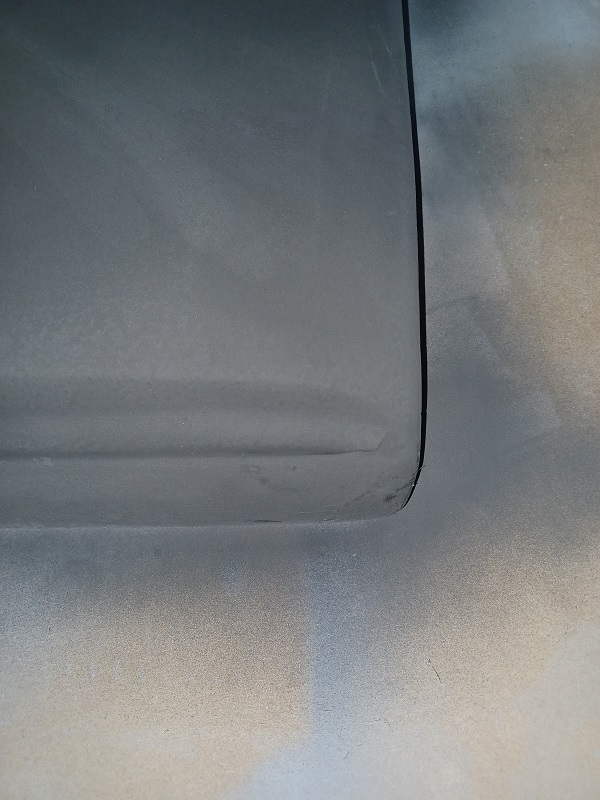
Here are the photos of the repair areas after the first coat of primer
  |
|
|
|
| Puebloswatcop |
Jul 1 2025, 05:02 PM
Post
#1140
|
|
Senior Member Group: Members Posts: 1,690 Joined: 27-December 14 From: Mineola, Texas Member No.: 18,258 Region Association: Southwest Region |
And after 3 coats of primer.... I was going to spray the spatter coat on, but I didn't like the way the test spray came out, so I will have to go out and buy a different product, Then I will get the texture sprayrd.
 |
|
|
|
|
1 User(s) are reading this topic (1 Guests and 0 Anonymous Users)
0 Members:

|
Lo-Fi Version | Time is now: 12th December 2025 - 05:13 PM |
Invision Power Board
v9.1.4 © 2025 IPS, Inc.