|
|
|
Porsche, and the Porsche crest are registered trademarks of Dr. Ing. h.c. F. Porsche AG.
This site is not affiliated with Porsche in any way. Its only purpose is to provide an online forum for car enthusiasts. All other trademarks are property of their respective owners. |
|
|

  |

| Puebloswatcop |
 Jul 1 2025, 05:50 PM Jul 1 2025, 05:50 PM
Post
#1141
|
|
Senior Member  Group: Members Posts: 1,690 Joined: 27-December 14 From: Mineola, Texas Member No.: 18,258 Region Association: Southwest Region |
QUOTE(friethmiller @ Jun 27 2025, 10:43 AM)  Kevin, here's a few pics of my targa top restoration from my other 914. That rub mark on your top is almost identical to mine. It must be from not storing the top correctly and it making contact with the bottom of the trunk. Just make sure to use some high quality, high temp glue, like 3M's 94 spray adhesive. That top is going to get hot when it's on. Restoring a targa top is actually fun and rewarding - unlike other frustrating tasks we must perform on these cars. Good luck! (IMG:style_emoticons/default/popcorn[1].gif) https://fredriethmiller.smugmug.com/1974-Po...Jul-Sep-2020/62 Hey Fred, do you happen to remember what the product number was on the 3M undercoating you used to do your targa top? |
   |

 
|
| friethmiller |
Jul 1 2025, 09:20 PM
Post
#1142
|
|
Senior Member Group: Members Posts: 1,101 Joined: 10-February 19 From: Austin, TX Member No.: 22,863 Region Association: Southwest Region |
QUOTE(Puebloswatcop @ Jul 1 2025, 06:50 PM) Hey Fred, do you happen to remember what the product number was on the 3M undercoating you used to do your targa top? I'd recommend figuring out "your" process on something else first. Try spraying your test piece from a few feet away, let it set-up a bit, and then use something to "knock-down" the texture to your liking. Good Luck!  |
|
|
|
| Puebloswatcop |
Jul 2 2025, 06:52 AM
Post
#1143
|
|
Senior Member Group: Members Posts: 1,690 Joined: 27-December 14 From: Mineola, Texas Member No.: 18,258 Region Association: Southwest Region |
QUOTE(friethmiller @ Jul 1 2025, 10:20 PM) QUOTE(Puebloswatcop @ Jul 1 2025, 06:50 PM) Hey Fred, do you happen to remember what the product number was on the 3M undercoating you used to do your targa top? I'd recommend figuring out "your" process on something else first. Try spraying your test piece from a few feet away, let it set-up a bit, and then use something to "knock-down" the texture to your liking. Good Luck! Thanks Fred. Thats what I did with the stuff I originally bought. Great way to keep from wasting time and product, just to have to remove it. (IMG:style_emoticons/default/beerchug.gif) |
|
|
|
| Puebloswatcop |
Jul 2 2025, 06:21 PM
Post
#1144
|
|
Senior Member Group: Members Posts: 1,690 Joined: 27-December 14 From: Mineola, Texas Member No.: 18,258 Region Association: Southwest Region |
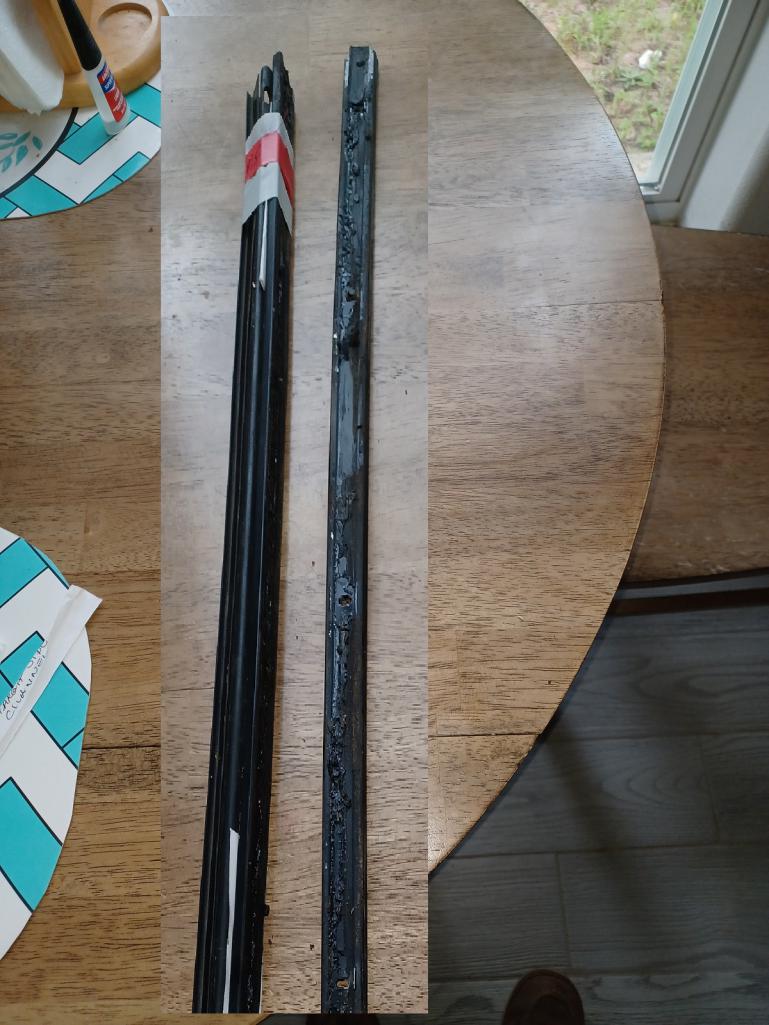
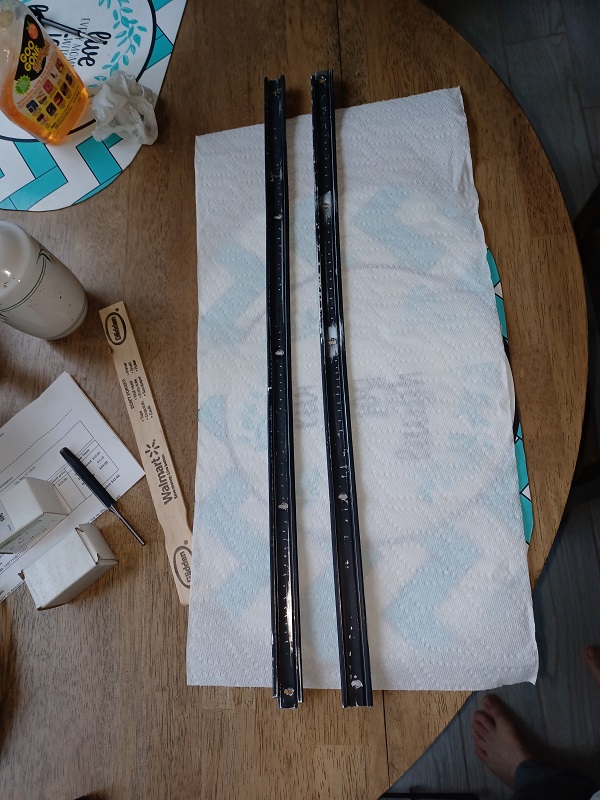
Since I am in a hold until the texture gets here for the targa top, I figured I would knock out the side seals. I had them marked as passenger and driver side with colored tape and a label so I don't mix any of the parts up. Here you can see the metal channel covered in black elephant snot sealant. Lukily, as with the targa top itself, most of this just rolled off with finger pressure. I am still trying to find something that works to clean off the residual.
  |
|
|
|
| Puebloswatcop |
Jul 2 2025, 06:26 PM
Post
#1145
|
|
Senior Member Group: Members Posts: 1,690 Joined: 27-December 14 From: Mineola, Texas Member No.: 18,258 Region Association: Southwest Region |
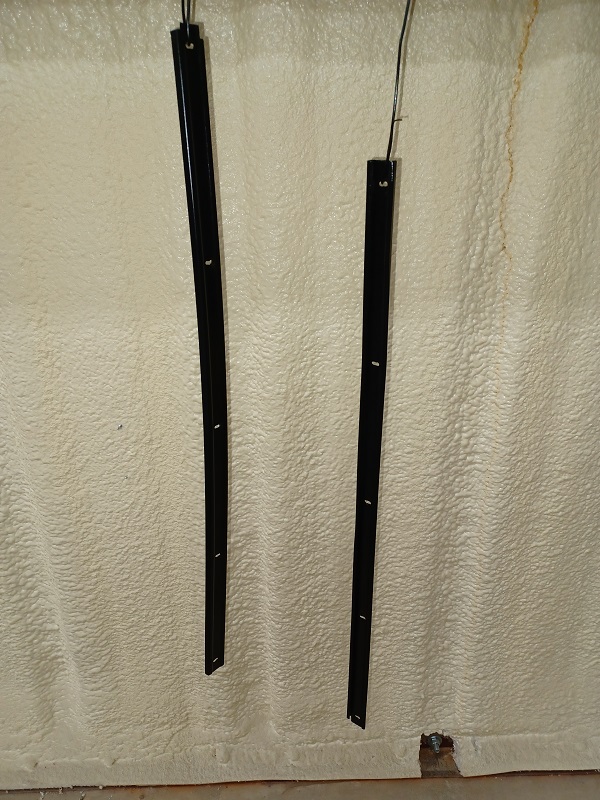
As you can see, the channels will need to be stripped, sanded and re-painted in satin black.
you can see in the second picture the dirt and rust spots on the rubber where it contacted the screws that held the channel in place. when I re-assemble everything I plan on using stainless steel fasteners so they won't have the rust issue again. 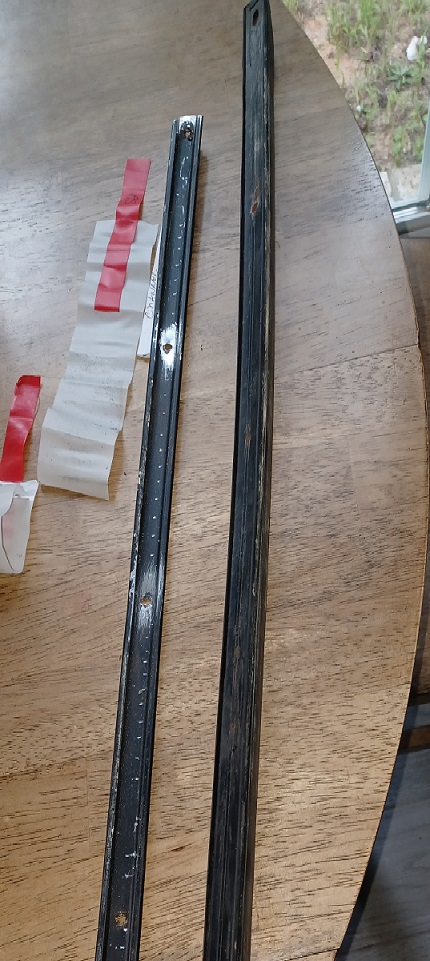 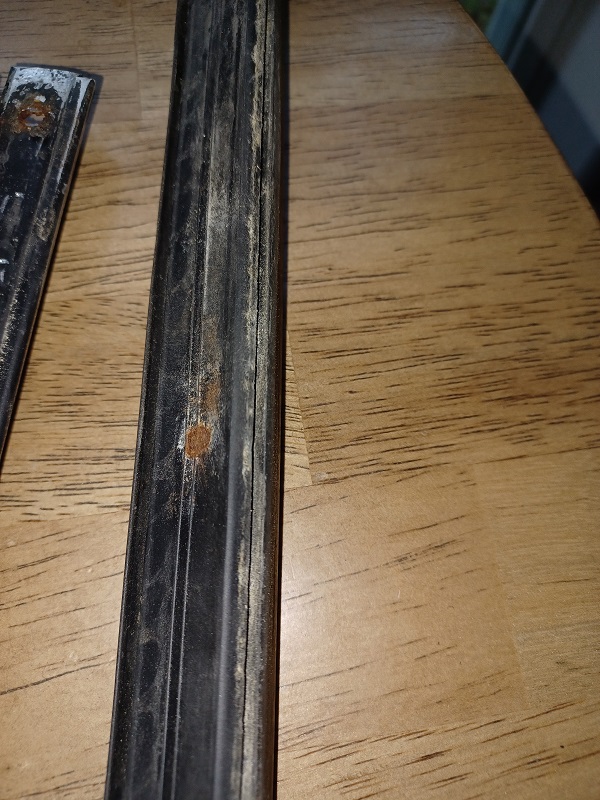 |
|
|
|
| Puebloswatcop |
Jul 2 2025, 06:32 PM
Post
#1146
|
|
Senior Member Group: Members Posts: 1,690 Joined: 27-December 14 From: Mineola, Texas Member No.: 18,258 Region Association: Southwest Region |
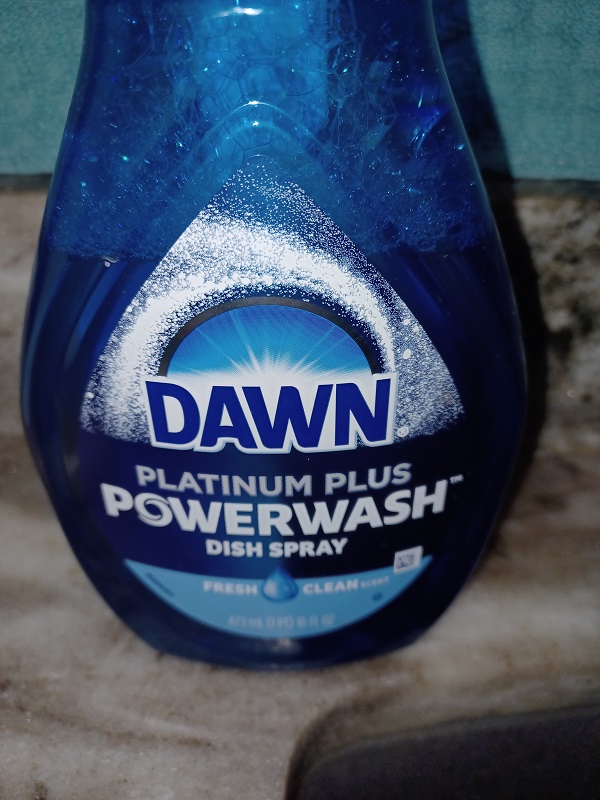
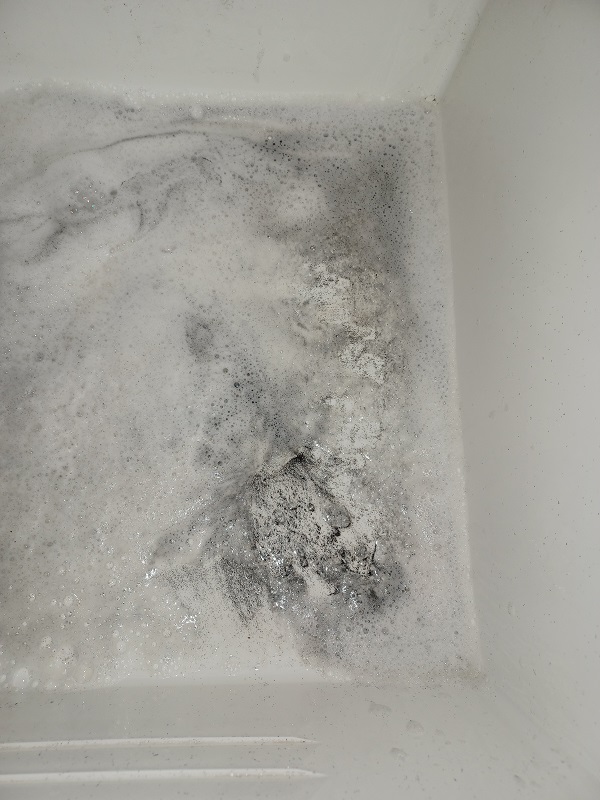
Then it was time to clean and condition the rubber seals. These appear to be the original seals and on a scale of 1 to 10 I would give them a 9.5. I was truely surprised at what good condition they were in. So I started by spraying them with my wife's Dawn Power wash....yes she gave me permission...lol. I let them soak for about 5 minutes, then scrubbed them with the finger nail brush my wife gave me...she is so sweet. A lot of grime and dirt comes off, turning the soap bubbles from white to a dark gray...
  |
|
|
|
| Puebloswatcop |
Jul 2 2025, 06:35 PM
Post
#1147
|
|
Senior Member Group: Members Posts: 1,690 Joined: 27-December 14 From: Mineola, Texas Member No.: 18,258 Region Association: Southwest Region |
After rinsing them I let them dry and then I sprayed the seals with Maguires rubber and vinyl cleaner and conditioner and then wrap them in plastic wrap. I'll let them soak for an hour or so, then wipe them down.....
  |
|
|
|
| Puebloswatcop |
Jul 2 2025, 06:58 PM
Post
#1148
|
|
Senior Member Group: Members Posts: 1,690 Joined: 27-December 14 From: Mineola, Texas Member No.: 18,258 Region Association: Southwest Region |
They came out very soft and supple....
 |
|
|
|
| Puebloswatcop |
Jul 3 2025, 12:53 PM
Post
#1149
|
|
Senior Member Group: Members Posts: 1,690 Joined: 27-December 14 From: Mineola, Texas Member No.: 18,258 Region Association: Southwest Region |
I had to check for myself this morning that the targa top seals actually stayed soft. I don't usually pump up any product, but the Maguires professional, vinyl and rubber cleaner and conditioner works as advertised. These seals are like brand new. (IMG:style_emoticons/default/smilie_pokal.gif)
|
|
|
|
| Puebloswatcop |
Jul 4 2025, 03:12 PM
Post
#1150
|
|
Senior Member Group: Members Posts: 1,690 Joined: 27-December 14 From: Mineola, Texas Member No.: 18,258 Region Association: Southwest Region |
Just worked on a couple of small things today, killing time. I tried several products to try to remove the remaining sticky stuff off of the targa side seal rails. Turns out that GooGone works really well. After removing the sealant from the rails I sanded them down with 400 grit wet dry paper with soap and water. Then painted them with black satin paint.
  |
|
|
|
| Puebloswatcop |
Jul 4 2025, 03:18 PM
Post
#1151
|
|
Senior Member Group: Members Posts: 1,690 Joined: 27-December 14 From: Mineola, Texas Member No.: 18,258 Region Association: Southwest Region |
Then I cleaned up and treated the fresh air box drain hoses. The insides of the hoses were a lot worse that the outside. But with dawn soap and a bottle brush I was able to get them cleaned. Then scrubed the outside with the nail brush and treated them with the Maguires. They look almost brand new.
  |
|
|
|
| bkrantz |
Jul 4 2025, 08:34 PM
Post
#1152
|
|
914 Guru Group: Members Posts: 8,548 Joined: 3-August 19 From: SW Colorado Member No.: 23,343 Region Association: Rocky Mountains |
QUOTE(Puebloswatcop @ Jul 4 2025, 03:12 PM) Just worked on a couple of small things today, killing time. I tried several products to try to remove the remaining sticky stuff off of the targa side seal rails. Turns out that GooGone works really well. After removing the sealant from the rails I sanded them down with 400 grit wet dry paper with soap and water. Then painted them with black satin paint. Kevin, you're giving me disturbing flashbacks. A PO of my car gave it the black-out treatment. Since they sanded everything first (including bumpers and door handles) I could not rescue much of the original brightwork. |
|
|
|
| Puebloswatcop |
Jul 10 2025, 02:40 PM
Post
#1153
|
|
Senior Member Group: Members Posts: 1,690 Joined: 27-December 14 From: Mineola, Texas Member No.: 18,258 Region Association: Southwest Region |
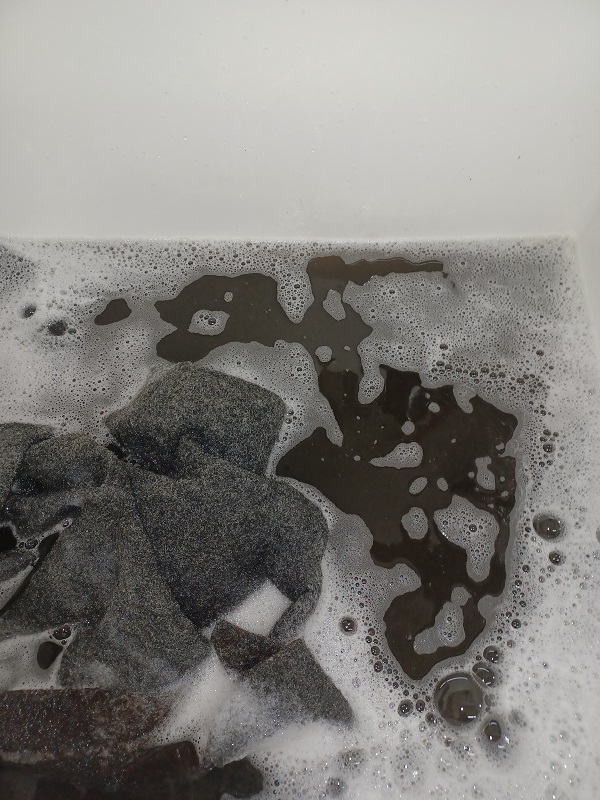
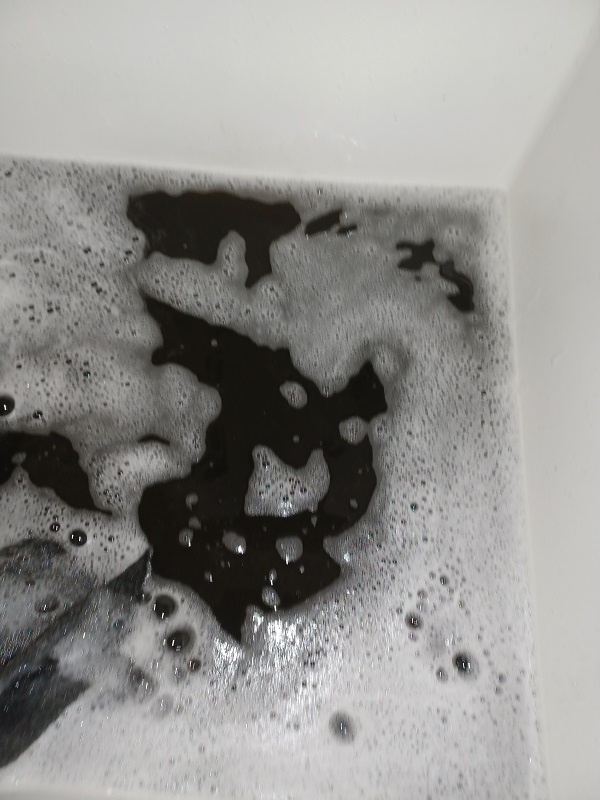
I decided to try washing the original headliner since it spelled and looked bad. First I sprayed it with power wash liquid soap and let it soak for about 15 minutes. Then into the wash tub for a short soak. then I washed it old style. You can see how the water looked going through the process. I had to rinse it a half dozen times before the dirt quit covering the bottom of the tub. I will let it dry in the sun and see how it comes out.
   |
|
|
|
| Root_Werks |
Jul 10 2025, 02:47 PM
Post
#1154
|
|
Village Idiot Group: Members Posts: 8,862 Joined: 25-May 04 From: About 5NM from Canada Member No.: 2,105 Region Association: Pacific Northwest |
Spending time cleaning every last part makes such a big difference. Especially when things like paint are new. Old/dirty parts stick out against new paint.
|
|
|
|
| Puebloswatcop |
Jul 11 2025, 06:34 AM
Post
#1155
|
|
Senior Member Group: Members Posts: 1,690 Joined: 27-December 14 From: Mineola, Texas Member No.: 18,258 Region Association: Southwest Region |
QUOTE(Root_Werks @ Jul 10 2025, 03:47 PM) Spending time cleaning every last part makes such a big difference. Especially when things like paint are new. Old/dirty parts stick out against new paint. I agree. It is a lot of tedious, seemingly inconsequential work. But when you are doing restoration work it is the neccesary evil one must endure to see a great result in the end. |
|
|
|
| bkrantz |
Jul 11 2025, 06:54 PM
Post
#1156
|
|
914 Guru Group: Members Posts: 8,548 Joined: 3-August 19 From: SW Colorado Member No.: 23,343 Region Association: Rocky Mountains |
QUOTE(Puebloswatcop @ Jul 11 2025, 06:34 AM) QUOTE(Root_Werks @ Jul 10 2025, 03:47 PM) Spending time cleaning every last part makes such a big difference. Especially when things like paint are new. Old/dirty parts stick out against new paint. I agree. It is a lot of tedious, seemingly inconsequential work. But when you are doing restoration work it is the neccesary evil one must endure to see a great result in the end. And even when not visible to others, YOU will know. |
|
|
|
| Puebloswatcop |
Jul 12 2025, 08:23 AM
Post
#1157
|
|
Senior Member Group: Members Posts: 1,690 Joined: 27-December 14 From: Mineola, Texas Member No.: 18,258 Region Association: Southwest Region |
QUOTE(bkrantz @ Jul 11 2025, 07:54 PM) QUOTE(Puebloswatcop @ Jul 11 2025, 06:34 AM) QUOTE(Root_Werks @ Jul 10 2025, 03:47 PM) Spending time cleaning every last part makes such a big difference. Especially when things like paint are new. Old/dirty parts stick out against new paint. I agree. It is a lot of tedious, seemingly inconsequential work. But when you are doing restoration work it is the neccesary evil one must endure to see a great result in the end. And even when not visible to others, YOU will know. Exactly, my friend. |
|
|
|
| Puebloswatcop |
Jul 12 2025, 07:13 PM
Post
#1158
|
|
Senior Member Group: Members Posts: 1,690 Joined: 27-December 14 From: Mineola, Texas Member No.: 18,258 Region Association: Southwest Region |
The headliner was dry so I alid it out on a towel and ironed it with a steam iron. It came out pretty decent, but there were a few thin spots, probably from a combination ofyears of wear and tear, as well as some of the threads were pulled too much when I was removing it from the roof. I decided to order a new one from 914 Rubber. If it looks good I'll use it, but if its not a close match, I will use the original. The bare spots don't show on the black roof.
  |
|
|
|
| Puebloswatcop |
Jul 15 2025, 07:37 AM
Post
#1159
|
|
Senior Member Group: Members Posts: 1,690 Joined: 27-December 14 From: Mineola, Texas Member No.: 18,258 Region Association: Southwest Region |
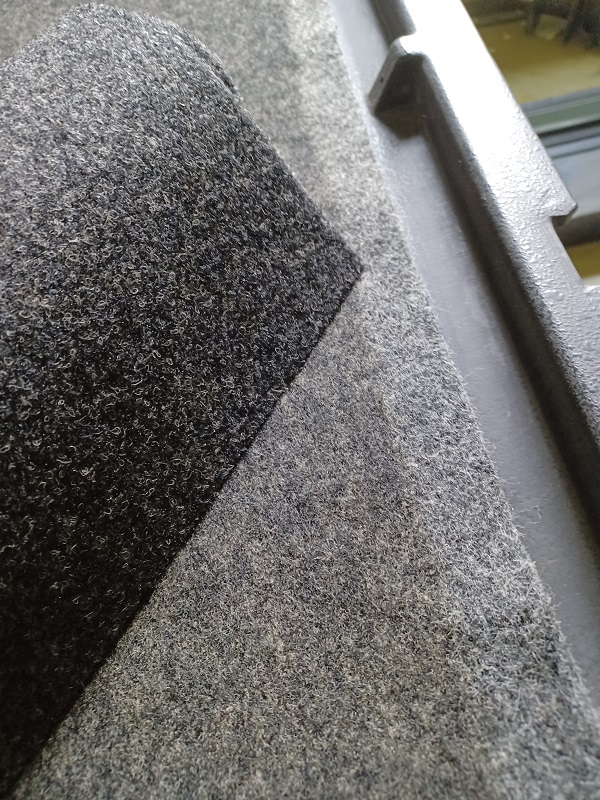
The new 914 Rubber Headliner came in today. After comparing it to the original, I have decided to go with the new one. As you can see in the photo the old one is discolored. The light color is where it was covered by the front targa pad. the darker portion is where 50 years of dirt didn't wash out. I also like the fact that the new pad is about 2 or 3 times thicker than the old liner..
 |
|
|
|
| friethmiller |
Jul 15 2025, 07:48 AM
Post
#1160
|
|
Senior Member Group: Members Posts: 1,101 Joined: 10-February 19 From: Austin, TX Member No.: 22,863 Region Association: Southwest Region |
QUOTE(Puebloswatcop @ Jul 15 2025, 08:37 AM) After comparing it to the original, I have decided to go with the new one. Nice! I salute your efforts in trying to reuse the original material (IMG:style_emoticons/default/flag.gif) . However, I think certain items fall into the "replace" category. This is one of them on your build. Can't wait to see the texturing photos (IMG:style_emoticons/default/drooley.gif) |
|
|
|
|
1 User(s) are reading this topic (1 Guests and 0 Anonymous Users)
0 Members:

|
Lo-Fi Version | Time is now: 11th December 2025 - 02:46 AM |
Invision Power Board
v9.1.4 © 2025 IPS, Inc.