|
|
|
Porsche, and the Porsche crest are registered trademarks of Dr. Ing. h.c. F. Porsche AG.
This site is not affiliated with Porsche in any way. Its only purpose is to provide an online forum for car enthusiasts. All other trademarks are property of their respective owners. |
|
|


| nditiz1 |
 Sep 28 2022, 07:31 PM Sep 28 2022, 07:31 PM
Post
#1
|
|
Senior Member  Group: Members Posts: 1,182 Joined: 26-May 15 From: Mount Airy, Maryland Member No.: 18,763 Region Association: MidAtlantic Region |
So I just got done replacing my windshield. I had a driver side vertical crack since I bought the car. It wasn't in my direct line of view, but still annoying all the same. A local one came up for sale (Pilkington) so I decided "what better time than now." I placed an order with 914rubber during the 9/14 sale. Unfortunately they were OOS for the trim (IMG:style_emoticons/default/mad.gif) Anyway I rewatched @iankarr 's vid on doing the install. I already had a seal cutting kit from a friend's FJ cruiser pop out window job so no extra tools were needed. I got the old glass out with only adding two additional cracks. I took some time cleaning out the old butyl, this was probably the worst part. The parts had already arrived from 914rubber. I forgot however to purchase butyl primer. The one in Ian's vid is no longer in stock on Amazon. I should have ordered the 3M one, but im an impatient man when it comes to new parts, I ended up painting the valley with hi temp grill spray paint, good enough (IMG:style_emoticons/default/rolleyes.gif) Got all the new clips installed and mocked up the new glass. Marked my lines with tape as instructed. Next, applied the 3/8 butyl from 914rubber. Now, this is where I should have used some help. I thought I would be able to reposition the glass to line it up with my tape lines. Well the first placement was very close, but I wanted to line it up exactly. Well as you know butyl is forgiving in flex, but not forgiving when trying to adjust. So the piece did not really want to move and I was afraid of cracking it, well good enough (IMG:style_emoticons/default/sunglasses.gif) I pulled it out into the sun which heated the butyl and allowed me to make micro adjustments of the glass. Turned out nice. I was going to re use the trim because well my car looks like a pile, but also cool at the same time. The trim however looked like spaghetti with the amount of curves it had and this was before I removed it. Well with 914rubber still OOS on the trim I looked for another viable option. This is an important take away. The kit I bought from eUROPARTS came with the trim and connection pieces like 914rubber, but also comes with the clips and spacers. I think I spent close to $10 extra for 4 spacers and the clips. Take away two, if you are going to do this you don't need the spacers. Anything you can shove in equally at the bottom will suffice even the extra piece of the glass to dash rubber seal you are to install. Plus, the other kit has them.
On the subject of that rubber seal. It would have been nice for the part that 914rubber engineered to be a closer match to the OEM. What I mean by that is the original had a better grip as it had metal inside much like 914rubbers engine bay to trunk trim piece. This one that they sell is all rubber and more so just barely holds onto the lip. I digress, back to the waiting game for new trim to be delivered. I did take it for a few drives with no trim to ensure the glass wouldn't magically fly away. It held in place well and I was convinced the butyl is doing what it was meant to do, bond. The new trim came in today and I was able to get it installed without creating a lasagna sheet. Now my only problem is that these two pieces are really clean and crisp and the rest of the car looks distraught. Oh well (IMG:style_emoticons/default/beerchug.gif) Thanks to Ian, 914rubber, and eUROPARTS, as well as others who made threads in the past about doing this job. P.S. - also installed undercarriage air flaps and 140/160 progressive springs in the rear (914rubber) 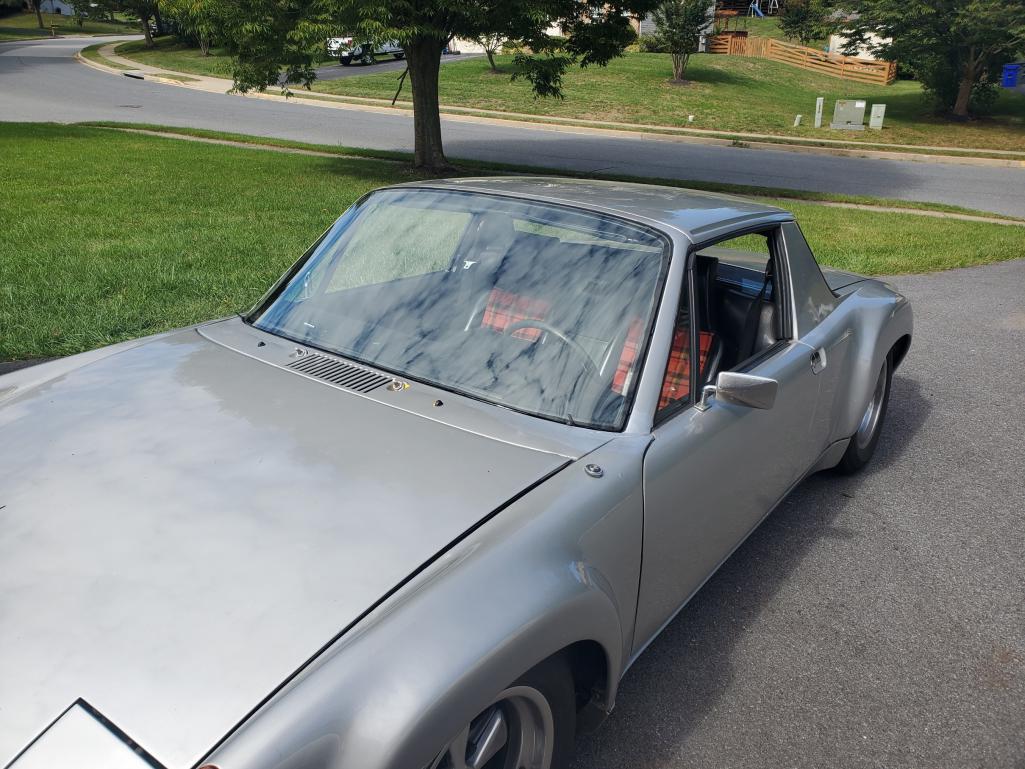 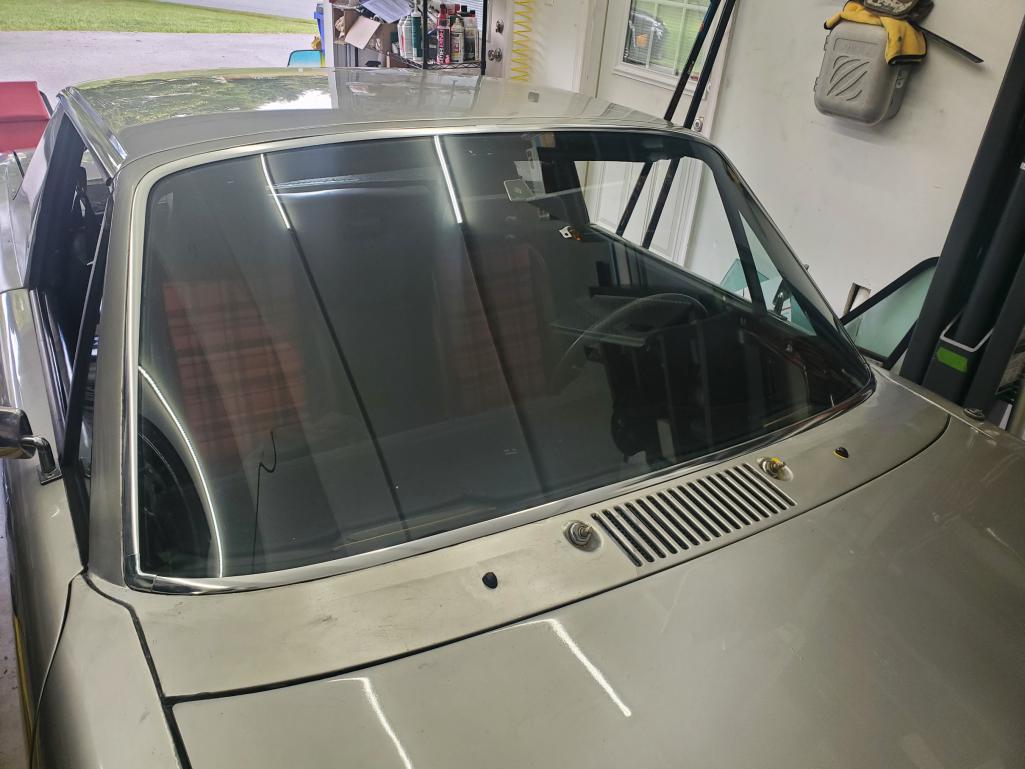 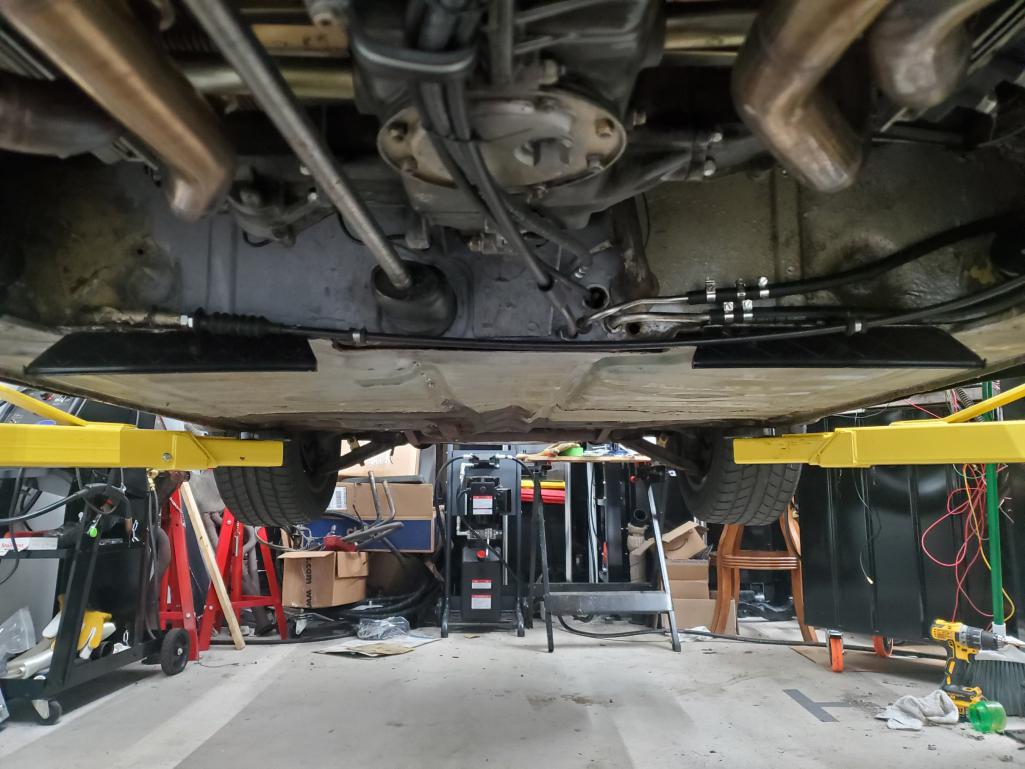 |
   |

 
|
Posts in this topic
 nditiz1 No more annoying crack, windshield refreshed Sep 28 2022, 07:31 PM
 FL000 Looking sharp! I used Ian’s video last month... Sep 28 2022, 07:49 PM scottsilvertt Where did you get your glass from? I just broke mi... Sep 28 2022, 08:54 PM
 nditiz1
Where did you get your glass from? I just broke m... Sep 28 2022, 09:51 PM iankarr Nice job! Glad the video was helpful. My pesky... Sep 28 2022, 09:24 PM Root_Werks Nicely done!
:trophy:
I replaced the winds... Sep 30 2022, 11:15 AM jcd914 Anyone install a new windshield from Porsche?
I ca... Sep 30 2022, 03:46 PM SA-914 I've gotten 2 windshield from
https://914wer... Sep 30 2022, 04:10 PM DC_neun_vierzehn Nice!
I decided to tackle replacing my windsh... Sep 30 2022, 06:10 PM Front yard mechanic Annoying crack Sep 30 2022, 06:16 PM
nditiz1
Where did you get your glass from? I just broke m... Sep 28 2022, 09:51 PM iankarr Nice job! Glad the video was helpful. My pesky... Sep 28 2022, 09:24 PM Root_Werks Nicely done!
:trophy:
I replaced the winds... Sep 30 2022, 11:15 AM jcd914 Anyone install a new windshield from Porsche?
I ca... Sep 30 2022, 03:46 PM SA-914 I've gotten 2 windshield from
https://914wer... Sep 30 2022, 04:10 PM DC_neun_vierzehn Nice!
I decided to tackle replacing my windsh... Sep 30 2022, 06:10 PM Front yard mechanic Annoying crack Sep 30 2022, 06:16 PM  |
1 User(s) are reading this topic (1 Guests and 0 Anonymous Users)
0 Members:

|
Lo-Fi Version | Time is now: 7th May 2024 - 06:14 PM |
Invision Power Board
v9.1.4 © 2024 IPS, Inc.