|
|
|
Porsche, and the Porsche crest are registered trademarks of Dr. Ing. h.c. F. Porsche AG.
This site is not affiliated with Porsche in any way. Its only purpose is to provide an online forum for car enthusiasts. All other trademarks are property of their respective owners. |
|
|

  |

| bossboy302 |
 Dec 9 2023, 03:15 PM Dec 9 2023, 03:15 PM
Post
#1
|
|
Member  Group: Members Posts: 88 Joined: 13-December 21 From: NorCal Member No.: 26,158 Region Association: None |
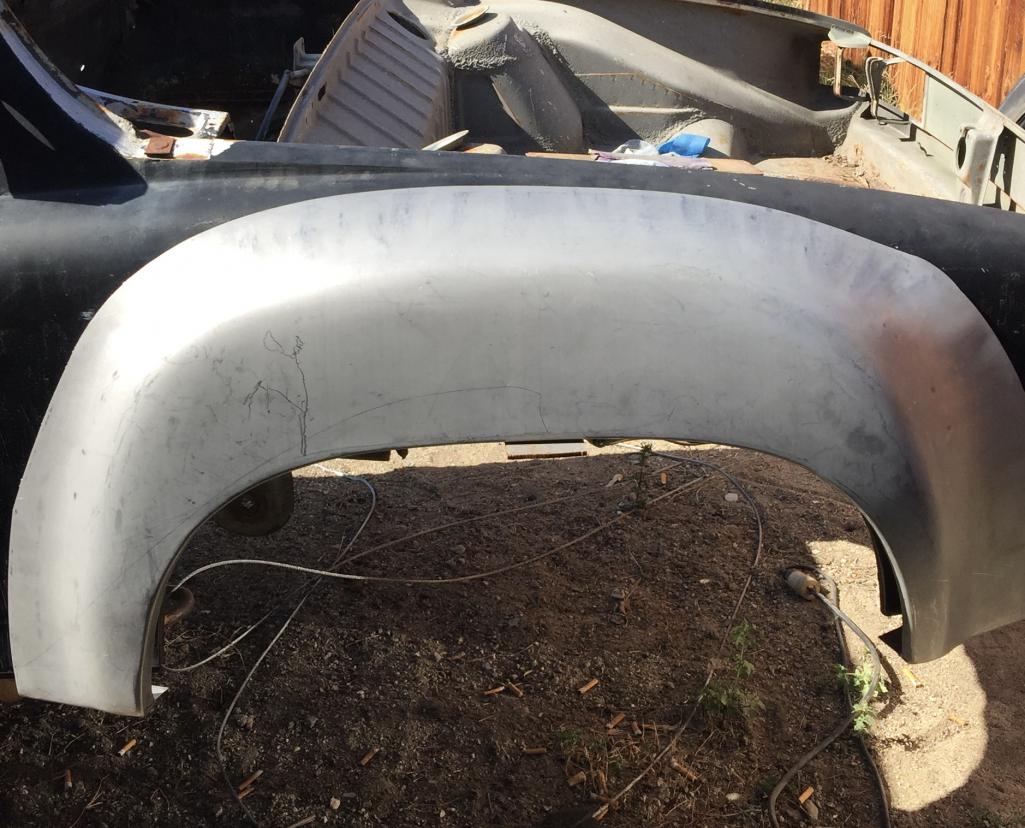
Sorry if asked tons of times before...
How have you located the height of the AA metal GT flares? The lip at the bottom (which needs trimming)....to what area is this aligned with? The stock lower fender has several bends and bevels, the new flare is flat. I'll try and post a picture to help explain my question, but those of you who have done flares probably get what I'm asking here...(?) Thanks |
   |

 
|
| mepstein |
Dec 9 2023, 04:33 PM
Post
#2
|
|
914-6 GT in waiting Group: Members Posts: 19,877 Joined: 19-September 09 From: Landenberg, PA/Wilmington, DE Member No.: 10,825 Region Association: MidAtlantic Region |
Ben / @MB911 can probably explain it better than me but basically 3 points at a right angle to the wheel opening - top, leading edge, trailing edge, then hang the flare on those right angles. So basically the lip of flare is in the same location as the lip of the original fender. The rest of the flare is metal worked to fit.
Rockers are trim. They get fit once the flares are in place. |
|
|
|
| tygaboy |
Dec 9 2023, 05:38 PM
Post
#3
|
|
914 Guru Group: Members Posts: 5,558 Joined: 6-October 15 From: Petaluma, CA Member No.: 19,241 Region Association: Northern California |
If it would help, you’re welcome to come over and look at two flared cars. My LS car is still in raw form, no filler on the flares. The Ferrari car is in almost final stage high build primer. And I can give you the once over about what I learned, what I’d do differently, etc. PM me if a visit is of interest and we can work out a time.
|
 |
|
| rick 918-S |
Dec 10 2023, 08:29 AM
Post
#4
|
|
Hey nice rack! -Celette Group: Members Posts: 20,951 Joined: 30-December 02 From: Now in Superior WI Member No.: 43 Region Association: Northstar Region |
I use the longitudinal cover panel as a guide for the forward and trailing alignment if that helps.
|
|
|
|
| mlindner |
Dec 10 2023, 08:56 AM
Post
#5
|
|
Senior Member Group: Members Posts: 1,668 Joined: 11-November 11 From: Merrimac, WI Member No.: 13,770 Region Association: Upper MidWest |
Bossboy 302, I had mine welded on 35 years ago. I believe to be original Porsche flares. The shop that did the install (stock car builder) just lined up the top to be flush with the fender and centered left to right on the wheels. To me it looks very correct, but Ben would have all that information. Best, Mark
 |
|
|
|
| rgalla9146 |
Dec 10 2023, 09:02 AM
Post
#6
|
|
Advanced Member Group: Members Posts: 4,743 Joined: 23-November 05 From: Paramus NJ Member No.: 5,176 Region Association: None |
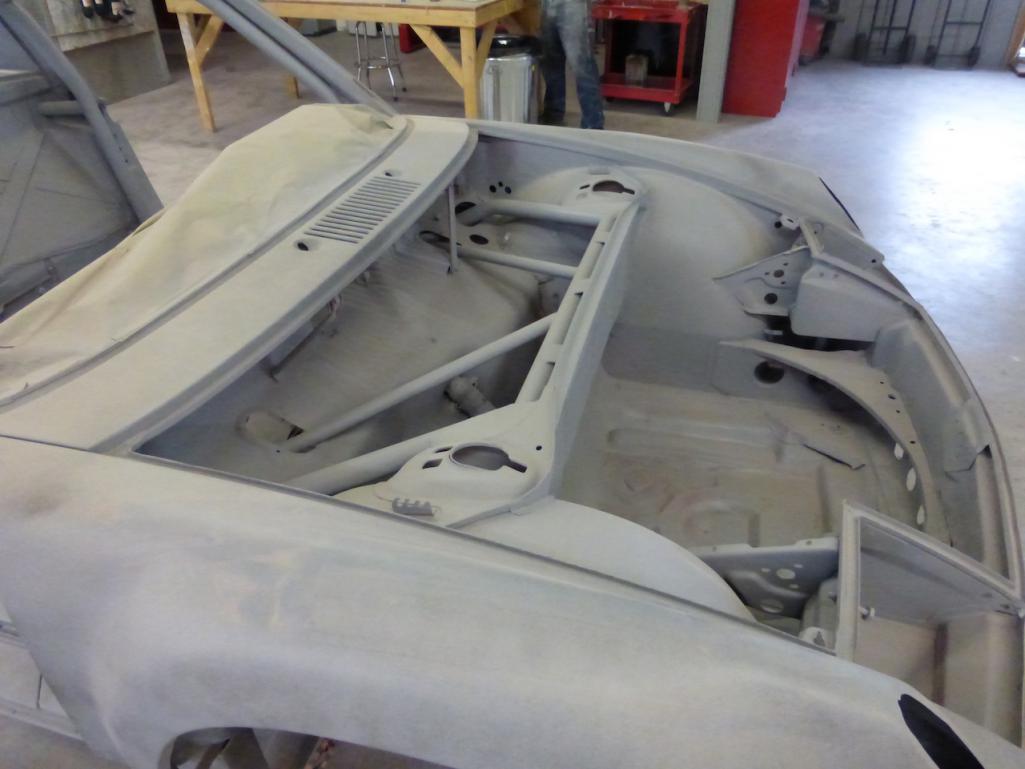
I established the height by butting the horizontal low flange of the flare right into
the low horizontal flange of the original fender. I left the original flange of the fenders intact and full length, this helped to establish fore/aft I dont have detail pics but maybe these two will help. I also finished the the wheelwell flanges at that time. Maybe some pics in this thread will be useful. http://www.914world.com/bbs2/index.php?sho...0032&st=200 Attached thumbnail(s) 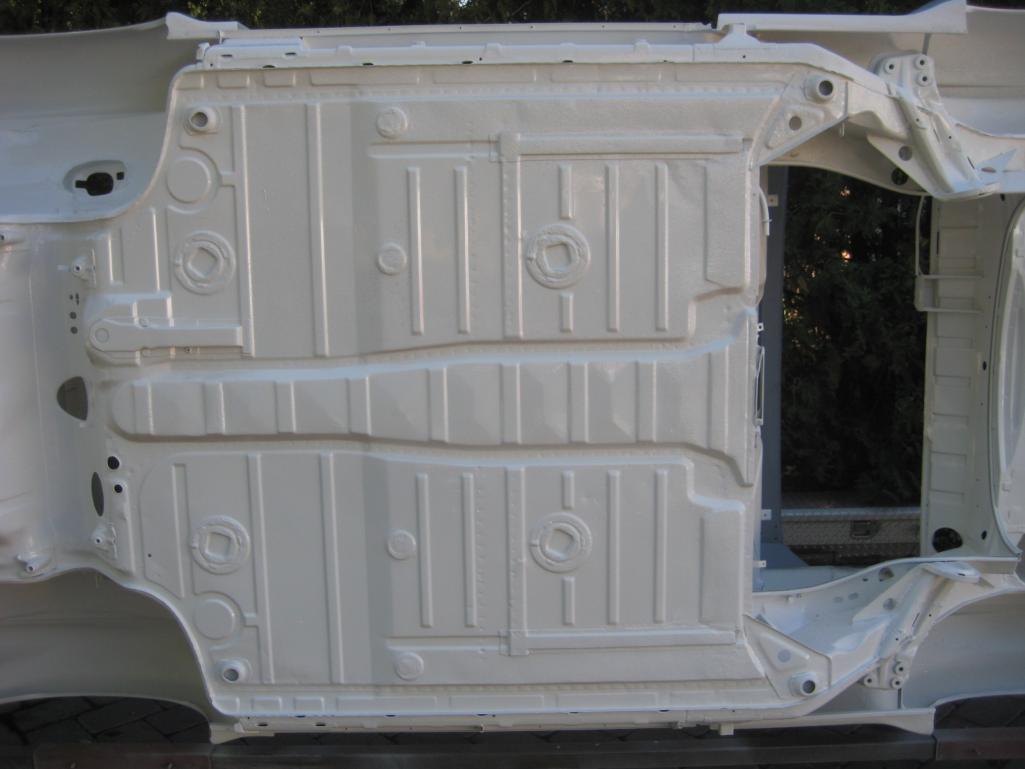 Attached image(s) 
|
|
|
|
| mlindner |
Dec 10 2023, 09:05 AM
Post
#7
|
|
Senior Member Group: Members Posts: 1,668 Joined: 11-November 11 From: Merrimac, WI Member No.: 13,770 Region Association: Upper MidWest |
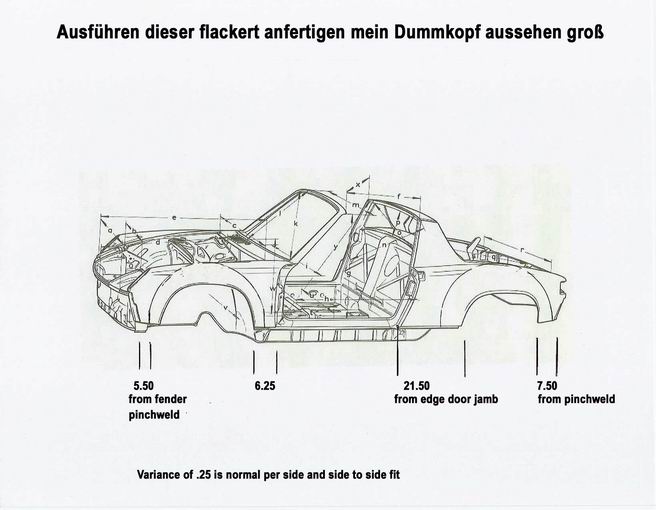
Found this.
 |
|
|
|
| Shivers |
Dec 10 2023, 10:03 AM
Post
#8
|
|
Senior Member Group: Members Posts: 2,985 Joined: 19-October 20 From: La Quinta, CA Member No.: 24,781 Region Association: Southern California |
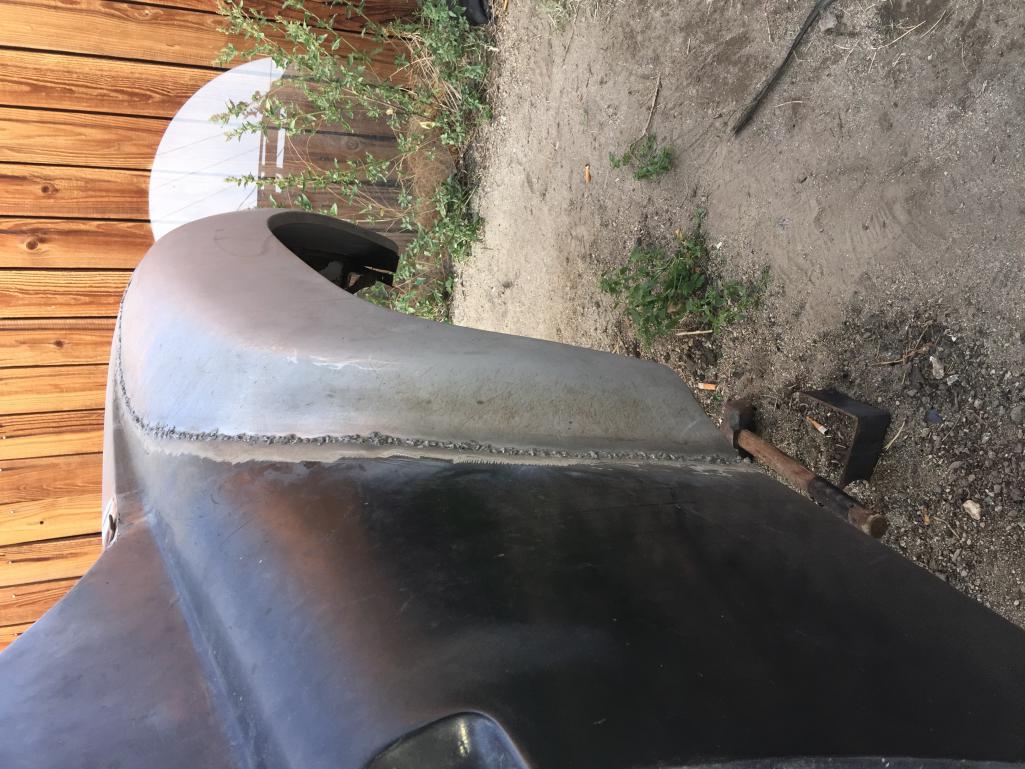
 If you can zoom in, I clamped a piece of angle iron to the middle of the stock opening. In this pic the flare is just hanging on it. This put the bottom where it needed to be. Once I had that I cut the original sheet metal at the bottom so I could push it in and tack weld the bottoms of the flare in place. I used a cutoff wheel and went about 6” at a time around the flare cutting the stock sheet metal. I reached in and bent the metal I just cut a little bit, just enough to tack the flare in place. I’d go 6” on one side and then 6” on the other side. I hope this makes sense, I’ve got covid again and I’m sick as a dog. |
|
|
|
| Shivers |
Dec 10 2023, 10:06 AM
Post
#9
|
|
Senior Member Group: Members Posts: 2,985 Joined: 19-October 20 From: La Quinta, CA Member No.: 24,781 Region Association: Southern California |
 |
|
|
|
| Shivers |
Dec 10 2023, 10:18 AM
Post
#10
|
|
Senior Member Group: Members Posts: 2,985 Joined: 19-October 20 From: La Quinta, CA Member No.: 24,781 Region Association: Southern California |
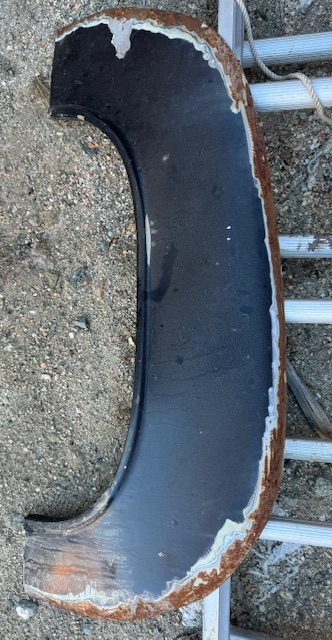 I cut the bottoms off and cut up 6”-8” on either side and tacked it in place |
|
|
|
| bossboy302 |
Dec 10 2023, 11:01 AM
Post
#11
|
|
Member Group: Members Posts: 88 Joined: 13-December 21 From: NorCal Member No.: 26,158 Region Association: None |
Let me thank all who have shared info and pictures. Immensely helpful.
I have a diagram of the flare install with fore and aft dimensions and measurements (I think from Auto Atlanta). It's the height that was unclear, but now I see what (and how) has been done, and think I can move forward. Not sure how soon I'll get to it, but will post the first one and go from there. Again, thanks for all the help. Happy Holidays! |
|
|
|
|
1 User(s) are reading this topic (1 Guests and 0 Anonymous Users)
0 Members:

|
Lo-Fi Version | Time is now: 11th May 2025 - 09:32 AM |
Invision Power Board
v9.1.4 © 2025 IPS, Inc.