

 Fred's Backyard LE Restoration Fred's Backyard LE Restoration |
|
|

|
Porsche, and the Porsche crest are registered trademarks of Dr. Ing. h.c. F. Porsche AG.
This site is not affiliated with Porsche in any way. Its only purpose is to provide an online forum for car enthusiasts. All other trademarks are property of their respective owners. |
|
|
  |
| friethmiller |
 Jul 25 2026, 06:13 PM Jul 25 2026, 06:13 PM
Post
#1021
|
|
Senior Member  Group: Members Posts: 1,416 Joined: 10-February 19 From: Austin, TX Member No.: 22,863 Region Association: Southwest Region 
 |
LE Trim Work - part 1 (7/25/2026):
A lot of work to be done here. First up is finishing the door hinge arms. I had the classic "I can't get my new door stay pins" to fit problem. Finally got out the 1/4 ratchet wrench with a 1/4" bit. This takes a bit of patience and a bit of upward pressure but it will go through. Doors now open and close without popping noises. Need to do this with the other car. Note the use of tape here to prevent unnecessary scratching. 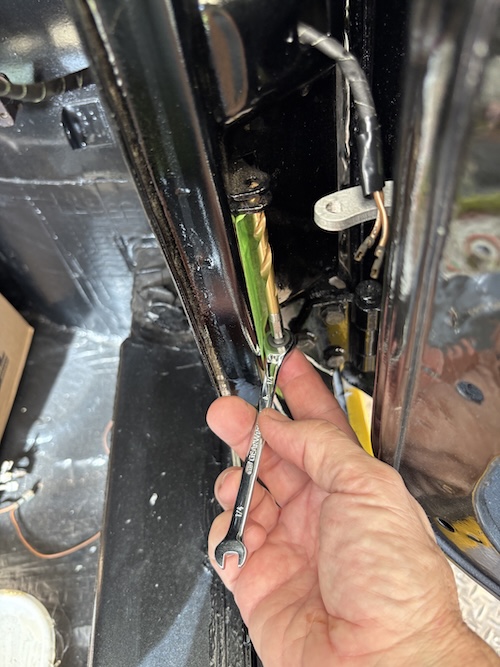 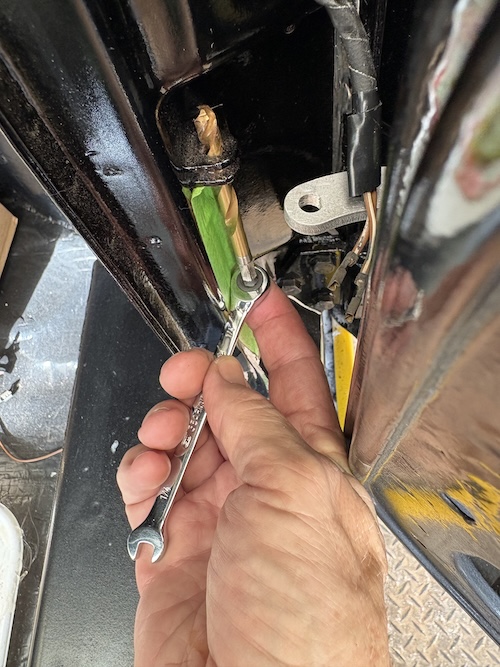 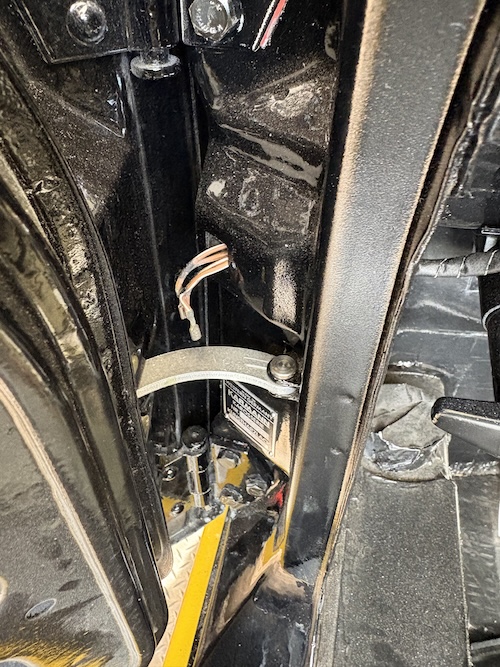 Next, was the third brake light. Here I'm adding connectors to the red and black wires coming out of the light. I'm using the helper here to hold the wires. The last two pics here show the connecting wires that run from the light to the tail light. Here, I'm fluxing the wire, clamping down the connector, and then apply solder. 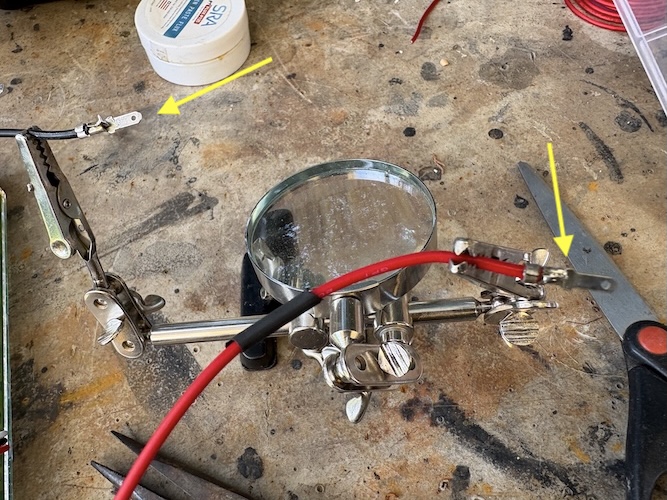 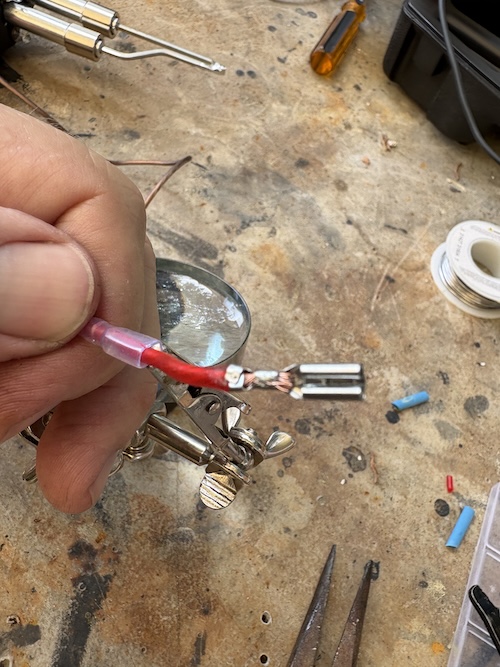 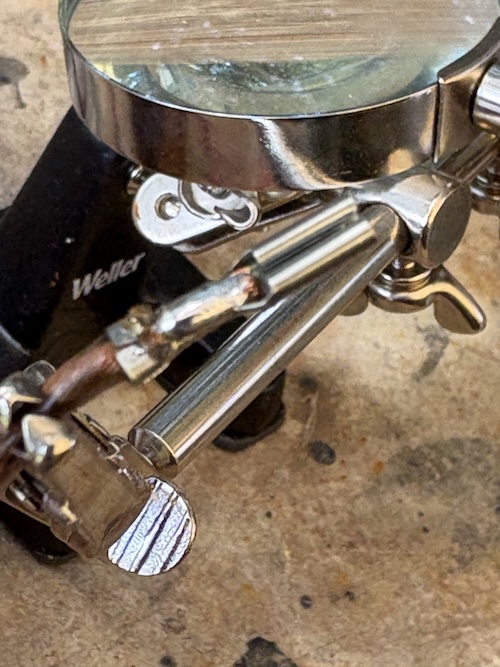 Here's the brake light already attached to the car with custom made 90 degree clips. I made them last week with some 20-gauge sheet metal - painted them black. I used tape to help find the center of the targa bar and then to help pin-point my drill holes. 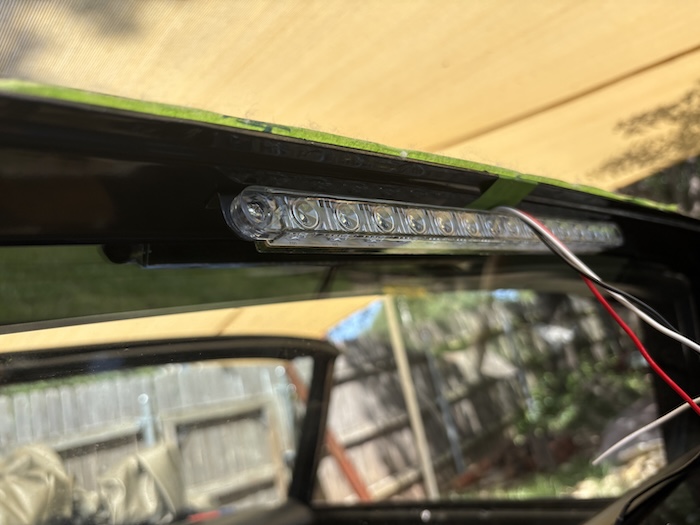 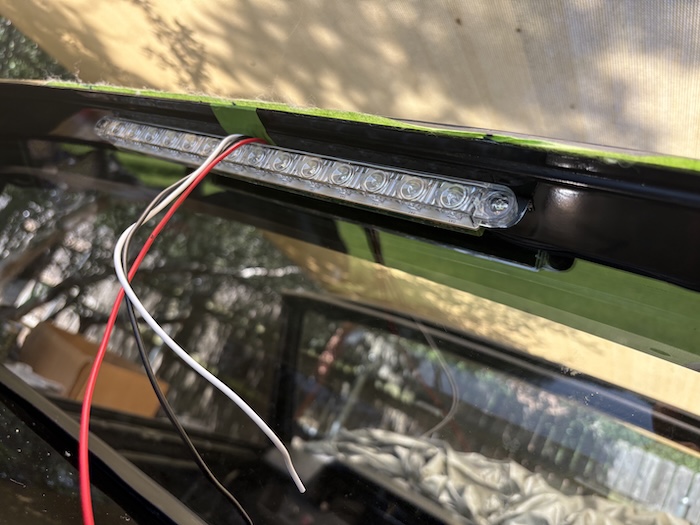 With the wires pulled out of the way, I then cut a slot for the wires. After filing off any burs or rough edges, I am now able to route the wires inside the trim piece. Second pic shows me routing the wires (minus the white common) through another hole under the sail trim piece. This hole dumps into the inner fender. I had to drill another hole in the engine bay to get the wire to route with the rest of the wires back into the trunk. 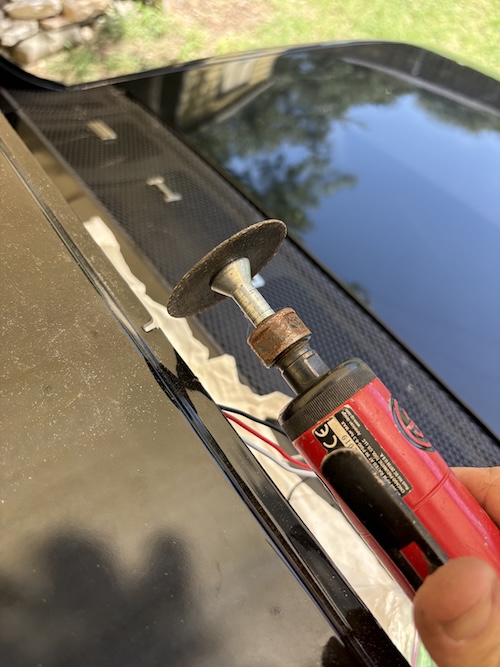 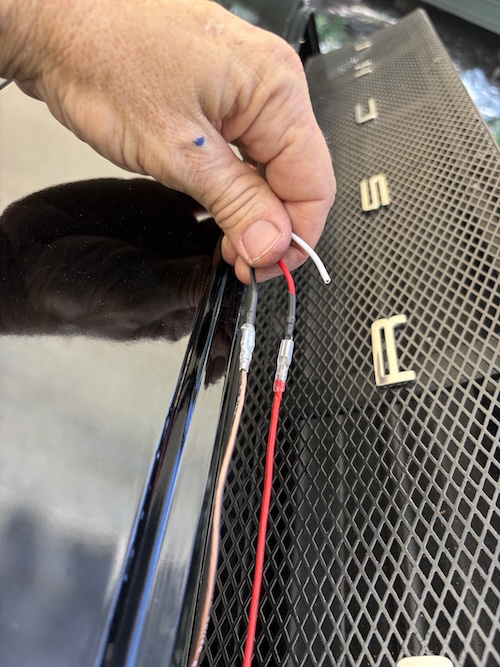 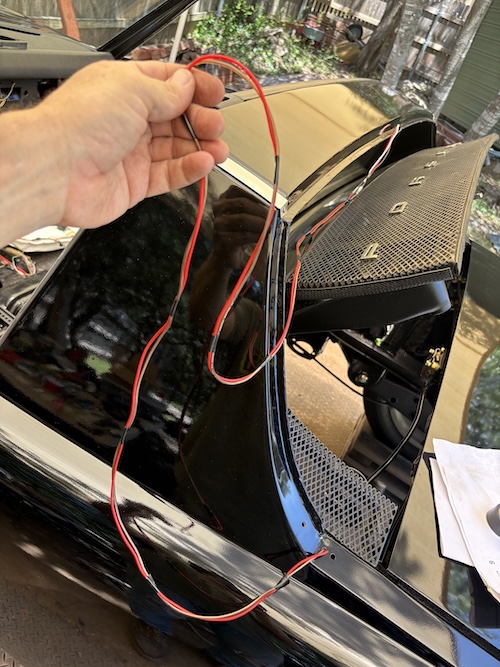 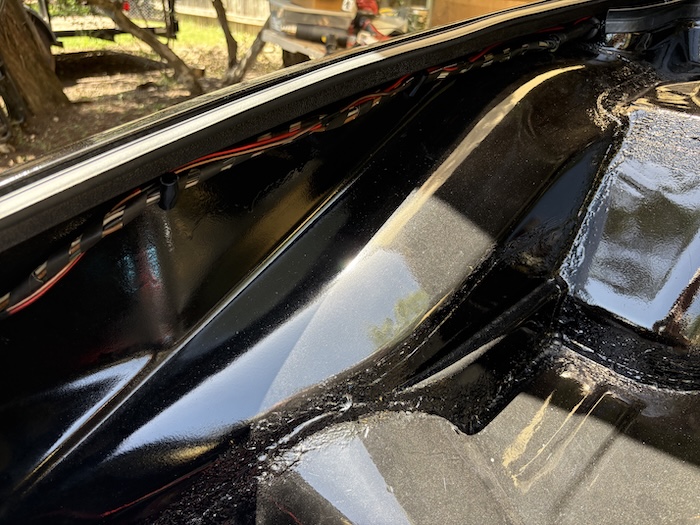 I eventually got the new wires down to the driver side tail light. Here I trimmed and soldered connectors on the ends. It's a little hard to see but I used two "sister" clips to attach the third brake light wires into the hot and ground terminals. 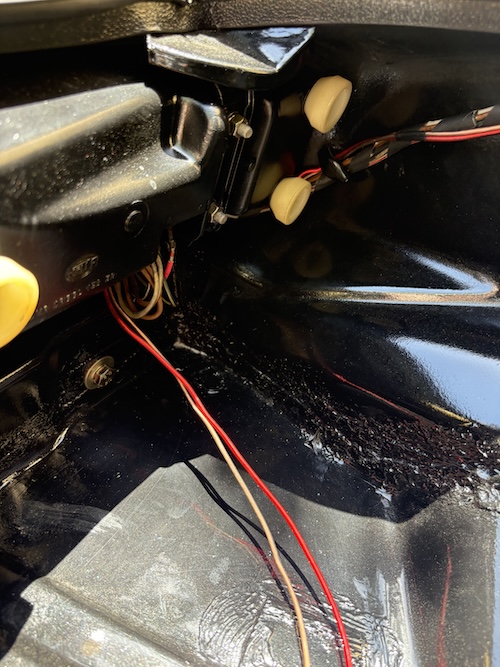 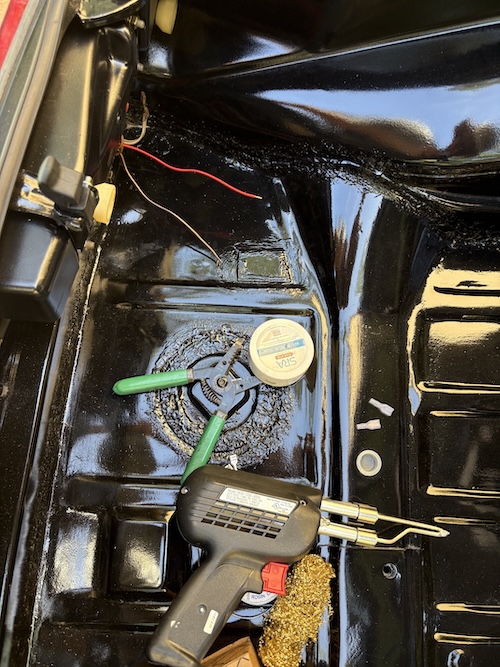 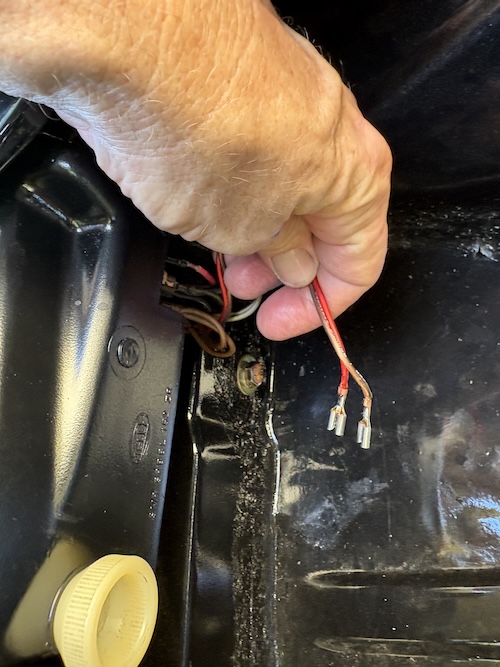 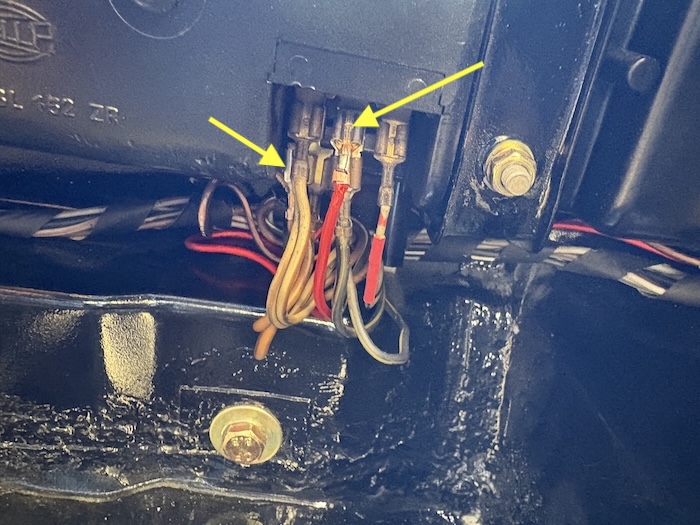 Next post will be of the targa trim going on and some pics of the work involved to get the door mirrors on the car. Cheers! (IMG:style_emoticons/default/beerchug.gif) |
   |

 
|
| friethmiller |
Jul 26 2026, 04:26 AM
Post
#1022
|
|
Senior Member Group: Members Posts: 1,416 Joined: 10-February 19 From: Austin, TX Member No.: 22,863 Region Association: Southwest Region
|
LE Trim Work - part 2 (7/25/2026):
Putting on mirrors is a little out order here but since they just arrived on Friday from @914Sixer , I thought it couldn't hurt to see how well they'd mount. And of course, I quickly determined that my bodywork guy had gotten filler into the holes. (IMG:style_emoticons/default/bootyshake.gif) Nothing a tap couldn't clear out! Here's a few pics of the work and the shinny mirrors (and trim (IMG:style_emoticons/default/smile.gif) ). Question: Does anyone remember the angle blocks that one of the members sold a while back? I think I have one of them (see 4th picture). He was using a digital printer to produce them with an angle to help straighten the mirrors. I need a pair. 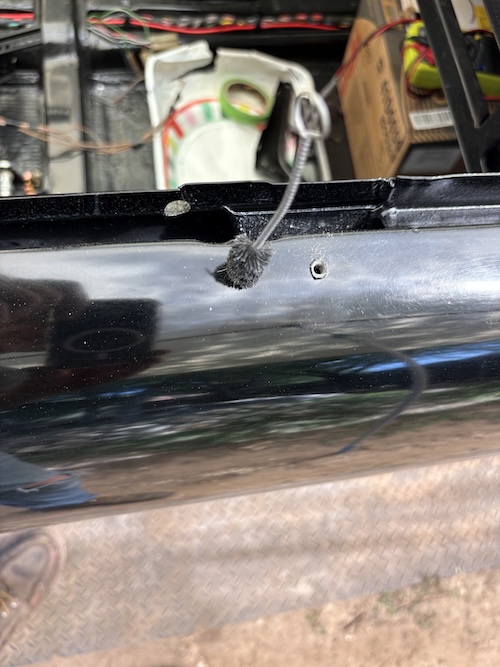 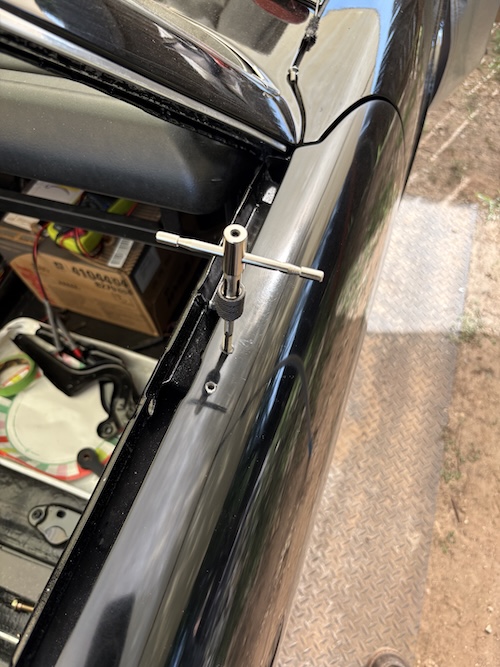 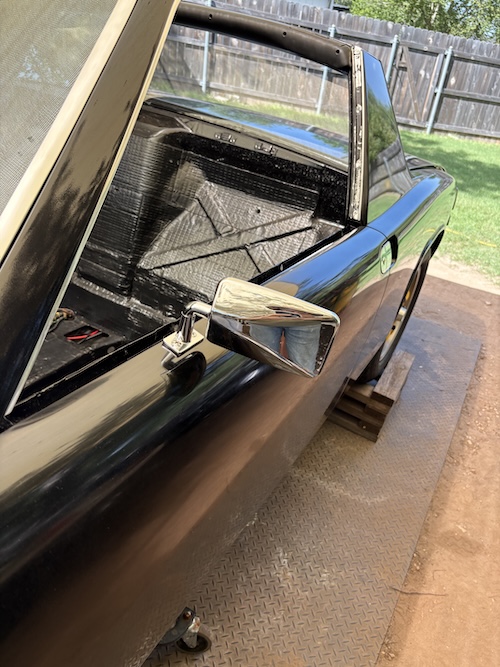 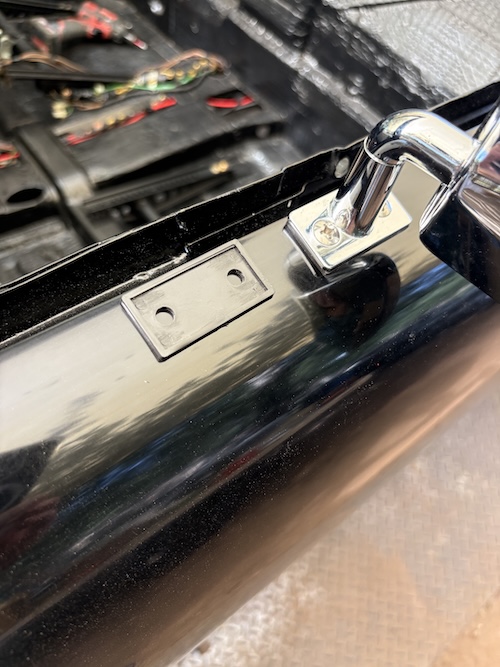 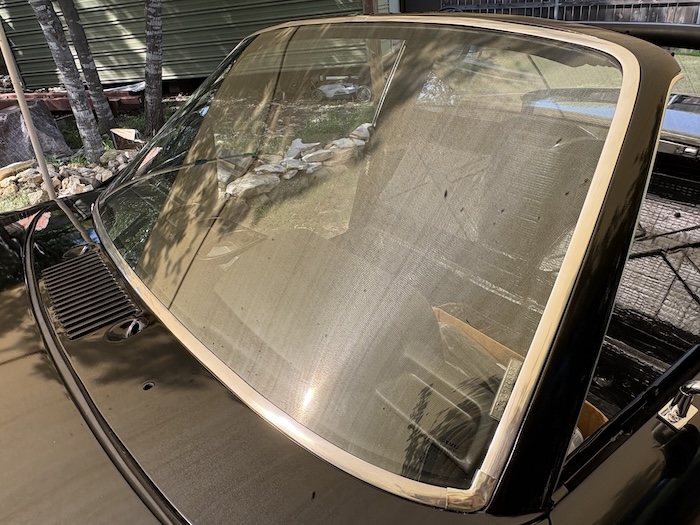 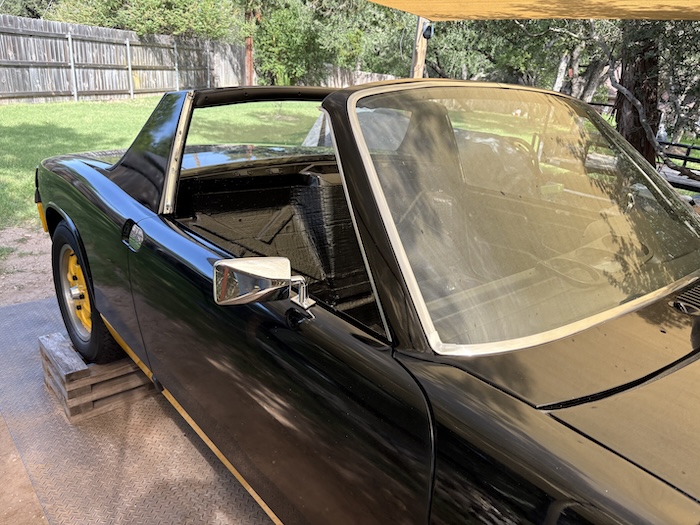 Quick pic of the top in the trunk. It's nice to be able to store it in here now. 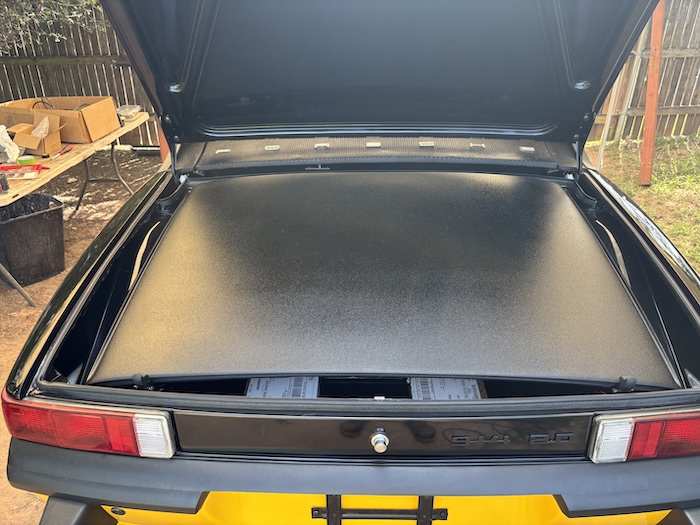 Ok, here are photos of the rear tail light installed and the cerakote'd black targa trim installed. I need to black-out the trim screws on the top sail pieces but overall I think it looks the part. FYI, I will be moving on to the rear targa pad and a few other items on Sunday. Progress! (IMG:style_emoticons/default/beer.gif) 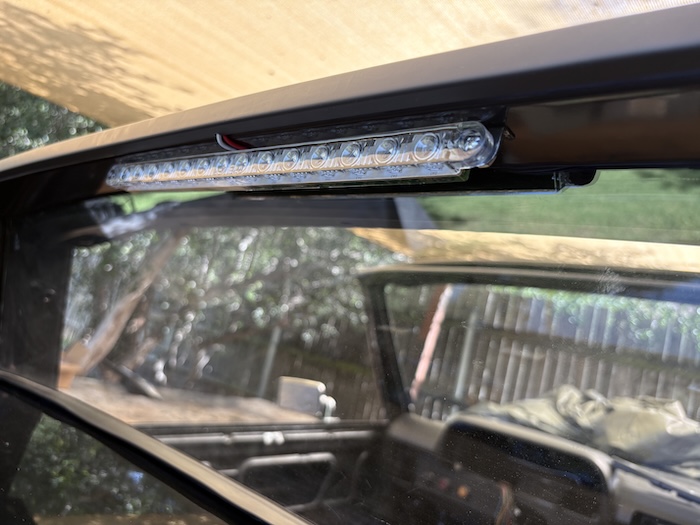 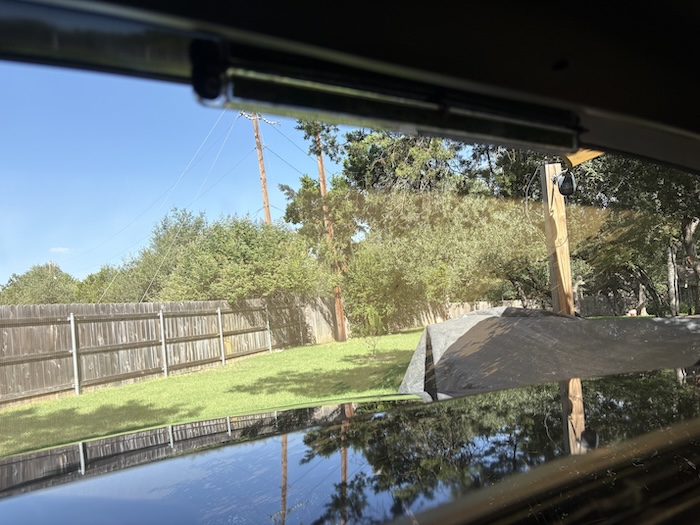 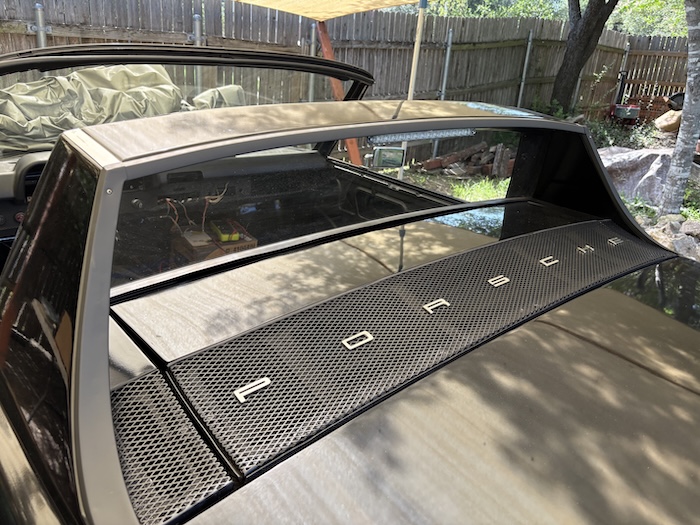 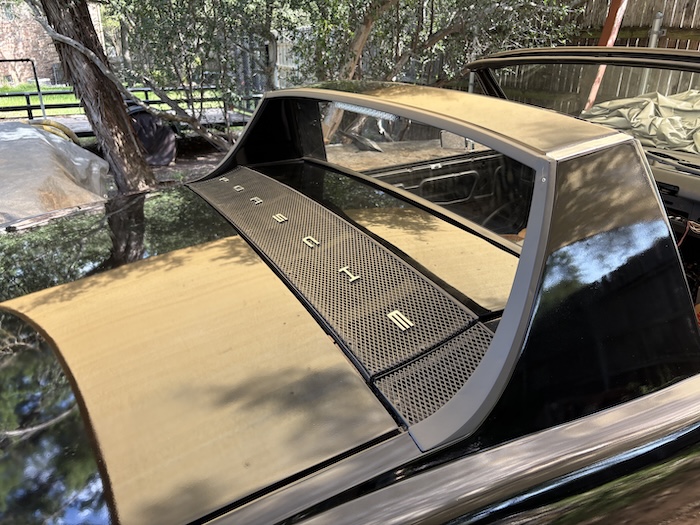 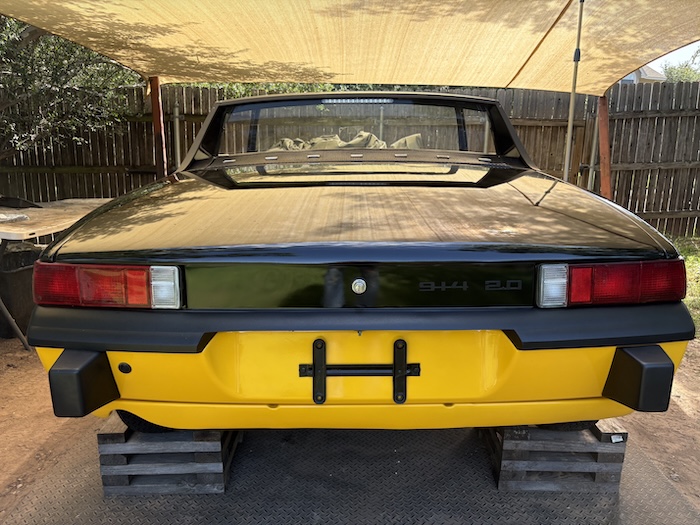 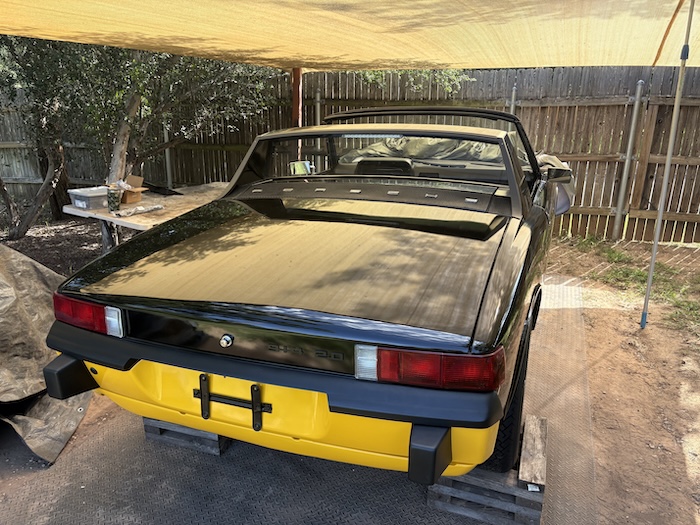 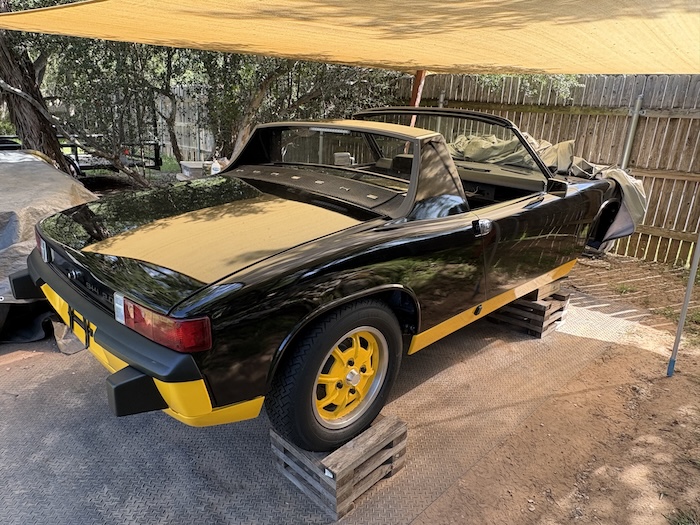 |
|
|
|
| Shivers |
Jul 26 2026, 04:59 AM
Post
#1023
|
|
Senior Member Group: Members Posts: 3,493 Joined: 19-October 20 From: La Quinta, CA Member No.: 24,781 Region Association: Southern California |
Brake light came out nice. I may need to work on that in the future.
|
 |
|
| seanpaulmc |
Jul 26 2026, 07:23 AM
Post
#1024
|
|
Member Group: Members Posts: 457 Joined: 6-December 16 From: Orlando, FL Member No.: 20,649 Region Association: South East States
|
@bkrantz for the mirror wedgies
|
|
|
|
| friethmiller |
Jul 26 2026, 07:02 PM
Post
#1025
|
|
Senior Member Group: Members Posts: 1,416 Joined: 10-February 19 From: Austin, TX Member No.: 22,863 Region Association: Southwest Region
|
LE Trim Work - part 3 (7/26/2026):
Started the morning with some work on the rear targa pad. I had mounted this with the latches a few days prior but still needed to line things up and drive home the 11 or so screws that hold it in place. This pad is an original with an only one crack in the middle that i filled a bit with some vinyl repair. Once secured, I was then able to insert the vertical targa seals and the interior pads that I cleaned up a few weeks ago. I think things turned out well. Last photo shows the trim installed and the hole covers in place. 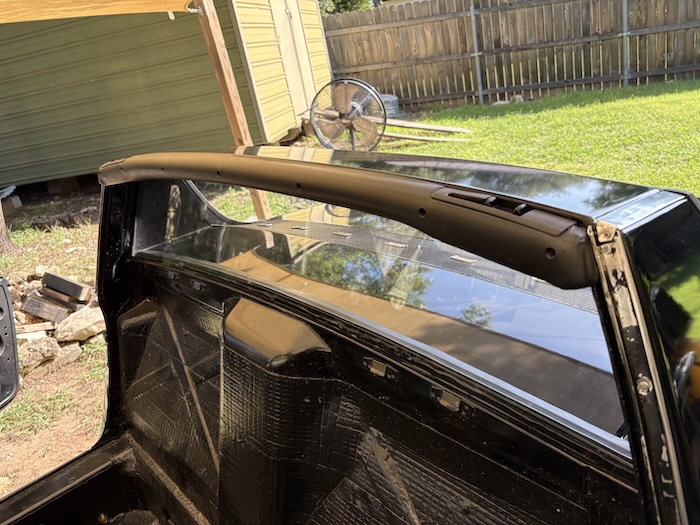 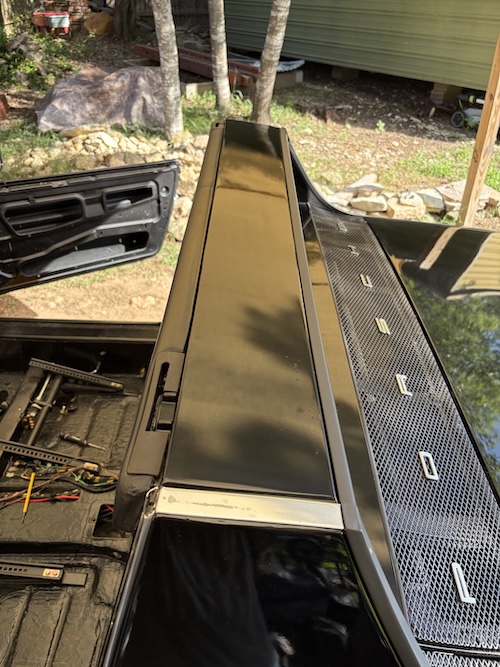 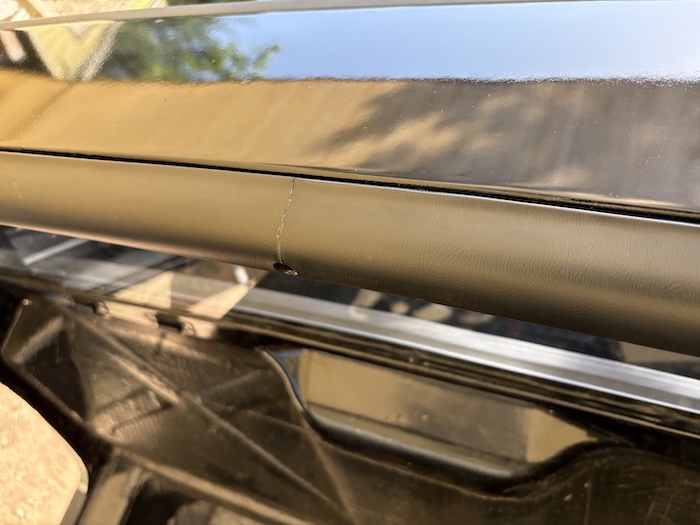 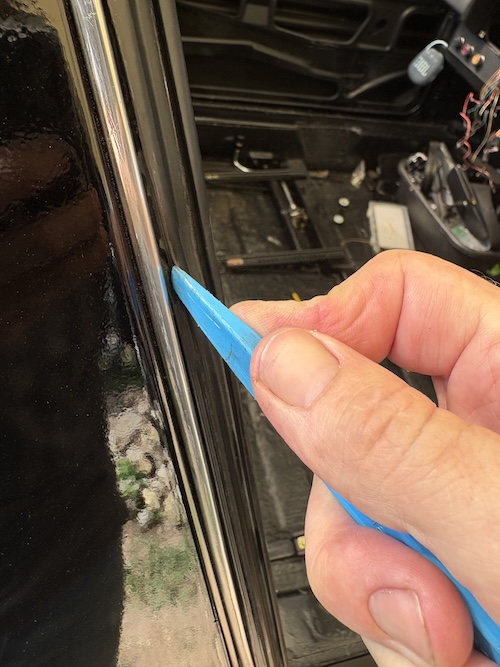 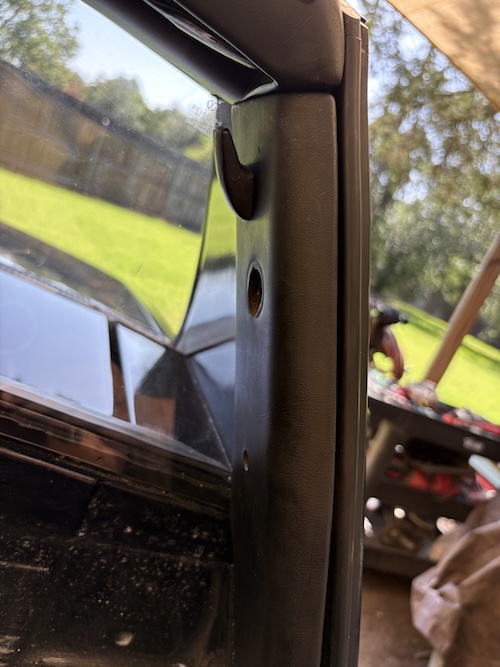 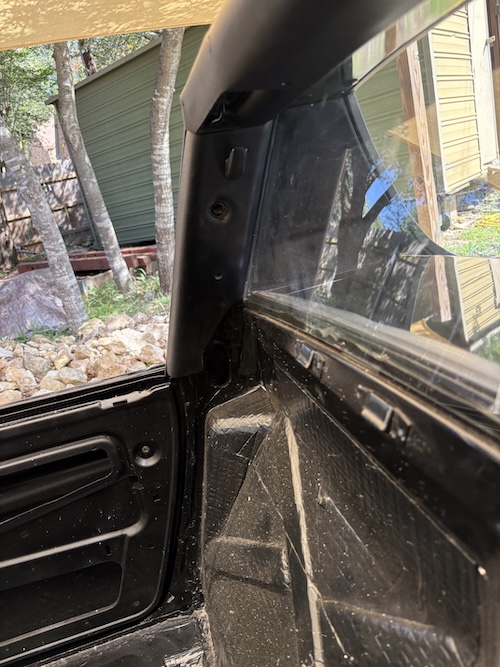 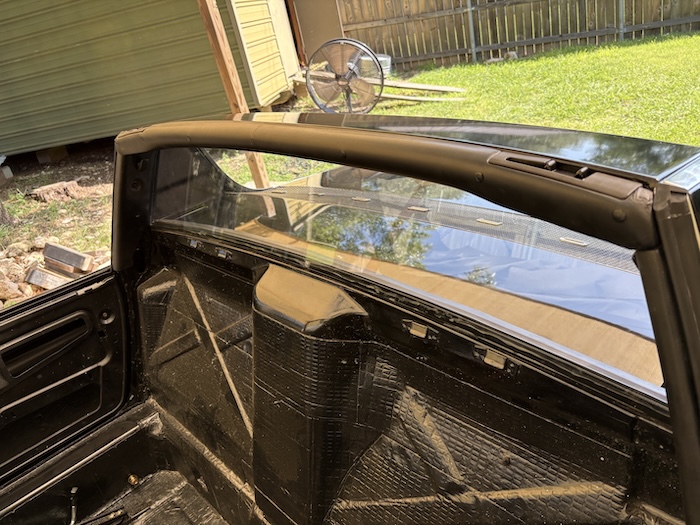 Next up was finding the door switch rubber seals and installing the switches into the A-pillars. I had also cleaned-up these switches a few weeks ago so this entire process didn't take more than 30 minutes to complete. Done! 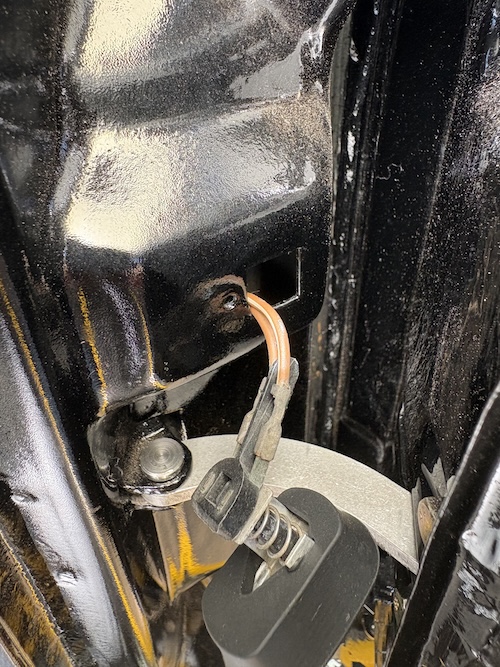 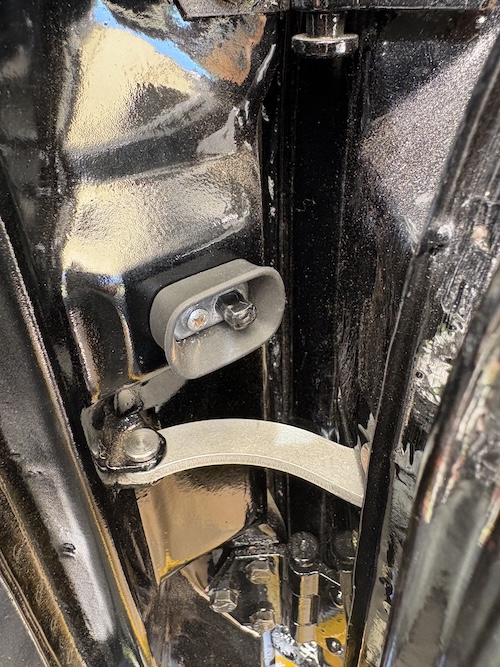 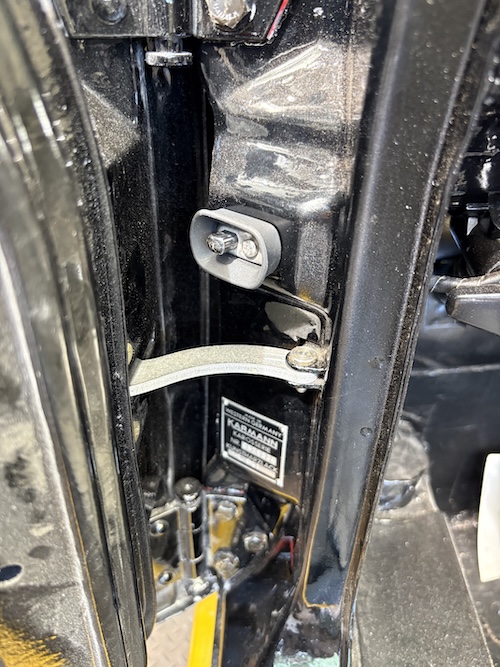 Well, at this point I was ready.... it was Main Targa Seal Time! One of the most dreaded tasks in a 914 restoration!!. (IMG:style_emoticons/default/headbang.gif) Started with the small screw that goes into the corner of the window frame and then began working my way down the driver side. Used lubricant and a plastic tool for this job. With it well over 95 degrees, I spent the next several hours, sweating, listening to music, drinking iced-down hydration drinks, and pushing the @#$!% seal into its track! 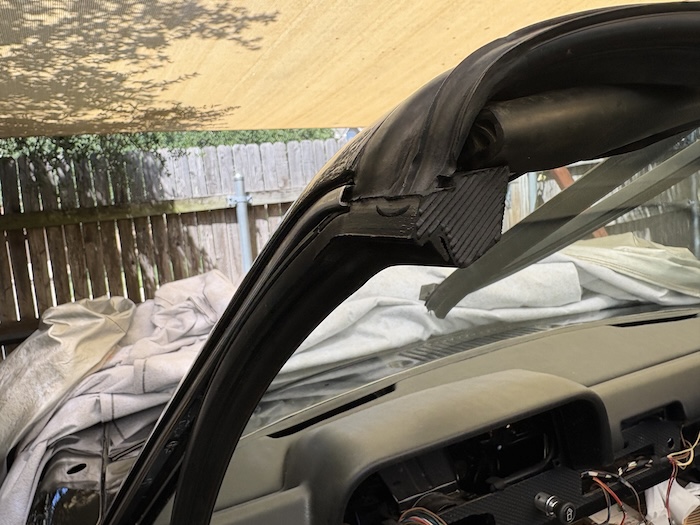 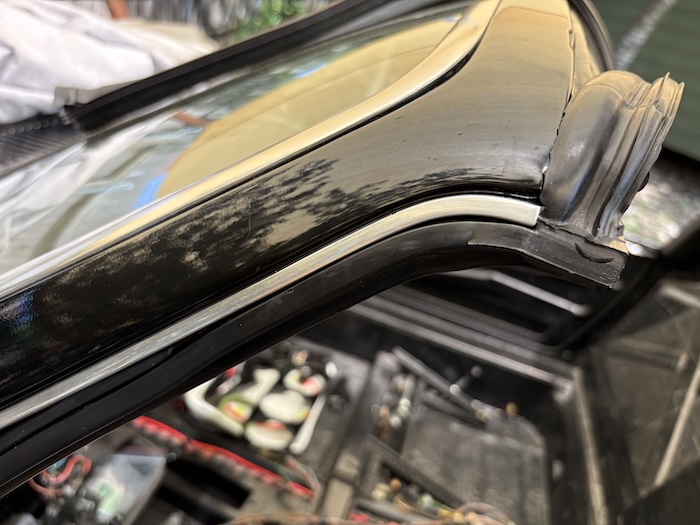 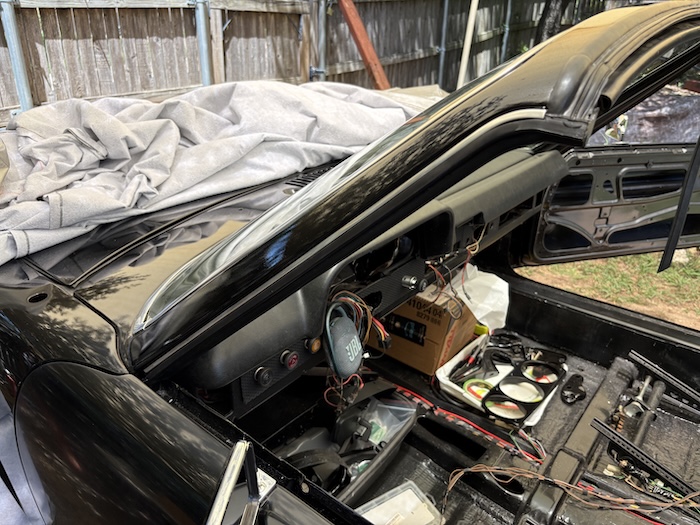 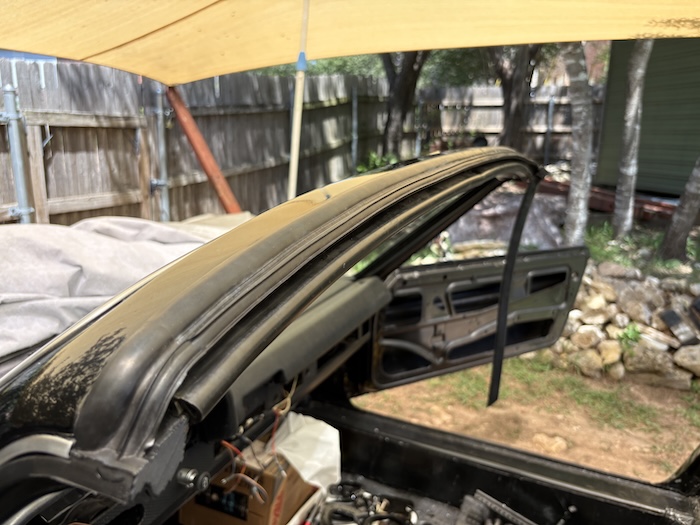 Moving over to the passenger side, I had a hell of a time getting the seal down into the track. At this point, I think my hands were fatiguing and I was losing a good bit of dexterity. I had to take several breaks. At one point, I don't think I was making any headway. Finally, after some inner-reflection, I was able to get things moving again and slowly worked my way to the bottom of the piece. And that was it.... the main targa seal was installed. Done!! 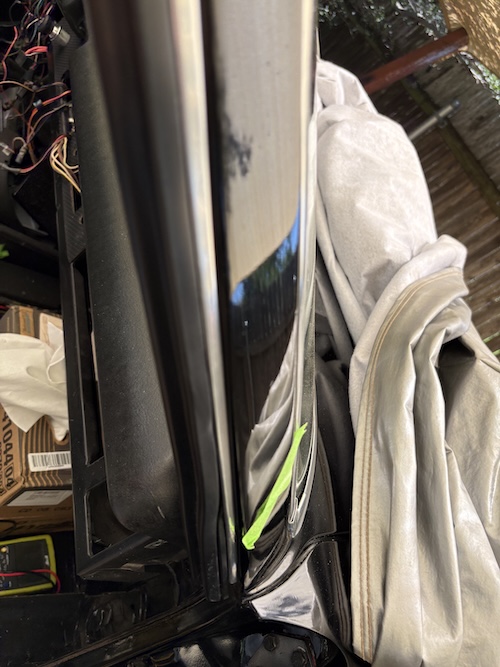 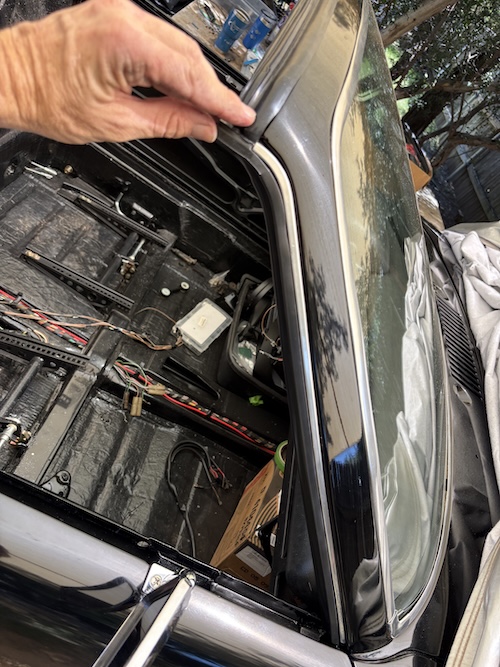 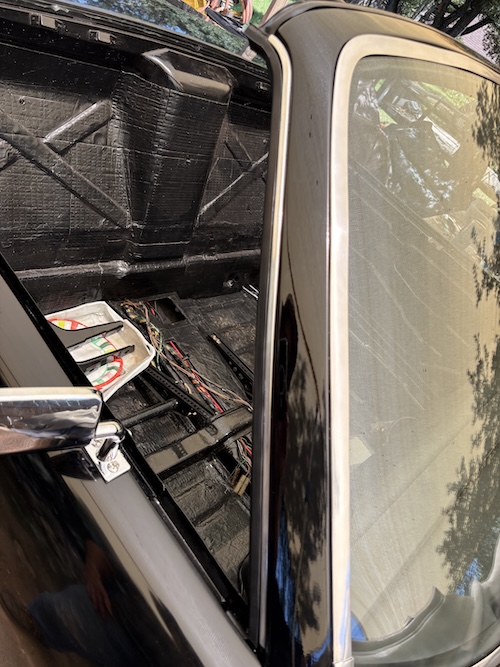 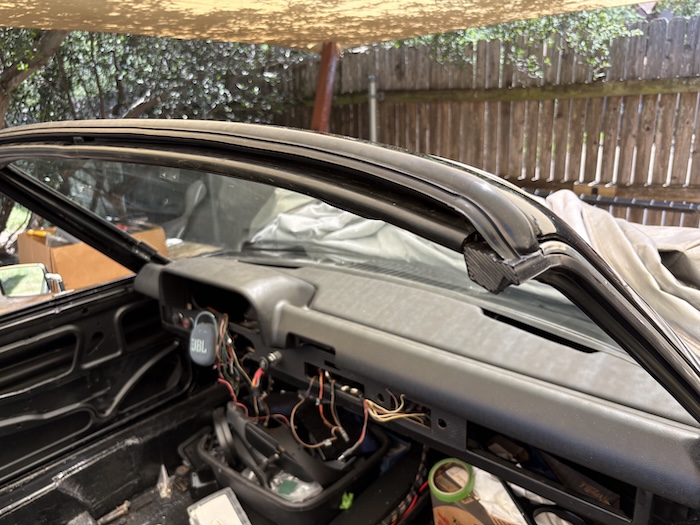 Note: I'm pointing to the small gap in the seal and the top of the window frame. While the targa top will push this close, it would be nice to find a way to fix this... maybe the rubber will relax a bit or I can use some sealant or glue. Not sure. (IMG:style_emoticons/default/confused24.gif) In all, I had a great weekend in the heat pushing through some very necessary tasks with the car. With that said the doors are probably going to be next. <sigh> Another lovely job! (IMG:style_emoticons/default/laugh.gif) Till that time... Cheers. (IMG:style_emoticons/default/beer3.gif) |
|
|
|
| Cairo94507 |
Jul 27 2026, 07:07 AM
Post
#1026
|
|
Michael Group: Members Posts: 10,721 Joined: 1-November 08 From: Auburn, CA Member No.: 9,712 Region Association: Northern California
|
Looking great; very happy you added a hi-mount 3rd brake light. (IMG:style_emoticons/default/beerchug.gif)
|
|
|
|
| friethmiller |
Jul 27 2026, 08:11 AM
Post
#1027
|
|
Senior Member Group: Members Posts: 1,416 Joined: 10-February 19 From: Austin, TX Member No.: 22,863 Region Association: Southwest Region
|
QUOTE(Cairo94507 @ Jul 27 2026, 08:07 AM)  Looking great; very happy you added a hi-mount 3rd brake light. (IMG:style_emoticons/default/beerchug.gif) Thanks Michael! It's all about "risk mitigation" out there on our roadways. (IMG:style_emoticons/default/dry.gif) That reminds me that I need to replace the rear tail light bulbs with the new LED ones. They're in boxes in the trunk. I just need to switch them out. |
|
|
|
| friethmiller |
Jul 27 2026, 08:19 AM
Post
#1028
|
|
Senior Member Group: Members Posts: 1,416 Joined: 10-February 19 From: Austin, TX Member No.: 22,863 Region Association: Southwest Region
|
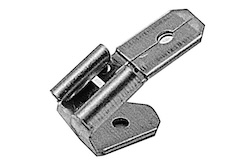
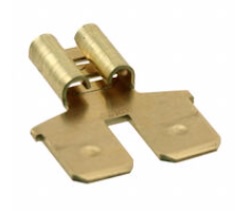
Pics of the two different types of adaptors that I used to pipe in the wiring to the tail light. The first clip is the best one based on space limitations and the other connectors. I used this for the red wire. Unfortunately, I only found one, so I used the other type for the ground but had to bend one of the spades almost vertical to get it to fit.
  |
|
|
|
| bajafreaks |
Jul 27 2026, 08:24 AM
Post
#1029
|
|
Member Group: Members Posts: 144 Joined: 7-February 14 From: Gardnerville, Nevada Member No.: 16,969 Region Association: Northern California |
QUOTE(friethmiller @ Jul 26 2026, 06:02 PM) LE Trim Work - part 3 (7/26/2026): Started the morning with some work on the rear targa pad. I had mounted this with the latches a few days prior but still needed to line things up and drive home the 11 or so screws that hold it in place. This pad is an original with an only one crack in the middle that i filled a bit with some vinyl repair. Once secured, I was then able to insert the vertical targa seals and the interior pads that I cleaned up a few weeks ago. I think things turned out well. Last photo shows the trim installed and the hole covers in place. Next up was finding the door switch rubber seals and installing the switches into the A-pillars. I had also cleaned-up these switches a few weeks ago so this entire process didn't take more than 30 minutes to complete. Done! Well, at this point I was ready.... it was Main Targa Seal Time! One of the most dreaded tasks in a 914 restoration!!. (IMG:style_emoticons/default/headbang.gif) Started with the small screw that goes into the corner of the window frame and then began working my way down the driver side. Used lubricant and a plastic tool for this job. With it well over 95 degrees, I spent the next several hours, sweating, listening to music, drinking iced-down hydration drinks, and pushing the @#$!% seal into its track! Moving over to the passenger side, I had a hell of a time getting the seal down into the track. At this point, I think my hands were fatiguing and I was losing a good bit of dexterity. I had to take several breaks. At one point, I don't think I was making any headway. Finally, after some inner-reflection, I was able to get things moving again and slowly worked my way to the bottom of the piece. And that was it.... the main targa seal was installed. Done!! Note: I'm pointing to the small gap in the seal and the top of the window frame. While the targa top will push this close, it would be nice to find a way to fix this... maybe the rubber will relax a bit or I can use some sealant or glue. Not sure. (IMG:style_emoticons/default/confused24.gif) In all, I had a great weekend in the heat pushing through some very necessary tasks with the car. With that said the doors are probably going to be next. <sigh> Another lovely job! (IMG:style_emoticons/default/laugh.gif) Till that time... Cheers. (IMG:style_emoticons/default/beer3.gif) Ive got to take on this ugly task very soon as well. I noticed your dash is complete, do you need to have the upper pad and/or side post pads installed before or after you do the seal? |
|
|
|
| Montreal914 |
Jul 27 2026, 08:36 AM
Post
#1030
|
|
Advanced Member Group: Members Posts: 2,177 Joined: 8-August 10 From: Claremont, CA Member No.: 12,023 Region Association: Southern California
|
Fantastic progress!
Thank you for sharing the door stop trick. Many years ago after restoring the door stop mechanism (rollers), I was existed to finally eliminate that annoying TACK-TACK when opening the door, only to realize after buttoning everything back up that the problem was at the pin end... (IMG:style_emoticons/default/headbang.gif) That is still a fix to do but now I know how, thanks to you! (IMG:style_emoticons/default/smilie_pokal.gif) As for mirror wedge base, we all need a set! Group run? (IMG:style_emoticons/default/biggrin.gif) |
|
|
|
|
4 User(s) are reading this topic (2 Guests and 0 Anonymous Users)
2 Members: bajafreaks, BananaTroll

|
Lo-Fi Version | Time is now: 27th July 2026 - 08:46 AM |
Invision Power Board
v9.1.4 © 2026 IPS, Inc.