|
|
|
Porsche, and the Porsche crest are registered trademarks of Dr. Ing. h.c. F. Porsche AG.
This site is not affiliated with Porsche in any way. Its only purpose is to provide an online forum for car enthusiasts. All other trademarks are property of their respective owners. |
|
|

  |

| friethmiller |
 Mar 30 2026, 02:56 PM Mar 30 2026, 02:56 PM
Post
#841
|
|
Senior Member  Group: Members Posts: 1,204 Joined: 10-February 19 From: Austin, TX Member No.: 22,863 Region Association: Southwest Region |
Wiring Turn signals, Side Markers, and Headlights (3/21/2026):
I know I had done most of this previously but I had encountered problems when I had ripped open both turn signal boots. The first one was when I tried to pull the boot on the back of the light with it installed in the car. The other was when I was feeding through the side marker wires [with connectors still attached]. It happens, I guess. (IMG:style_emoticons/default/confused24.gif) No worries, this time I ordered the boots with the wiring ready to go from 914rubber. This is the way I did it on my last car and it is so easy. You simply attach the connectors to the turn signal, warm up the boot carefully with a heat gun, and carefully slide the boot on the back of the light assembly while it's on the bench. Next, install the light, attach the side marker light wires & boot, and then push the boot into the inner fender hole. The final step is splicing in the wires. For my case I decided to use connectors just in case I ever need to rewire anything or there's an issue. You'll also see me doing the same treatment for the larger H4 wire connectors for the LED headlights. Note: all connections were fluxed and soldered prior to head shrinking over the connection. Special thanks to @Ninja for the master class a while back. (IMG:style_emoticons/default/aktion035.gif) 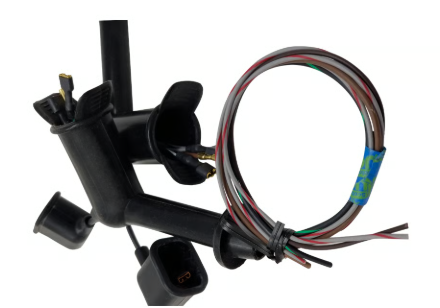 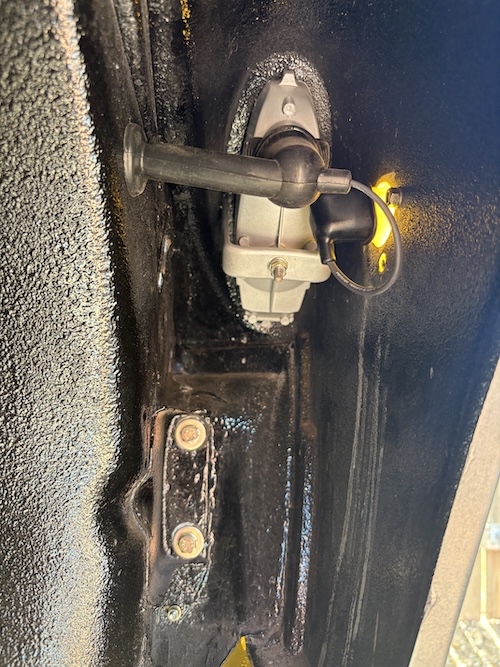 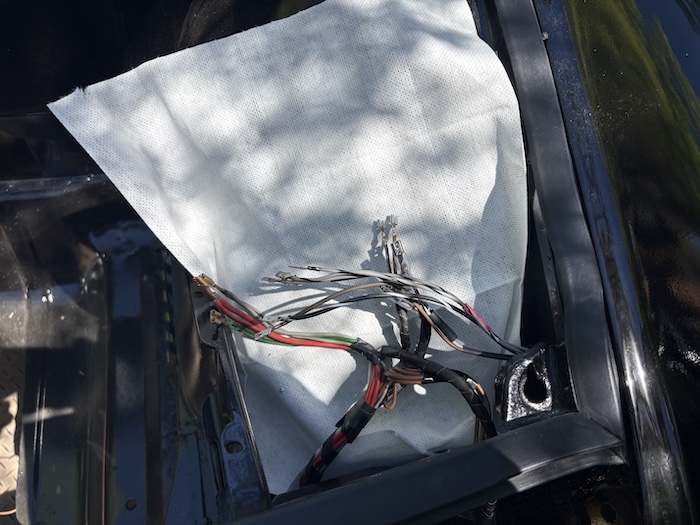 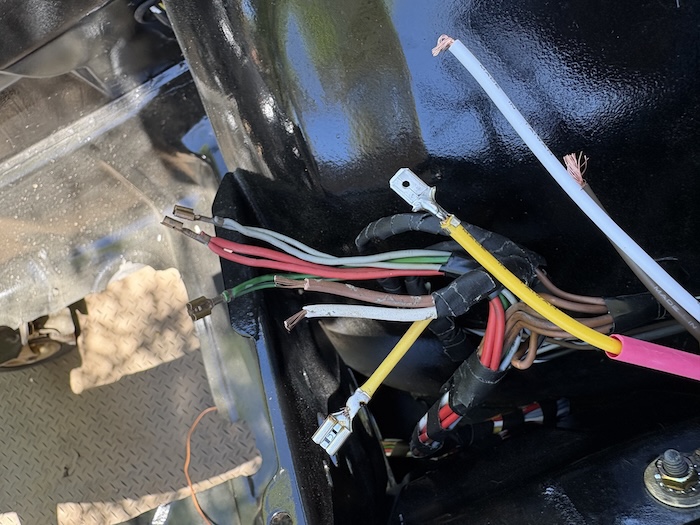 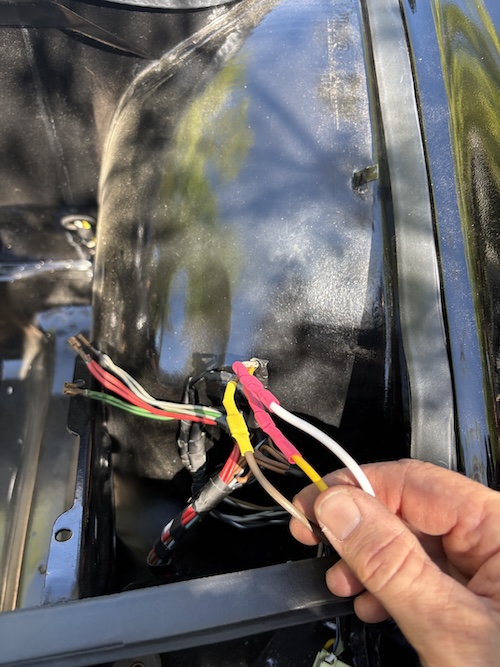 This photo here shows the new dual function LED turn signal bulb purchased from Super Bright LEDs. I made one purchase for all the major front and back bulbs at the same time. The only exception was the headlights which I purchased from 914rubber.  First photo below is a shot of one of the H4 headlight connectors ready to go, followed by the finished view of the wires tucked in and out of the way behind each of the light buckets. I plan to test everything with a power source before moving on with the next section of the wiring harness. Good to have this done... hopefully everything tests out. 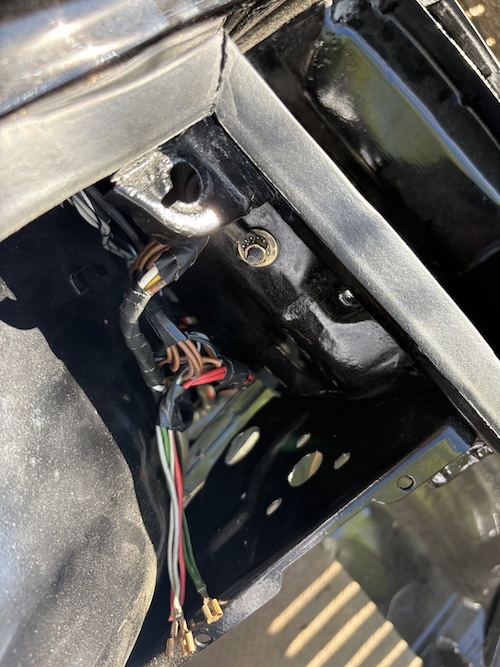  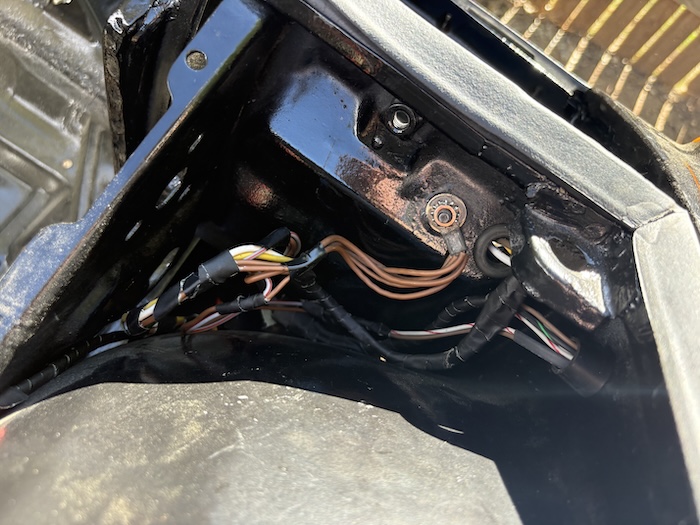 |
   |

 
|
| Ninja |
Mar 30 2026, 03:12 PM
Post
#842
|
|
Member Group: Members Posts: 190 Joined: 25-September 25 From: Granbury Texas Member No.: 29,004 Region Association: Southwest Region |
Looks nice Fred!
|
|
|
|
| Montreal914 |
Mar 30 2026, 04:37 PM
Post
#843
|
|
Advanced Member Group: Members Posts: 2,070 Joined: 8-August 10 From: Claremont, CA Member No.: 12,023 Region Association: Southern California |
|
 |
|
| friethmiller |
Mar 31 2026, 01:27 PM
Post
#844
|
|
Senior Member Group: Members Posts: 1,204 Joined: 10-February 19 From: Austin, TX Member No.: 22,863 Region Association: Southwest Region |
Headlight Assembly Restoration (3/22/2026):
Based on the condition of the LE's headlight mounting assemblies, I had to dig into the shed and find additional parts. The first set of photos here show how bad these light retainers actually were. 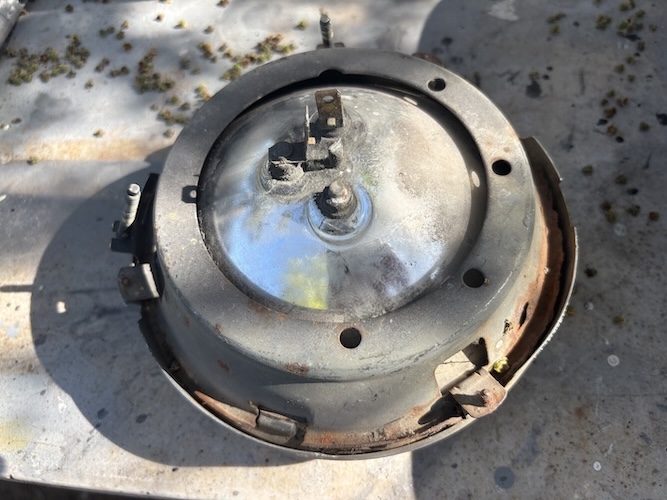 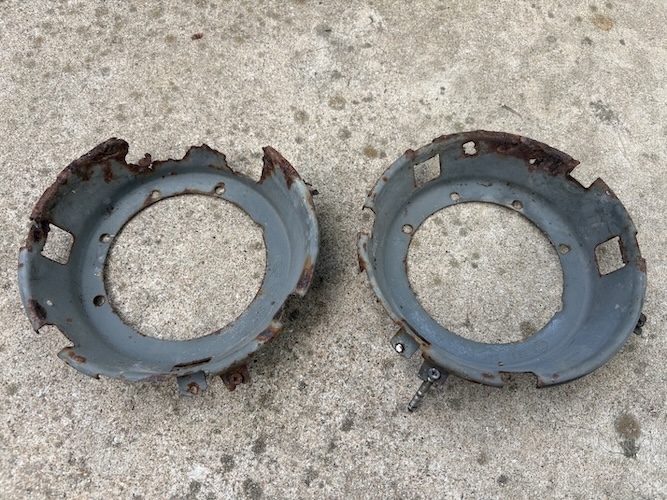 Luckily, I had an extra set (below). So, here was my starting point for this mini-restoration. 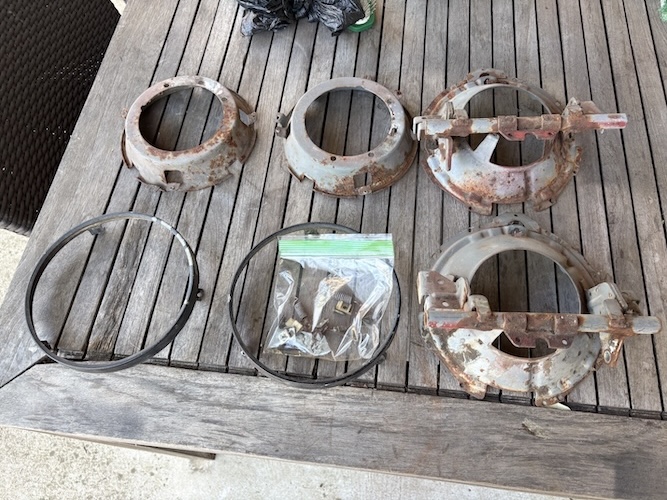 The next photos show the results of the initial Muriatic bath. I follow this up with several rounds with the wire brush and the acid bath - until almost all the paint and rust were gone. 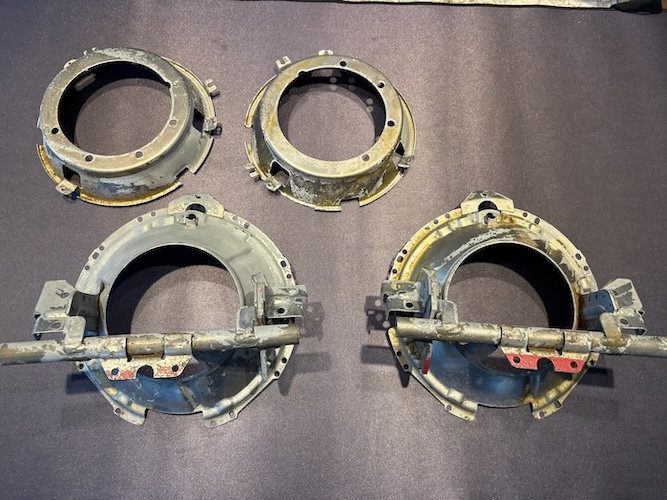  Next was primer and paint. Here, I brushed on the brown Rust-oleum as the primer followed by a gray metallic and clear coat combo (Rust-oleum spray cans). 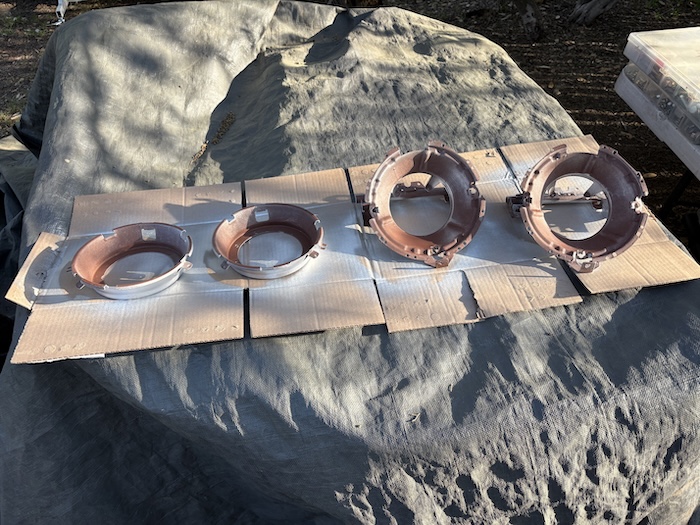 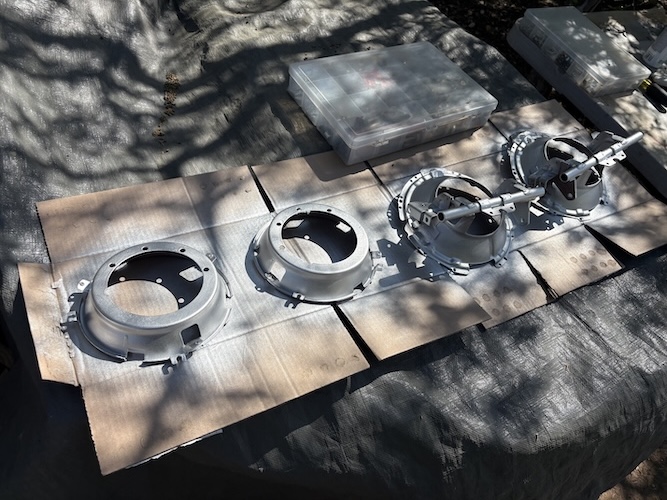 Also, I had a bit of work on the motor plates. These had some heavy rust but only on the lower 1/4 where water must have sat - yikes (IMG:style_emoticons/default/dry.gif) . Here they are being hit with several coats of semi-gloss black and clear (Rust-oleum cans). 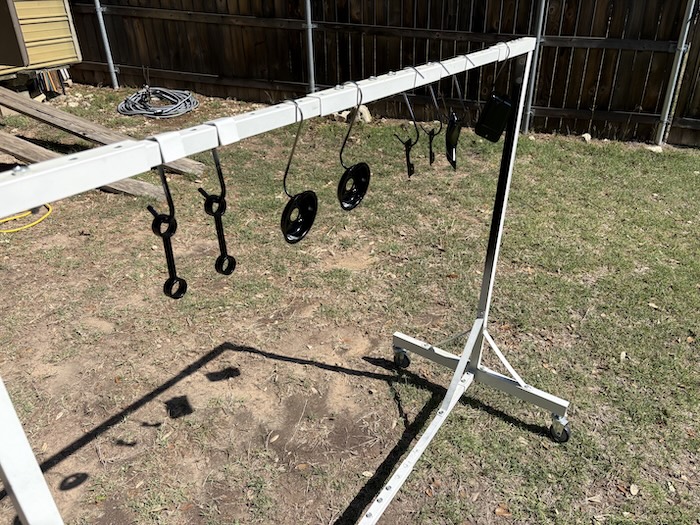 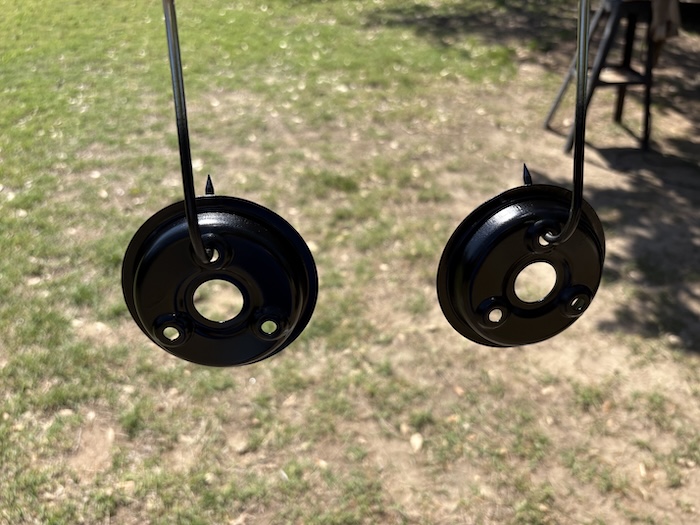 Next up were the headlight motors. These guys had the typical grease and grime and red overspray on them. I used red scotch-brite pads to get it most of the way there; followed by a wire bit in my dremel. This really gets into those hard to reach areas. Very tedious but satisfying work. 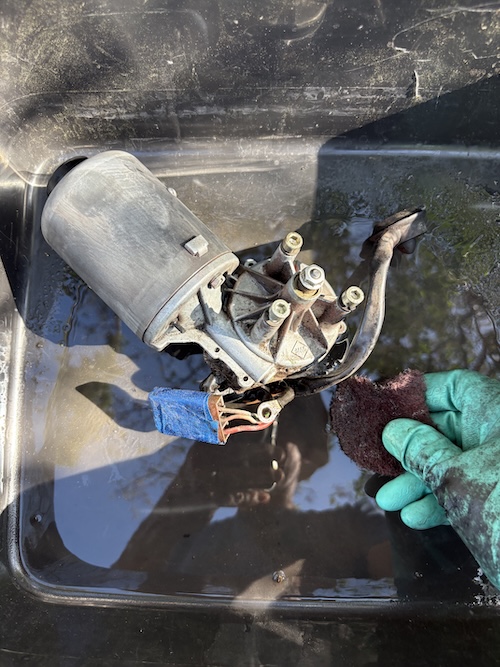 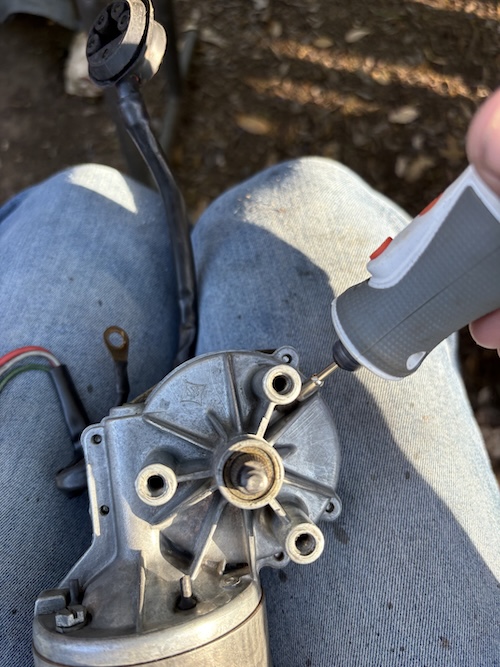 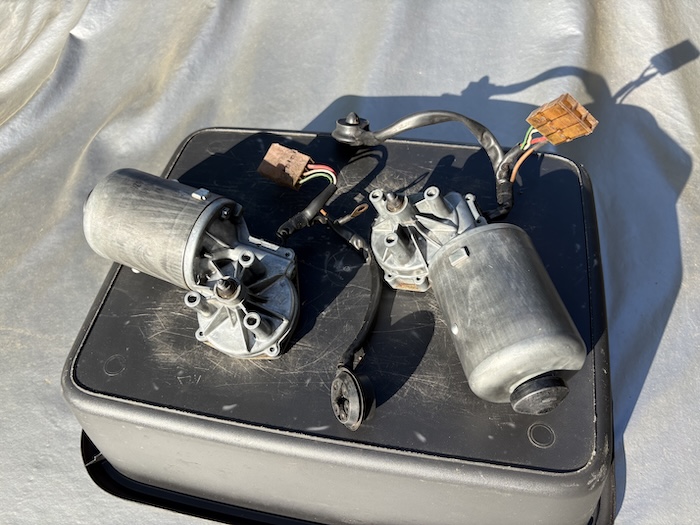 Photos here show the end result and the paint that was used. Not pictured was the work on the headlight retaining rings and plastic surrounds. The rings were cleaned, stripped, and repainted and the surrounds were cleaned and then hit with two rounds of trim restorer. I think they look pretty good. The final photo shows you the paint I used. More to posts to follow. Till then... Cheers! (IMG:style_emoticons/default/beerchug.gif) 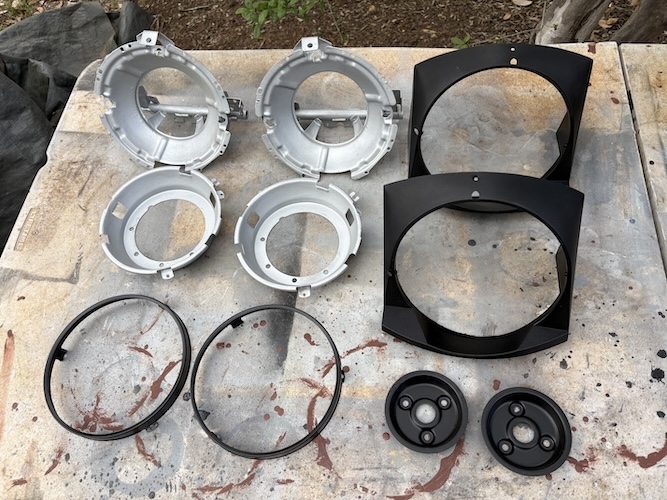 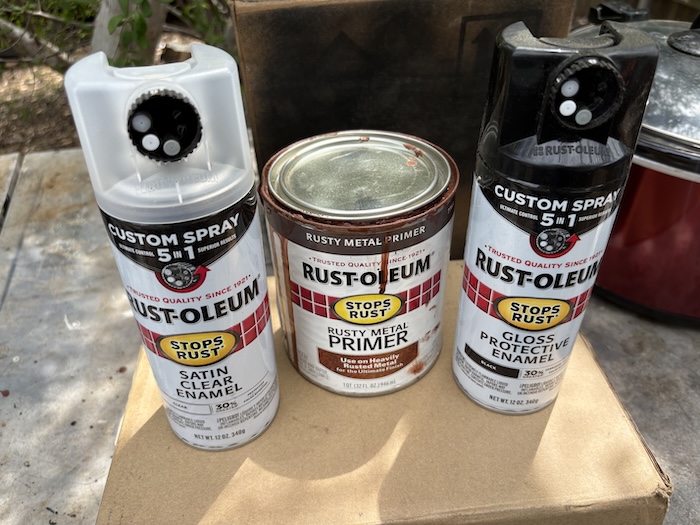 |
|
|
|
|
12 User(s) are reading this topic (11 Guests and 0 Anonymous Users)
1 Members: ChrisFoley

|
Lo-Fi Version | Time is now: 31st March 2026 - 01:35 PM |
Invision Power Board
v9.1.4 © 2026 IPS, Inc.