|
|
|
Porsche, and the Porsche crest are registered trademarks of Dr. Ing. h.c. F. Porsche AG.
This site is not affiliated with Porsche in any way. Its only purpose is to provide an online forum for car enthusiasts. All other trademarks are property of their respective owners. |
|
|

  |

| friethmiller |
 Apr 19 2026, 07:29 PM Apr 19 2026, 07:29 PM
Post
#881
|
|
Senior Member  Group: Members Posts: 1,234 Joined: 10-February 19 From: Austin, TX Member No.: 22,863 Region Association: Southwest Region |
Gauge Restoration - Part 1 (4/18/2026):
The Starting Point With the rainy weather here again I decided to go ahead and clean up the LE's gauges. I'll let the pictures describe the condition of gauges for you. I'm not sure why somebody thought this color would be cool on the interior of their 914 but to each their own, I guess. Actually, they did try to paint it black again but never bothered to remove the pink-ish paint and it cracked on them. Awful! (IMG:style_emoticons/default/barf.gif) Here's the center console gauges and console wiring harness. 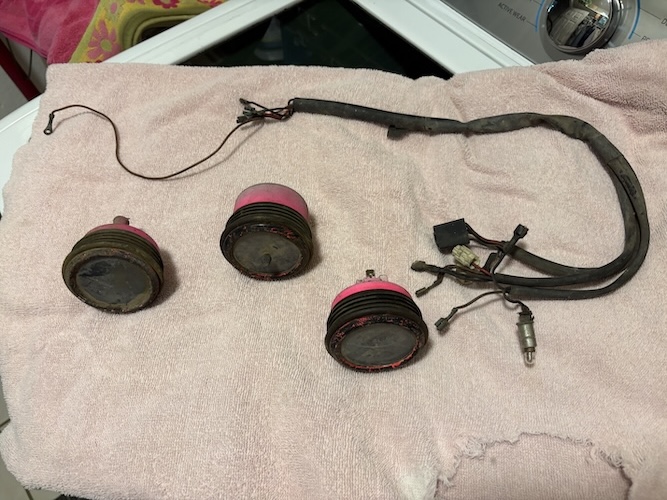  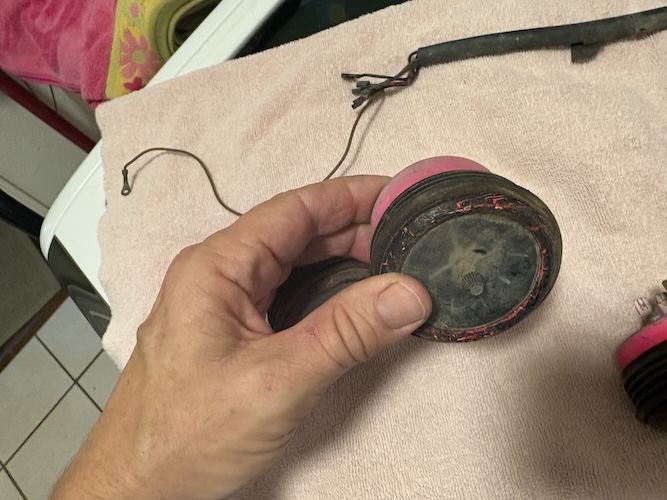 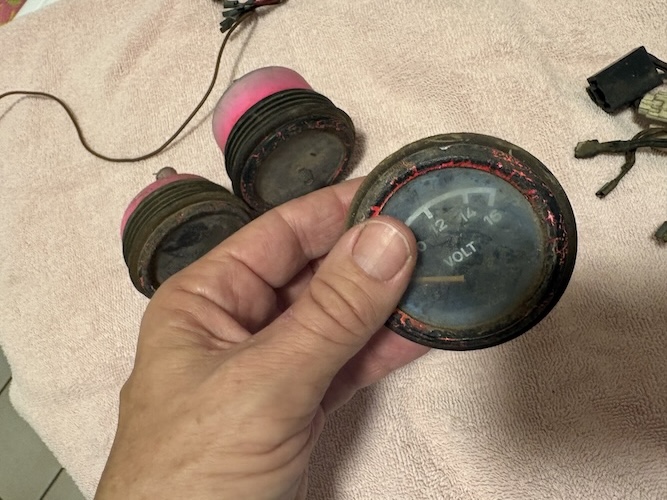 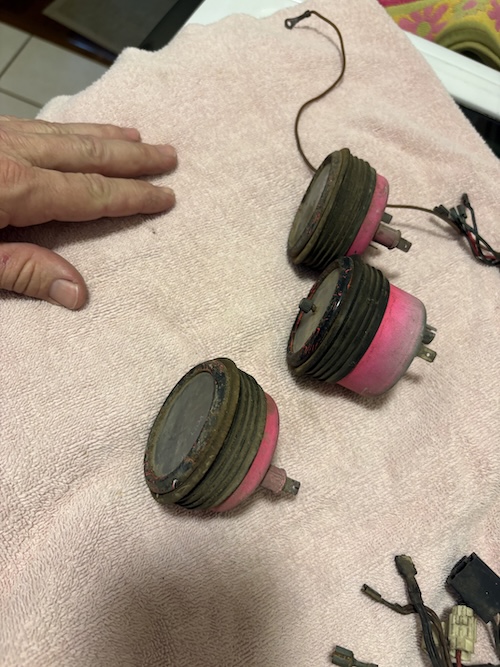 Here are the dash gauges. This first pic shows the multi-gauge. Just looking at it made me grab an older spare I had off the shelf. There was no way I could go with something burned-up like this one (IMG:style_emoticons/default/unsure.gif) The second pic is the speedometer and the last photo shows the replacement tach off of a '74 that was hands-down better than the original one from the LE. The only concern I had was the fact that this older combo gauge had a metal center button which won't look original but considering the condition of the original, it'll have to do. 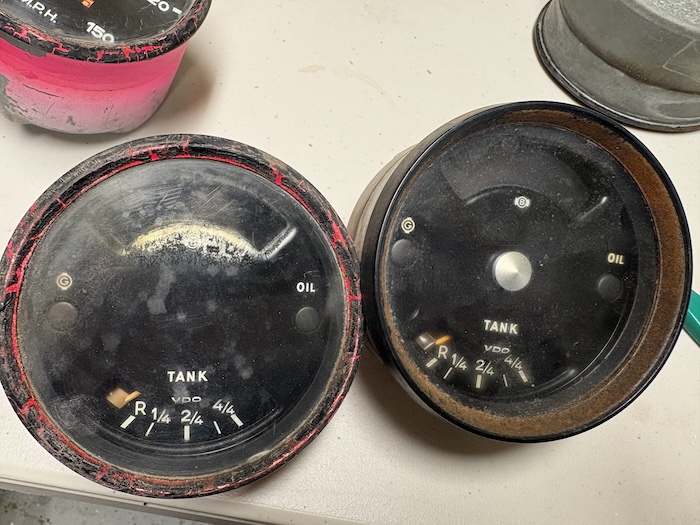 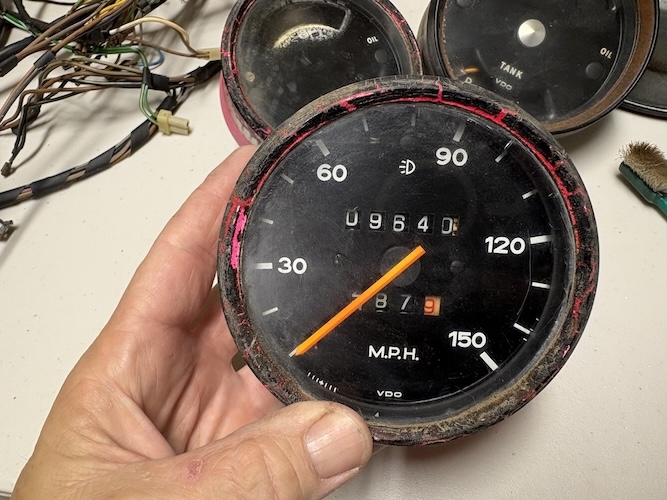 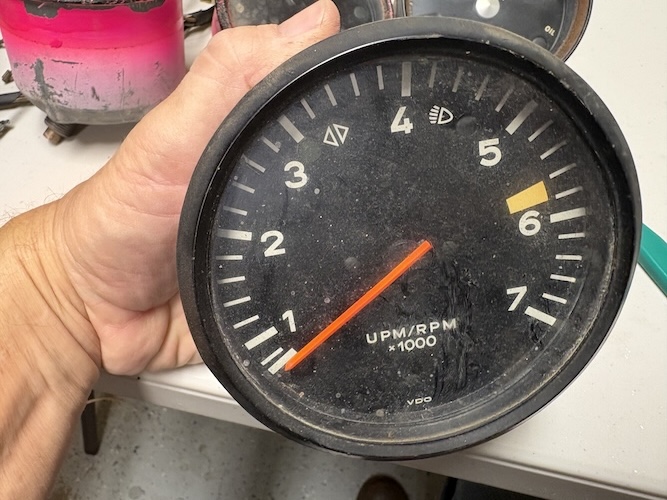 Diving right in. I removed the bezels off of each gauge. Up first was the Speedo. There was a lot of old grease found in the bottom of the can. 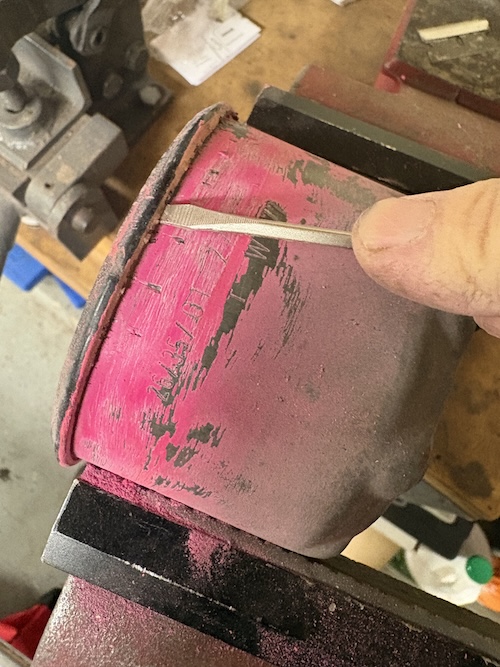 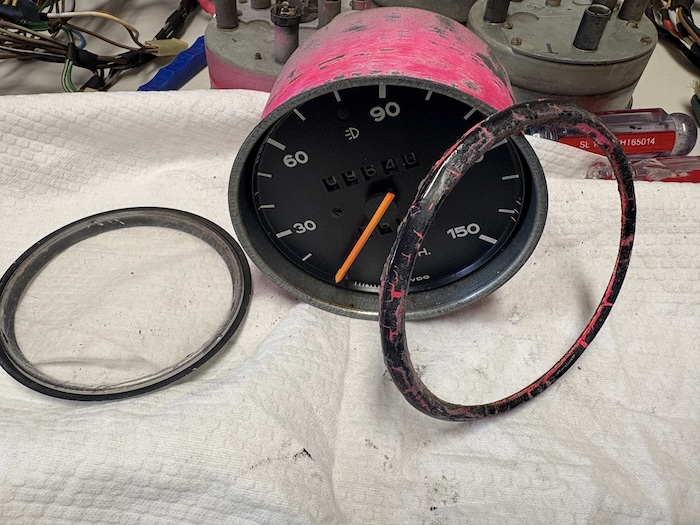 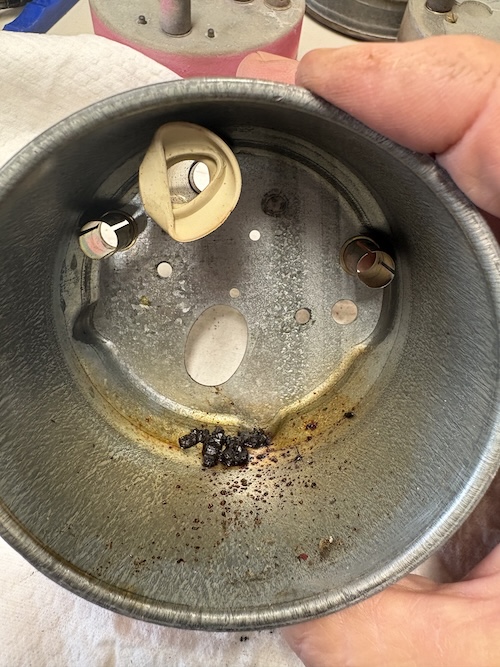 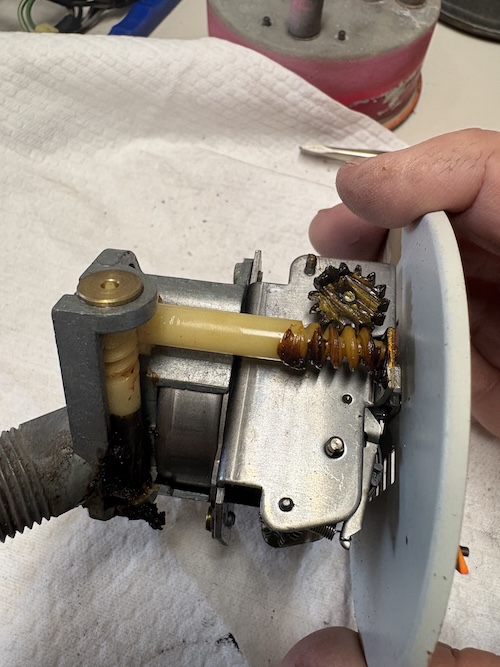 Next was the RPM gauge. No issues here. 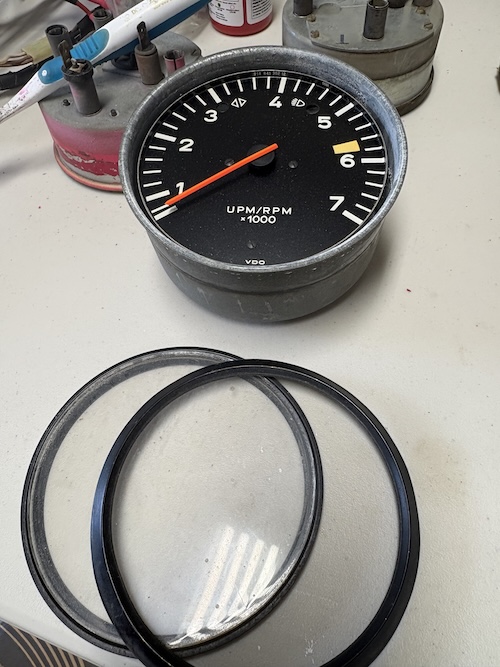 Next, I opened up the multi-gauge. What a mess! 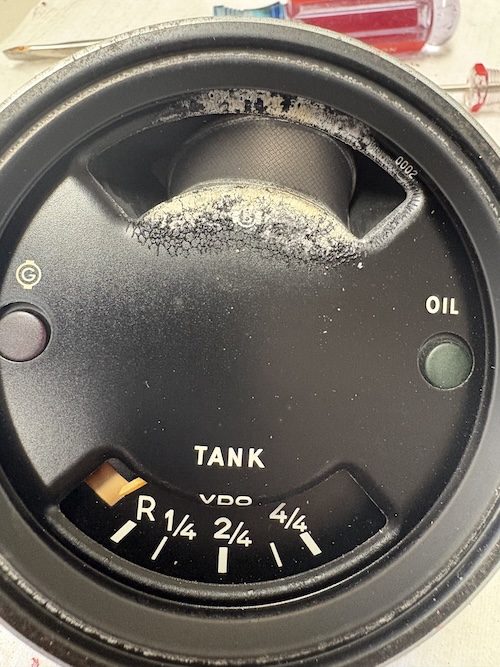 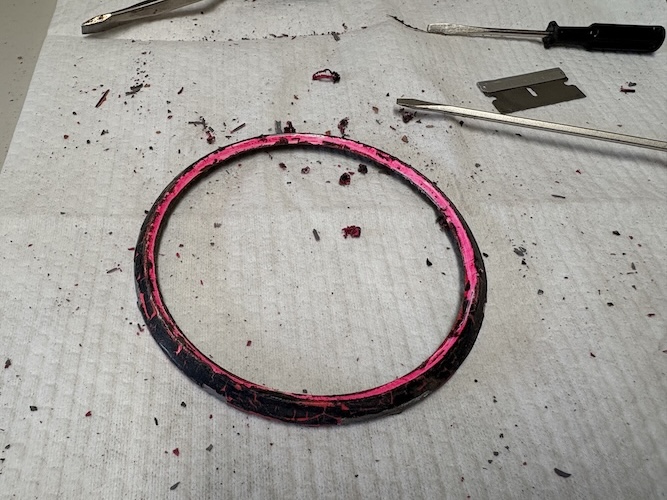  And finally, the replacement multi-gauge. My plan was to use the newer style bezel off the LE gauge on the front of this gauge. 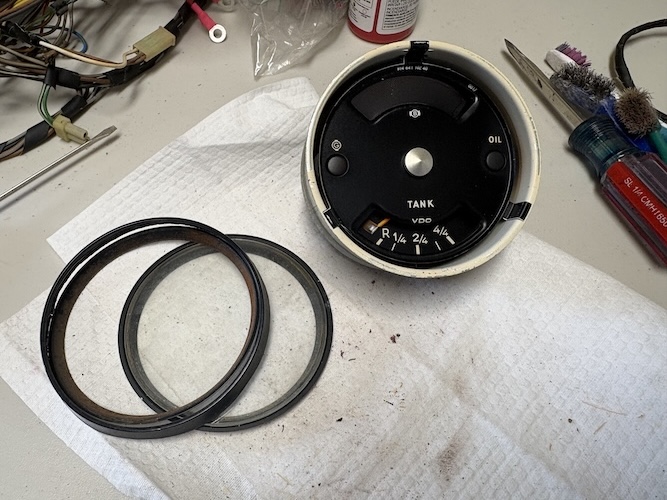 Let the cleaning begin Here are several photos of the clean-up. As you can tell, it took several iterations to get these gauges starting to look new again. At the end of the day on Saturday, I had left the console bezels to soak overnight in lacquer thinner. Stay tuned for part 2 (Sunday) shortly (IMG:style_emoticons/default/chowtime.gif) 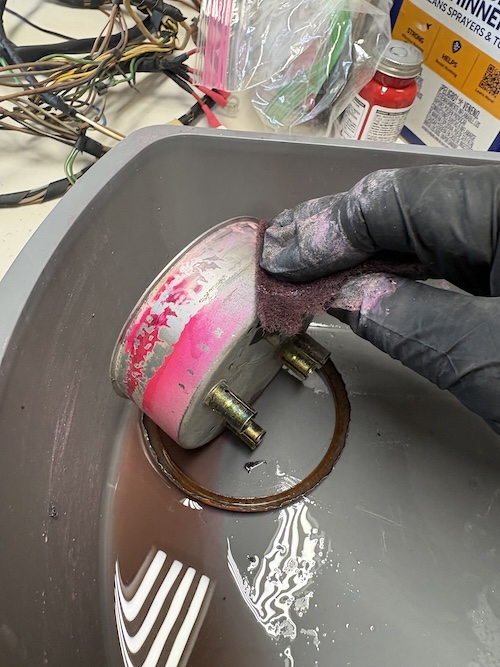 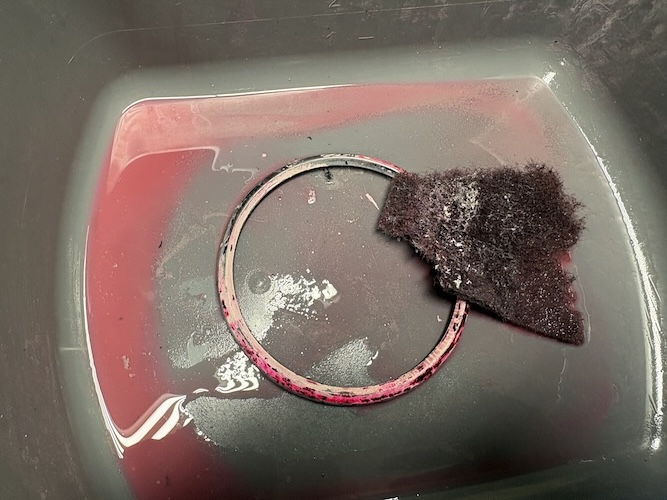 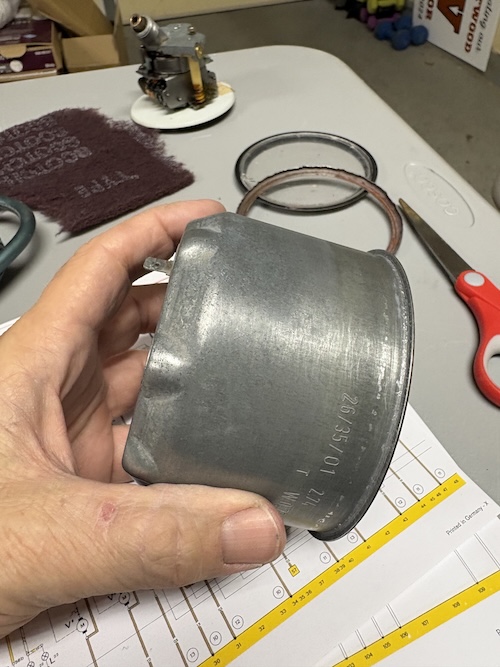 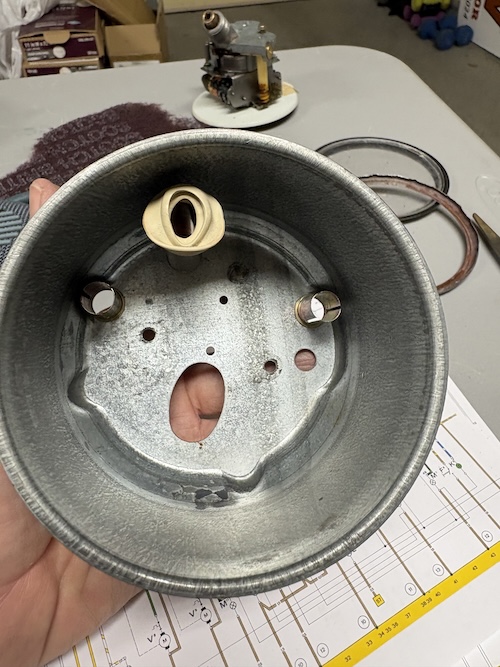 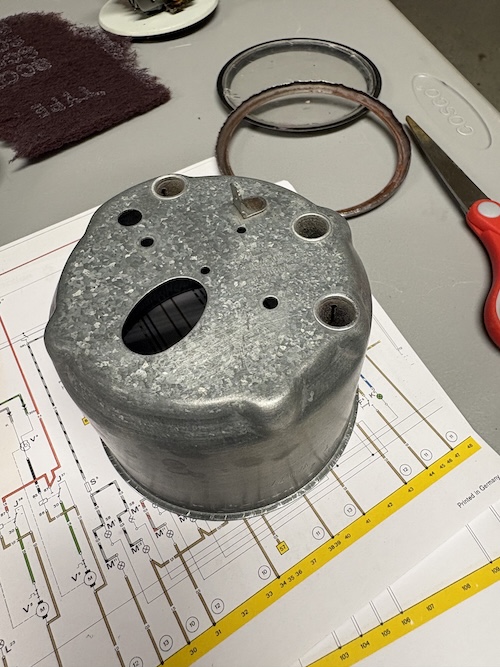 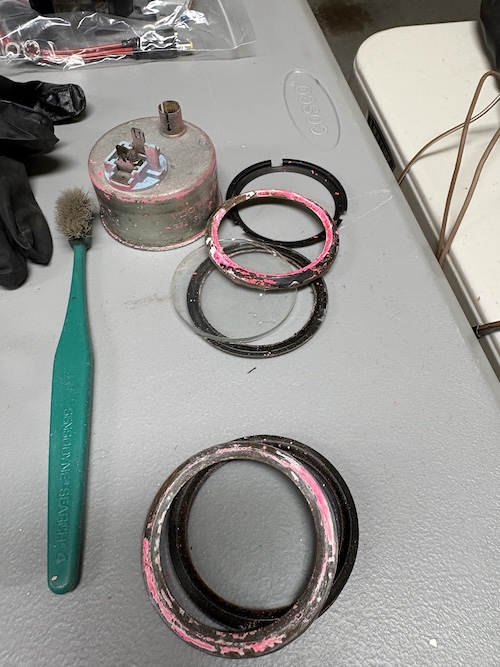 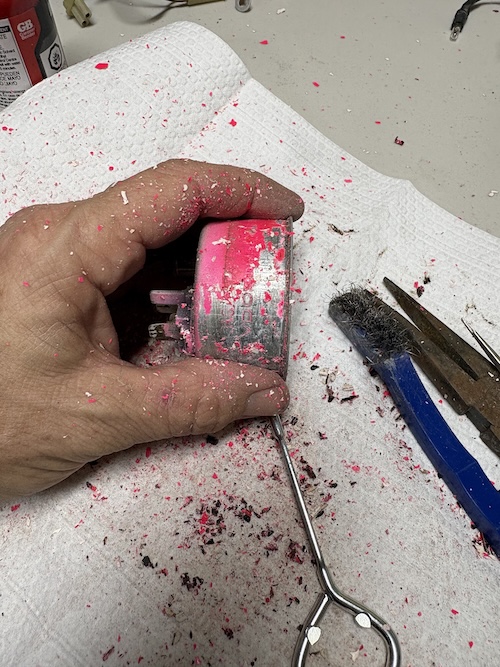 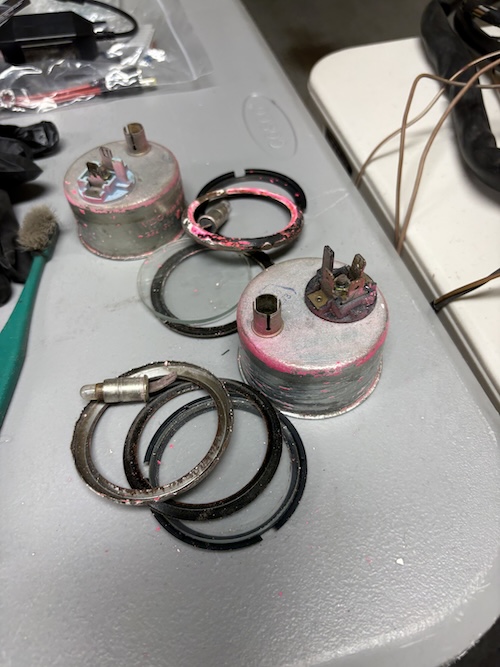 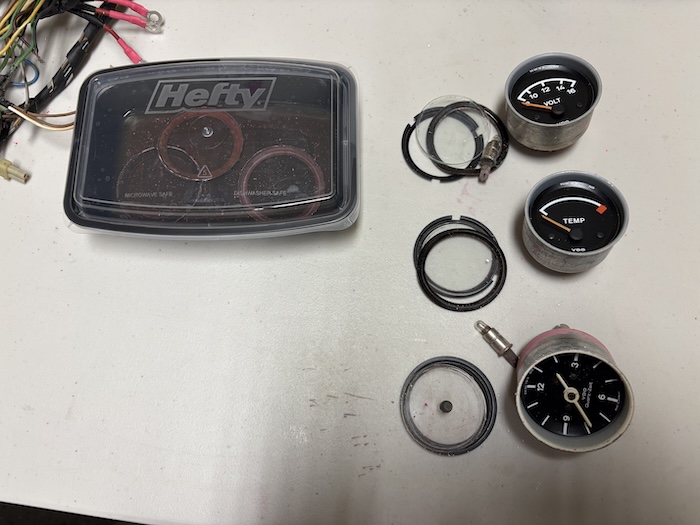 |
   |

 
|
| friethmiller |
Apr 19 2026, 08:20 PM
Post
#882
|
|
Senior Member Group: Members Posts: 1,234 Joined: 10-February 19 From: Austin, TX Member No.: 22,863 Region Association: Southwest Region |
Gauge Restoration - Part 2 (4/19/2026):
Started off this morning by removing the remaining paint from the front of the console gauges. Next, I soaked the insides down with a phosphorus-based rust converter - much needed. The third photo shows the difficult work completed on the these gauges. I did the same for the main gauges, as well (not pictured) 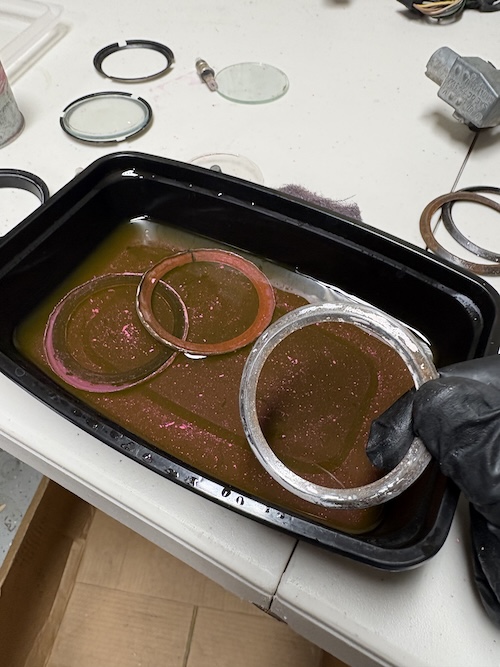 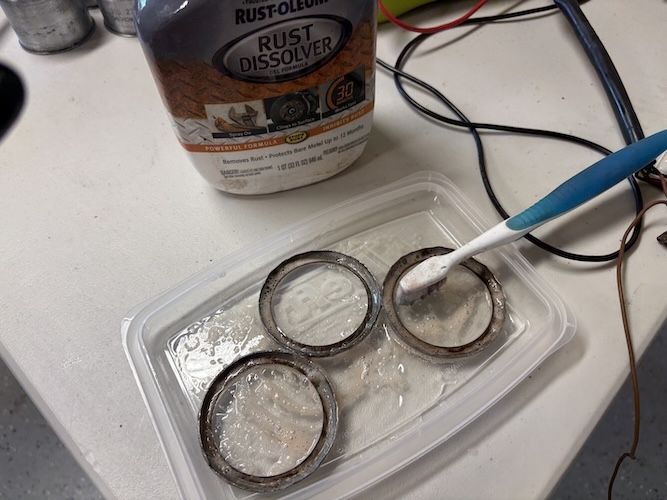 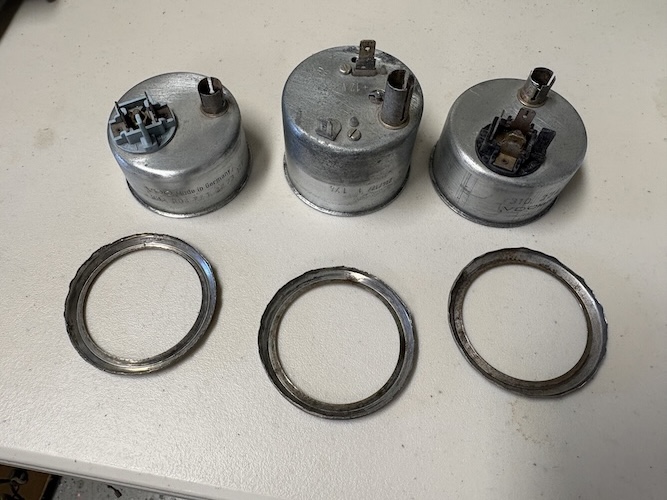 Next, was using rubber treatment on the rubber console rings. Not that I was planning on reusing them but sometimes things can clean-up so well, you change your mind. Probably not the case here but I restored them anyways. 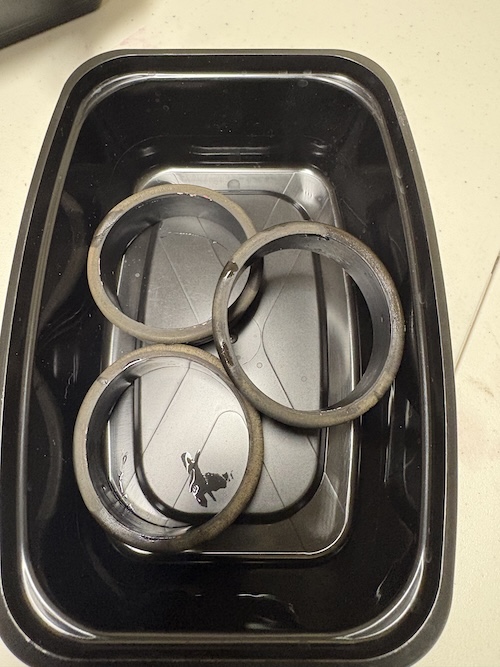 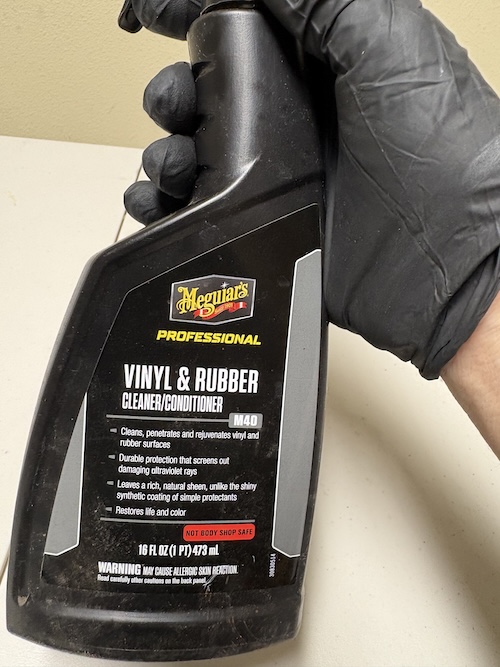 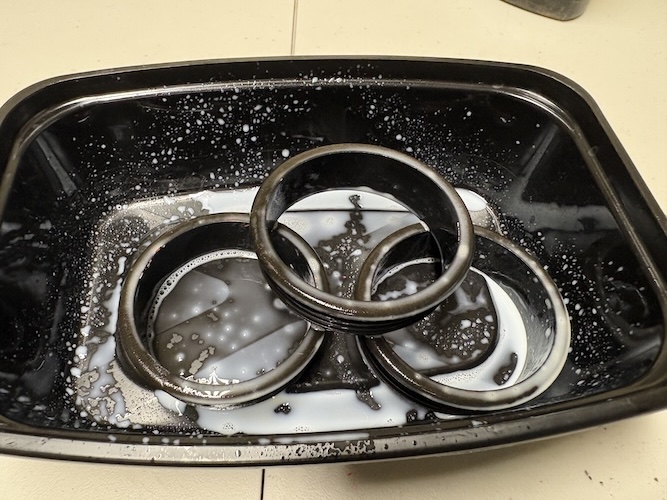 Next, the plexiglass for the clock. The spring-loaded adjuster knob was completely locked with rust. I had to work in some lubricant to get it to operate again. I also polished up the plexiglass with some fine compound. It certainly didn't get out all the scratches but it did remove the cloudiness, which is what I needed gone. 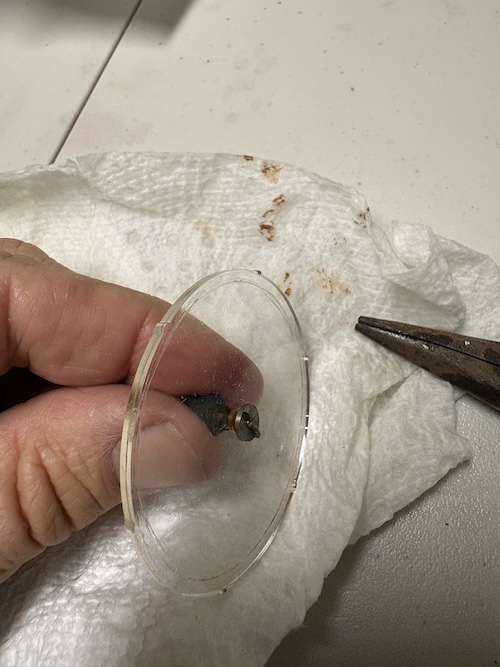 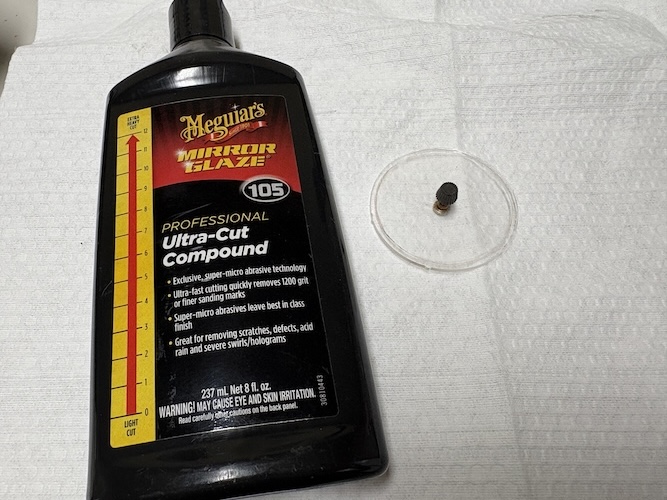 Here's the polish I used on the other gauges that were real glass. Again, just to remove any cloudiness. 2nd photo shows the progress. We're getting there. Need to paint the rings. 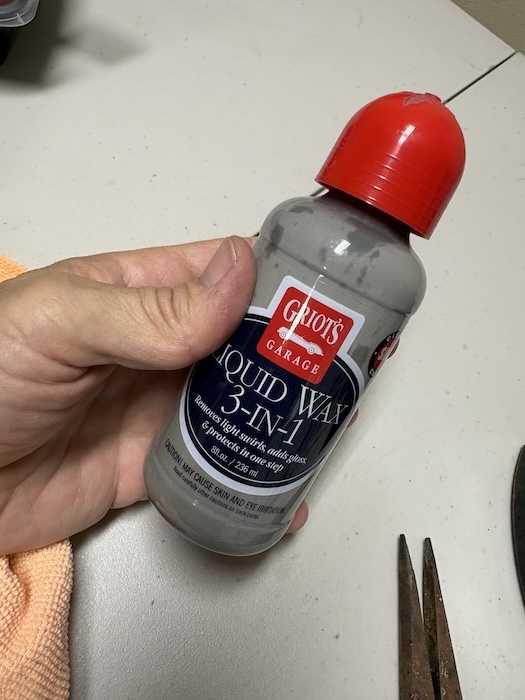 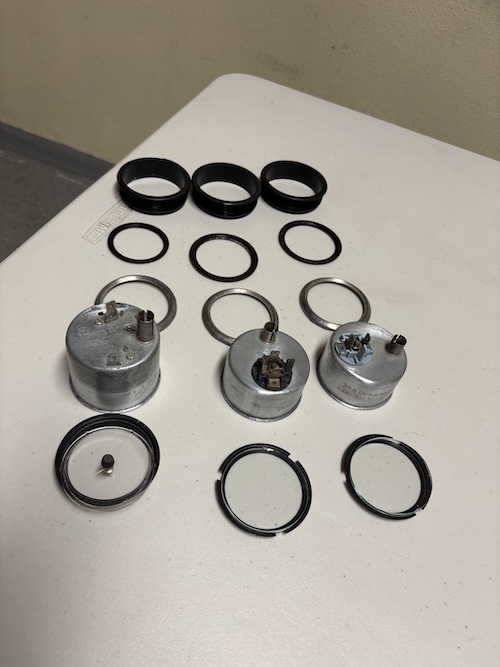 Hit the rings with Rust-Oleum semi-gloss black followed by a satin clear coat. 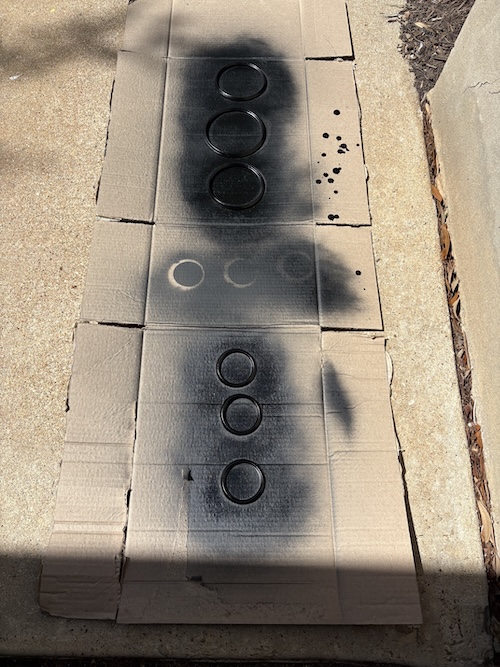 Pulled out my gauge upgrade kit that I purchase from GT Barnes. Looks to be of very good quality. Really like the real glass upgrade! (IMG:style_emoticons/default/smilie_pokal.gif) Pretty easy to do here just ran the LEDs through the back of the cans and glued down the light strips by pulling off the adhesive backing. I'll figure out how to wire these all in later - just need this in before I seal the gauges back up. 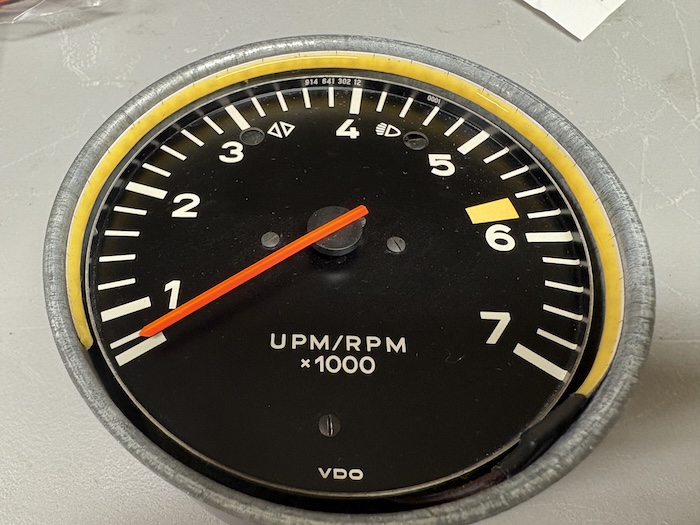 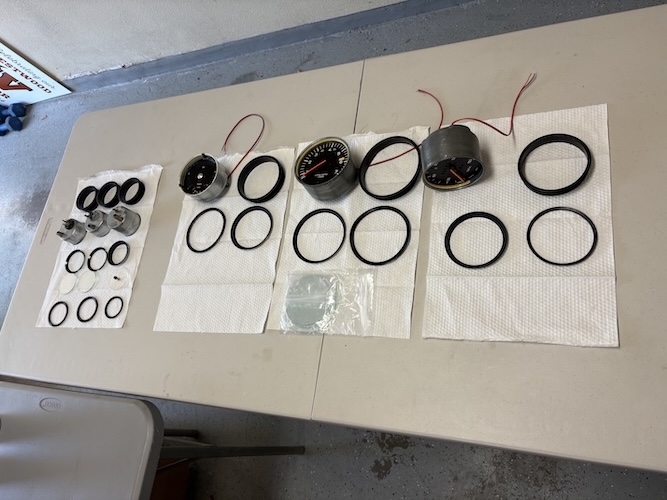 Another task that I needed to do was painting the needles. I went on several trips to stores trying find the correct color since the paint in the GT Barnes kit had dried up (IMG:style_emoticons/default/sad.gif) First attempt shown here was too red. I finally ended up mixing in some orange to get the color I wanted (see pics at the end). 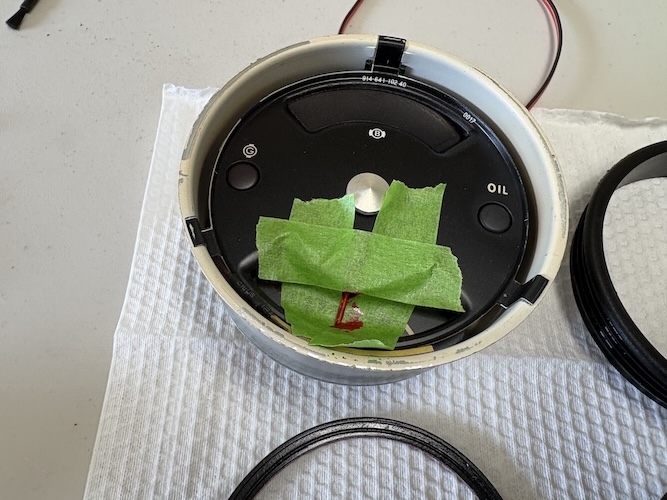 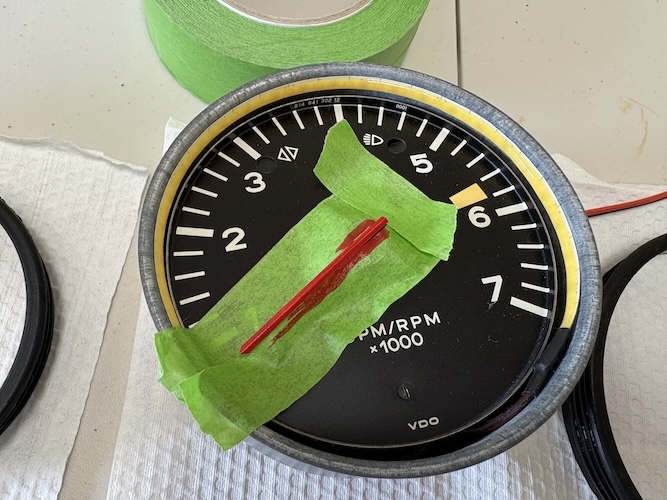 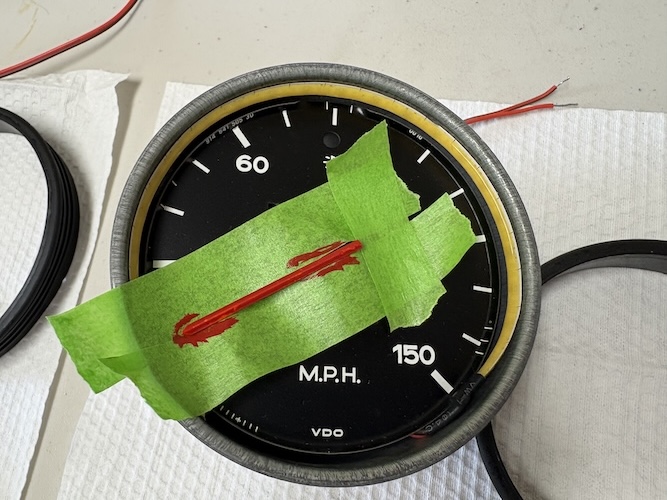 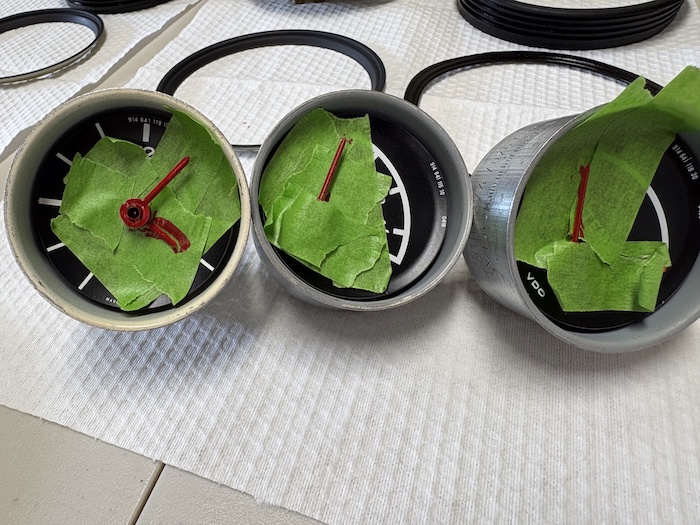 With the rings now dry, it was time for re-assembly. Here are the photos of the dash gauges. Ended up using a punch to re-seat the bezels. This process takes good bit of time. I just kept working my way around, pausing to examine areas that still need to be worked down. There was a lot of glass cleaning with gloves going on here, too. 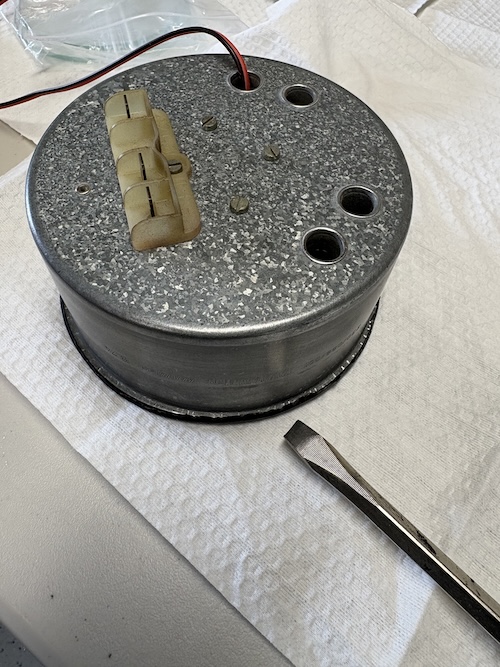 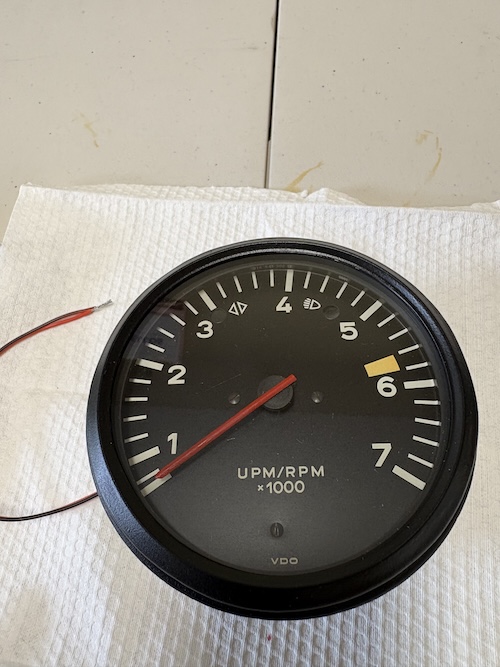 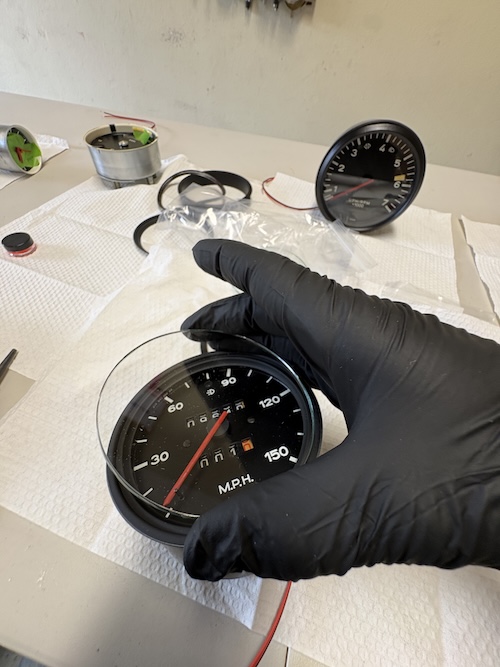 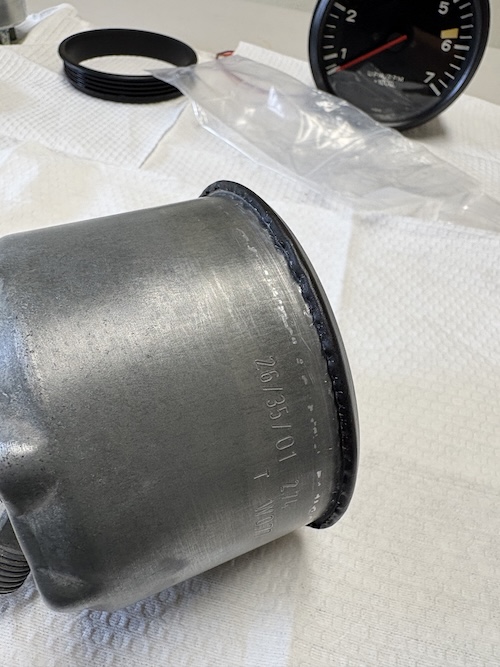 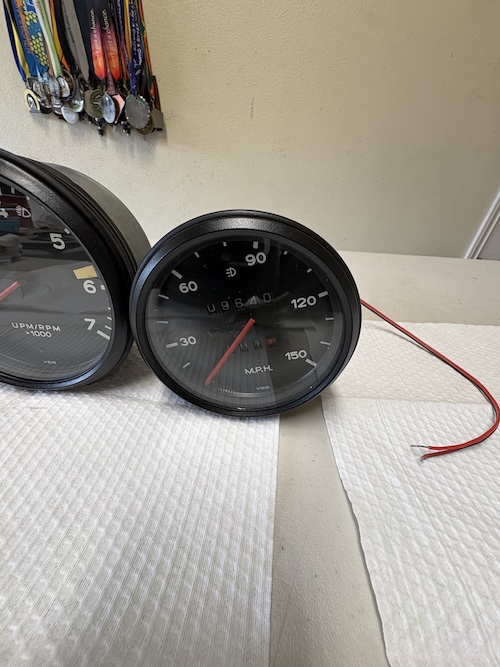 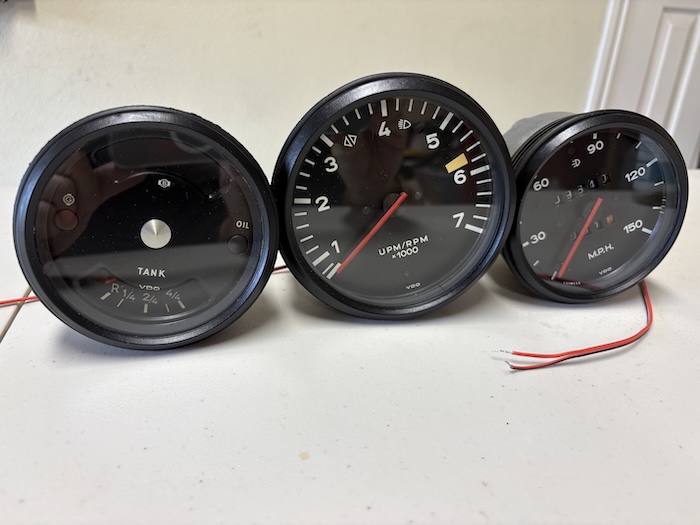 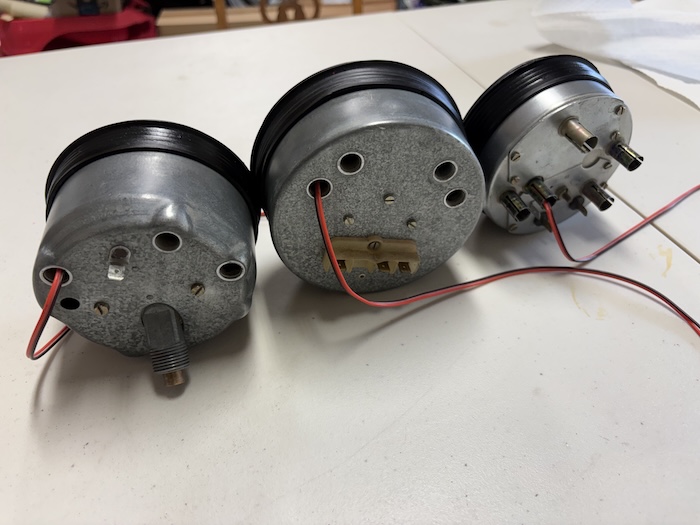 Console Gauges were next. Just more of the same here. 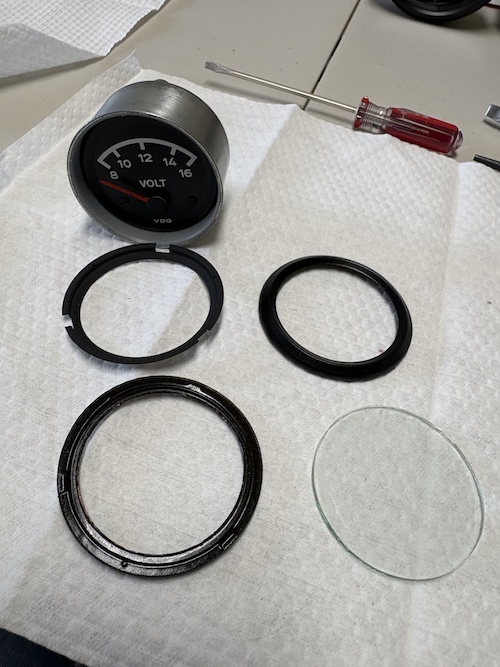 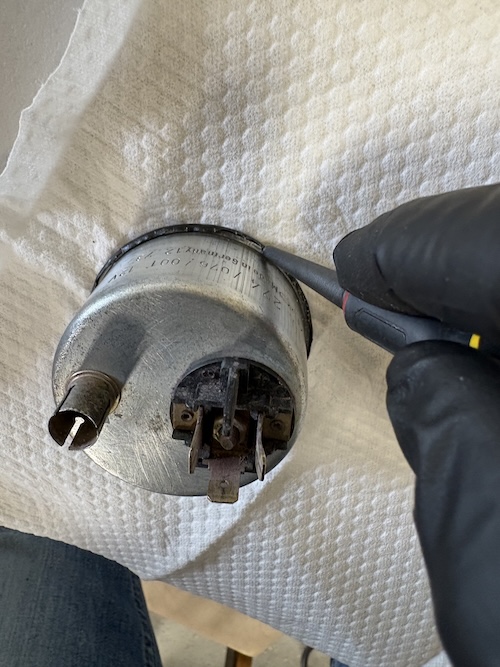 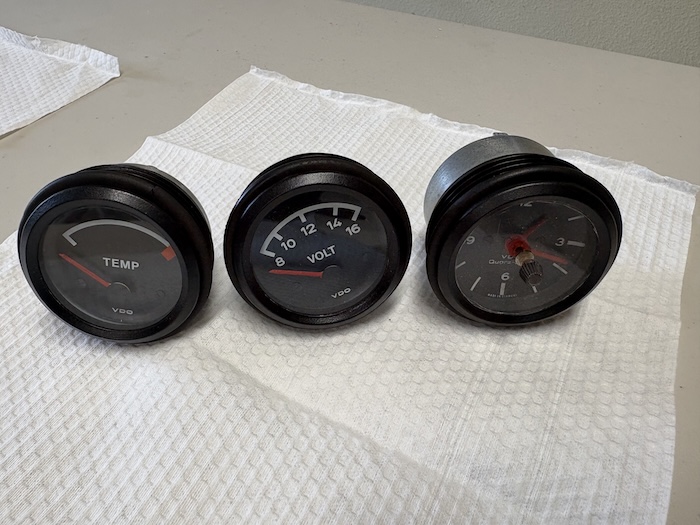 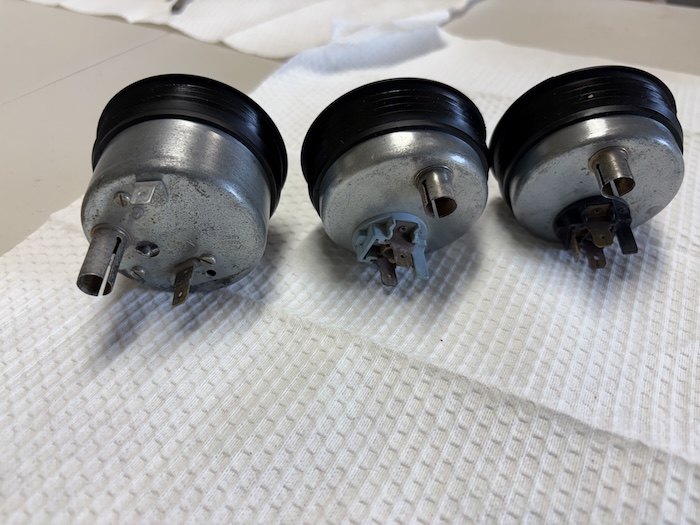 After all that, I wrapped, and taped-up each gauge for storage - for now. What a weekend! Here's to getting out on the car next weekend with some sunny weather... PLEASE!! (IMG:style_emoticons/default/beerchug.gif)   |
|
|
|
|
10 User(s) are reading this topic (10 Guests and 0 Anonymous Users)
0 Members:

|
Lo-Fi Version | Time is now: 20th April 2026 - 04:41 AM |
Invision Power Board
v9.1.4 © 2026 IPS, Inc.