|
|
|
Porsche, and the Porsche crest are registered trademarks of Dr. Ing. h.c. F. Porsche AG.
This site is not affiliated with Porsche in any way. Its only purpose is to provide an online forum for car enthusiasts. All other trademarks are property of their respective owners. |
|
|

  |

| GBX0073 |
 Apr 29 2025, 10:39 AM Apr 29 2025, 10:39 AM
Post
#21
|
|
Member  Group: Members Posts: 178 Joined: 21-December 20 From: Illinois Member No.: 25,007 Region Association: Upper MidWest |
Wow Great Job !!!
|
   |

 
|
| Root_Werks |
Apr 29 2025, 12:40 PM
Post
#22
|
|
Village Idiot Group: Members Posts: 8,790 Joined: 25-May 04 From: About 5NM from Canada Member No.: 2,105 Region Association: Pacific Northwest |
|
|
|
|
| Chad911sc |
Apr 30 2025, 05:22 AM
Post
#23
|
|
Member Group: Members Posts: 184 Joined: 24-September 24 From: Florida Member No.: 28,374 Region Association: South East States |
Working on the Stainless Exhaust today, still need to know if it is ok to leave as is with the ballast inline. If someone else could chime in on the wiring, that would be great!
|
|
|
|
| emerygt350 |
Apr 30 2025, 06:08 AM
Post
#24
|
|
Advanced Member Group: Members Posts: 3,253 Joined: 20-July 21 From: Upstate, NY Member No.: 25,740 Region Association: North East States |
I would look up the coil if nobody chimes in on this. Did the 123 and the coil come with the motor? If you are unsure you may want to check the primary resistance. Here is what 123ignition says...
"For 4 cylinder engines you could use the original coil or other coils with a primary resistance of at least 1.0 Ohm. For standard street engines we advise a “Bosch Blue” or “Beru ZS106” coil. For high rpm engines a “Bosch red (0 221 119 030)” or “Beru ZS109” is much better." |
|
|
|
| worn |
Apr 30 2025, 05:33 PM
Post
#25
|
|
Winner of the Utah Twisted Joint Award Group: Members Posts: 3,495 Joined: 3-June 11 From: Madison, WI Member No.: 13,152 Region Association: Upper MidWest |
QUOTE(Chad911sc @ Apr 30 2025, 03:22 AM)  Working on the Stainless Exhaust today, still need to know if it is ok to leave as is with the ballast inline. If someone else could chime in on the wiring, that would be great! We are all pretty much in awe of the clean engine bay. Kinda left me stunned. |
|
|
|
| Chad911sc |
May 1 2025, 06:31 AM
Post
#26
|
|
Member Group: Members Posts: 184 Joined: 24-September 24 From: Florida Member No.: 28,374 Region Association: South East States |
Thanks again for all the wonderful compliments! Just been chugging along day by day, one thing at a time until I got it to the place that I wanted. Finished the exhaust yesterday and now working on the rear valance to except the center outlet design I built.
Just going to pull the ballast out of the electrical path because the new Pertronix flame thrower coil already has a 3.0 ohm resistance. |
|
|
|
| Chad911sc |
May 1 2025, 06:35 AM
Post
#27
|
|
Member Group: Members Posts: 184 Joined: 24-September 24 From: Florida Member No.: 28,374 Region Association: South East States |
Pics of the exhaust…it being mated up to the MSDS header that I purchased. By the way…very good quality header made right here in the USA. And even better than that, the customer service is top notch! Had a few issues to work through and response was immediate (IMG:style_emoticons/default/biggrin.gif)
Attached thumbnail(s) 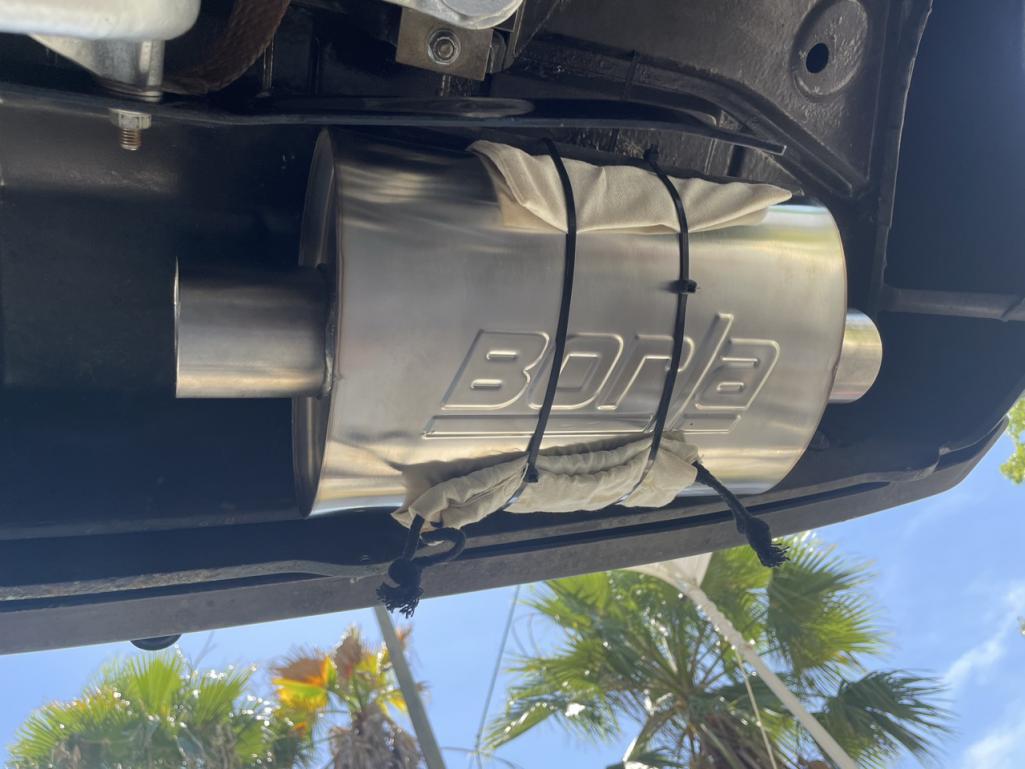  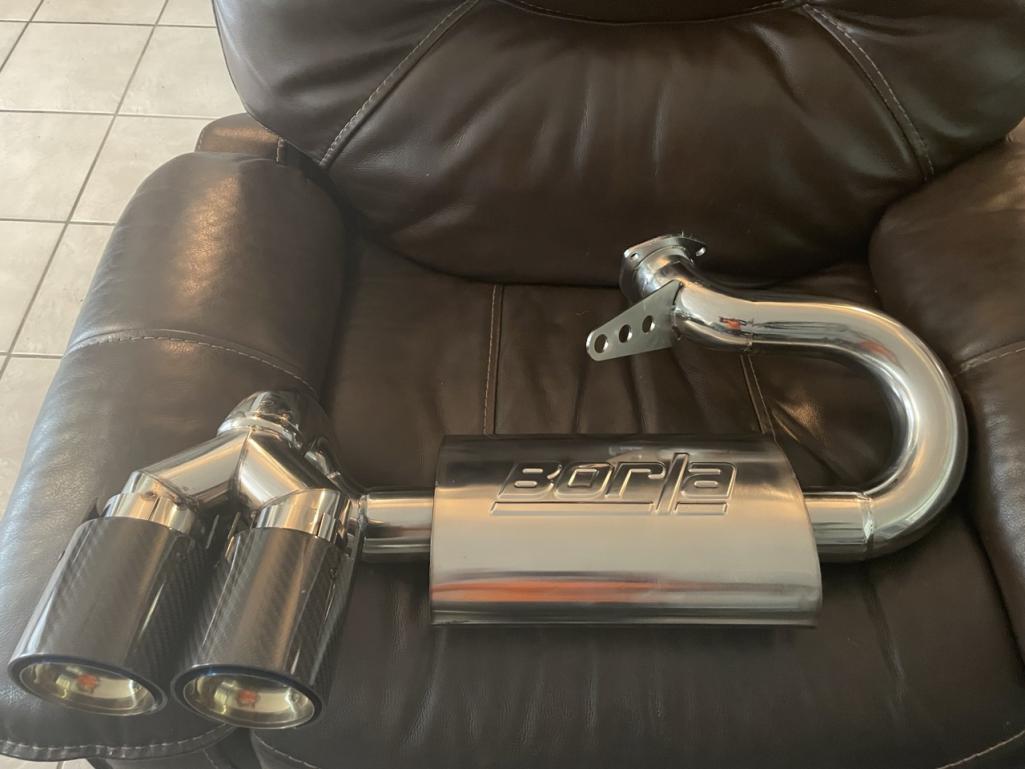 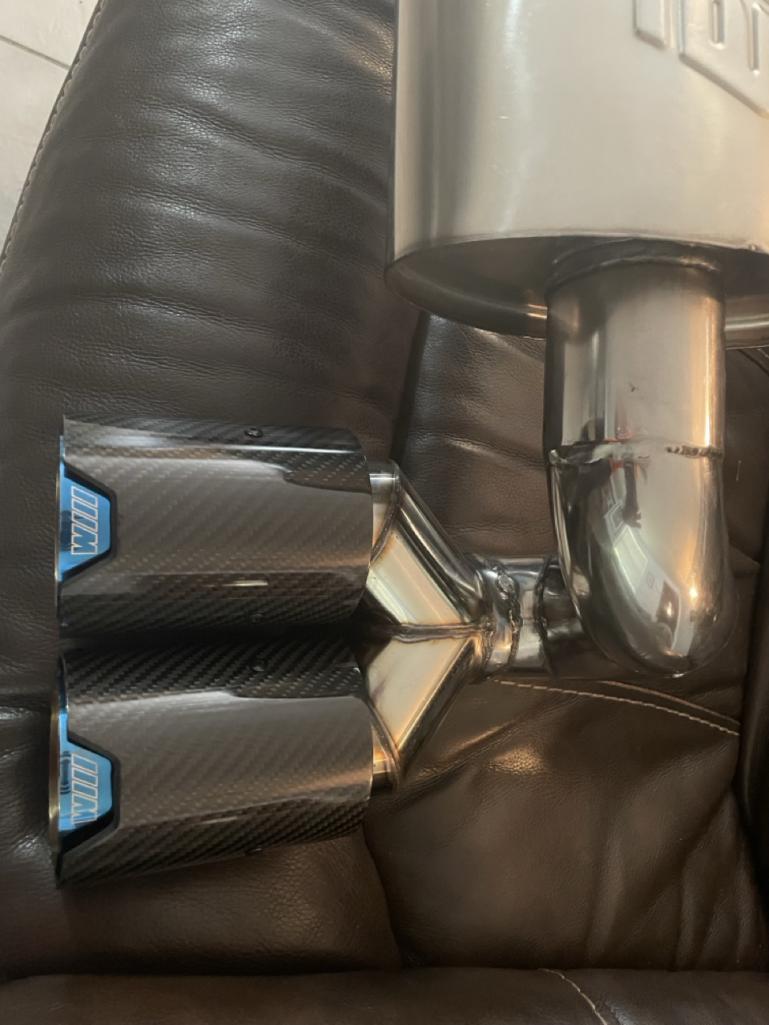
|
|
|
|
| Superhawk996 |
May 1 2025, 06:40 AM
Post
#28
|
|
914 Guru Group: Members Posts: 7,410 Joined: 25-August 18 From: Woods of N. Idaho Member No.: 22,428 Region Association: Galt's Gulch |
QUOTE(emerygt350 @ Apr 29 2025, 06:57 AM) The Bosch coils had it built in so no ballast was necessary. Perhaps your coil does not have that. I don't think it hurts to have it. Others will know more than I. Excess resistance in the coil primary reduces spark intensity. Measure the coil primary resistance to determine if the coil has a built in ballast resistor or not. Follow whatever 123 has a recommendation for minimum resistance as noted above by EmeryGT350 |
|
|
|
| Chad911sc |
May 1 2025, 07:39 AM
Post
#29
|
|
Member Group: Members Posts: 184 Joined: 24-September 24 From: Florida Member No.: 28,374 Region Association: South East States |
Yes the Pertronix coil already has 3.0 ohms of resistance, so I can just remove the ballast. Good thing he chimed in because I had no idea what it even was or what its function was. I was just putting it back together as it was because everything functioned correctly when I bought it last year.
|
|
|
|
| bajafreaks |
May 1 2025, 08:36 AM
Post
#30
|
|
Member Group: Members Posts: 107 Joined: 7-February 14 From: Gardnerville, Nevada Member No.: 16,969 Region Association: Northern California |
QUOTE(Chad911sc @ May 1 2025, 05:35 AM) Pics of the exhaust…it being mated up to the MSDS header that I purchased. By the way…very good quality header made right here in the USA. And even better than that, the customer service is top notch! Had a few issues to work through and response was immediate (IMG:style_emoticons/default/biggrin.gif) I'm looking at the MSDS headers as well, curious on the issues you had and would love to see pics of the exhaust complete. Looking good... |
|
|
|
| Chad911sc |
May 1 2025, 09:29 AM
Post
#31
|
|
Member Group: Members Posts: 184 Joined: 24-September 24 From: Florida Member No.: 28,374 Region Association: South East States |
The header is super beefy and very well built for sure. The problem I had was the exhaust pipe from cylinder #4 had a small deflection where the final bend was. I couldn’t see it, and it had me using a weighted big rubber mallet beating on the collector. I couldn’t get it to seat into the 4 pipes. Had about 2 more inches to go, but no matter how hard I hit it, it wouldn’t budge. I contacted MSDS to get some tips on how to get it to seat, and he responded immediately with tips and tricks to get it to seat. I took it back apart and sanded off the ceramic coating that I had applied by them, thinking it was just the coating was too thick. But after reassembly, it still wound not seat. I took it back apart again and that’s when I found the deflection at the last bend. I contacted them again via email, and again they immediately responded with the offer to send me a new ceramic coated #4 cylinder pipe shipped to me for free. He then sent me another email right after that with the idea to hit it with the belt sander to remove the deflection, and that worked perfectly. Two heads are always better than one. This site proves that every day!
The other thing I had to do, is pretty much what every new exhaust should have done to it, and that is after mounting it and torquing it down, look at your copper gaskets and see if there is any part of the copper gaskets that has no marks on it. Take the copper gasket and lay it on top of the pipe and figure out at what place it isn’t seating all the way and file it down to fit precisely level so that when it’s installed you have the best chance of complete sealing on the first try. And don’t forget to anneal the copper gaskets as well to soften them up. Attached thumbnail(s) 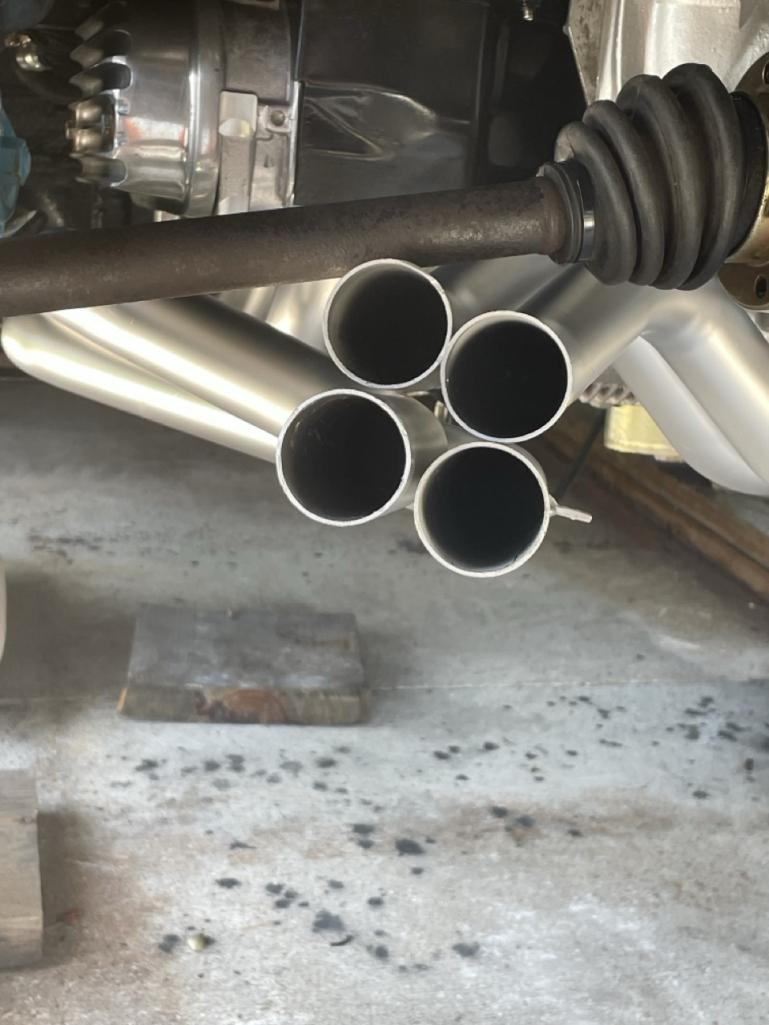 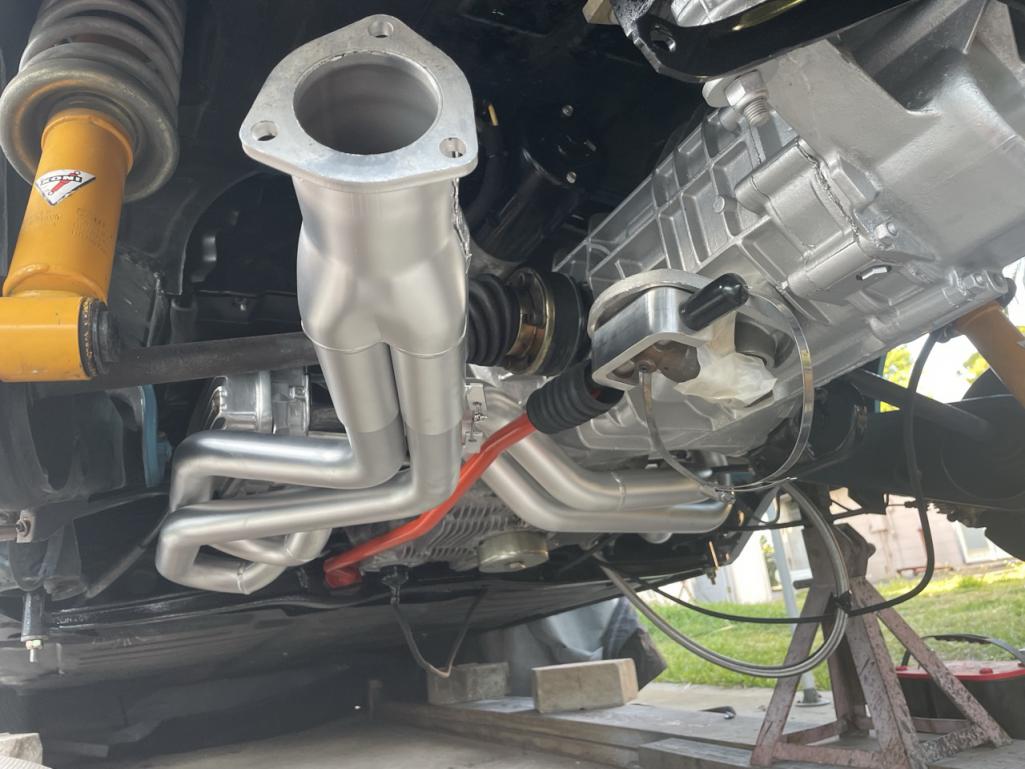 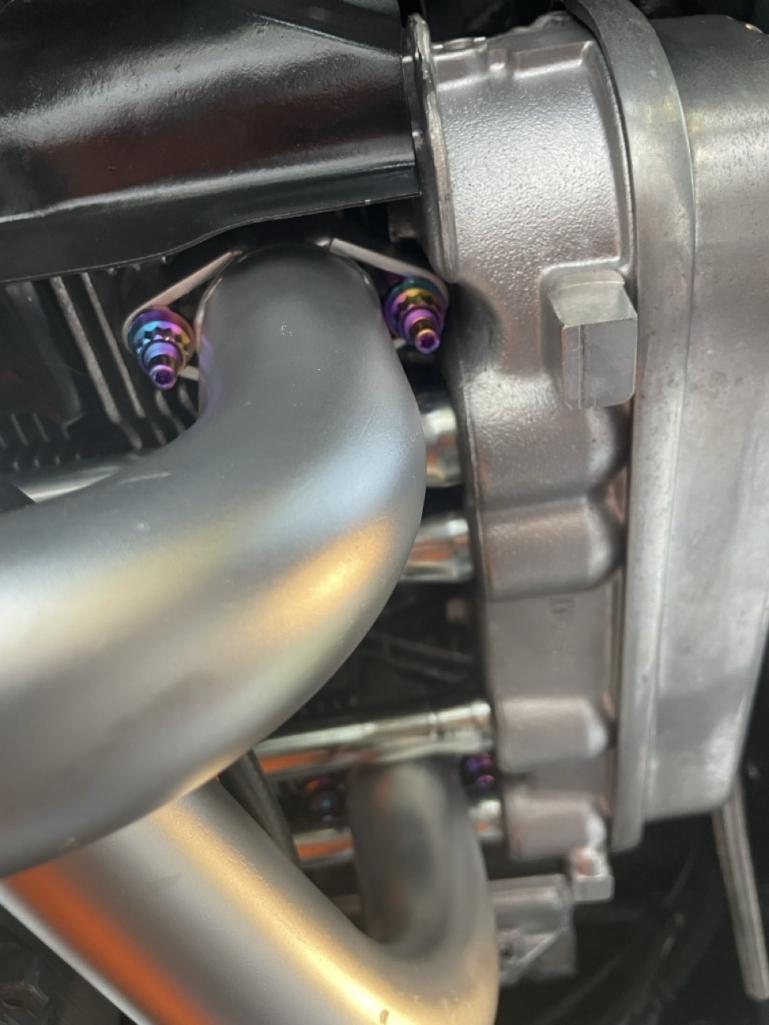 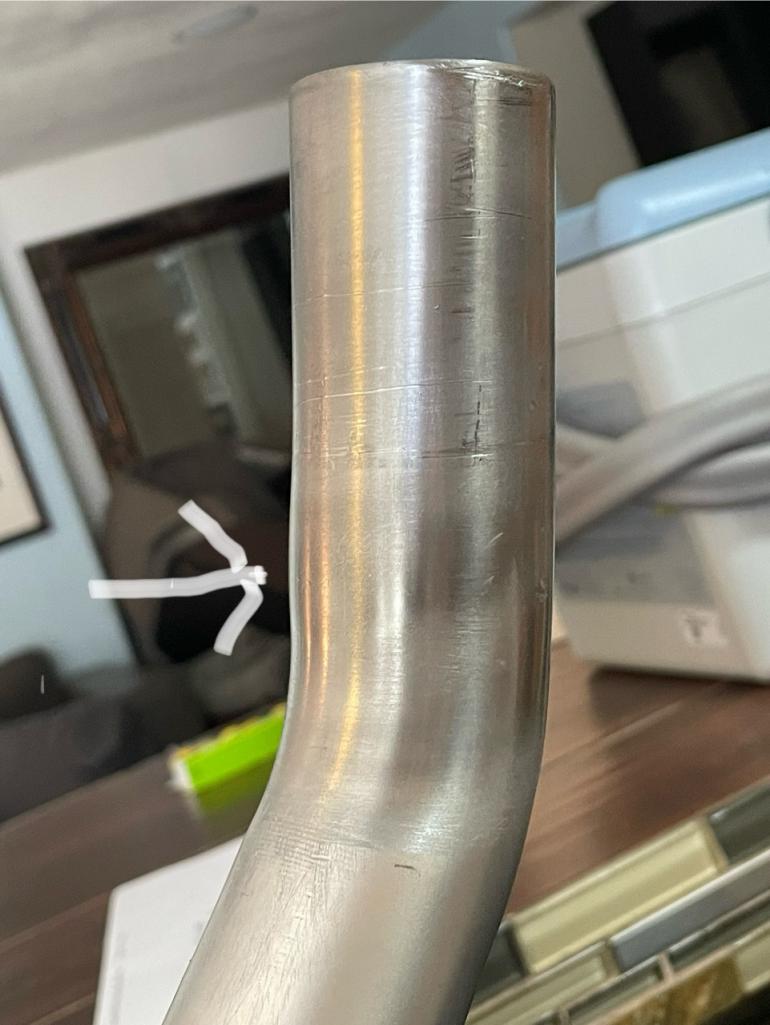 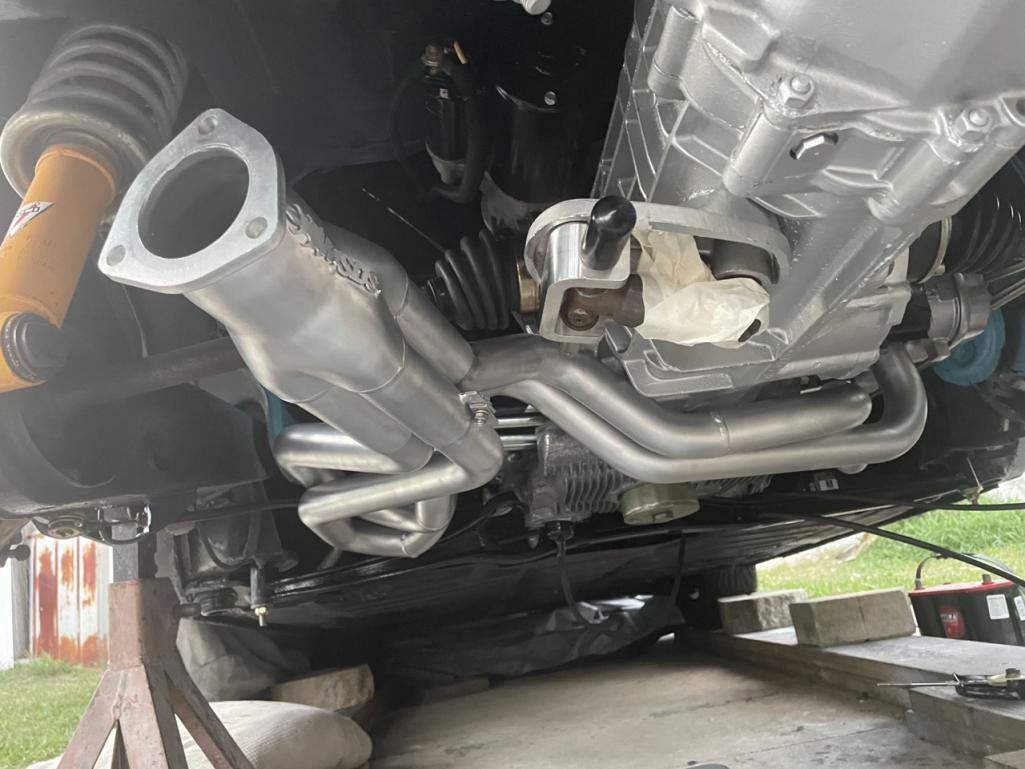 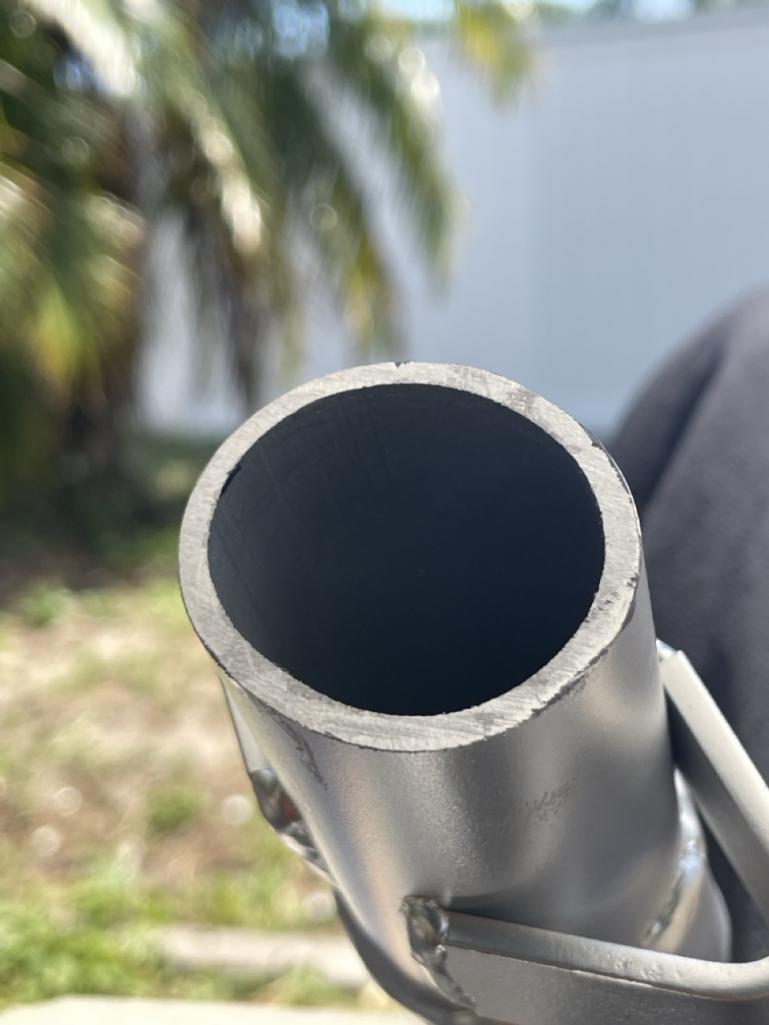 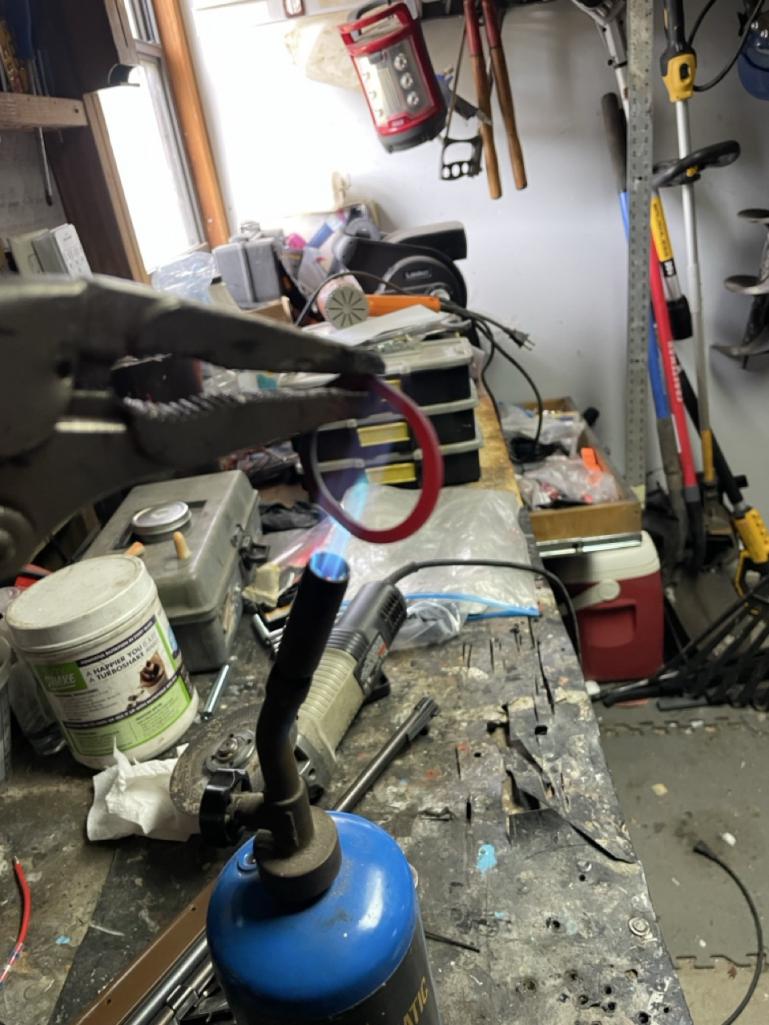
|
|
|
|
| bajafreaks |
May 1 2025, 09:54 AM
Post
#32
|
|
Member Group: Members Posts: 107 Joined: 7-February 14 From: Gardnerville, Nevada Member No.: 16,969 Region Association: Northern California |
QUOTE(Chad911sc @ May 1 2025, 08:29 AM) The header is super beefy and very well built for sure. The problem I had was the exhaust pipe from cylinder #4 had a small deflection where the final bend was. I couldn’t see it, and it had me using a weighted big rubber mallet beating on the collector. I couldn’t get it to seat into the 4 pipes. Had about 2 more inches to go, but no matter how hard I hit it, it wouldn’t budge. I contacted MSDS to get some tips on how to get it to seat, and he responded immediately with tips and tricks to get it to seat. I took it back apart and sanded off the ceramic coating that I had applied by them, thinking it was just the coating was too thick. But after reassembly, it still wound not seat. I took it back apart again and that’s when I found the deflection at the last bend. I contacted them again via email, and again they immediately responded with the offer to send me a new ceramic coated #4 cylinder pipe shipped to me for free. He then sent me another email right after that with the idea to hit it with the belt sander to remove the deflection, and that worked perfectly. Two heads are always better than one. This site proves that every day! The other thing I had to do, is pretty much what every new exhaust should have done to it, and that is after mounting it and torquing it down, look at your copper gaskets and see if there is any part of the copper gaskets that has no marks on it. Take the copper gasket and lay it on top of the pipe and figure out at what place it isn’t seating all the way and file it down to fit precisely level so that when it’s installed you have the best chance of complete sealing on the first try. And don’t forget to anneal the copper gaskets as well to soften them up. Thanks for the input and pics, the headers do look impressive. Did you purchase the pipe from the collector to the muffler or was it custom made? Thats the area I'm still concerned about everything pass the collector I guess there are a few muffler applications that MSDS recommends one in a one out, I'd prefer to buy all the pieces and simply bolt it together. I just dont want it all hanging down not looking clean and at the same time not too loud. |
|
|
|
| Chad911sc |
May 1 2025, 08:14 PM
Post
#33
|
|
Member Group: Members Posts: 184 Joined: 24-September 24 From: Florida Member No.: 28,374 Region Association: South East States |
Yes I built it custom for my application.
It takes a stainless 2.5 inch collector -50 bucks A pack of 4 90• elbows- 20bucks One u shaped pipe-20 bucks And the Borla exhaust canister 100 bucks Purchased everything on Amazon except the collector. And of course an afternoon of your labor. You can also just purchase a kit for a hundred bucks and build whatever you want it to be. I wanted the center outlet so it took some time making the bends flow nicely and get it to the center just at the right height. If you have a regular chop saw with a metal cutting blade, you can do all the work yourself and just use Metal tape to put it together. If you do it neatly and tight seams it will stay together to get it to a local shop that can tig it for you. There is definitely no kit you can buy. |
|
|
|
| bajafreaks |
May 2 2025, 07:39 AM
Post
#34
|
|
Member Group: Members Posts: 107 Joined: 7-February 14 From: Gardnerville, Nevada Member No.: 16,969 Region Association: Northern California |
QUOTE(Chad911sc @ May 1 2025, 07:14 PM) Yes I built it custom for my application. It takes a stainless 2.5 inch collector -50 bucks A pack of 4 90• elbows- 20bucks One u shaped pipe-20 bucks And the Borla exhaust canister 100 bucks Purchased everything on Amazon except the collector. And of course an afternoon of your labor. You can also just purchase a kit for a hundred bucks and build whatever you want it to be. I wanted the center outlet so it took some time making the bends flow nicely and get it to the center just at the right height. If you have a regular chop saw with a metal cutting blade, you can do all the work yourself and just use Metal tape to put it together. If you do it neatly and tight seams it will stay together to get it to a local shop that can tig it for you. There is definitely no kit you can buy. Nice work, the center outlet is a cool look, I'll be curious as to how loud it is. |
|
|
|
| Tonyooc |
May 4 2025, 09:09 AM
Post
#35
|
|
1974 2.0 Group: Members Posts: 752 Joined: 6-January 18 From: Fort Mill, SC Member No.: 21,763 Region Association: South East States |
Very clean install, nice job.
|
|
|
|
|
1 User(s) are reading this topic (1 Guests and 0 Anonymous Users)
0 Members:

|
Lo-Fi Version | Time is now: 23rd September 2025 - 02:15 AM |
Invision Power Board
v9.1.4 © 2025 IPS, Inc.