|
|
|
Porsche, and the Porsche crest are registered trademarks of Dr. Ing. h.c. F. Porsche AG.
This site is not affiliated with Porsche in any way. Its only purpose is to provide an online forum for car enthusiasts. All other trademarks are property of their respective owners. |
|
|

  |

| worn |
 Apr 30 2025, 05:30 PM Apr 30 2025, 05:30 PM
Post
#21
|
|
Winner of the Utah Twisted Joint Award  Group: Members Posts: 3,517 Joined: 3-June 11 From: Madison, WI Member No.: 13,152 Region Association: Upper MidWest |
QUOTE(Ron914 @ Apr 28 2025, 08:52 PM)  I needed to rebuild my MPS but Chris Foley is out of the kits due to no longer having a supplier of the BE-CU diaphragms . I was lucky enough to have a member here offer to sell me his spare parts kit from Chris (Thanks Tom). His kit did not have the instructions with it so I am wondering if anyone has a copy of those instructions? It was a miracle that Chris was able to supply them. What if we established a committee to find beryllium for Chris. Would that make it possible to miracle us again? I figure we buy a lot of beryl gems and squeeze out the beryllium. |
   |

 
|
| Ron914 |
Apr 30 2025, 05:41 PM
Post
#22
|
|
Member Group: Members Posts: 468 Joined: 19-April 22 From: Huntington Beach,Ca Member No.: 26,487 Region Association: Southern California |
QUOTE(worn @ Apr 30 2025, 06:30 PM) QUOTE(Ron914 @ Apr 28 2025, 08:52 PM) I needed to rebuild my MPS but Chris Foley is out of the kits due to no longer having a supplier of the BE-CU diaphragms . I was lucky enough to have a member here offer to sell me his spare parts kit from Chris (Thanks Tom). His kit did not have the instructions with it so I am wondering if anyone has a copy of those instructions? It was a miracle that Chris was able to supply them. What if we established a committee to find beryllium for Chris. Would that make it possible to miracle us again? I figure we buy a lot of beryl gems and squeeze out the beryllium. Chris is sourcing a better /safer material than the Beryllium ,hopefully he will have new diaphragms by the end of the year . |
|
|
|
| Ron914 |
Apr 30 2025, 06:18 PM
Post
#23
|
|
Member Group: Members Posts: 468 Joined: 19-April 22 From: Huntington Beach,Ca Member No.: 26,487 Region Association: Southern California |
QUOTE(emerygt350 @ Apr 30 2025, 05:33 AM) I agree. I think anders is really doing the deep dive, which is great, but you don't need to overthink it. It is three adjustments and you can watch the outcome yourself. The initial setup is easy, just do as Chris says, then check the curve to make sure it has the right shape, pop it in the car and tweak the inner and full stop till it is doing what you need. And you don't want it leaking. Not only does that make initial setup and idle difficult, but a small leak probably means a cracked diaphragm and that will break as you start to actually drive it and stress it. When I bought mine it went from running good enough to broken diaphragm pretty quick as I was daily driving it. And ignore the inductance numbers themselves. You just want to make sure the curve looks right you just want to plot the inductance at each inhg increase or decrease in vacuum. @emerygt350 The fun thing about this 2056 motor is I'm getting some new cool tools and meters/gauges . 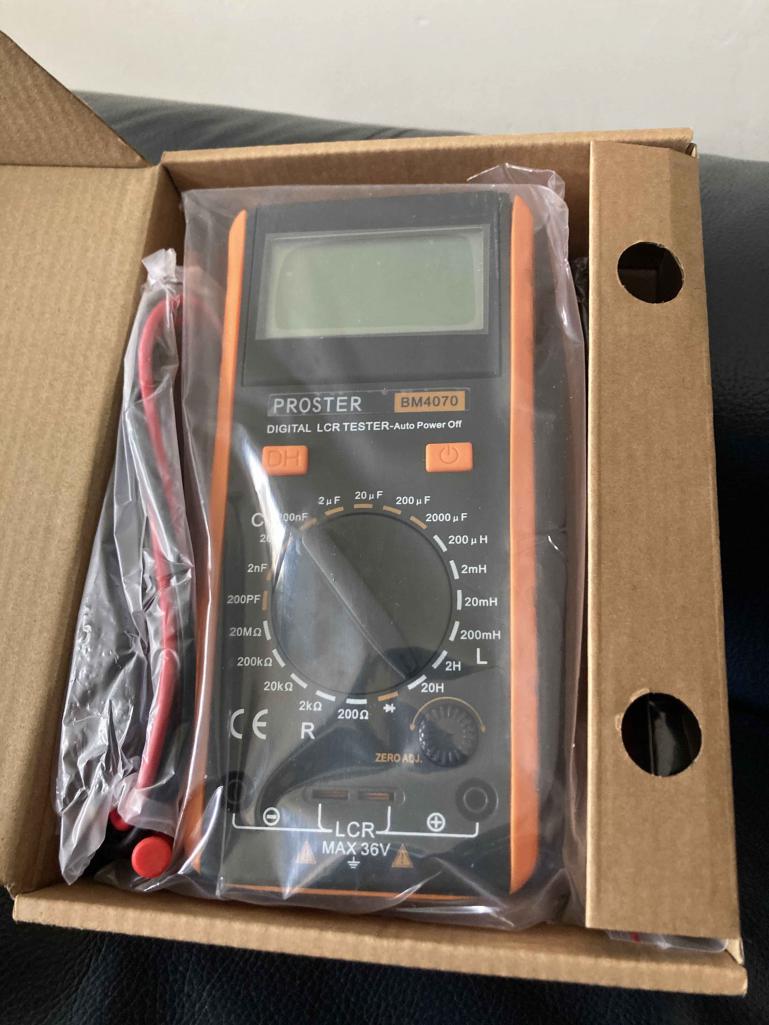 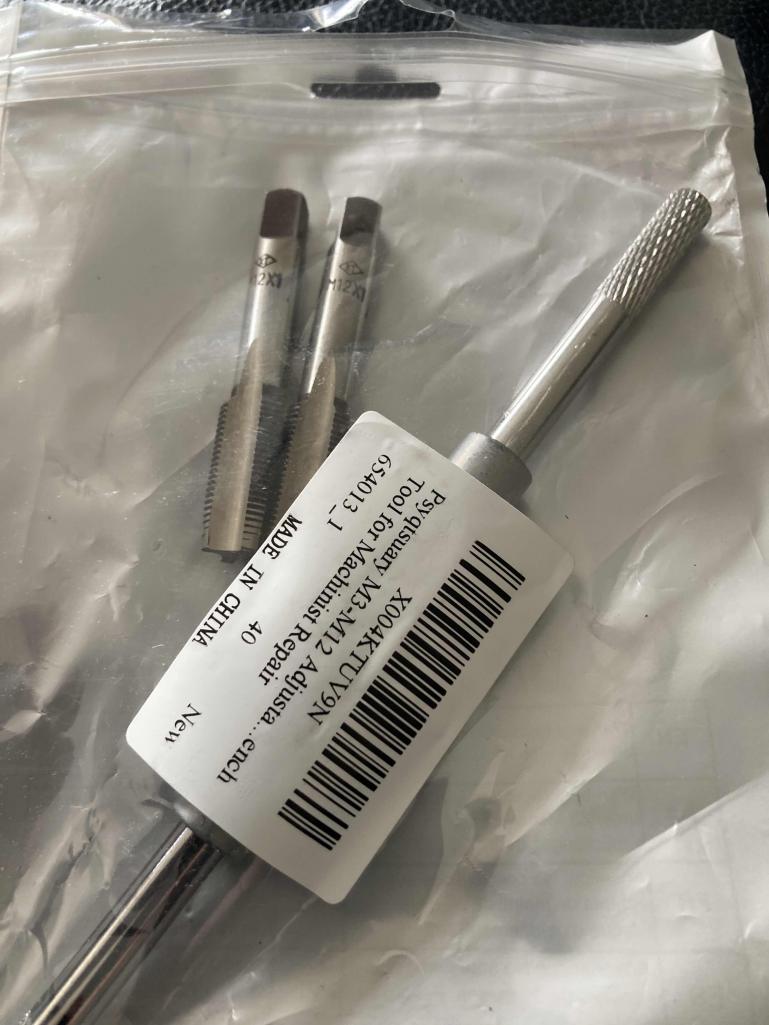 I will need some instruction when it comes time to use this LCR .I get the inductance value I assume from the MPS ,which pins do I use . I have seen some curves shown here before but I am not sure if I can create them ,anyway we will save this for when I get there. I hope when I finally get it all dialed in I notice a performance difference .So based on your response to my last post about Anderfs documents it sounds like I'm over thinking this . I am a little intimidated about opening my MPS , Seems like there are some conflicting information , Is there electrical wires connected to the aneroid cells that I have to be careful of? When I separate the case will they stay with the main part? Is it as simple as drilling out the rivets and splitting the case and just replacing the diaphragm . Putting the diaphragm half in a vise to drill out the epoxy seems risky while trying to get it secure in the vise to work on without cracking the case .I purchased some deburing tools to clean the threads first before running the tap through to clean the threads up . I get my TB back from Mark this Friday so I would like to install it and then put my MPS back in and see what difference rebuilding the TB made .The car was idling better and when I drove it seemed to have plenty of power when I last drove it . Mark had to make me a new butterfly plate so mine was pretty bad as seen here when lighting from underneath.  |
|
|
|
| emerygt350 |
Apr 30 2025, 06:49 PM
Post
#24
|
|
Advanced Member Group: Members Posts: 3,423 Joined: 20-July 21 From: Upstate, NY Member No.: 25,740 Region Association: North East States |
Don't worry, the mps is all self contained. The delicate stuff is all hidden away and you don't go near it. The diaphragm comes right out and you just replaced it following Chris's instructions. Pbanders describe which pins you use for measuring the inductance. When it comes time I can help with that. My epoxy was wimpy and I just used a big honking flat head that fit the stop screw perfectly. Some gentle twisting and it came right out.
Drilling out the screws and popping it open is nothing. Mine had spider eggs in it. That's about it. Make good measurements on the position of the inner, outer, and stop screws and you will be fine. |
|
|
|
| Ron914 |
Apr 30 2025, 07:20 PM
Post
#25
|
|
Member Group: Members Posts: 468 Joined: 19-April 22 From: Huntington Beach,Ca Member No.: 26,487 Region Association: Southern California |
QUOTE(emerygt350 @ Apr 30 2025, 07:49 PM) Don't worry, the mps is all self contained. The delicate stuff is all hidden away and you don't go near it. The diaphragm comes right out and you just replaced it following Chris's instructions. Pbanders describe which pins you use for measuring the inductance. When it comes time I can help with that. My epoxy was wimpy and I just used a big honking flat head that fit the stop screw perfectly. Some gentle twisting and it came right out. Drilling out the screws and popping it open is nothing. Mine had spider eggs in it. That's about it. Make good measurements on the position of the inner, outer, and stop screws and you will be fine. Yes I will make good precise measurements ,I firgured my old analog caliber was not going to cut it for precise measurements so I also ordered a new digital caliper so I can measure to the hundreds . Your words are encouraging so after I test drive with the new TB I will remove my MPS and start rebuilding , I did decide it needed a little TLC so I broke out the Mothers aluminum polish and I will soon have it shiny as a piece of chrome. |
|
|
|
| Ron914 |
May 1 2025, 07:35 AM
Post
#26
|
|
Member Group: Members Posts: 468 Joined: 19-April 22 From: Huntington Beach,Ca Member No.: 26,487 Region Association: Southern California |
QUOTE(emerygt350 @ Apr 29 2025, 04:20 PM) QUOTE(MDTerp @ Apr 29 2025, 01:05 PM) For me it was also very helpful to install a vacuum gauge off of a T from the MPS hose. This helped know when at full load and part load while watching the AFR. It helped to see what vacuum the MPS was seeing and how it responded. Exactly, Ron bought a vacuum gauge as well as the afr. I run mine off the decel valve hose from the plenum. @emerygt350 Which hose did you tap off of .At first I thought it was the 5mm id hose from the plenum to control the decel but now I am thinking it's probably the larger 10mm id hose from the plenum. I really didn't want to make that hole in my firewall from PO much larger but I am thinking I probably will have to if its the larger 19mm hose od one. |
|
|
|
| emerygt350 |
May 1 2025, 09:34 AM
Post
#27
|
|
Advanced Member Group: Members Posts: 3,423 Joined: 20-July 21 From: Upstate, NY Member No.: 25,740 Region Association: North East States |
QUOTE(Ron914 @ May 1 2025, 07:35 AM) QUOTE(emerygt350 @ Apr 29 2025, 04:20 PM) QUOTE(MDTerp @ Apr 29 2025, 01:05 PM) For me it was also very helpful to install a vacuum gauge off of a T from the MPS hose. This helped know when at full load and part load while watching the AFR. It helped to see what vacuum the MPS was seeing and how it responded. Exactly, Ron bought a vacuum gauge as well as the afr. I run mine off the decel valve hose from the plenum. @emerygt350 Which hose did you tap off of .At first I thought it was the 5mm id hose from the plenum to control the decel but now I am thinking it's probably the larger 10mm id hose from the plenum. I really didn't want to make that hole in my firewall from PO much larger but I am thinking I probably will have to if its the larger 19mm hose od one. I put a small T on the little 5mm that controls the decel. Works great. Normally the hose to the gauge is very small so that makes it easier. |
|
|
|
| Ron914 |
May 1 2025, 11:37 AM
Post
#28
|
|
Member Group: Members Posts: 468 Joined: 19-April 22 From: Huntington Beach,Ca Member No.: 26,487 Region Association: Southern California |
QUOTE(emerygt350 @ May 1 2025, 10:34 AM) QUOTE(Ron914 @ May 1 2025, 07:35 AM) QUOTE(emerygt350 @ Apr 29 2025, 04:20 PM) QUOTE(MDTerp @ Apr 29 2025, 01:05 PM) For me it was also very helpful to install a vacuum gauge off of a T from the MPS hose. This helped know when at full load and part load while watching the AFR. It helped to see what vacuum the MPS was seeing and how it responded. Exactly, Ron bought a vacuum gauge as well as the afr. I run mine off the decel valve hose from the plenum. @emerygt350 Which hose did you tap off of .At first I thought it was the 5mm id hose from the plenum to control the decel but now I am thinking it's probably the larger 10mm id hose from the plenum. I really didn't want to make that hole in my firewall from PO much larger but I am thinking I probably will have to if its the larger 19mm hose od one. I put a small T on the little 5mm that controls the decel. Works great. Normally the hose to the gauge is very small so that makes it easier. Great I was hoping to make a smaller hole . I am having difficulty finding 5mm tee's and the supposed 1/8-27 NPT fitting with 4.69mm barbed I purchased from Grainger does not fit the back of my gauge , I don'r think it is a 27 thread fitting . Any vendor suggestions on locating these parts ? the tee I found is 7mm so maybe I can file down and force the decel hose on to it . 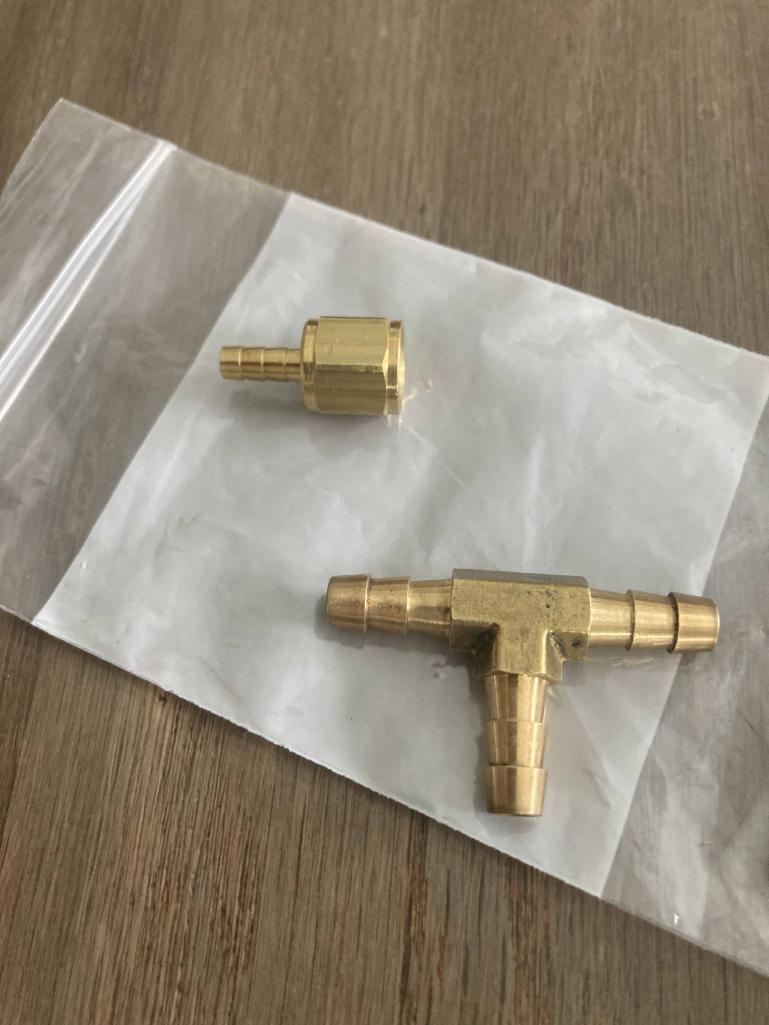 |
|
|
|
| emerygt350 |
May 1 2025, 01:46 PM
Post
#29
|
|
Advanced Member Group: Members Posts: 3,423 Joined: 20-July 21 From: Upstate, NY Member No.: 25,740 Region Association: North East States |
Your favorite FLAPS. Cheap plastic t works fine. I got mine at AutoZone.
|
|
|
|
| MDTerp |
May 1 2025, 07:47 PM
Post
#30
|
|
Member Group: Members Posts: 115 Joined: 20-May 08 From: Maryland Member No.: 9,075 Region Association: MidAtlantic Region |
Agree, I use a cheap plastic T connection. Here's the set up I use to measure vacuum for bench testing the MPS and for measuring the vacuum while driving. Get a long enough hose from the T fitting to the vacuum gauge so the you can read the vacuum gauge while driving. This one is 5' and could use another foot or two to reach to the dash.
I also use this vacuum gauge instead of the mityvac built in gauge. You can see there is about 2 inHg difference. 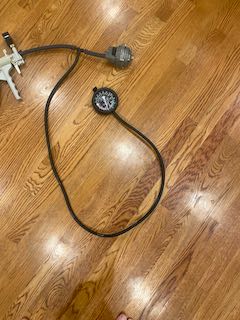 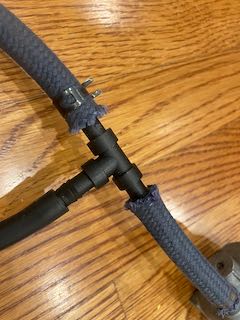 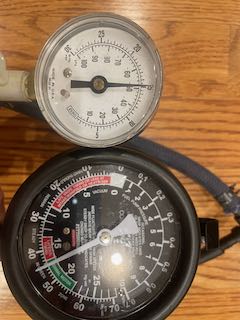 |
|
|
|
| ChrisFoley |
May 2 2025, 05:57 AM
Post
#31
|
|
I am Tangerine Racing Group: Members Posts: 8,016 Joined: 29-January 03 From: Bolton, CT Member No.: 209 Region Association: None |
Its a good idea to test the mityvac on a dead ended hose to make certain it doesn't contribute to leakdown rate. I installed a shutoff valve on my setup, between the vacuum pump and the tee.
When I test a MPS unit I pump it down to about 18", close the valve, and expect 5+ minutes with only 1-2" of loss. It's not uncommon for a unit to pass a test at 10-12" of vacuum, but fail during operation in the car. It usually means there is a cracked diaphragm. |
|
|
|
| Ron914 |
May 2 2025, 07:46 AM
Post
#32
|
|
Member Group: Members Posts: 468 Joined: 19-April 22 From: Huntington Beach,Ca Member No.: 26,487 Region Association: Southern California |
QUOTE(ChrisFoley @ May 2 2025, 06:57 AM) Its a good idea to test the mityvac on a dead ended hose to make certain it doesn't contribute to leakdown rate. I installed a shutoff valve on my setup, between the vacuum pump and the tee. When I test a MPS unit I pump it down to about 18", close the valve, and expect 5+ minutes with only 1-2" of loss. It's not uncommon for a unit to pass a test at 10-12" of vacuum, but fail during operation in the car. It usually means there is a cracked diaphragm. Thanks Chris, I agree my MPS still has a leaky diaphragm that needs. replacement . I am still going to replace the diaphragm in my MPS , I get my TB back today from rebuild and was just going to see if I could pass a smog test here in California with my current MPS so I can start driving my car in the mean time . I still have some time to complete the installation of the three gauges needed to tune my MPS afterwards . |
|
|
|
|
1 User(s) are reading this topic (1 Guests and 0 Anonymous Users)
0 Members:

|
Lo-Fi Version | Time is now: 15th December 2025 - 02:02 AM |
Invision Power Board
v9.1.4 © 2025 IPS, Inc.