|
|

|
Porsche, and the Porsche crest are registered trademarks of Dr. Ing. h.c. F. Porsche AG.
This site is not affiliated with Porsche in any way. Its only purpose is to provide an online forum for car enthusiasts. All other trademarks are property of their respective owners. |
|
|
  |
| 914forme |
 Oct 9 2006, 07:18 PM Oct 9 2006, 07:18 PM
Post
#21
|
|
Times a wastin', get wrenchin'!     Group: Members Posts: 3,896 Joined: 24-July 04 From: Dayton, Ohio Member No.: 2,388 Region Association: None 
|
So JP What did you do for the top? I have a busing that will fit there, but then it still has a bit of slop.
[url= http://www.colemanracing.com/catalog/produ...roducts_id=7848]Coleman Racing Shrink fit[/url] This is what I used, seem to work perfectly except the oil boiling part. I think I will try it again since I need to send the one back might as well send both back and get them redone correctly. Hopefully they don't laugh to hard at my Coleman Engineering debacle!!! (IMG:style_emoticons/default/biggrin.gif) |
| J P Stein |
 Oct 9 2006, 07:37 PM Oct 9 2006, 07:37 PM
Post
#22
|
|
Irrelevant old fart      Group: Members Posts: 8,797 Joined: 30-December 02 From: Vancouver, WA Member No.: 45 Region Association: None |
Nomenclature can get us in trouble here, but I'll give it a shot.
If you look at the pic you'll notice the top nut(sleeve nut?) fits inside the aluminum hat. The radius of the nut does not match the Non radiused hat....thus the flange of the nut does not seat to the inner hat. I butterflied the hat till it did...If you don't have a die grinder, you could use a round rat tail file to make the radii match. Then...the rubber bushing needs a big flat washer under it...see pic. the rubber bushing needs to be about half as thick as it originally was.....so you can get the lock nut on up on top. Some set-ups are different....sleeve nut/bushing/yada. Aaron has one of those. BTW, use 5-6 turns of saftey wire to hold the spring to the hat. Zip ties break. |
| 914forme |
 Oct 9 2006, 07:40 PM Oct 9 2006, 07:40 PM
Post
#23
|
|
Times a wastin', get wrenchin'!     Group: Members Posts: 3,896 Joined: 24-July 04 From: Dayton, Ohio Member No.: 2,388 Region Association: None 
|
I thought of that tonight, could not figure out how to make the rubber work correctly, I now have all the piece in my head cool. Scary when that happens......
Or Sh___ I am starting to think like an old man. (IMG:style_emoticons/default/biggrin.gif) Thanks J P |
| Aaron Cox |
 Oct 9 2006, 08:34 PM Oct 9 2006, 08:34 PM
Post
#24
|
|
Professional Lawn Dart                Group: Retired Admin Posts: 24,541 Joined: 1-February 03 From: OC Member No.: 219 Region Association: Southern California |
did you look at the pics in my blog??
|
| Aaron Cox |
 Oct 9 2006, 08:41 PM Oct 9 2006, 08:41 PM
Post
#25
|
|
Professional Lawn Dart                Group: Retired Admin Posts: 24,541 Joined: 1-February 03 From: OC Member No.: 219 Region Association: Southern California |
ok.. time to gang bang your brain with pics....
adapter rings.... 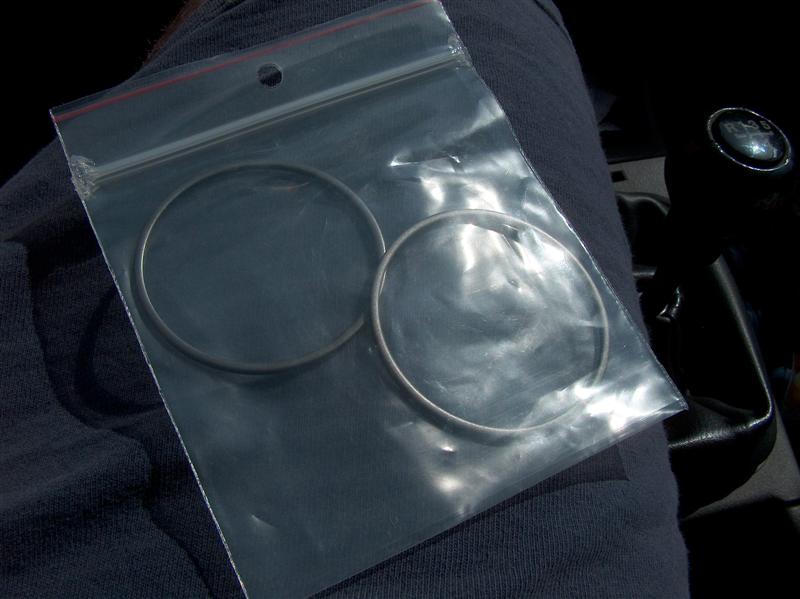 the bottom of the sleeve 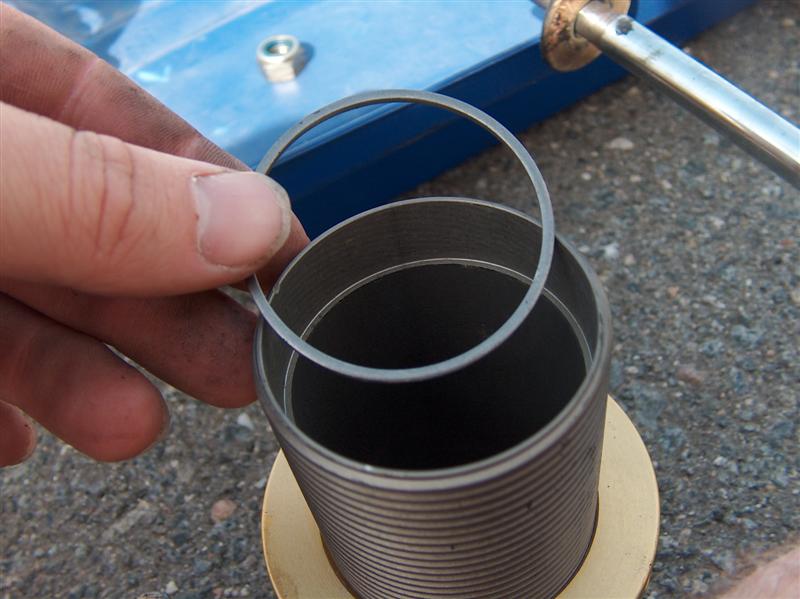 adapter ring inside of sleeve 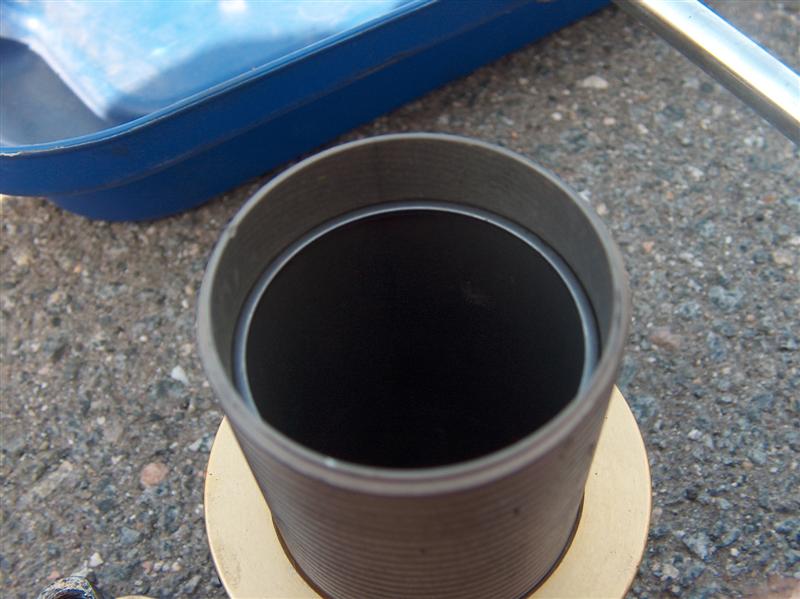 installed...note stock circlip AND adapter ring 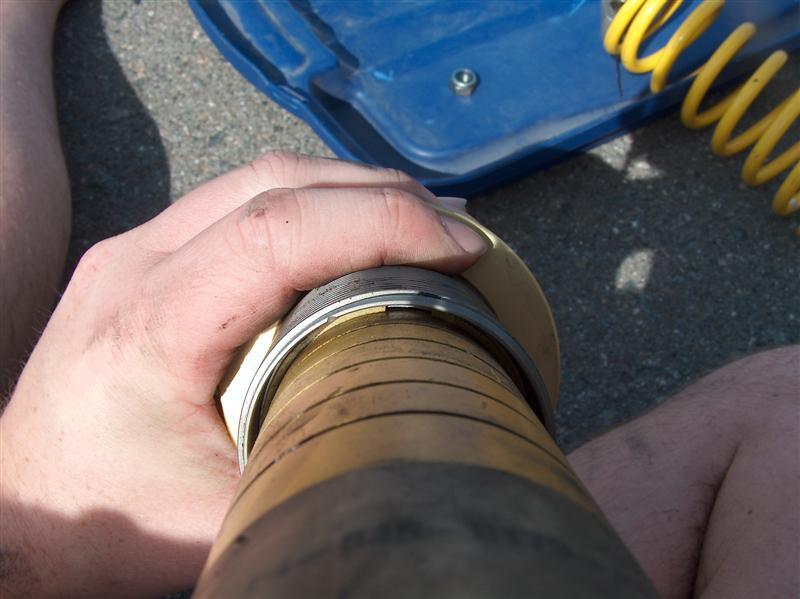 that takes care of the bottom.... top pics coming |
| Aaron Cox |
 Oct 9 2006, 08:46 PM Oct 9 2006, 08:46 PM
Post
#26
|
|
Professional Lawn Dart                Group: Retired Admin Posts: 24,541 Joined: 1-February 03 From: OC Member No.: 219 Region Association: Southern California |
But wait...theres more johnny!
The top of the piston. has a ridge on it. Install stock washer there... 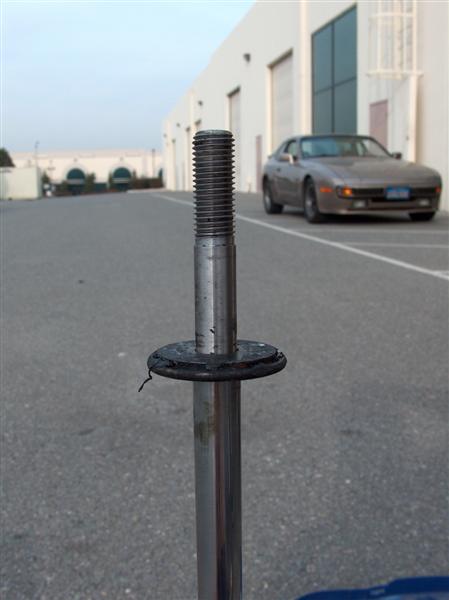 followed by spring hat and ziptied spring 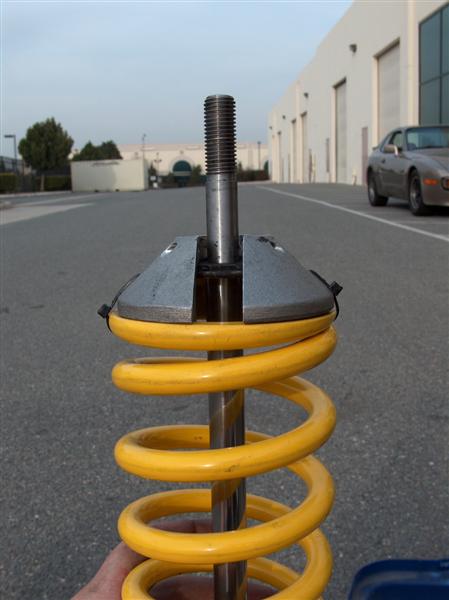 then the BIG flat washer (it wont fit under the hat) 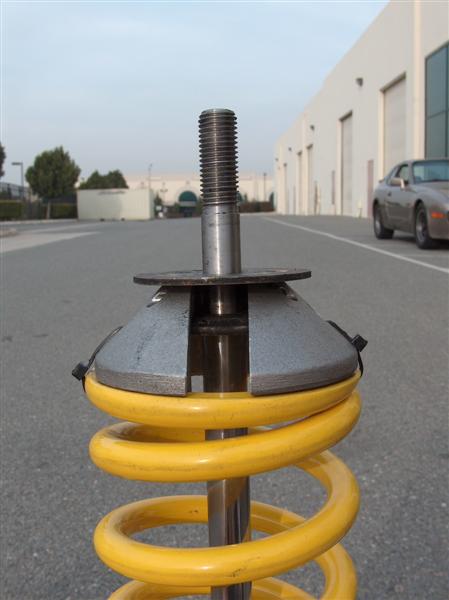 now the fun.... you have to trim the flat part of this ring off..... (aleady done) 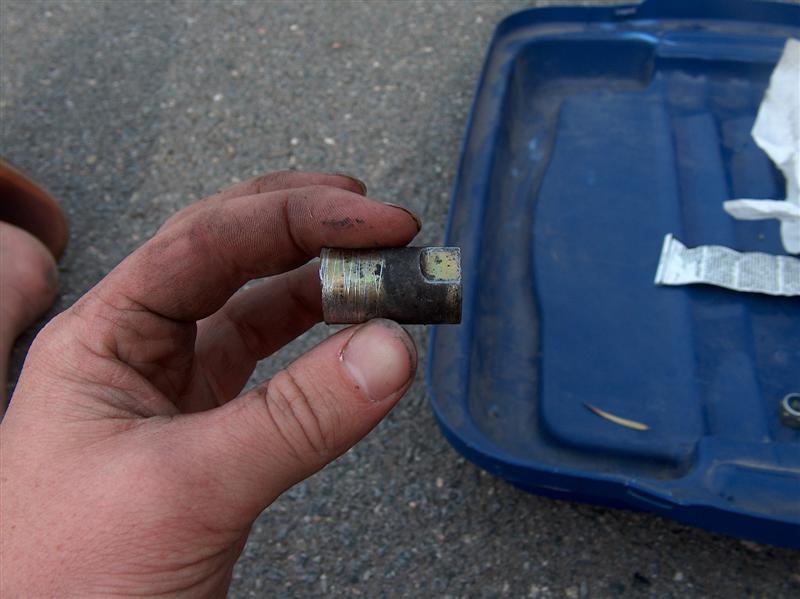 and den.... you tighten it down.... (its a threaded nut and spacer basically) rubber goes over it.... 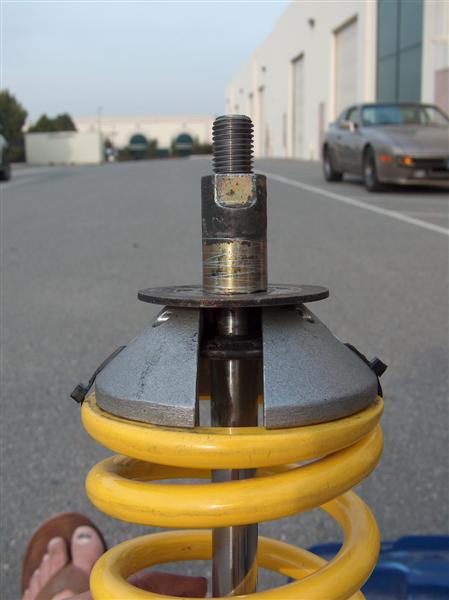 put the rubber over it... install it... put the top rubber on... then the other flat washer... and the nylock 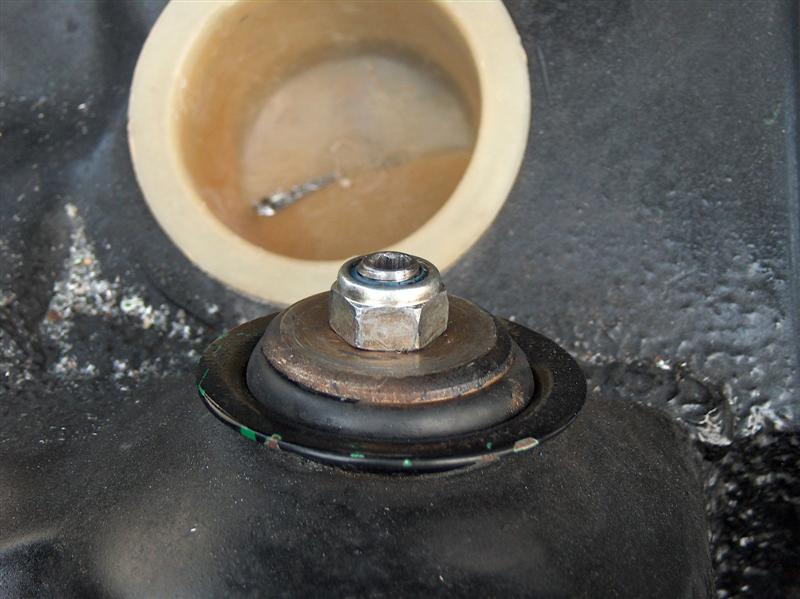 |
  |
1 User(s) are reading this topic (1 Guests and 0 Anonymous Users)
0 Members:

|
Lo-Fi Version | Time is now: 4th May 2024 - 12:21 AM |
Invision Power Board
v9.1.4 © 2024 IPS, Inc.


