|
|
|
Porsche, and the Porsche crest are registered trademarks of Dr. Ing. h.c. F. Porsche AG.
This site is not affiliated with Porsche in any way. Its only purpose is to provide an online forum for car enthusiasts. All other trademarks are property of their respective owners. |
|
|

  |

| thomasotten |
 Nov 29 2006, 02:29 AM Nov 29 2006, 02:29 AM
Post
#1
|
|
Senior Member  Group: Members Posts: 1,583 Joined: 16-November 03 From: San Antonio, Texas Member No.: 1,349 |
Hi folks, I wanted to show some pictures of the process I went through in painting my 914. I thought it might be helpful to those who are considering the same task for their car. By painting your own car, you will be saving yourself a lot of money, and you will be able to reach a level of detail that most body shops will not provide, at least not for an economic fee. Be warned, however, it is a lot of work! The first picture here is a photo of the car with my girlfiend, now wife, back in '91. Since then, the elements have really taken a toll on the car, and hence, the car needed extensive body work to get things back the right way. Attached image(s) 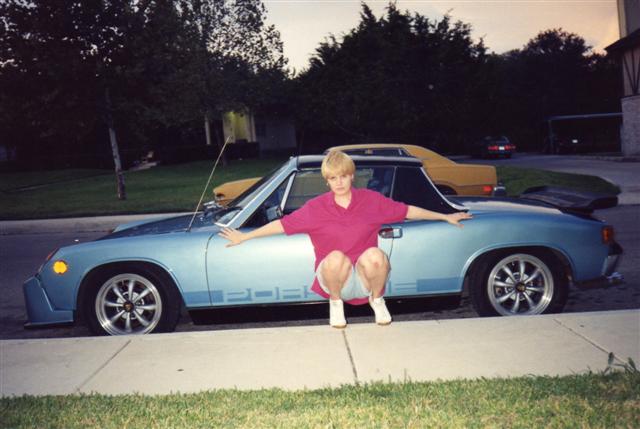
|
   |

 
|
| Joe Bob |
Nov 29 2006, 02:33 AM
Post
#2
|
|
Retired admin, banned a few times Group: Members Posts: 17,427 Joined: 24-December 02 From: Boulder CO Member No.: 5 Region Association: None |
Does this involve scantily clad wimmen and cars?
|
|
|
|
| thomasotten |
Nov 29 2006, 02:36 AM
Post
#3
|
|
Senior Member Group: Members Posts: 1,583 Joined: 16-November 03 From: San Antonio, Texas Member No.: 1,349 |
First of course, there is the body work. I prefered to remove each door and work on a panel at a time. That way I stay focused, and pay attention to detail.
What you want to do is use a good quality filler, and a long sanding block.... By long sanding block, I mean get yourself a 4' level, and get some 80 grit sanding paper that has the stock on backing. You then sand the door, or any panel in an X pattern. From lower left to upper right, and vise-versa. That way your panel comes out wave free. Attached image(s) 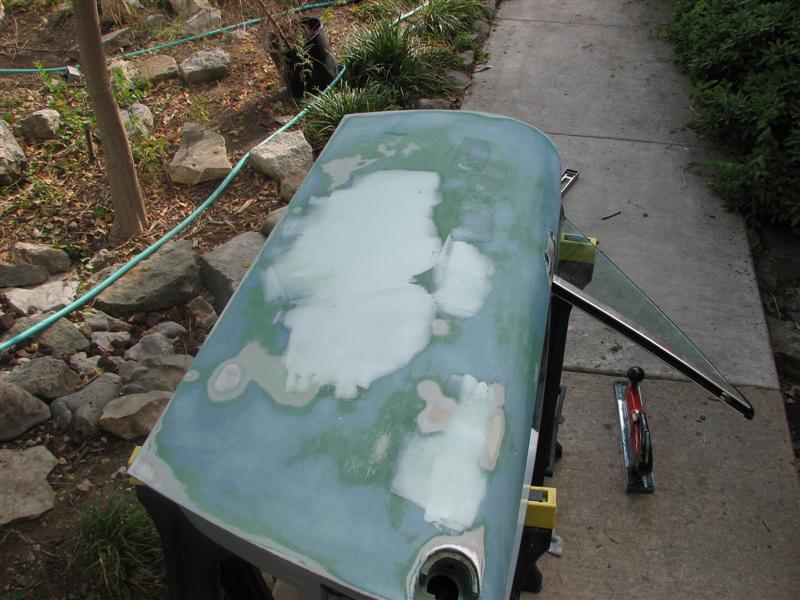 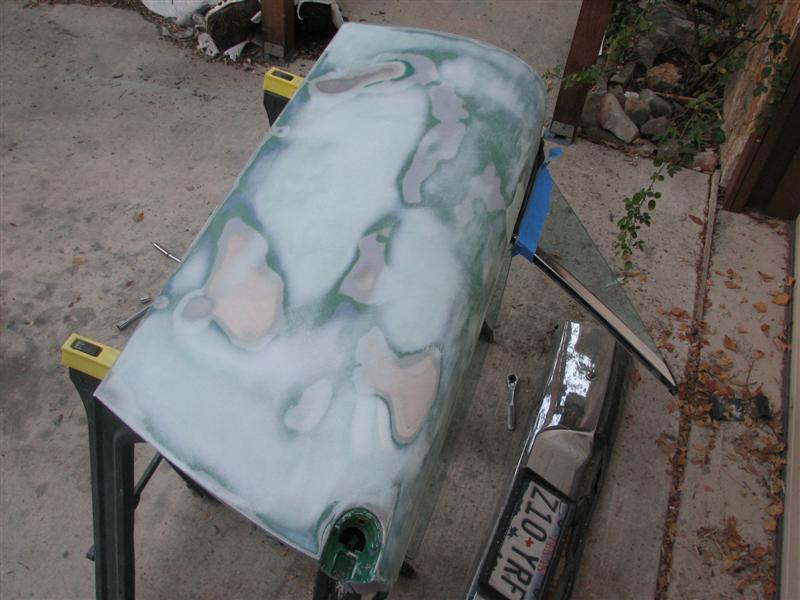
|
|
|
|
| thomasotten |
Nov 29 2006, 02:41 AM
Post
#4
|
|
Senior Member Group: Members Posts: 1,583 Joined: 16-November 03 From: San Antonio, Texas Member No.: 1,349 |
QUOTE(mikez @ Nov 29 2006, 12:33 AM)  Does this involve scantily clad wimmen and cars? Eventually, I hope... Another tip I picked up when working with filler: always add a skim cout when you think your done. Then sand that. See my 4' level on the driveway? Attached image(s) 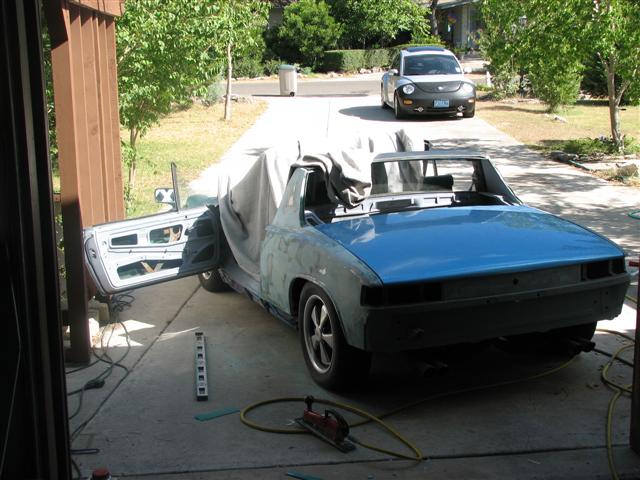 
|
|
|
|
| thomasotten |
Nov 29 2006, 02:49 AM
Post
#5
|
|
Senior Member Group: Members Posts: 1,583 Joined: 16-November 03 From: San Antonio, Texas Member No.: 1,349 |
When you have finished your body work, you are left with body filler with lots of 80 grit scratches. At that point, you need to use some primer-surfacer to fill in the scratches. There are different qualities of these fillers, just like anything else. The better quality ones don't shrink. If your filler shrinks as it ages and cures, the scratches will start to become noticeable again, which kinda defeats the purpose. So don't go cheap on the filler.
Attached image(s) 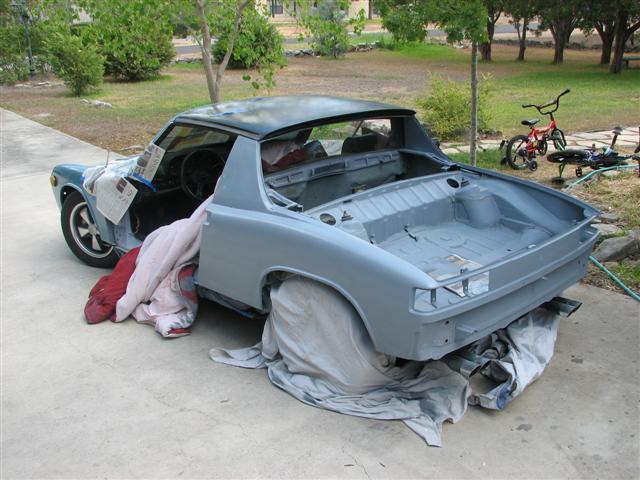 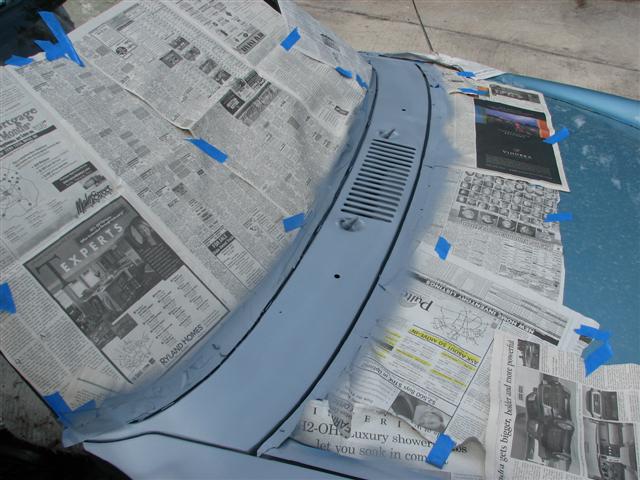
|
|
|
|
| thomasotten |
Nov 29 2006, 02:57 AM
Post
#6
|
|
Senior Member Group: Members Posts: 1,583 Joined: 16-November 03 From: San Antonio, Texas Member No.: 1,349 |
One thing that is a good idea when you are painting the whole car, inside and out, it to do the inside parts first. I removed the doors and painted the inside portions. My trunks were also a mess, which required a lot of prep time and degreasing.
Attached image(s) 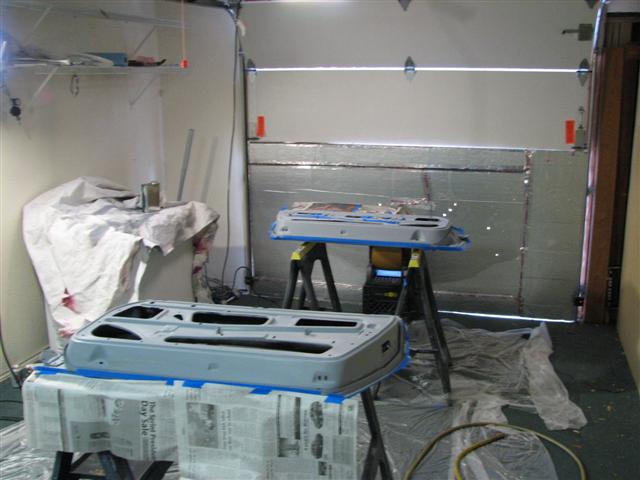 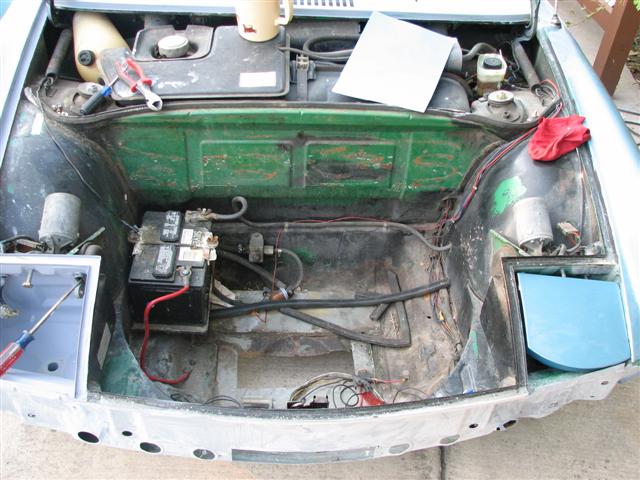 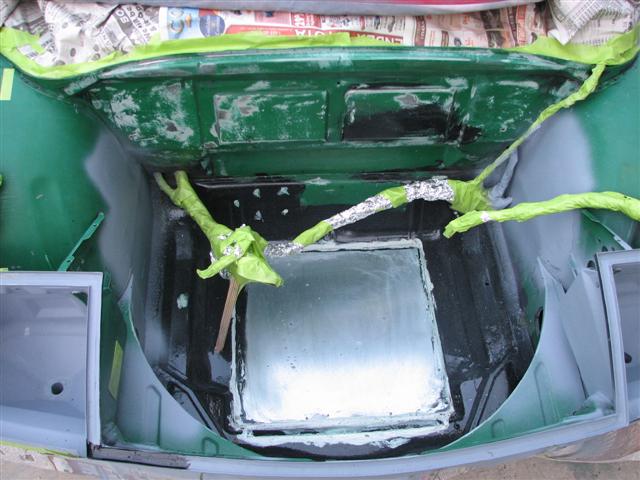
|
|
|
|
| thomasotten |
Nov 29 2006, 03:02 AM
Post
#7
|
|
Senior Member Group: Members Posts: 1,583 Joined: 16-November 03 From: San Antonio, Texas Member No.: 1,349 |
I sprayed primer-sealer in the trunk area. Then painted...
Attached image(s) 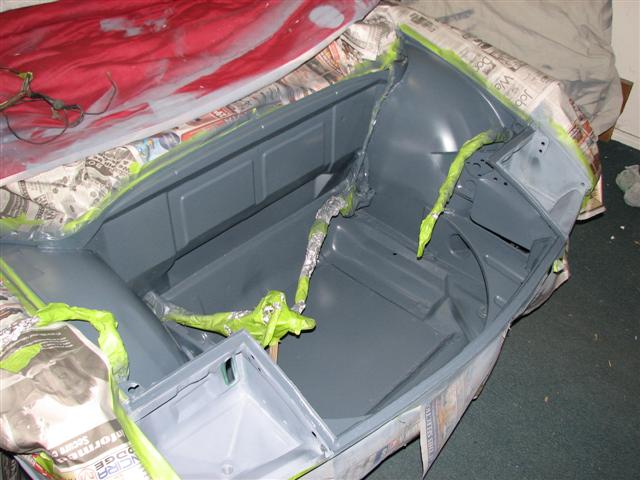 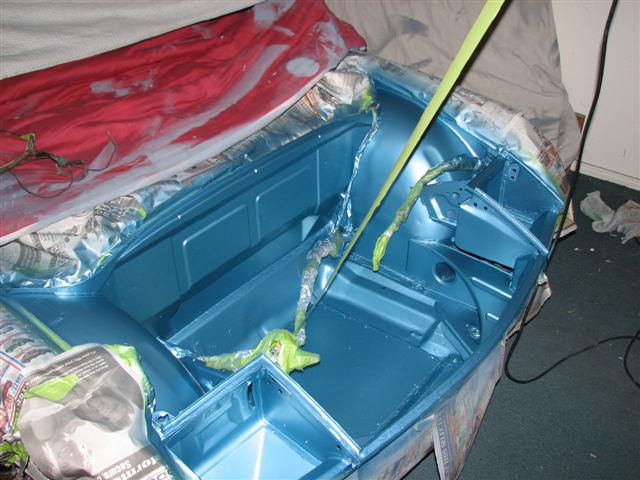
|
|
|
|
| thomasotten |
Nov 29 2006, 03:05 AM
Post
#8
|
|
Senior Member Group: Members Posts: 1,583 Joined: 16-November 03 From: San Antonio, Texas Member No.: 1,349 |
In the sun...
Attached image(s) 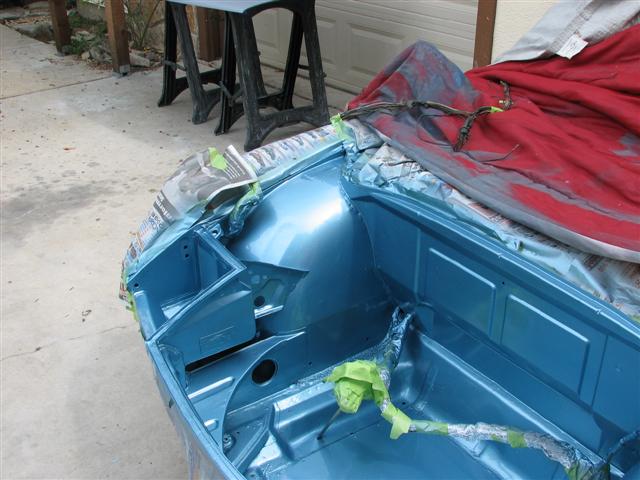 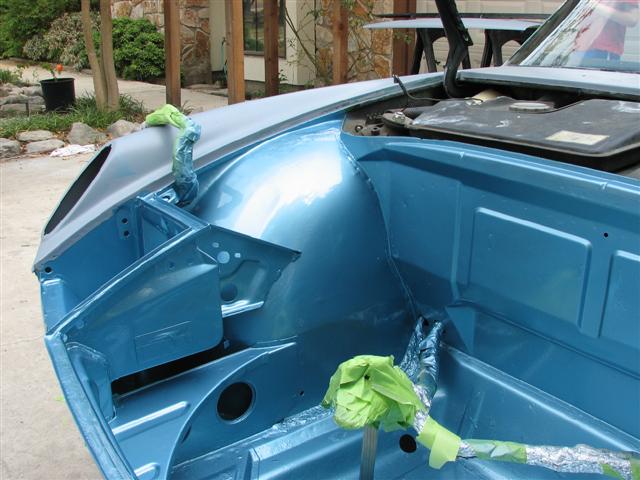
|
|
|
|
| thomasotten |
Nov 29 2006, 03:06 AM
Post
#9
|
|
Senior Member Group: Members Posts: 1,583 Joined: 16-November 03 From: San Antonio, Texas Member No.: 1,349 |
I painted one of my son's hot-wheels at the same time...
Attached image(s) 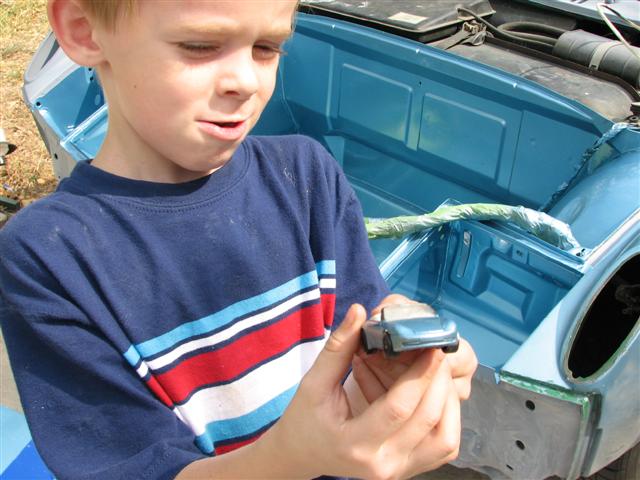
|
|
|
|
| thomasotten |
Nov 29 2006, 03:10 AM
Post
#10
|
|
Senior Member Group: Members Posts: 1,583 Joined: 16-November 03 From: San Antonio, Texas Member No.: 1,349 |
I had my engine lid dipped and removed all the paint. I though it would be easier than removing all the grease underneath. I then coated with metal-etching primer, then sealer, then I sprayed color/clear.
Attached image(s) 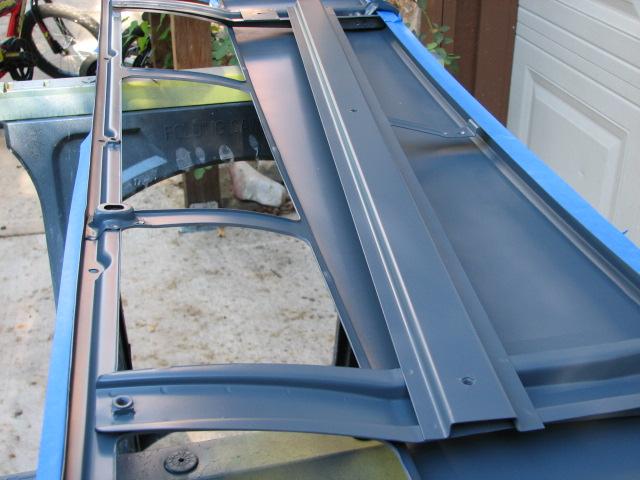 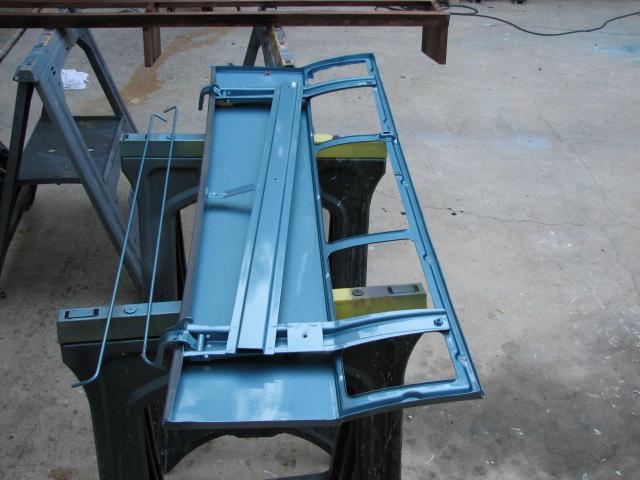
|
|
|
|
| thomasotten |
Nov 29 2006, 03:15 AM
Post
#11
|
|
Senior Member Group: Members Posts: 1,583 Joined: 16-November 03 From: San Antonio, Texas Member No.: 1,349 |
This is one of the harder areas to paint on the 914. I wanted to paint this area before I did the main body. That way, I wouldn't have to be reaching in awkward positions over the rest of the body while it had paint drying on it. I did the door jambs at the same time.
Attached image(s) 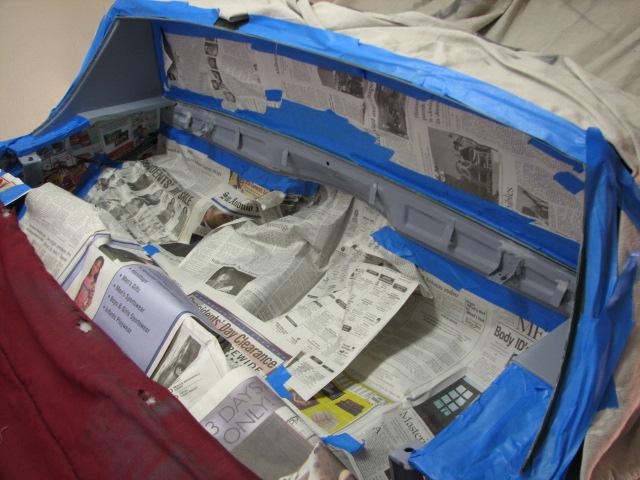 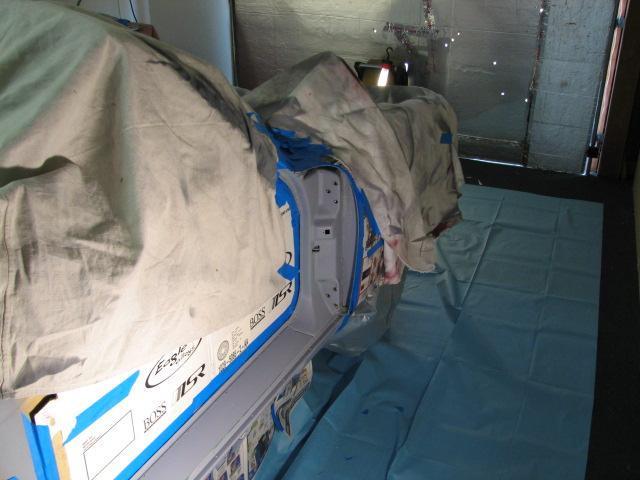
|
|
|
|
| thomasotten |
Nov 29 2006, 03:19 AM
Post
#12
|
|
Senior Member Group: Members Posts: 1,583 Joined: 16-November 03 From: San Antonio, Texas Member No.: 1,349 |
Next went the trunk and other areas...
Attached image(s) 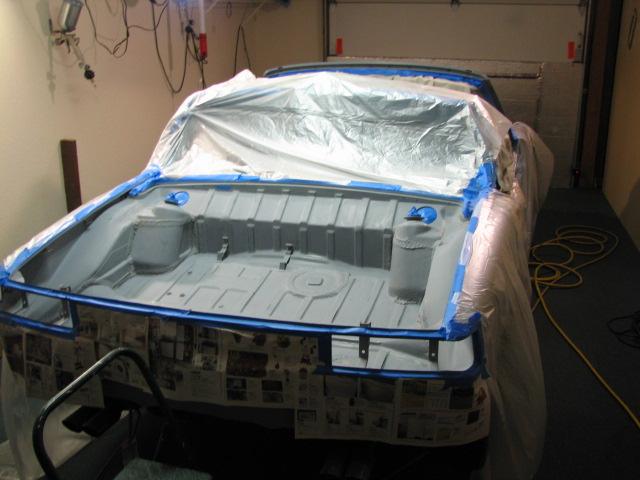
|
|
|
|
| thomasotten |
Nov 29 2006, 03:24 AM
Post
#13
|
|
Senior Member Group: Members Posts: 1,583 Joined: 16-November 03 From: San Antonio, Texas Member No.: 1,349 |
At the same time I sprayed the trunk, I also sprayed this area. Now, this probably goes against the advice most commonly given when spraying metallic paints. Typically, since metallics lay down differently based on the temperature, and the spraying habit of the sprayer, most painters will recommend that you paint all of the body at the same time. I didn't want to do that becasue I didn't want to be reaching over my fenders. So I decided to risk it and paint this area already. I didn't end up having any noticeable difference in the end, so I guess I got lucky.
Attached image(s) 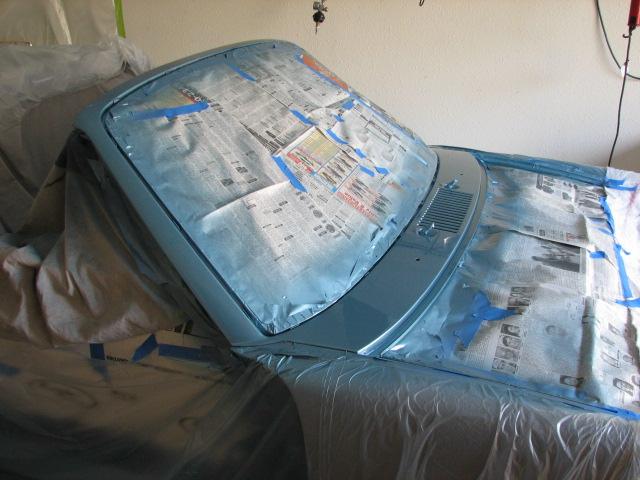
|
|
|
|
| thomasotten |
Nov 29 2006, 03:32 AM
Post
#14
|
|
Senior Member Group: Members Posts: 1,583 Joined: 16-November 03 From: San Antonio, Texas Member No.: 1,349 |
I painted the bottom of the lids as well. I decided to mount them standing up because
1. It is easier to paint that way, easier to see what you are doing, and you don't get fatigued as easily. 2. Less dust will fall on the vertical surface. Attached image(s) 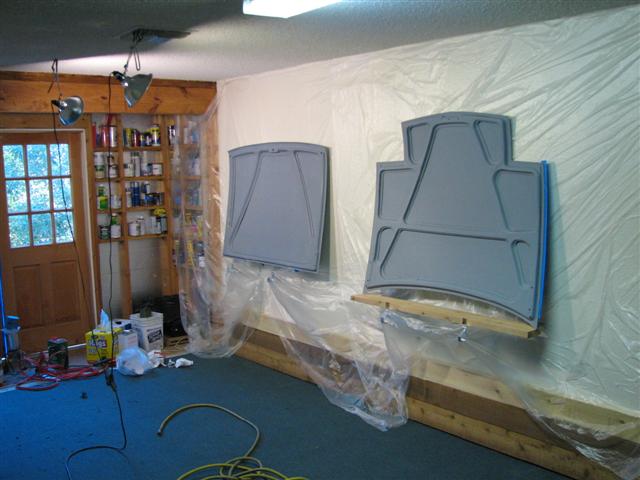 
|
|
|
|
| thomasotten |
Nov 29 2006, 03:39 AM
Post
#15
|
|
Senior Member Group: Members Posts: 1,583 Joined: 16-November 03 From: San Antonio, Texas Member No.: 1,349 |
OK, now we are up to D-Day. The day this old tub got painted. The entire body was left sanded with 400 grit paper prior to this day. On D-Day, the day started out with several hours of wet sanding the primer-surfacer to bring the entire body to 600 grit smoothness.
Attached image(s) 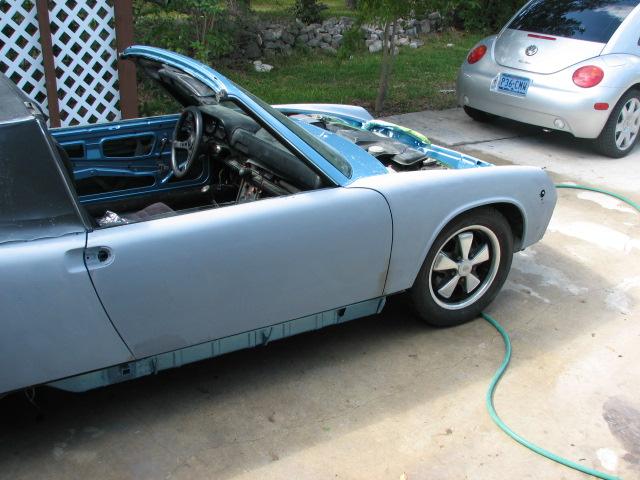
|
|
|
|
| thomasotten |
Nov 29 2006, 03:44 AM
Post
#16
|
|
Senior Member Group: Members Posts: 1,583 Joined: 16-November 03 From: San Antonio, Texas Member No.: 1,349 |
Next, several hours are spent masking off areas. This takes more time than you would expect. I also devised a way to mount the lids to the wall. I didn't want to worry about one of them falling off...
Attached image(s)  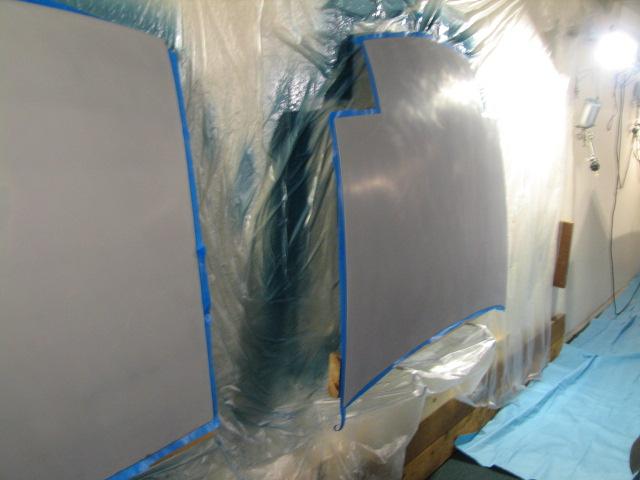
|
|
|
|
| thomasotten |
Nov 29 2006, 03:51 AM
Post
#17
|
|
Senior Member Group: Members Posts: 1,583 Joined: 16-November 03 From: San Antonio, Texas Member No.: 1,349 |
Next, with everything masked off, the body was prepped with pre-cleano. This gets any grease off the body that was from your fingers, or anything else. Then a tack cloth is used to remove any dust.
And so here we are....By this time it was already 7:30 PM. Should I paint it now? DO I have the energy still? How will it go? Someone on the Autobody forums once said that once you pull that trigger, the odds are against you. And so they were. I''ll post pictures of the rest in the morning... Attached image(s) 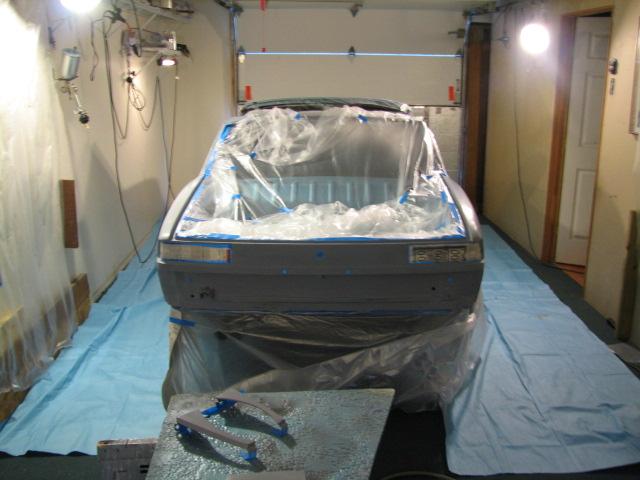
|
|
|
|
| Lou W |
Nov 29 2006, 07:30 AM
Post
#18
|
|
"Here Kitty Kitty" my ass...... Group: Members Posts: 4,109 Joined: 9-May 04 From: Roseburg, OR. Member No.: 2,039 Region Association: Spain |
(IMG:style_emoticons/default/popcorn[1].gif) paint... paint... paint...
Thanks for sharing (IMG:style_emoticons/default/thumb3d.gif) |
|
|
|
| ptravnic |
Nov 29 2006, 07:59 AM
Post
#19
|
|
Senior Member Group: Members Posts: 1,231 Joined: 27-May 03 From: Chicago, IL Member No.: 747 Region Association: None |
Very Nice! Are you able to quantify the now long it has taken you?
|
|
|
|
| thomasotten |
Nov 29 2006, 08:15 AM
Post
#20
|
|
Senior Member Group: Members Posts: 1,583 Joined: 16-November 03 From: San Antonio, Texas Member No.: 1,349 |
QUOTE(ptravnic @ Nov 29 2006, 05:59 AM) Very Nice! Are you able to quantify the now long it has taken you? Yes, I can, and I must say a lot of time. I would say most of the time is spent on body work, and prepping of surfaces to be painted. I would say several weekends on all the body work and prep. It could go faster, it just depends on how much time you have in a given weekend. I spent quite a bit of time practicing also, and shooting odd jobs on friends and families cars. That way I paid for my spray equipment! In some cases I was my worse enemy in that I spent a great deal of time choosing the colors I wanted. To give you a time perspective, the car was painted starting in September, with the main body being painted in October, and I am just now finishing up buffing it out. This is the gun I used in painting base coat and clear, by the way: Devilbiss GFG-670 |
|
|
|
|
1 User(s) are reading this topic (1 Guests and 0 Anonymous Users)
0 Members:

|
Lo-Fi Version | Time is now: 24th July 2026 - 06:12 PM |
Invision Power Board
v9.1.4 © 2026 IPS, Inc.