|
|
|
Porsche, and the Porsche crest are registered trademarks of Dr. Ing. h.c. F. Porsche AG.
This site is not affiliated with Porsche in any way. Its only purpose is to provide an online forum for car enthusiasts. All other trademarks are property of their respective owners. |
|
|

  |

| Eric_Shea |
 Oct 21 2007, 10:57 AM Oct 21 2007, 10:57 AM
Post
#1
|
|
PMB Performance  Group: Admin Posts: 19,275 Joined: 3-September 03 From: Salt Lake City, UT Member No.: 1,110 Region Association: Rocky Mountains |
Hi Gang,
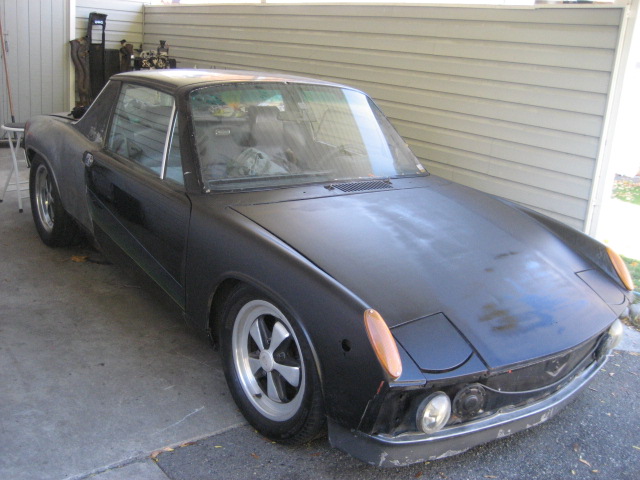
A while back I took on the task of restoring my fog lights. This is one of those projects that kept getting back-burner status and that's probably a good thing. Sometimes I have the patience of a gnat and it works out for the better if I'm forced to take my time. Here's a look at what I did. This particular version is not an accurate restoration of a teener light otherwise it would probably go in another forum. Why? Chrome. More on why I did that later. Teener lights have a fairly high satin body with a gloss black ring. To start, I disassembled the lights. You may have seen some of these pictures posted here previously. Once the lights were all apart I had to take the mount off to chrome the housing. The mount includes the ground brush and tongue which a held in place with the mount rivets. I used a Dremel with a carbide cut-off wheel and used it like a tiny grinder on the backside of the rivets: 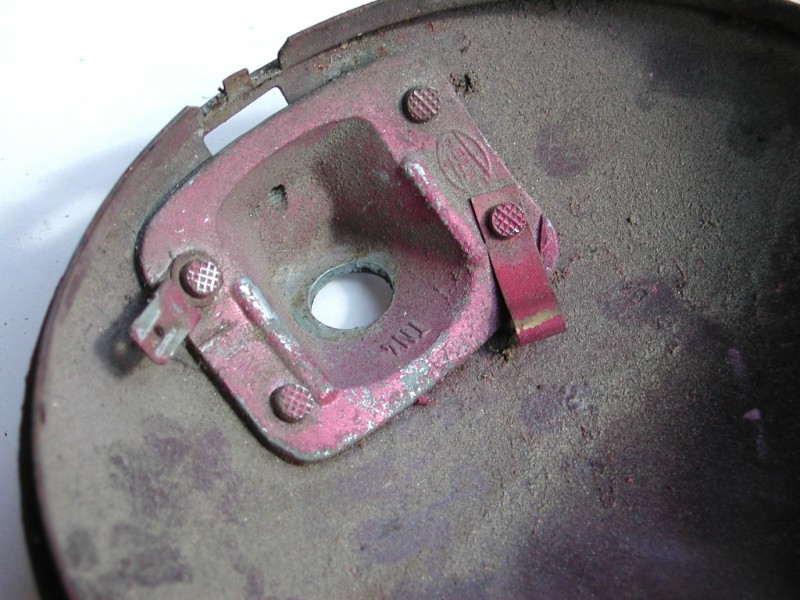 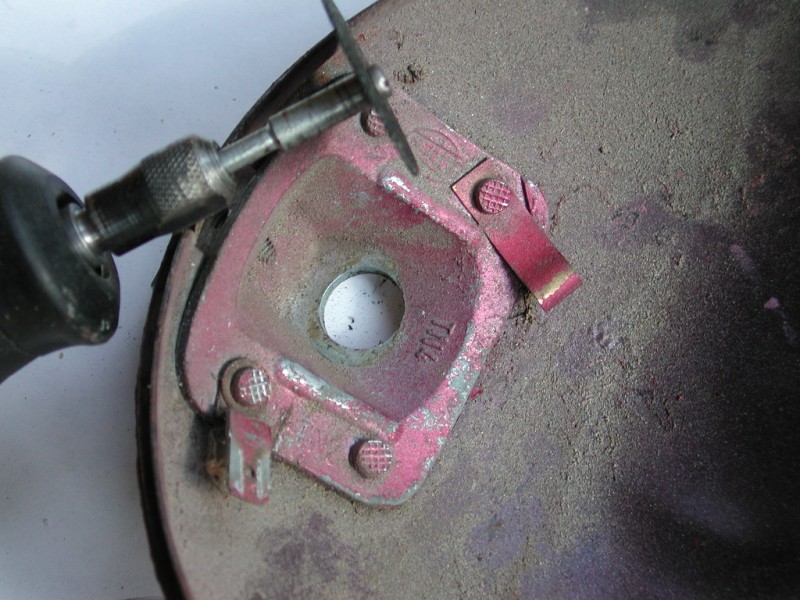 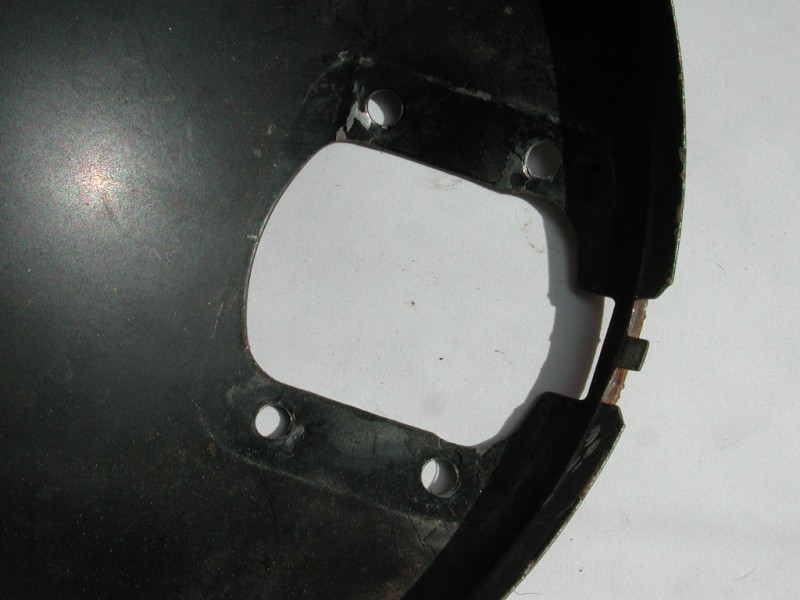 Once the mount was out I took the various pieces off to be chromed and plated. I decided to have the reflectors chromed as well and the results were great. There are some firms out there that can remirror but the chrome looks about 98% so I'm happy. So, the housing, ring and reflector were chromed and the remaining pieces (with the exception of the mounts) were clear zinc plated with the exception of the long mounting bolt which was yellow zinc: 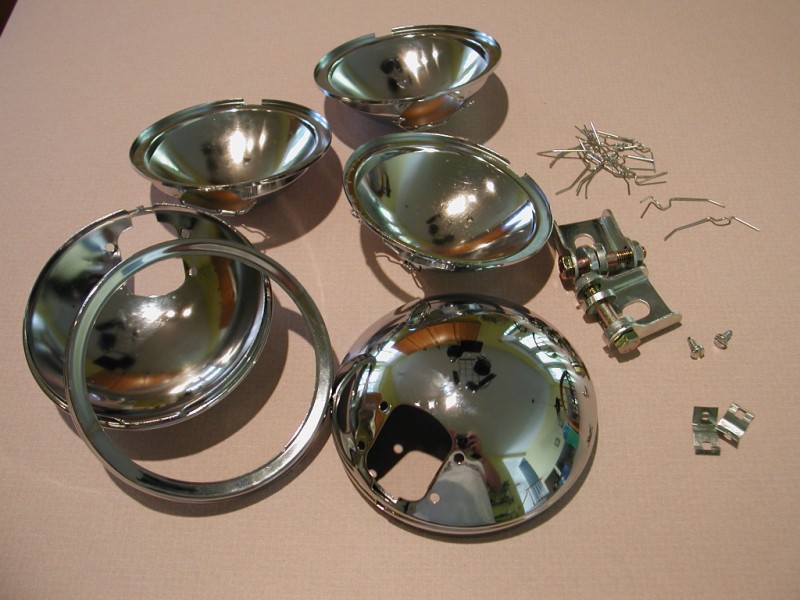 The mounts were glass bead blasted and they came out great: 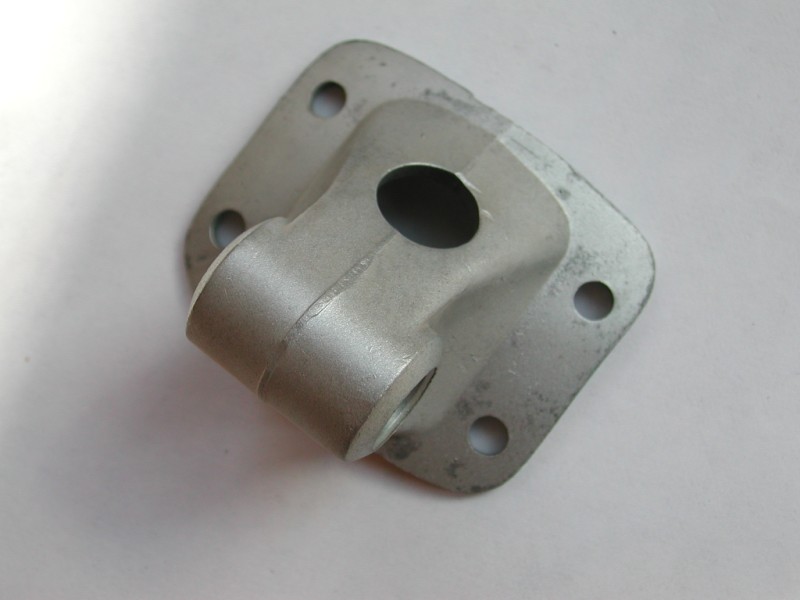 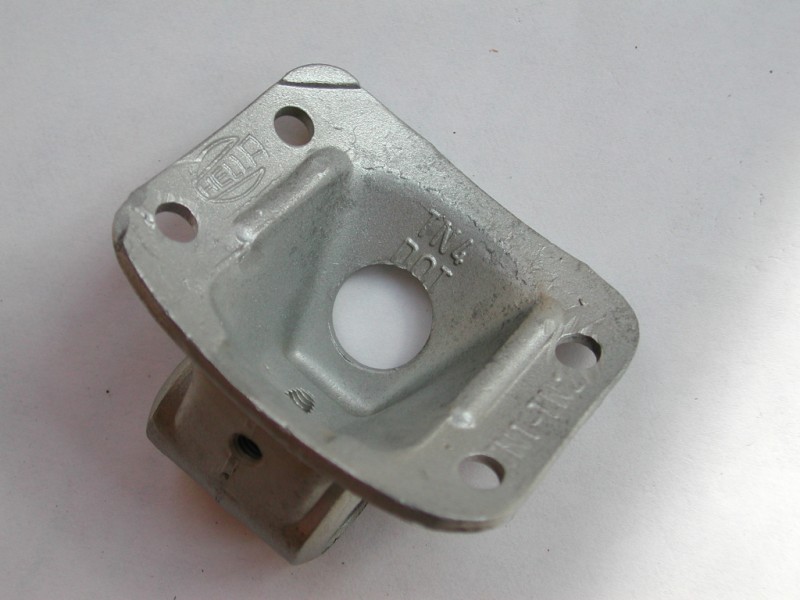 914World to the rescue. Kevin (Special K) saw my plight in an earlier post. I was wondering how to get the mounts rivetted back on to the housing. Seeing as how he builds airplanes for a living he had all the answers (and all the tools) needed to finish this job. I can't thank Kevin enough for sending a couple bags of rivets, a buck and the rivet head for my air hammer: 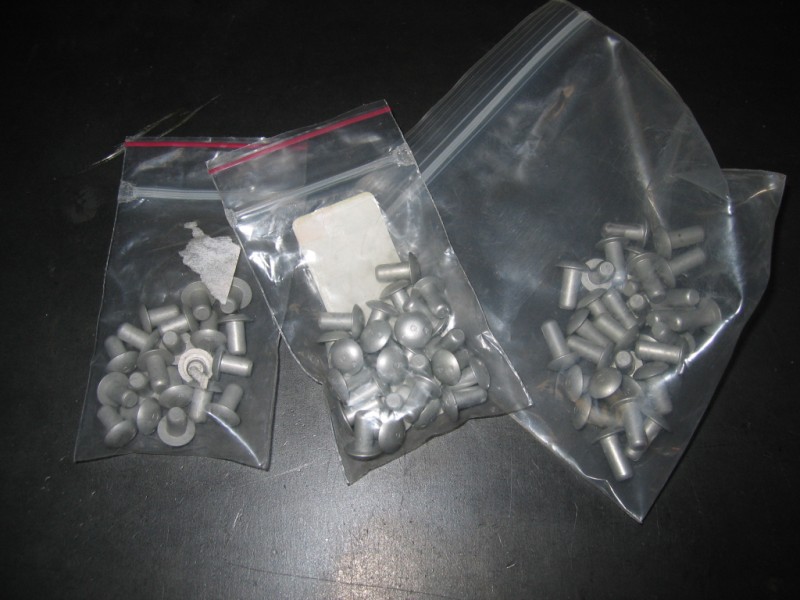 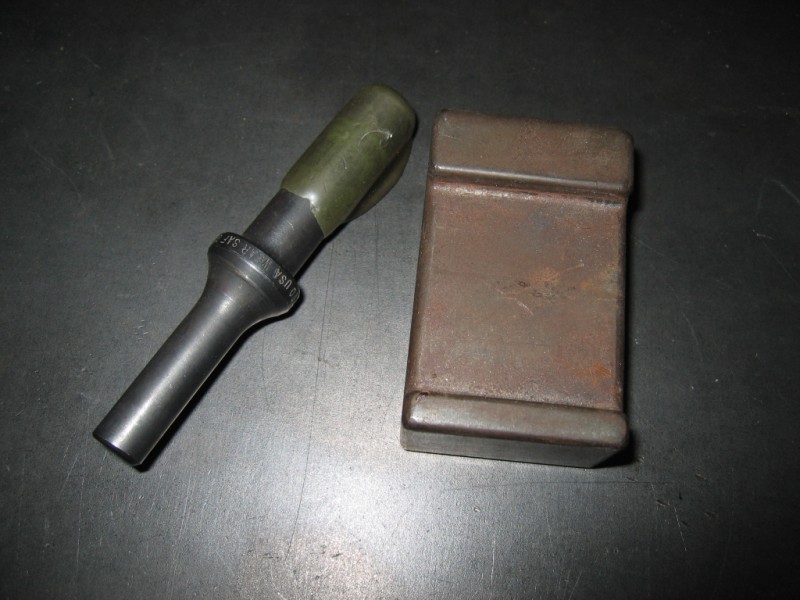 The buck slips into the vise and is used on the backside of the rivet to flare or mushroom the end: 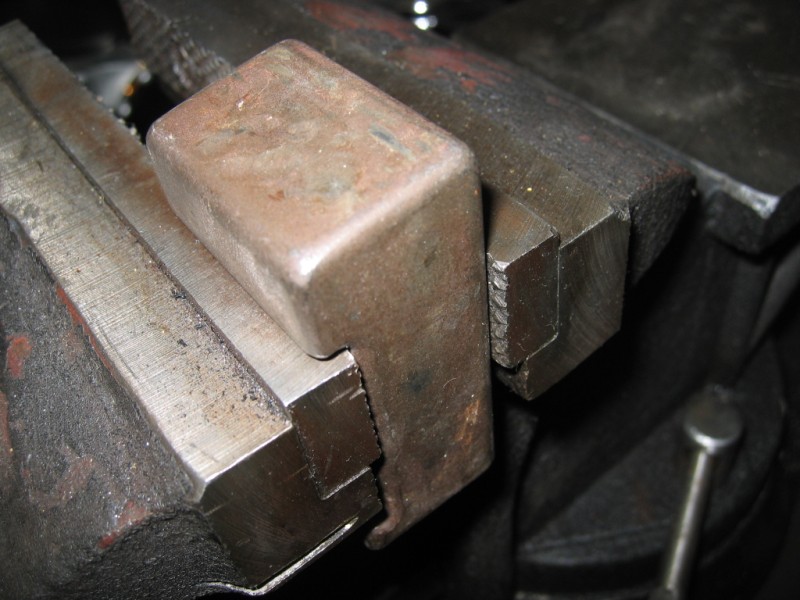 Next it was time to load the rivets and go for it. I used my previous pictures to realign the brush and tab. The rivets were just a hair larger so I had to take a small round file and dress the holes on the housing, it may have been the chrome as well. Here's everything lined up and ready to go. I even found an old sticker and, using some spray adhesive, I reapplied (don't ask me why...): 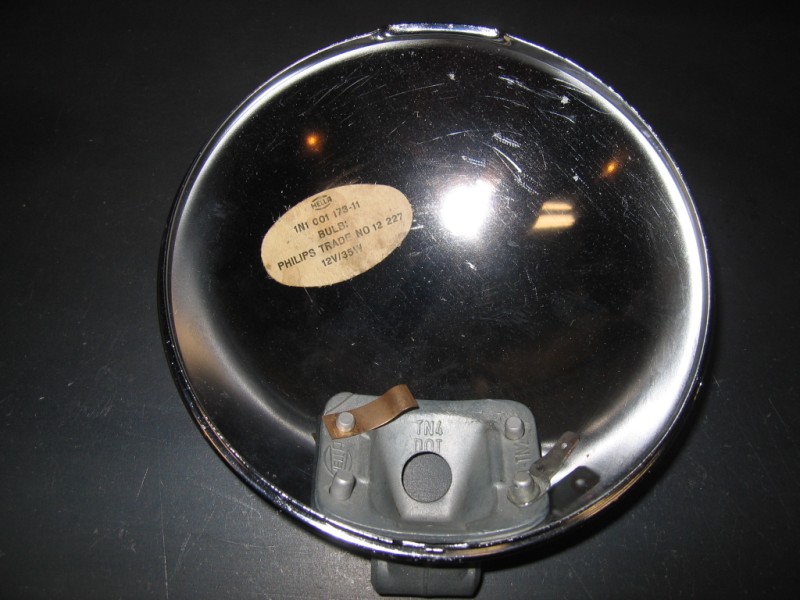 On the buck: 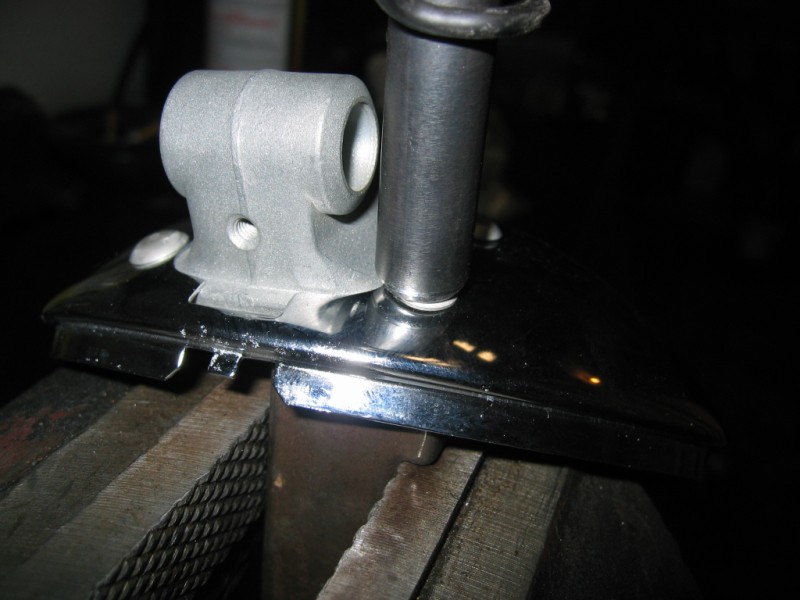 Finished: 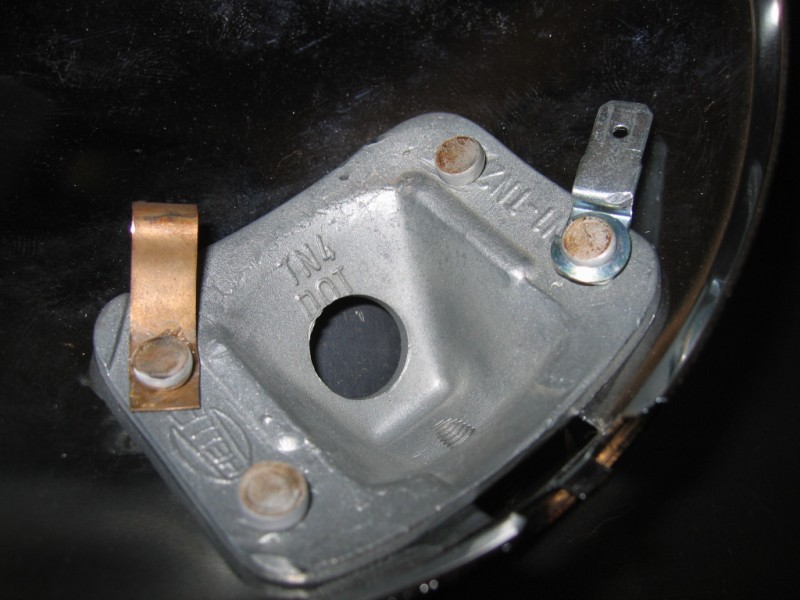 914World to the rescue again, Qarl saves the day with his aftermarket glass seals and Glenn saves the day with new lenses. The seals are a perfect fit and the lenses simply popped into the ring using the newly plated spring clips: 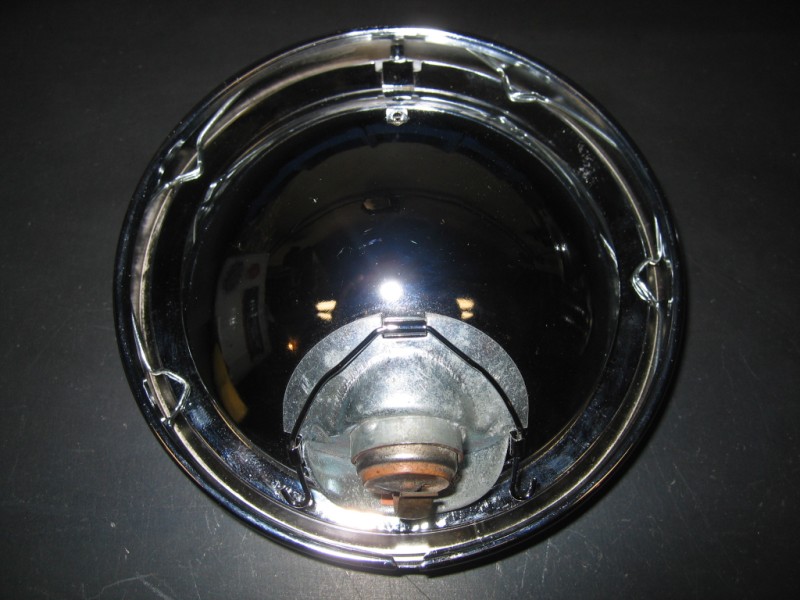 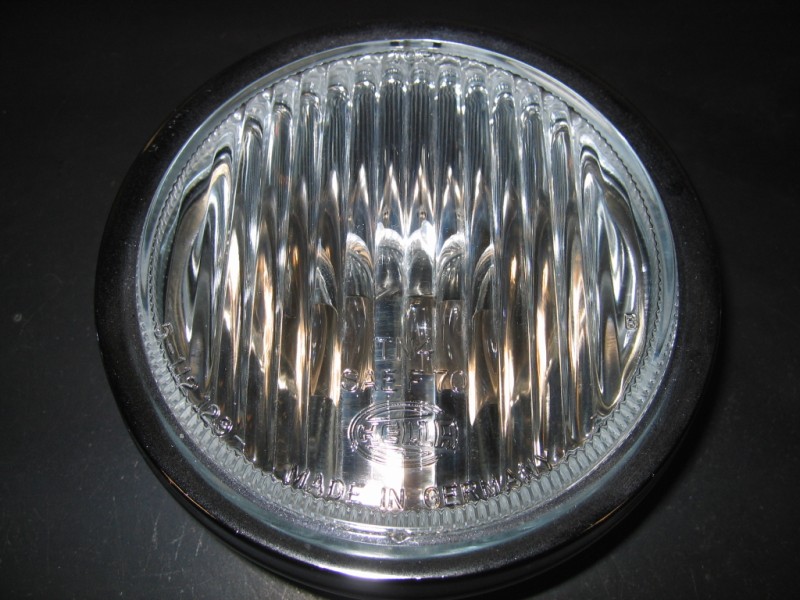 One of the final steps is to snap them together and lock them in place with the lock tabs: 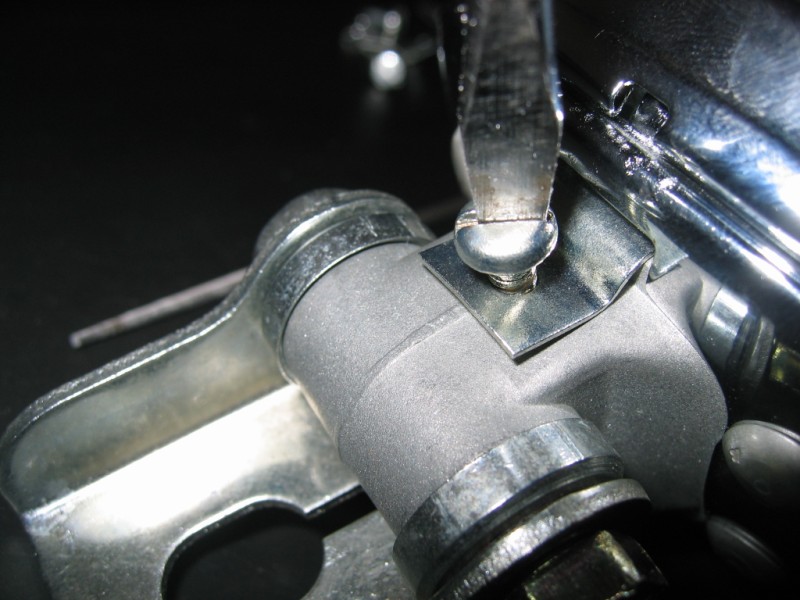 And the last step is to install the mount on the mount base. Again, everything was replated using clear zinc: 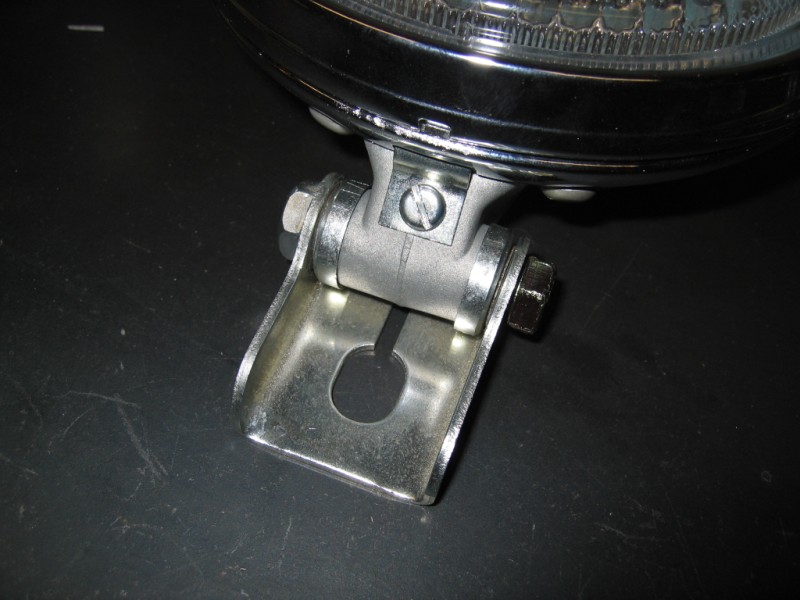 Here's the bad news... these are going to the dark side. (IMG:style_emoticons/default/biggrin.gif) Hence the chrome. These TN4's are the same driving lights they used on US spec 911's except they were chromed for the 911 grill applications (and they seem to go for a lot more money). I needed a set for my RS mobile (it's a little dirty): 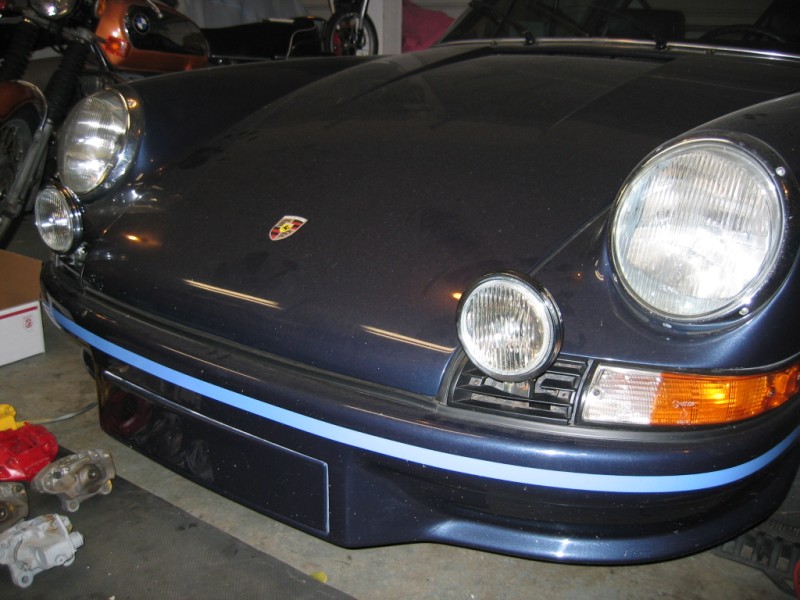 Enjoy! (IMG:style_emoticons/default/wink.gif) |
   |

 
|
| Danny_Ocean |
Oct 21 2007, 11:03 AM
Post
#2
|
|
Member Group: Members Posts: 170 Joined: 27-June 07 From: Fort Lauderdale, FL Member No.: 7,846 Region Association: South East States |
Very nice. You have more patience then I'll ever have.
|
|
|
|
| rhodyguy |
Oct 21 2007, 11:14 AM
Post
#3
|
|
Chimp Sanctuary NW. Check it out. Group: Members Posts: 22,080 Joined: 2-March 03 From: Orion's Bell. The BELL! Member No.: 378 Region Association: Galt's Gulch |
one thing if memory serves me correctly. you need to run the wires thru the grommet, into the housing, and on the connection tabs prior to final assem. the Zero-Rust in a rattle can is a pretty close match to the factory paint finish. you buying cores?
k |
|
|
|
| Eric_Shea |
Oct 21 2007, 11:43 AM
Post
#4
|
|
PMB Performance Group: Admin Posts: 19,275 Joined: 3-September 03 From: Salt Lake City, UT Member No.: 1,110 Region Association: Rocky Mountains |
Kevin is correct.
You need to install the grommet and then run the wires before bolting them together. I have the proper switch in the dash and the wires are sitting in the fender wells waiting for the grommets and for Piggot to come over and play with the wiring. (IMG:style_emoticons/default/wink.gif) Zero-Rust would be a good match and a good protectant for the housings. |
|
|
|
| geniusanthony |
Oct 21 2007, 01:00 PM
Post
#5
|
|
Its a brand new "Chrome-sicle" Group: Members Posts: 517 Joined: 12-December 05 From: Alexandria,VA Member No.: 5,266 Region Association: MidAtlantic Region |
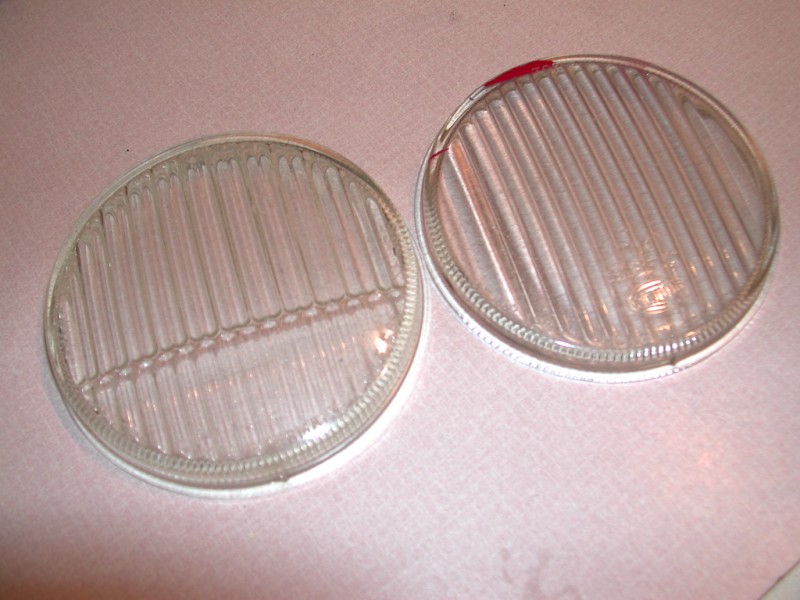
Did factory fogs have a rounded plastic lense? See attached pic if you can make em out...
 sorry for the bad pic, don't have any with me 100 posts woo hoo, (IMG:style_emoticons/default/beer.gif) |
|
|
|
| Eric_Shea |
Oct 21 2007, 01:03 PM
Post
#6
|
|
PMB Performance Group: Admin Posts: 19,275 Joined: 3-September 03 From: Salt Lake City, UT Member No.: 1,110 Region Association: Rocky Mountains |
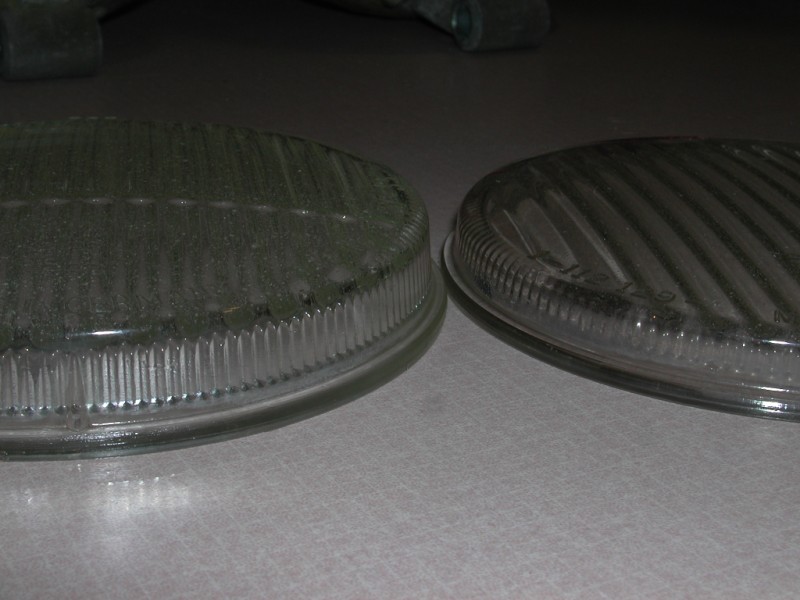
No, but I did find two different "glass" lense types:
  |
|
|
|
|
1 User(s) are reading this topic (1 Guests and 0 Anonymous Users)
0 Members:

|
Lo-Fi Version | Time is now: 16th May 2024 - 03:23 AM |
Invision Power Board
v9.1.4 © 2024 IPS, Inc.