|
|

|
Porsche, and the Porsche crest are registered trademarks of Dr. Ing. h.c. F. Porsche AG.
This site is not affiliated with Porsche in any way. Its only purpose is to provide an online forum for car enthusiasts. All other trademarks are property of their respective owners. |
|
|
  |
| Nor.Cal.914 |
 Jan 15 2008, 06:38 PM Jan 15 2008, 06:38 PM
Post
#1
|
|
1975 914 3.0SC    Group: Members Posts: 1,050 Joined: 28-January 05 From: Weatherford, TX Member No.: 3,523 Region Association: None |
Well I am now digging into a clutch cable tube repair, so I thought I would document the steps just in case someone might want to save it. Here it goes! (IMG:style_emoticons/default/biggrin.gif)
This is my dad cutting away at the front of the tunnel to get to the front mount on the tube... Attached thumbnail(s) 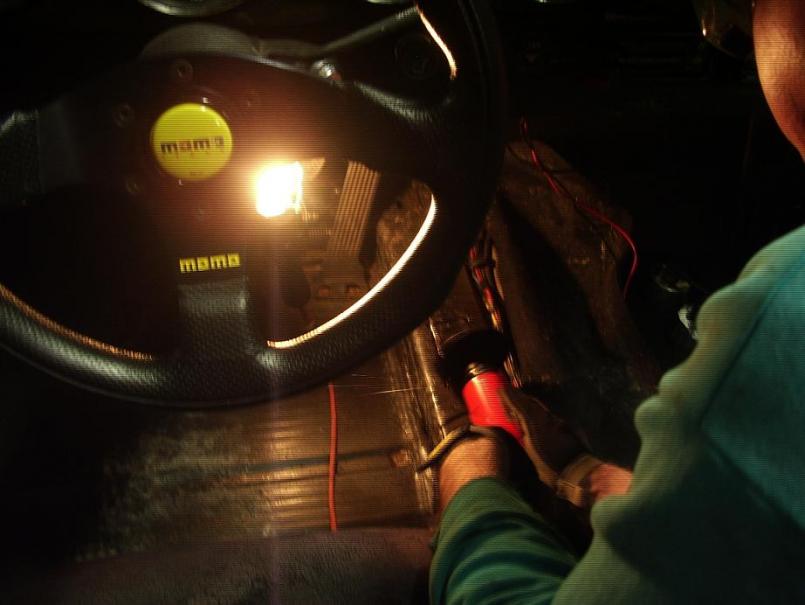
|
| rjames |
 Jan 15 2008, 06:44 PM Jan 15 2008, 06:44 PM
Post
#2
|
|
I'm made of metal     Group: Members Posts: 3,918 Joined: 24-July 05 From: Shoreline, WA Member No.: 4,467 Region Association: Pacific Northwest 
|
Cool, but it's been documented pretty well here. :-) Good luck with your repair. (IMG:style_emoticons/default/beer.gif) One of the better threads on this: http://www.914world.com/bbs2/index.php?sho...c=28313&hl= |
| Nor.Cal.914 |
 Jan 15 2008, 06:51 PM Jan 15 2008, 06:51 PM
Post
#3
|
|
1975 914 3.0SC    Group: Members Posts: 1,050 Joined: 28-January 05 From: Weatherford, TX Member No.: 3,523 Region Association: None |
Here are pictures of the measurements for the front tunnel cut, sorry they are a little blurry (IMG:style_emoticons/default/blink.gif) ...
Start the cut at about 2.5" from the center of the front left shifter bolt hole (as seen in first pic)... The cut doesn't need to be any longer than 4" (second pic)... (IMG:style_emoticons/default/thumb3d.gif) Attached thumbnail(s) 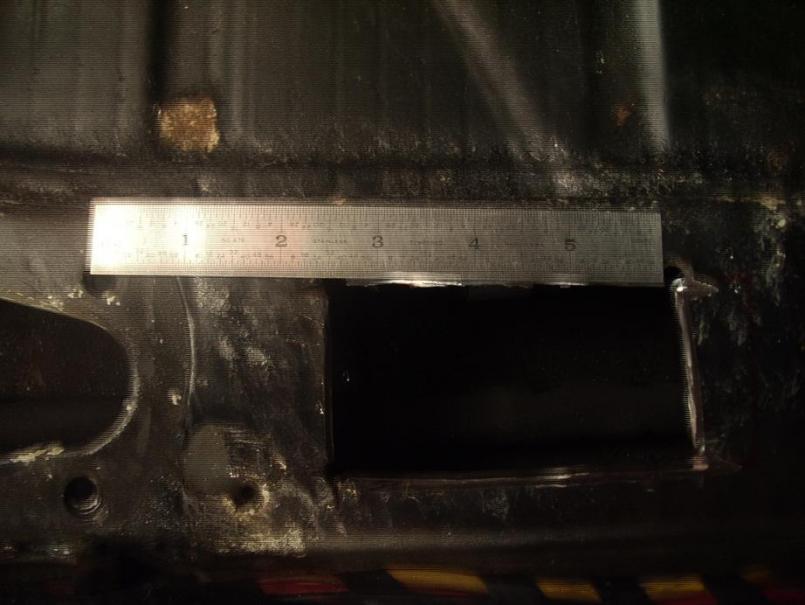 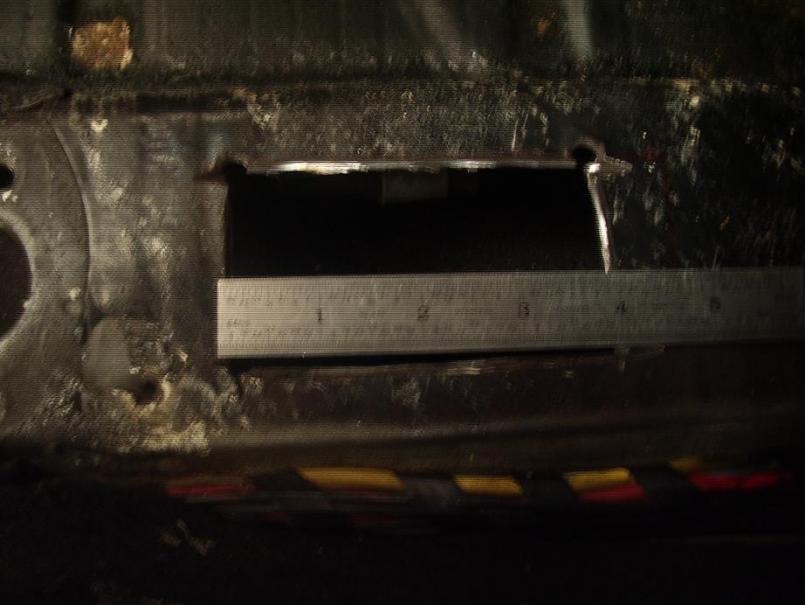
|
| Nor.Cal.914 |
 Jan 15 2008, 06:54 PM Jan 15 2008, 06:54 PM
Post
#4
|
|
1975 914 3.0SC    Group: Members Posts: 1,050 Joined: 28-January 05 From: Weatherford, TX Member No.: 3,523 Region Association: None |
Wow! That is a really good thread on this! Well, I might as well just finish up what I started so I will just for my own fun (IMG:style_emoticons/default/biggrin.gif) Thanks
-Chris |
| Nor.Cal.914 |
 Jan 15 2008, 06:56 PM Jan 15 2008, 06:56 PM
Post
#5
|
|
1975 914 3.0SC    Group: Members Posts: 1,050 Joined: 28-January 05 From: Weatherford, TX Member No.: 3,523 Region Association: None |
Here is the broken front tube mount in the tunnel (IMG:style_emoticons/default/sad.gif) ...
Attached thumbnail(s) 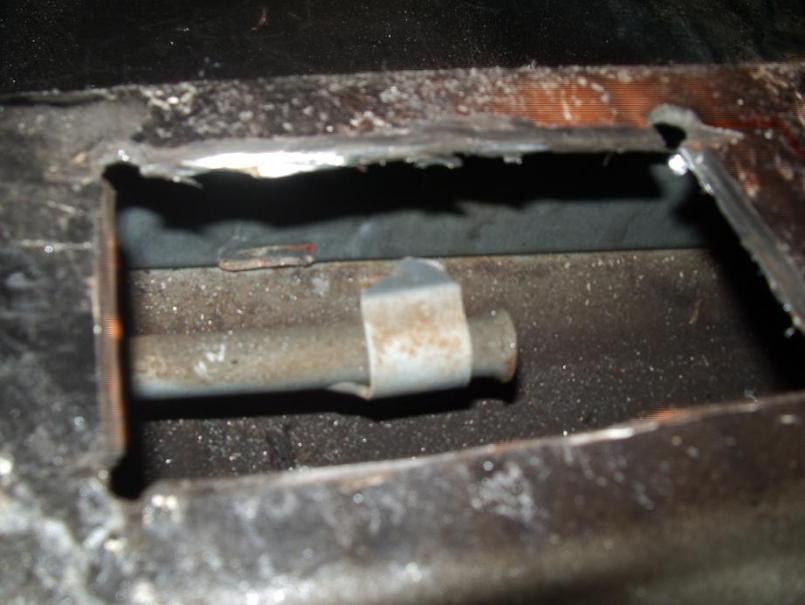
|
| Chuck |
 Jan 15 2008, 07:05 PM Jan 15 2008, 07:05 PM
Post
#6
|
|
What it eventually will look like . . . .   Group: Members Posts: 355 Joined: 29-March 07 From: Maple Grove, MN Member No.: 7,632 Region Association: Northstar Region |
Or you could just do what I will be doing . . . . Place entire stripped shell on rotisserie. Remove entire rotted and rusty floorpan. Fix items in tunnel and weld on shiny new floor. See, easy as 1, 2, 3. (IMG:style_emoticons/default/biggrin.gif)
All kdding aside, nice work! |
| SirAndy |
 Jan 15 2008, 07:12 PM Jan 15 2008, 07:12 PM
Post
#7
|
|
Resident German                          Group: Admin Posts: 41,609 Joined: 21-January 03 From: Oakland, Kalifornia Member No.: 179 Region Association: Northern California |
you don't actually need to cut the tunnel ...
there's a thread here somewhere showing where to drill two holes to weld the clamp back on, lemmy see if i can find it ... and make sure you check the rear firewall as well, the tube likes to brake lose there too ... (IMG:style_emoticons/default/welder.gif) Andy |
| Nor.Cal.914 |
 Jan 15 2008, 07:33 PM Jan 15 2008, 07:33 PM
Post
#8
|
|
1975 914 3.0SC    Group: Members Posts: 1,050 Joined: 28-January 05 From: Weatherford, TX Member No.: 3,523 Region Association: None |
Here are the measurements for the middle bracket cut...
I started the cut at about 1.5" from the center beam (first pic)... Doesn't need to be more than 2.5" wide (second pic)... Attached thumbnail(s) 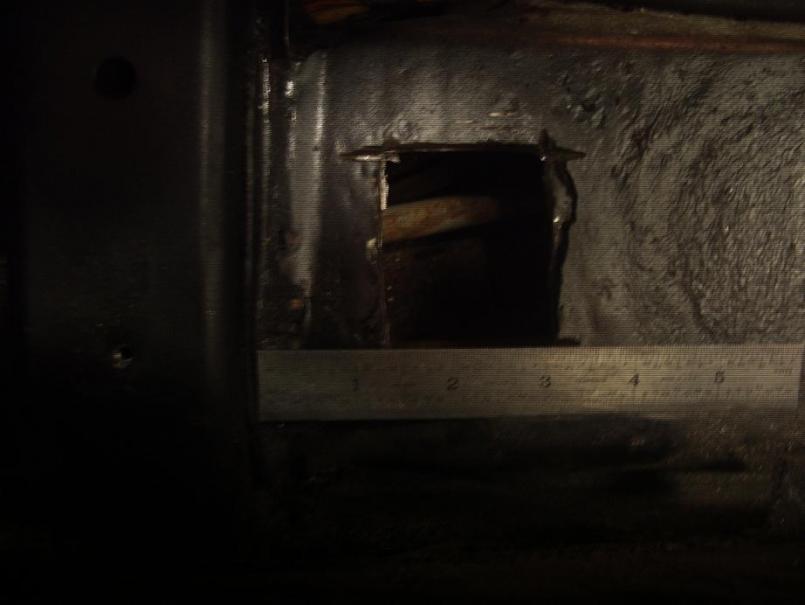 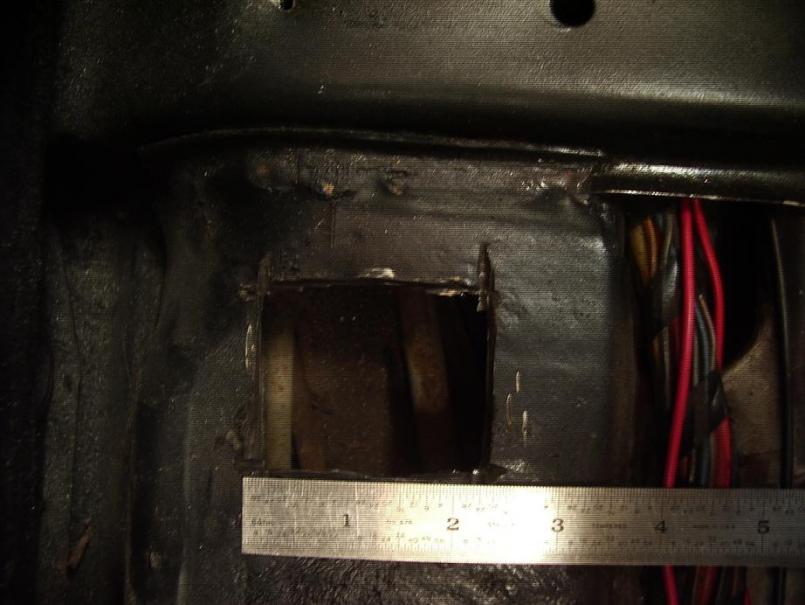
|
| Nor.Cal.914 |
 Jan 15 2008, 07:34 PM Jan 15 2008, 07:34 PM
Post
#9
|
|
1975 914 3.0SC    Group: Members Posts: 1,050 Joined: 28-January 05 From: Weatherford, TX Member No.: 3,523 Region Association: None |
Or you could just do what I will be doing . . . . Place entire stripped shell on rotisserie. Remove entire rotted and rusty floorpan. Fix items in tunnel and weld on shiny new floor. See, easy as 1, 2, 3. (IMG:style_emoticons/default/biggrin.gif) All kdding aside, nice work! (IMG:style_emoticons/default/av-943.gif) I wish I could do that! I only have the time for some quick cutting and welding unfortunately (IMG:style_emoticons/default/dry.gif) Should still turn out fine though! Thanks -Chris |
| Nor.Cal.914 |
 Jan 15 2008, 07:37 PM Jan 15 2008, 07:37 PM
Post
#10
|
|
1975 914 3.0SC    Group: Members Posts: 1,050 Joined: 28-January 05 From: Weatherford, TX Member No.: 3,523 Region Association: None |
Attached thumbnail(s) 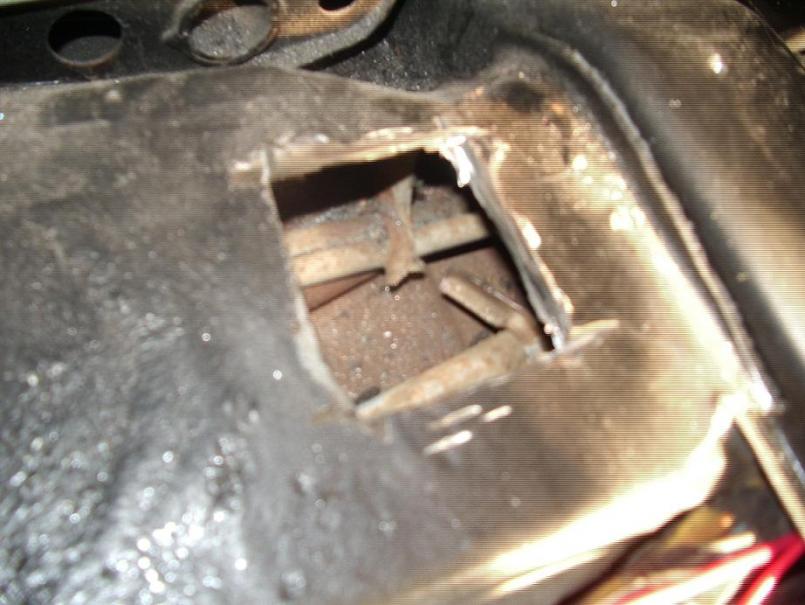 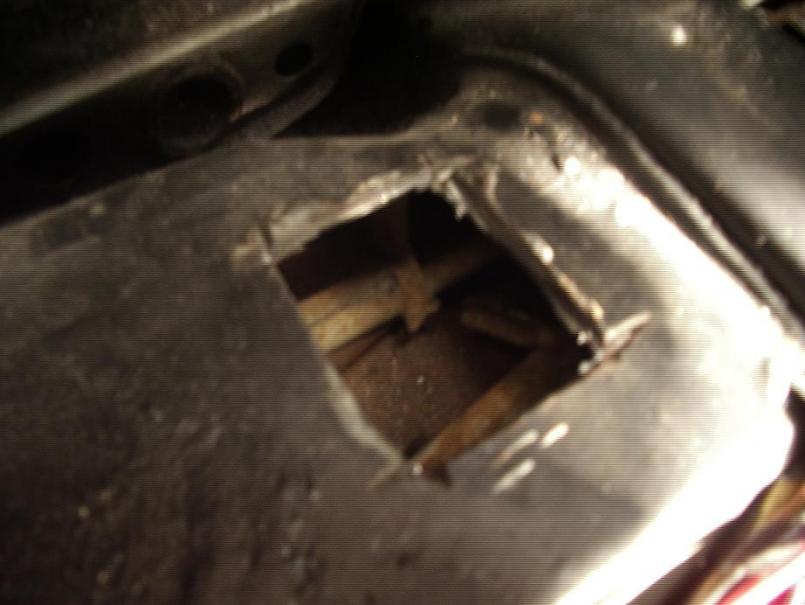
|
| Nor.Cal.914 |
 Jan 15 2008, 07:41 PM Jan 15 2008, 07:41 PM
Post
#11
|
|
1975 914 3.0SC    Group: Members Posts: 1,050 Joined: 28-January 05 From: Weatherford, TX Member No.: 3,523 Region Association: None |
you don't actually need to cut the tunnel ... there's a thread here somewhere showing where to drill two holes to weld the clamp back on, lemmy see if i can find it ... and make sure you check the rear firewall as well, the tube likes to brake lose there too ... (IMG:style_emoticons/default/welder.gif) Andy I saw the thread for drilling the holes... I just thought it would be easier to have a nice opening to get to the bracket (IMG:style_emoticons/default/biggrin.gif) And I looked at the firewall too (IMG:style_emoticons/default/w00t.gif) ... Attached thumbnail(s) 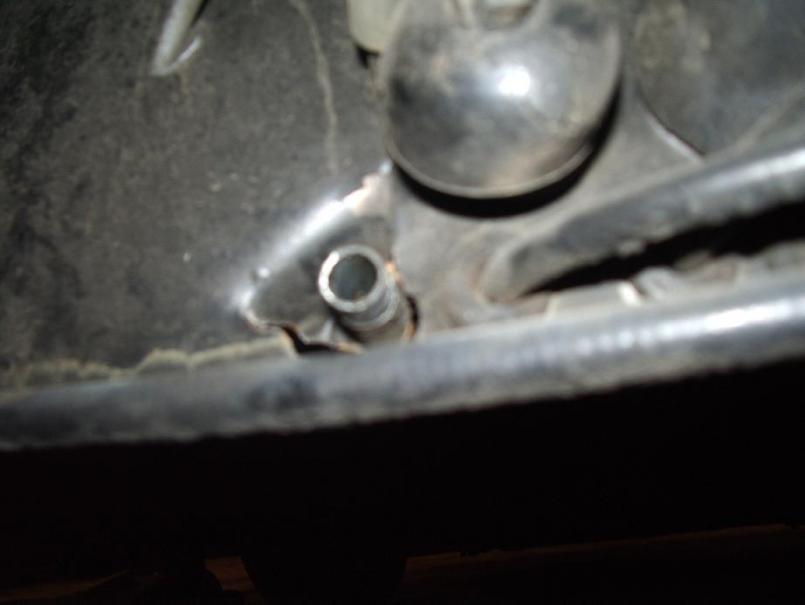 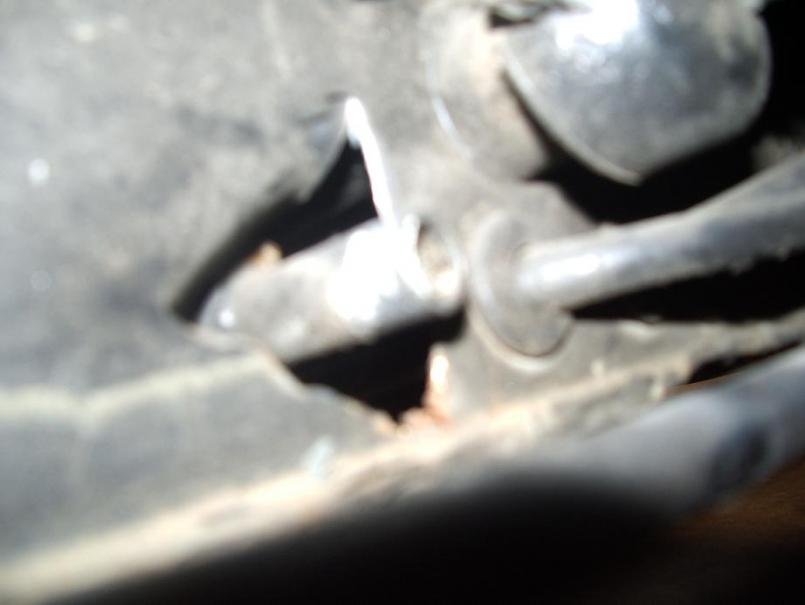 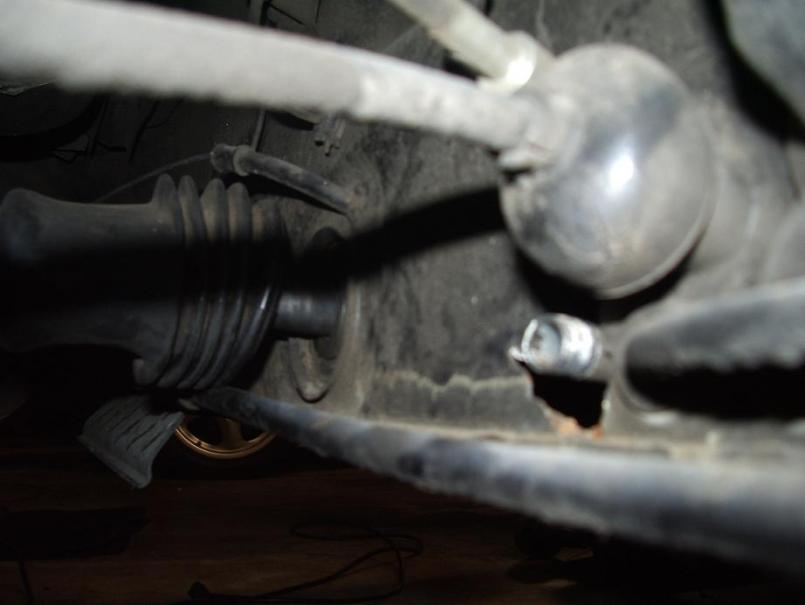
|
| Nor.Cal.914 |
 Jan 15 2008, 07:43 PM Jan 15 2008, 07:43 PM
Post
#12
|
|
1975 914 3.0SC    Group: Members Posts: 1,050 Joined: 28-January 05 From: Weatherford, TX Member No.: 3,523 Region Association: None |
That's all I have for now. Hopefully all of the welding will be done tomorrow (IMG:style_emoticons/default/beerchug.gif) I'll continue posting when I make some more progress! Thanks
-Chris |
| SirAndy |
 Jan 15 2008, 07:57 PM Jan 15 2008, 07:57 PM
Post
#13
|
|
Resident German                          Group: Admin Posts: 41,609 Joined: 21-January 03 From: Oakland, Kalifornia Member No.: 179 Region Association: Northern California |
That's all I have for now. Hopefully all of the welding will be done tomorrow (IMG:style_emoticons/default/beerchug.gif) watch those fuel lines !!! (IMG:style_emoticons/default/welder.gif) Andy |
| Jeffs9146 |
 Jan 15 2008, 08:42 PM Jan 15 2008, 08:42 PM
Post
#14
|
|
Ski Bum     Group: Members Posts: 4,062 Joined: 10-January 03 From: Discovery Bay, Ca Member No.: 128 |
QUOTE watch those fuel lines !!! (IMG:style_emoticons/default/agree.gif) I did this repair back in 1987 (IMG:style_emoticons/default/blowup.gif) Did quite a bit of damage!! |
| Joe Owensby |
 Jan 15 2008, 10:42 PM Jan 15 2008, 10:42 PM
Post
#15
|
|
JoeO    Group: Members Posts: 527 Joined: 7-January 06 From: Spartanburg, SC Member No.: 5,385 Region Association: South East States |
For what it is worth, the welding is a good repair, but for people that do not have welding capability in their shop, or who don't want to weld near the gas lines, there is an alternative. After about the first 85000 miles on my car, my tube broke, similar to those shown in the threads. I pulled the tube out, and took it to a shop and had an offset flange welded to the rear. This flange was about 3/16 thick, and was about 1 1/2" x 2" or so inches, and had the tube welded to the lower right hand side of it. I had two holes drilled away from the tube, and then just drilled two holes in the rear firewall and bolted the tube in. I reached the nuts for the bolts on the inside of the car from the access port between the seats. for the front end of the tube, I put two electical conduit clamps from opposite sides and bolted them through the floor. This repair lasted over 120,000 more miles with no problems. I recently replaced the floor pans, and while I was in there, I re-welded the tube in, but I imagine my rigged fix was probably stronger than the original design. I just mentioned this in case someone wanted to do a little less demanding or maybe a temporary repair. JoeO
|
| pffft |
 Jan 15 2008, 11:00 PM Jan 15 2008, 11:00 PM
Post
#16
|
|
Member   Group: Members Posts: 189 Joined: 18-January 05 From: sierra foothills Member No.: 3,465 |
|
| Nor.Cal.914 |
 Jan 16 2008, 02:02 PM Jan 16 2008, 02:02 PM
Post
#17
|
|
1975 914 3.0SC    Group: Members Posts: 1,050 Joined: 28-January 05 From: Weatherford, TX Member No.: 3,523 Region Association: None |
How hard is it to remove those fuel lines? My friend is coming over today with his welder to finish up the remaining work. I don't want anything happening with those fuel lines, so if theres an easy way to remove them from the picture, temporarily, please let me know! Thanks! -Chris |
| SirAndy |
 Jan 16 2008, 02:44 PM Jan 16 2008, 02:44 PM
Post
#18
|
|
Resident German                          Group: Admin Posts: 41,609 Joined: 21-January 03 From: Oakland, Kalifornia Member No.: 179 Region Association: Northern California |
How hard is it to remove those fuel lines? My friend is coming over today with his welder to finish up the remaining work. I don't want anything happening with those fuel lines, so if theres an easy way to remove them from the picture, temporarily, please let me know! when i welded my clutch tube, i had a fire extinguisher ready and i simply wrapped a couple of wet rags around the fuellines before i started welding. worked for me. removal of the fuel lines is kind of a PITA ... i later replaced mine with stainless steel lines. but that's a different story ... just be careful and make sure your fire extinguisher works ... (IMG:style_emoticons/default/bye1.gif) |
| Nor.Cal.914 |
 Jan 16 2008, 03:46 PM Jan 16 2008, 03:46 PM
Post
#19
|
|
1975 914 3.0SC    Group: Members Posts: 1,050 Joined: 28-January 05 From: Weatherford, TX Member No.: 3,523 Region Association: None |
when i welded my clutch tube, i had a fire extinguisher ready and i simply wrapped a couple of wet rags around the fuellines before i started welding. worked for me. removal of the fuel lines is kind of a PITA ... i later replaced mine with stainless steel lines. but that's a different story ... just be careful and make sure your fire extinguisher works ... (IMG:style_emoticons/default/bye1.gif) I was hoping an approach like that would be ok. My dad says he has some sort of heat wrap material that he can wrap around the fuel lines while we take care of the welding so I'm pretty sure everything will work out ok there. My friend should be here within the next couple hours so the welding process will hopefully begin soon! (IMG:style_emoticons/default/welder.gif) Thanks! -Chris |
| Demick |
 Jan 16 2008, 03:56 PM Jan 16 2008, 03:56 PM
Post
#20
|
|
Ernie made me do it!     Group: Benefactors Posts: 2,312 Joined: 6-February 03 From: Pleasanton, CA Member No.: 257  |
The wet rags approach should work better than any sort of heat shield. Gasoline needs ~500F to ignite. So keeping the metal near the fuel lines cool is key. The heat will conduct from the welding area to the fuel area independent of any heat shield. But wet rags would suck the heat out of the metal pretty efficiently.
|
  |
1 User(s) are reading this topic (1 Guests and 0 Anonymous Users)
0 Members:

|
Lo-Fi Version | Time is now: 2nd May 2024 - 12:25 PM |
Invision Power Board
v9.1.4 © 2024 IPS, Inc.


