|
|
|
Porsche, and the Porsche crest are registered trademarks of Dr. Ing. h.c. F. Porsche AG.
This site is not affiliated with Porsche in any way. Its only purpose is to provide an online forum for car enthusiasts. All other trademarks are property of their respective owners. |
|
|

  |

| jonferns |
 Oct 30 2008, 08:00 PM Oct 30 2008, 08:00 PM
Post
#1
|
|
Advanced Member  Group: Members Posts: 2,081 Joined: 29-March 07 From: New Jersey Member No.: 7,631 Region Association: North East States |
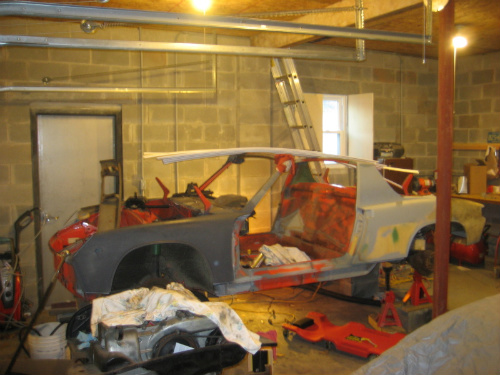
We've been working on a '74 2.0 that we picked up a year ago in VA. Solid for the most part, floors are nice. Over the past 2 months we have been doing some work on it.
The goal is just a nice driver. It will be the original Phoneix Red (which is more orange than red). It will be powered by a 2.0 FI, if I get can the D-Jet figured out. I'll update this thread weekly or more often, whenever something notable gets done. Heres what we started with 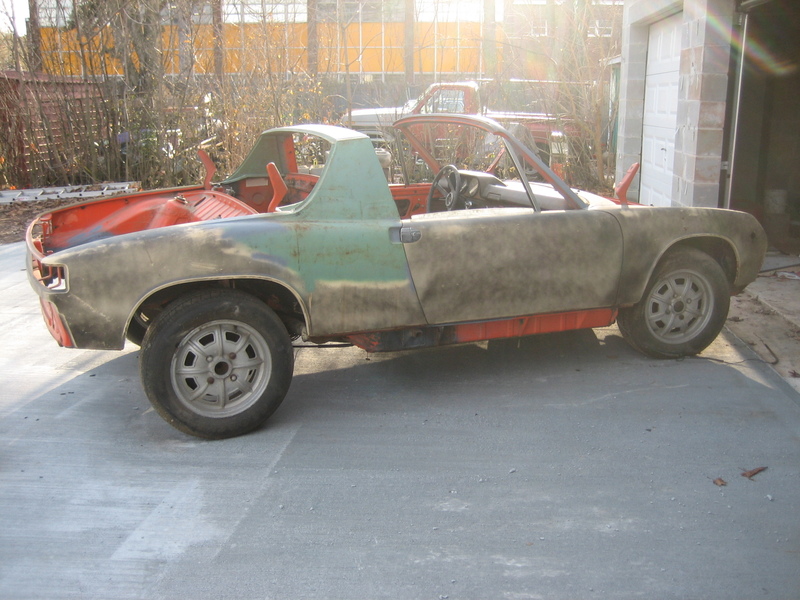 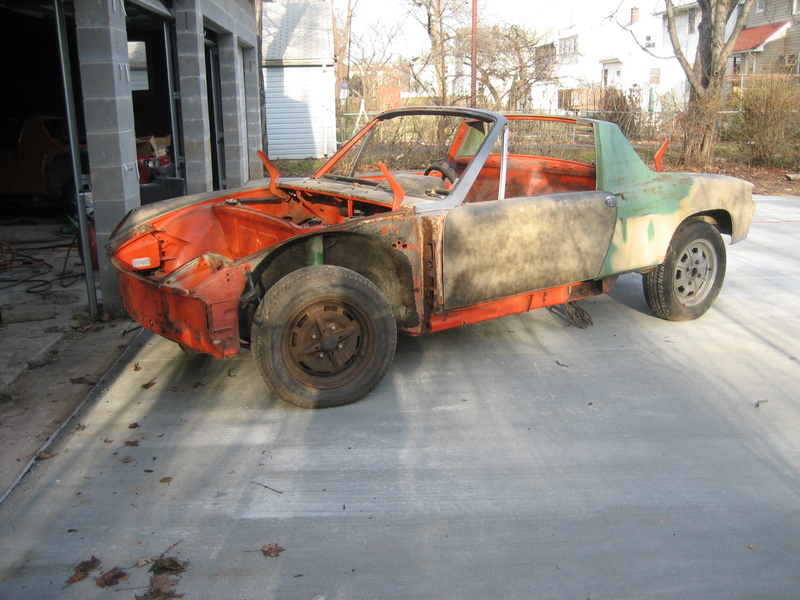 |
   |

 
|
| jonferns |
Oct 30 2008, 08:04 PM
Post
#2
|
|
Advanced Member Group: Members Posts: 2,081 Joined: 29-March 07 From: New Jersey Member No.: 7,631 Region Association: North East States |
The PO had cut out a section of the drivers long and drivers door sill that needed replacement.
In this pic you can see the doorsill cut out, and the following pic is the long cutout 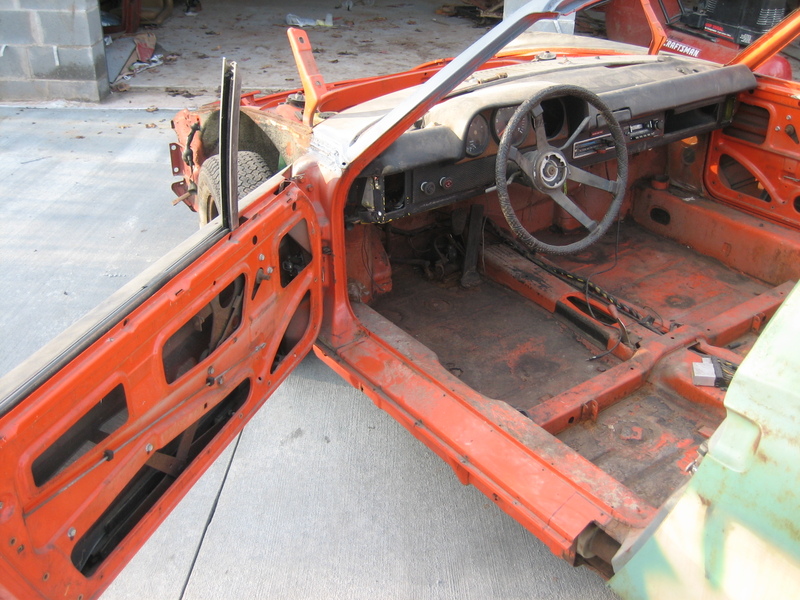  |
|
|
|
| jonferns |
Oct 30 2008, 08:06 PM
Post
#3
|
|
Advanced Member Group: Members Posts: 2,081 Joined: 29-March 07 From: New Jersey Member No.: 7,631 Region Association: North East States |
Voila, fixed
 The hell hole, firewall and rear trunk have all been completed as well. I'll take some pics of those tomorrow |
|
|
|
| JRust |
Oct 30 2008, 11:58 PM
Post
#4
|
|
914 Guru Group: Members Posts: 6,307 Joined: 10-January 03 From: Corvallis Oregon Member No.: 129 Region Association: Pacific Northwest |
Nice looking project! Good looking weld work (IMG:style_emoticons/default/biggrin.gif) Keep it up
|
|
|
|
| jonferns |
Nov 2 2008, 09:37 AM
Post
#5
|
|
Advanced Member Group: Members Posts: 2,081 Joined: 29-March 07 From: New Jersey Member No.: 7,631 Region Association: North East States |
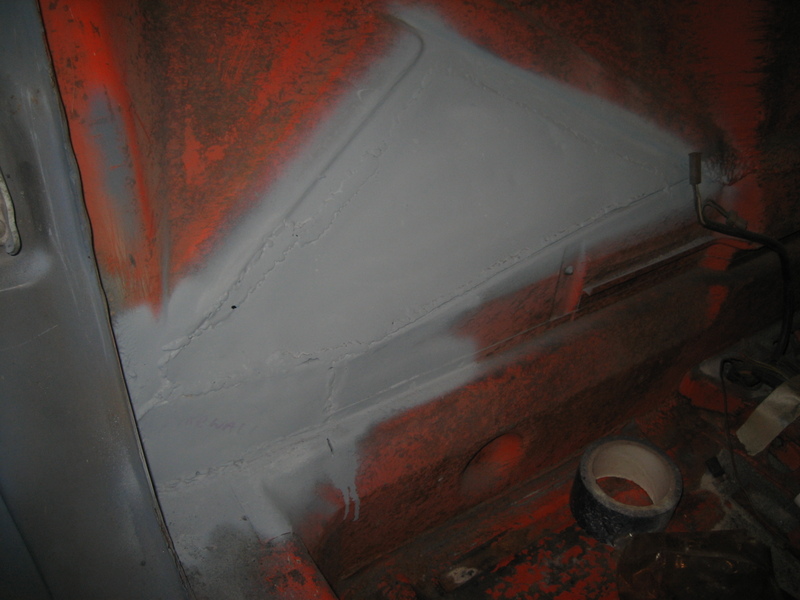
Closed up the firewall and the hell hole. The welds still need to be cleaned up.
 |
|
|
|
| jonferns |
Nov 2 2008, 09:42 AM
Post
#6
|
|
Advanced Member Group: Members Posts: 2,081 Joined: 29-March 07 From: New Jersey Member No.: 7,631 Region Association: North East States |
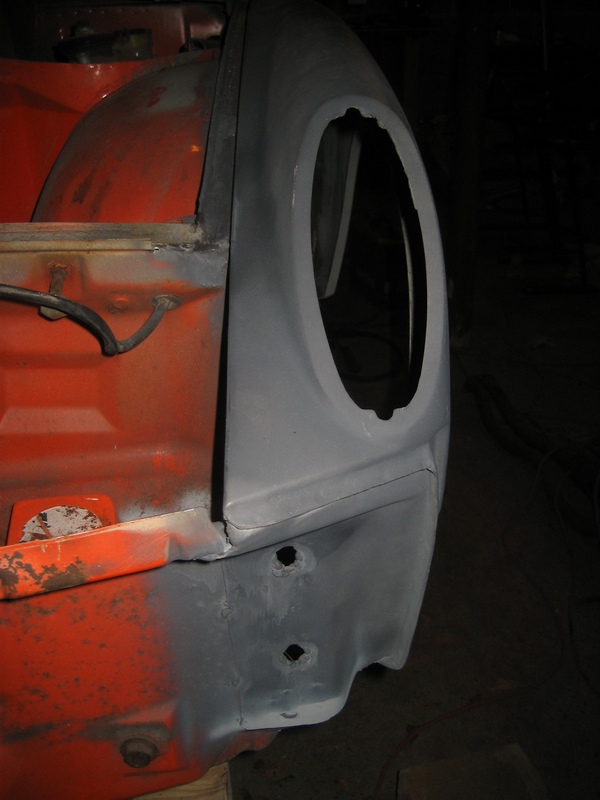
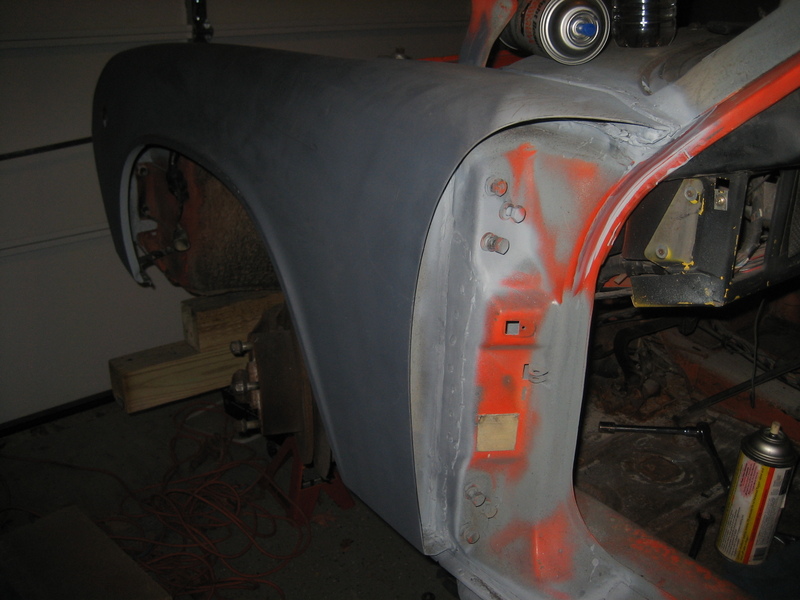
Also reattached the drivers fender. This is a replacement fender that the PO included with the car, came off of a green car.
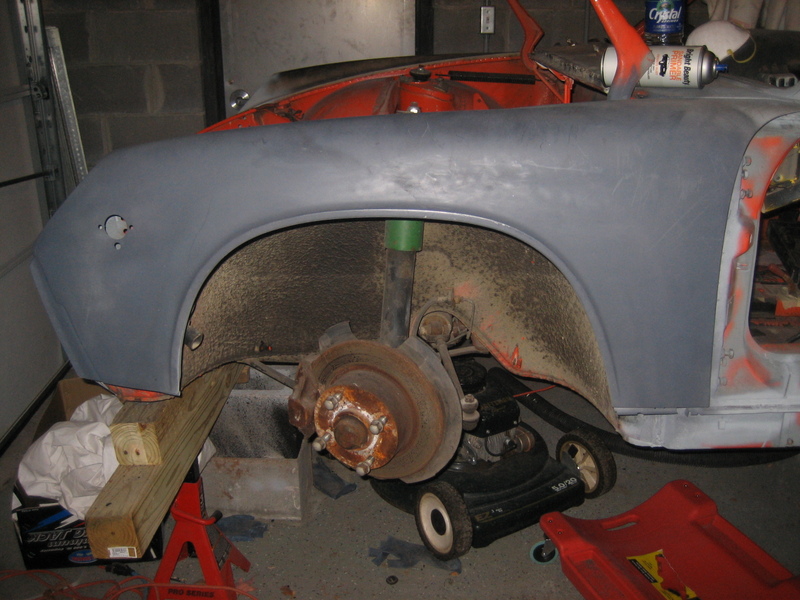   Next order of work is a questionable area in the passenger footwell (IMG:style_emoticons/default/sawzall-smiley.gif) (IMG:style_emoticons/default/welder.gif) |
|
|
|
| jonferns |
Nov 8 2008, 05:29 PM
Post
#7
|
|
Advanced Member Group: Members Posts: 2,081 Joined: 29-March 07 From: New Jersey Member No.: 7,631 Region Association: North East States |
Found a hole in the passenger footwell, and after cleaning out the seam sealer it became an even bigger hole. So anything questionable was cut out, and a patch was welded in. Also closed up the end of the longitudinal which was open.
These pics are taken from the pass. wheelwell 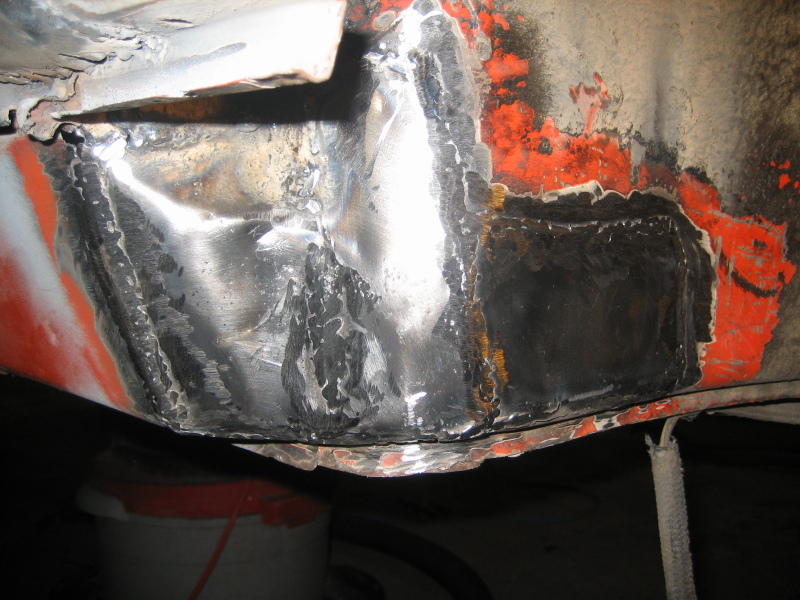  |
|
|
|
| jc914 |
Nov 9 2008, 03:10 PM
Post
#8
|
|
Member Group: Members Posts: 289 Joined: 15-September 08 From: Miami, Florida Member No.: 9,548 Region Association: South East States |
Keep up the good work and keep us posted
|
|
|
|
| FourBlades |
Nov 9 2008, 05:21 PM
Post
#9
|
|
From Wreck to Rockin Group: Members Posts: 2,054 Joined: 3-December 07 From: Brevard, FL Member No.: 8,414 Region Association: South East States |
Good looking work. (IMG:style_emoticons/default/piratenanner.gif) I had the same holes in my firewall. I would not worry about grinding the welds too much. You will need to seam seal it, then cover it up with the upholstrey anyway. I was surprised how much weld bead is hidden once you put on the seam sealer. John |
|
|
|
| jonferns |
Nov 9 2008, 05:28 PM
Post
#10
|
|
Advanced Member Group: Members Posts: 2,081 Joined: 29-March 07 From: New Jersey Member No.: 7,631 Region Association: North East States |
Thanks guys. The welds on the firewall along with the welds in the trunk and in a few other places, I didnt bother grinding perfectly smooth. I still need to go to a local paint supply place to pick up some seam sealer, I've been meaning to do that.
Today I started stripping the pedal cluster area. There was alot of flaky rust, but after cleaning the area up with a wire wheel it seems very solid. This is one place I didnt want to sandblast so I wouldn't have sand stuck up behind the dash. Mostly everywhere else that was rusted on the car we sandblasted. |
|
|
|
| i love porsche |
Nov 9 2008, 08:45 PM
Post
#11
|
|
Senior Member Group: Members Posts: 1,547 Joined: 6-May 04 From: Nutley, NJ Member No.: 2,030 Region Association: North East States |
great work! are you doing the welding? it looks good
hopefully you will keep the momentum you have, let me know if i can help at all |
|
|
|
| jonferns |
Nov 10 2008, 06:40 AM
Post
#12
|
|
Advanced Member Group: Members Posts: 2,081 Joined: 29-March 07 From: New Jersey Member No.: 7,631 Region Association: North East States |
Thanks Aaron. Yes, all the welding is being done by us.
|
|
|
|
| jonferns |
Nov 22 2008, 05:45 PM
Post
#13
|
|
Advanced Member Group: Members Posts: 2,081 Joined: 29-March 07 From: New Jersey Member No.: 7,631 Region Association: North East States |
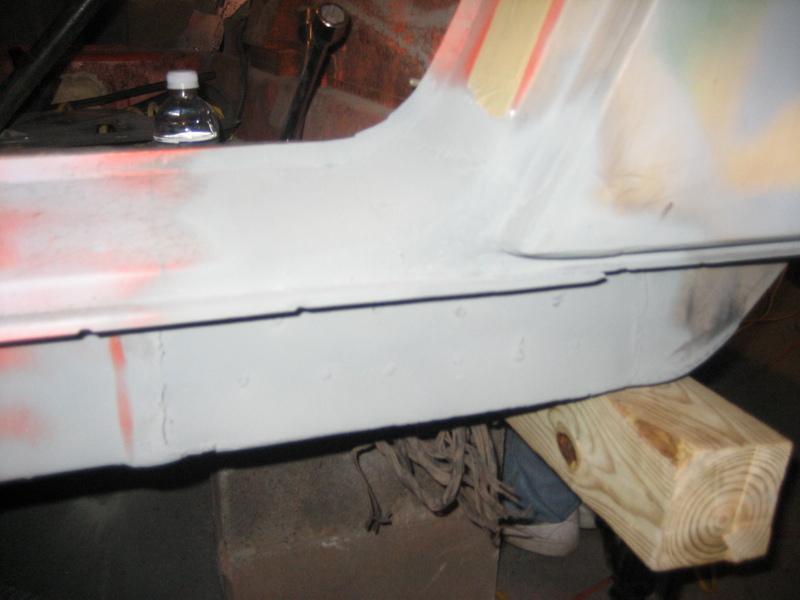
So I picked up some brushable seam sealer from a local paint/body supply store. I sealed up the trunk, firewall and the entire new fender. Still have to do the hell hole and some spots inside the car. Its slowly coming together (IMG:style_emoticons/default/laugh.gif)
|
|
|
|
| jonferns |
Nov 23 2008, 05:56 PM
Post
#14
|
|
Advanced Member Group: Members Posts: 2,081 Joined: 29-March 07 From: New Jersey Member No.: 7,631 Region Association: North East States |
Today I fabbed a new sill support triangle for the passenger side longitudinal. I first made a paper template then cut it and bent the edges to replicate the original. After lots of testing and trimming, im happy with the final product, and with the $16.50 that I saved. All thats left to do is drill the 2 holes and then (IMG:style_emoticons/default/welder.gif)
 |
|
|
|
| jc914 |
Nov 23 2008, 06:11 PM
Post
#15
|
|
Member Group: Members Posts: 289 Joined: 15-September 08 From: Miami, Florida Member No.: 9,548 Region Association: South East States |
Keep up the great work keep us all posted with nice pictures!!!!!!!
|
|
|
|
| Spoke |
Nov 24 2008, 01:52 PM
Post
#16
|
|
Jerry Group: Members Posts: 6,978 Joined: 29-October 04 From: Allentown, PA Member No.: 3,031 Region Association: None |
Nice work.
If you have questions about D-Jet, I just tested mine w/o the engine and found all inputs to the brain to be functional. Test each part separately then it should work when put back together. The PO's mechanic told me he couldn't get the D-Jet working so they replaced it with single center carb. (IMG:style_emoticons/default/barf.gif) When the mechanic moved, he gave me the FI parts from my car. I checked everything out and found the vacuum advance unit to be leaking very badly. This seemed to be the only thing I found wrong with it. Got a new one, tested all FI stuff off the engine; put it all on the engine and it fired up and ran well. |
|
|
|
| jonferns |
Nov 25 2008, 12:34 PM
Post
#17
|
|
Advanced Member Group: Members Posts: 2,081 Joined: 29-March 07 From: New Jersey Member No.: 7,631 Region Association: North East States |
Thanks. I have a 2.0 (from a '76) that will be going. The FI system was taken off the motor, hopefully it doesn't prove too much of a challenge to put together. (IMG:style_emoticons/default/bye1.gif)
|
|
|
|
| Root_Werks |
Nov 25 2008, 12:46 PM
Post
#18
|
|
Village Idiot Group: Members Posts: 8,319 Joined: 25-May 04 From: About 5NM from Canada Member No.: 2,105 Region Association: Pacific Northwest |
|
|
|
|
| VaccaRabite |
Dec 4 2008, 07:24 PM
Post
#19
|
|
En Garde! Group: Admin Posts: 13,442 Joined: 15-December 03 From: Dallastown, PA Member No.: 1,435 Region Association: MidAtlantic Region |
Have you decided if you are going to just cap off the smog injection ports and run it, or are you going to build the engine into something better?
I did not want to rebuild the 2056 I bought, but I am really I did. It was a very good experience, and taught e a TON about how these things work. Zach |
|
|
|
| jonferns |
Dec 4 2008, 08:36 PM
Post
#20
|
|
Advanced Member Group: Members Posts: 2,081 Joined: 29-March 07 From: New Jersey Member No.: 7,631 Region Association: North East States |
Hey Zach, for now we are going to cap the smog ports, assemble the D-Jet and run it. Hopefully the D-Jet doesn't prove to be too much of a challenge. The motor is up on a stand right now, and all the tin is cleaned up and on it, i'll get a pic up this weekend. Haven't had much time to work on the car lately with school and work.
|
|
|
|
|
1 User(s) are reading this topic (1 Guests and 0 Anonymous Users)
0 Members:

|
Lo-Fi Version | Time is now: 11th May 2024 - 12:24 AM |
Invision Power Board
v9.1.4 © 2024 IPS, Inc.