|
|
|
Porsche, and the Porsche crest are registered trademarks of Dr. Ing. h.c. F. Porsche AG.
This site is not affiliated with Porsche in any way. Its only purpose is to provide an online forum for car enthusiasts. All other trademarks are property of their respective owners. |
|
|


| dlee6204 |
 Apr 30 2009, 05:52 PM Apr 30 2009, 05:52 PM
Post
#1
|
|
Howdy  Group: Members Posts: 2,162 Joined: 30-April 06 From: Burnsville, NC Member No.: 5,956 |
Its that time of year again so I'd thought I'd start a progress thread to help keep me motivated. I bought this car last summer as a nicer project car for me to work on and eventually be able to drive. My goal for this summer is to repair all the rust on the car and to get it running. I'll end up painting it down the road either the original Marathon Blue Metallic or Ravenna Green. I've been collecting parts all winter so hopefully I should be good to go. I've done a little work on it already but I'll bring everyone up to date. Feel free to comment, ask questions, make suggestions, tell me what I'm doing wrong or anything else for that matter. Enjoy!
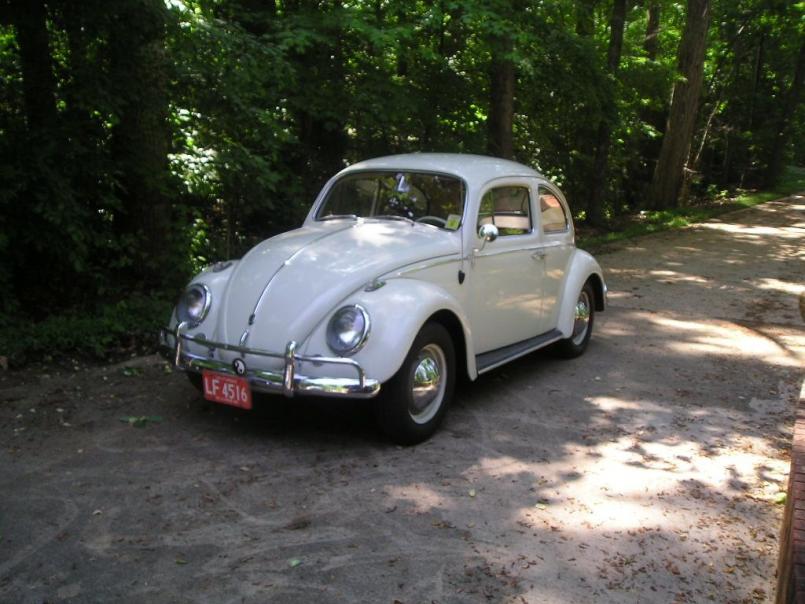
Here is the car when I first picked it up. The car came fully optioned and even came with SS heat exchangers and a running two liter engine. The car was wrecked at some point and had a crappy repair done to it but I am still trying to figure out what happened. Both the driver's front corner and the driver's rear corner had damage but the door and rear quarter seem fine. I will find out more once I start stripping some paint and bondo. (IMG:style_emoticons/default/dry.gif) 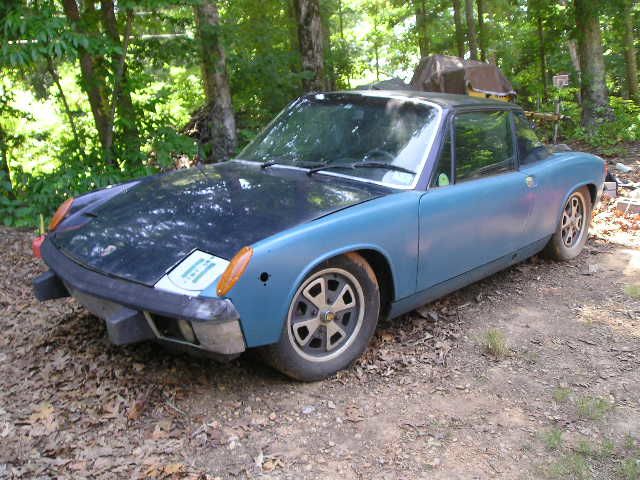 The interior was about a 4 on a 10 scale however the dash is crack free! (IMG:style_emoticons/default/piratenanner.gif) 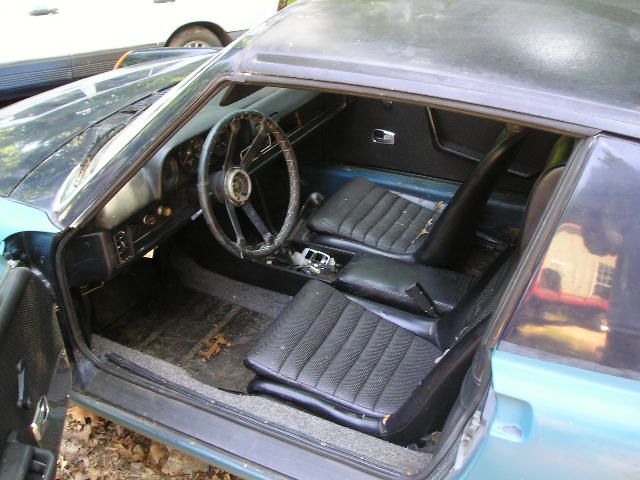 The rear floor pan is shot and I knew that before I bought the car. The previous owner patched the floor at some point and installed three new seat brackets over the bad metal. (IMG:style_emoticons/default/dry.gif) I ordered a new floor pan and a fourth seat bracket from AA today. 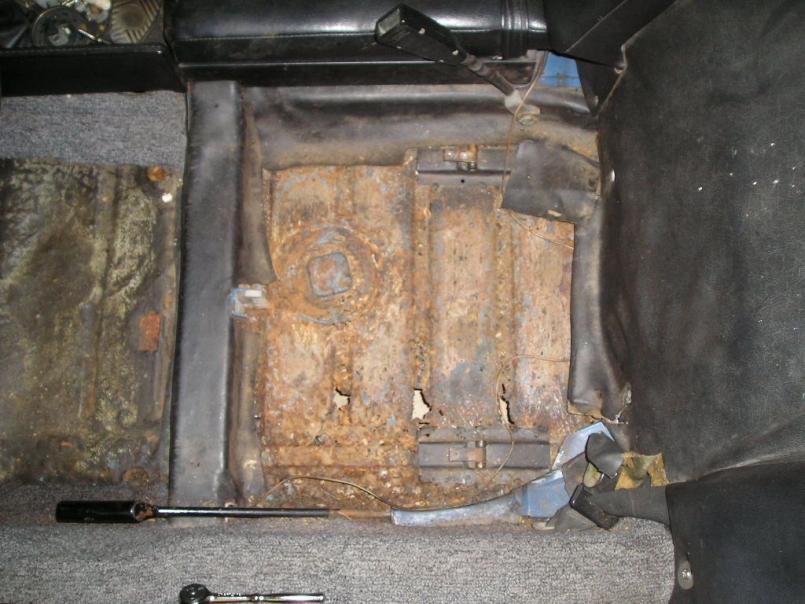 |
   |

 
|
  |
Replies(1 - 19)
| dlee6204 |
Apr 30 2009, 05:57 PM
Post
#2
|
|
Howdy Group: Members Posts: 2,162 Joined: 30-April 06 From: Burnsville, NC Member No.: 5,956 |
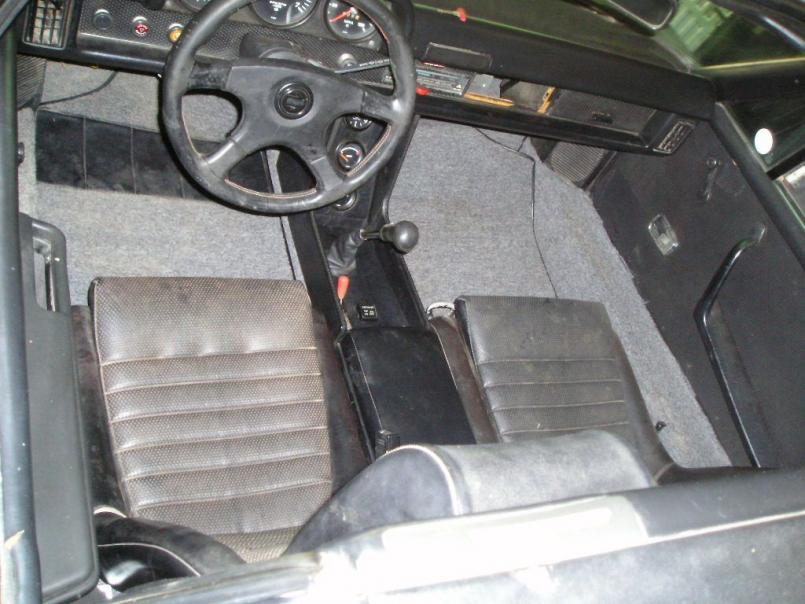
I couldn't help myself but see what it would look like with a nicer interior (IMG:style_emoticons/default/biggrin.gif)
 |
|
|
|
| dlee6204 |
Apr 30 2009, 06:08 PM
Post
#3
|
|
Howdy Group: Members Posts: 2,162 Joined: 30-April 06 From: Burnsville, NC Member No.: 5,956 |
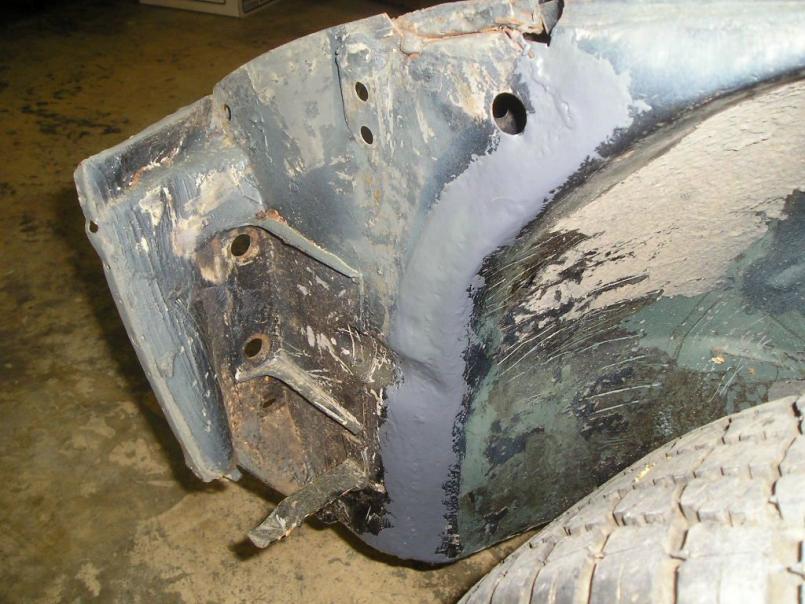
The first thing I started working on was the horrible repair on the driver's front corner. As you can see in the pictures, the corner was merely held on by a few pop rivets and a small bead of weld in the front. It took all off 10 minutes to remove. (IMG:style_emoticons/default/dry.gif)
Here is one of the nice joints 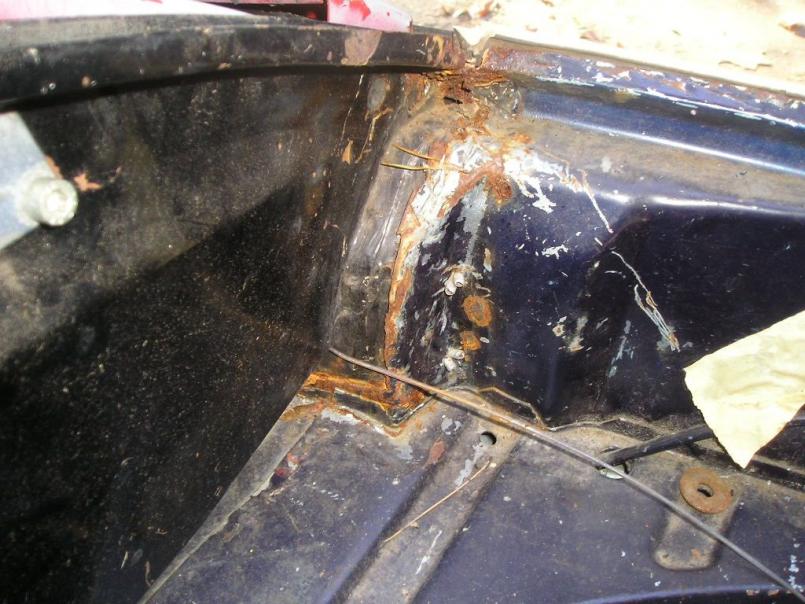 This is the inner fender-well where the replacement panel overlaps 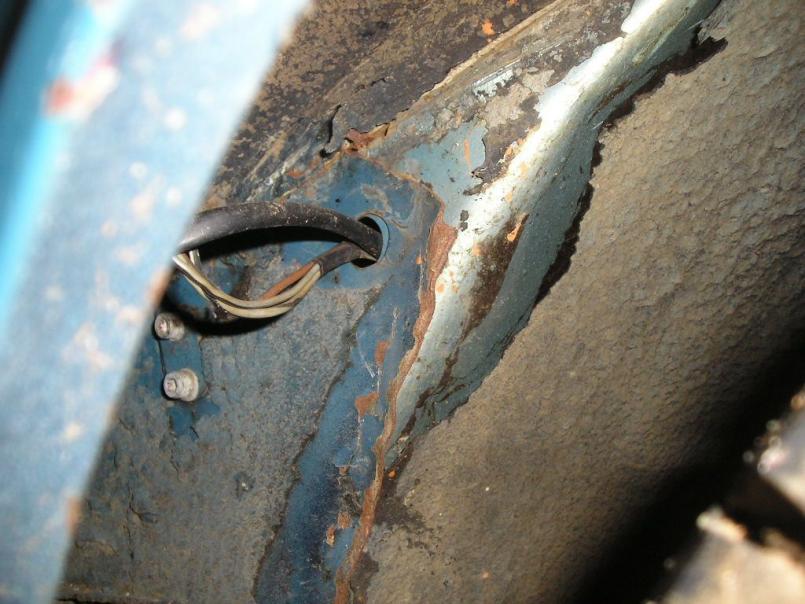 And the water-tight seal at the bottom 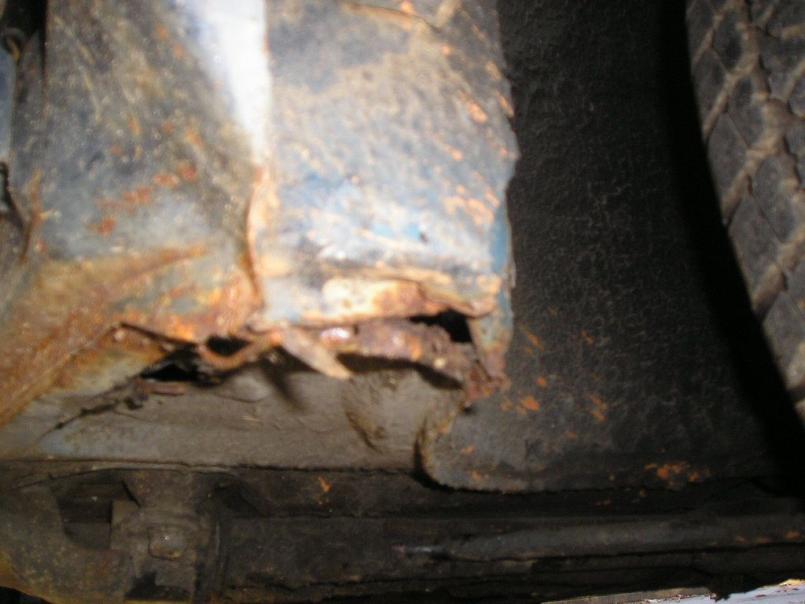 |
|
|
|
| dlee6204 |
Apr 30 2009, 06:16 PM
Post
#4
|
|
Howdy Group: Members Posts: 2,162 Joined: 30-April 06 From: Burnsville, NC Member No.: 5,956 |
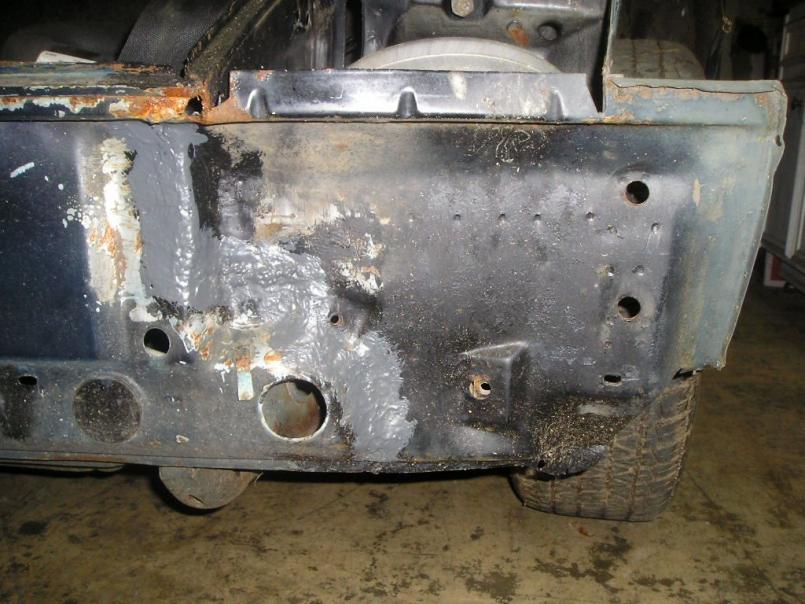
Here is a picture from the front
 A little bit of this and a little bit of that and it was out 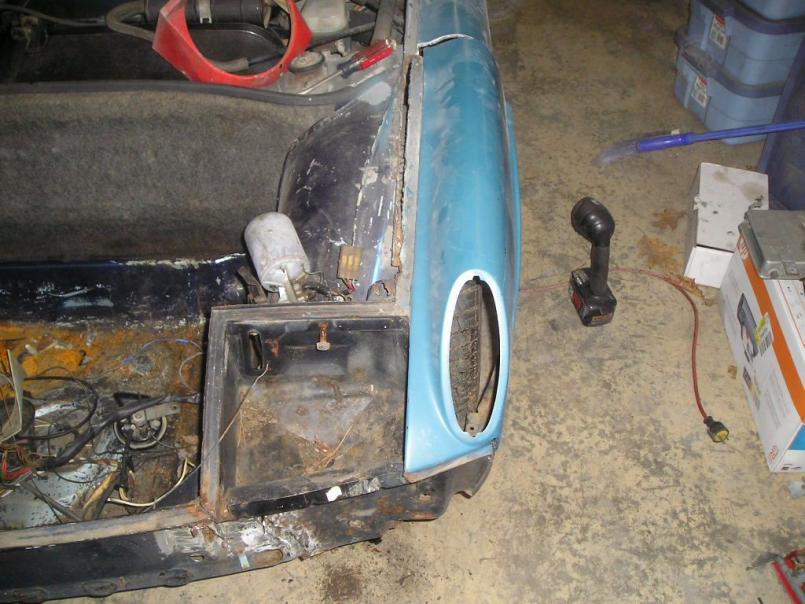  |
|
|
|
| dlee6204 |
Apr 30 2009, 06:25 PM
Post
#5
|
|
Howdy Group: Members Posts: 2,162 Joined: 30-April 06 From: Burnsville, NC Member No.: 5,956 |
I did some trimming and here is the replacement piece in mock-up
 I then welded up all the seams and covered it with rust encapsulator and then some seam sealer. 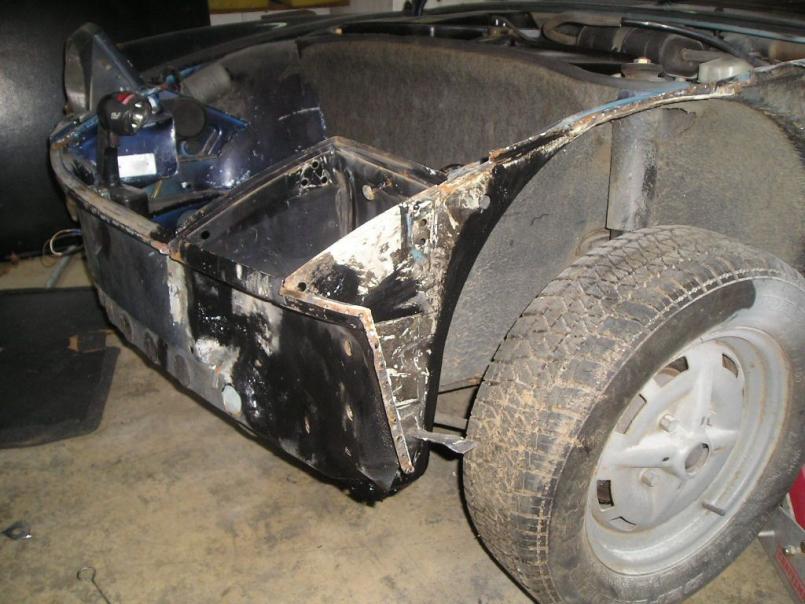 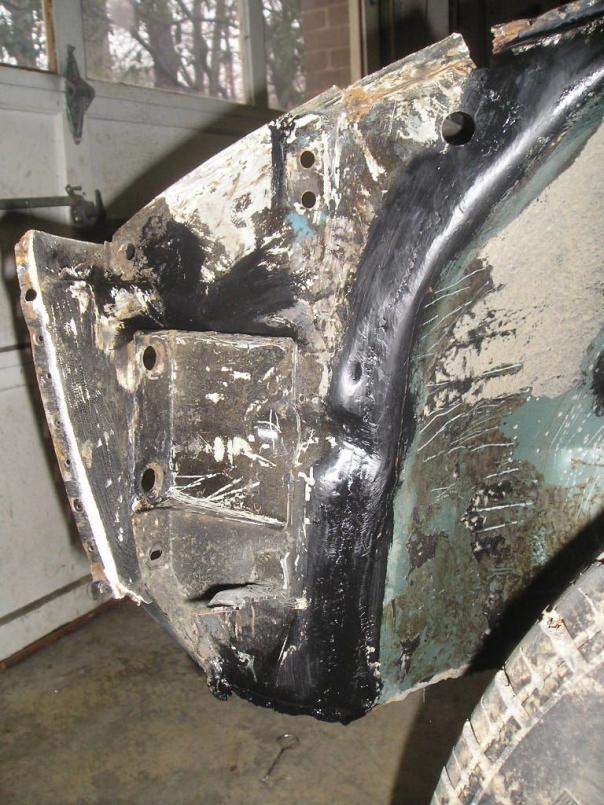 |
|
|
|
| dlee6204 |
Apr 30 2009, 06:35 PM
Post
#6
|
|
Howdy Group: Members Posts: 2,162 Joined: 30-April 06 From: Burnsville, NC Member No.: 5,956 |
  Now I just need to get a replacement fender from someone who is cutting up a car and that repair can be checked off the list! (IMG:style_emoticons/default/smile.gif) |
|
|
|
| dlee6204 |
Apr 30 2009, 07:04 PM
Post
#7
|
|
Howdy Group: Members Posts: 2,162 Joined: 30-April 06 From: Burnsville, NC Member No.: 5,956 |
So on Monday I drove back from college in Michigan and early Tuesday morning I was taking the engine out. (IMG:style_emoticons/default/smash.gif) (IMG:style_emoticons/default/smash.gif) (IMG:style_emoticons/default/smash.gif)
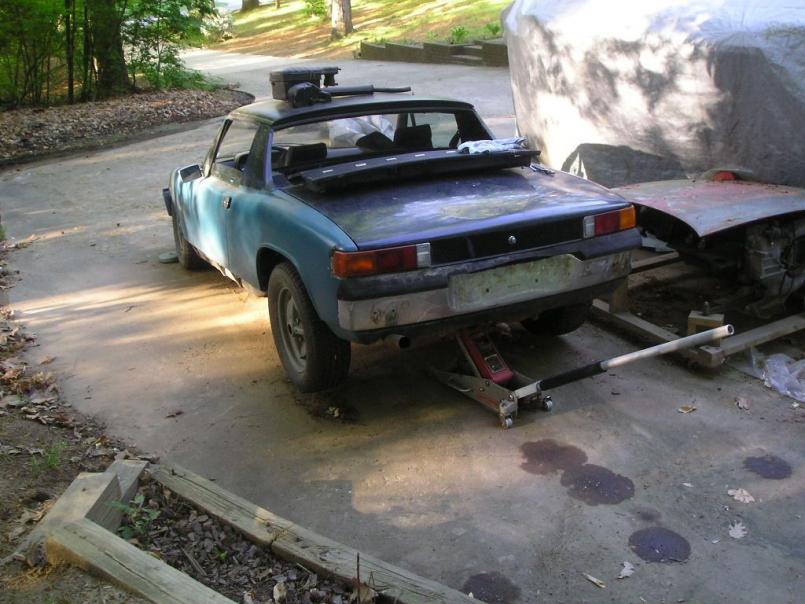 There is another 914 on a rotisserie hiding under the gray tarp 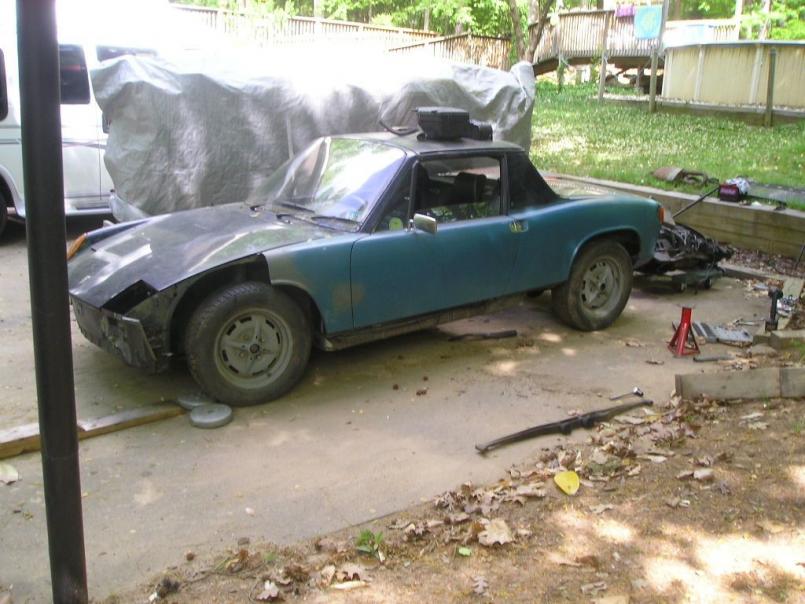 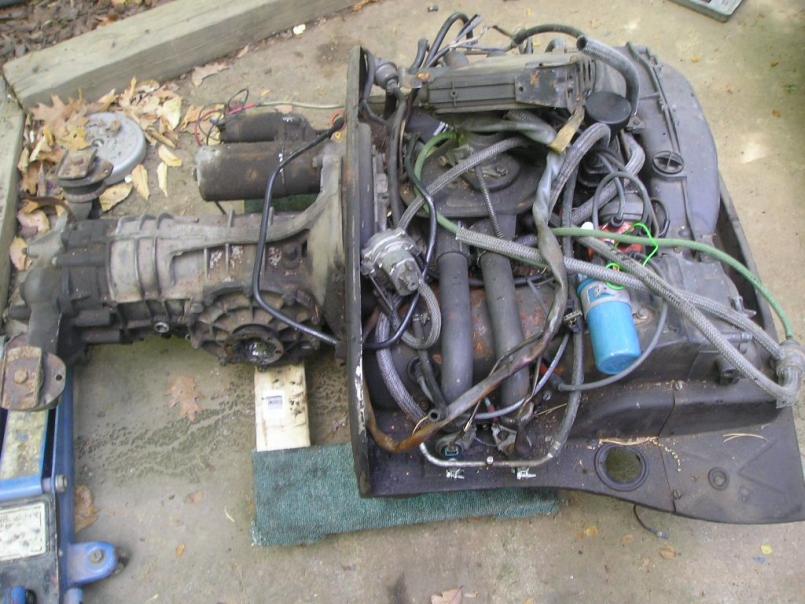 |
|
|
|
| dlee6204 |
Apr 30 2009, 07:13 PM
Post
#8
|
|
Howdy Group: Members Posts: 2,162 Joined: 30-April 06 From: Burnsville, NC Member No.: 5,956 |
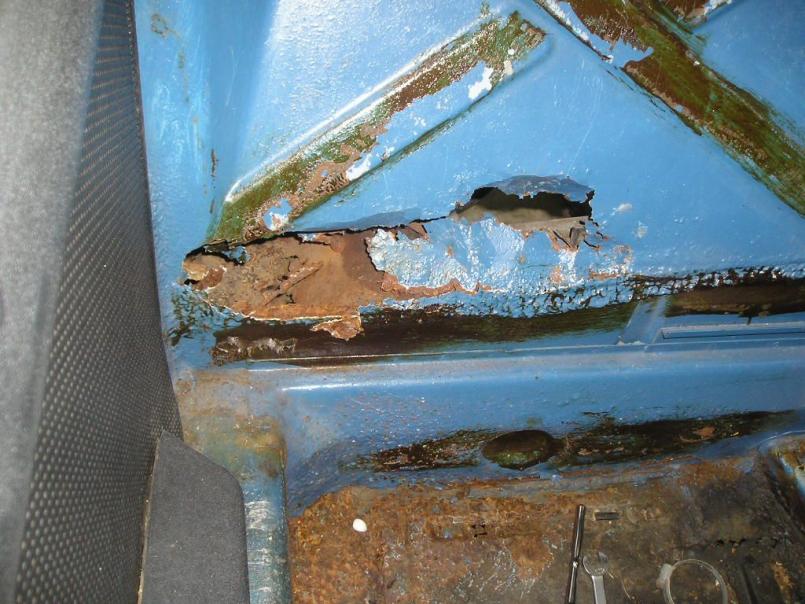
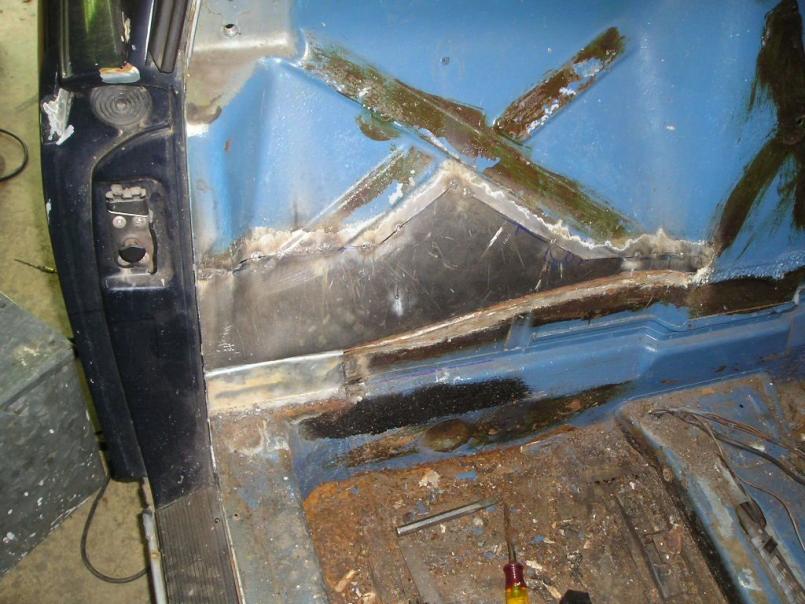
My next step was to strip the interior and work on rust in the firewall. I went ahead and punched out all the paper thin metal. It left me with some pretty big holes but nothing a metalworking cant fix. (IMG:style_emoticons/default/sawzall-smiley.gif) (IMG:style_emoticons/default/smash.gif) (IMG:style_emoticons/default/welder.gif)
   |
|
|
|
| dlee6204 |
Apr 30 2009, 07:21 PM
Post
#9
|
|
Howdy Group: Members Posts: 2,162 Joined: 30-April 06 From: Burnsville, NC Member No.: 5,956 |
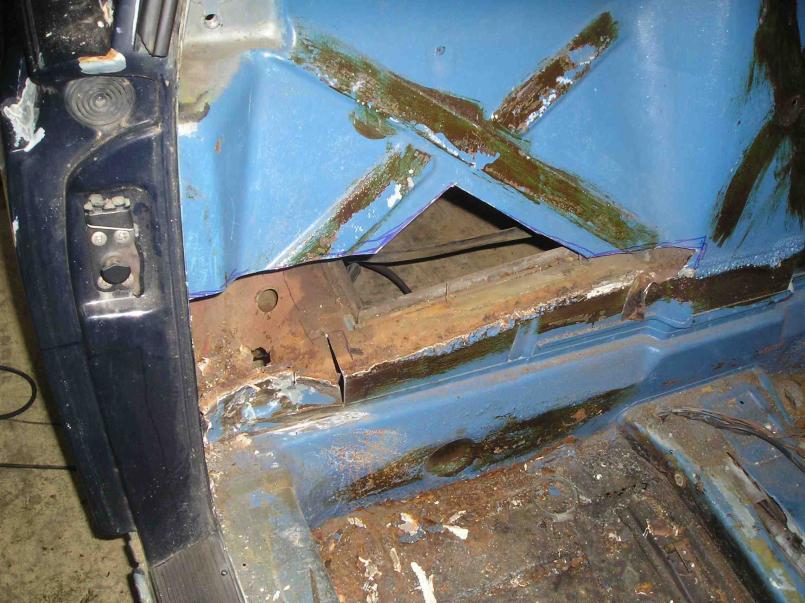
Tonight I went ahead and started trimming some before making a panel to replace it.
 I also took the valve covers off the engine to find a really clean head (IMG:style_emoticons/default/unsure.gif) . I'm kind of anxious to see what the insides of the motor look like. 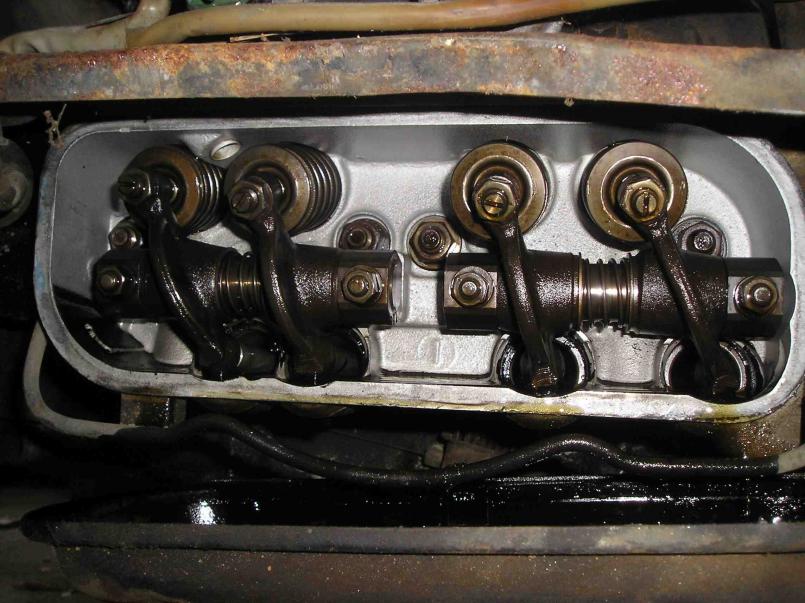 |
|
|
|
| dlee6204 |
Apr 30 2009, 07:25 PM
Post
#10
|
|
Howdy Group: Members Posts: 2,162 Joined: 30-April 06 From: Burnsville, NC Member No.: 5,956 |
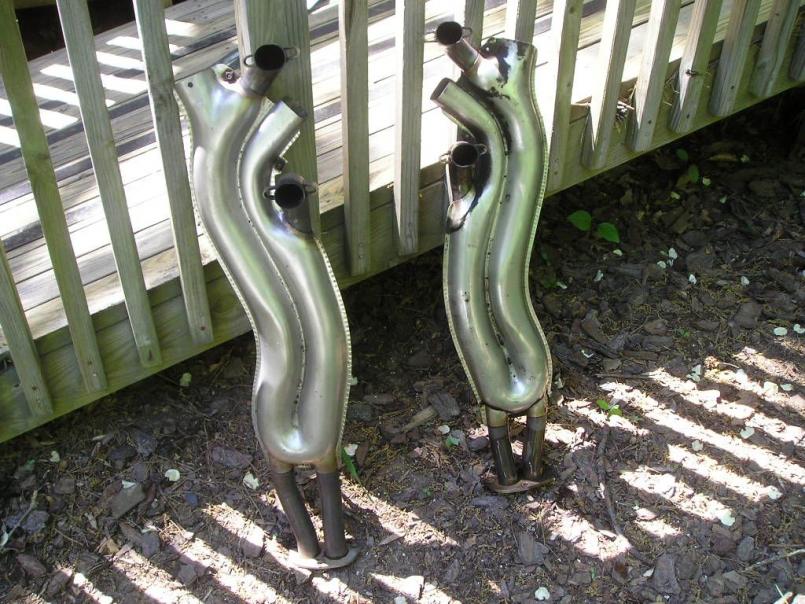
And the last one for the night. I took the heat exchangers off the motor before dropping it and it turns out they there isn't even so much a scratch on them and are practically brand new. (IMG:style_emoticons/default/w00t.gif) There is still a little bit of dirt/greese caked on them in the picture. More progress to come tomorrow!
 |
|
|
|
| my928s4 |
Apr 30 2009, 08:14 PM
Post
#11
|
|
Member Group: Members Posts: 349 Joined: 18-August 07 From: Spokane, WA Member No.: 8,018 Region Association: Pacific Northwest |
You got your work cut out there! Looking good though, keep up the good work !
|
|
|
|
| dlee6204 |
May 12 2009, 09:58 PM
Post
#12
|
|
Howdy Group: Members Posts: 2,162 Joined: 30-April 06 From: Burnsville, NC Member No.: 5,956 |
I was able to get some more work done. This last week has been extremely busy so I have just been trying to work on it when I can.
I cut out all the bad stuff and then I welded in the first piece. 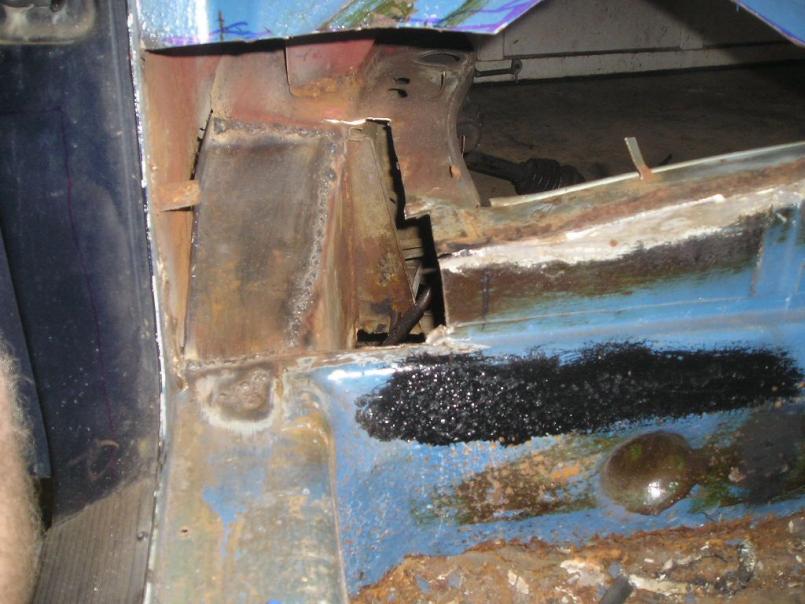 Here is the piece I made to cover up the engine shelf. It came out better than expected. 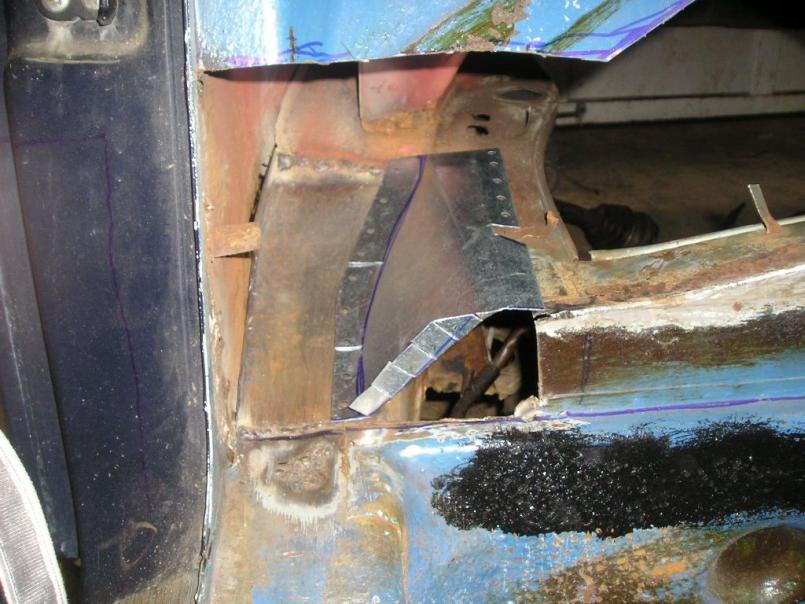 And the third piece went in 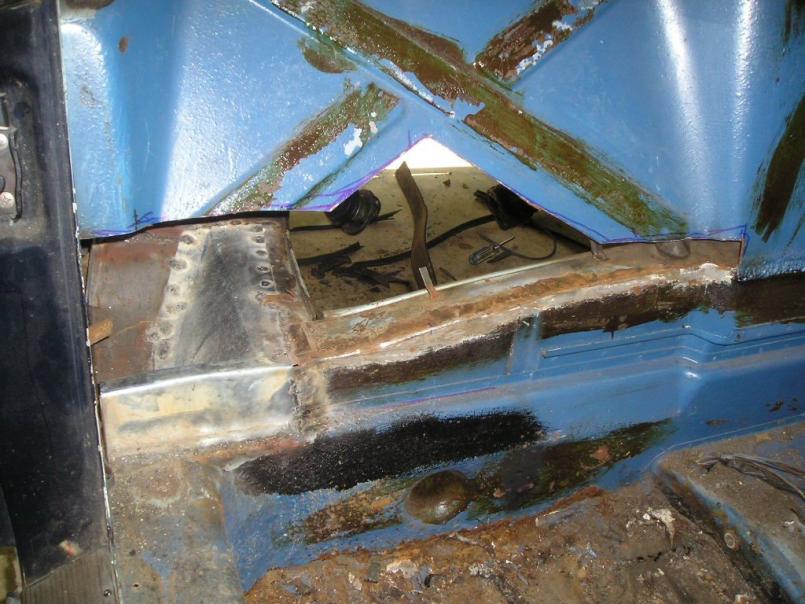 |
|
|
|
| dlee6204 |
May 12 2009, 10:06 PM
Post
#13
|
|
Howdy Group: Members Posts: 2,162 Joined: 30-April 06 From: Burnsville, NC Member No.: 5,956 |
And finally the big piece was tacked in today. It took quite a bit more time making this piece but I think it came out fairly nice.
 Back side... 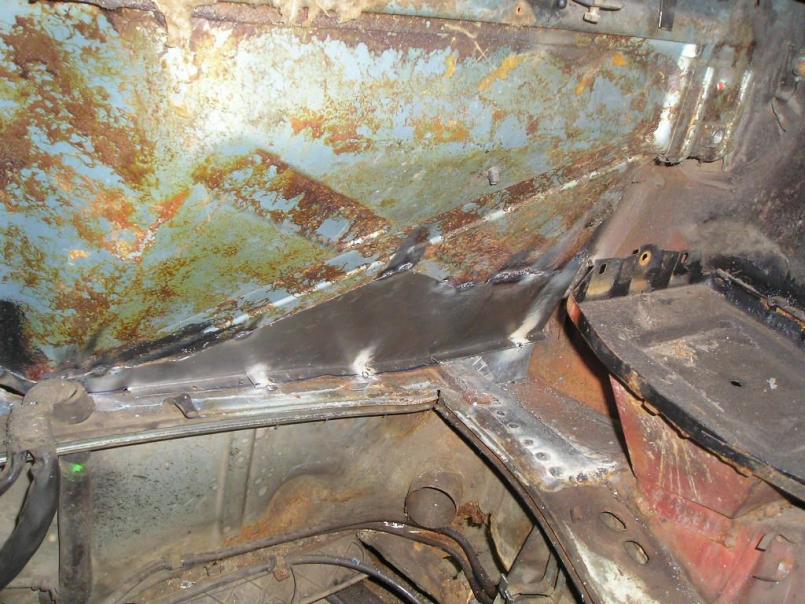 Oh and I also received my replacement floorpan and seat mount from AA last week so I can't wait for that to go in. (IMG:style_emoticons/default/piratenanner.gif) I also bought a driver's side fender which should be coming in the mail within the next week. Once I receive that, I will put it on the car. 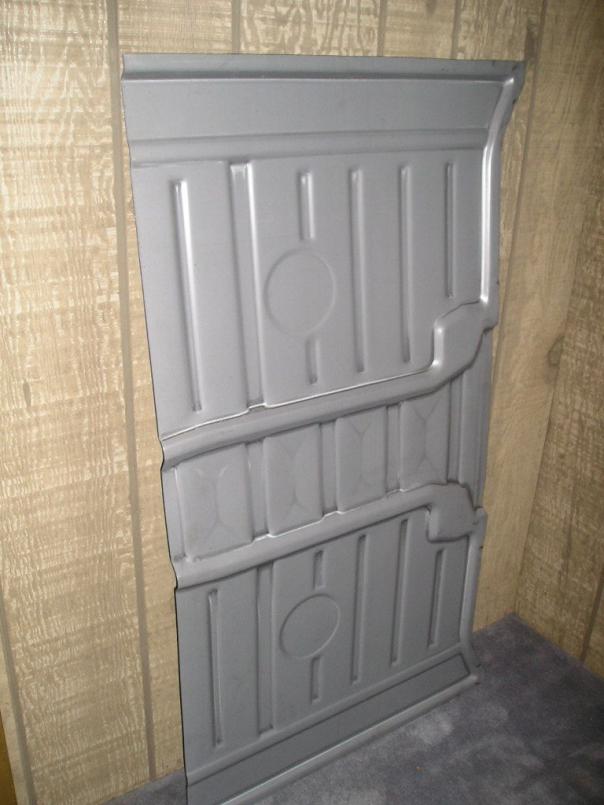 |
|
|
|
| dlee6204 |
May 12 2009, 10:13 PM
Post
#14
|
|
Howdy Group: Members Posts: 2,162 Joined: 30-April 06 From: Burnsville, NC Member No.: 5,956 |
Oh and I also worked on our 62 Bug. I had to replace a broken exhaust stud. Talk about a pain. I finished putting her back together this morning and now she runs like a top.
 That's all the 914 progress for now. I'll be traveling the next week so hopefully after that I will have plenty of time to work on the car again. (IMG:style_emoticons/default/smash.gif) |
|
|
|
| jcambo7 |
May 13 2009, 10:39 AM
Post
#15
|
|
Senior Member Group: Members Posts: 1,664 Joined: 24-December 08 From: Graham, WA Member No.: 9,867 Region Association: Pacific Northwest |
Looking great... (IMG:style_emoticons/default/popcorn[1].gif)
|
|
|
|
| dlee6204 |
May 27 2009, 04:27 PM
Post
#16
|
|
Howdy Group: Members Posts: 2,162 Joined: 30-April 06 From: Burnsville, NC Member No.: 5,956 |
I got some more work done this past week. I am done with traveling for a while so I will have more time to work on the car. (IMG:style_emoticons/default/smash.gif) I started repairing the driver's side fire wall. It pretty much had the same rust as on the passenger side so the repair was the same.
This is what I had to work with after all the bad stuff was cut out. 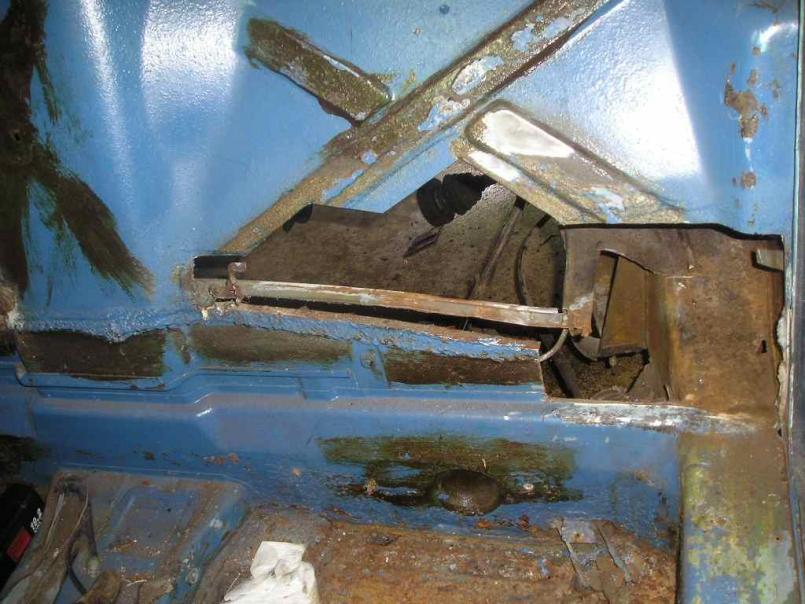 Here are the first two pieces welded in 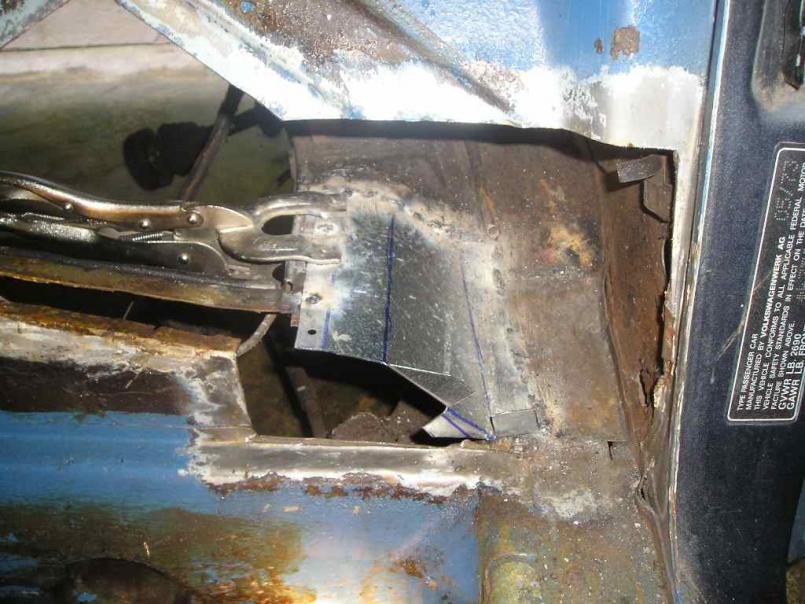 and the third piece 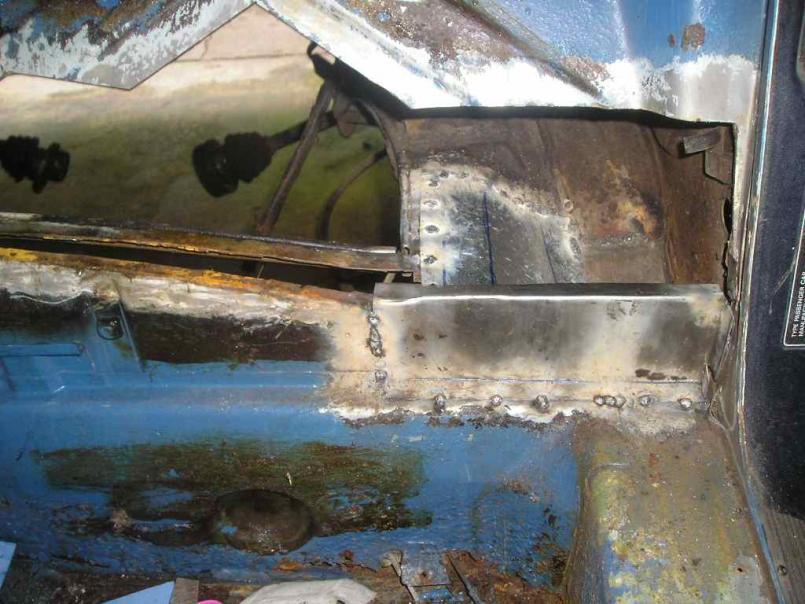 Shot from the back  Hopefully I will get the big piece in tomorrow. In the last picture you can see some rust in the side wall and I will take care of that when I cut off a portion of the rear fender. I need to do this anyway to access some rust in the long. |
|
|
|
| dlee6204 |
May 27 2009, 04:36 PM
Post
#17
|
|
Howdy Group: Members Posts: 2,162 Joined: 30-April 06 From: Burnsville, NC Member No.: 5,956 |
I also bought a portion of the front fender from a member on here and so I tacked it on.
Before trimming 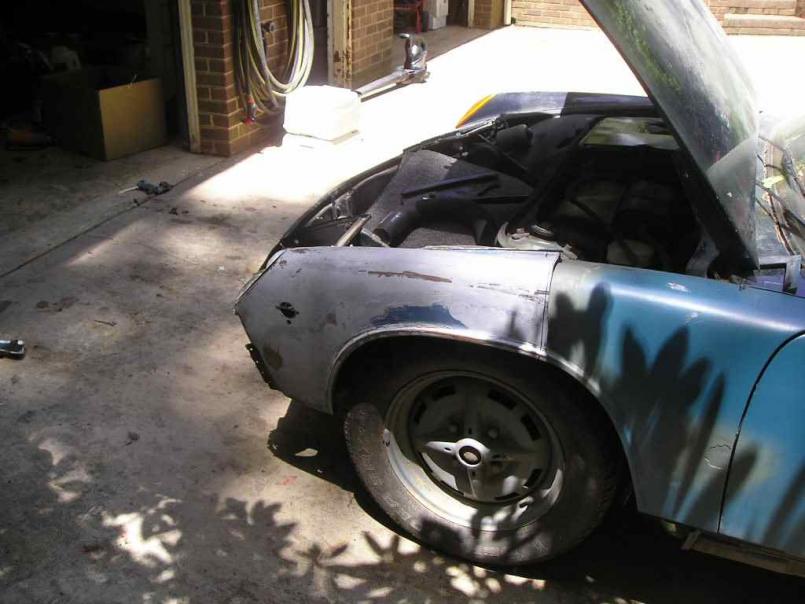 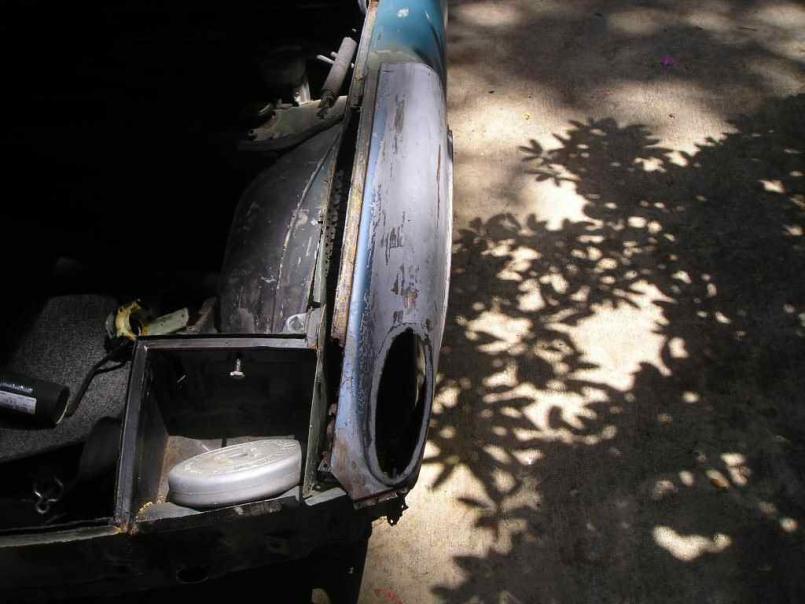 After trimming and tacked on 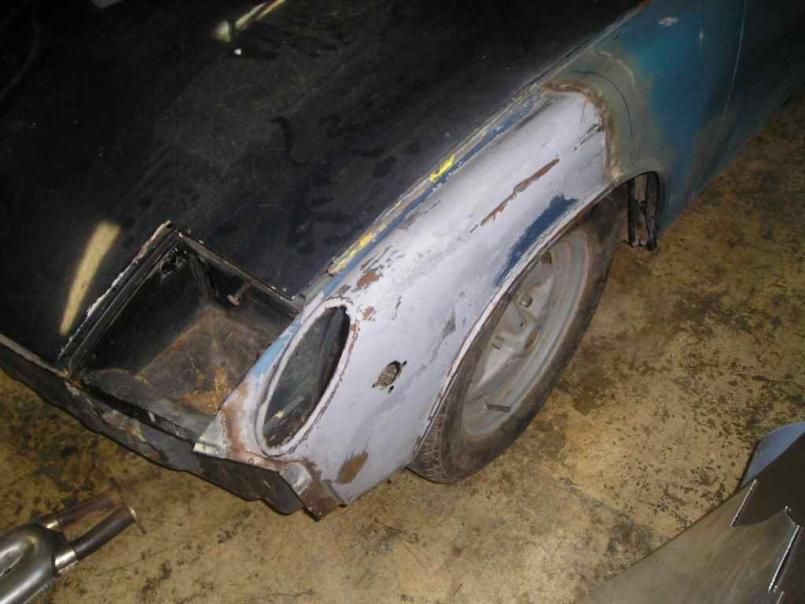 |
|
|
|
| dlee6204 |
Jun 1 2009, 08:36 PM
Post
#18
|
|
Howdy Group: Members Posts: 2,162 Joined: 30-April 06 From: Burnsville, NC Member No.: 5,956 |
Well I got a lot done today. I had a friend come over and help me so we did a lot. I got the driver's side repair piece in and I finished up welding in both sides. I started to tear into the driver's side long and jackpoint. I also started to tear down the engine and clean it.
Here is the piece after a first few welds 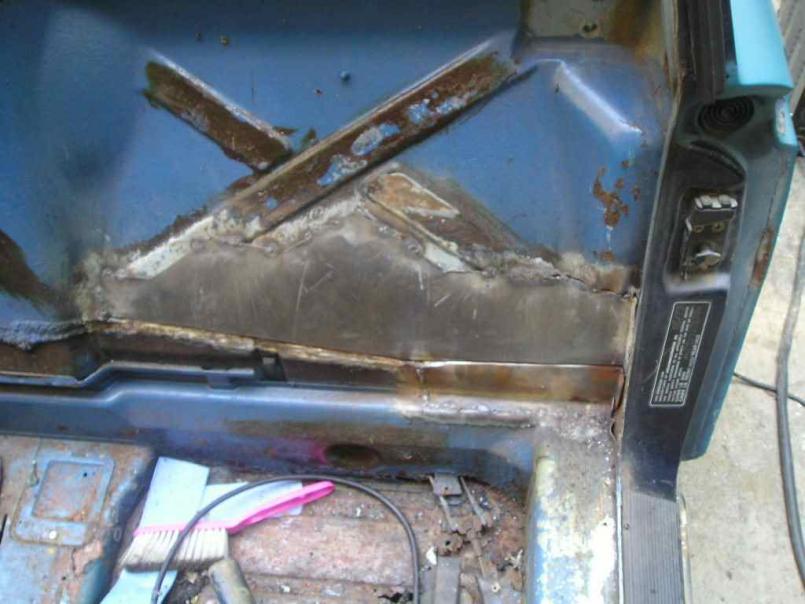 After I finished up both sides and coated them  The engine in pieces 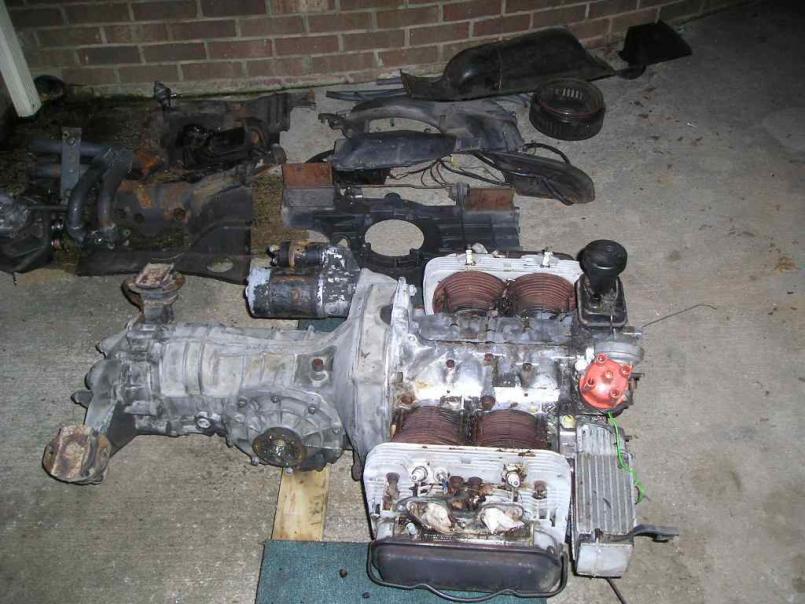 More fun  |
|
|
|
| dlee6204 |
Jun 8 2009, 11:01 AM
Post
#19
|
|
Howdy Group: Members Posts: 2,162 Joined: 30-April 06 From: Burnsville, NC Member No.: 5,956 |
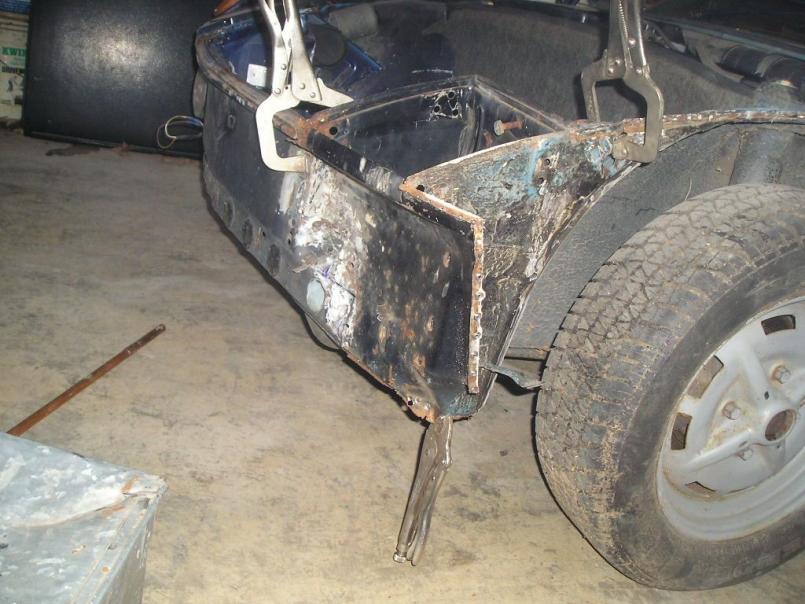
So here is what the driver's side jackpoint looked like before. Doesn't seem that bad right?
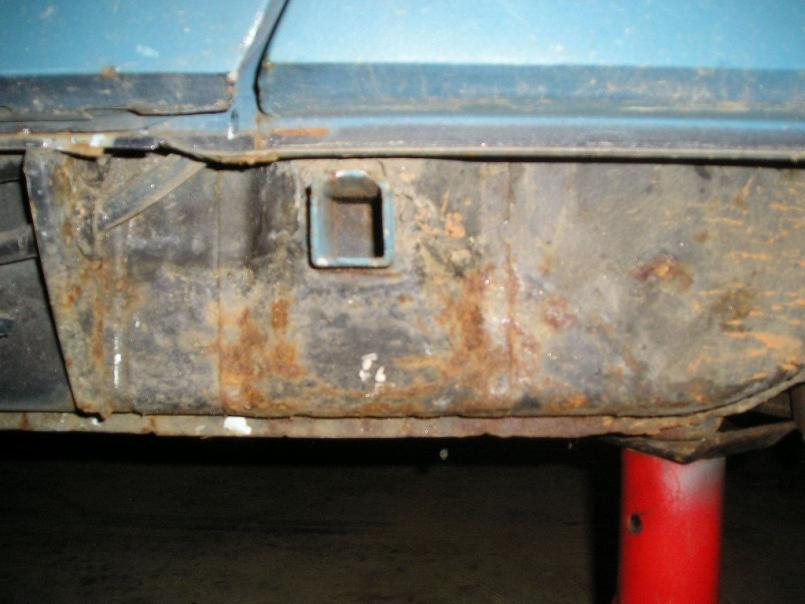 Here is all the rust exposed 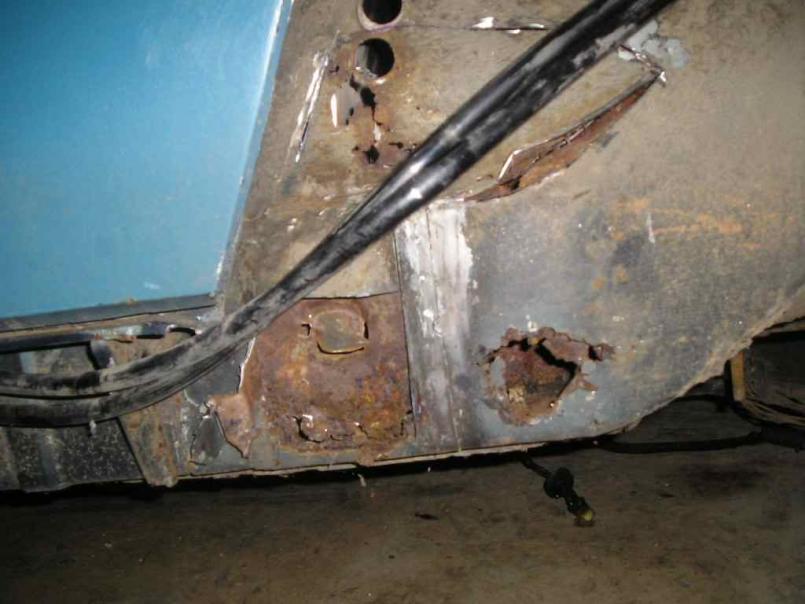 And then after a little handy work  And finally with the fender tacked in place. 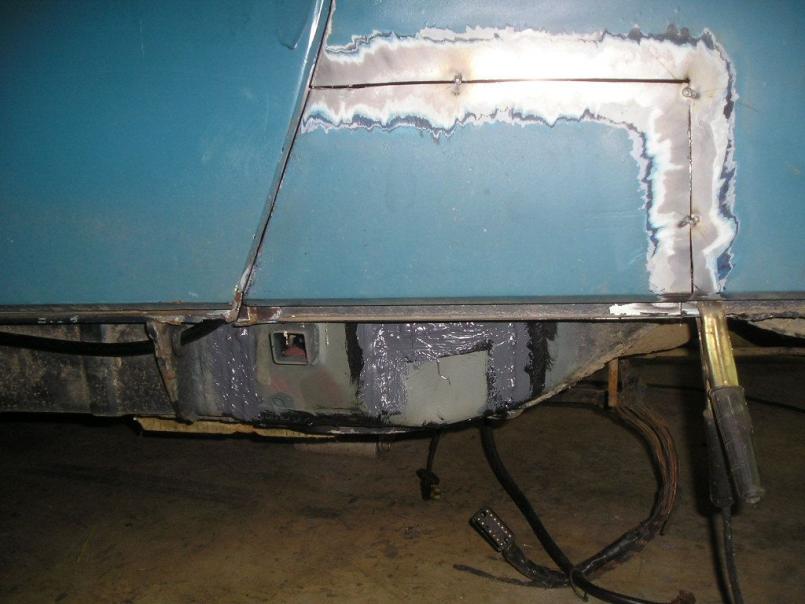 And one more for the road 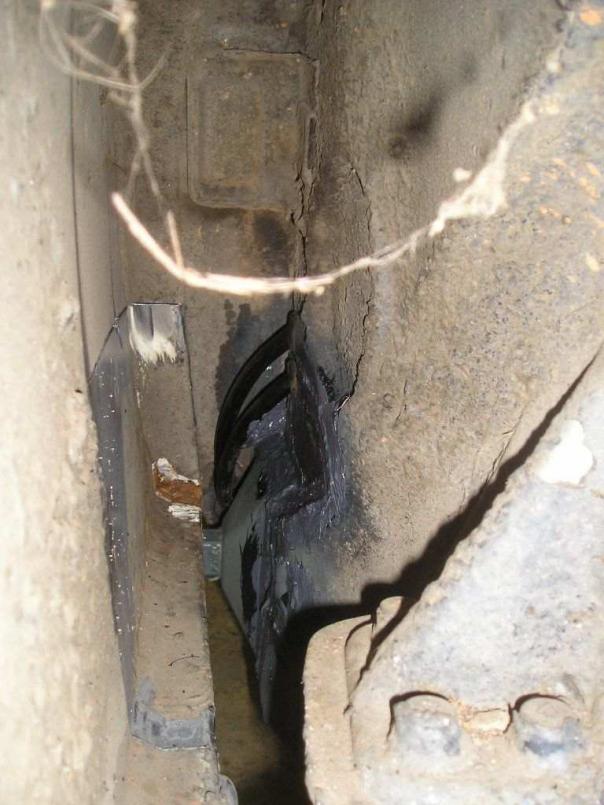 |
|
|
|
| dlee6204 |
Jun 8 2009, 11:18 PM
Post
#20
|
|
Howdy Group: Members Posts: 2,162 Joined: 30-April 06 From: Burnsville, NC Member No.: 5,956 |
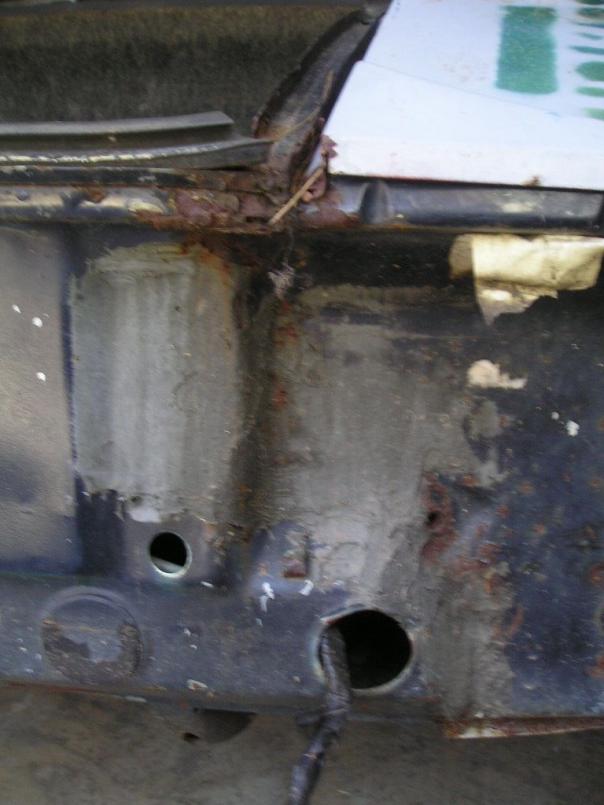
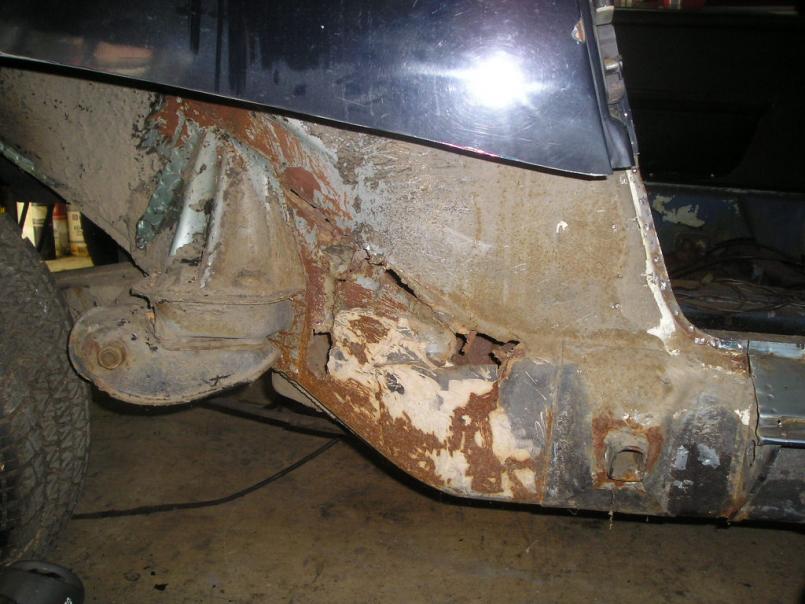
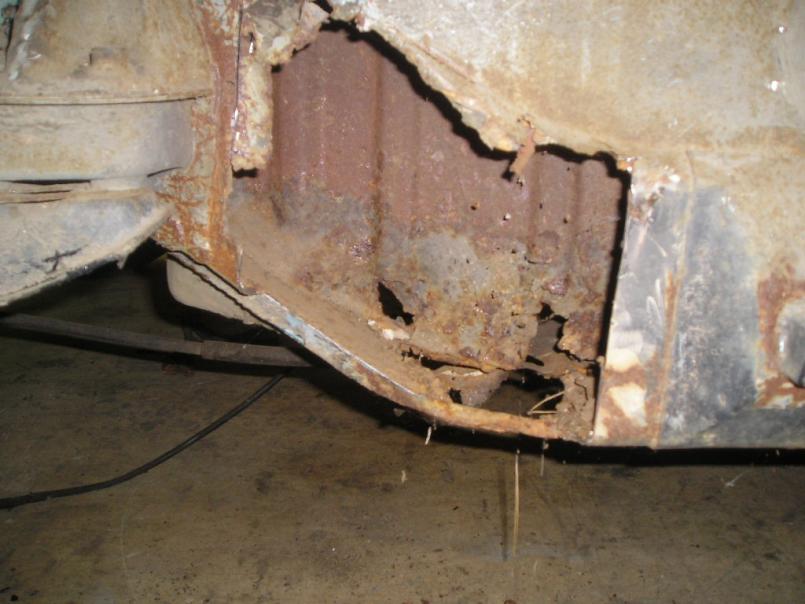
And now on to the other side. I bought a lower wheelhouse replacement piece that will go in. I will end up having to remove the outer suspension mount which shouldn't be a problem. It will just mean more work to do. (IMG:style_emoticons/default/smash.gif) Here is what I have to work with. At some point, one of the previous owners tacked a patch panel over the area and then covered it in bondo. So much good that did.
  |
|
|
|
|
2 User(s) are reading this topic (2 Guests and 0 Anonymous Users)
0 Members:

|
Lo-Fi Version | Time is now: 30th April 2024 - 10:55 AM |
Invision Power Board
v9.1.4 © 2024 IPS, Inc.