|
|
|
Porsche, and the Porsche crest are registered trademarks of Dr. Ing. h.c. F. Porsche AG.
This site is not affiliated with Porsche in any way. Its only purpose is to provide an online forum for car enthusiasts. All other trademarks are property of their respective owners. |
|
|

  |

| Cheapsnake |
 Jul 28 2009, 09:38 AM Jul 28 2009, 09:38 AM
Post
#1
|
|
Member  Group: Members Posts: 419 Joined: 15-November 07 From: Door County, WI Member No.: 8,341 |
This is actually an update to my Feb. 16 progress threadFeb. 16 Progress but, for some reason the board wouldn't let me add pics to that thread so here goes.
Just to refresh, this is a 73 2.0 conversion to a Rover 3.5L V8. It had all the typical rust issues, which are now 98% resolved. Replaced the front trunk pan and the long's and repaired/stiffened the cabin floor and rear trunk. Anything left is pretty much cosmetic stuff and easily accessible. I finally got to do some fun stuff with the installation of the radiator and associated plumbing. 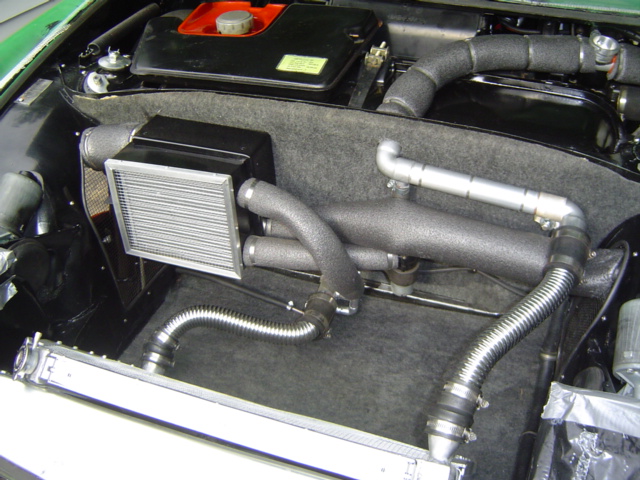 The radiator installation is a piece of cake - getting hoses to it is the real challenge with the fuel tank right in the way of the ideal route. I did find just enough room behind and under the tank for 1 1/4" Gates Green Stripe hose for the supply line and over the tank for the return. The black box you see on the passenger side is my heater core/fan unit. The core is from a Taurus and the fan is a fresh air blower out of my parts car. It's all cobbled together by a sheetmetal enclosure. I plumbed in an intercooler pump out of a Mercedes to control heater flow. Hopefully, I'll control it with a rheostat. The big fat tube running across to the driver's side is the warm air duct, with an identical one running to the passenger side up to the stock air control valves. A much simpler approach for heat would have been to simply locate the unit in the cabin to eliminate the need for ducting but I wanted to keep that space as clean as possible. As it was, getting the warm air from the front trunk to the cabin was a huge job, since about the only place to run ducting is through the wheel well. 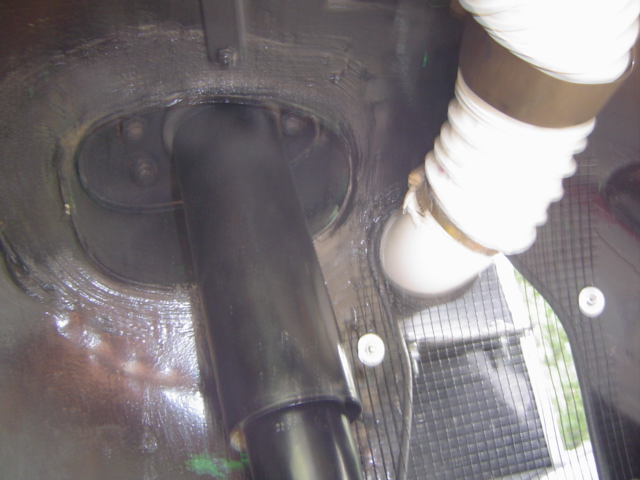 Not the ideal solution, but one that i hope will work without getting ripped out by my tires. We'll see. I decided that the ideal run for the water lines is through the long's and the existing air ducts. Not an easy fit but they do go through with a lot of patience and a bit of grease. In order to aid cooling just a bit I poked holes (covered by screen to keep dirt out) in the wheel wells at the forward end of the long'l cavities to allow for air flow with similar exit holes at the rear. 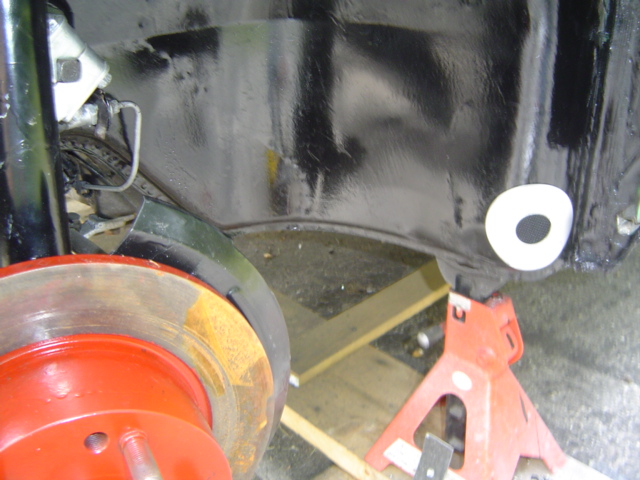 I don't know how much cooling I'll get from this but an added benefit was that I was able to gain access through those holes to clean out any remaining rust and hit the interior with a good coat of rust converter. Next, I move the back and box up my trailing arms and finish my 5 bolt conversion. I'm still pulling the final few pieces together for my engine build, which will be my winter project. Anybody got a Rover 3.5/Buick 215 harmonic balancer laying around? Shooting for a finish by next June, but right now, there's too much summer and not enough time. Tom |
   |

 
|
|
1 User(s) are reading this topic (1 Guests and 0 Anonymous Users)
0 Members:

|
Lo-Fi Version | Time is now: 17th May 2024 - 03:34 PM |
Invision Power Board
v9.1.4 © 2024 IPS, Inc.