This method does not use more than common tools around.
TRY TRY TRY to use the same brand hose as fittings, I have broken out the dial caliper and found that yes, this stuff can vary as can the insides of the fittings. You usually find this out on a holiday weekend such as Easter when you have access to limited resources and require something runnning again by Monday. Mr. Gasket, Earls, Aeroquip, etc. It is not 100% the same! Some may be easier to get into others, some chamfering may allow a good fit, and certainly good enough for anything fuel, coolant or oil related. I would not trust mismatched hose and ends for hydraulic clutch or brake lines. This is some real pressure here. A few thousandths will make your life hell putting this stuff together, so instead of saving 15$, consider that 15$ the cost of not spending hours and wasting hose/dremel consumables. A few thousandths may end your life if you dick around on your hydraulics with mismatched bits.
Mr Gasket brand fittings are undersized at the internal diameter vs a lot of other brands, again I broke out the dial caliper and compared them to Aeroquip Russel and others. All this was done on -6, since I have a bunch of that around now, and quite a few fittings.
Things to do and tools needed when cutting this stuff:
Good dust mask, and eye protection 100% required. Do you want stainless wire fragments in your eye? No Beavis, do not be a dumbass. This is serious shit, you have a fiber wheel rotating at 10k or so shooting stainless steel wire fragments at you. Wear a thick sweater and thick pants, I also reccomend good gloves that are kevlar reinforced, such as occunomix or something like that that police use to prevent junkie needle sticks. Your hands will thank you for spending that 25$ or so. A dial caliper is good as well to measure your sanity and show you no you are not nuts, these are not 100% the same. I just measured a .005 difference between a Mr Gasket end and a good aeroquip end. Your mileage may vary. I measured another Mr Gasket end yesterday that was a little bit different, variance and cheapness.
1. Use a VERY high quality sticky electrical tape, and wrap it evenly and VERY tight as well as precisely straight when you wrap an area to be cut. I typically go about 3-4mm thick and you can still see the stainless flex pattern through all the tape with how tight it is wrapped.
2. Use a dremel tool with a fiber reinforced cut off wheel. DO NOT cut through the entire rubber hose, you heat up the rubber and it breaks the slight bond it has with the stainless steel flex. Hold the hose straight with your left hand and the dremel with your right hand, at a slight angle like so
______ \ <--- crude representation of wheel vs hose
this way you sort of chamer the ends, so that the hose does not fray as much when it does, because it will fray some no matter what.
I do this on my lap because it is easy to control and get perfect. let the dremel go at the front side of the hose facing your abdomen, and let it walk up lightly. Once you get near through the steel, walk it up more to create a good groove before you go all the way through. Rotate the hose and repeat along your tape line. Remember you start cutting the rubber to long, it heats up and the fraying is much worse once the tape comes off ruining effort and work.
Once you slice through the stainless mesh, use a knife or sharp razor to cut through the rubber. Different lining, YMMV again.
3. Remove the tape, and again, take the dremel at that angle and chamfer the mesh again, because now you will see slight ends that can make your life hell. All it takes is a few of these not jiving with you and you are peeling it back, and starting at square 1 making yet another cut on this hose and wasting more tape.
Rotate the hose around and inspect closely, be that anal. Make sure it is 100% flat and flush also. Use the dremel to touch it up if need be. Your life or someone elses life may depend on this hose on a track, so treat it as such. Do not be "That Guy" ™
4. Install the nut over the hose end. Lubricate the stainless end with a little bit of whatever the hose will carry, or if you are gross like me just use spit, it's enough to allow the stainless mesh to slip a little. Whatever works here and is not damaging, or incompatible with the fluid you will carry. As you go to slip it in while holding the nut in your left hand compress the mesh and hose inbetween your fingers to ensure the mesh and hose all get into the nut, and begin to push and twist clockwise. This takes a lot of force. Once this is complete, drizzle a little bit of fluid into the end to lubricate the liner.
4.5 LUBRICATE LUBRICATE LUBRICATE. Yeah, I know, insert sex analogy here, seriously though. Very important.
5. Completing an end. Before screwing it together, dip the end in the fluid of choice, to lubricate it. You will be sorry if you do not, you can split the lining internally and all around just fuck up a nice job you just did on your hoses, and waste money/time.
I skipped lubrication and not only was it hell to tighten basically mangling a connector, and the force to tighten makes that pretty anodized finish not so pretty. Now once I took it apart for inspection after, the hose inside was a mess. Definitely not kosher. Remember, be Gallant not Goofus.
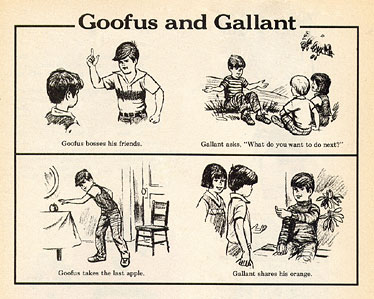
Gallant woo's the ladies, takes them out, respects them and has awesome easy going sexy times. Goofus is aggressive, attempts to slip them roofies and forces himself on "the skirts". There is something about lubrication to be said somewhere in here, I leave it up to you folks to imagine.
Fit an end complete, and tighten that down wherever, then kink/bend and guide your hose to where it needs to be, marking where it has to be cut. Be sure to factor in the depth of your
hose end as well into this marking/measurement of your cut. Mark it, and put the tape behind the cut towards the good end already there, just in case you have to step away and wonder "Son of a bitch, was the tape before or after the cut?"
Not that I have ever done that then spent 2 hours putting a line back in because I was dumb.
Repeat.
Call me insane, I like using good quality teflon tape on the threads of junctions as well, be sure not to let the tape interfere with the angle or seat area of anything, make sure it is ONLY on the threads, to ensure a 100% proper seal against liquids and gasses.
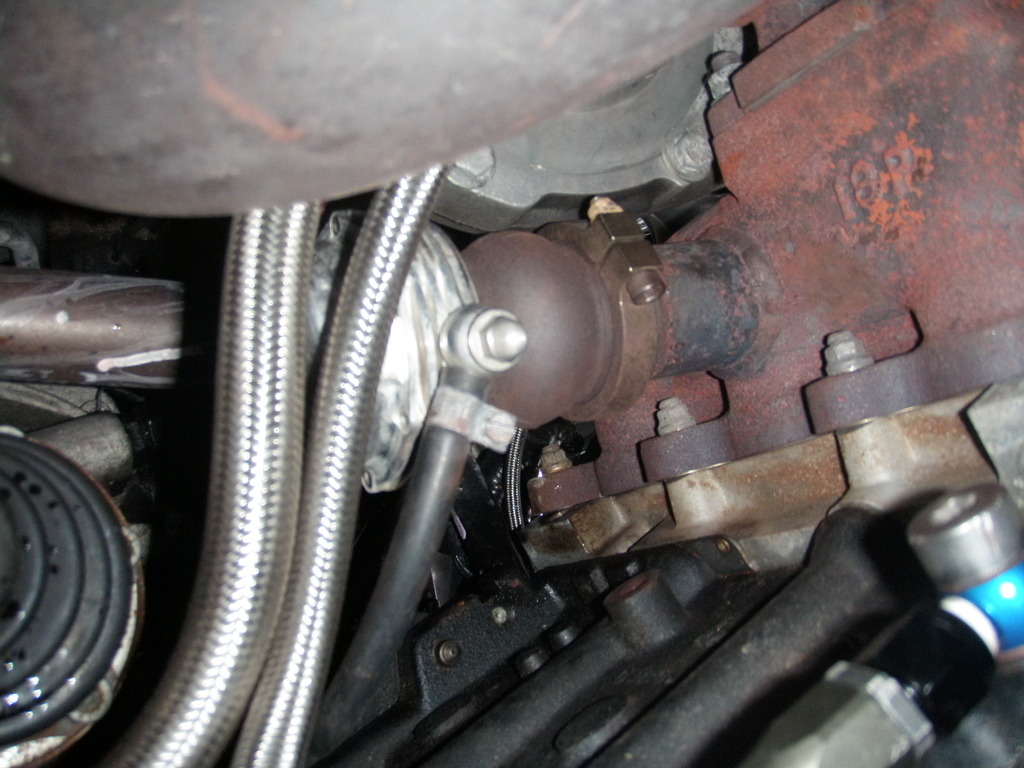
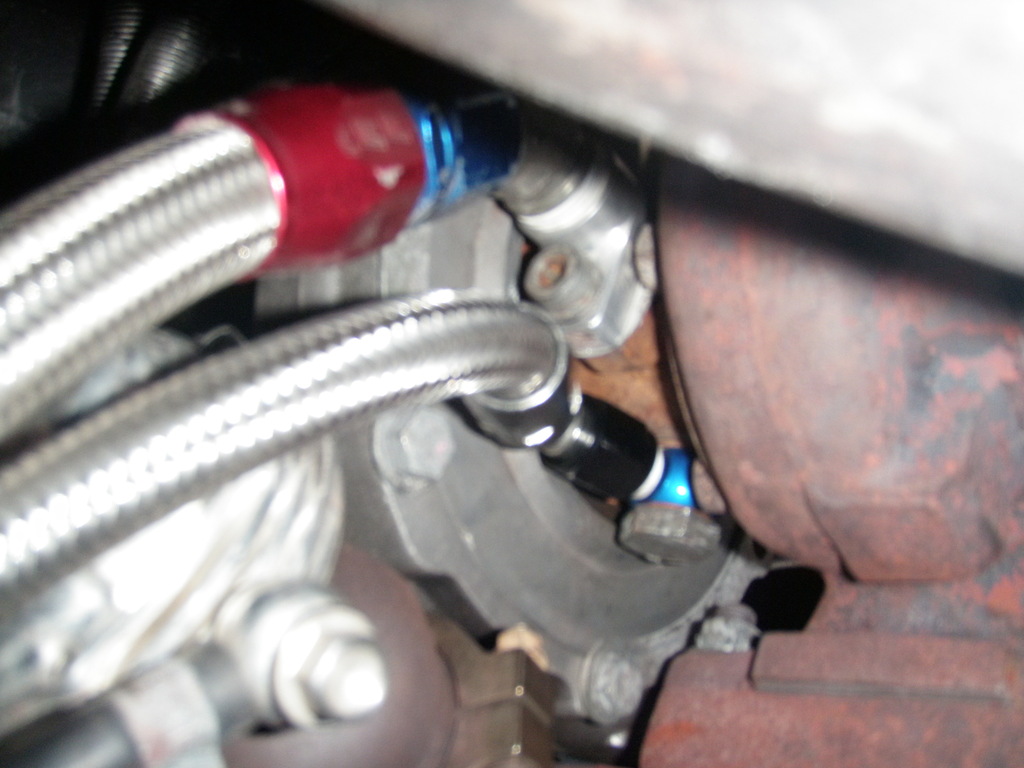
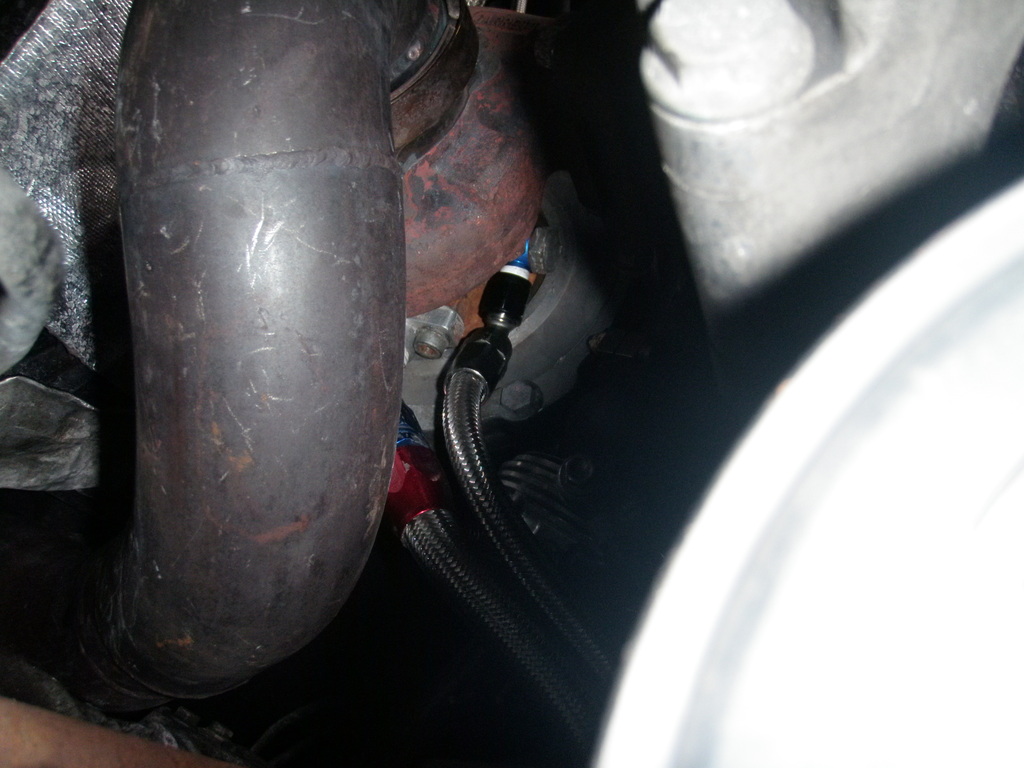
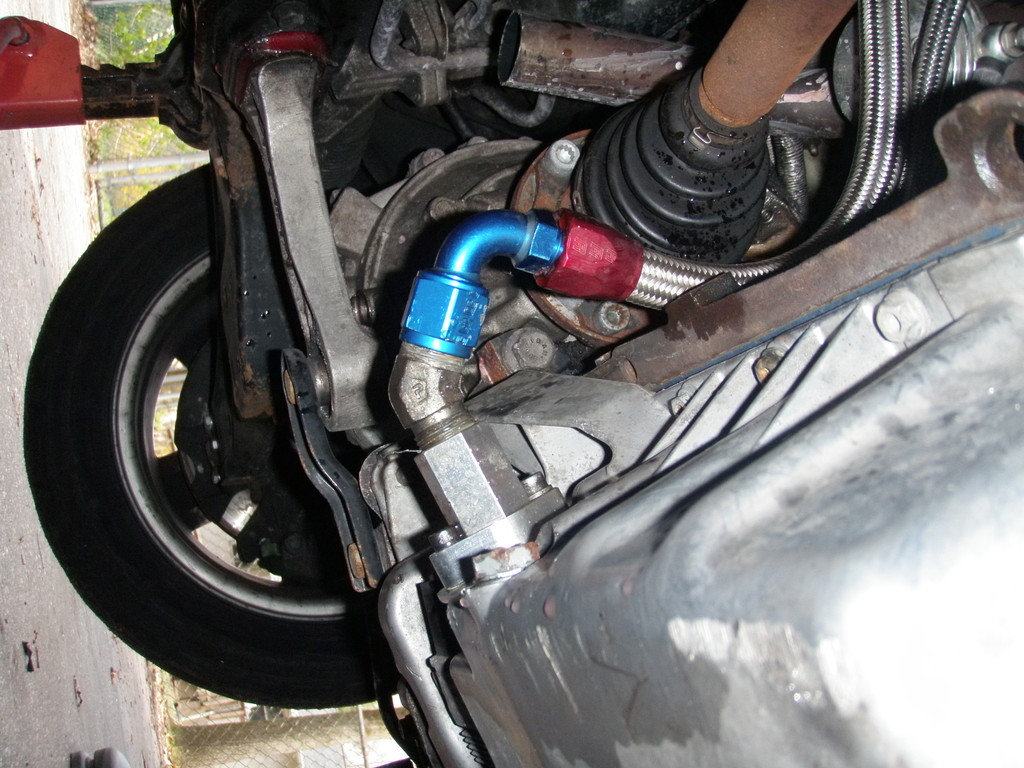
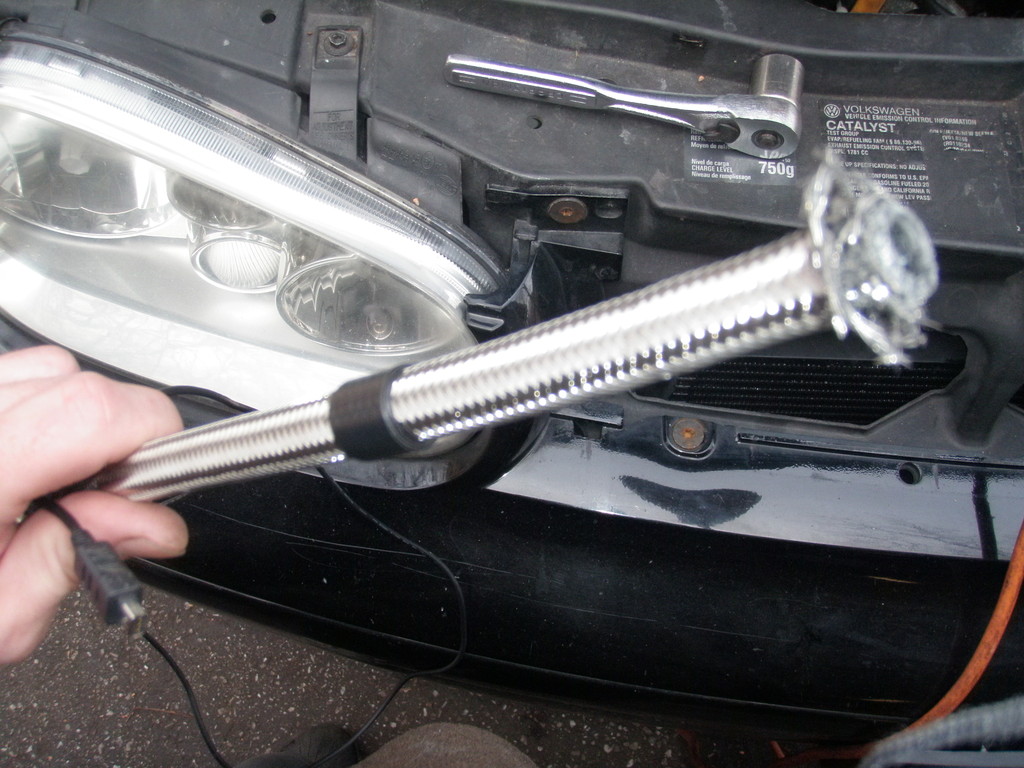
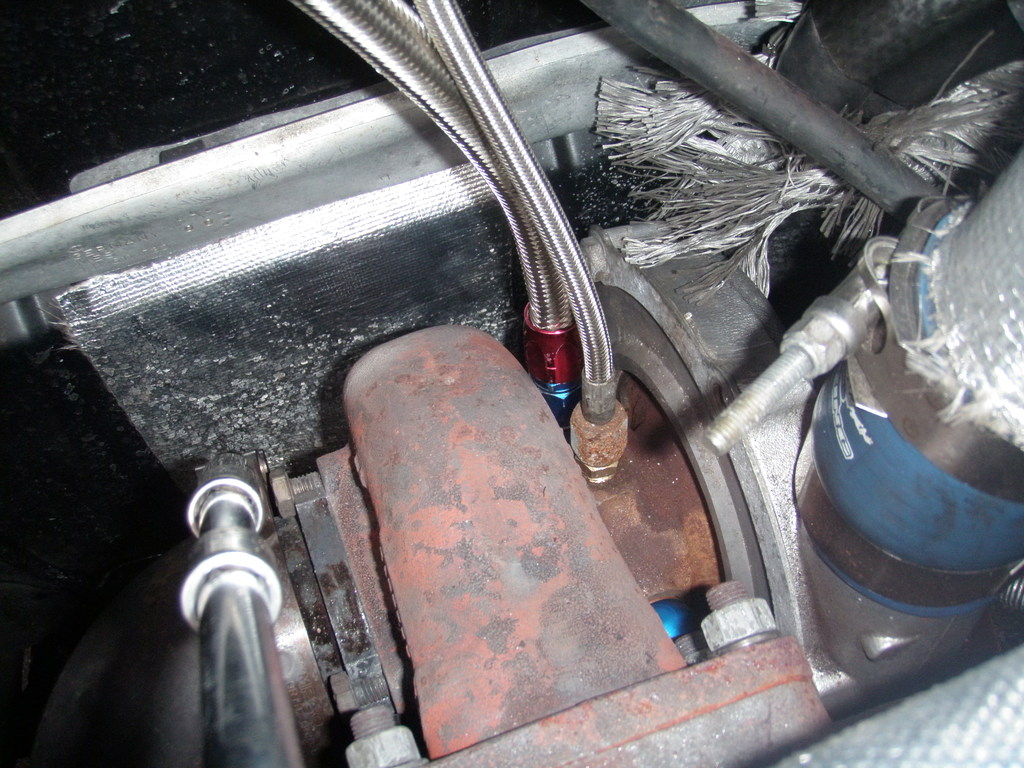
Snapping some pics of the coolant lines I had to redo on my daily. The cheap ATP supplied chinese steel fittings were leaving rust in my coolant bottle, no way Jose. Unacceptable.
Posting them shortly. Everyone likes pretty hose and hardware.