Balls deep, indeed.


Thanks for the comments, guys.
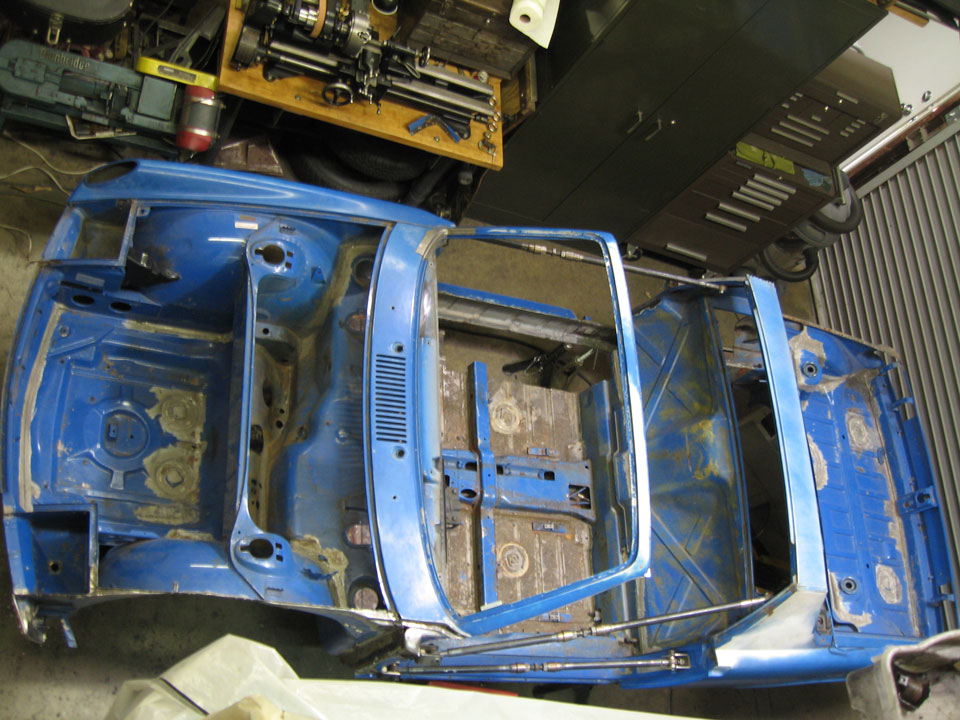
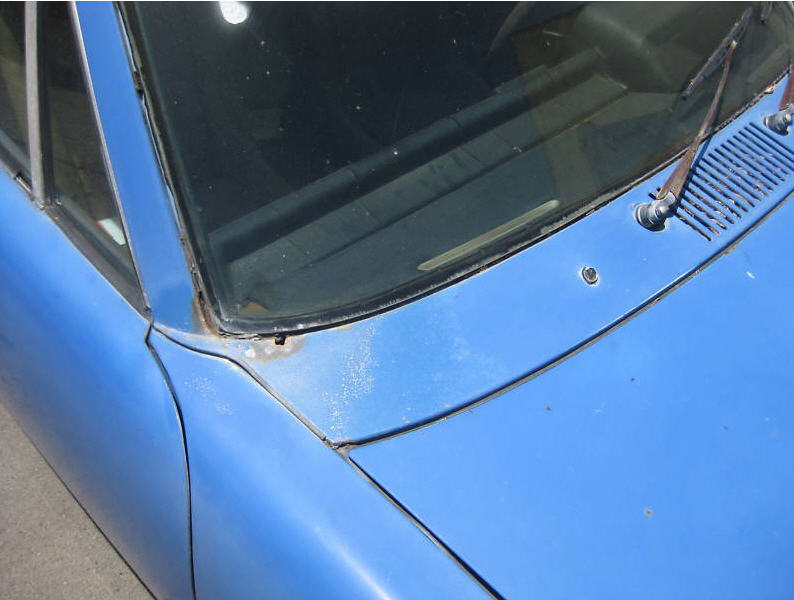
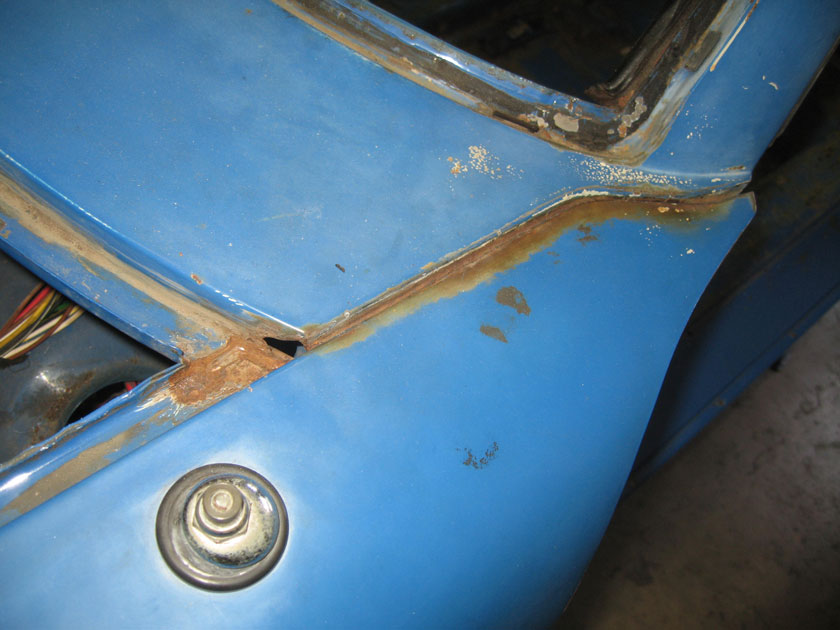
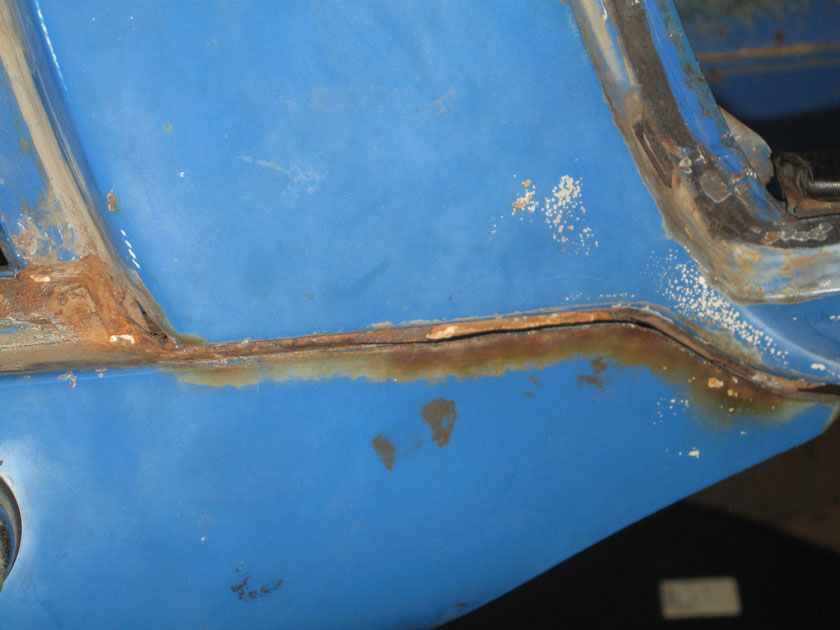
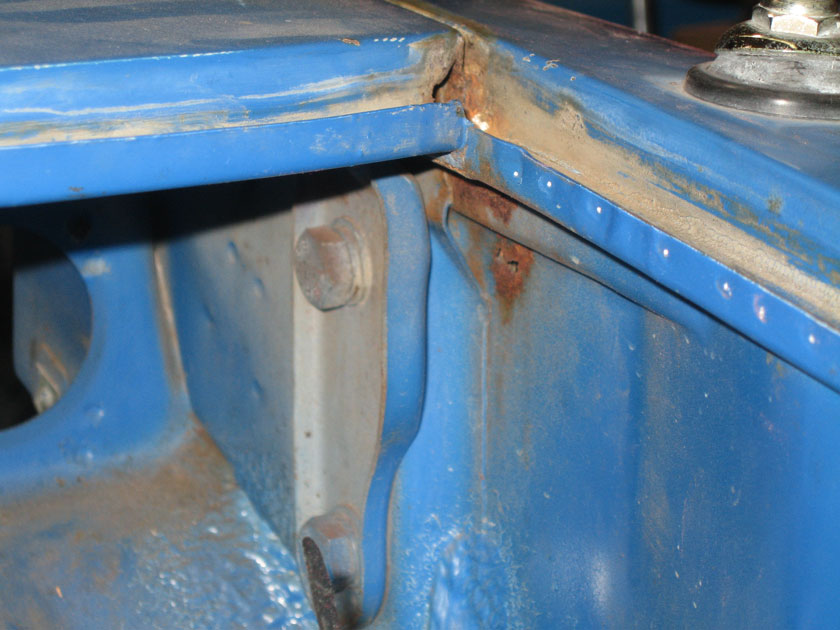
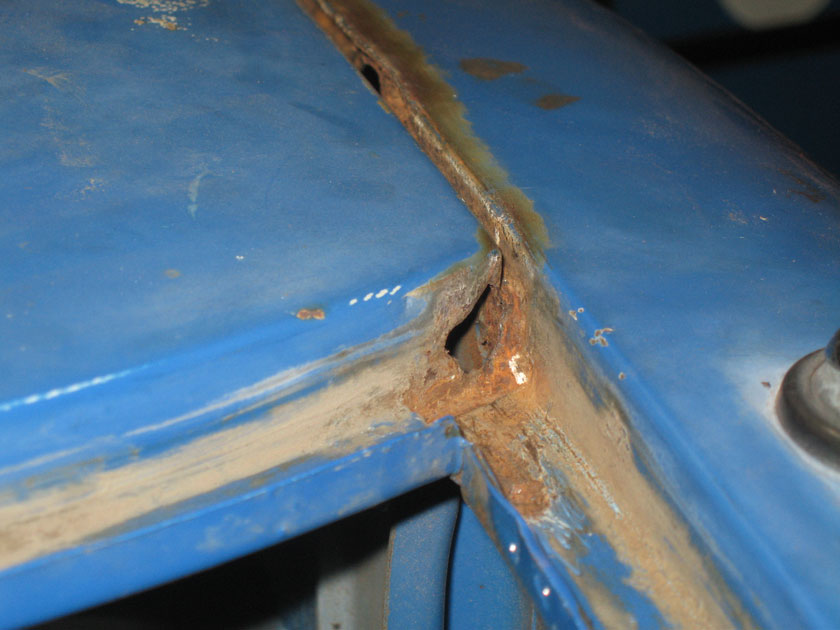
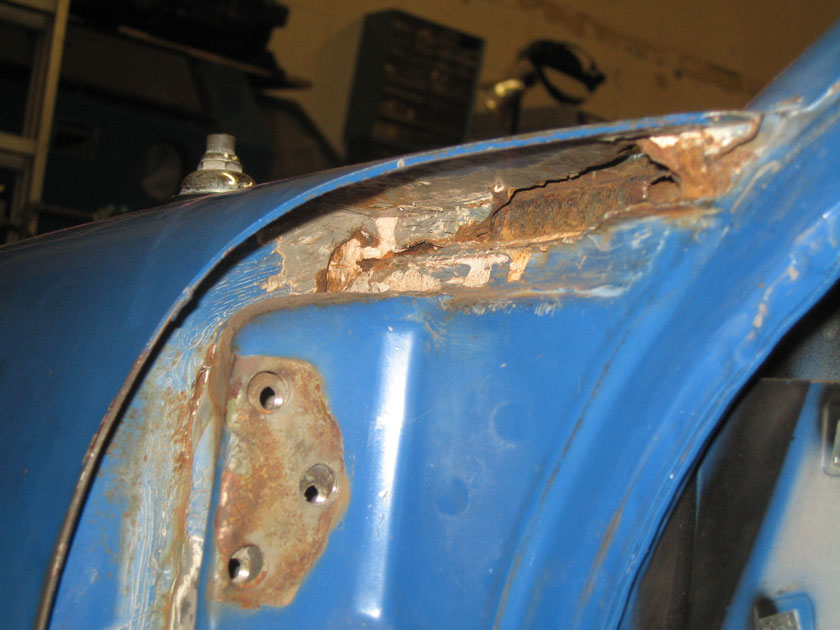
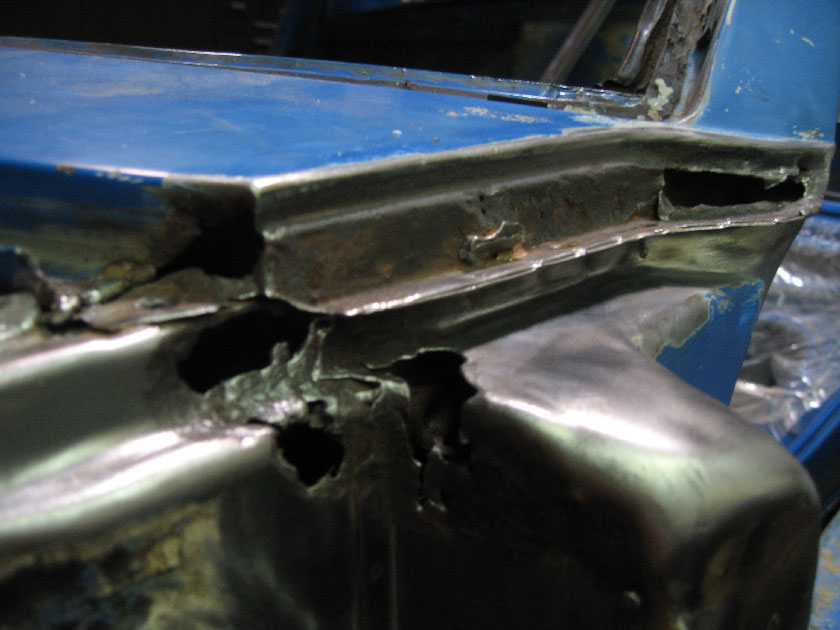
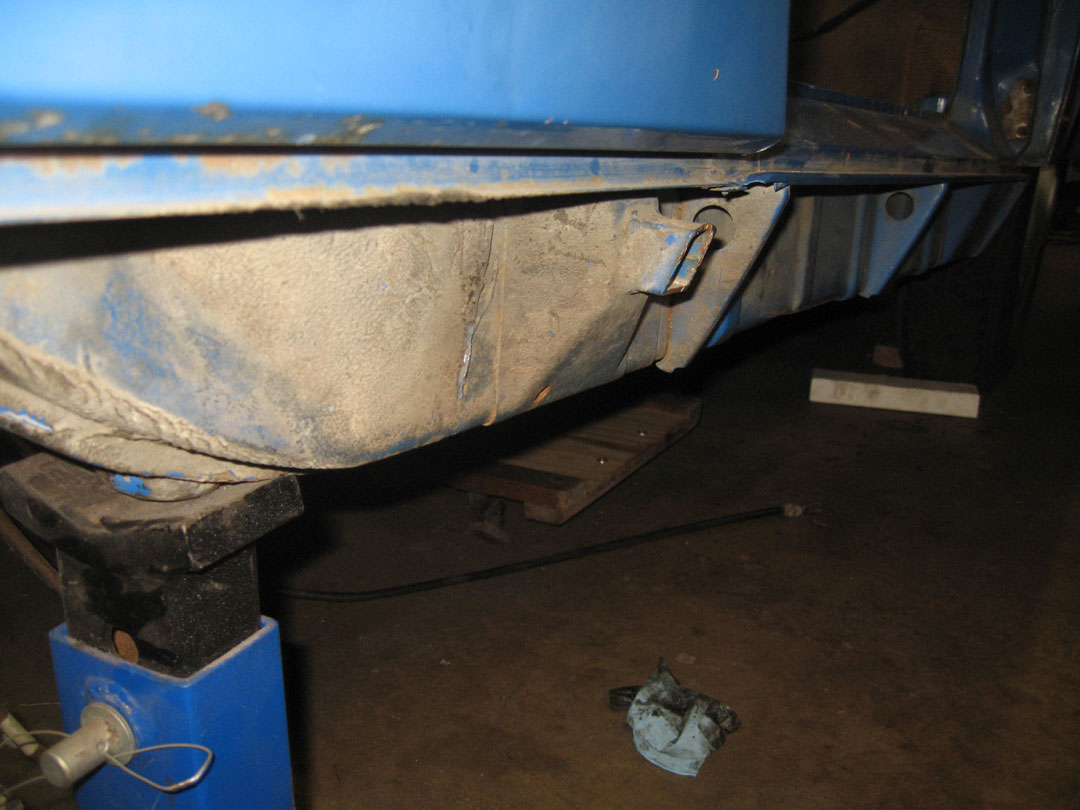
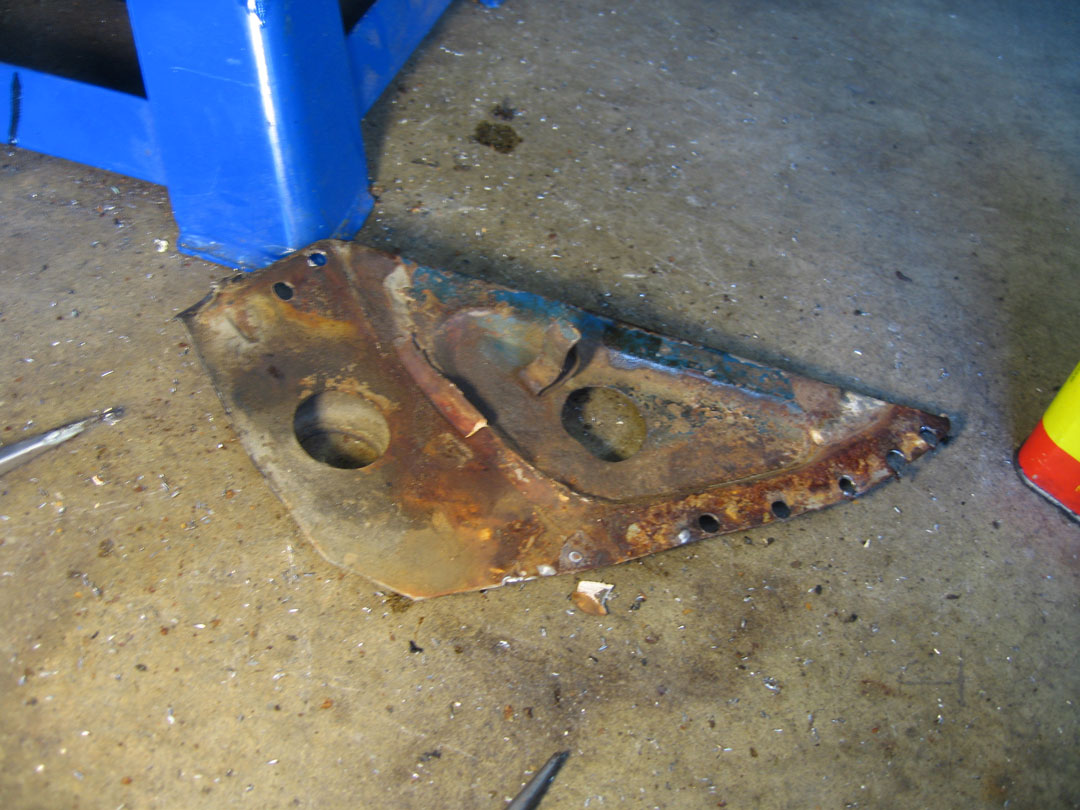
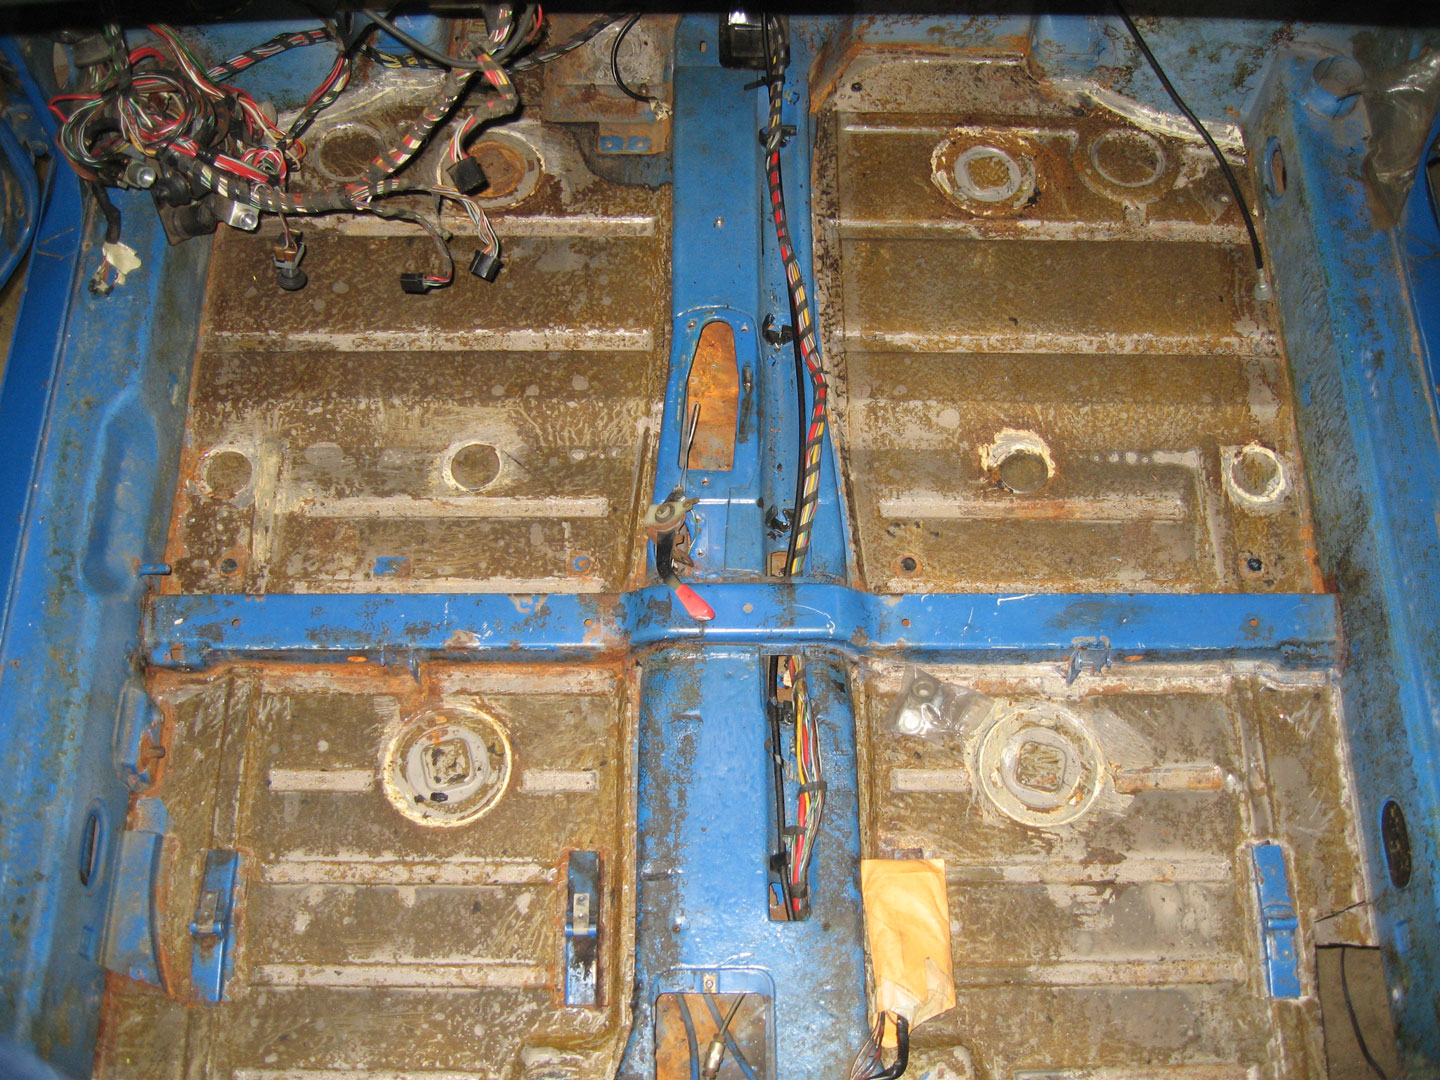
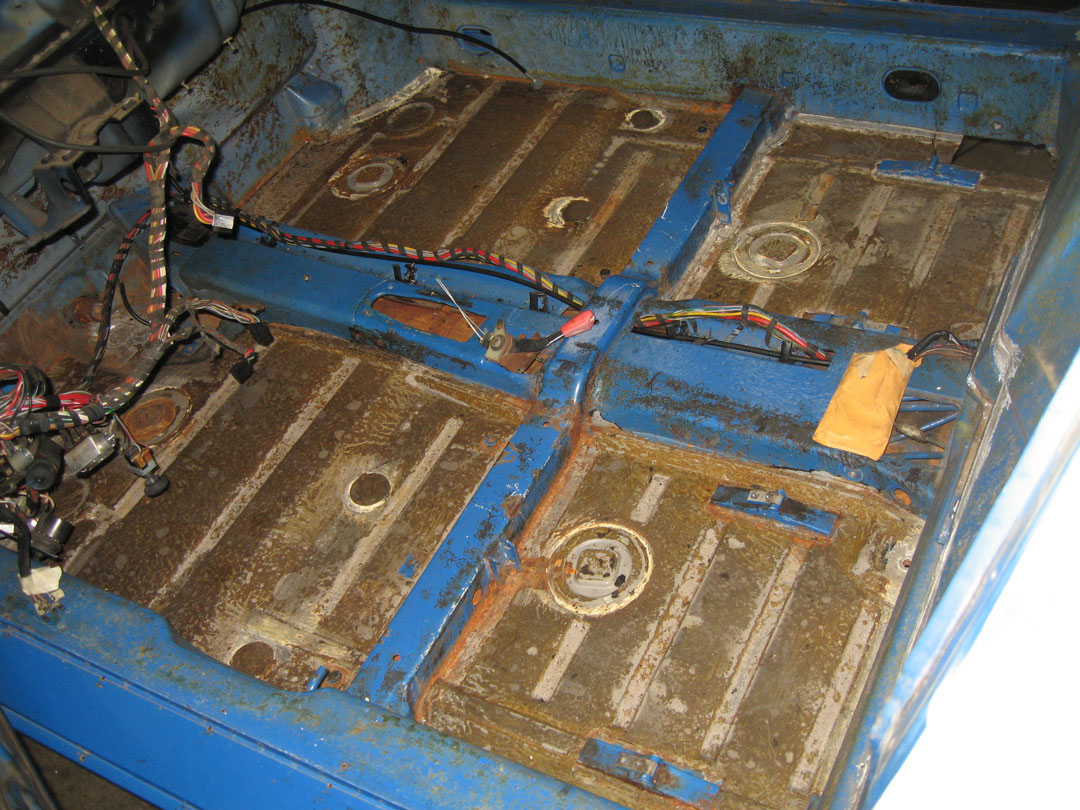
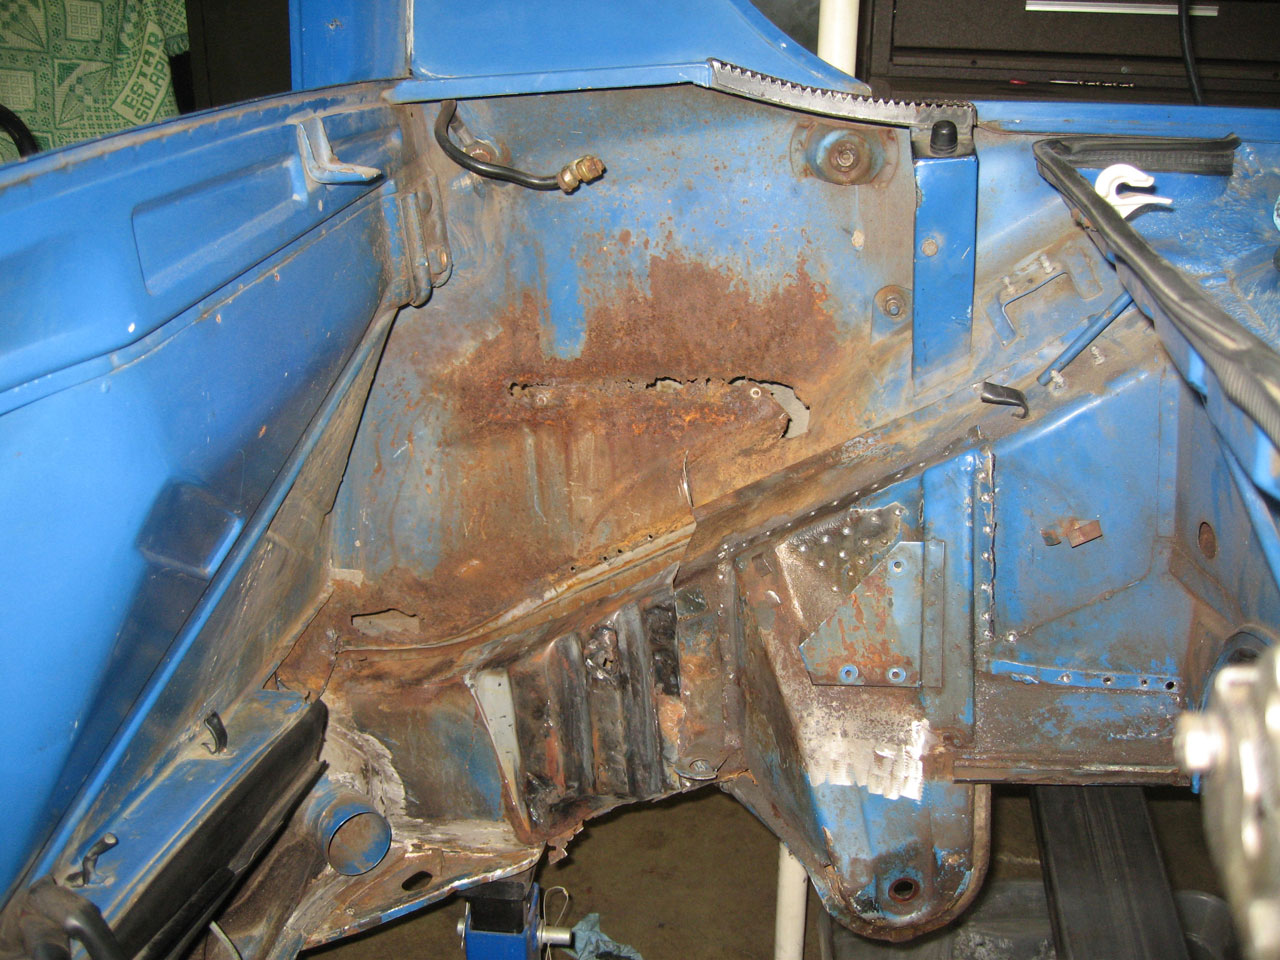
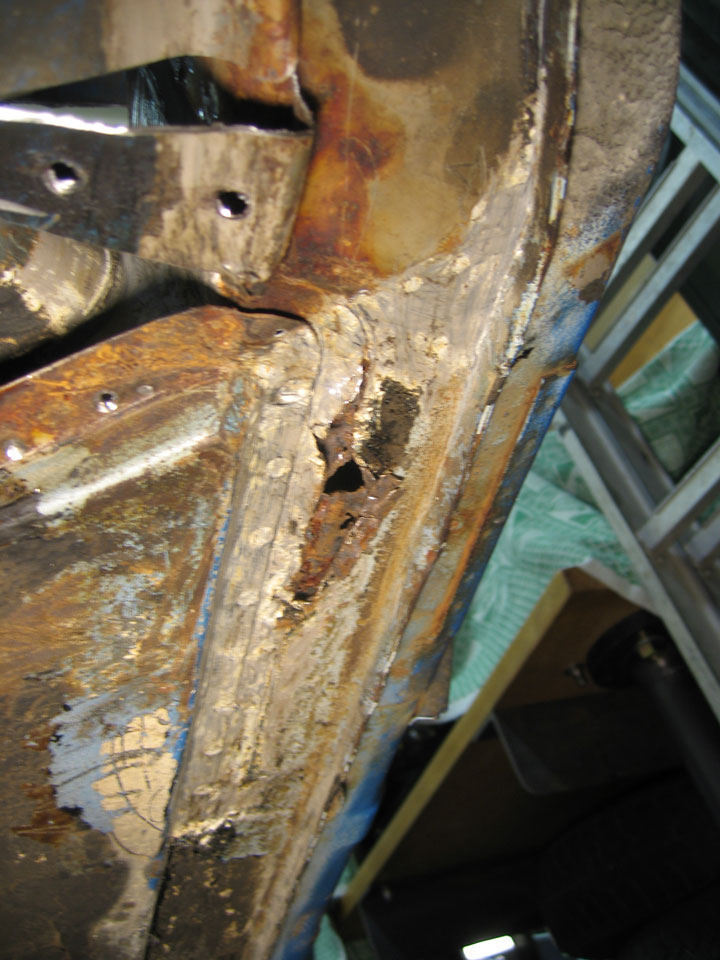
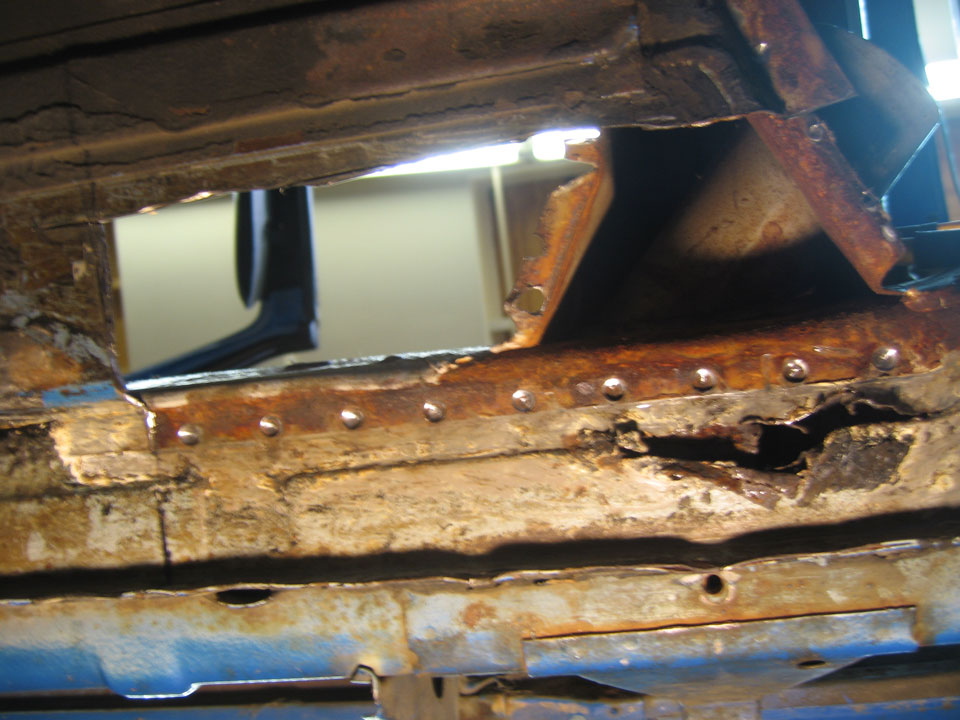
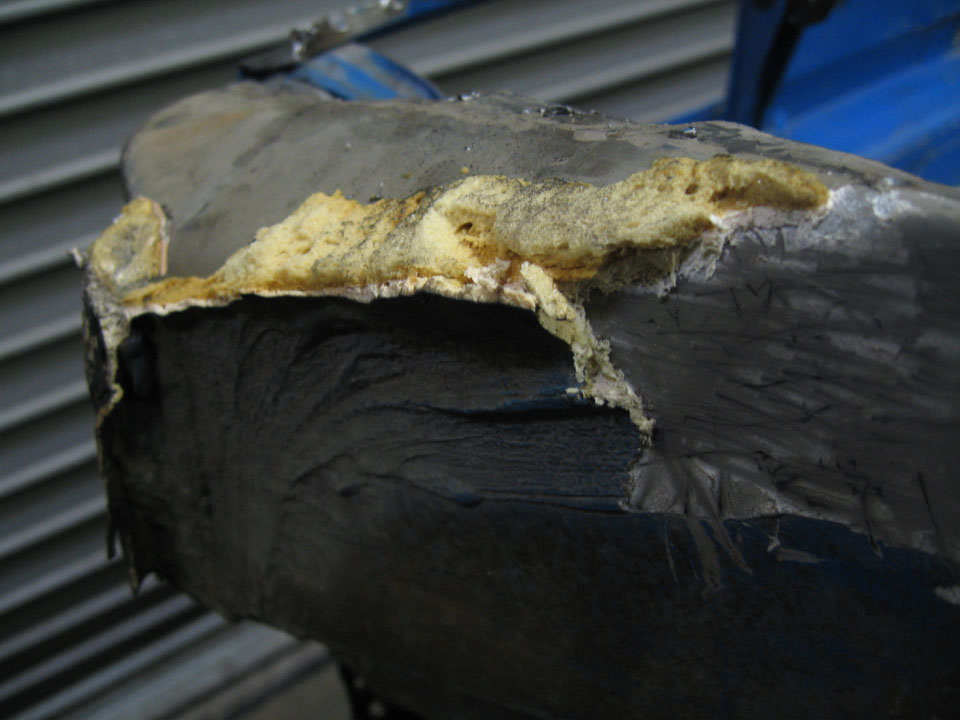
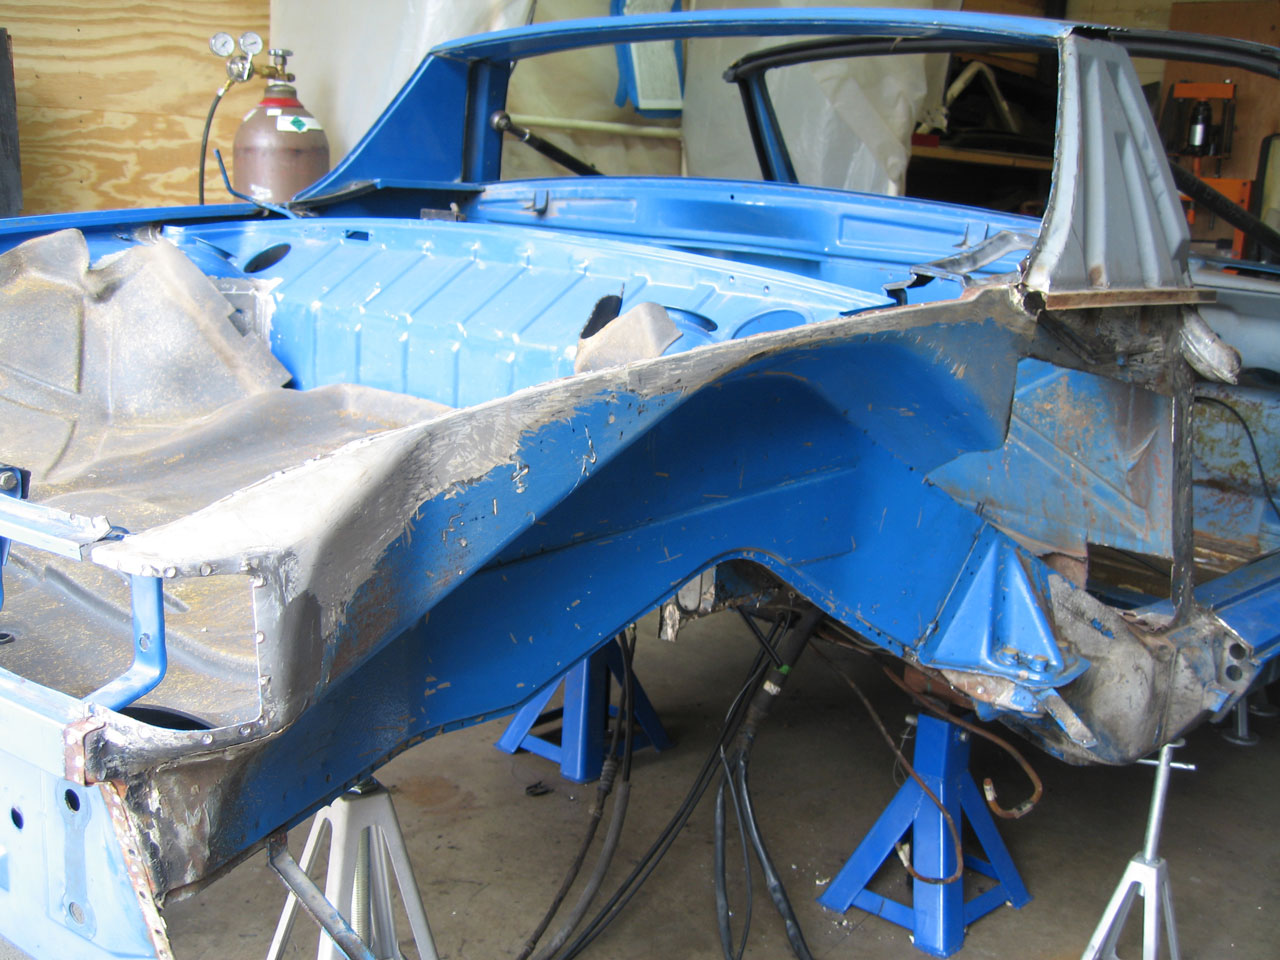
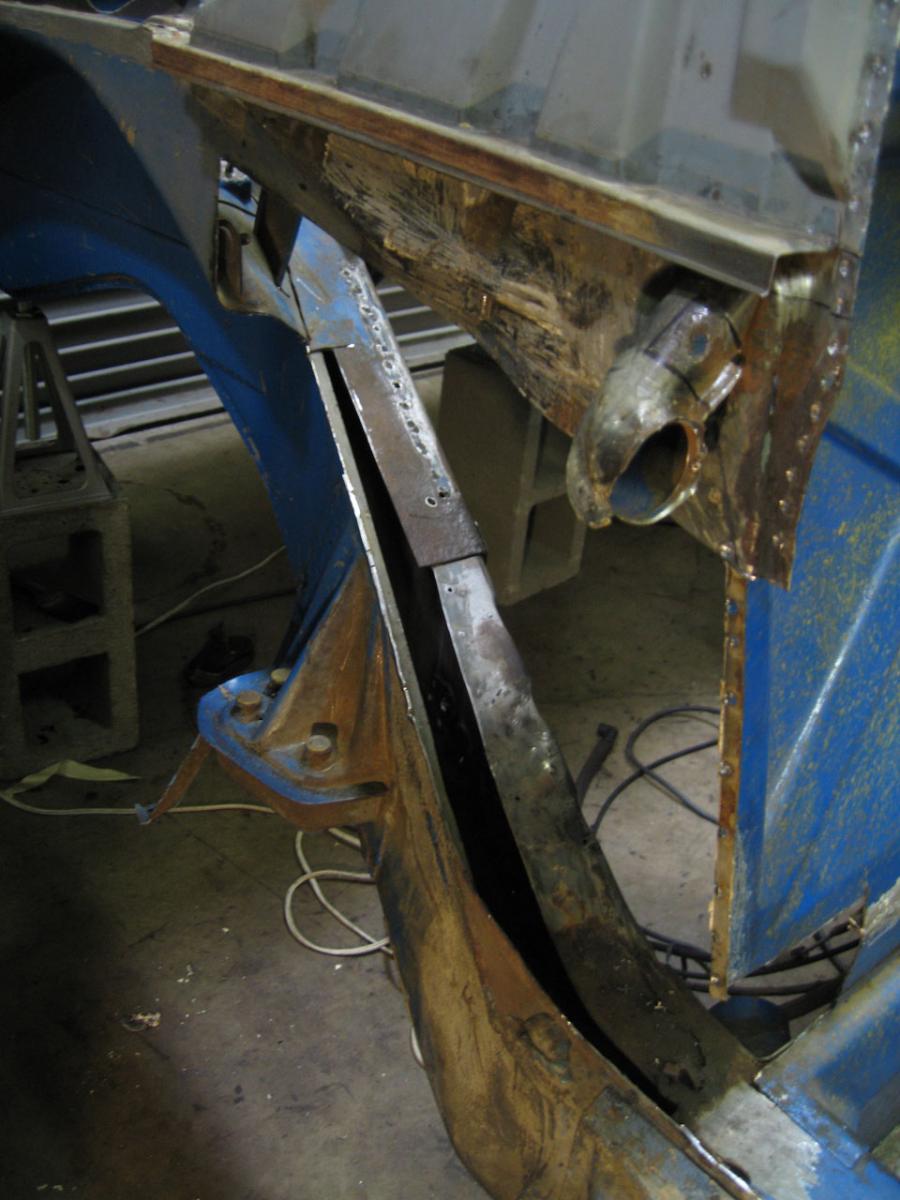
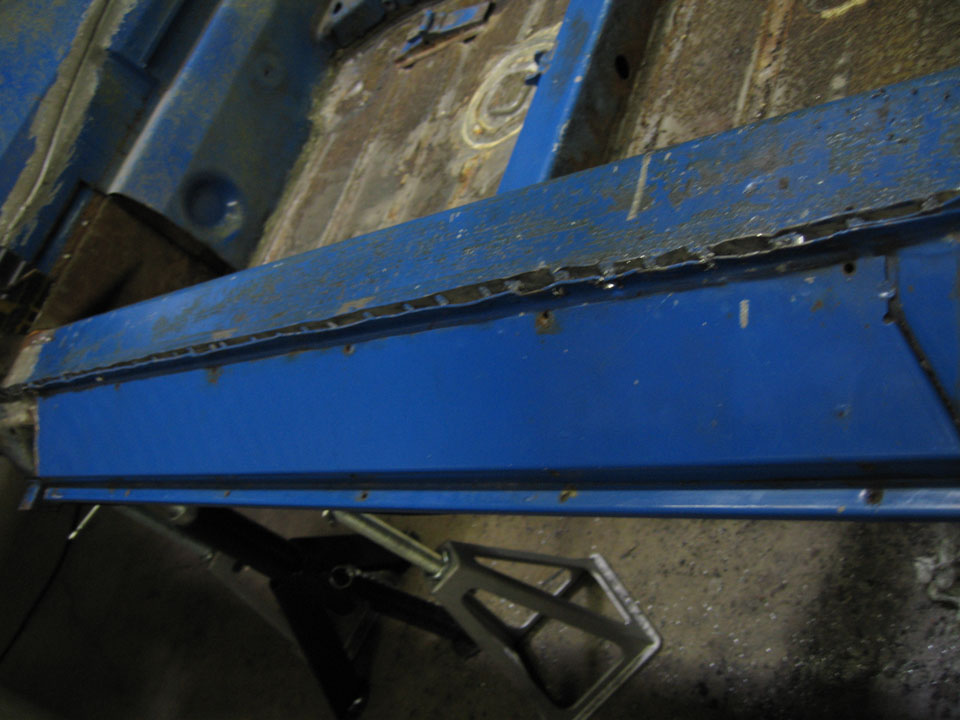
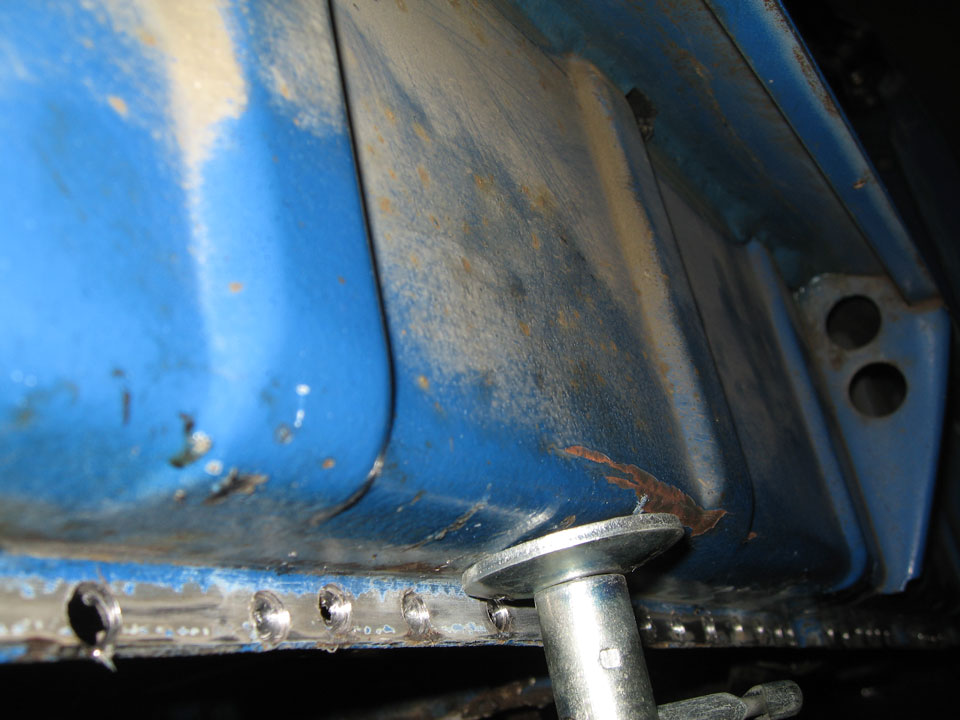
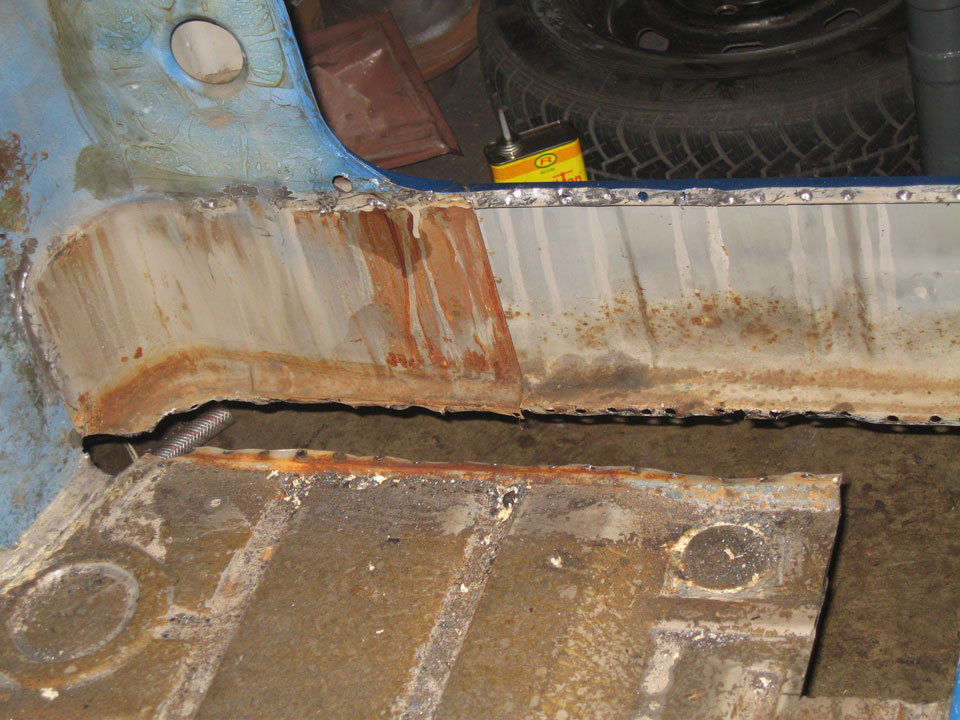
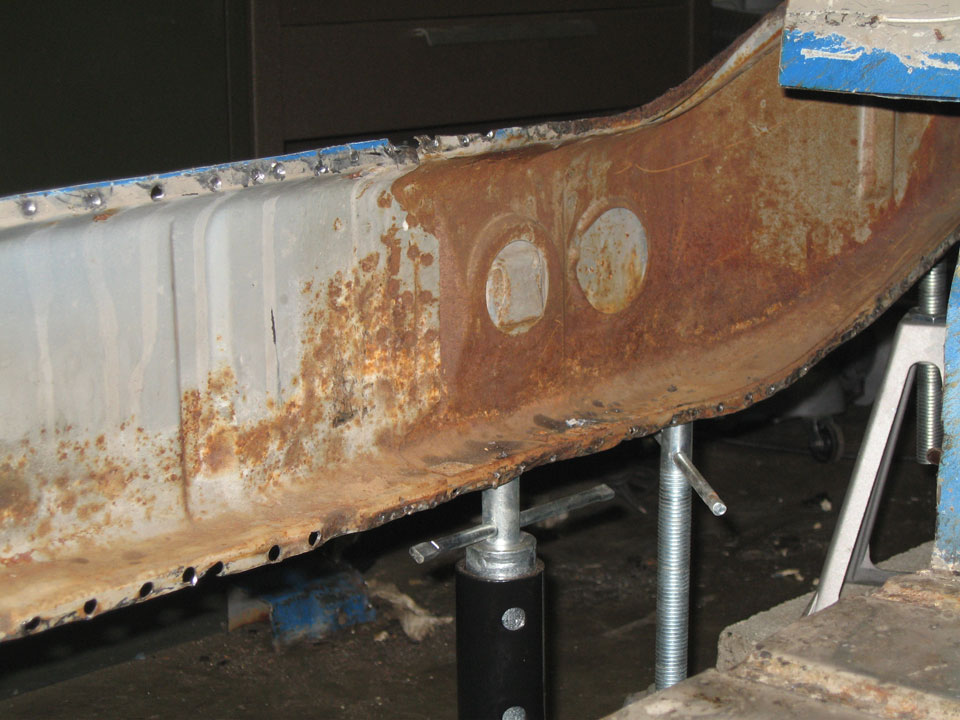
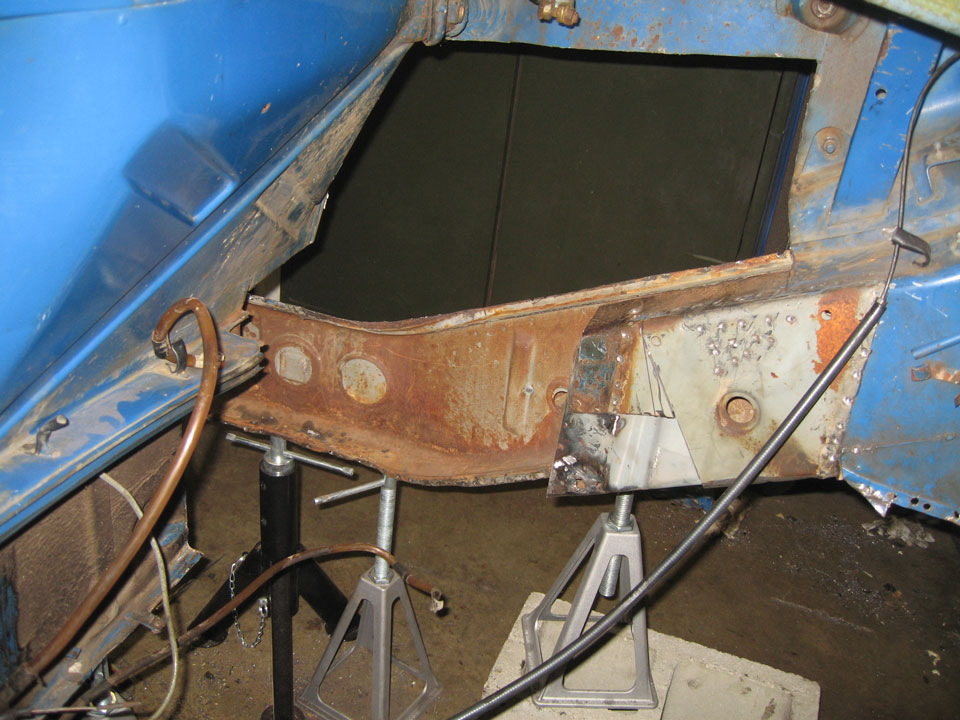
I almost got the impression I'd gone past the line of it being scary. The surface rust in the outer long isn't flattering. I sanded a bit of it, quite a lot of red powder, but I think I can save it. I put some rust dissolver phosphoric acid gel on it.
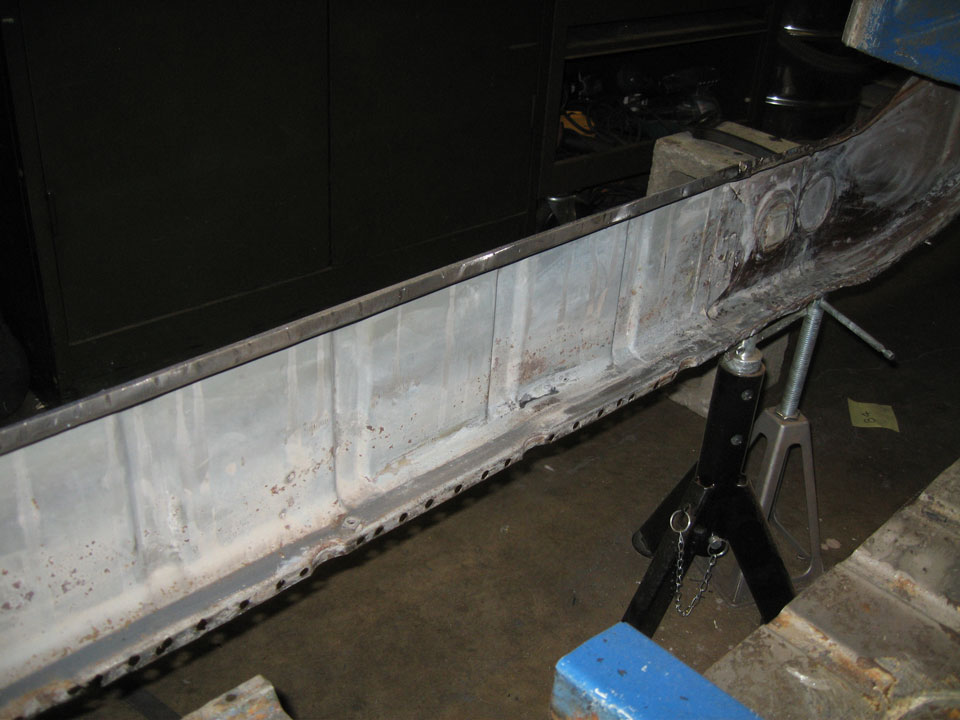
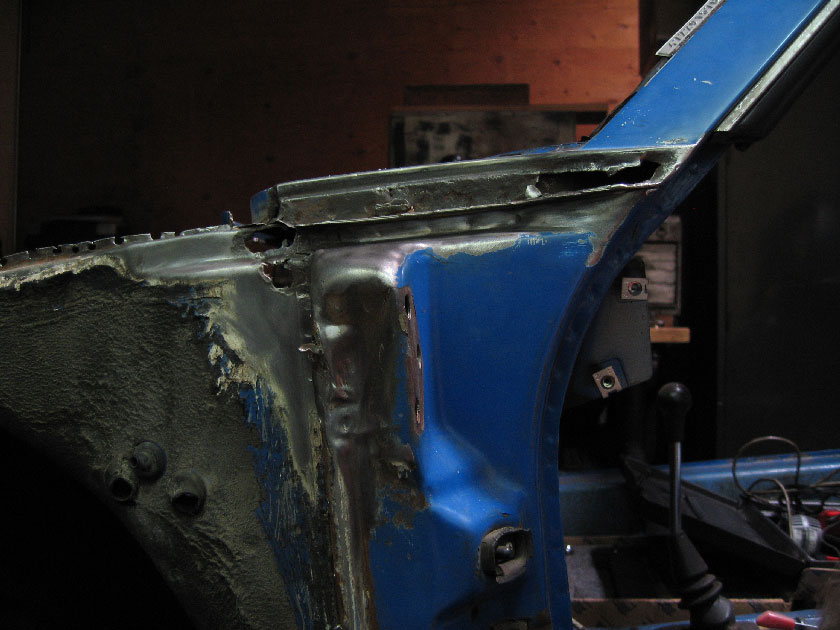
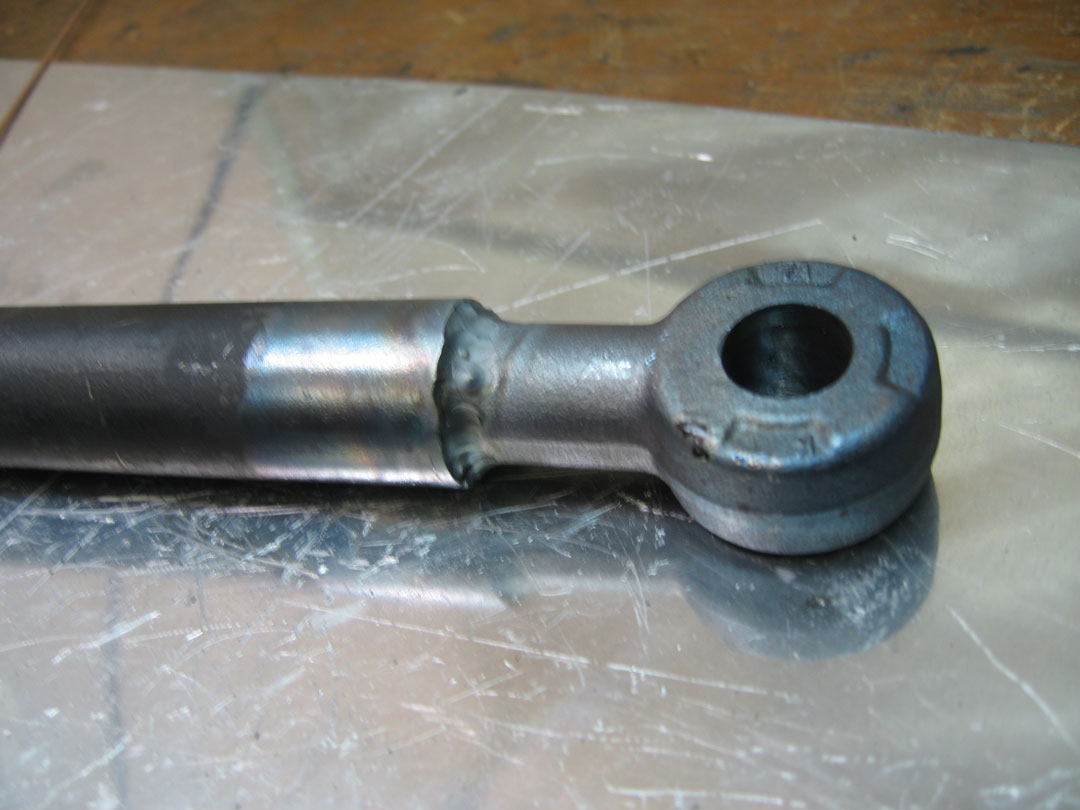
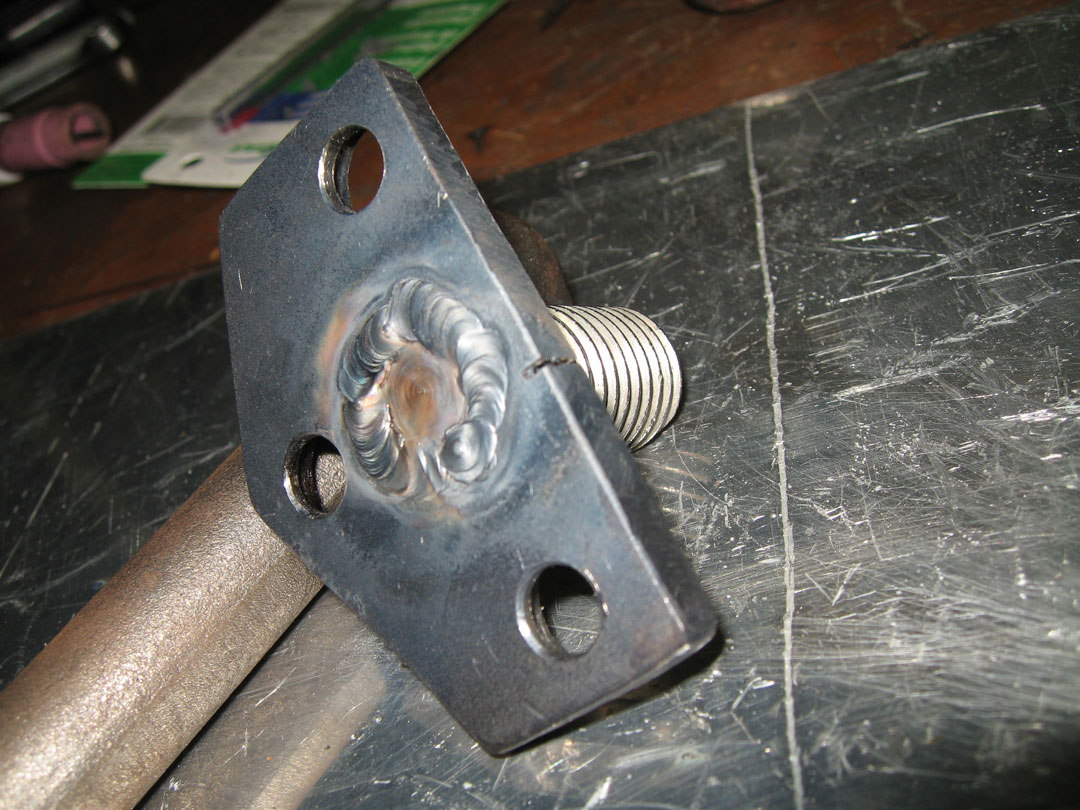
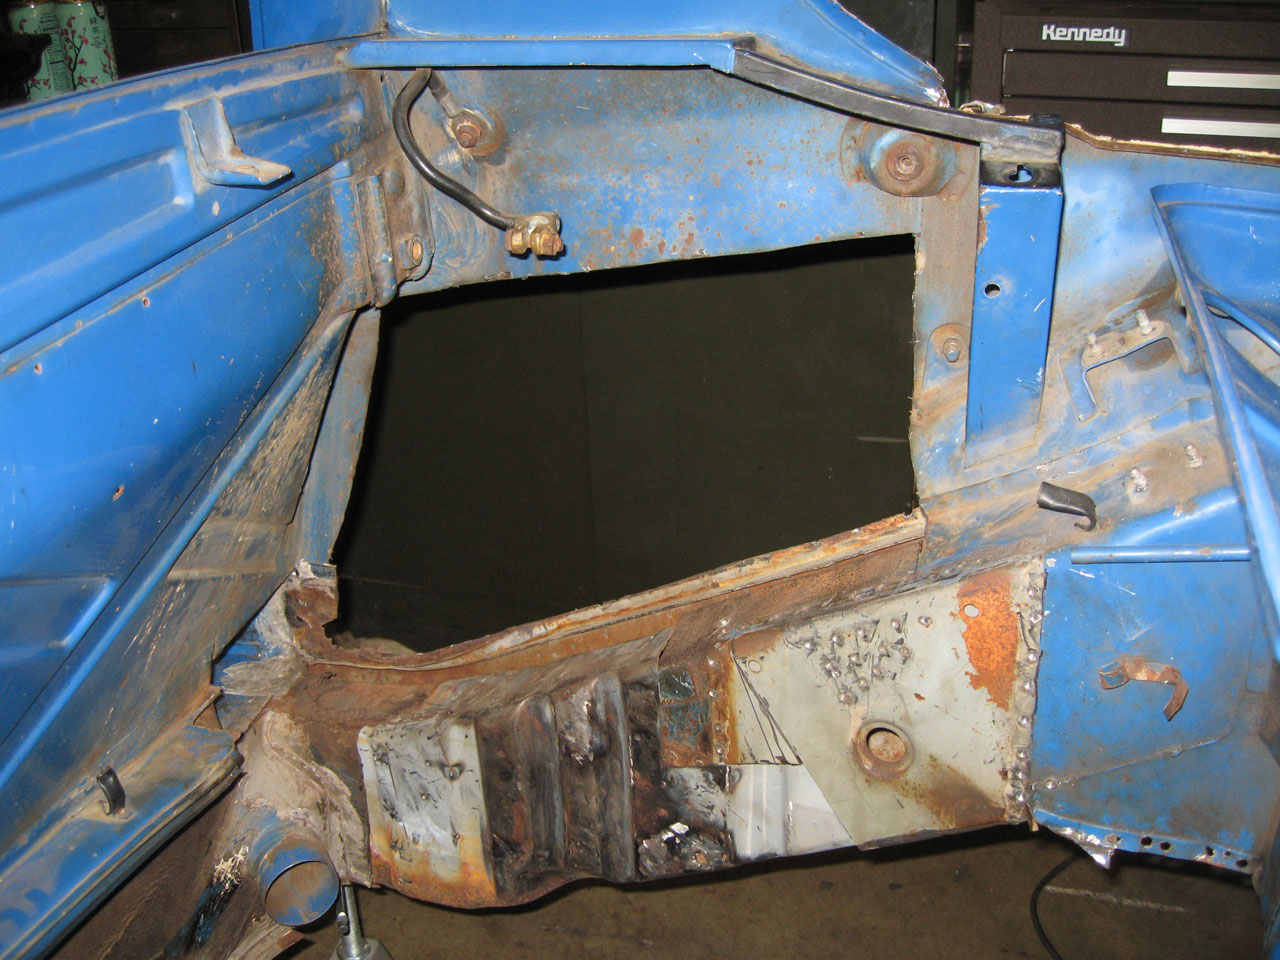
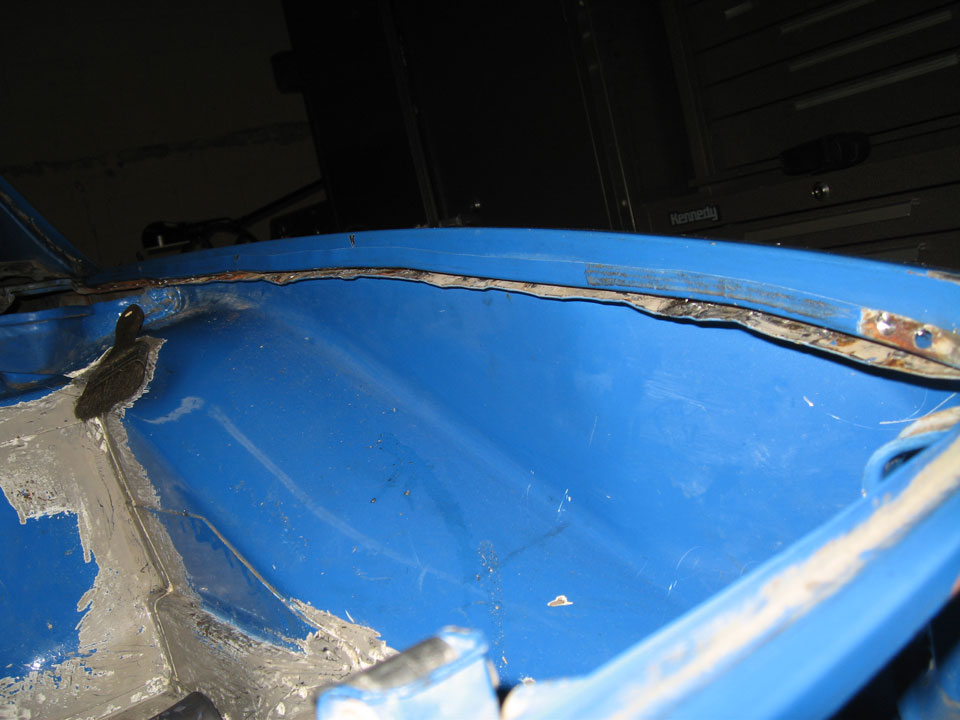
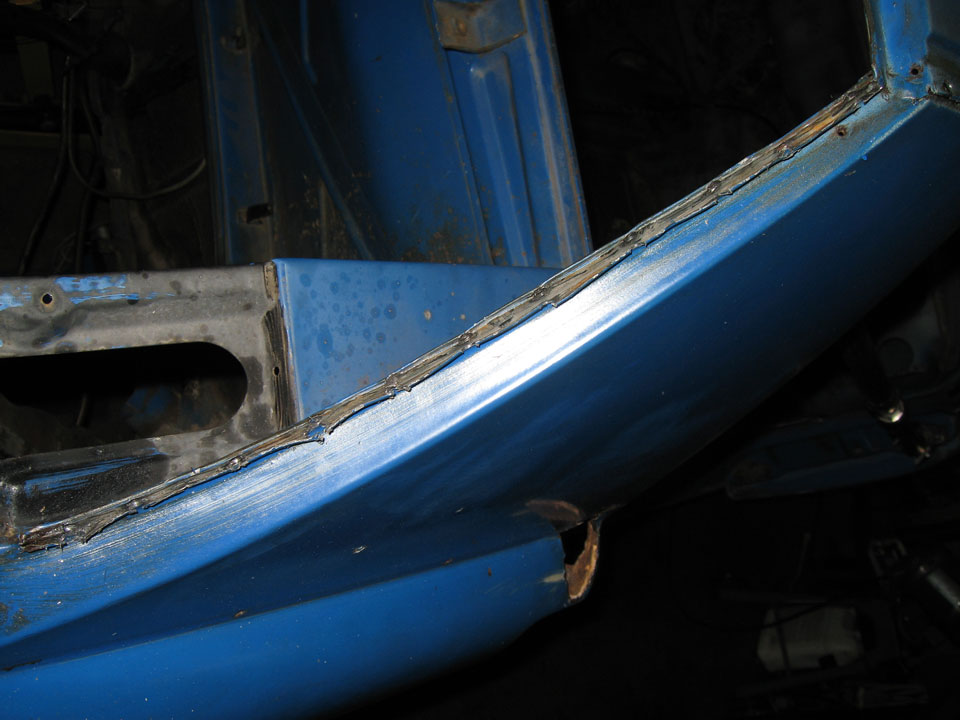
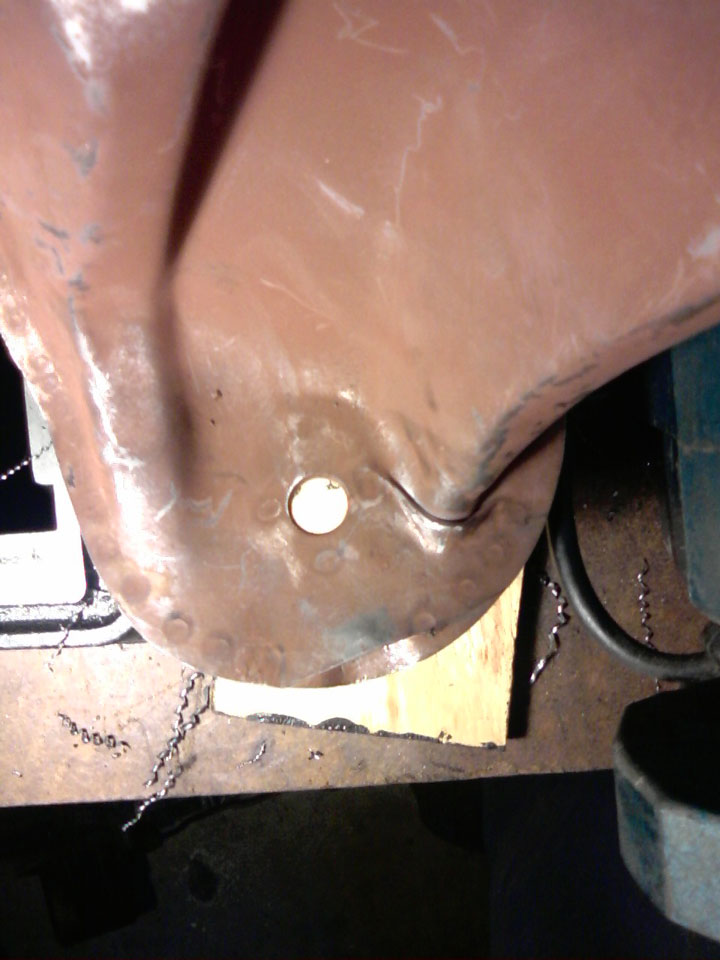
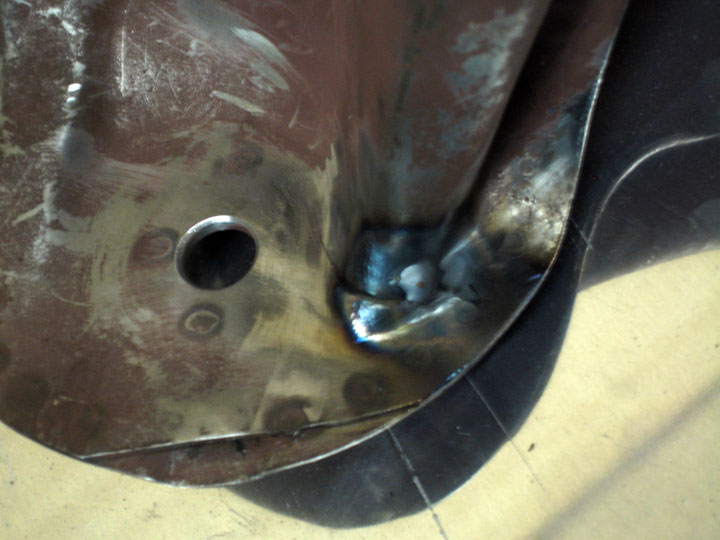
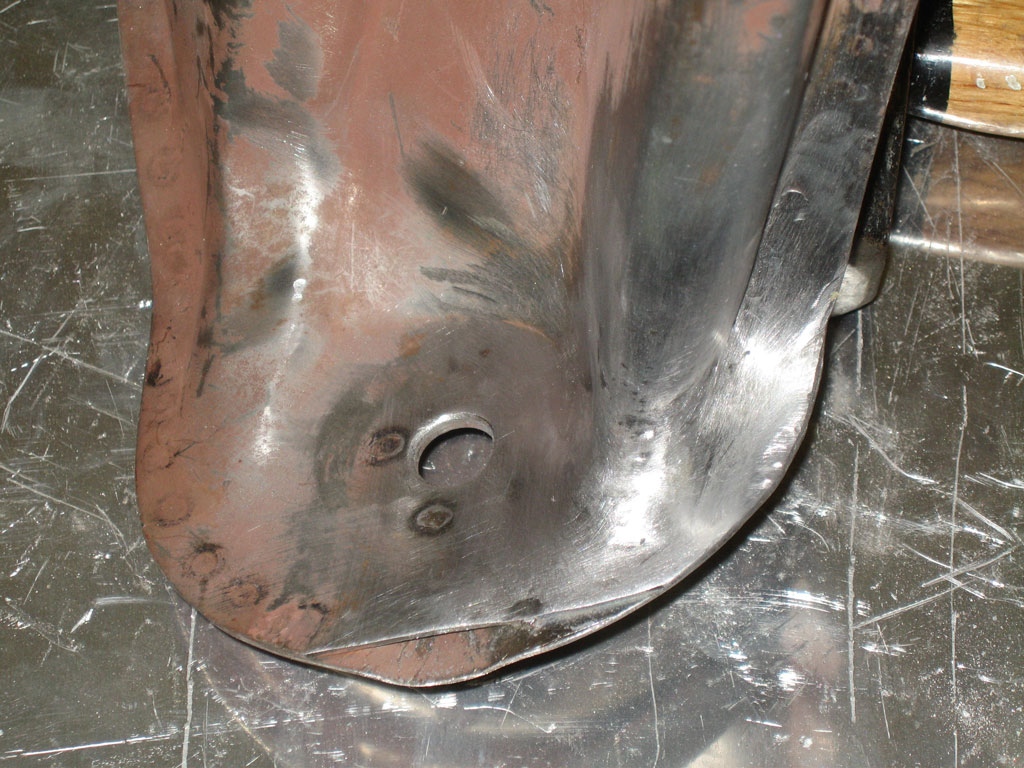
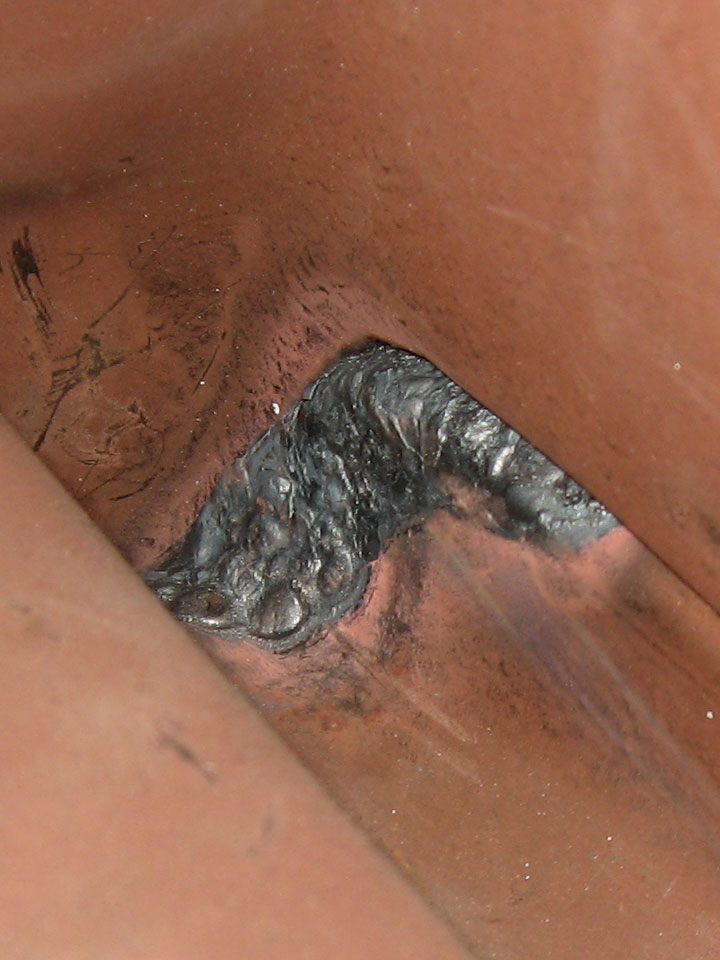
I welded up the places where I drilled too far and smoothed em out. I had to do some pretty good metal adding as it did get kinda brutal.
I need to get media, I'm thinking glass bead so as not to make it any thinner... I have acquired this.


I can't wait

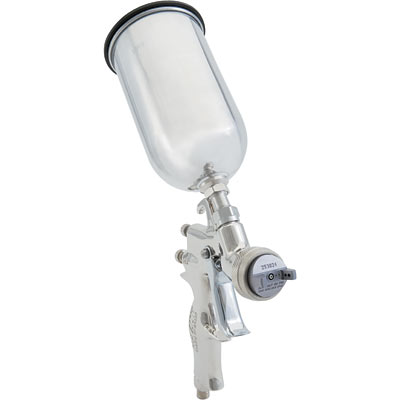
I got a gun to shoot, I think I'm going to shoot both the primer and the paint with it. My friend said I should get like a $40 gun to shoot primer with and use the good gun only for paint. It's a Sharpe Razor HVLP gravity feed, 1.5mm air nozzle so it's set up to do both. ..
That is another story, still figuring it out.

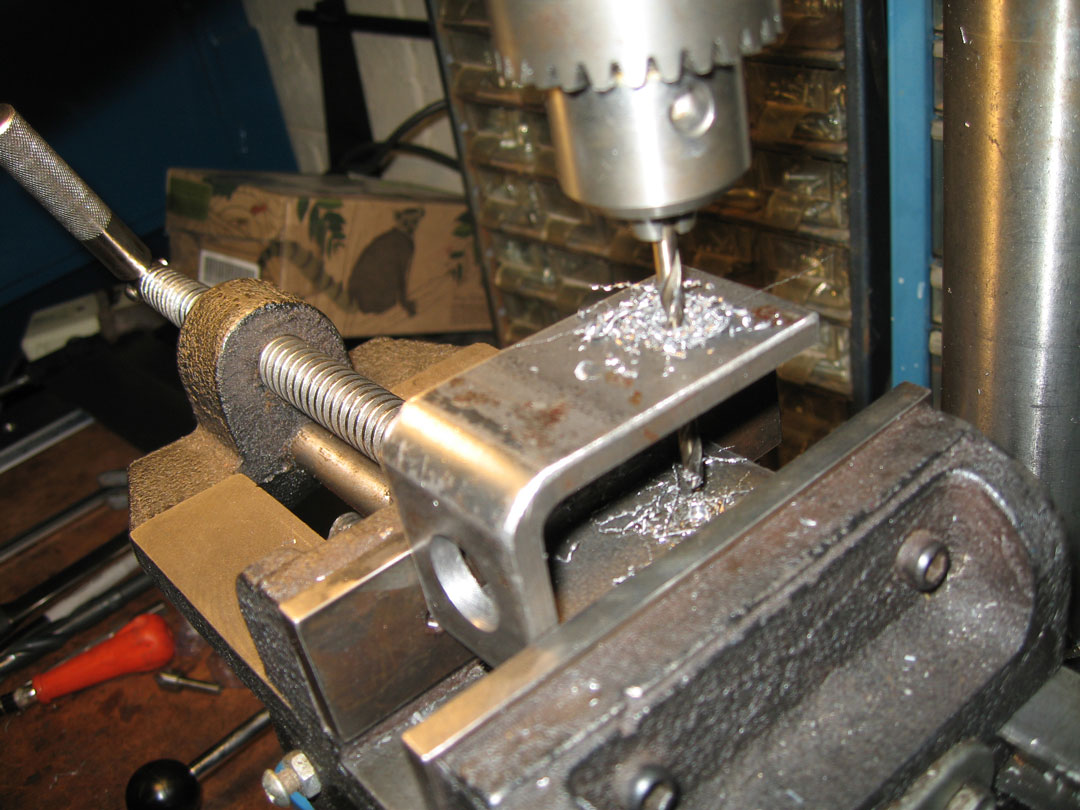
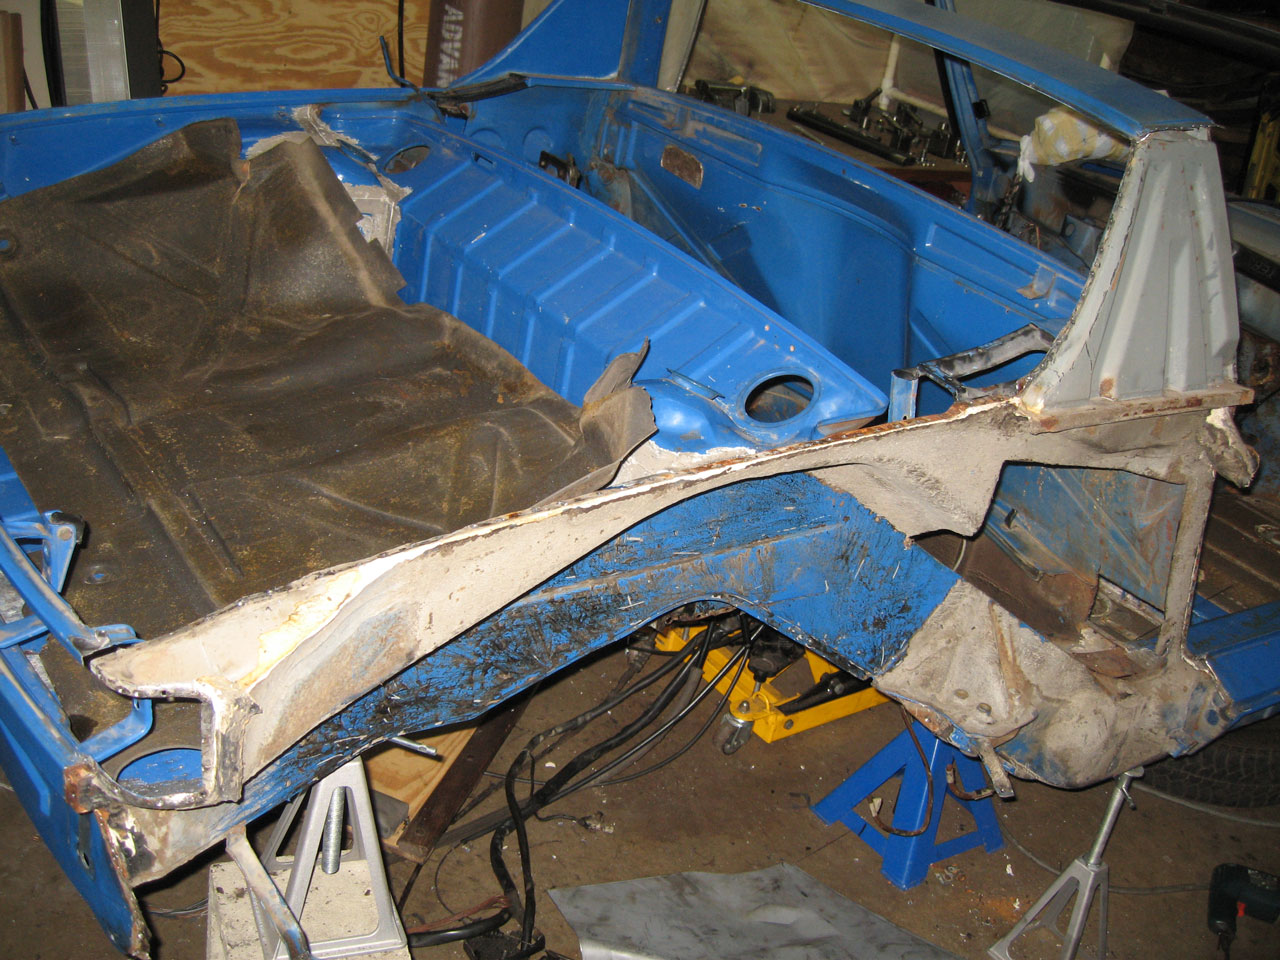
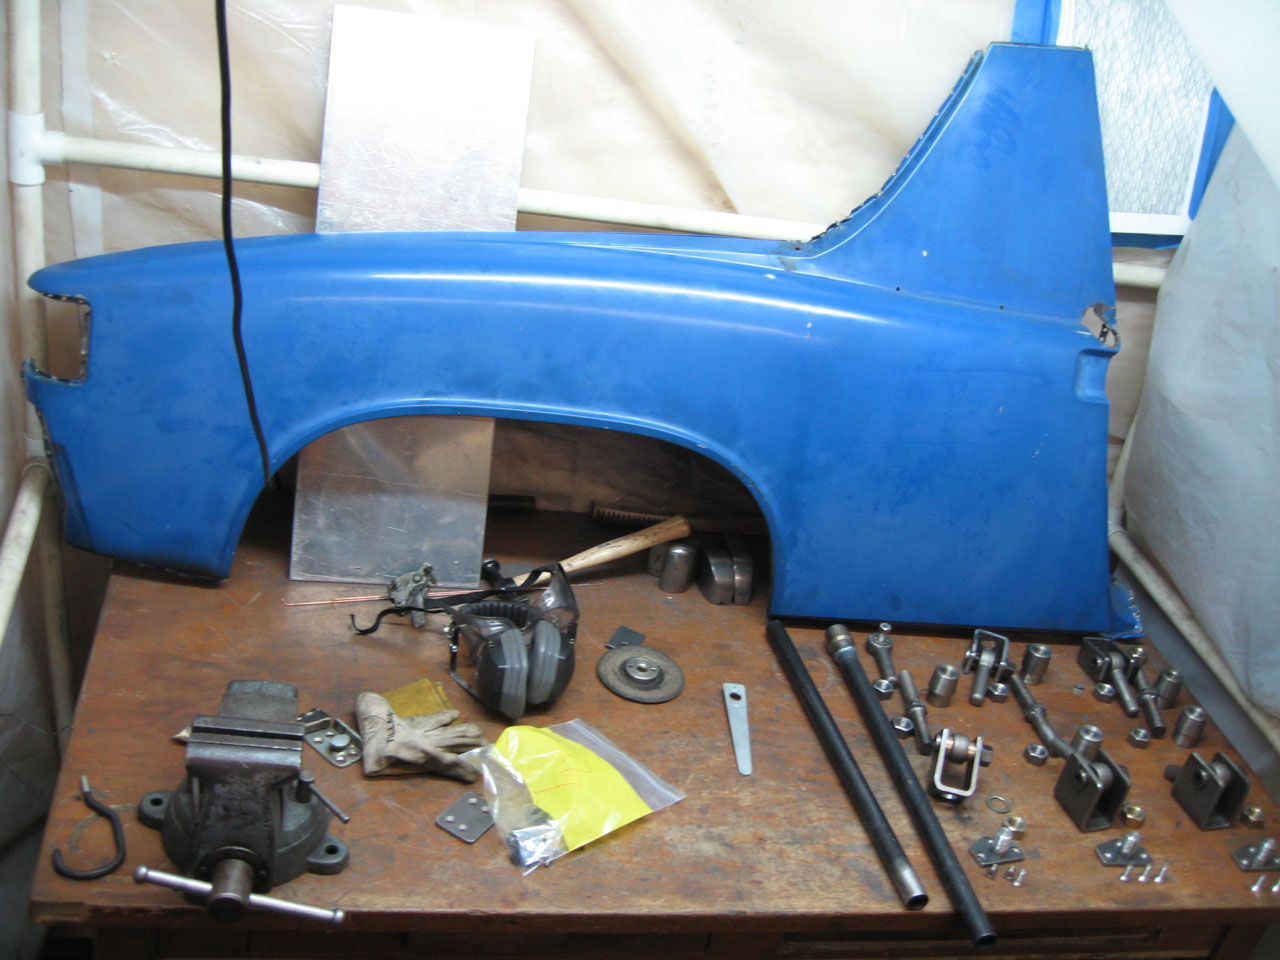
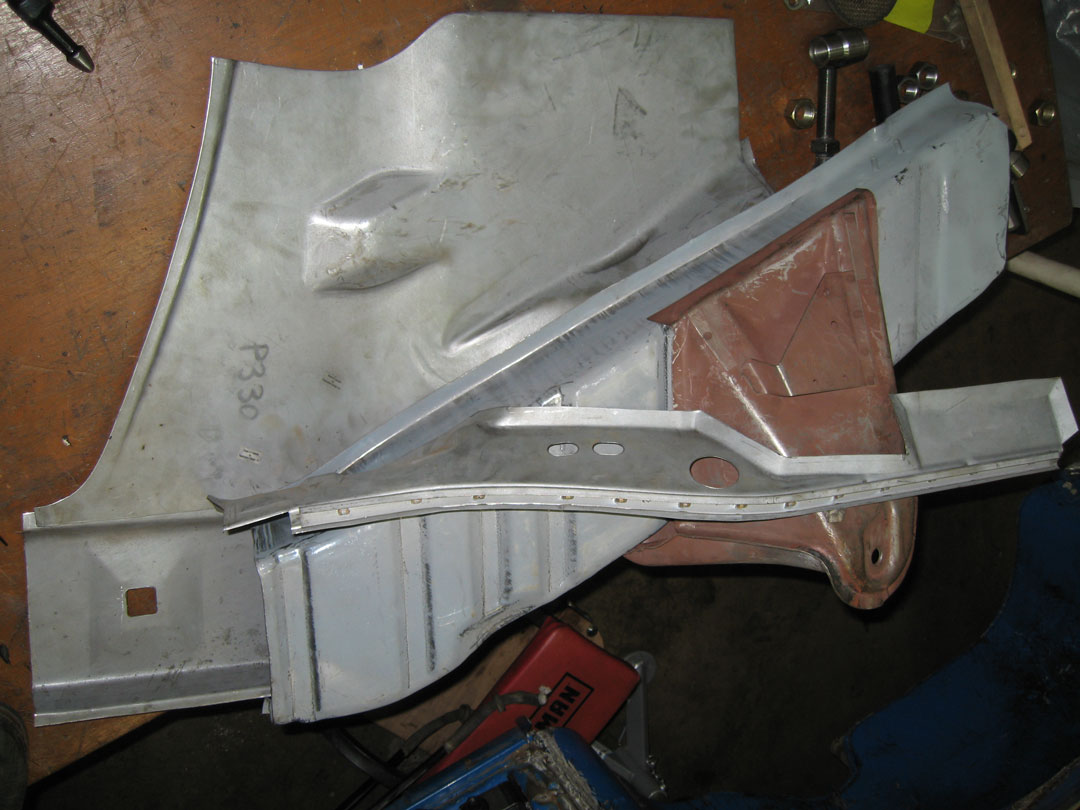
The meat and potatoes of this post was to be about my metal-working conquest. I finally started actually fixing something, instead of just taking things off. Doing the hard stuff first,

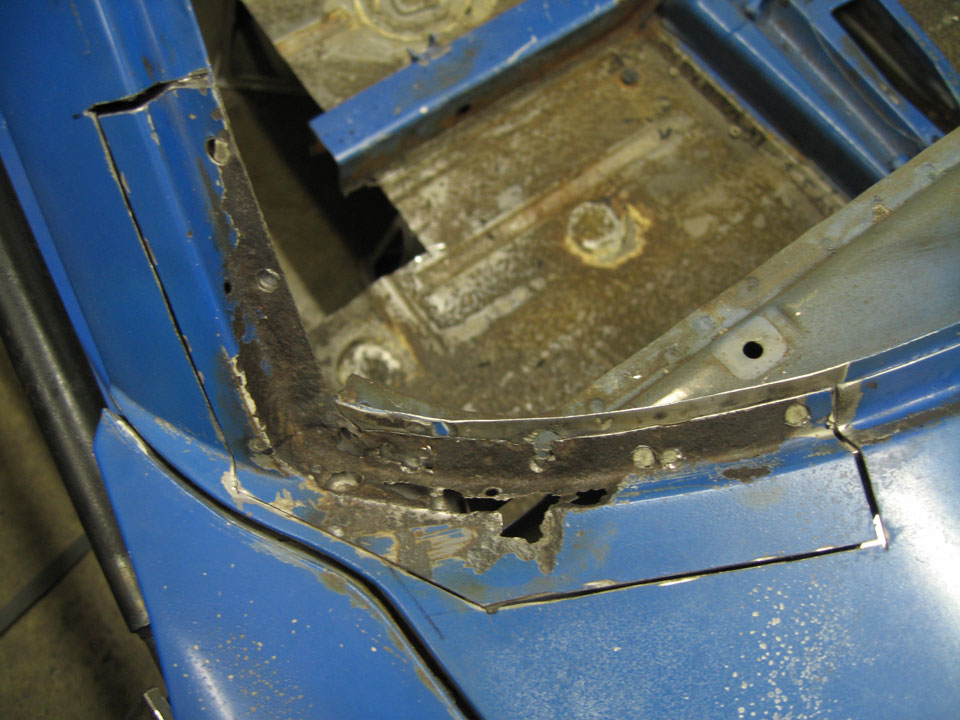
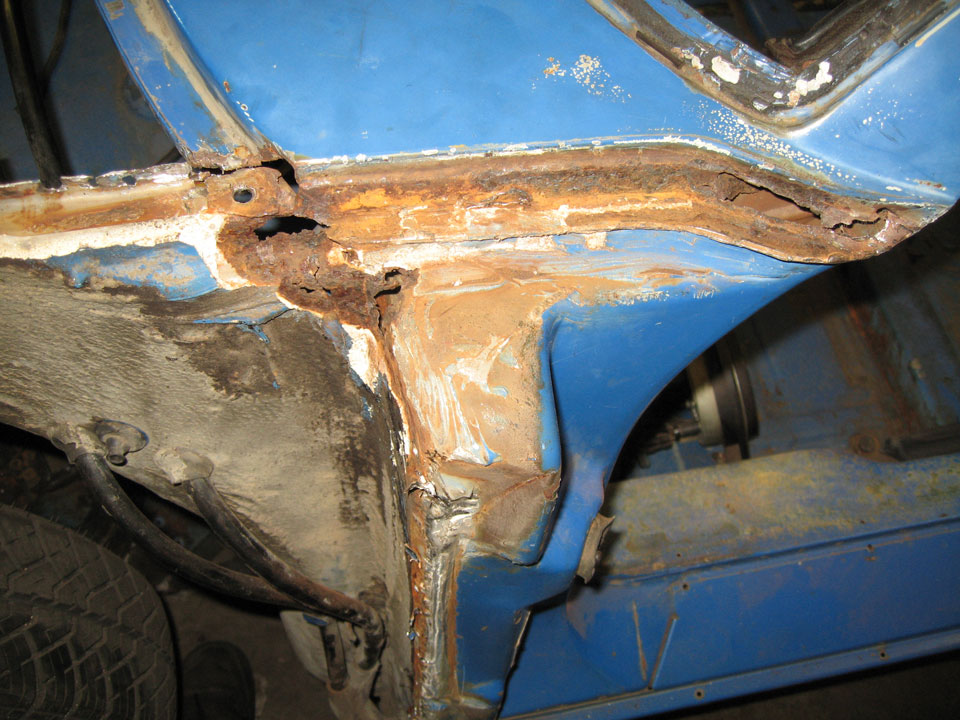
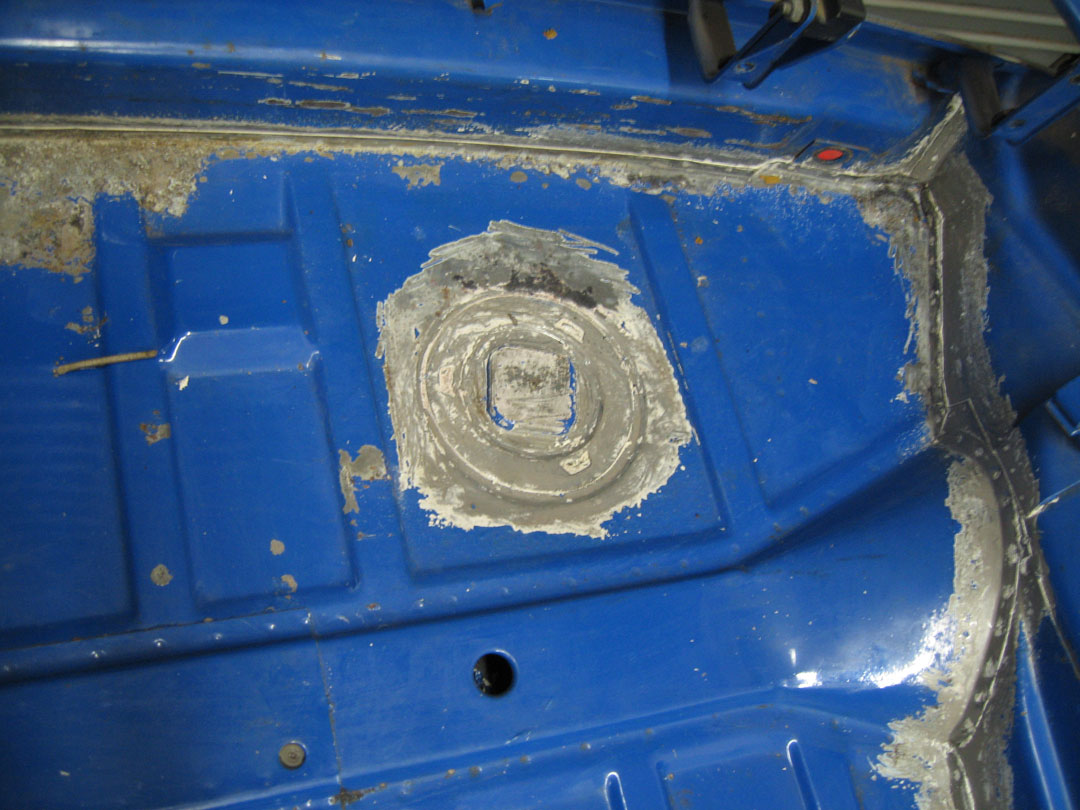
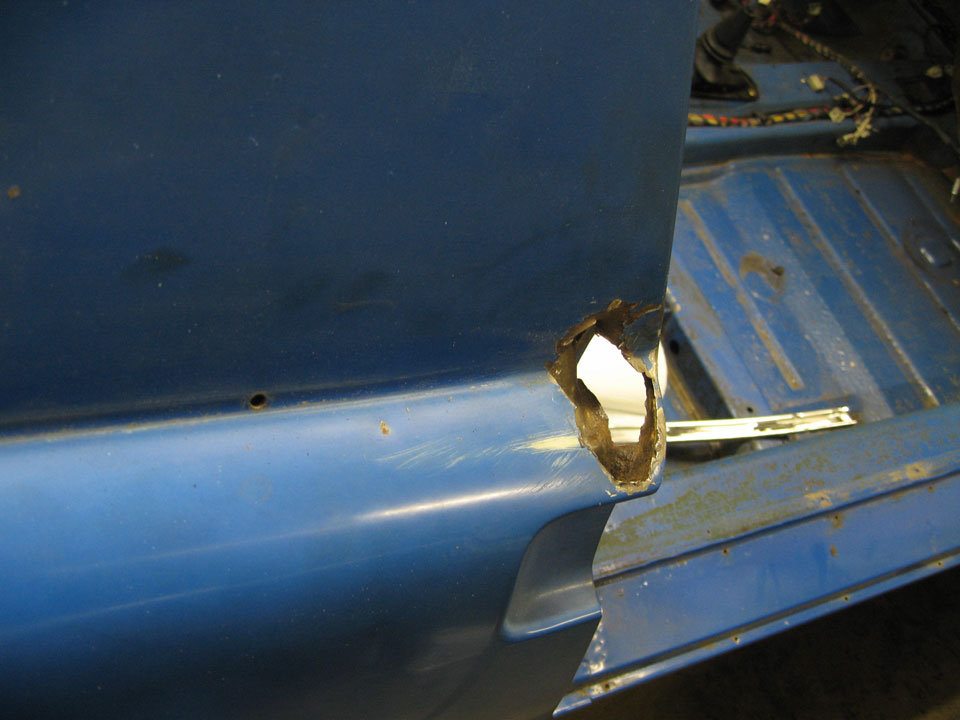
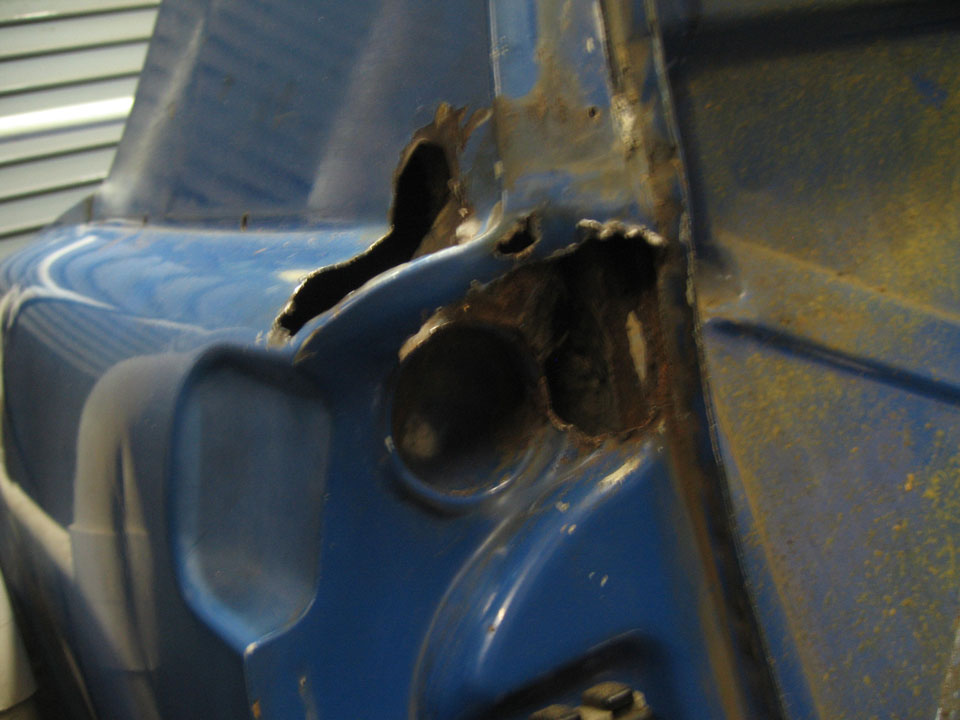
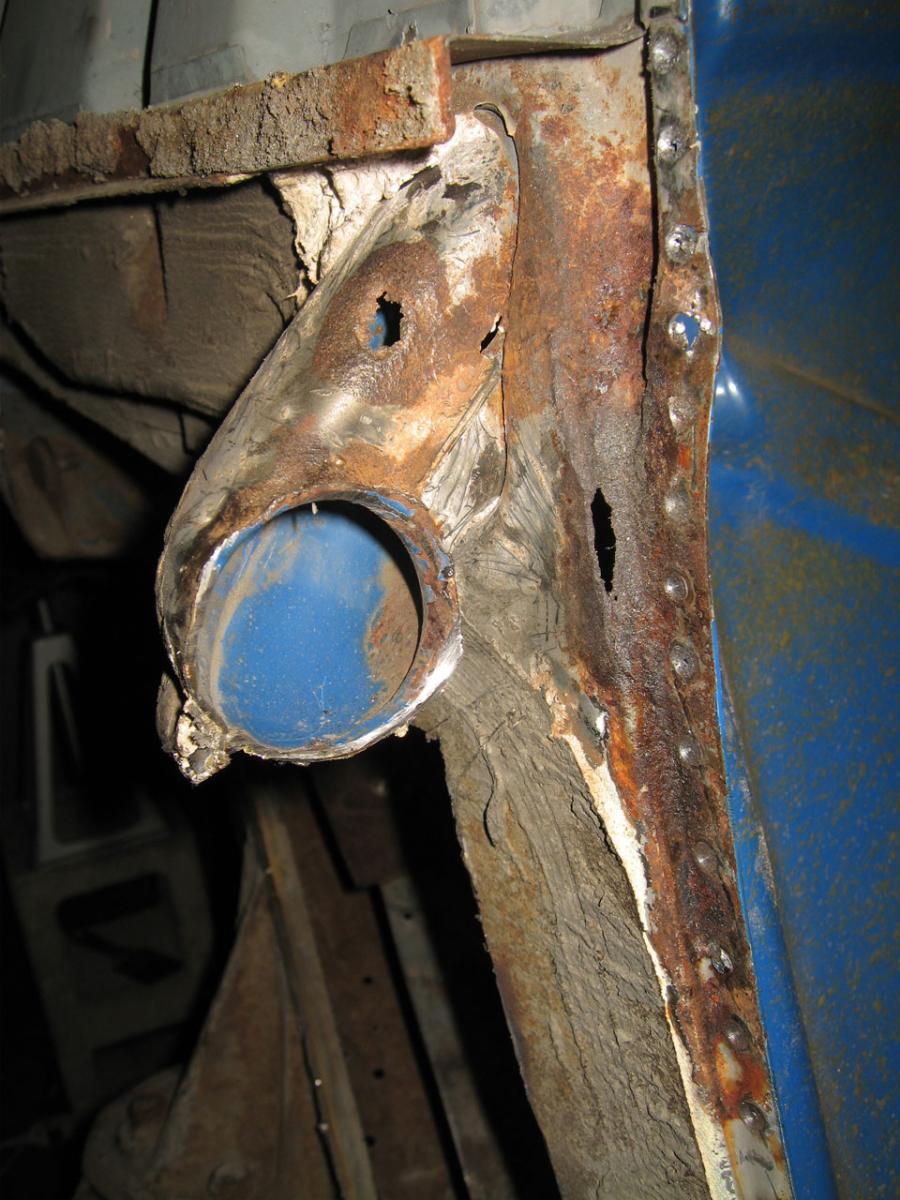
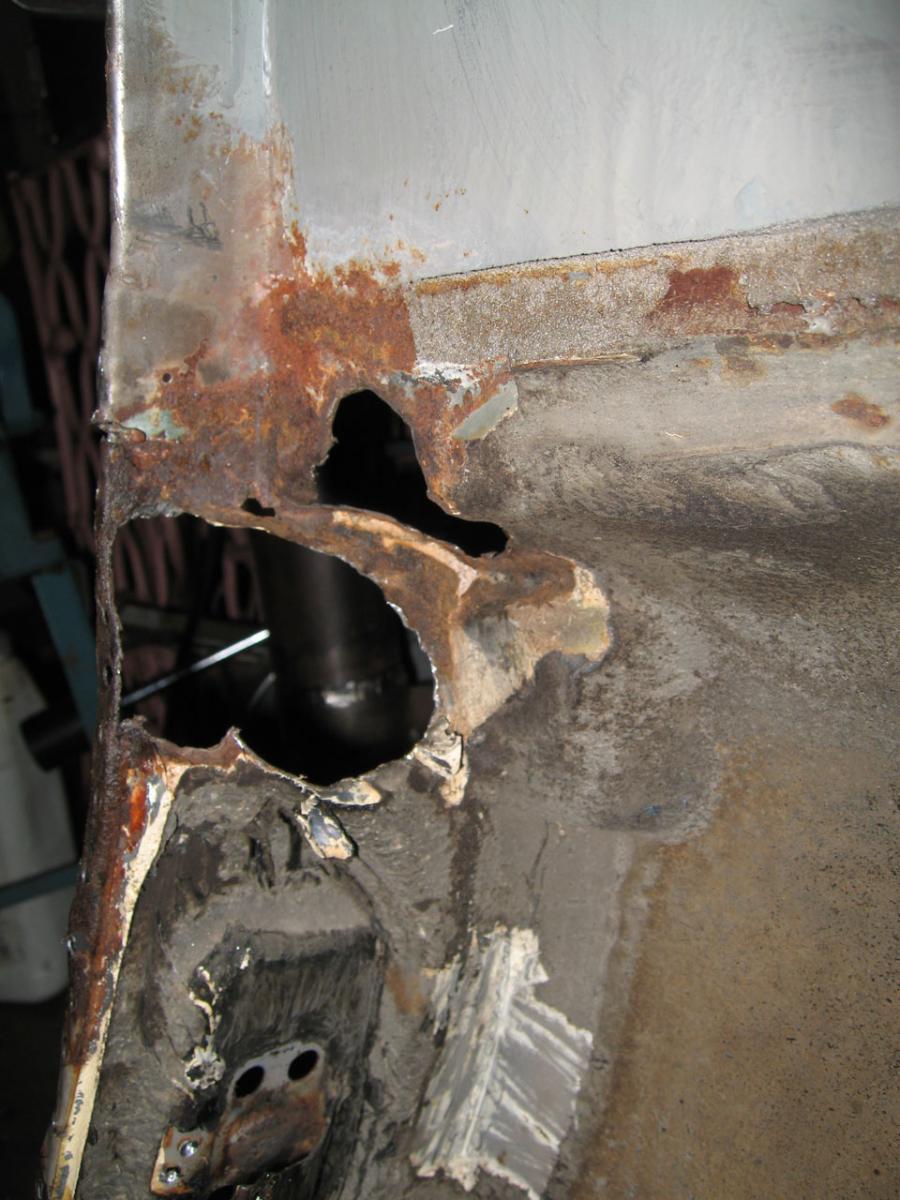
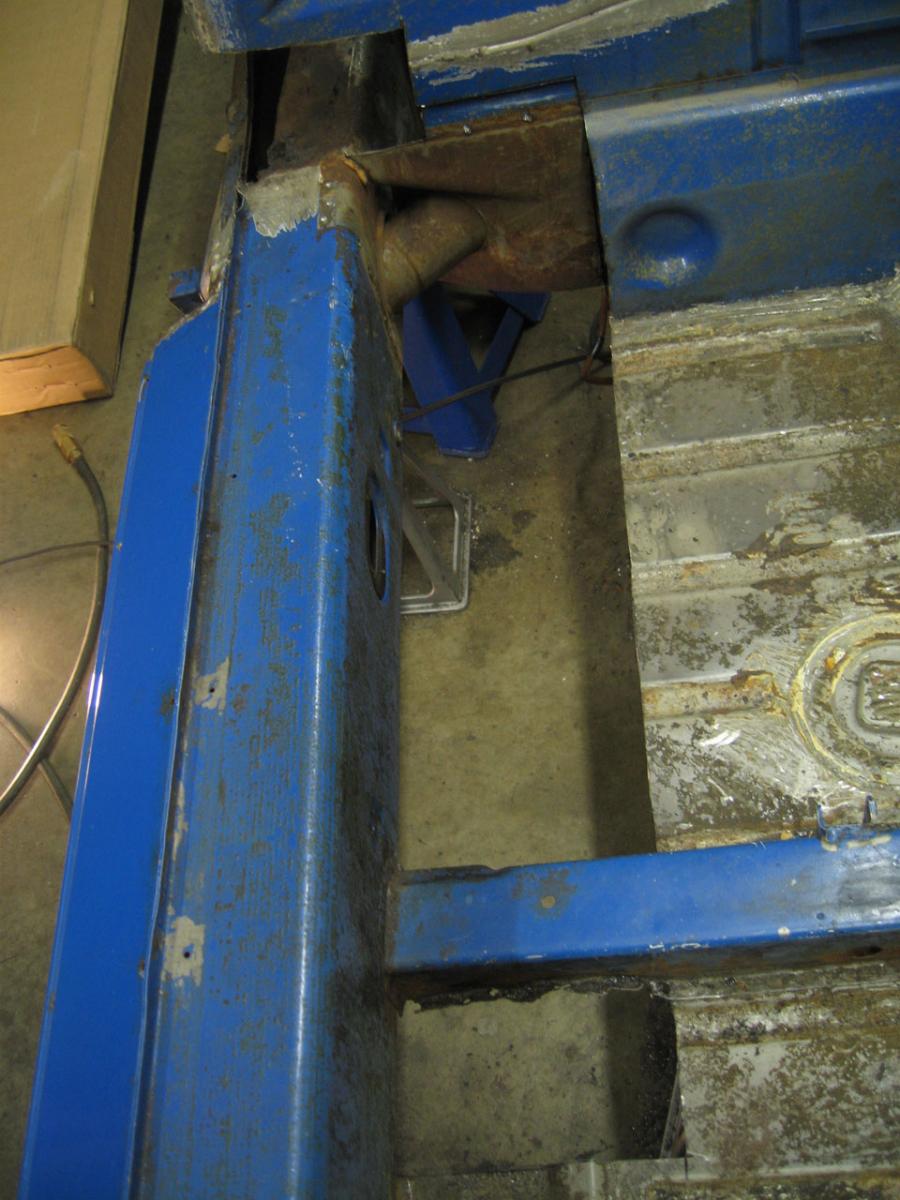
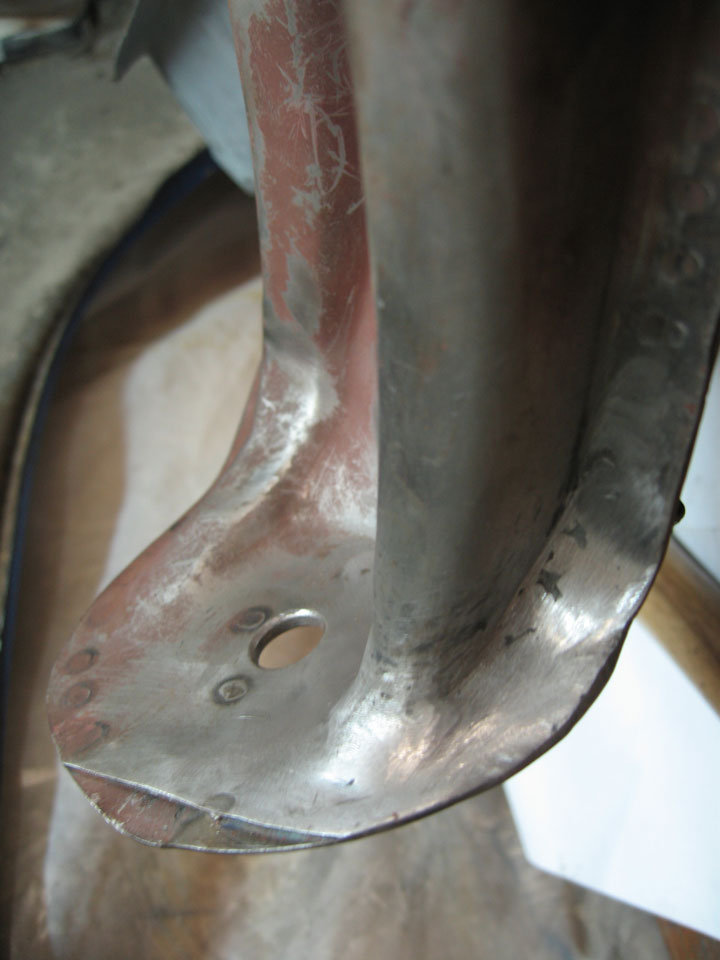
Oops I drilled through. I was supposed to be fixing like issues on the side of my firewall today, but I'm actually ill, sort of congested in my head (on one side only?)
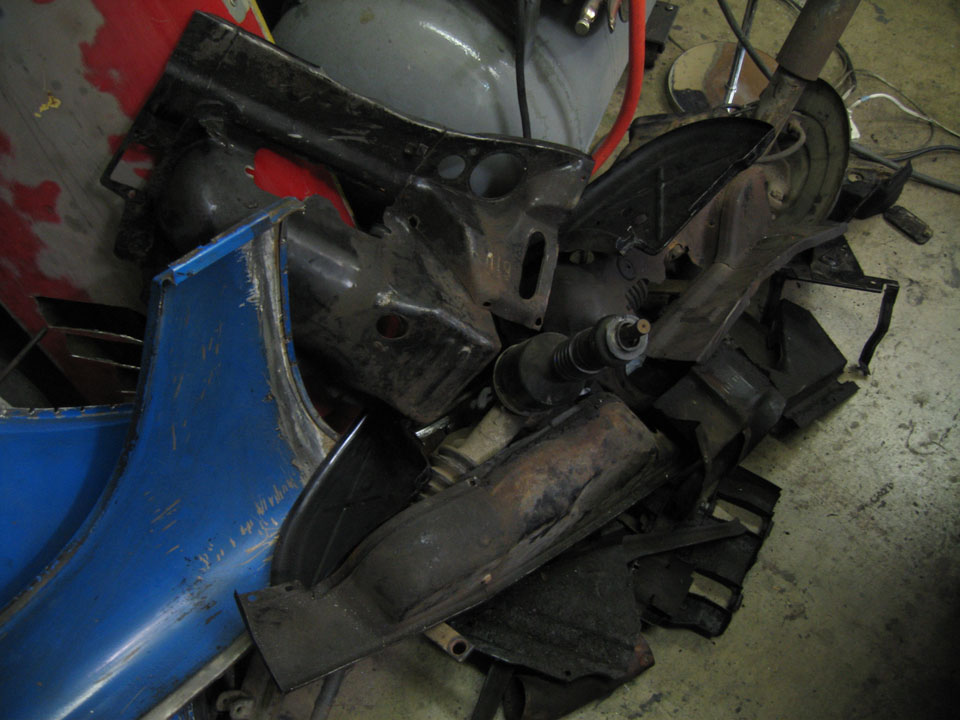
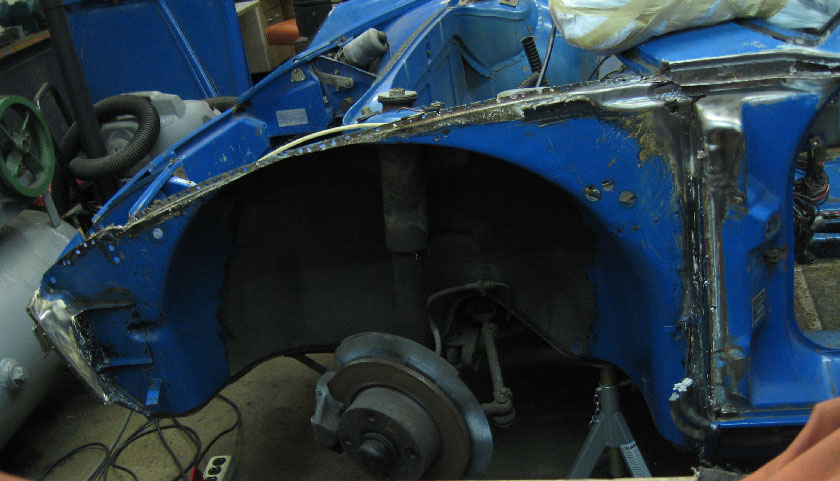
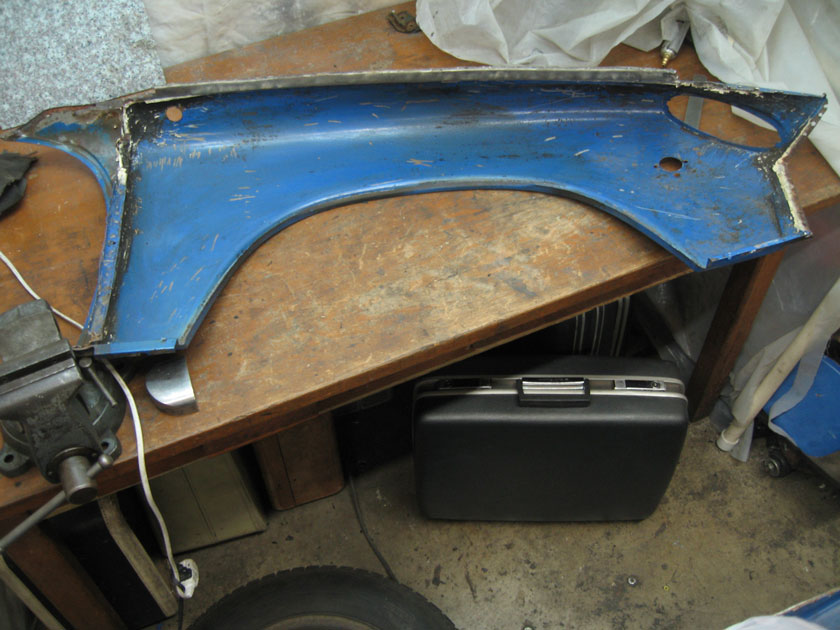
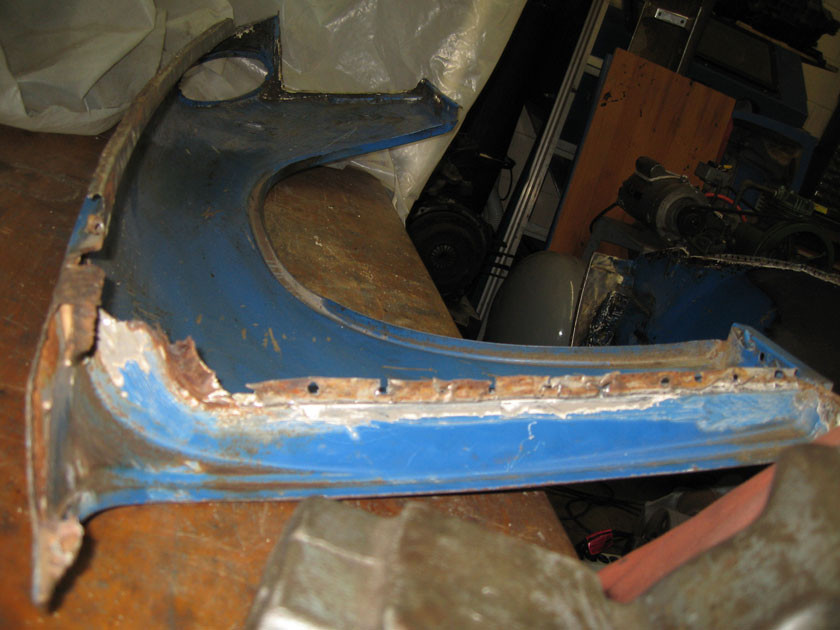
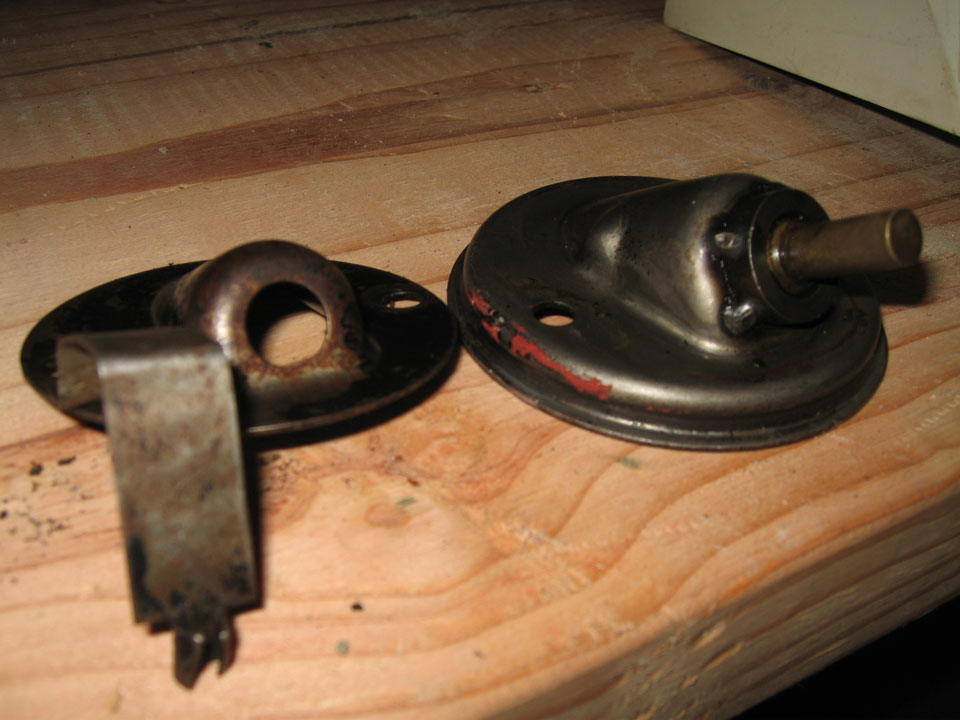
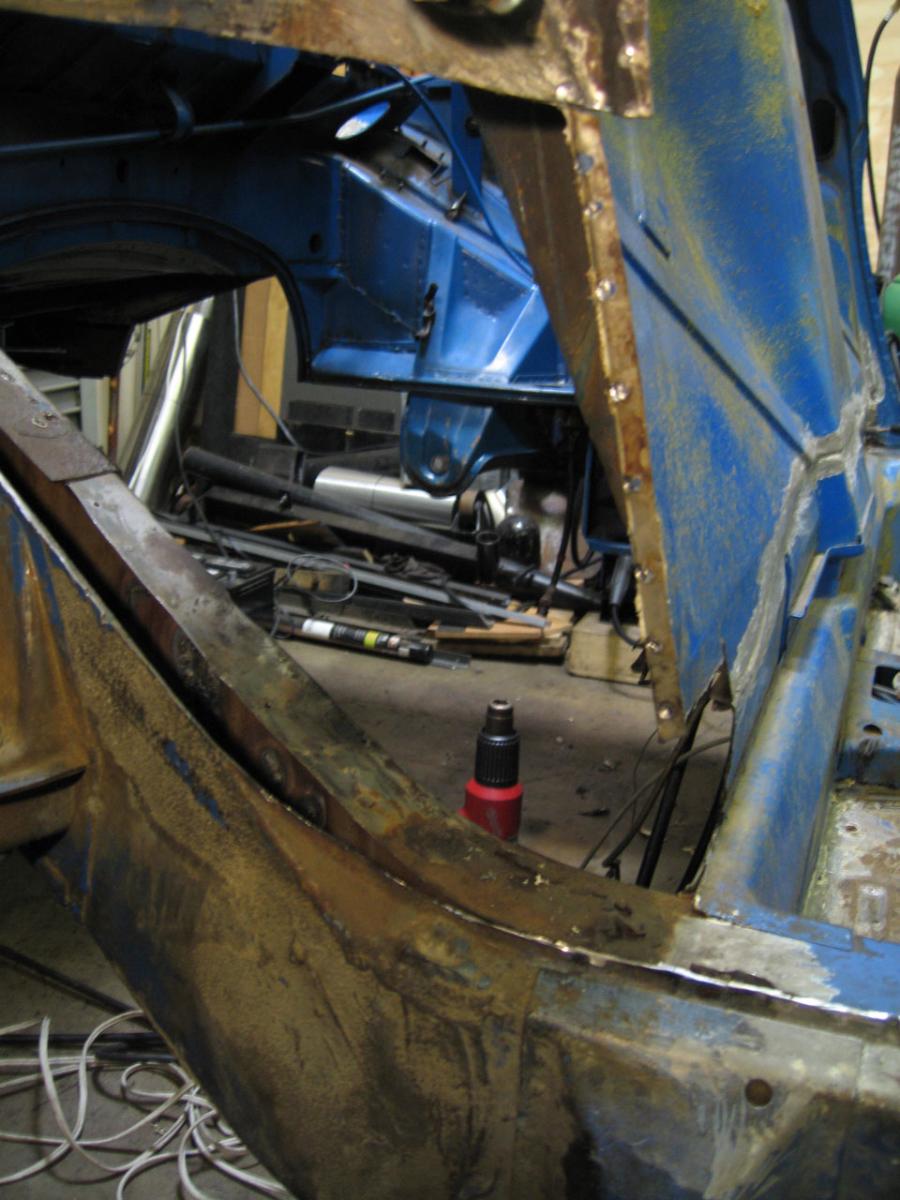
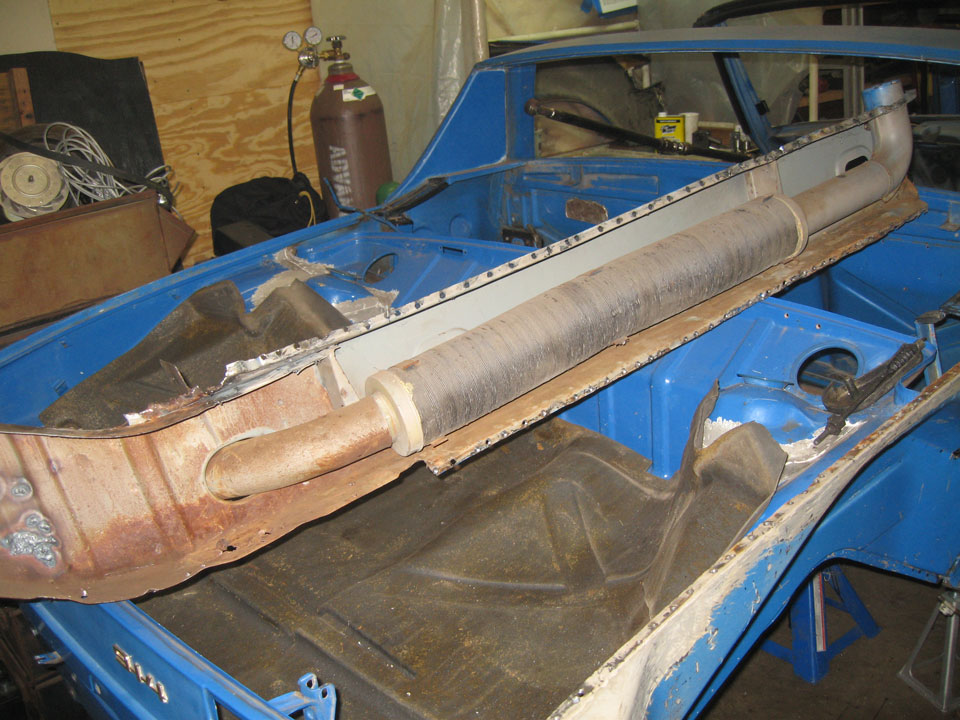
Another story is about how I have 3 driver doors and none of them will work for me. The original one, the skin is f'd. I got another one at a junk yard. Have I told this story? It ended up being a late door because I didn't know what to look for. I decided against using it for the various reasons, and I got another door. This kind guy, I think his name was Brett gave me (as well as the lower pdash pad previously mentioned) a perfect driver early door. Now the problem is that the bottom is out by an inch and a half when the top is about right, this at the back. I'm leaning toward removing the skin from the tweaked early door and putting it on my original door frame, though I haven't committed to that.
I've already removed the original door skin, but I'm saving it for part of the hellhole, so I've cut up the late door, too. Sorry if this peeves anyone. I was a bit leery of putting some crap metal home depot alloy steel in there, so ...
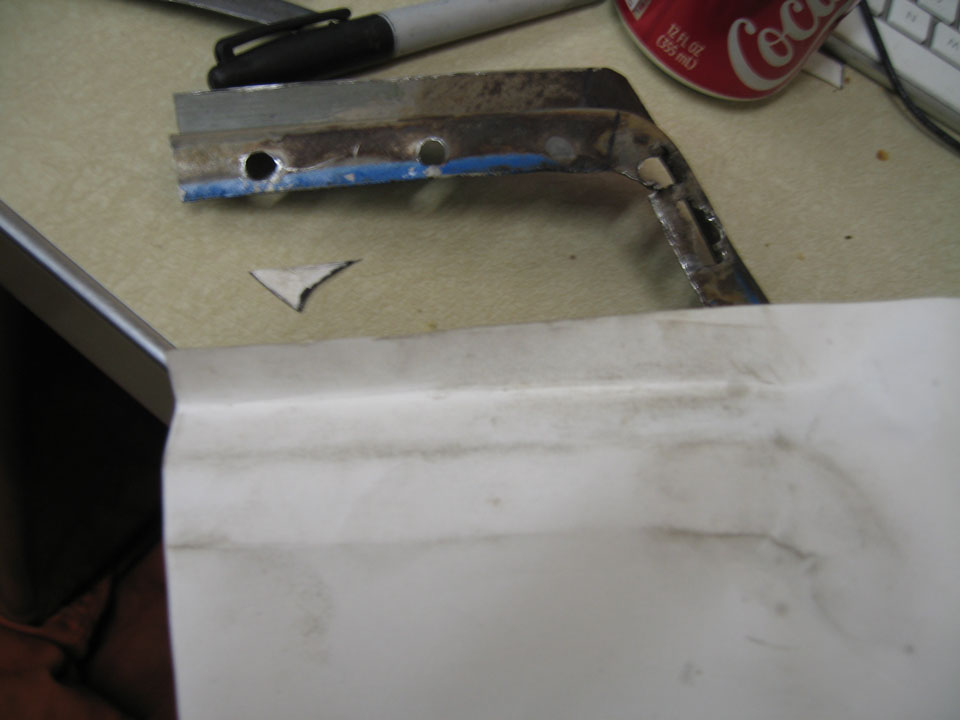
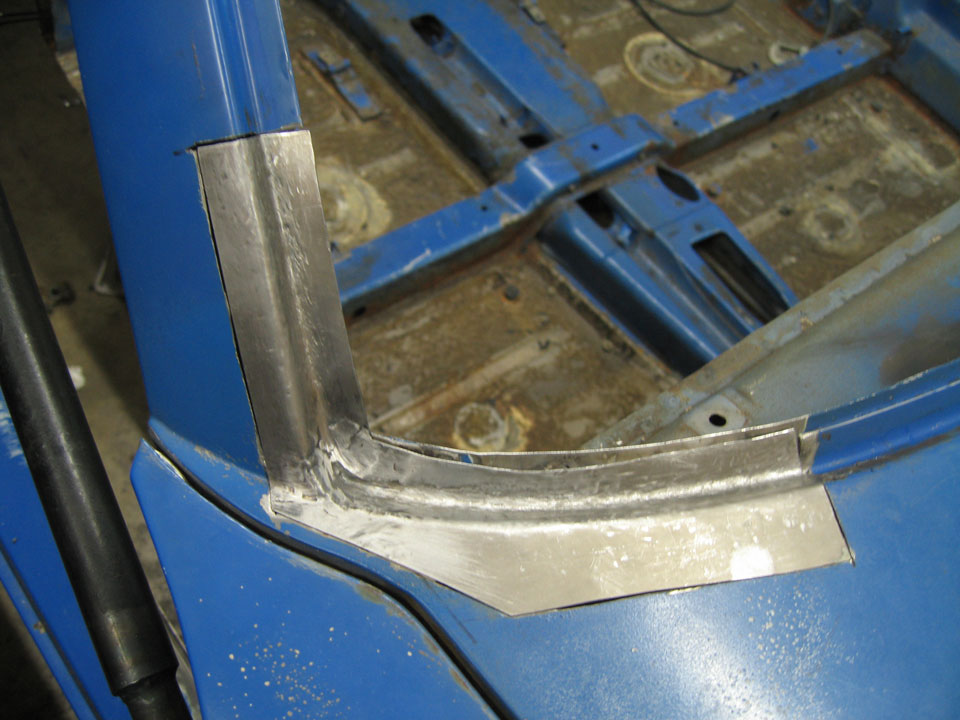
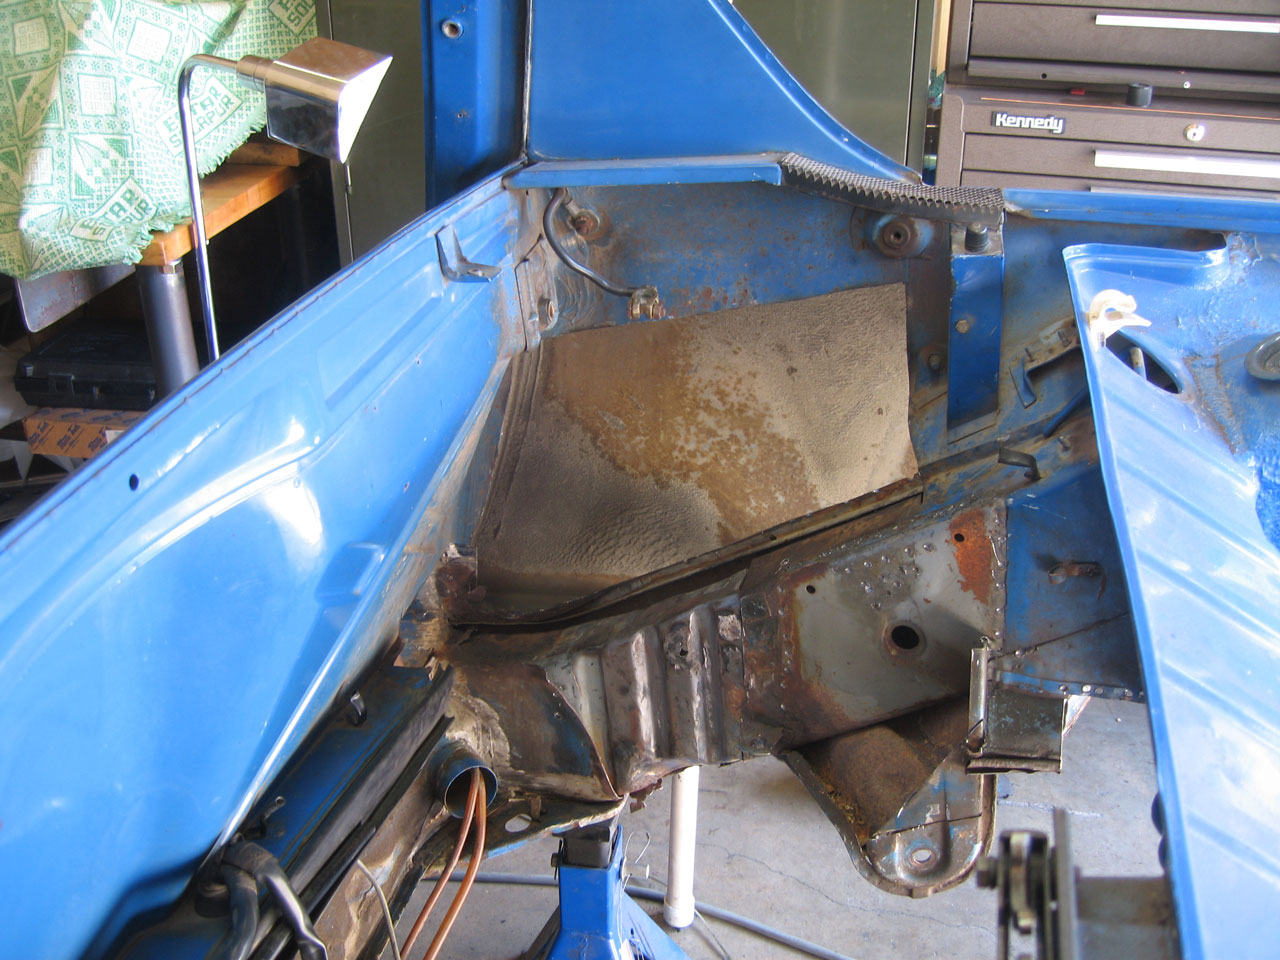
Use of dirt to form a paper template
A little foreshadowing
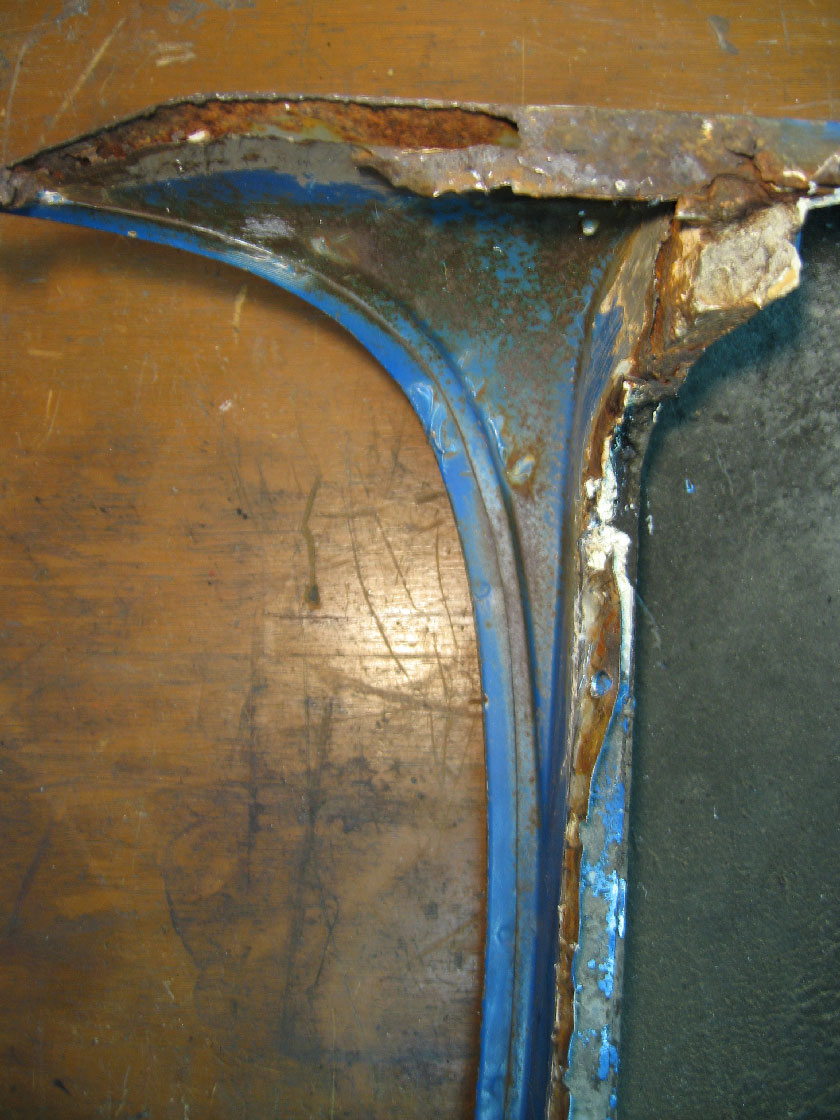
I figured out on the 2nd attempt at this that chemical stripper will leave you with more metal than removing the paint with a wire wheel.
Alas, it got a lot uglier before I abandoned it.

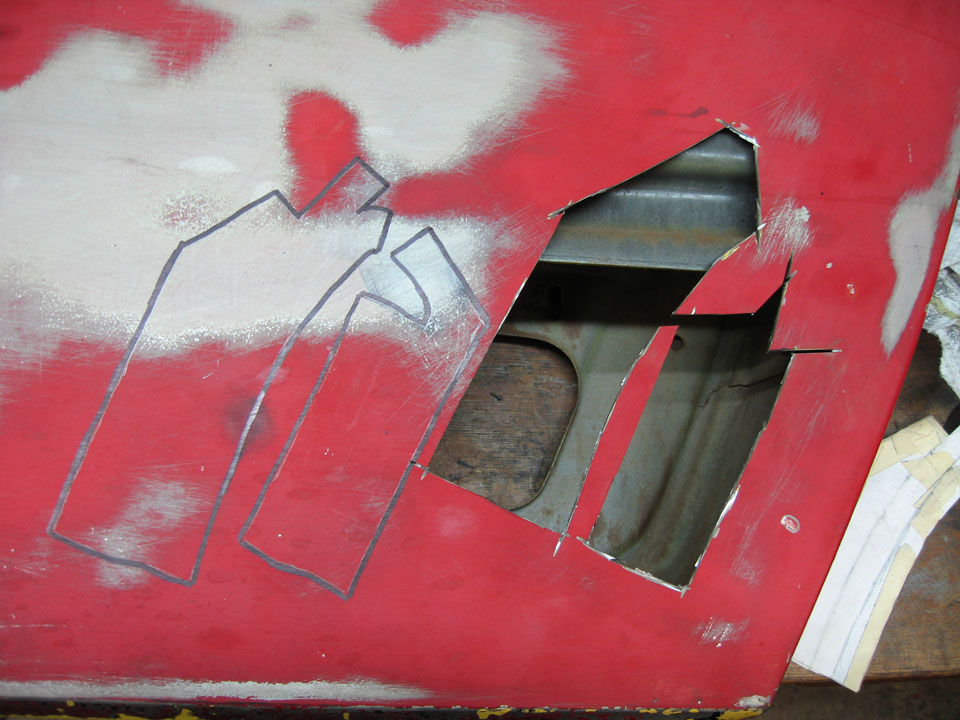
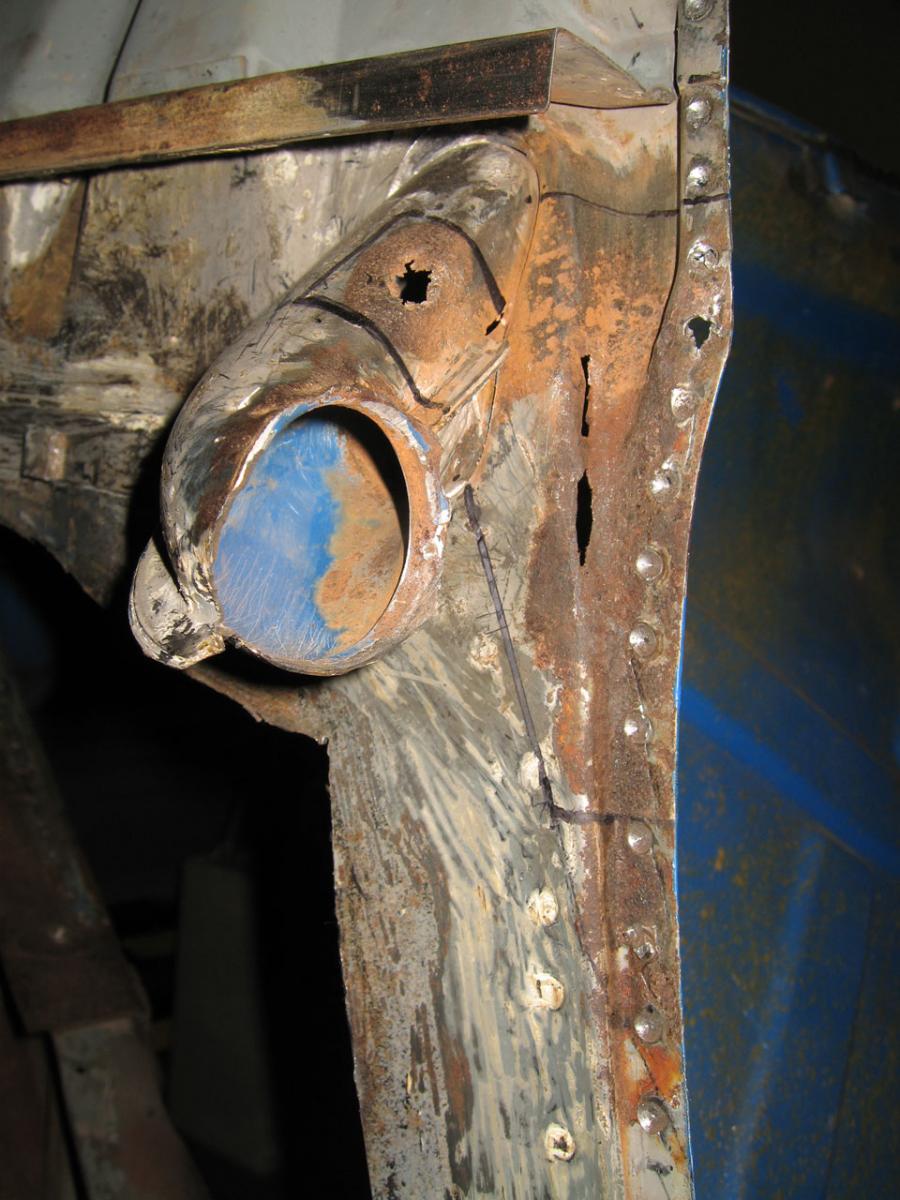
I ended up grinding down that lump on the column part and going right through. It was too 'thin and thick' everywhere, and I decided to o it again. Took me all day and it's still not done.
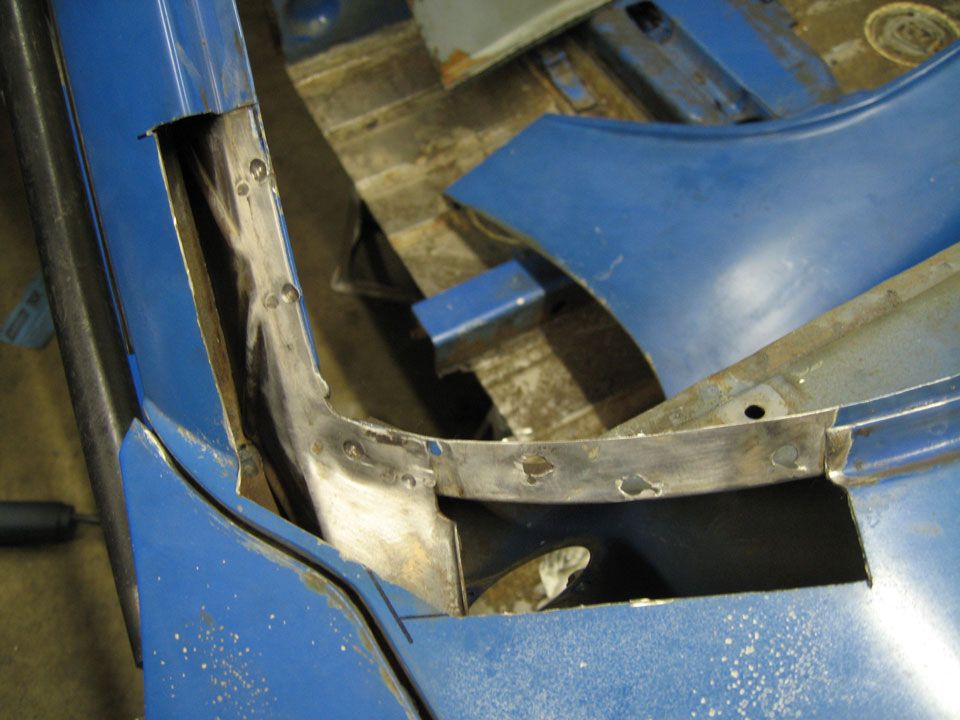
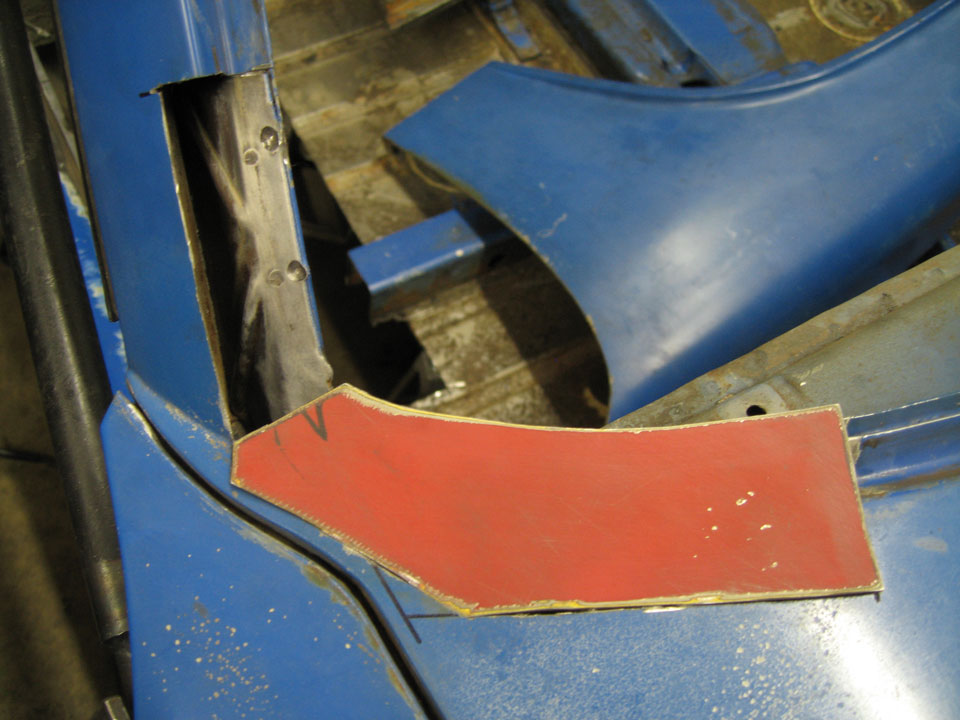
The template for mk II involved masking tape, and I did the joint of the 2 pieces a bit better.
A bit more to do. I'm waiting for my girlfriend (no longer ex - I got her back, the one from the dream

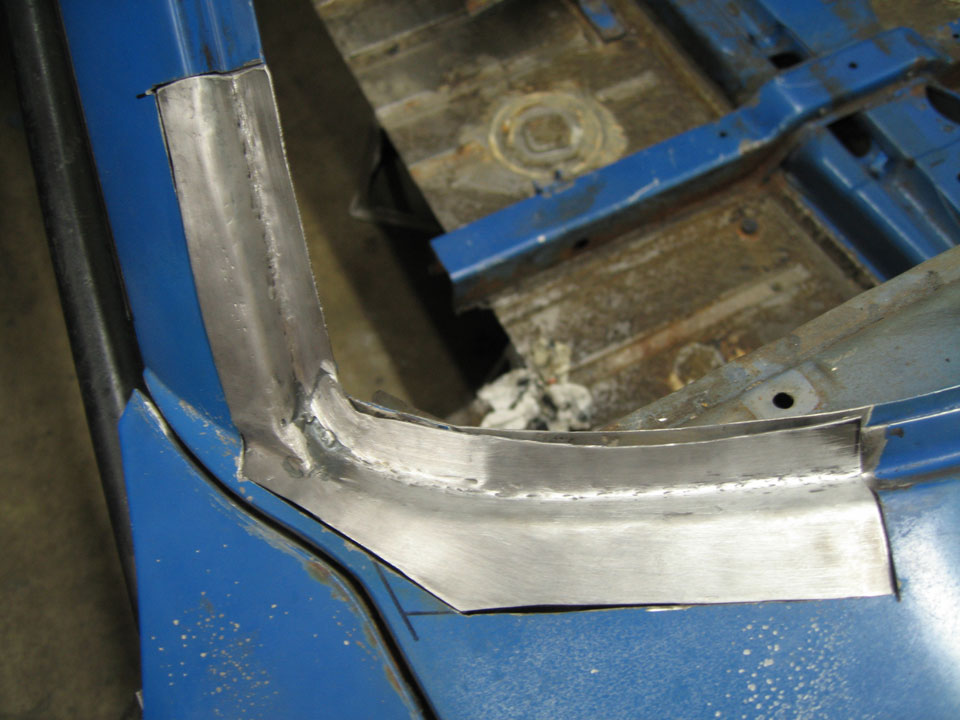
) to send me her drummel tool to more precisely take the welds in the nook down. Hopefully there will be no need for mkIII.
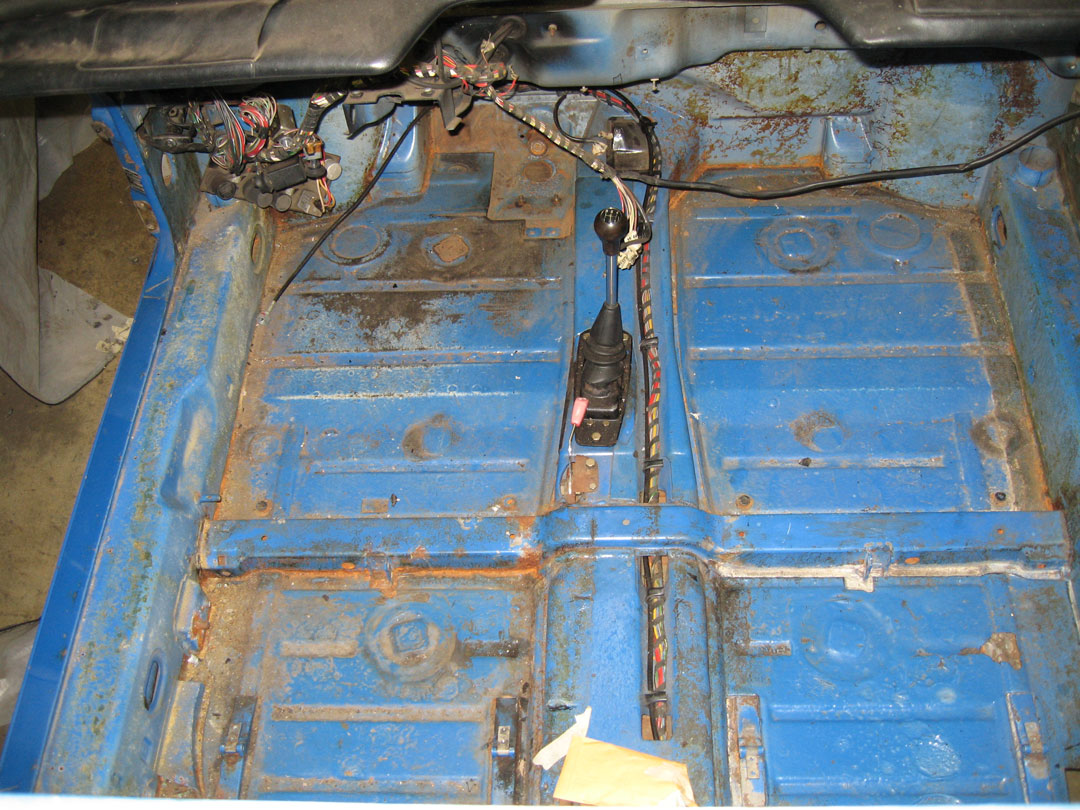
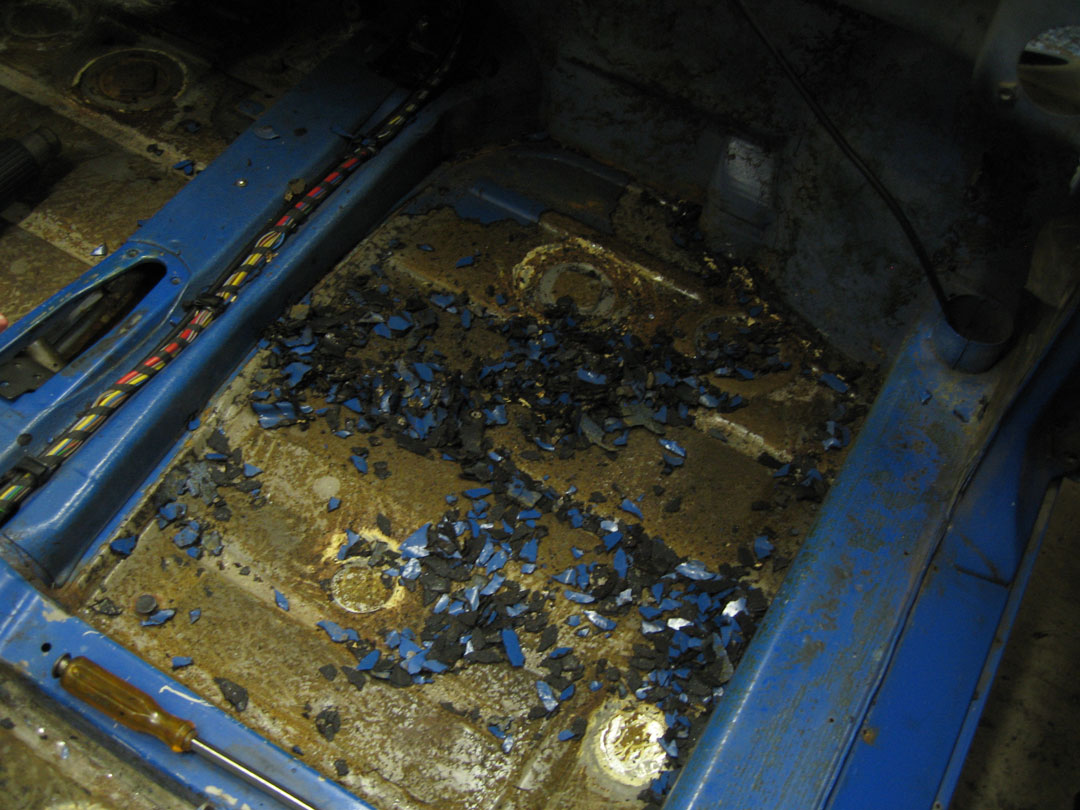
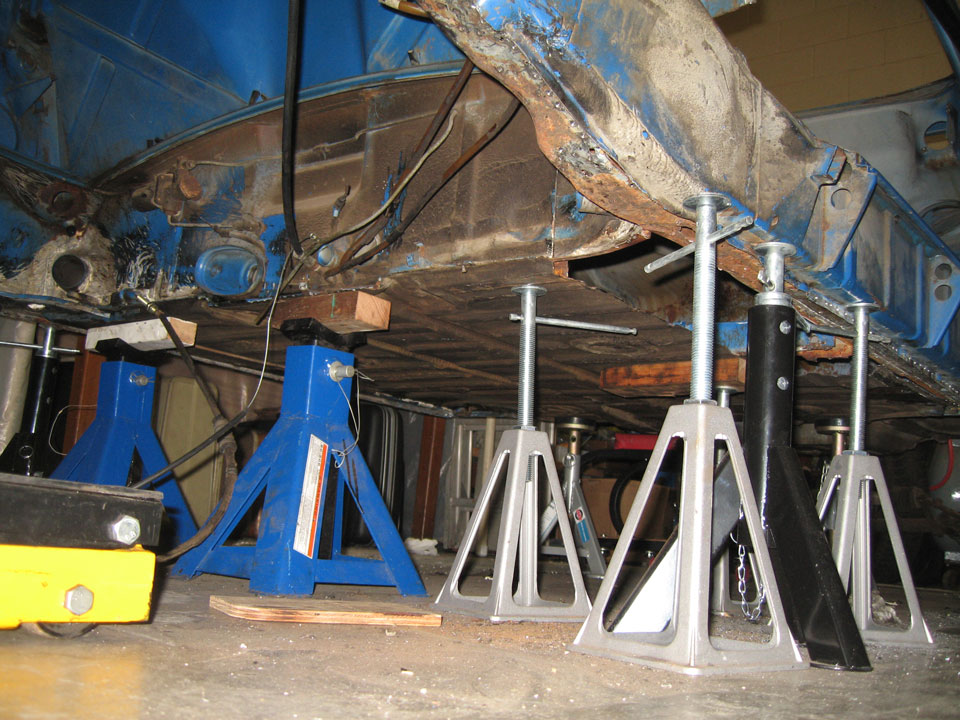
Other happenings, sort of unrelated, I was standing there looking at her (the 914) thinking, I'm gonna have to get the cross support under the passenger seat welded to the inner long (that I've taken out) before I take out the floor pan, when from the sky 2 feet in front of me drops this
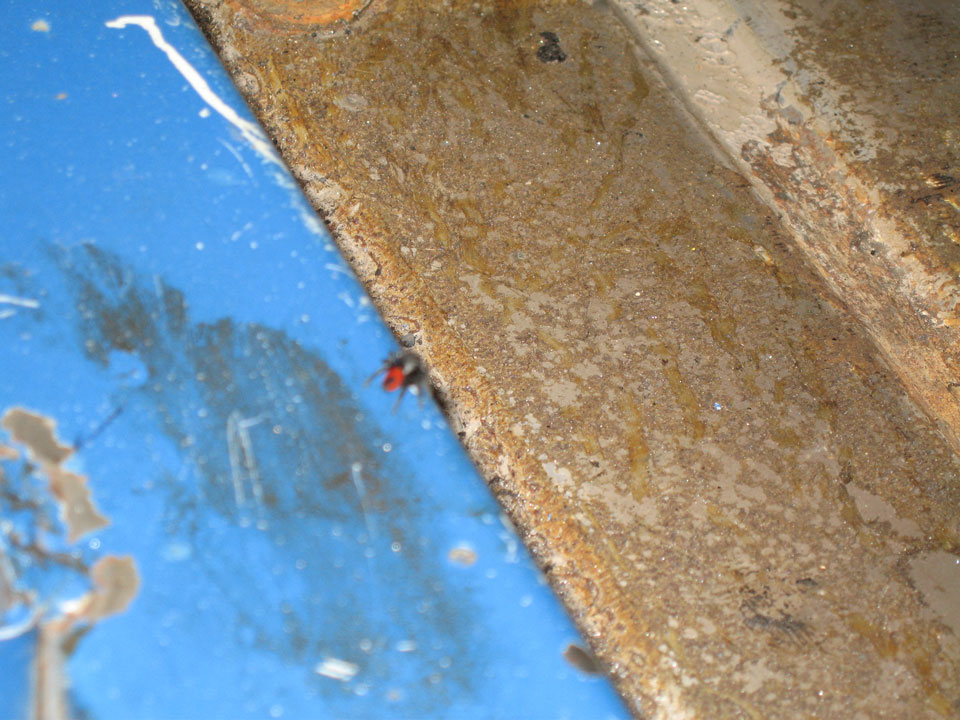
right on to the support with a sort of thud/ chink. I probably should have whacked it, because while I was busy taking this great picture of the adhesive residue on my floorpan (note blurry black widow?) He crawled into my tunnel (hopefully) never to be seen again?

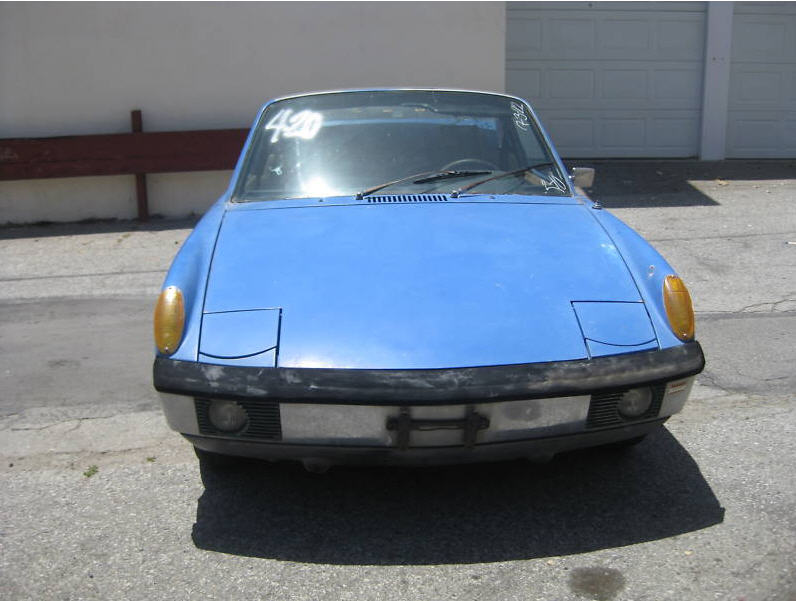


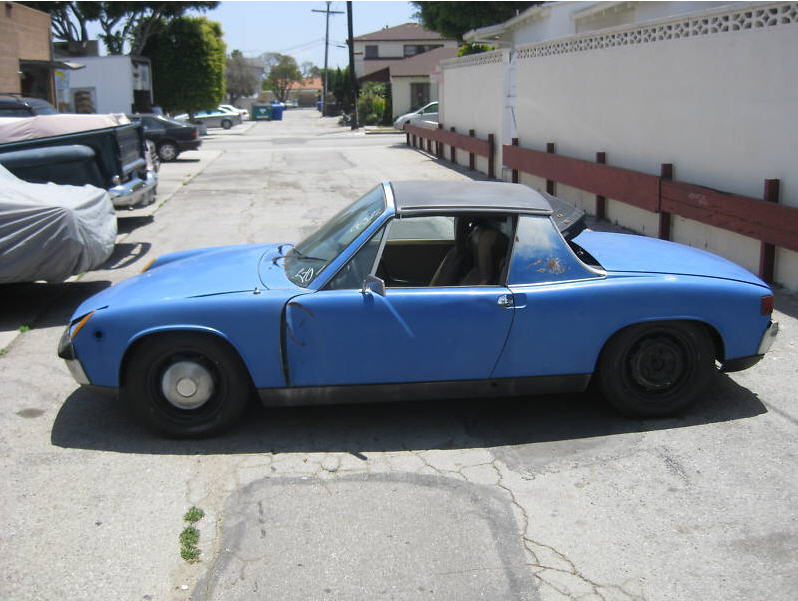
 "bought it now"-ed, after having driven 60 miles to see it and back.
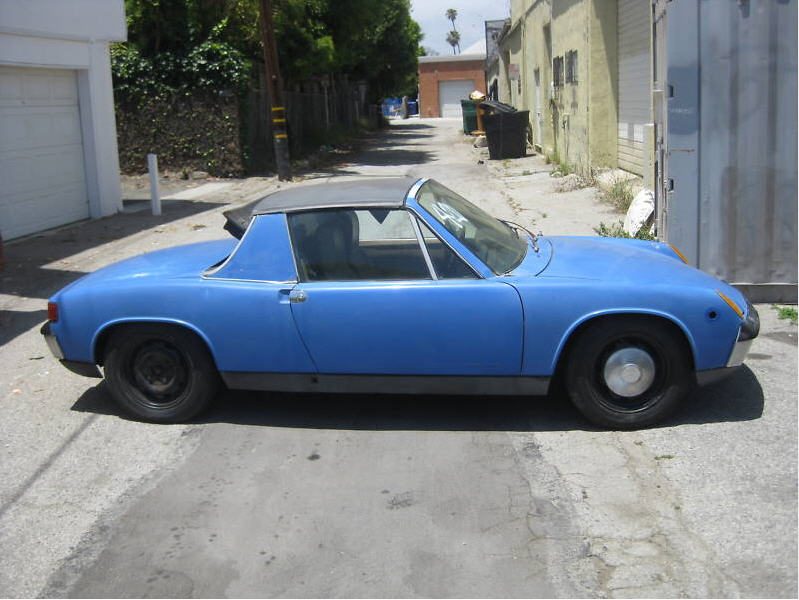


![hitfan[1].gif](http://www.914world.com/bbs2/style_emoticons/default/hitfan[1].gif)


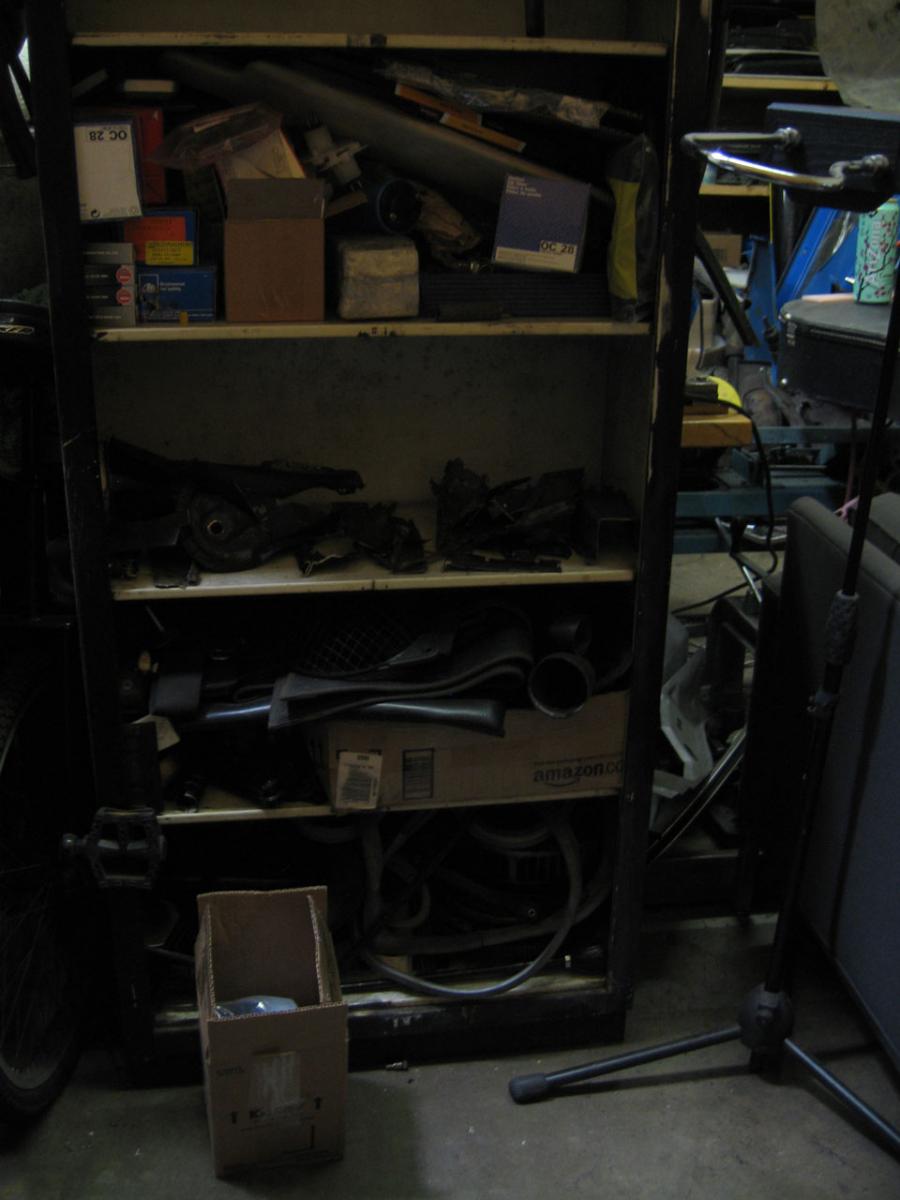
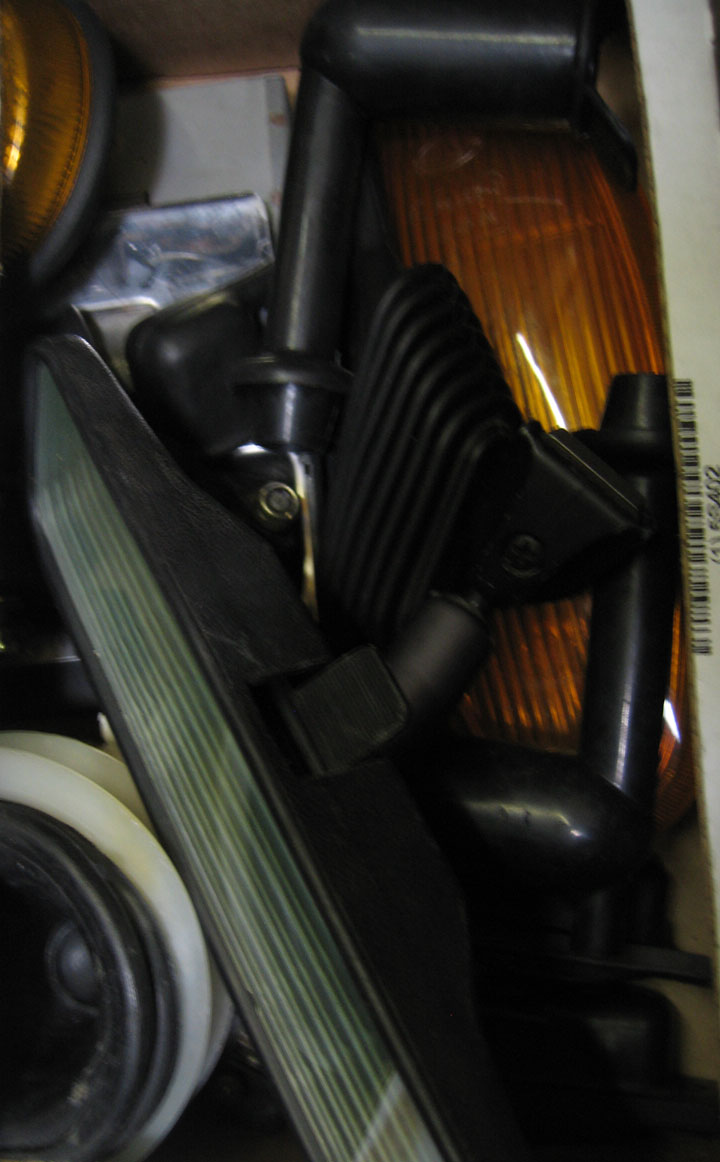
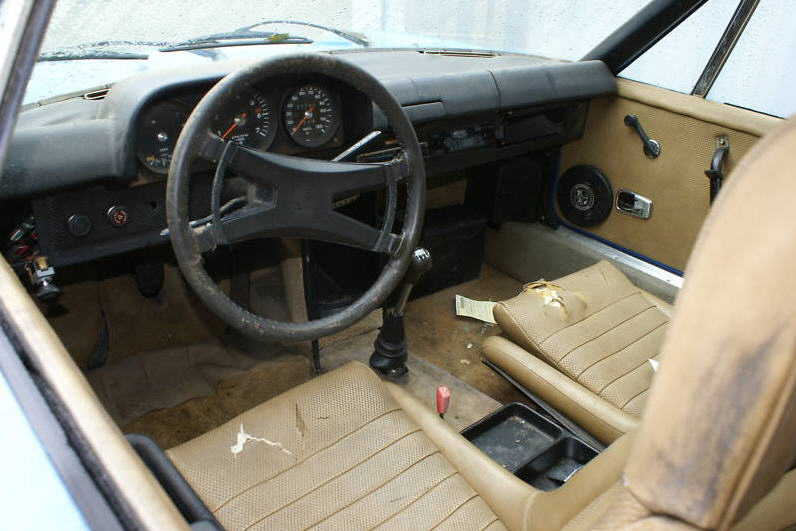
 ) The trunk did not come with this pristine pair of ssi heater boxes, unfortunately, I had to put them in there. :-) I don't seem to have a more relevant picture of pre stage 2 for some reason.
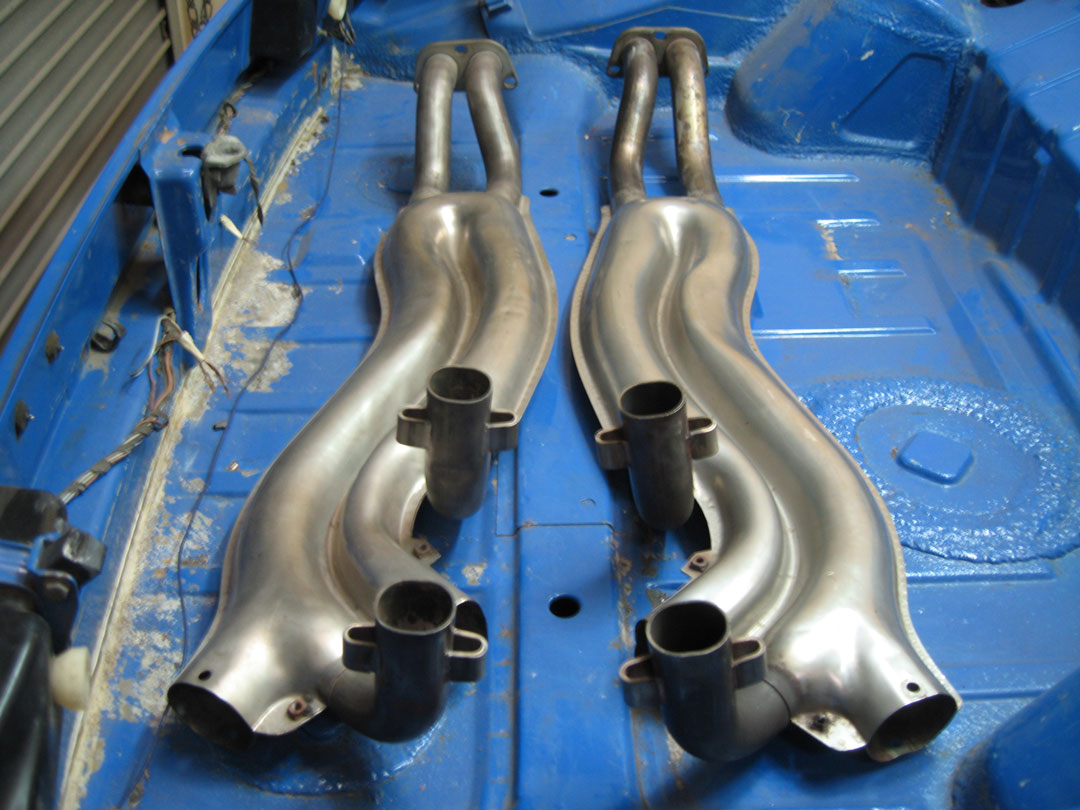

 It is full-tang though. It got so intense, the scrapin' scrapin' scrapin' that the tang started to slide in the handle, pushing the impact plate out the back of it periodically. -Still the weapon of choice though, the tip has been through so much scraping
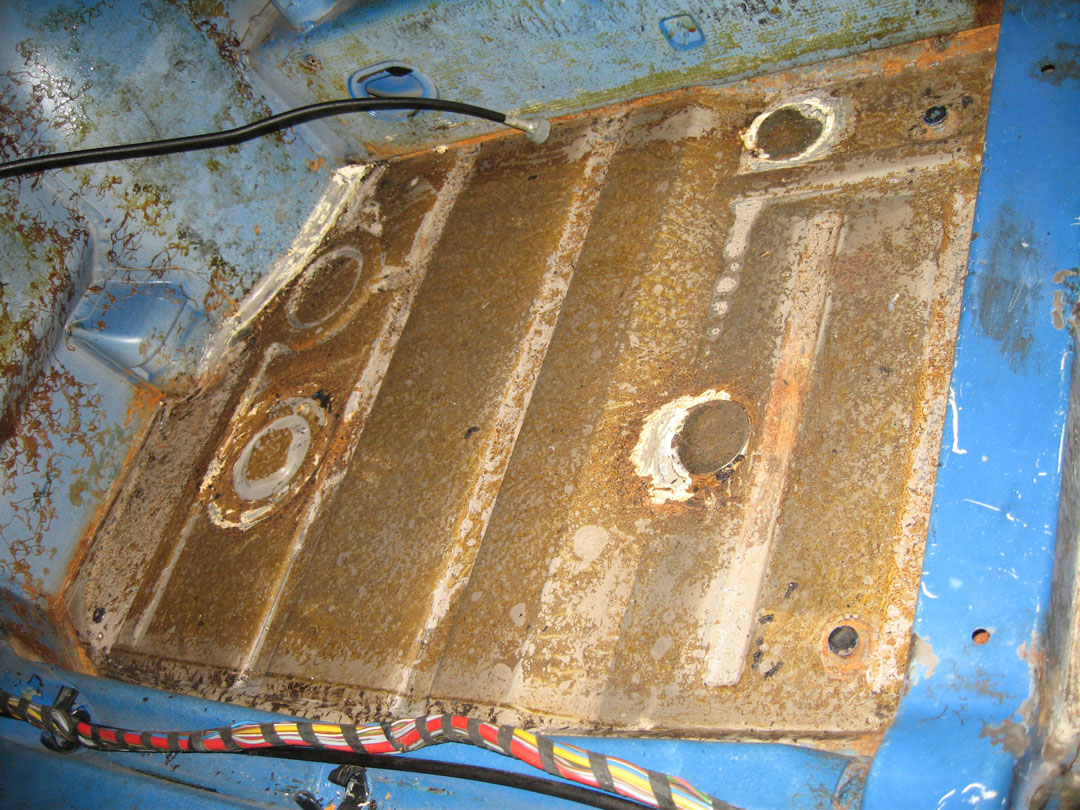
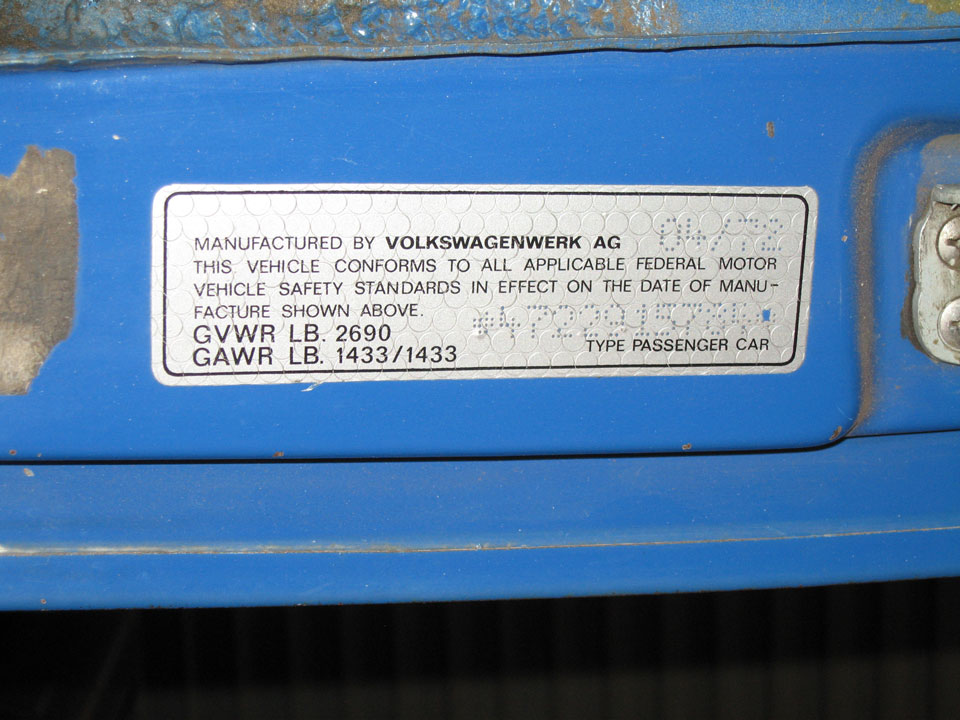
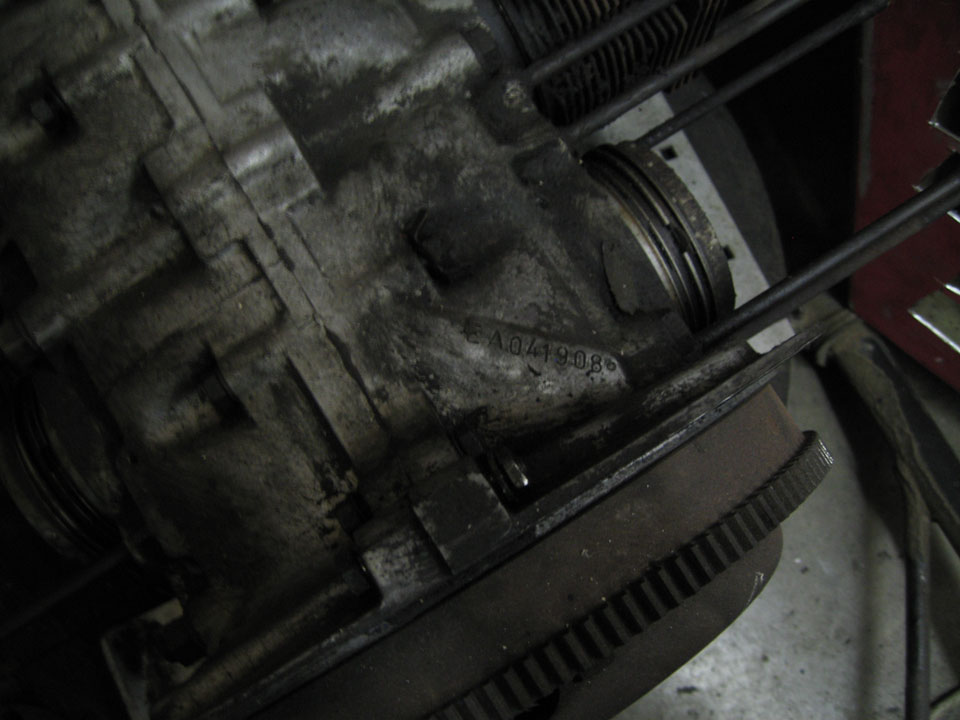
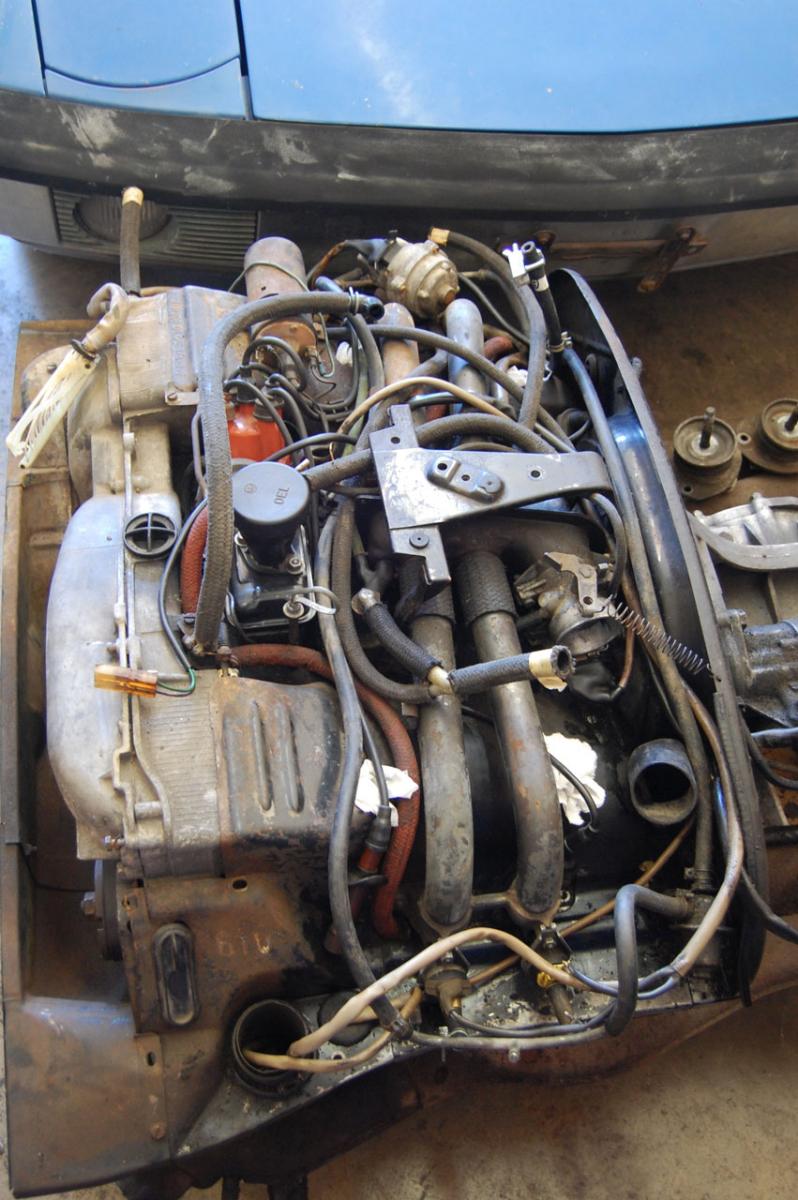
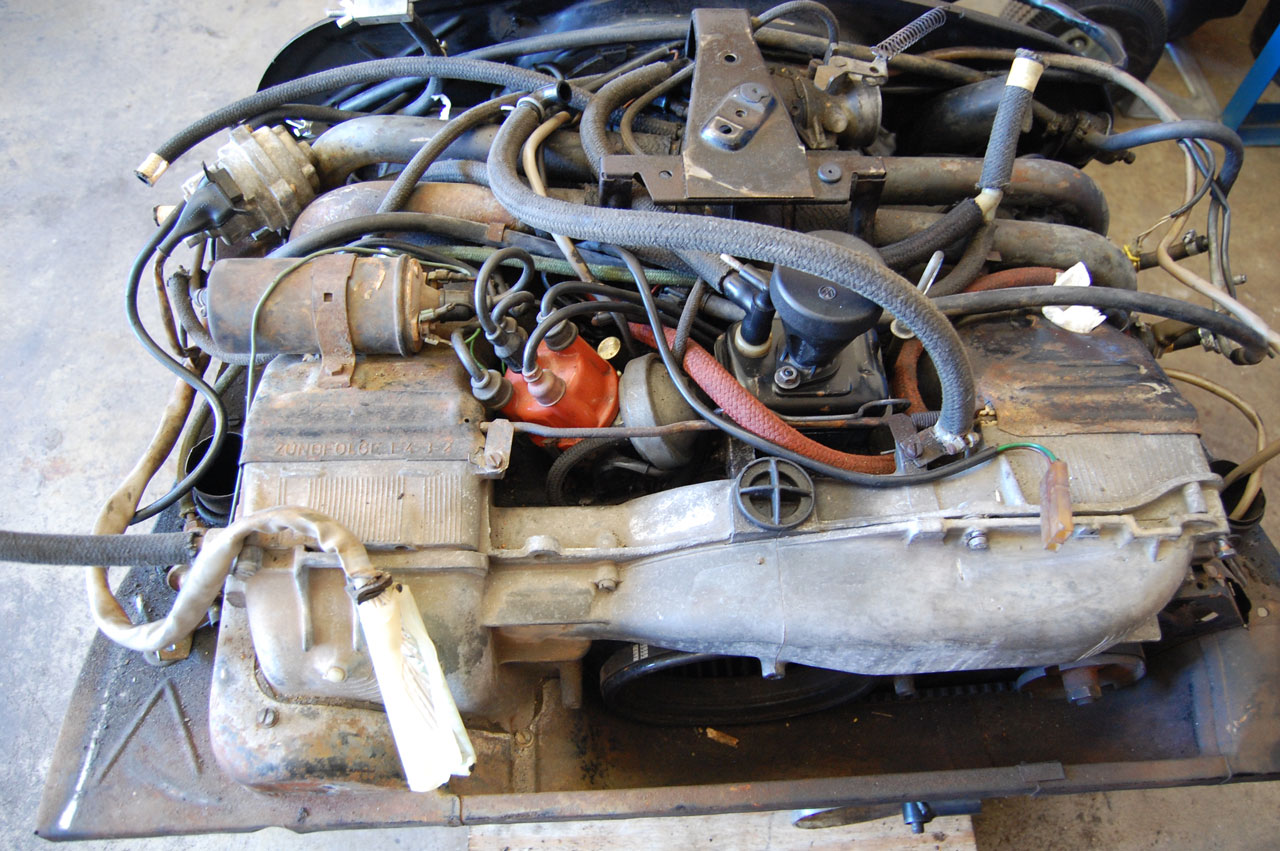
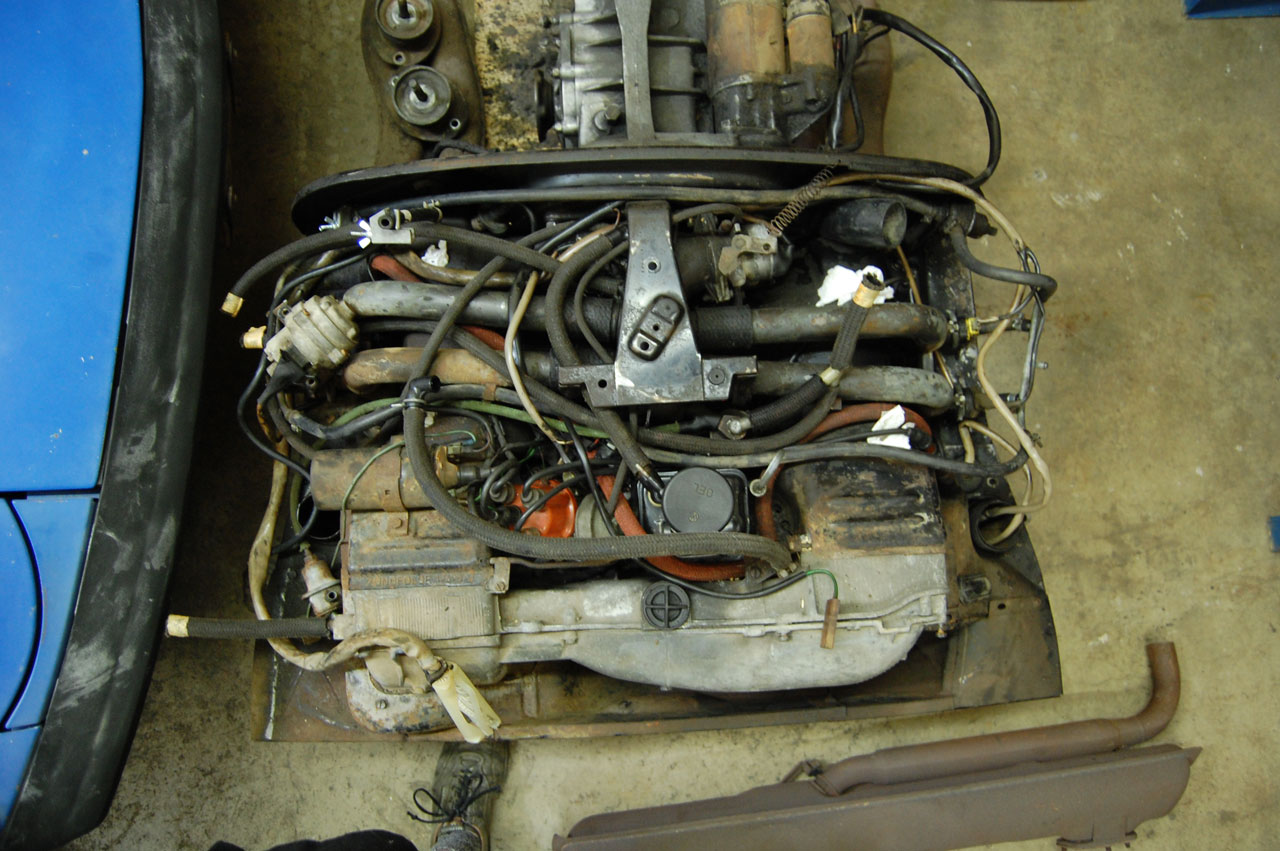
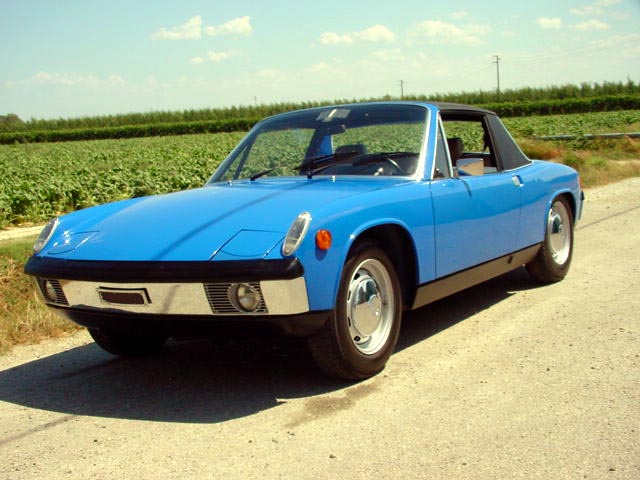
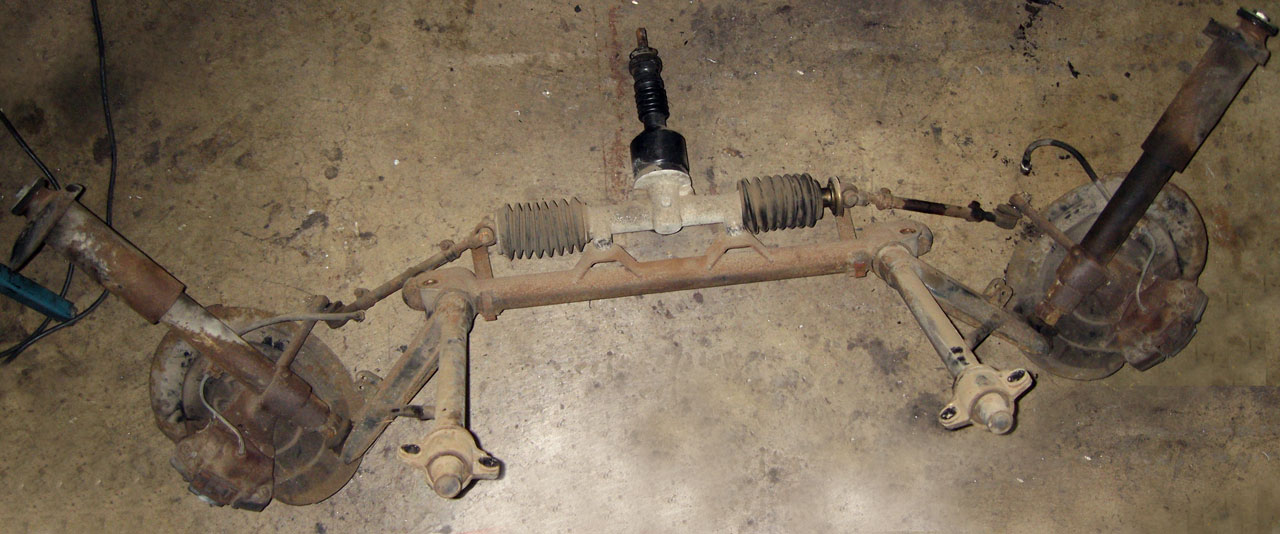
 It's an air- cooled

 Looking forward to more!


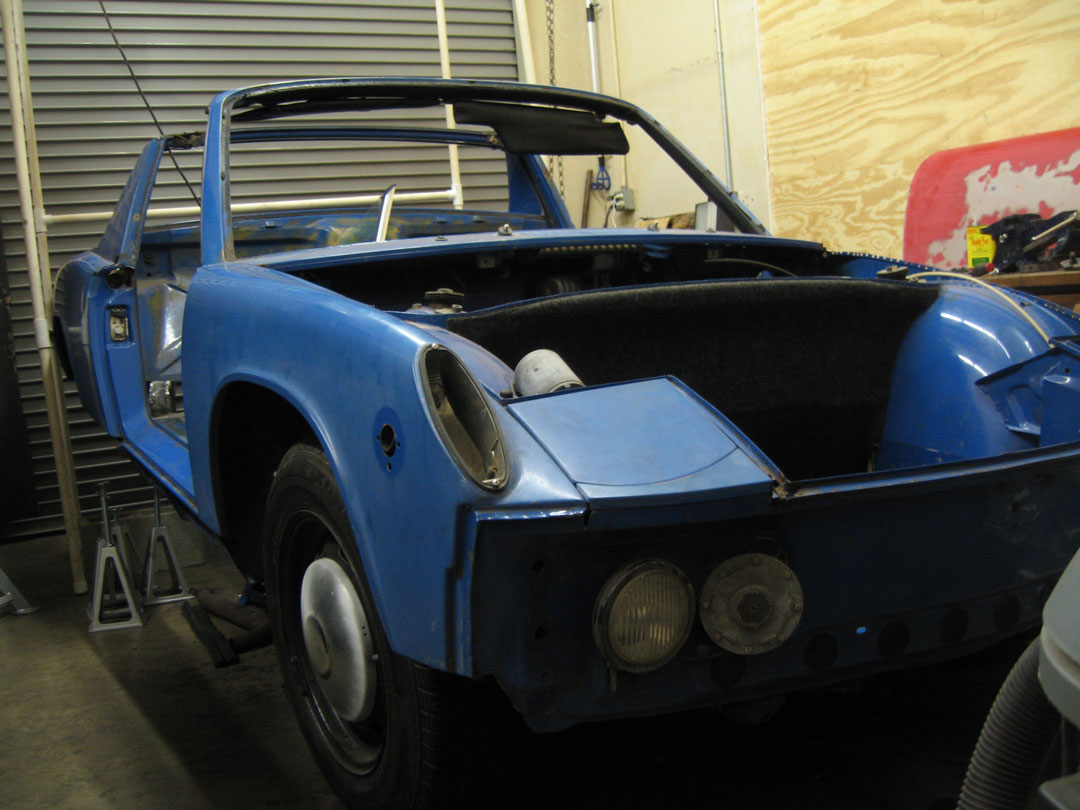
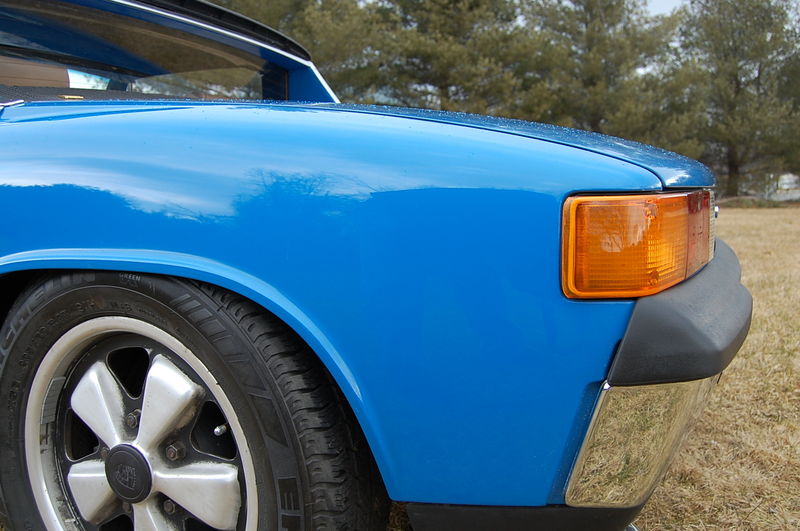
 Just like mine


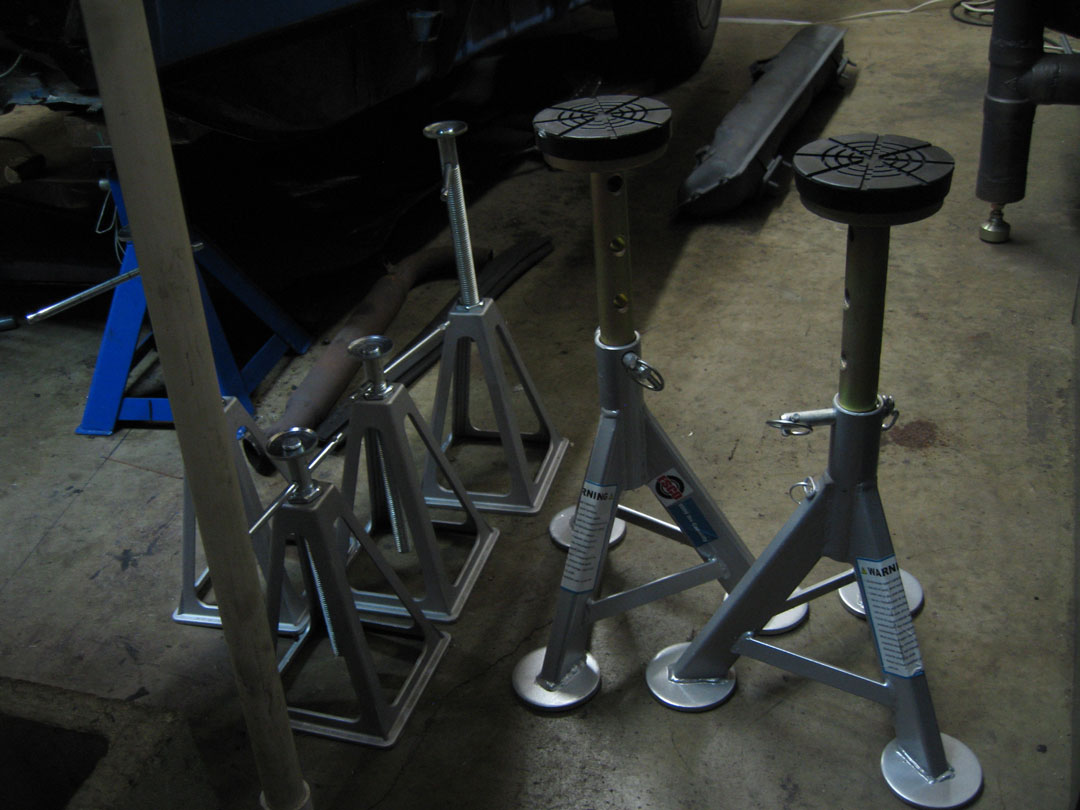
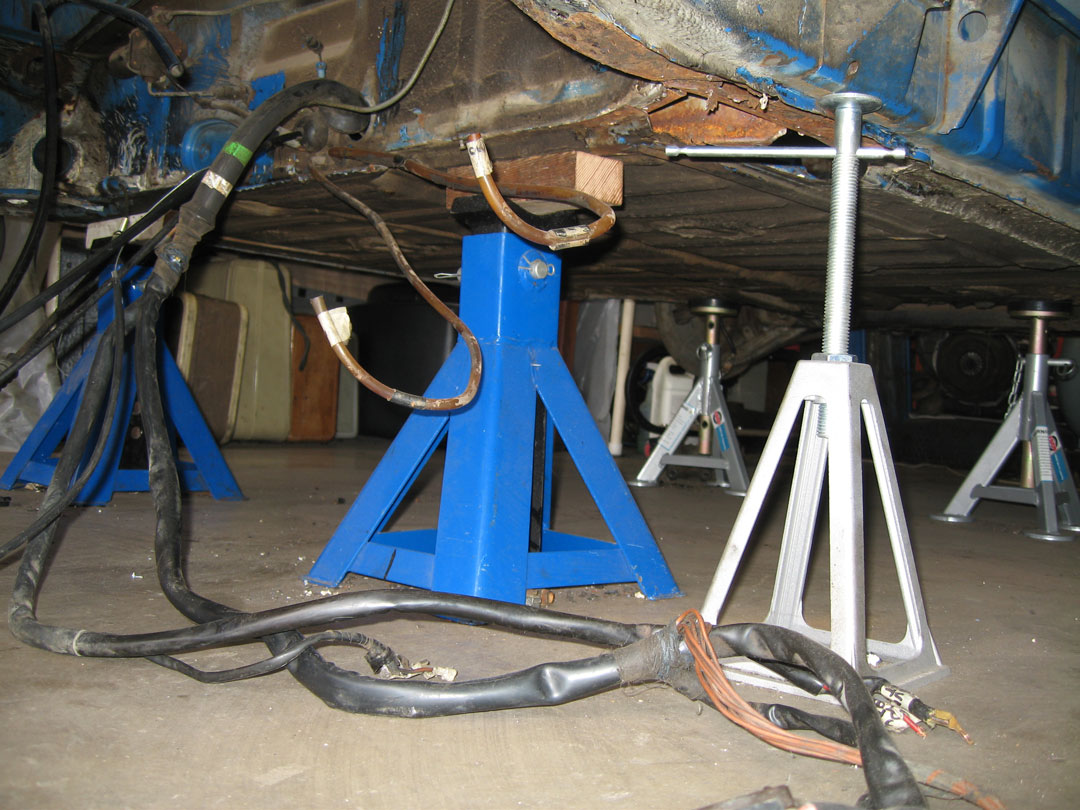
 keep on going and for gods sake repaint those stands so they dont get permanenlty attached to that little car!
 ...of course that means there has to be at least a good 30% of rust hiding somewhere I can't see it

 .
.


 .....
..... 
 you werent kidding about going deep!! keep up the work and pics . its inspiring
  . Ill be watching this one.


 It still hurts, though. Maybe just time to heel, we will see.