A little history. Picked up this here in Maryland about 18 months ago for $500. A bit rusty (?!?) and only ran for 10 minutes then dies. Jump, ran another 10 and dies. This is what the P.O. said. Ok, for $500 I can fix it. Got it home and he was right. What do you expect from an engine without an alternator!

Fast forward a bit. Stripped out the interior, dropped the engine, and generally removed everything to assess it's condition. Biggest issue = rust. I have purchased all the goodies to get it back together... new interior pieces, new center console, pistons, carbs, alternator, sway bars, shocks, 4 x disks, calipers, etc. Literally a basement full of stuff at great prices as I ran across them on eBay and here, on the classified network.

I am slowly welding in sheets that I fabricated from flat stock to patch / repair the rust. There is not enough to replace the entire floor pan, although if I was to do it again, I may consider doing just that. I am now on the pedal area - putting in a new piece that I got from a cut-up when I cut out the old section. I did replace the trunk pan and areas of the hell-hole. I will be patching up the rest later next week. Th biggest section that needs to be done besides the pedal area is the under-tunnel in the back between the seats. Under the car, not on top. I am going to template it out with cardboard then bend-to-fit a section out of flat sheet.
I will try to post updated photos as I make gains and losses. And above all, I value your opinions, critiques, and general snide comments!

Richard, thanks for your motivation ahead of time! I think you said a while back to "do a little each night" and it will eventually get done.

Here are some questions that I toss to the experts for comments....
1. Fiberglass flares are going to be used and probably bolted on for that racer look. I will be getting them from Pelican. I already viewed many of the bolt-on-flare postings and like that look. I am NOT going to convert to the 5 lug at this time since I already have the calipers (new) and the disks for the 4 bolts. I think I can find some 4x130x15x7's for the front and 8's for the back for now.
2. Any good posts (tried searching but found none) for taking apart that dash? Wow what a contorted configuration!
Take care my friends.... Photos below.
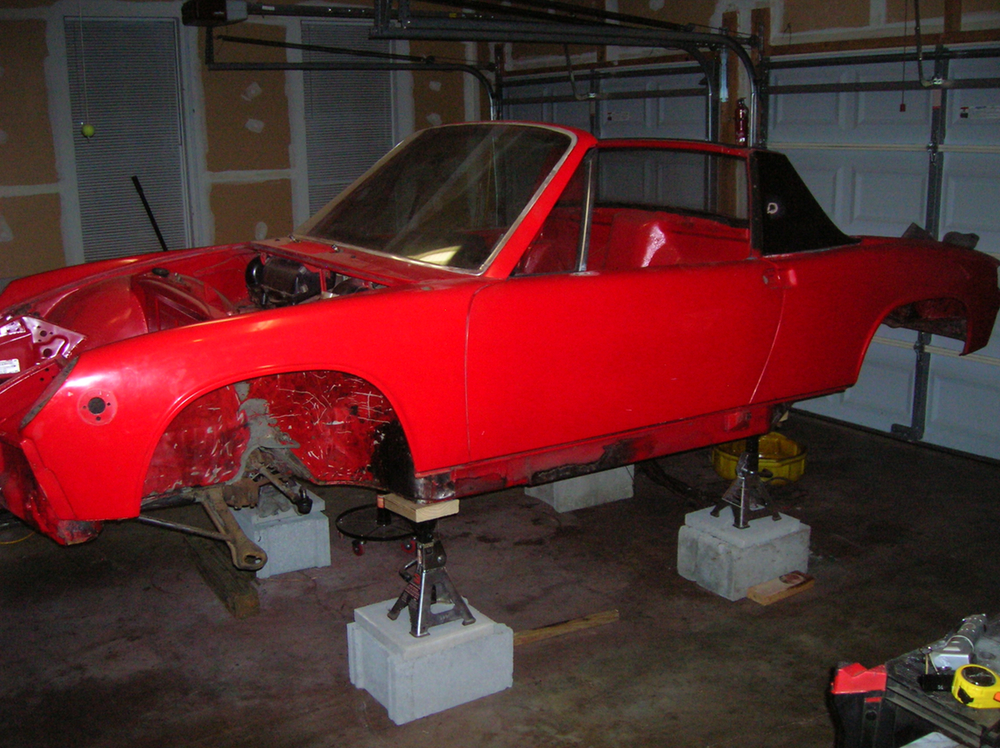
Up on stilts for easy access. Wish I had a lift.
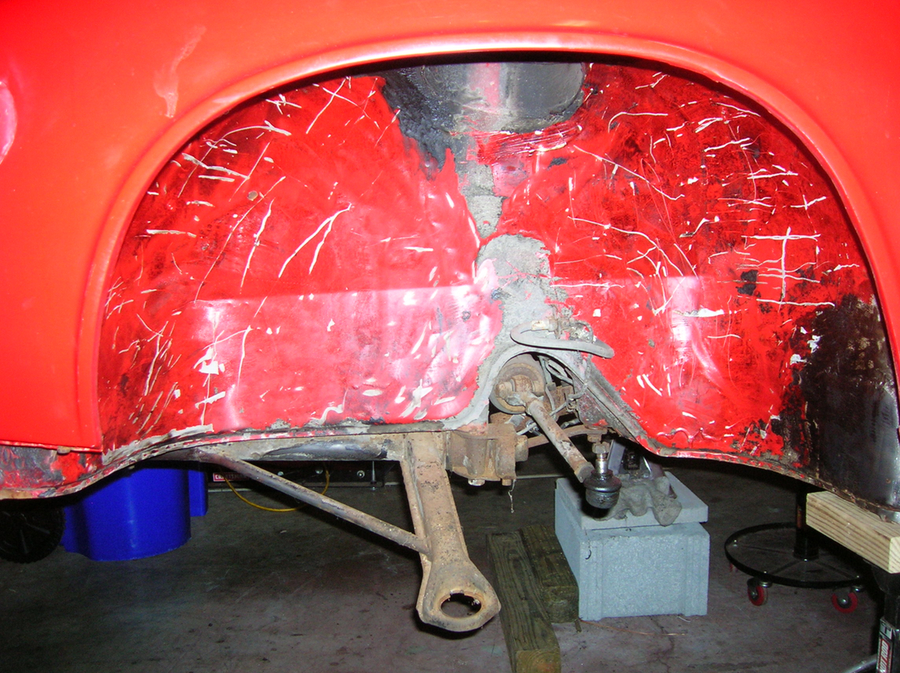
From the removal of the front struts... still need to do the steering.
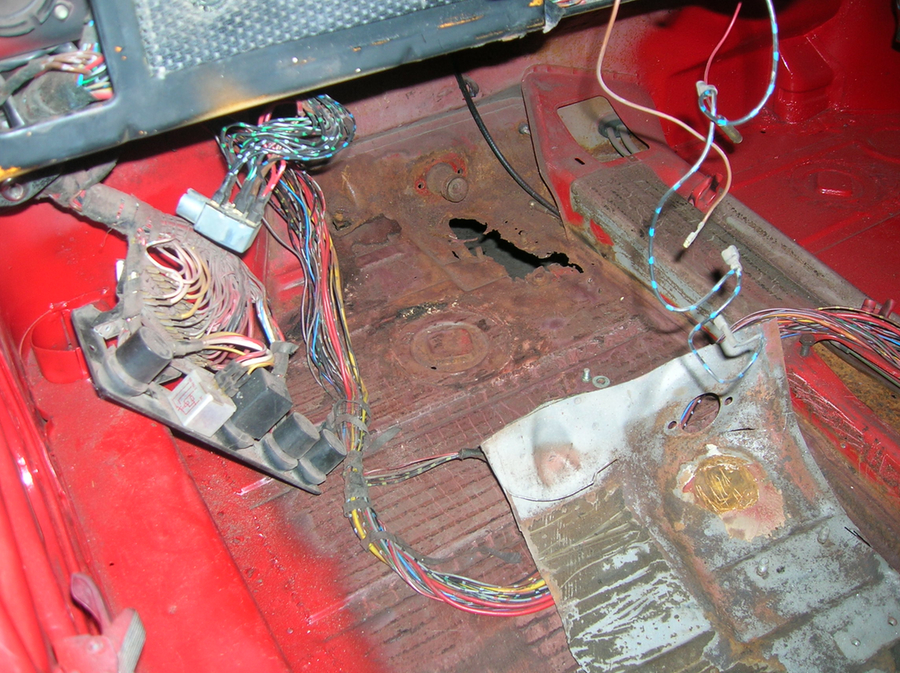
Pedal area is bad. Note new piece in foreground.
Hell Hole.
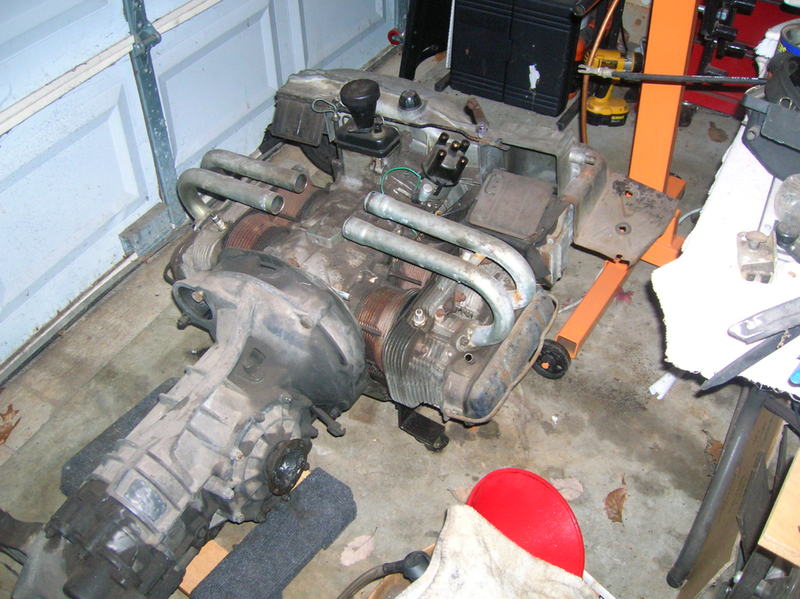
Engine on dolly
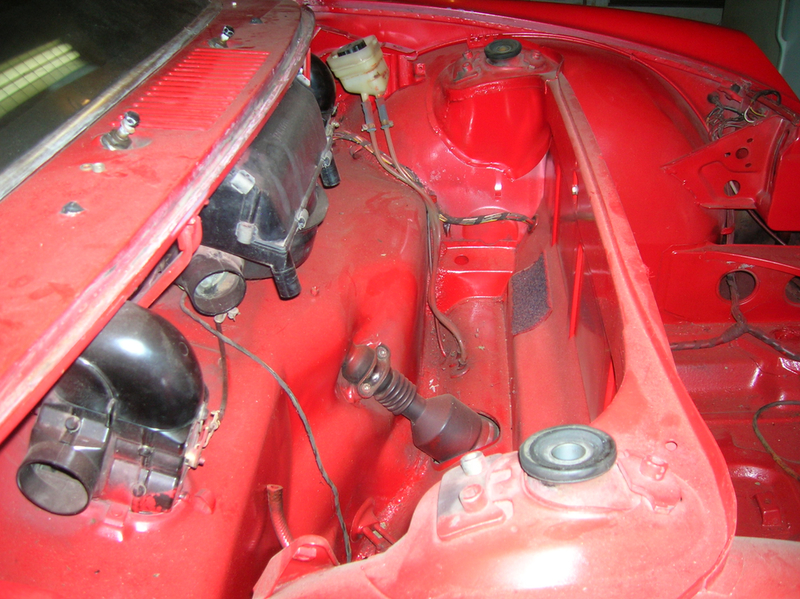
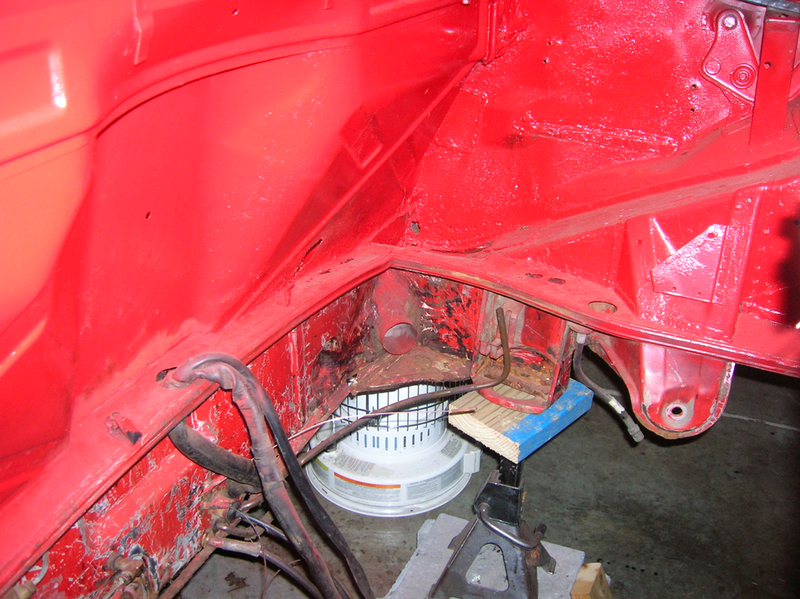
Front gas tank area...
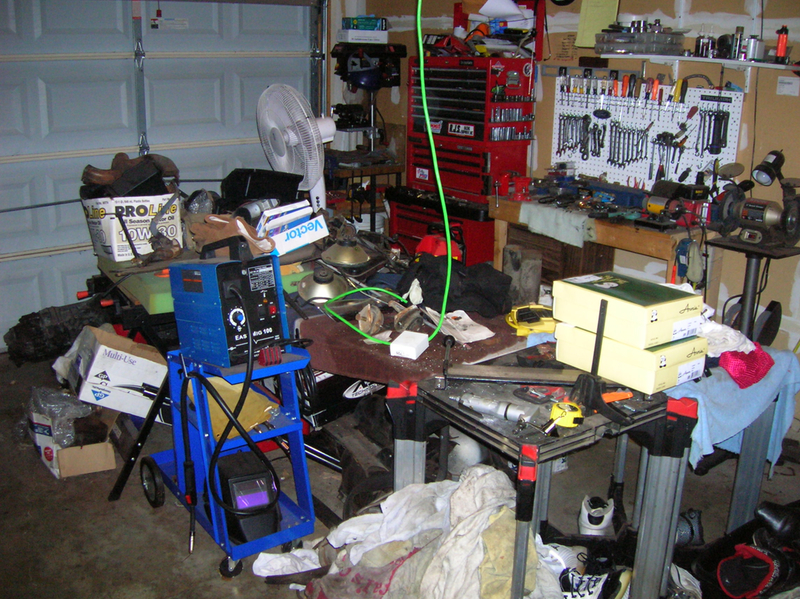
My shop. Welder, rag pile, and table-o-parts with bench, etc. My *CAVE* !


 I am going *under* the dash to get that out and get the front suspension off today / tomorrow. Then back to welding up the holes. Pictures to follow.
 Question: I want to drop the suspension as one unit in the front then deal with it. I am a little worried that if I start to unbolt, the torsion bar willl suddenly flip out like a mouse trap. Is there anything under *sprung* tension doing it my way that I need to watch for?
