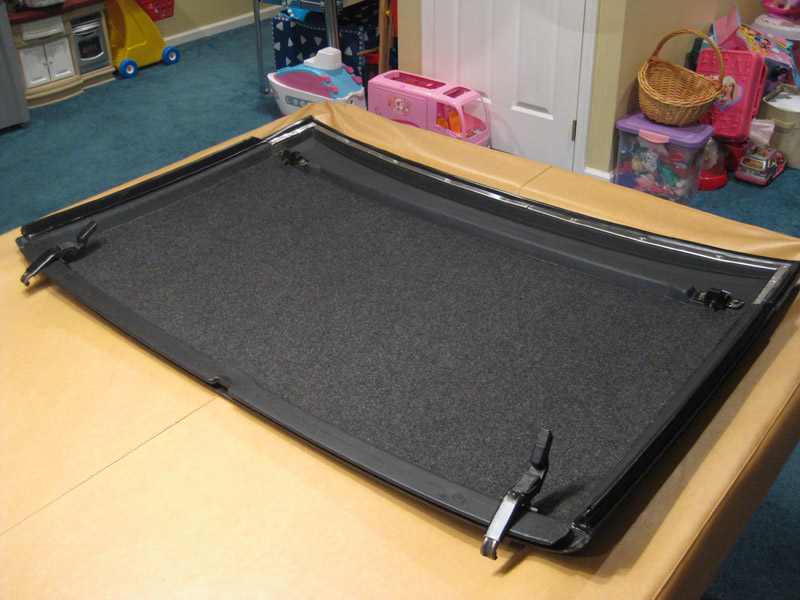
Supplies:
- Perlon material (Many forum vendors carry the material and it's cheap).
- Christmas wrapping paper and pencil (to make a template).
- Masking tape and newspaper (to tape off the roof before spraying adhesive).
- 3M Super 90 Spray Adhesive (don't use the #77 or lesser products, they will break down under high temps, especially with the black targa top in the sun or stored in the hot rear trunk next to the engine).
- Silver Sharpie Marker (to outline the template and you can see it against the dark material).
- Heavy duty scissors (to cut the Perlon).
- Sharp razor knife for final trimming.
- Clean microfiber towel and hot water (to wipe down the roof panel - use very hot water and allow to dry 24 hours).
- A buddy to help
1. Using the microfiber towel, use very hot water to wipe down the inner area of the targa roof panel. I allowed mine to dry in the house 24 hours prior to installing the new headliner. If your top has old glue, you will need something stronger to remove and prep.
2. Start with making a template of the pan area (the flat area) of the inner targa top panel. The Perlon sits flat on the bottom and does not rise up the lips on the sides. Christmas wrap (upside down) is cheap and just the right size for the job. Use the pencil to mark the outter area and then cut-out the template. You can corect short cuts with some painters masking tape (to build-out the template).
3. Tape the template to the Perlon and trace using the silver Sharpie marker. Use good/sharp scissors to make the final cut. Be careful not to cut too short; however I found the you can stretch the Perlon a bit when installing for a short end of corner.
4. Tape and mask off the roof panel using old newspaper and blue painters tape. Wrap around to the back of the top and tape down. Be sure to protect the latches.
5. Spray the 3M Super 90 adhesive in a well vented area. I did it in my garage and make sure the temp is at least 65 degrees so that the glue can tack up. I put a heavy coat on the top first, around the perimiter, up and down and then back and forth to cross-hatch the glue. Let this setup for 3-5 minutes, at the same time spray well onto the back of the Perlon. Same process, edges, up/down and side to side. Be sure to coat well as the glue will soak in to the Perlon.
6. Take the roof panel and Perlon to a good work area (I used my covered pool table) and have a friend help you set the material. Once you put the Perlon down, it will stick fast, so be sure to set the edges and work from the middle out to the sides. If you are short material, you can stretch the material a bit to cover a short corner or end. Once installed, press down firmly with a sweeping motion of your hands working the middle to the outside.
7. Once glued, long areas can be cut away using a very sharp carpet razor knife. Do not press hard (let the blade do the work) as you will cut into the targa roof without much force.
8. Keep the roof in the house for 24 hours to allow the adhesive to fully setup.
Grab a cold beer, sit back and admire your work. Total time for me was about 2 hours, working slowly with a buddy helping. Below is a pic of the finished product. Now, I need to find a nice targa bolster to install on the front of my roof, between the front targa latches
