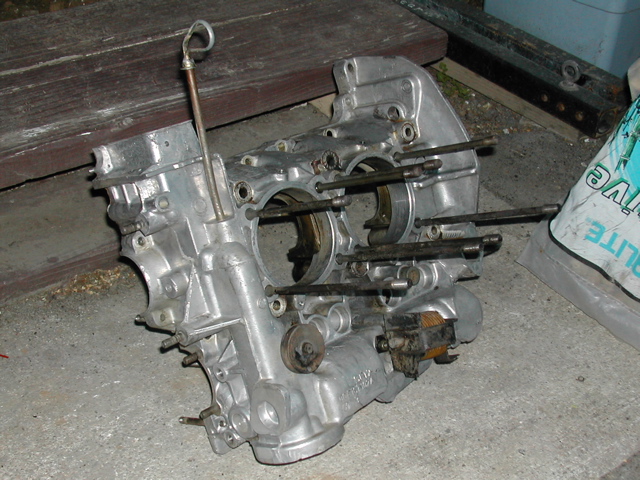
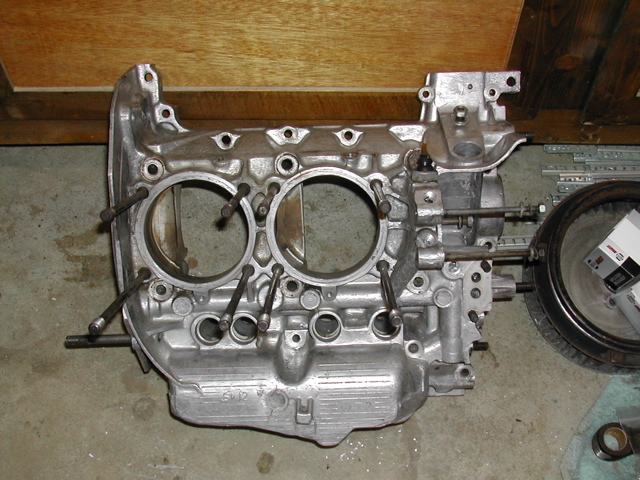
Help - Search - Members - Calendar
Full Version: Engine de la Señior Burger
914World.com > The 914 Forums > 914World Garage
McMark
Welcome to my engine build thread. I finally started building my engine today after waiting a couple of months to get machine work done and collect parts. This thread will be updated and this first post will be edited to show the stats of the engine as it's built.

Engine Stats:
57 cc combustion chamber, 2 cc valve relief.
96 mm pistons, stock 71 mm crank balanced, 0.050 deck height.
8.54 compression ratio. sad.gif
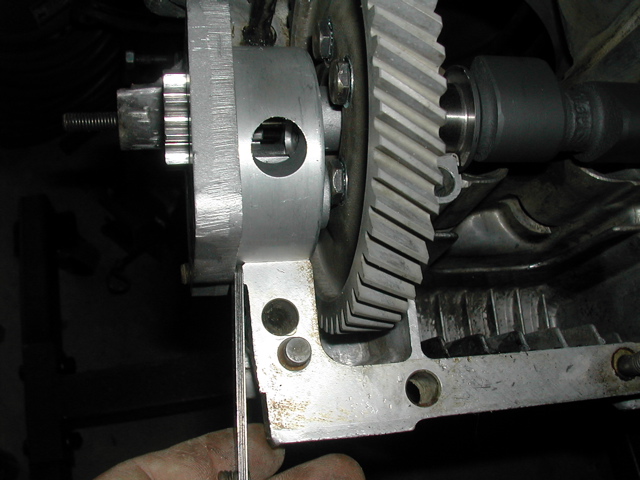
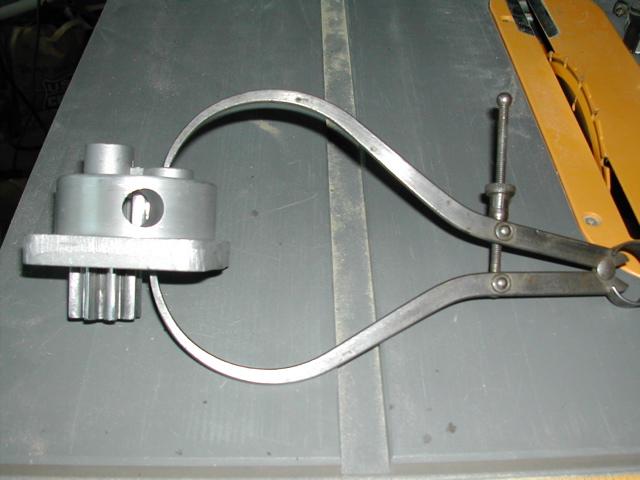
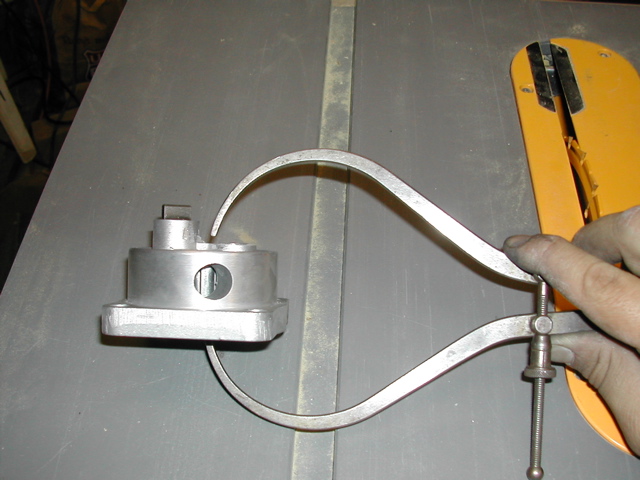
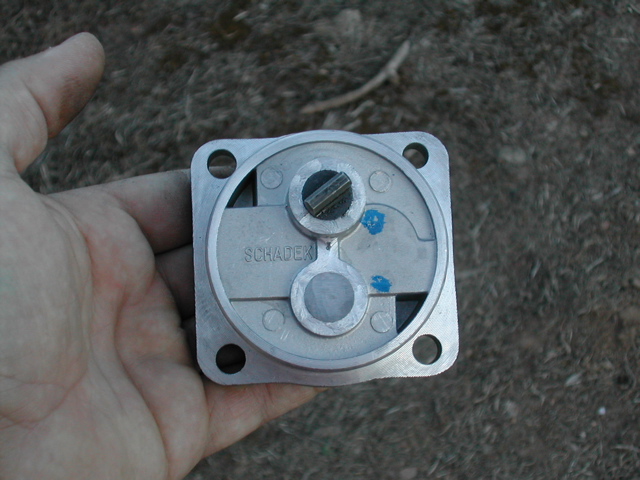
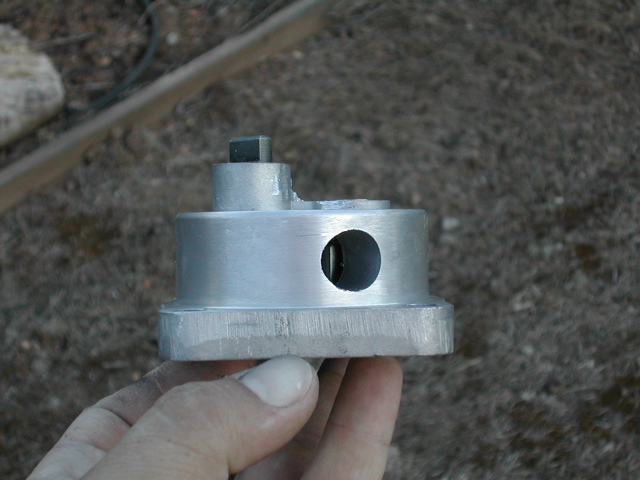
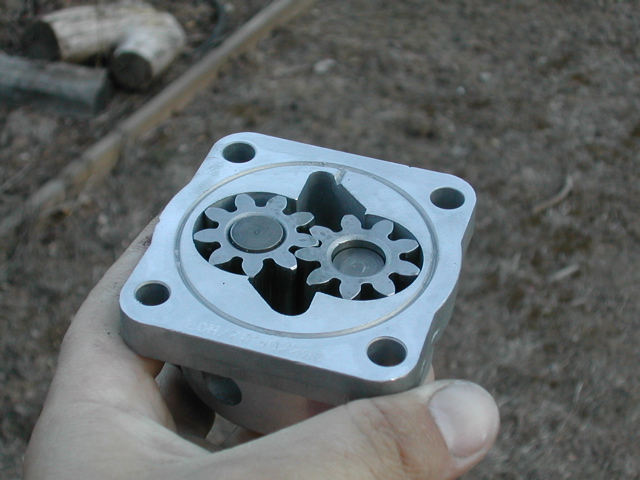
30MM Shadek oil pump.
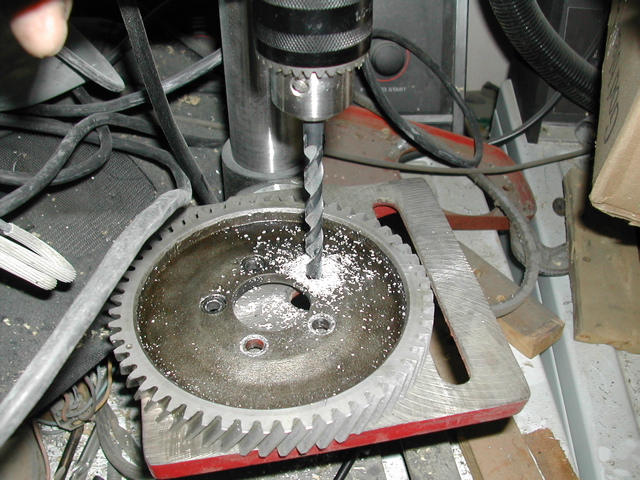
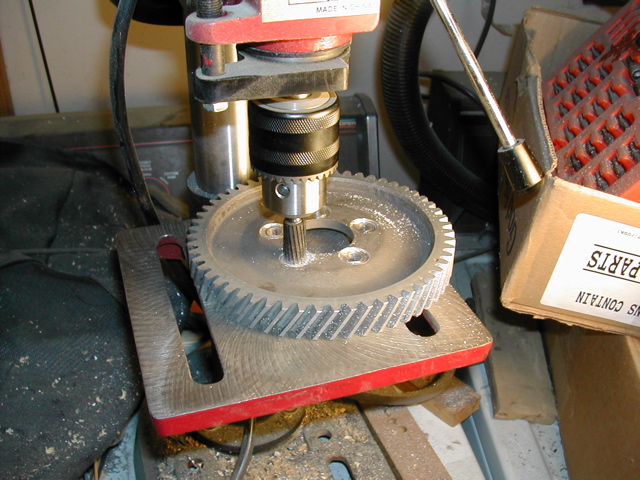
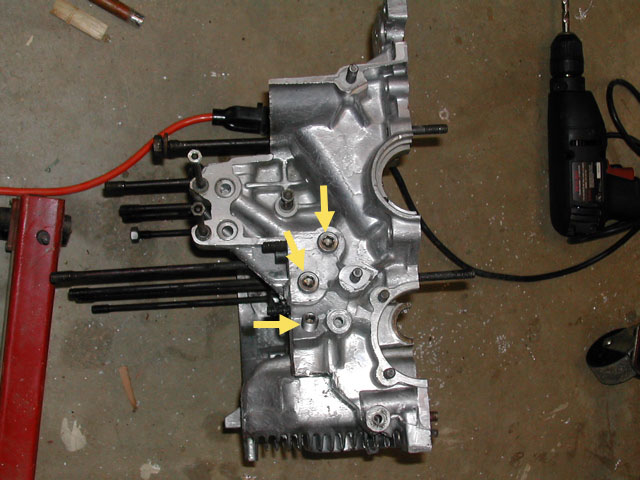
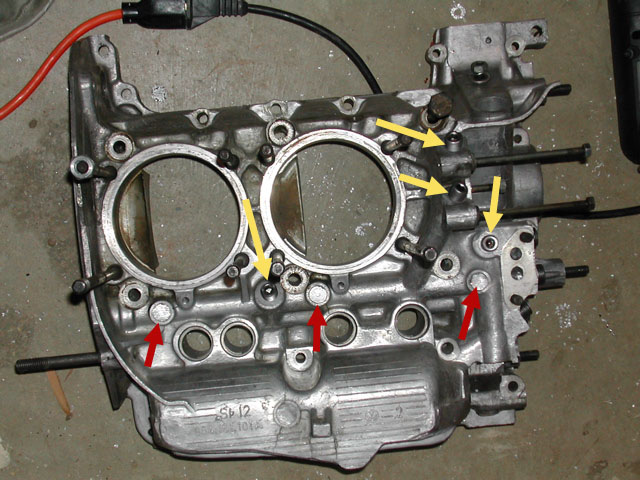
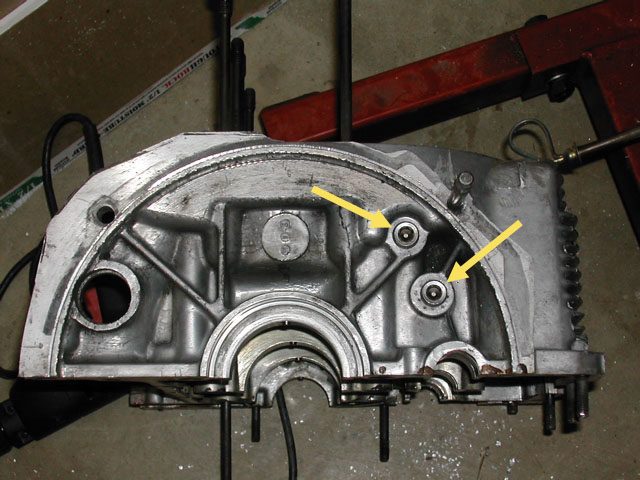
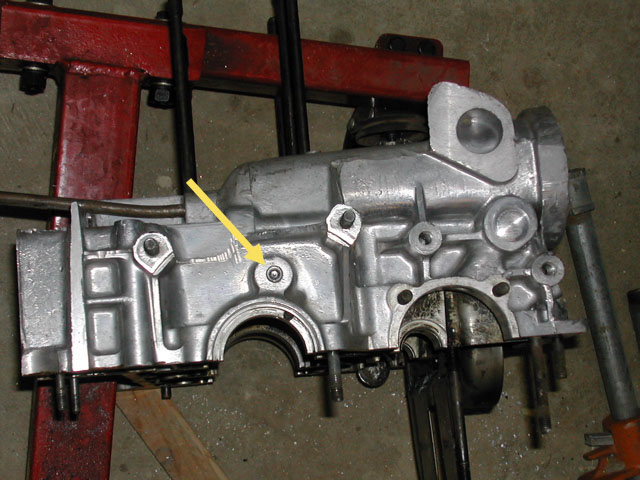
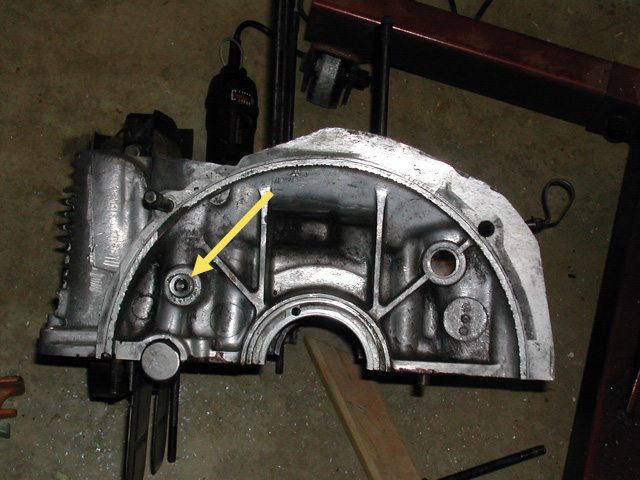
Drill and tap oil galley plugs.
Web Cam from Jake for 2056 with stock injection.

Red indicates the newest items.
McMark
I started off the build by attaching the cam gear to my new WebCam. Wasn't a bolt on procedure as you can see. I did my own machine work this time because I'm on a deadline, but I would have these modifications done professionally in the future.

First I had to drill the holes in the cam gear to fit the bolts.
IPB Image

Then I had to spot face the washer depressions to fit the new lock washers.
IPB Image

Used red loctite on the bolts.
IPB Image

All together.
IPB Image

Tomorrow I drill and tap the galley plugs. clap56.gif
Gint
A man of many talents. clap56.gif
thesey914
Great thread.....A future classic.
McMark
Today was case cleaning day. Spent about 2 hours and a case of brake cleaner making it shiny again. I'm very happy with the results. Next step... tapping the case for oil galley plugs.

IPB Image

IPB Image

IPB Image
McMark
It's a custom direct from Jake. I don't know what it is.
McMark
Modified my 30MM Shadek oil pump last night. The two bosses on the back must be cut down a significant amount to clear the cam. I used the same cutting bit I used to widen the cam washer divots to cut away sections of the bosses at a time. Took me about 3 hours because I took so many small cuts so I wouldn't take too much off. One thing I learned is that you have to cut the immobile post (not the spinning post) not push it through farther. If you tap the immobile post out farther instead of cutting it the pump gear will hang up because the shaft is a tiny bit bigger where it's pressed into the housing.

Here is the pump before I did any cutting. The feeler gauges show how much I'll have to cut.
IPB Image


This is the pump before any cutting.
IPB Image


This is the pump after cutting.
IPB Image


IPB Image


IPB Image


Notice how the spinning post has been pushed flush with the gear. It comes from Shadek deeper into the gear.
IPB Image


Next up... case oil galley plugs.
McMark
I bought the oil galley plug set from aircooled.net. It comes with 11 plugs. It would have been nice if they had a diagram to show where they all are. I didn't really have a problem finding any of them, but it still would have been nice. Also, it would have been nice if they sold the drills and taps to finish the job as well. Yellow arrows in the pictures show the case plugs. The red arrows are spots that are not plugs that are commonly confused. The plugs are not screwed all the way in at this time.


IPB Image

IPB Image

IPB Image

IPB Image

IPB Image


Next time... getting the crank ready.
Joe Bob
Do you have a hand model for a stand in???? Mine look like they went thru the WWII.....no scars and the nails are clean....how ya do it?

Good luck on your project.... biggrin.gif
seanery
Burger grease, softens hands while you do dish....uh, eat dinner.
ChrisReale
You guys should see his luxurious curly locks. Truely a lady killer driving-girl.gif
MattR
Those are great pics of the oil galley installation! smilie_pokal.gif

Im going to do mine in the next few weeks when i get my case back from rimco and clean it up. They are all saved on my computer and Im going to print them out for reference when I do the conversion.

I hope my engine is that clean... Did you just use that case of brake cleaner?
Levi
QUOTE(MattR @ May 8 2004, 08:18 PM)
Those are great pics of the oil galley installation! smilie_pokal.gif

They are all saved on my computer and Im going to print them out for reference when I do the conversion.


Ditto,
Thanks..good job aktion035.gif
McMark
A case of brake cleaner and that parts cleaning brush (with the plastic bristles) worked wonders. It ain't perfect, but it's really damn clean.


Yeah, it's the burger grease that keeps my hands so nice. I'm going to have to hook up with Trekkor, apparently he's got a BBQ that will grill up 100 burgers at once.
w00t.gif


Yeah, I never noticed that there was a smilie especially for me. driving-girl.gif But, damn, can we change the name from driving-girl, to driving-mark?
anthony
I hope you're using gloves and a respirator with all that brake cleaner. What about steam cleaning or dipping?
McMark
Someday I'm going to try electro-polishing a case. It kinda worries me about the bearing surfaces possibly getting damaged by the process, but I have some ideas to take care of that. That would bring the whole case inside and out to a super polished finish.
Trekkor
I like the 1 gallon Berrymann's part solvent, a plastic tub and the brush. No good as a BBQ sauce. biggrin.gif
This is a "lo-fi" version of our main content. To view the full version with more information, formatting and images, please click here.
Invision Power Board © 2001-2024 Invision Power Services, Inc.