QUOTE(biosurfer1 @ Nov 26 2011, 09:41 AM)

While I'm certainly not an expert in this method, I think the idea is to keep an eye on the brake fluid level while there is air in the tubes. When you start pumping, the air will go into the brake reservoir, but the bubbles will immediately go to the top and out...as long as you don't let the reservoir run dry, you'll eventually have a solid flow of fluid.
QUOTE(Gint @ Nov 26 2011, 09:47 AM)
Sounds reasonable. I think....

You put lines on each caliper's nipple and run the line(s) back to the resevoir? And open them all and pump? Is that the gist of it?
I'm tired of taking the wheels off and bleeding, so quite a few people just rave about this tube method so I thought it would be worth a try.
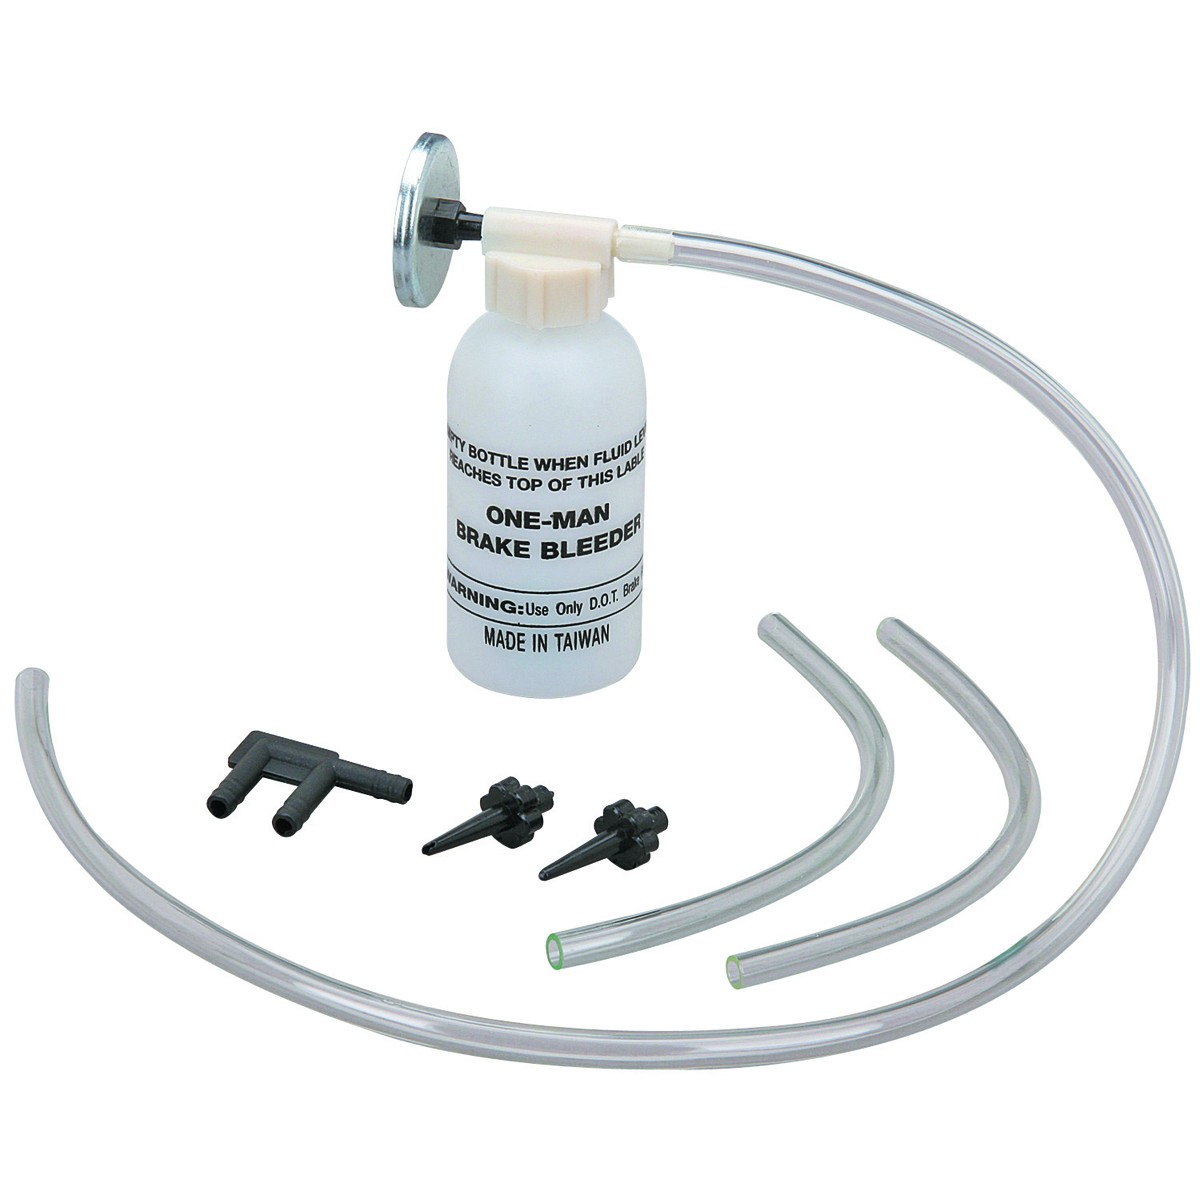
The pic below is from McMark, maybe he'll chime in or someone who has actually tried this. Brian, my thinking kind of follows yours but it sure seams you would suck an awful lot of air in before the lines finally are full...perhaps that's OK. After the amount of bleeding I've done so far, I just don't want to go backwards.
Yes, I've tried the vaccum method, but have liked the motive pressure bleeder the best with a final foot from my wife to get the ultimate hard pedal.
After graciously pumping her share (opening and closing the nipples at the appropriate time) I thought I had a nice hard pedal...so I bolt the wheels on and...craaapp...more air.
PS I also have a T, no proportioning valve to complicate things.
If I had speed bleeders then the air in the tubes wouldn't concern me. According to the threads I've read you just open the regular bleeders and pump. Maybe I'm confused.
Wouldn't be the first time.
Mark
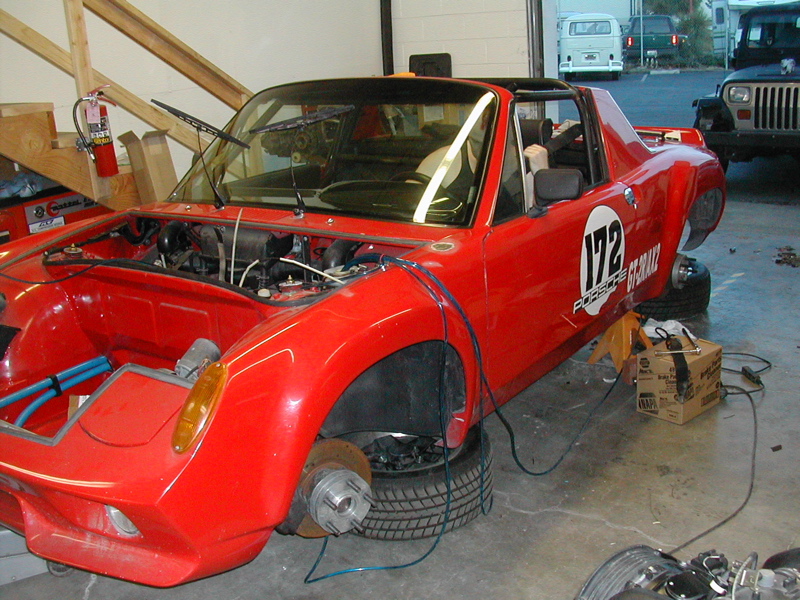


 Well, the car has been about 10 miles all together on side roads doing all the brake in steps suggested to bed the pads. Your suggestion and the one earlier makes me wonder now. I have the car to what I thought was a good hard pedal on two separate occasions until I put the wheels back on and drove it--assuming that trapped air bubbles were the culprit. I decided to go ahead and bed the pads to the new rotors before I would try to bleed again.
 They are cheap & work great. I'll put these on everytime on every 914 I own. You no longer need the extra person. Just run a hose from the nipple to a cup & pump away. At maybe $15 to do all 4 why not?
