Practised on some scrap first then bit the bullet and moved to the real thing.
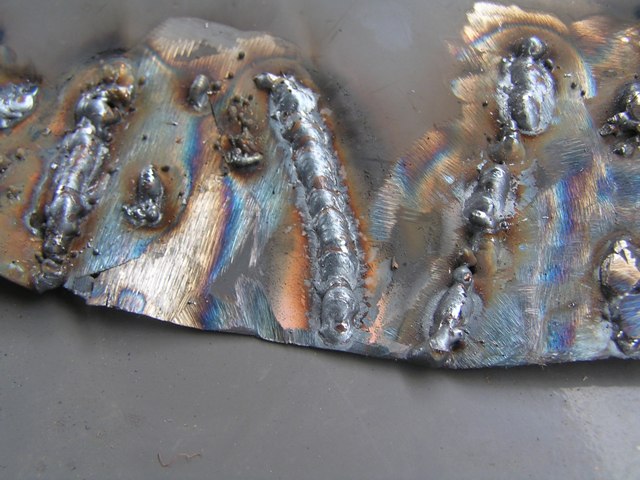
Only minor stuff first.
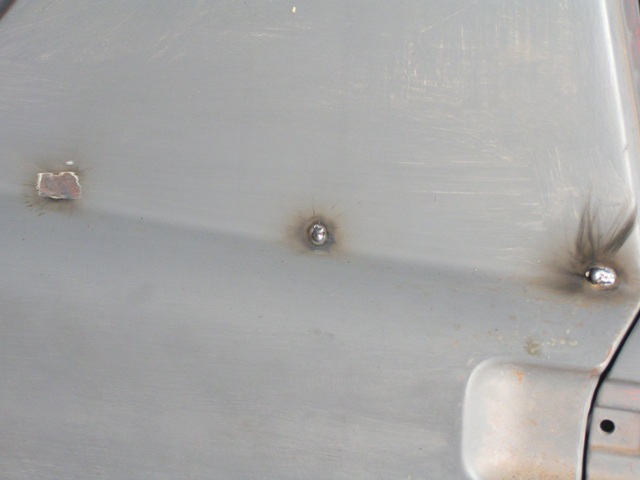
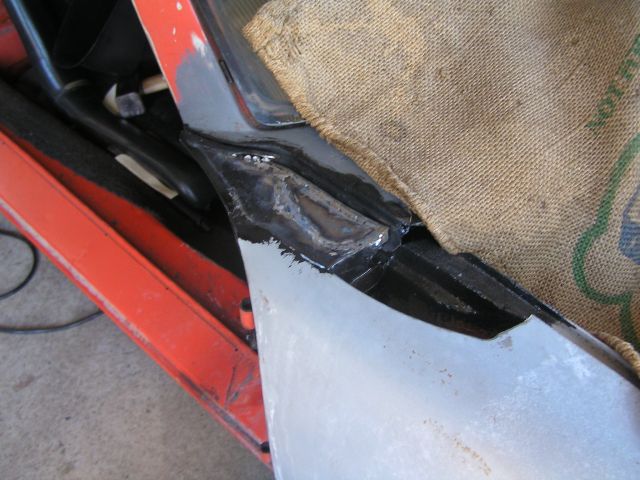
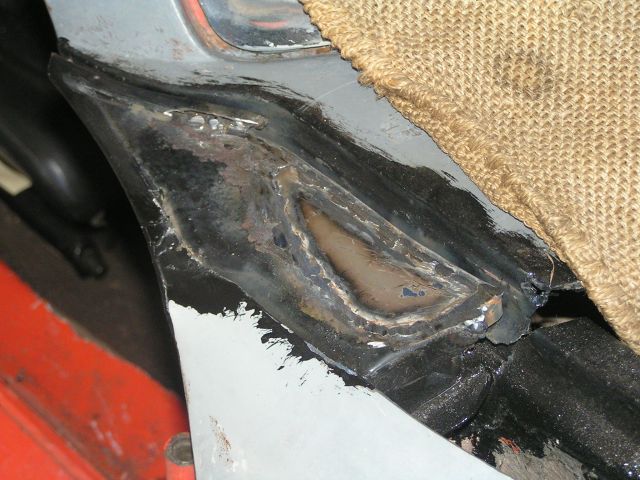
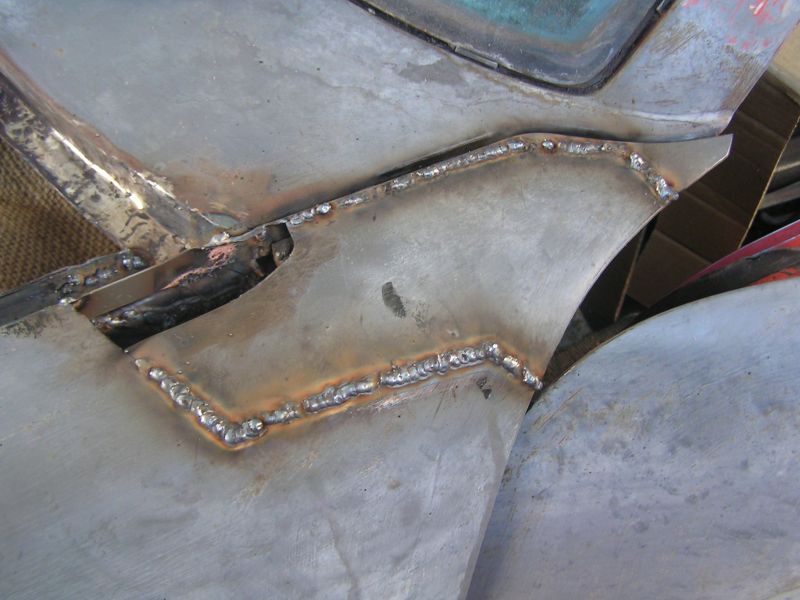
Weld up holes in sail panel.
More Pics soon <!-- emo&:clap: -->
 <!-- endemo -->
 2005 Year of the Tangerine <!-- emo&:trophy: -->
 <!-- endemo -->
 <!-- endemo -->
<!-- endemo -->
<!-- endemo --> <!-- endemo -->

 <!-- endemo -->
  <!-- endemo -->
  <!-- endemo -->
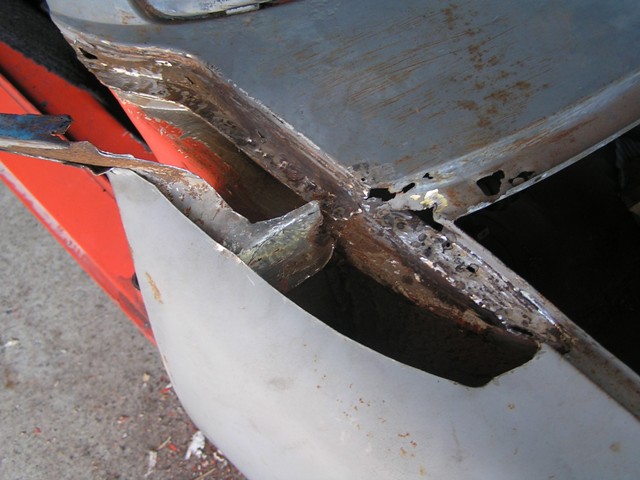

| QUOTE (Rhodes71/914 @ Jan 2 2005, 09:38 PM) |
| Sorry I can't help you with any advice cause I'm new to rust repair as well. But I saw that you are an Aussie and I'm sitting here drinking a Coopers Brewery Best Extra Stout that my in-laws brought me and it ain't bad. This considered decent stuff there? |

 <!-- endemo -->

| QUOTE (RustyWa @ Jan 2 2005, 11:59 AM) |
| I was in the garage last night practicing my welding as I've got to weld in the triangle reinforcement pads for the front swaybar. I did some real nice practice welds on the bench. I was feeling pretty good as they were some of my best. Then I remembered that I'll need to do vertical welds. So I practiced doing vertical and boy was that humbling. My welds turned back to crap. I couldn't control the puddle as it would keep falling out. I ran out of gas so I'll have to wait to practice some more. If anyone has tips for welding 16-18 ga. material vertical...I'm all ears. |
| QUOTE (spunone @ Jan 5 2005, 09:57 AM) |
| Heard there's a softer wire to use when doing body work so as much easier to sand is this true and where do we get it ??? |
 <!-- endemo --> (I'm in the 2nd car in 1st pic)<!-- endemo -->
 <!-- endemo -->
 ), I want to see how this turns out! )
| QUOTE (Special_K @ Jan 7 2005, 12:39 AM) |
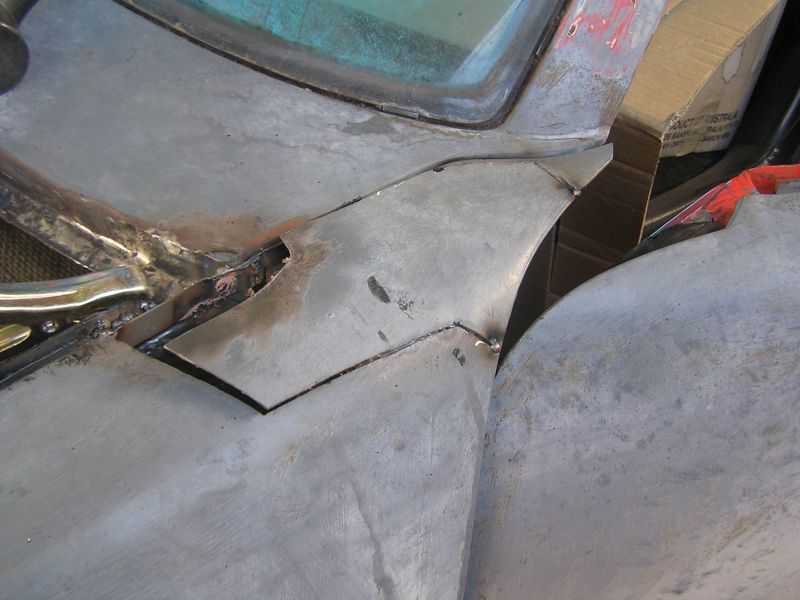
| I seriously like the one piece fender/cowl look xsboost90 has going there. Plus, it's one less rust trap.....considering that look myself (no concourse...previously molested, she's been around! |
and make the "clean" look like xsboost90 has done, but there is the "do it right" part as well... 
 everybody is driving from the right side of the car!!!!
 <!-- endemo -->
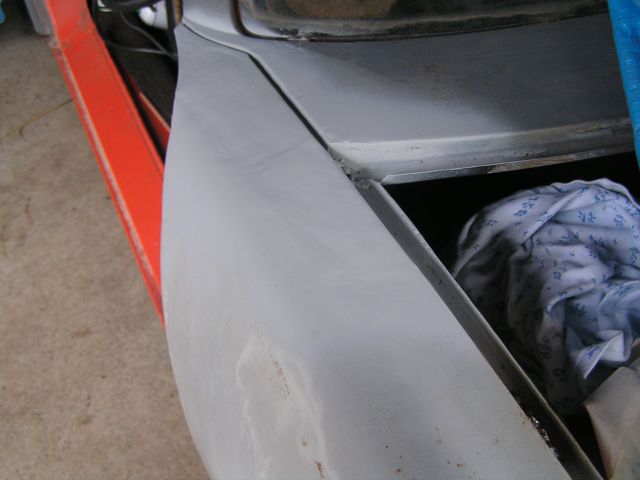
 <!-- endemo -->
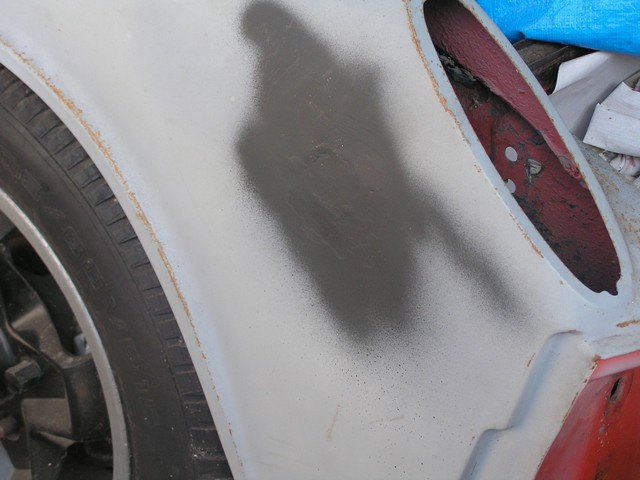
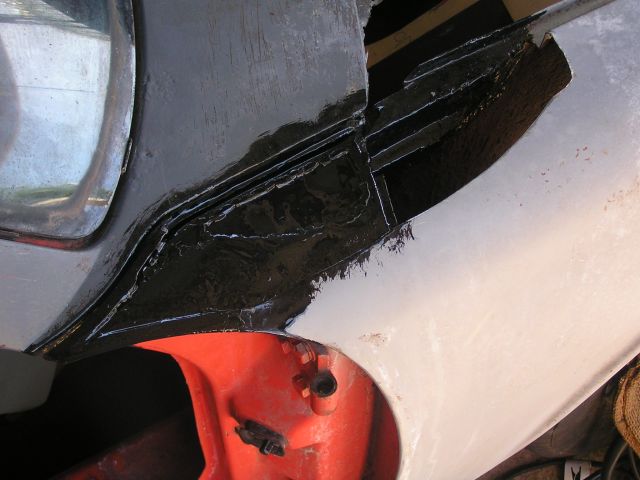
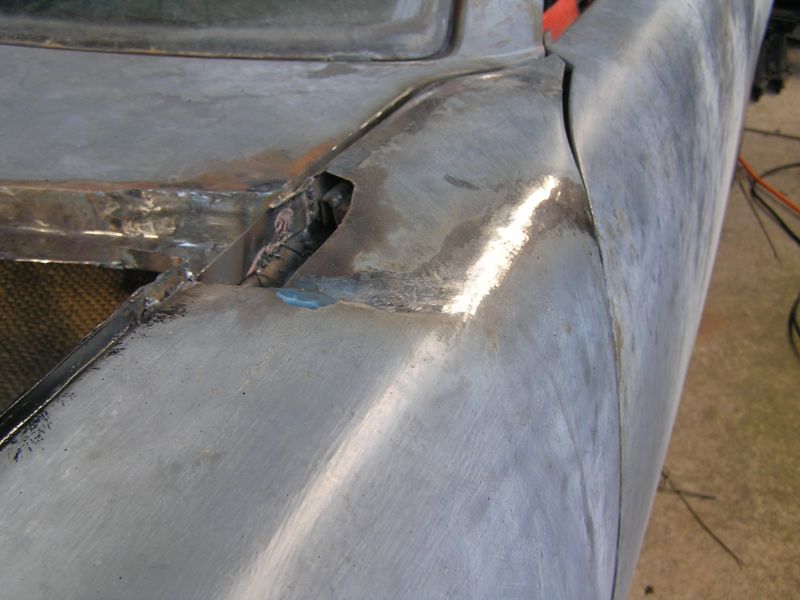
 <!-- endemo --> and used the small cut-off wheels to cut out some of the fender.
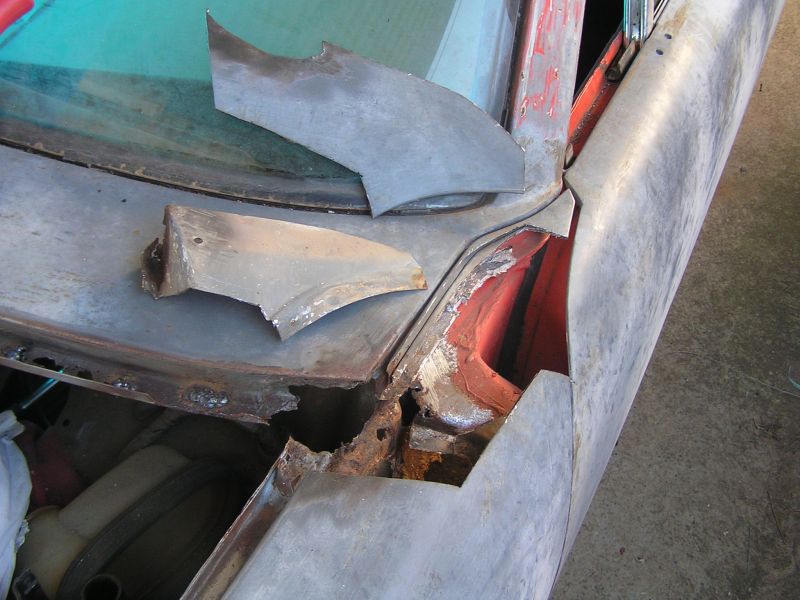
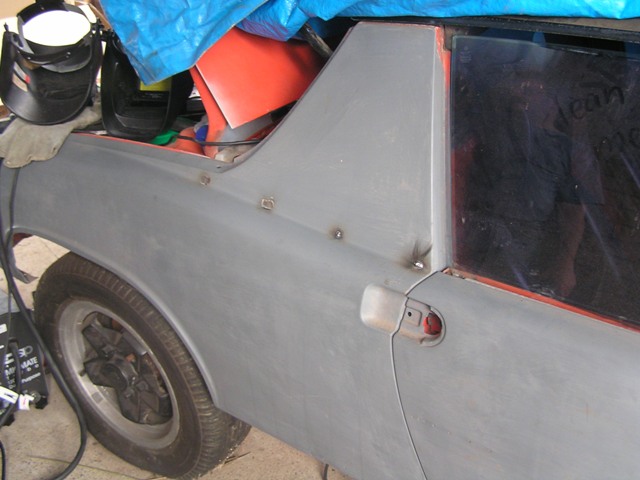
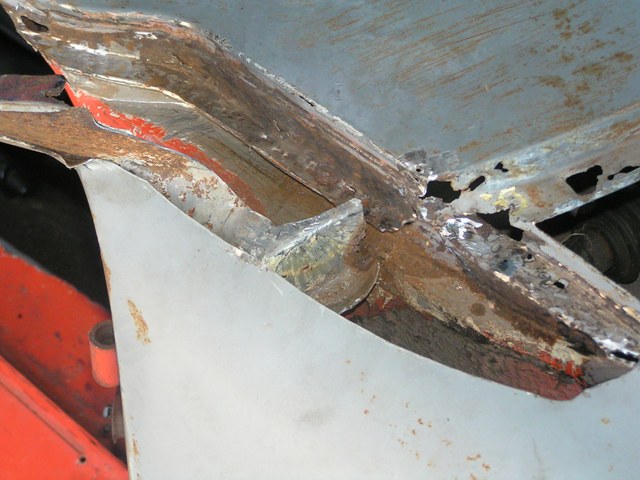
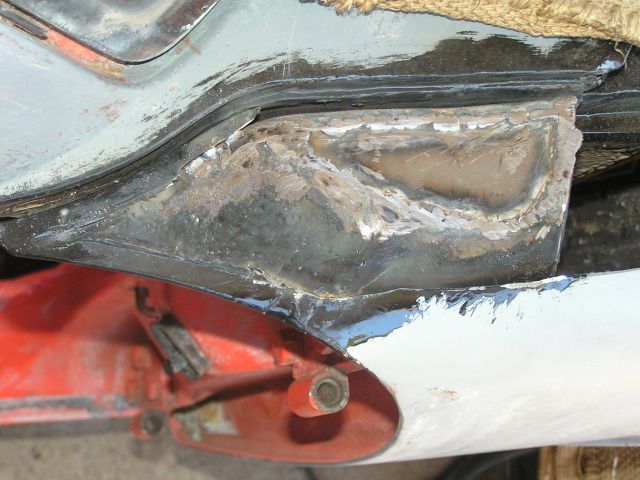
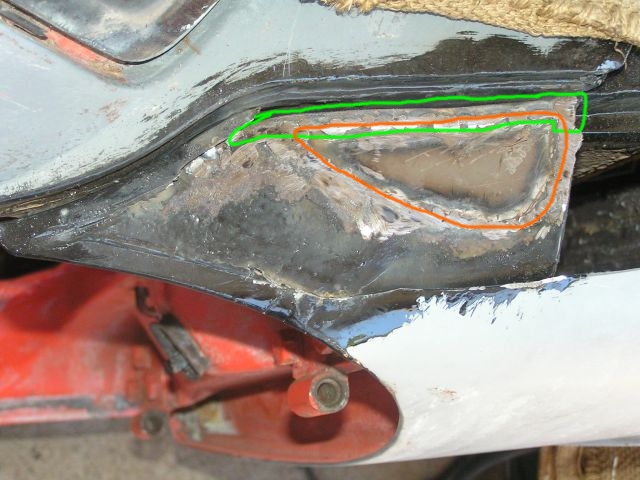
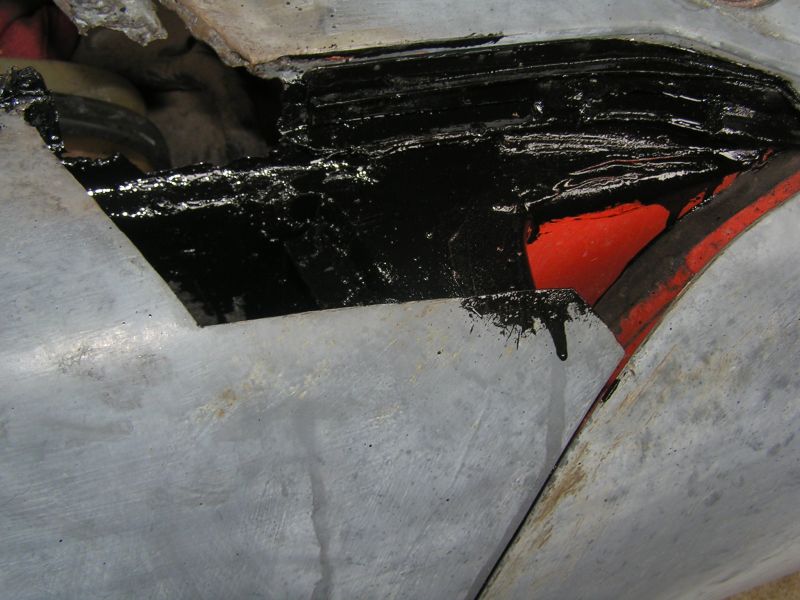
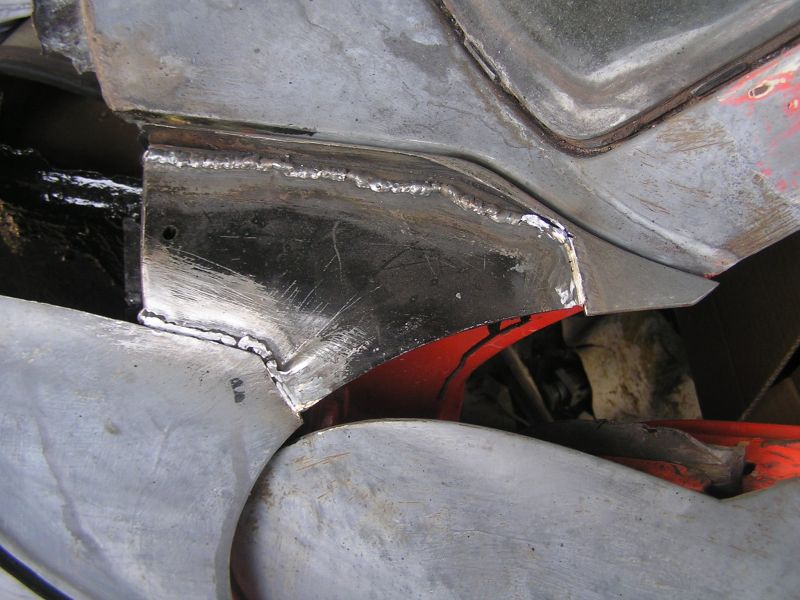
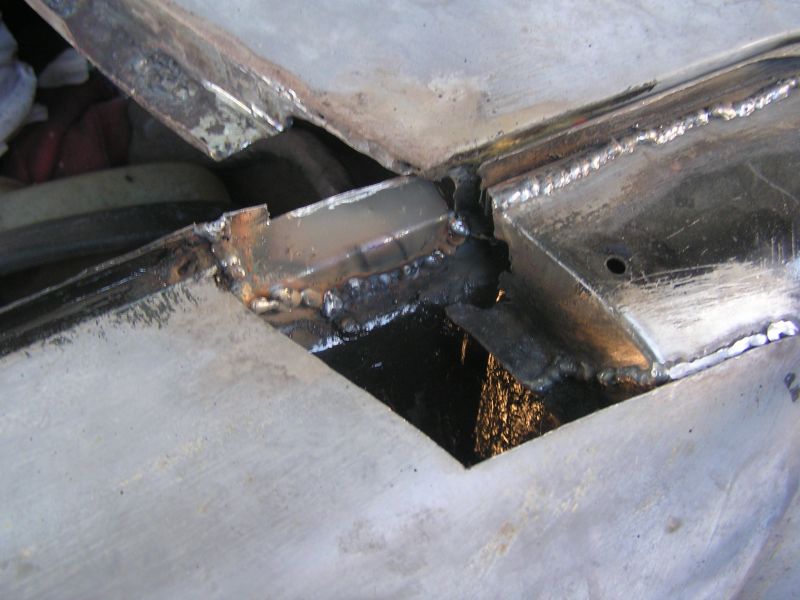
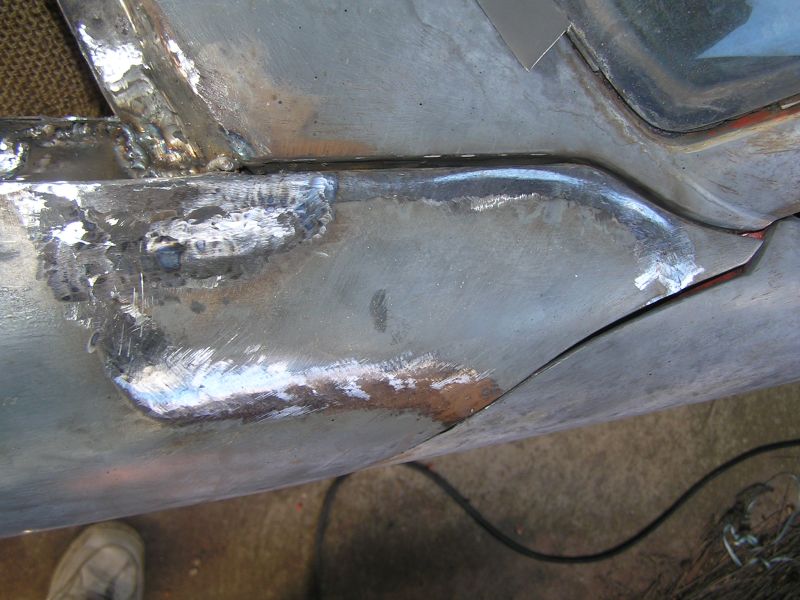
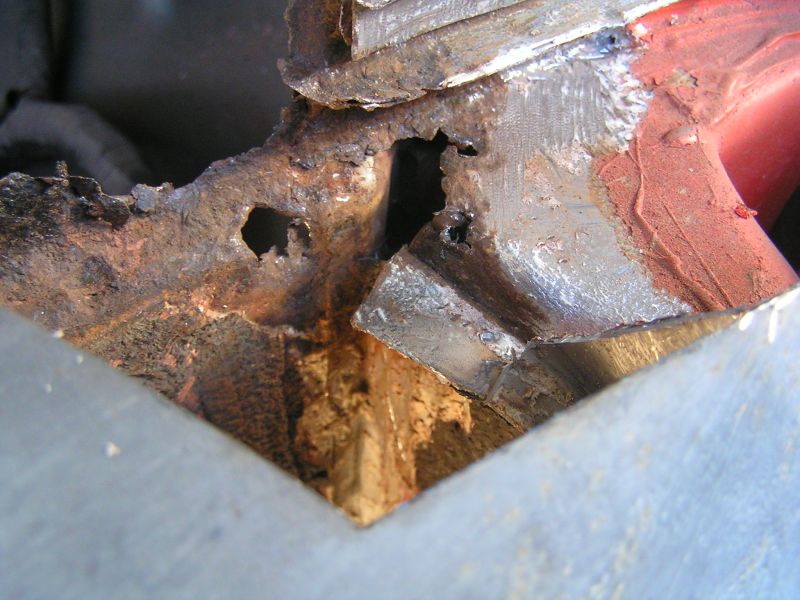 <!-- endemo --> it ended up like this
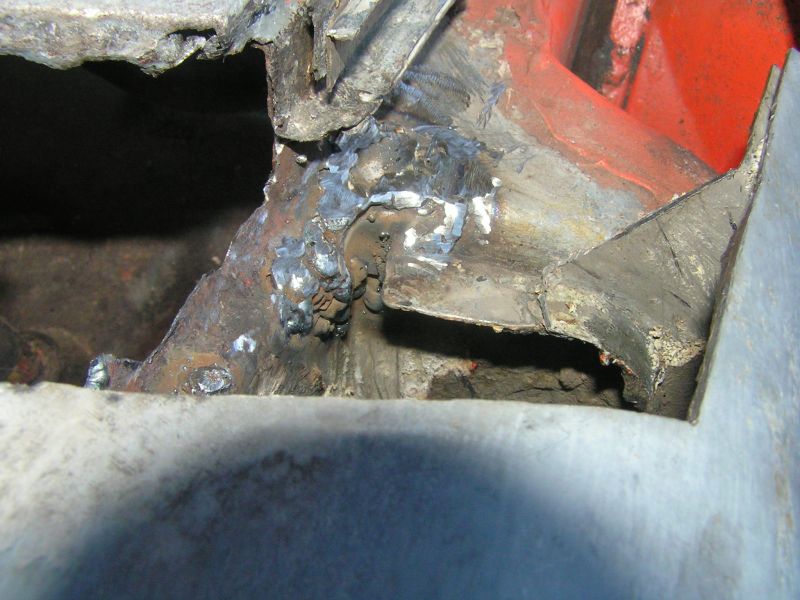
 <!-- endemo -->
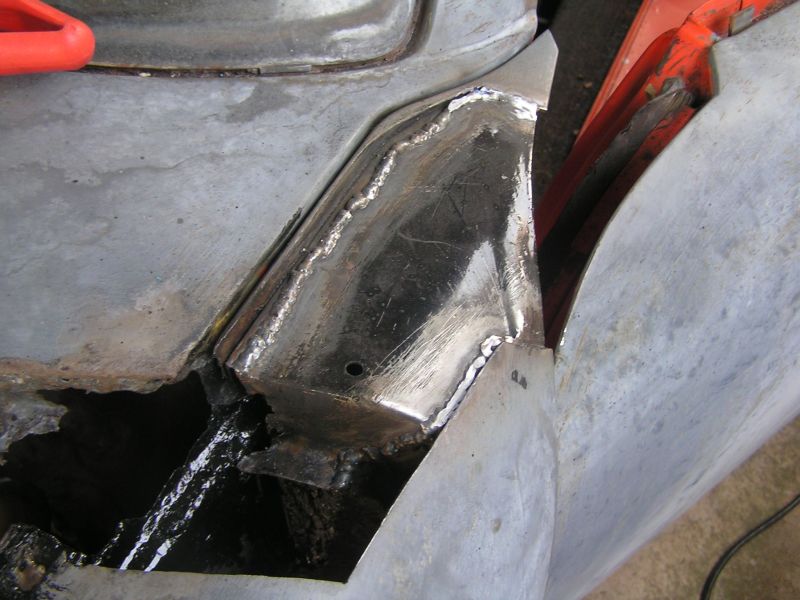


| QUOTE (gaz914 @ Jan 9 2005, 04:47 AM) |
| We drive on the "right" side here |
| QUOTE (Dave Eddy @ Jun 24 2005, 05:07 AM) | ||
I can see the headline: American Tourist Kills Local in Head-on Collision After Pub Tour! |
| QUOTE (Dave Eddy @ Jun 24 2005, 04:56 AM) |
| What type of car is your red one? Ford? Peugot? |
).