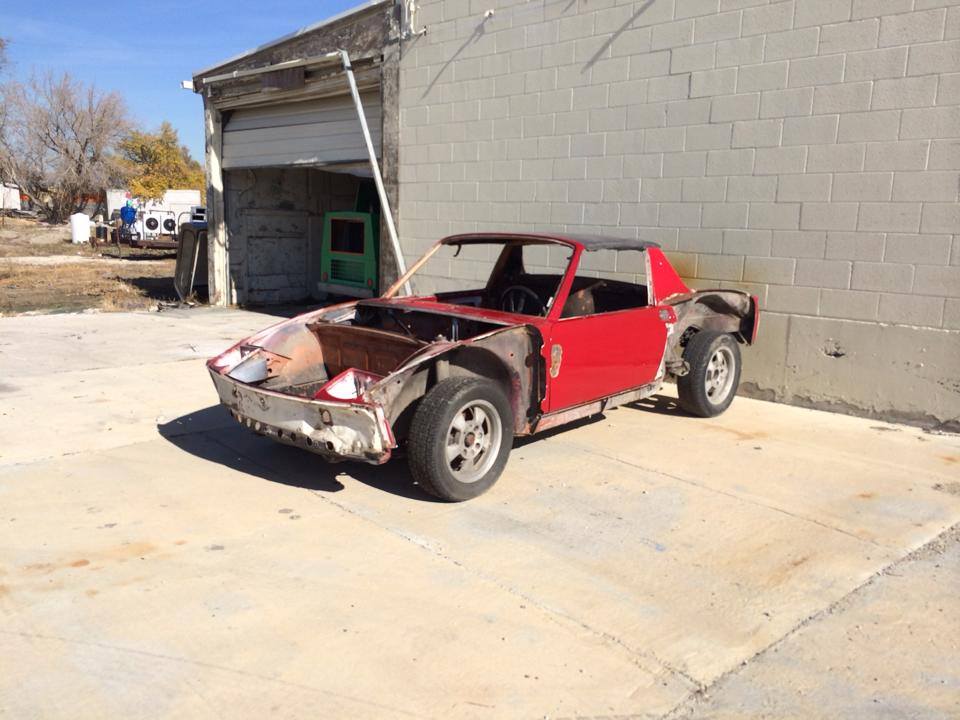
This piece of crap will soon become "Project 914 ORV". Actually what looks pretty bad on the surface; is pretty bad "on the surface".
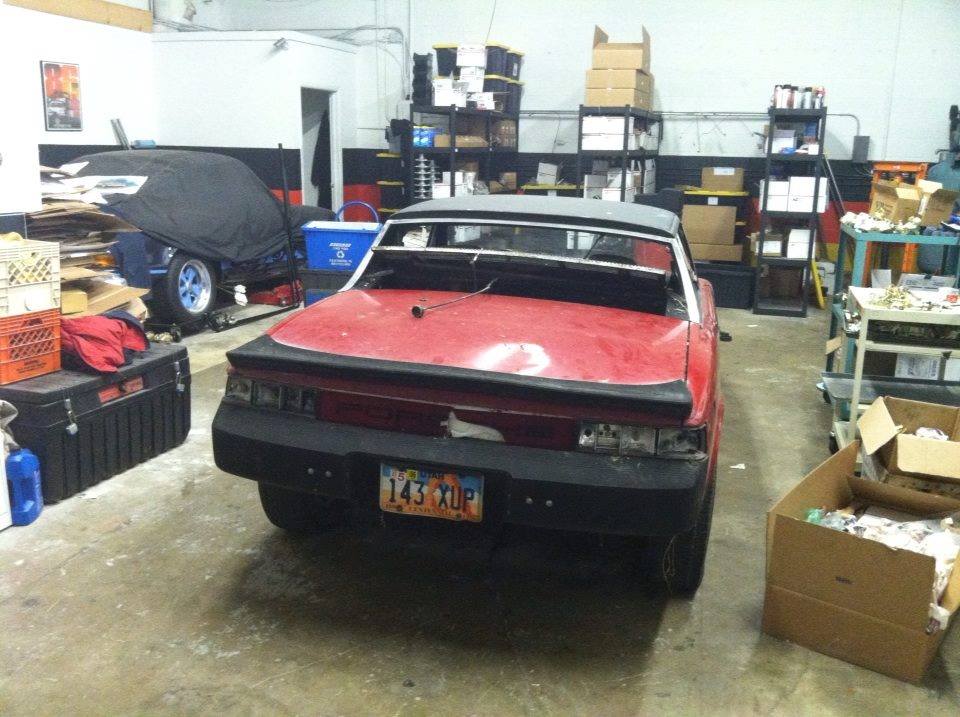
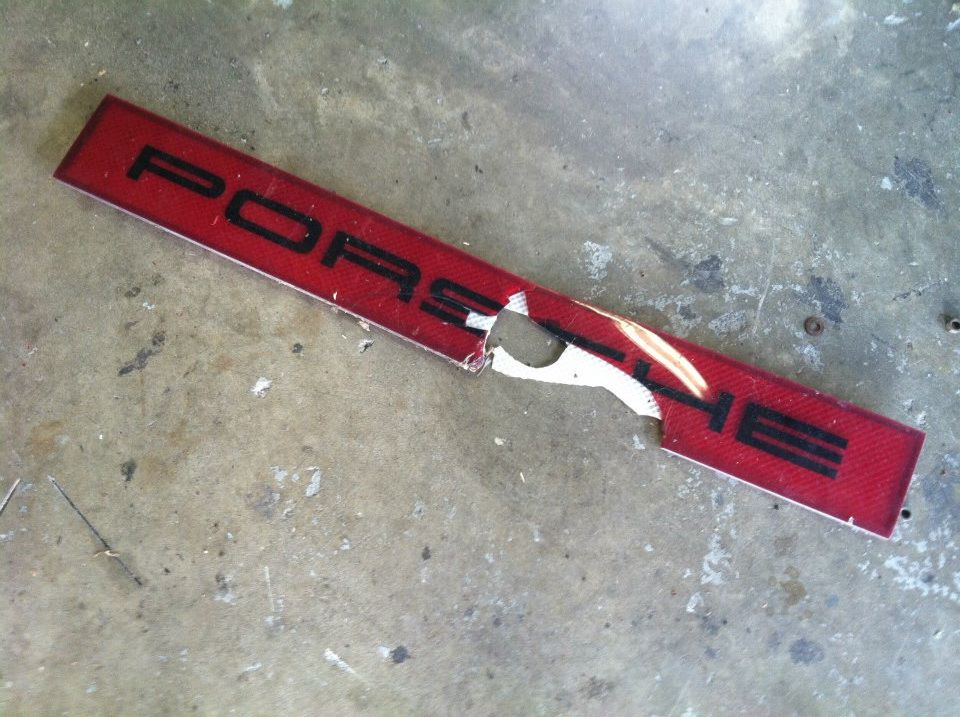
As many 914's go, someone tried to make this one something it isn't. It isn't a "slant nose" no matter what you do to the fenders. And, I don't care how many Miami Vice episodes you've watched, that rubber whale tail thingy and the rear reflector are just plain "wrong".
But wait... Speaking of "just plain wrong", were going to carve this late model, big bumpered version of of 80's lust into a high-rise, fiberglass skinned, tubed tub that's ready for Utah's backcountry. That's right; White Rim Trail here we come!
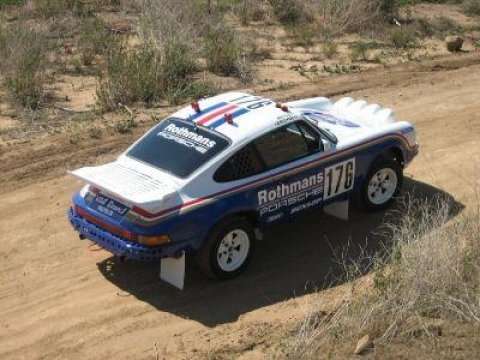
Fear not, we're still thinking "all things vintage" so, we'll be pouring over factory rally pictures and builds to make sure we can learn all we can from the engineers at Porsche who went before us.
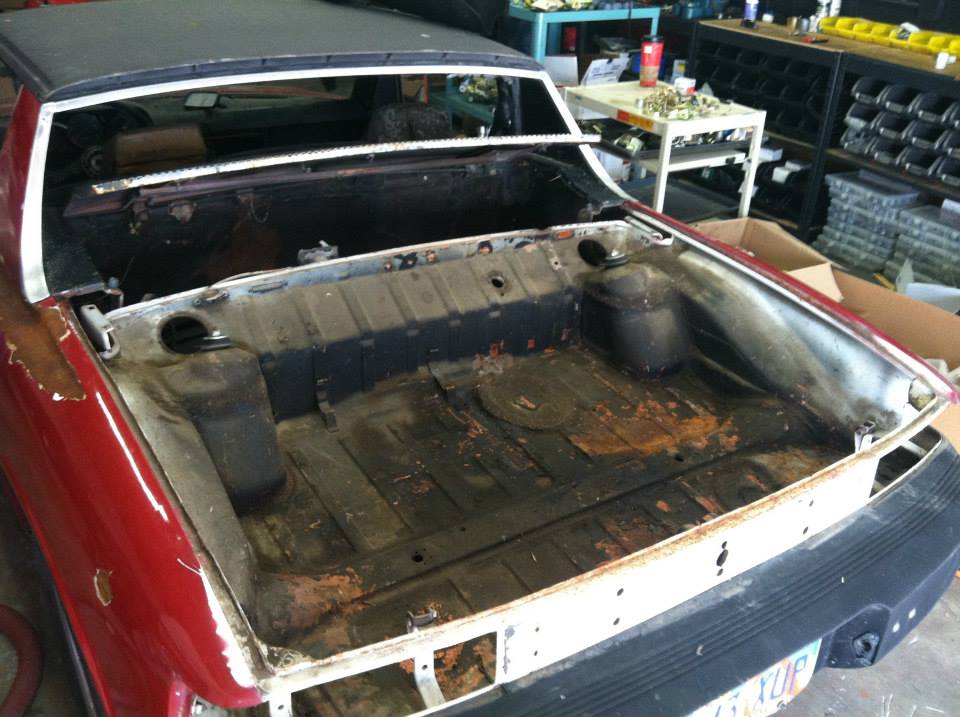
Here it is as it arrived:
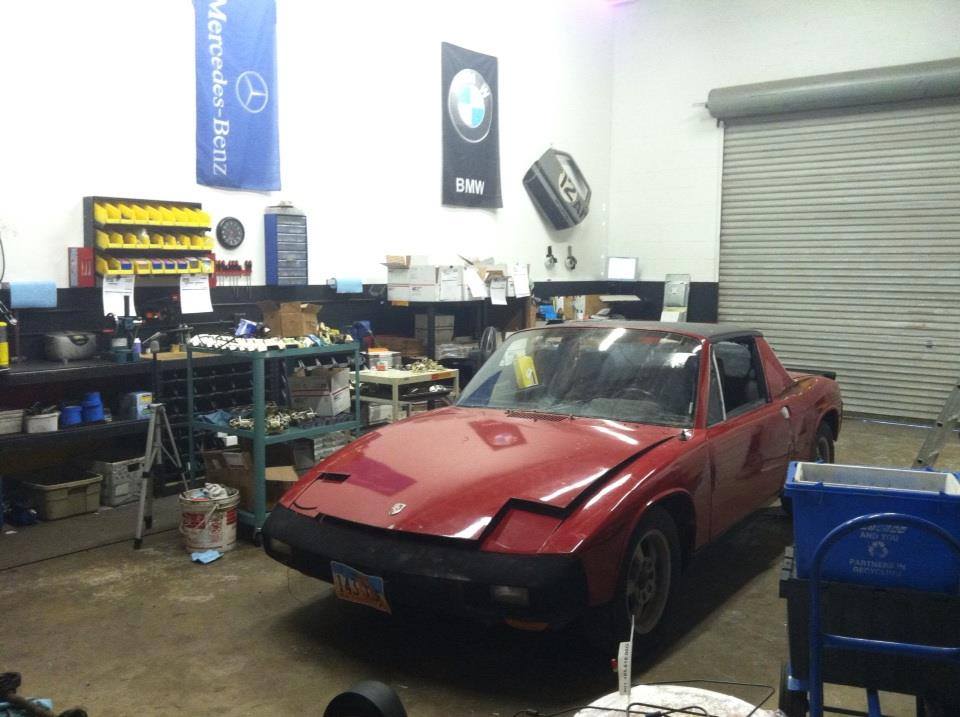
Mmmm purdy huh?

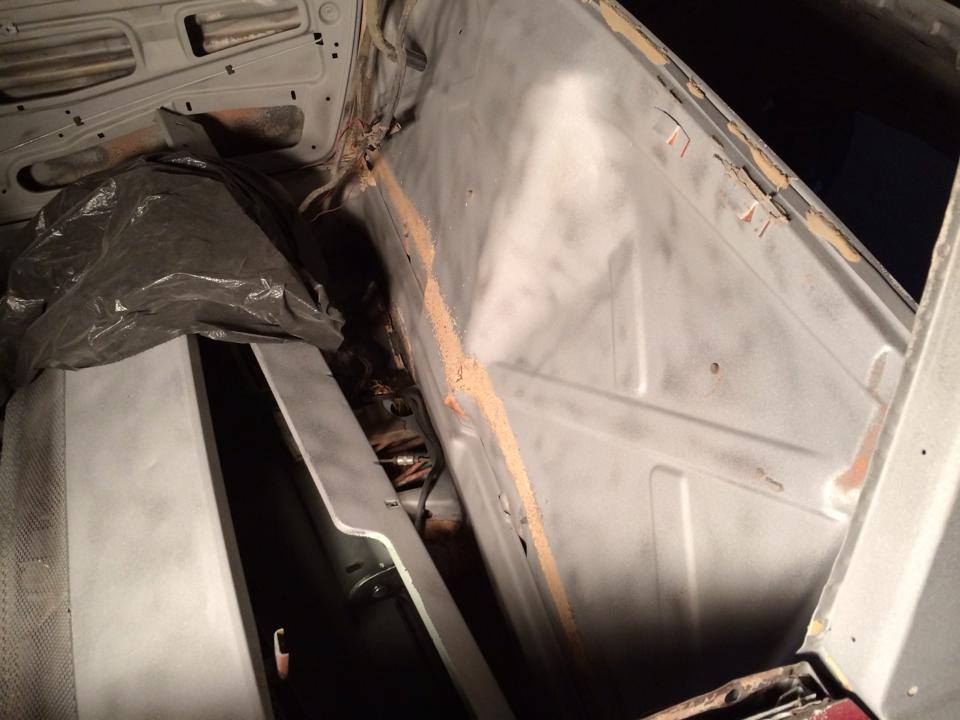
Time to get busy. Shovel loads of crud came out of the trunks and interior:
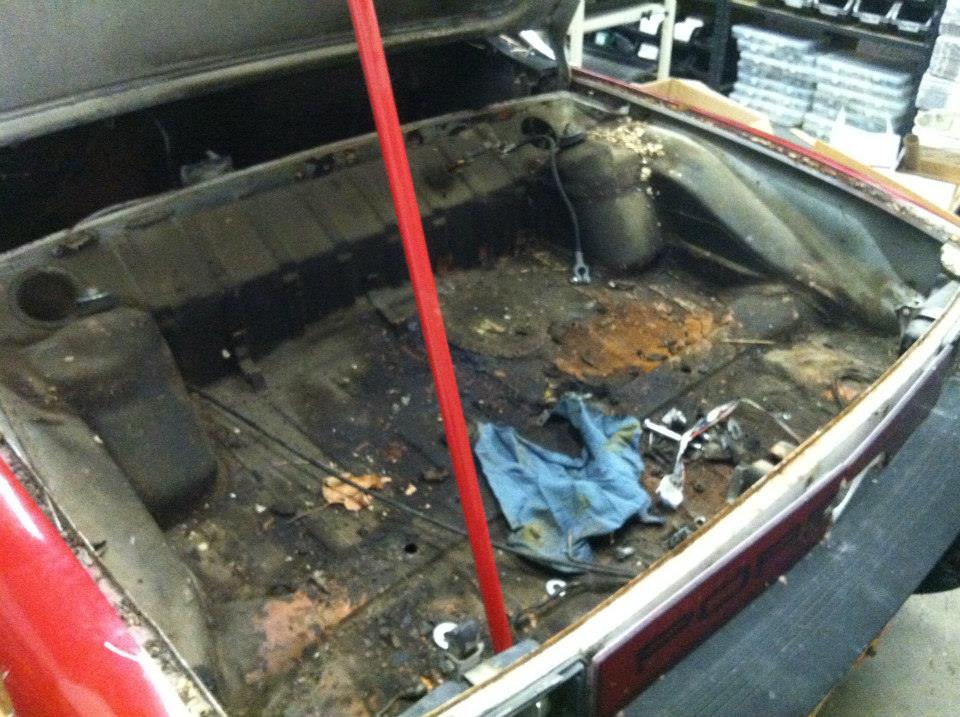
Bummer...


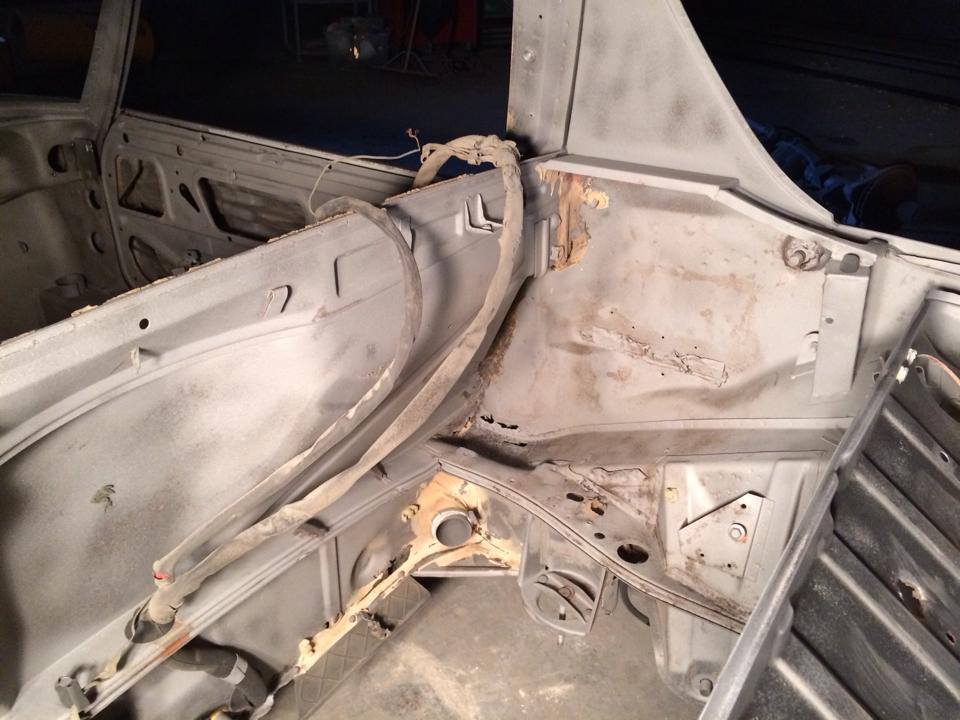
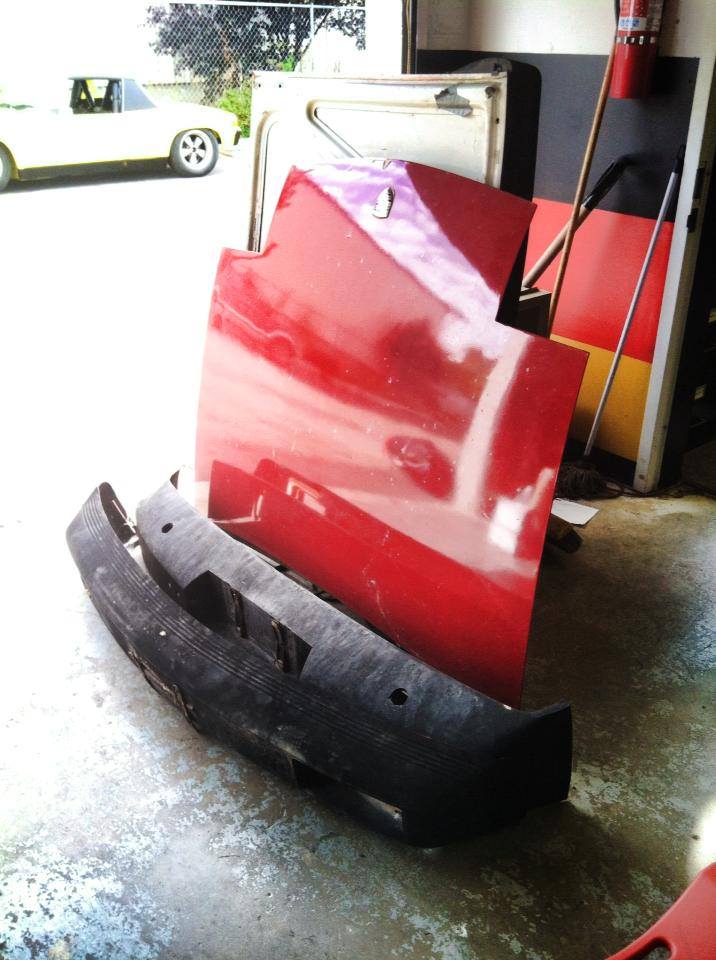
Getting there:
Buuuu-Bye:
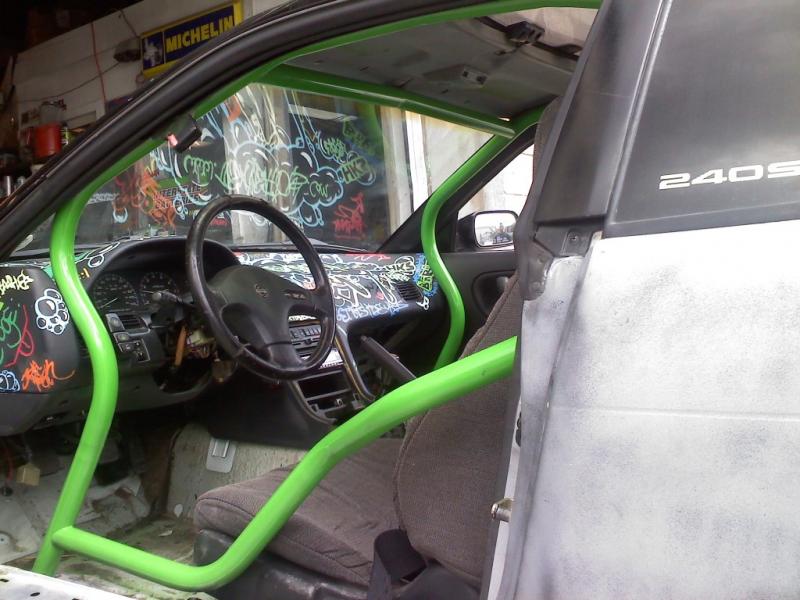
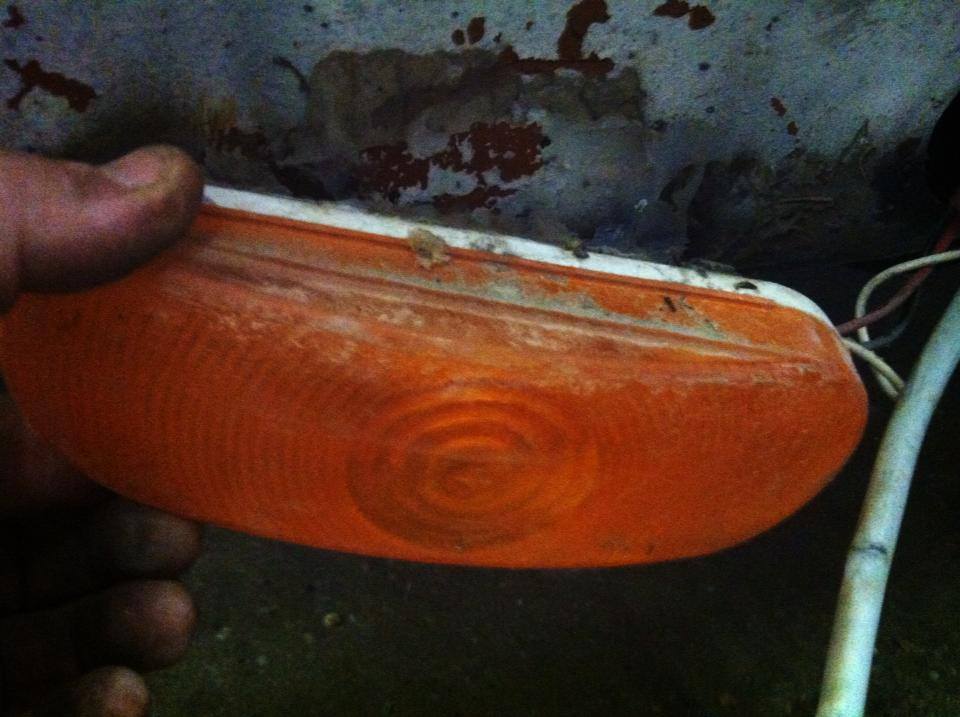
Ooooh, the comedy never stops when you're working on a 914. Farm and Fleet tractor implement lights silly-coned on for turn signals! Yee-Haw!!
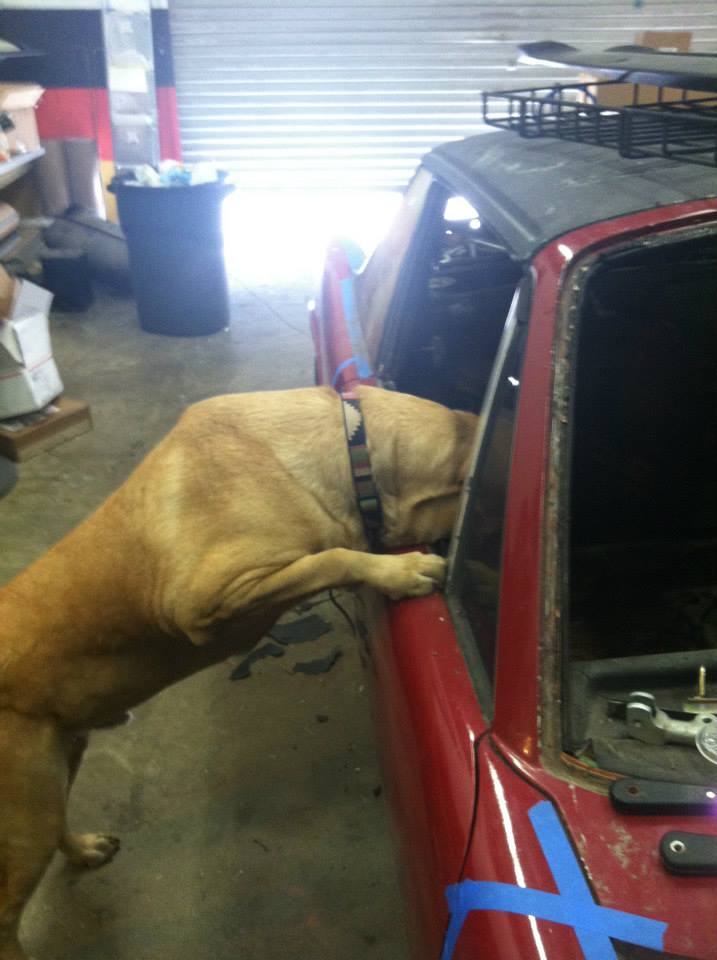
Rio inspecting the progress:
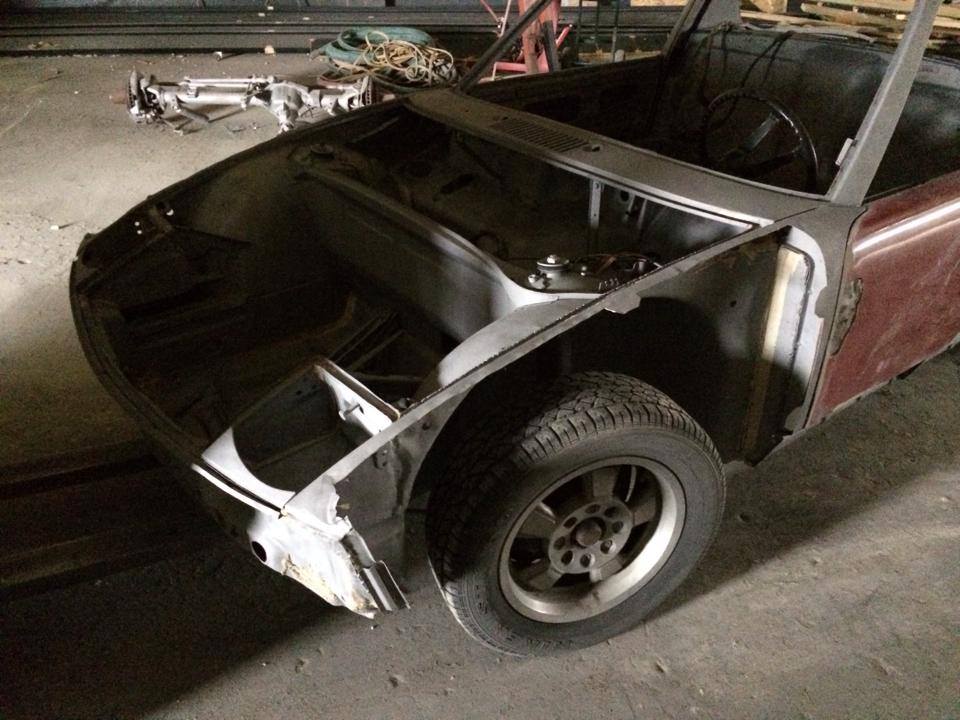
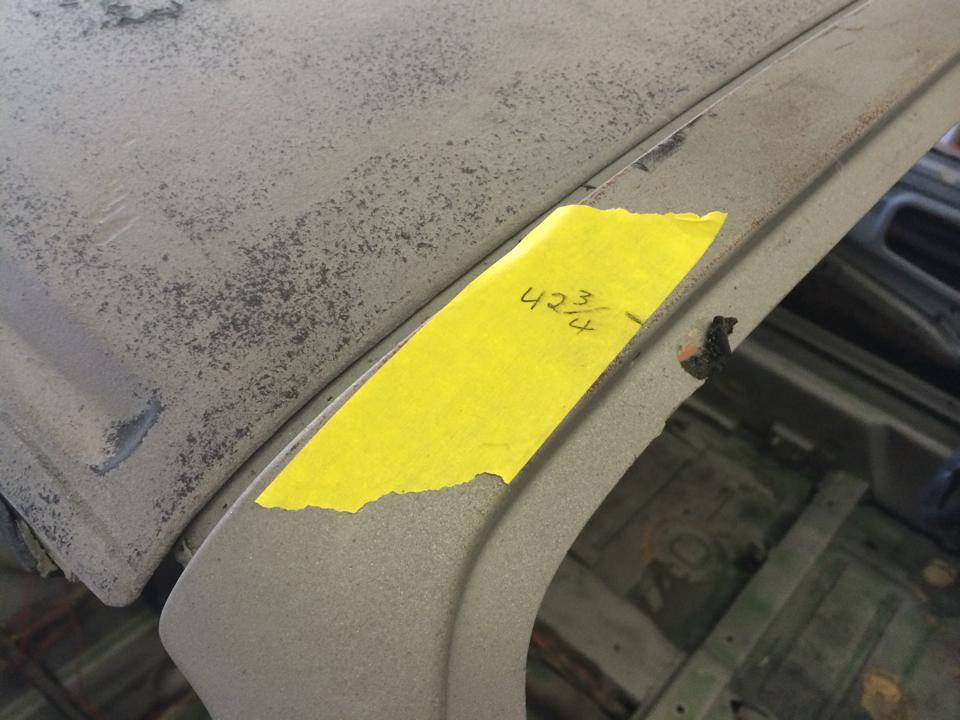
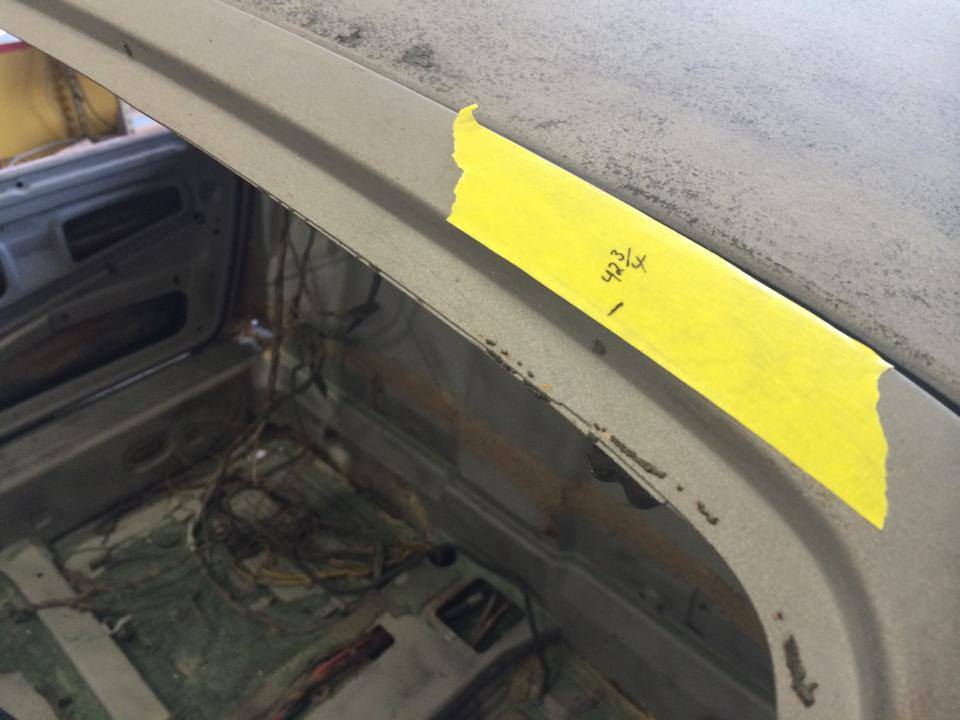
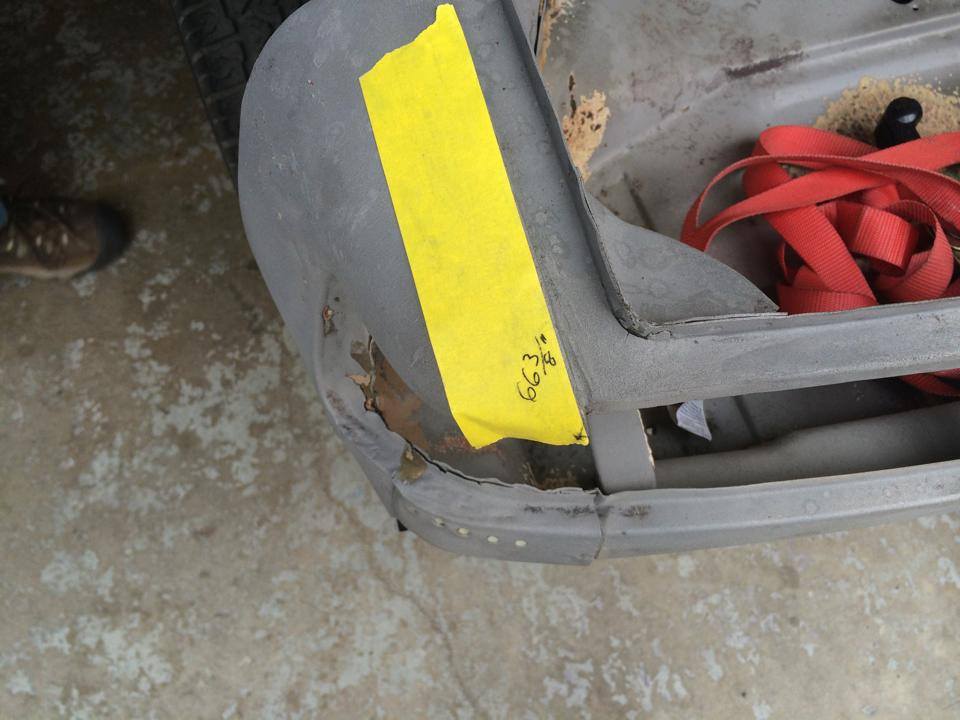
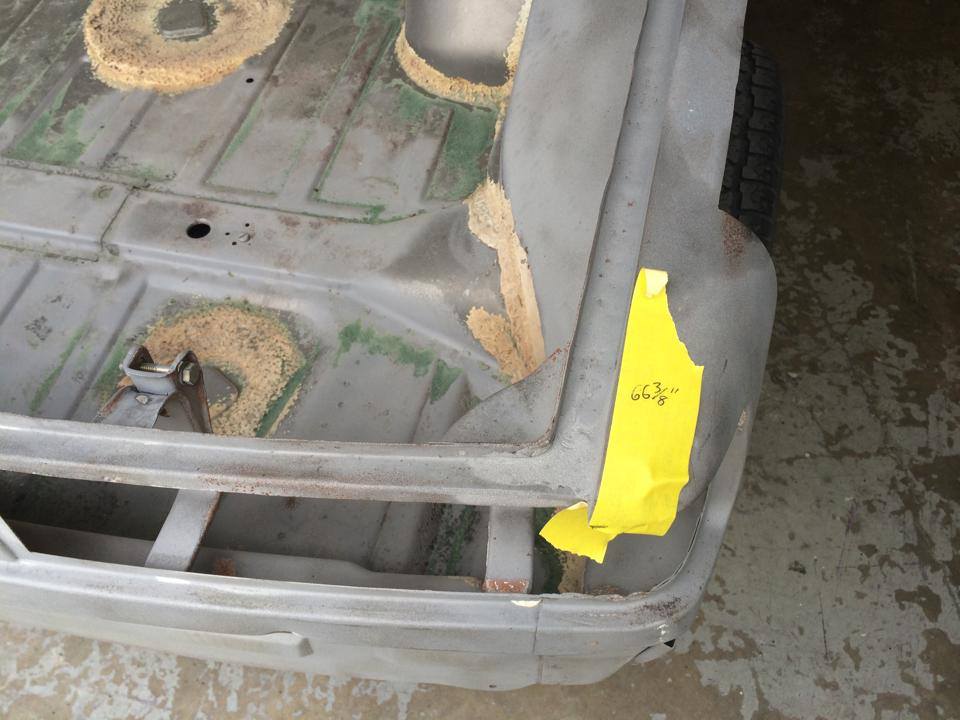
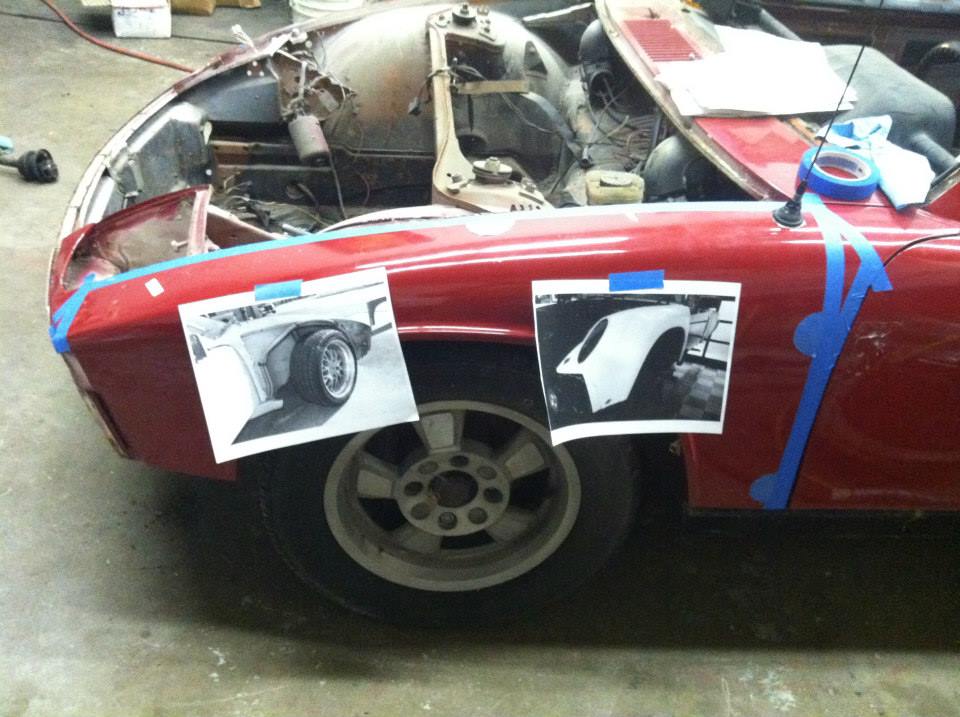
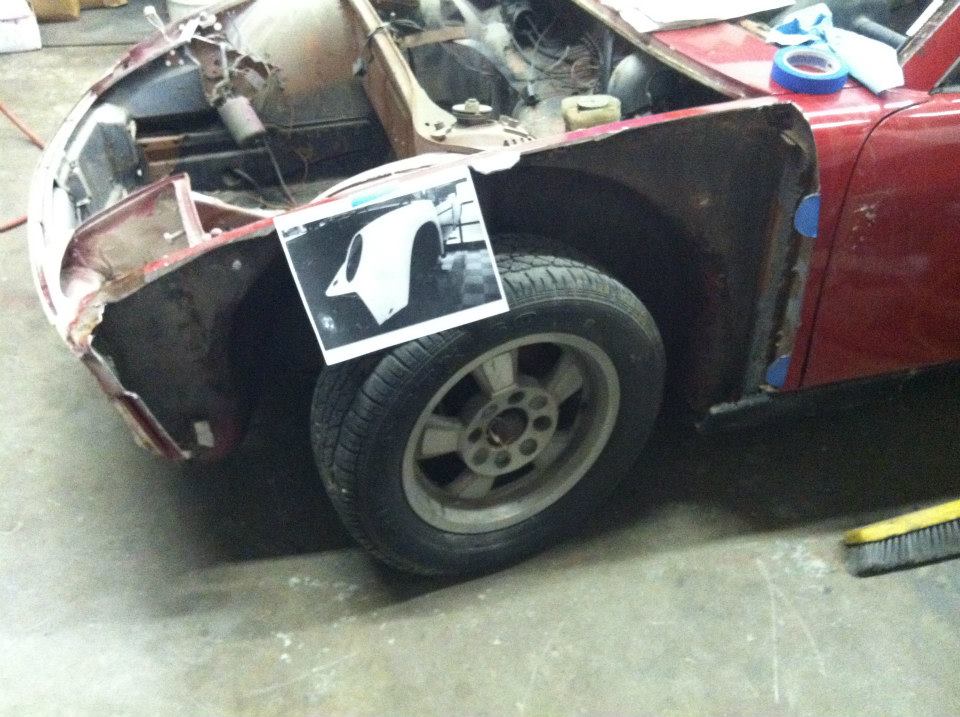
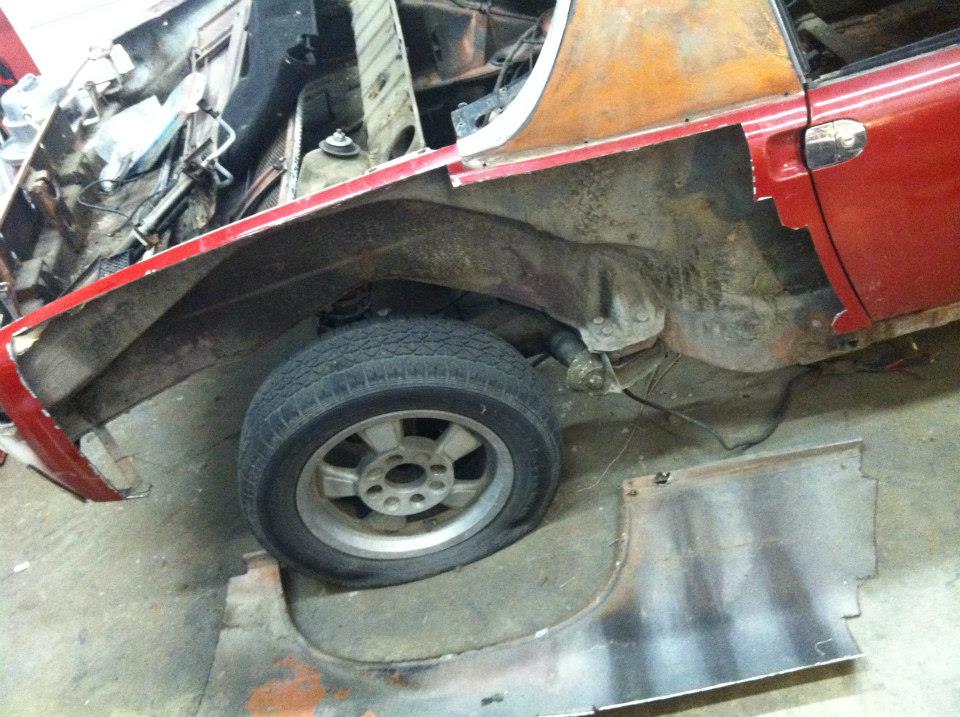
Off come the body panels. Special thanks to Elli-rot who went before us. He sent a bunch of pictures of his Dzuz fastener locations and offered advice on where to put them as we cut the panels off. Here you see pictures of his cars taped to the body as we taped and cut.

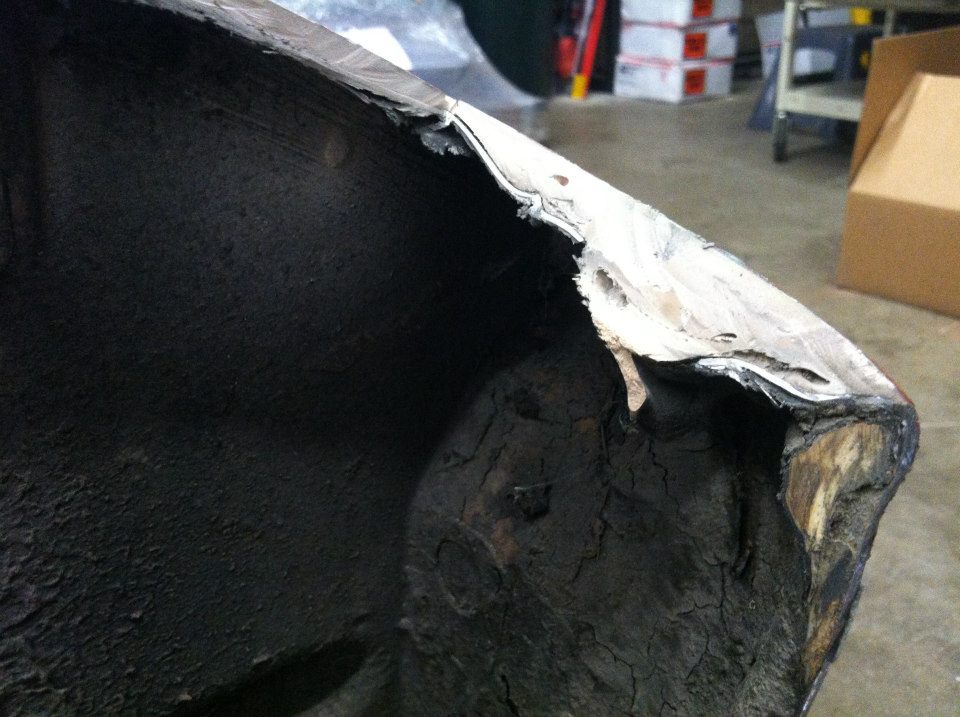
That there's a good 1 1/2" of Bondo.
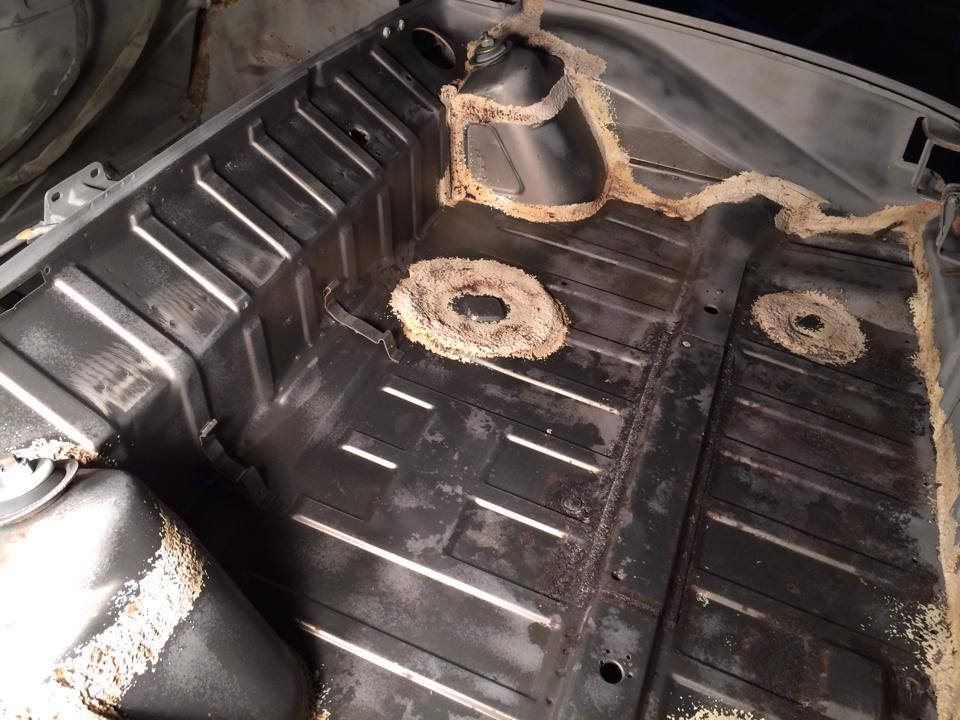
Done:
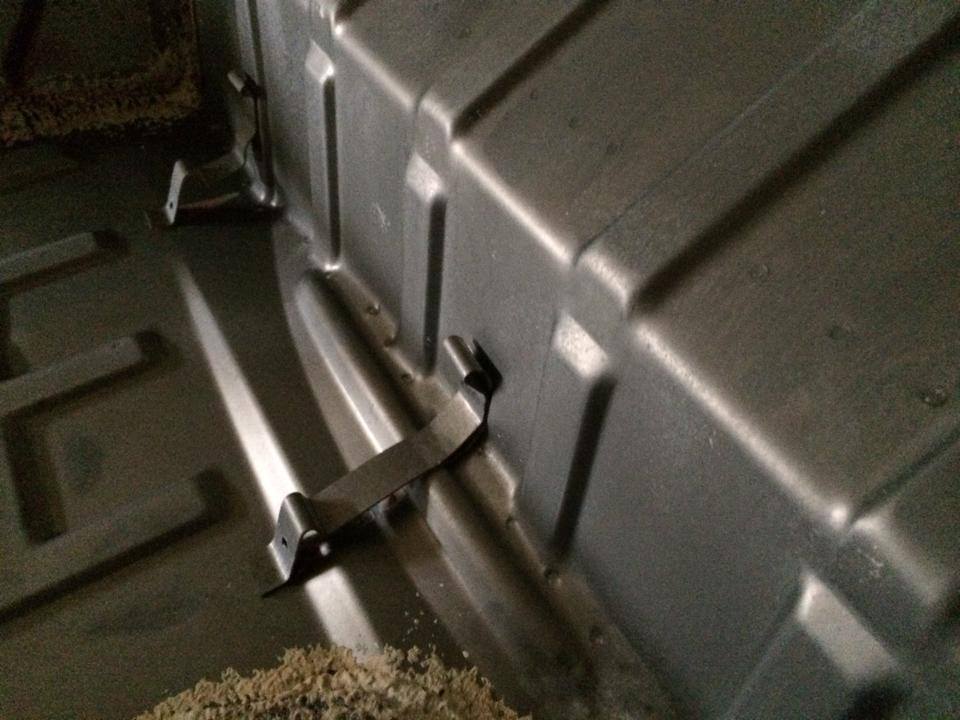
Nice solid tub is what we were looking for and it appears that's what we got.
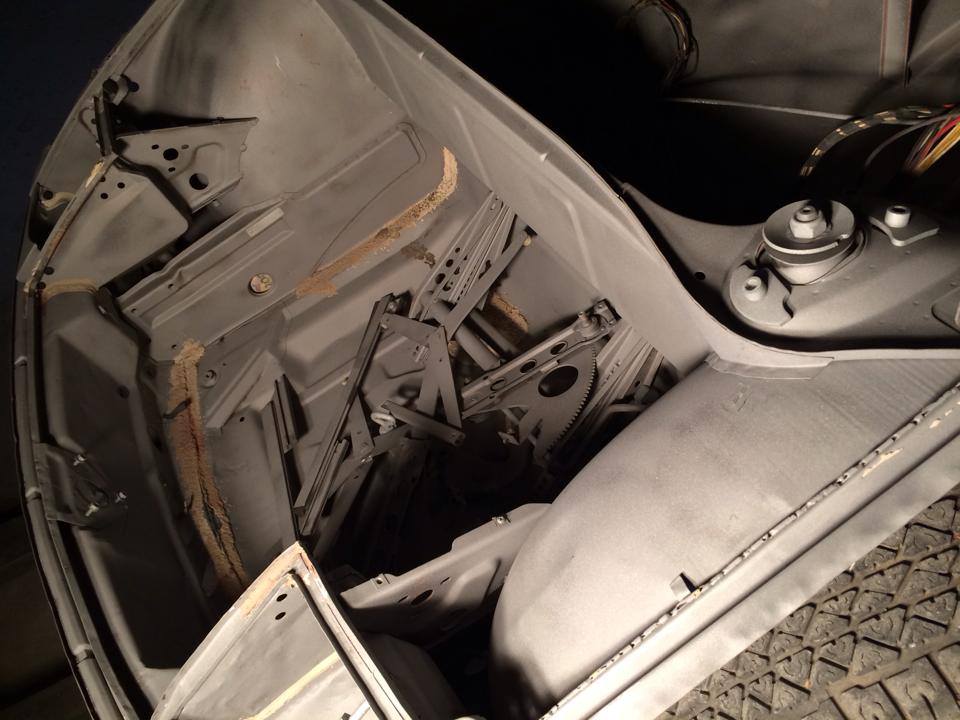
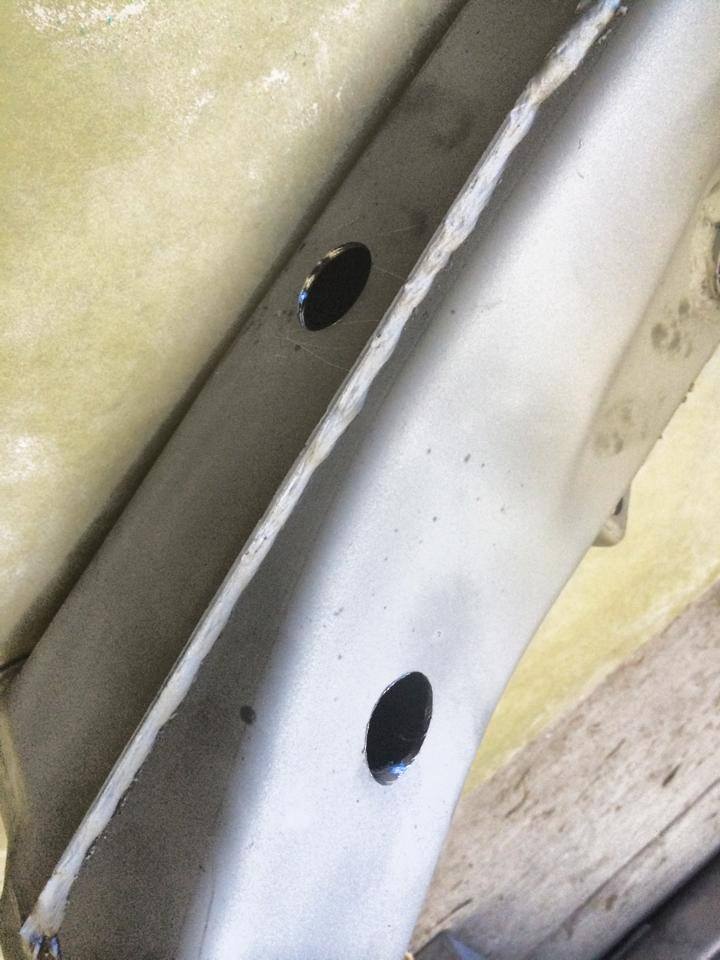
More panel cutting:
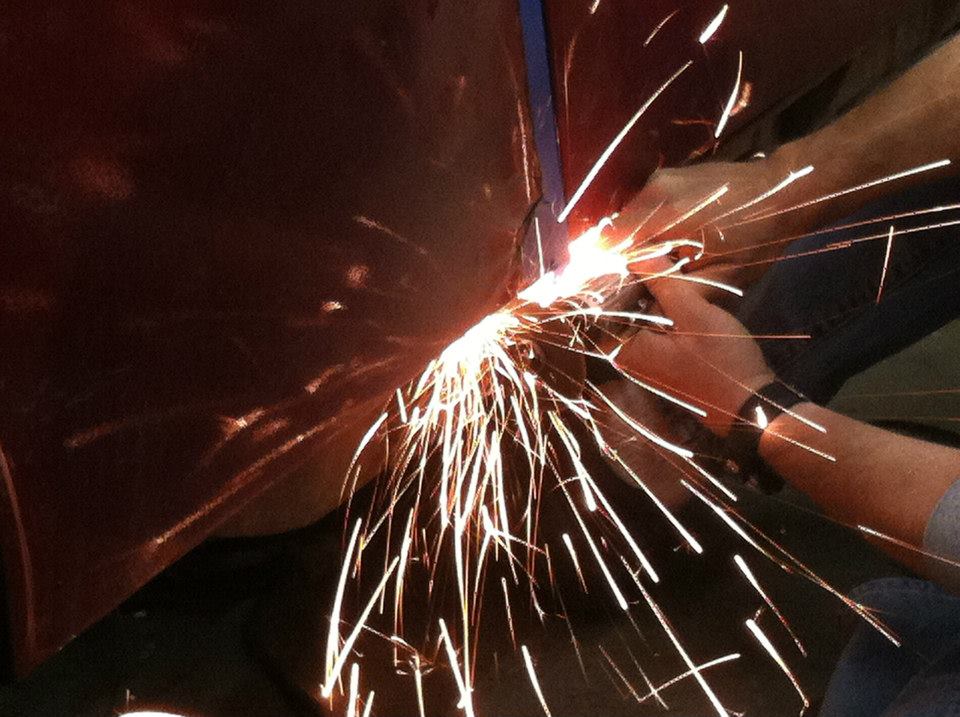
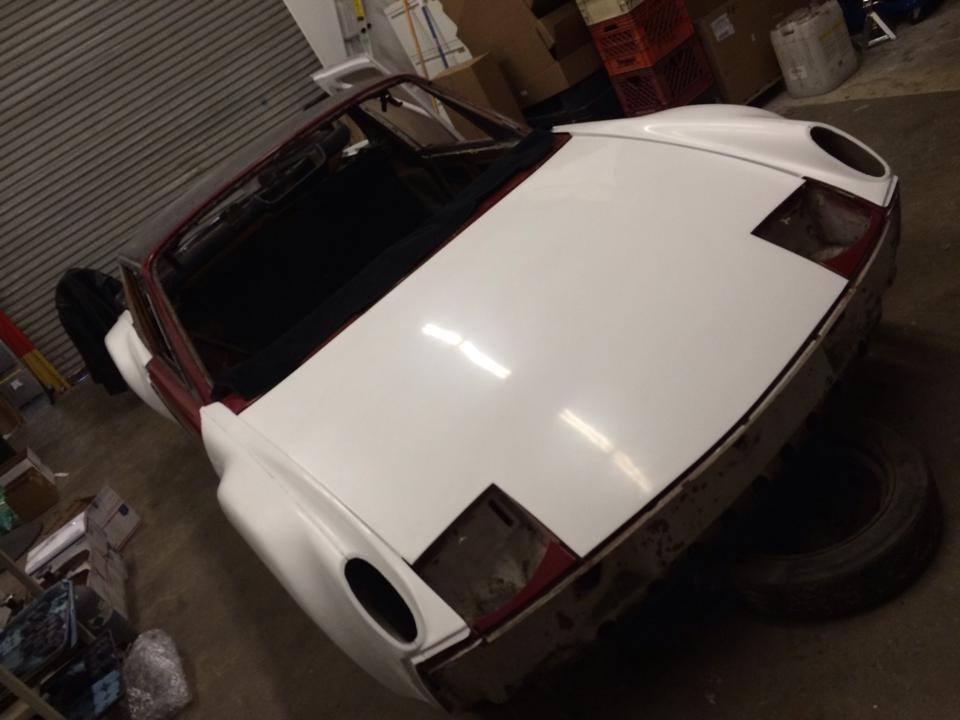
Here you can see what we're aiming for. All of the QRS panels from Jeff are laid on the car in a mock assembly. Already looking 100% better! Next it's off to sand and soda blasting.

![popcorn[1].gif](http://www.914world.com/bbs2/style_emoticons/default/popcorn[1].gif)