QUOTE(Lucky9146 @ Aug 25 2017, 06:56 AM) 
QUOTE(mb911 @ Aug 24 2017, 12:02 PM)
In all the 911 engines I have built over the years I have always put the heads and cam towers on as 1 assembly.. I know others do it just like you but just don't know if one way is better then the other..
mb911 with only 2 of these particular engines under my belt I am always willing to learn and it sounds like you have more experience than me. My thought is that the joint between the cam towers to heads assembly is said to be one of the most critical, that using the head studs to line up the heads would be beneficial to mating the cam tower to them. Additionally it makes the application of RTV574 one operation when putting the cam tower to the heads instead of three when assembling each head to the cam tower. Just my 2 cents. I would say if you are having good success with your method to continue on. Thanks for looking at the thread.
Oh completely understand but I always approached it from the dowl pins in the heads made it easy to locate into the cam towers and put it on as a completed unit though a bit harder to torque the heads ..
Its all good.. Keep up the good work.


 Guess I should have done more checking around.

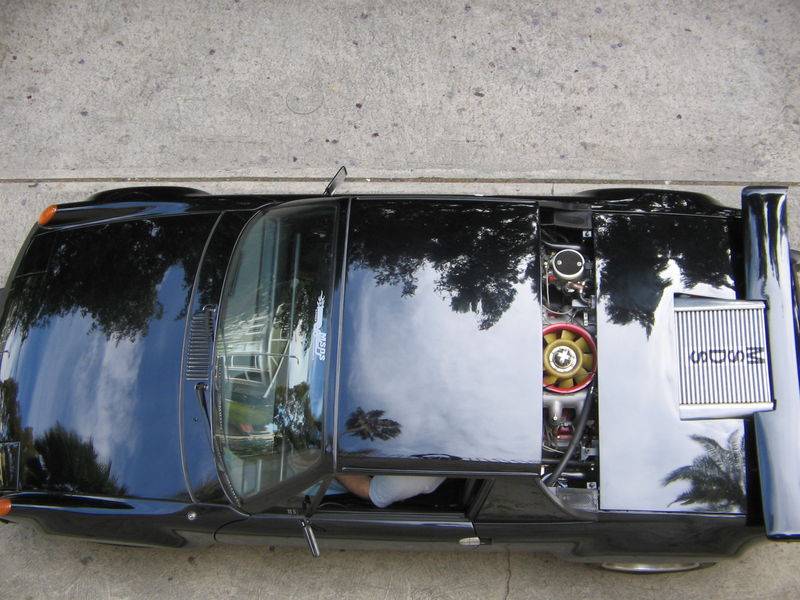
 So I elected to go with the 40/36 “short” manifolds at 3.25 inches. Sounds like I am necking it down I know, but Paul at Performance Oriented said that with the 36mm venturi’s in the carbs it should be fine.


 and you have to make the cut out for the exhaust but I don't think it will be a big deal. I hope.
 Nice work!
 .
. Ugh!
Ugh! 