Help - Search - Members - Calendar
Full Version: Tailshift to Side shift conversion - My experience.
914World.com > The 914 Forums > 914World Garage
mikedsilva
sorry for starting this in the classifieds section.. I must have been on drugs at the time...


A few months I bought my 914... its a 70 model, fitted with a 2.0litre motor.. but still with its original tailshifter.
Whilst I was able to find most of the gears, most of the time, I felt I wanted to convert.

There are some very useful threads on here and pelican but none with all the bits I wanted in the 1 place. This isn't a how to, but more wanted to share some of my findings.
Thanks to a couple of newly found 914 friendships at home, I decided to have a crack.

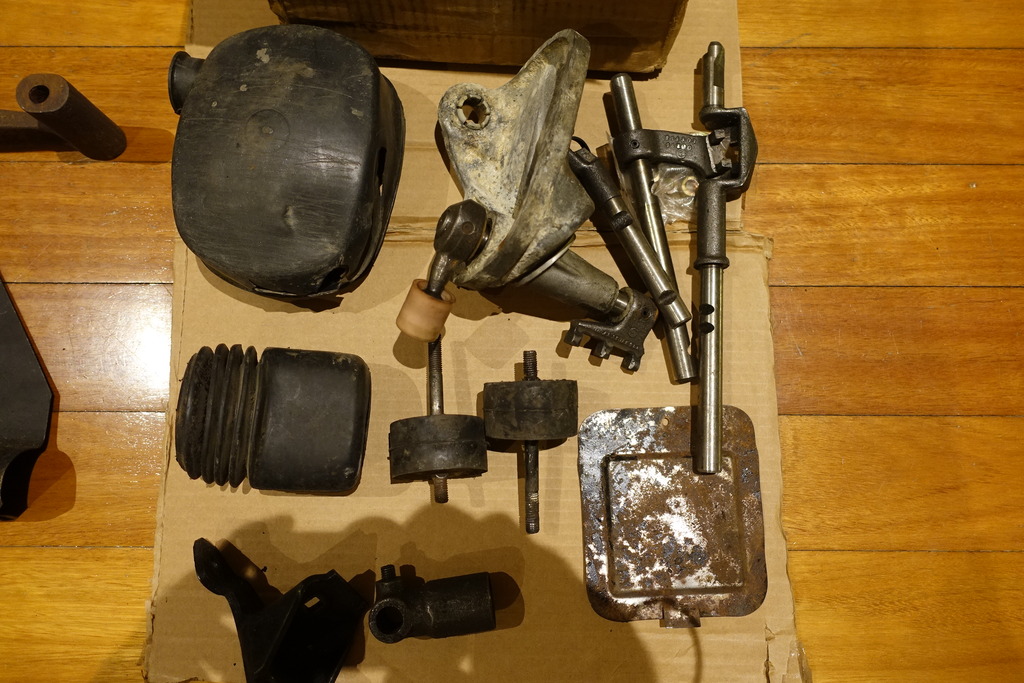
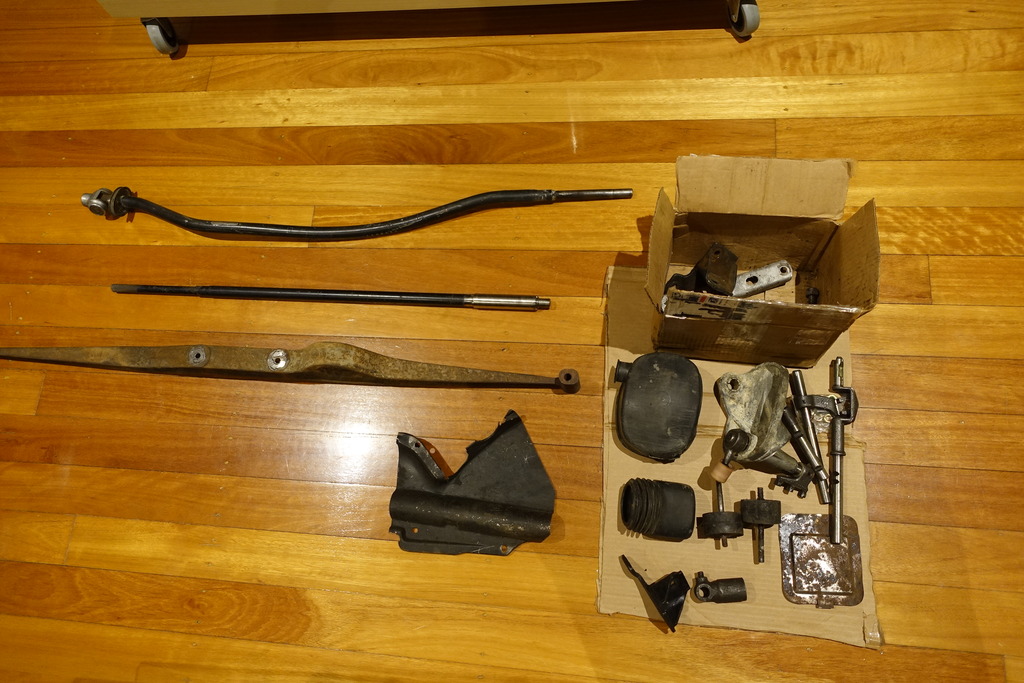
Rather than buy a complete side shifting transmission, I found that Brad Mayeur sold a "kit" of parts needed to do the conversion. Brad sold me everything needed.. and I mean EVERYTHING.
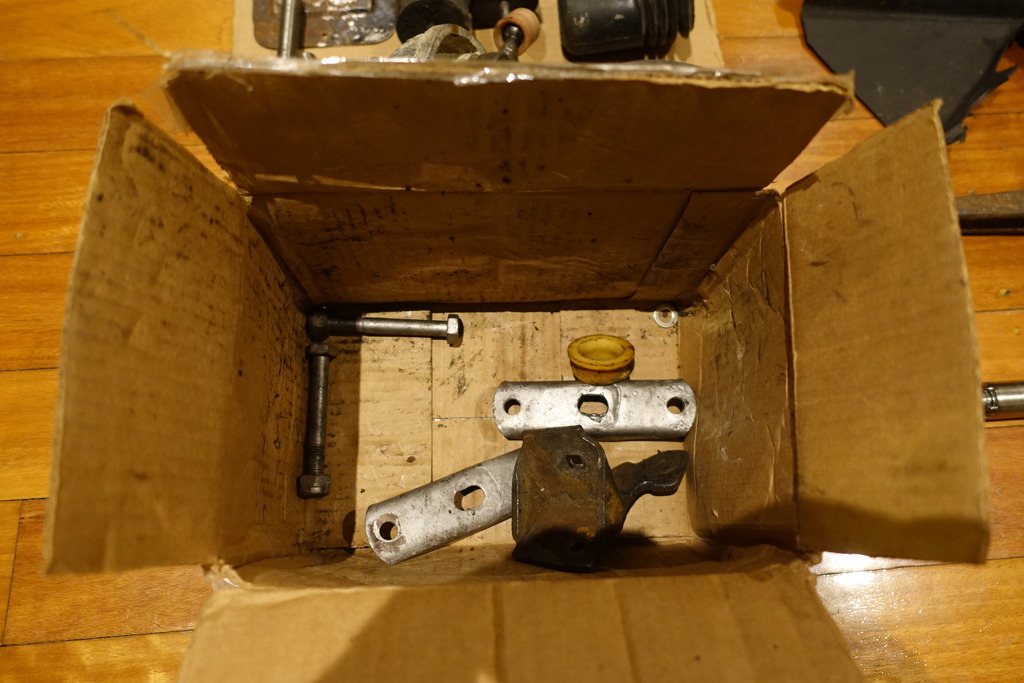
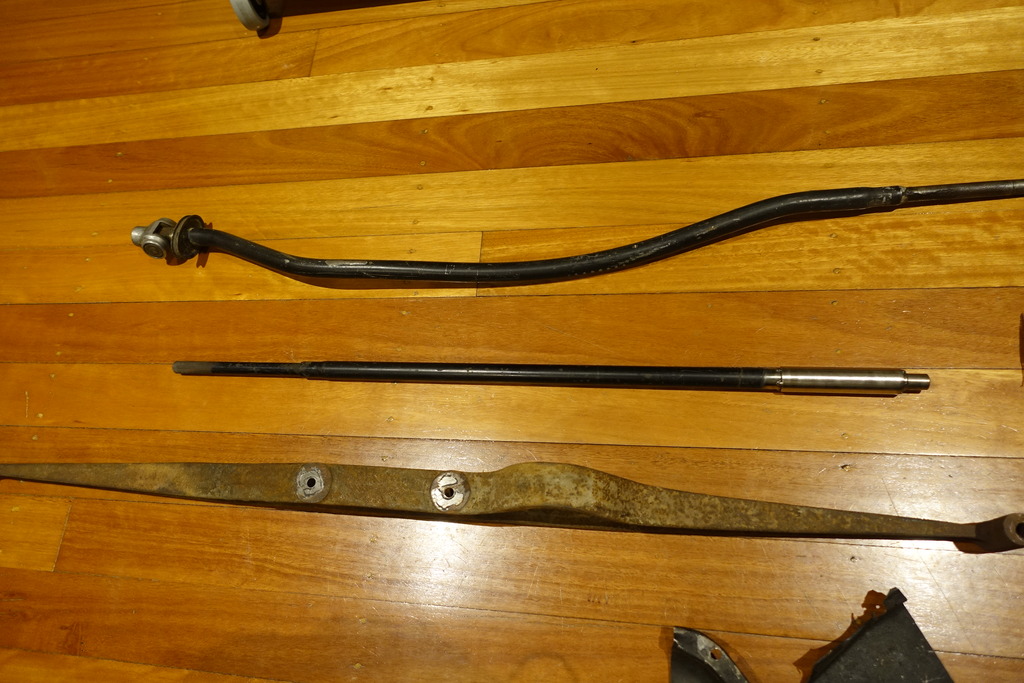
Shift lever and console, all the shift rods, coupler, side shift console, new engine mounts, engine cross bar, etc etc. He even included a new oil seal for the drive shaft in the box, and new exhaust gaskets.

Here are some pics of the bits I received...
IPB Image
IPB Image
IPB ImageIPB Image
mikedsilva
Not pictured is the shift lever console, and also gasket kit with different shim thicknesses for the intermediate plate to case joint.

All bushings were replaced with items bought from Pelican parts.

One point worth mentioning, is that the firewall bushing in tailshifter cars is different to side shifting cars.
But what Brad does, is weld a tube of the correct diameter, to the gear shift rod, so that where it exits the firewall, it is the correct diameter for the original bushing.
In this photo, you can see the steel sleeve on the right hand side...
IPB Image

The late side shifter bellows were not included, but I do have a new part which came with the car when I bought it.
Also, my side shift console cover is badly damaged, and was supplied by brad for free.. I have cleaned it up and intend to do a fibreglass repair.

Interestingly, because my car has a non original, 2litre motor, I thought that some parts were original.
My car already has the solid engine mounts so I did not use the ones that Brad provided me. Plus my engine mount bar was the same.. or at least I thought it was.

When I first installed the transmission, everything lined up great, but when trying to select 4th or 5th, the rod would bind in on the bar...
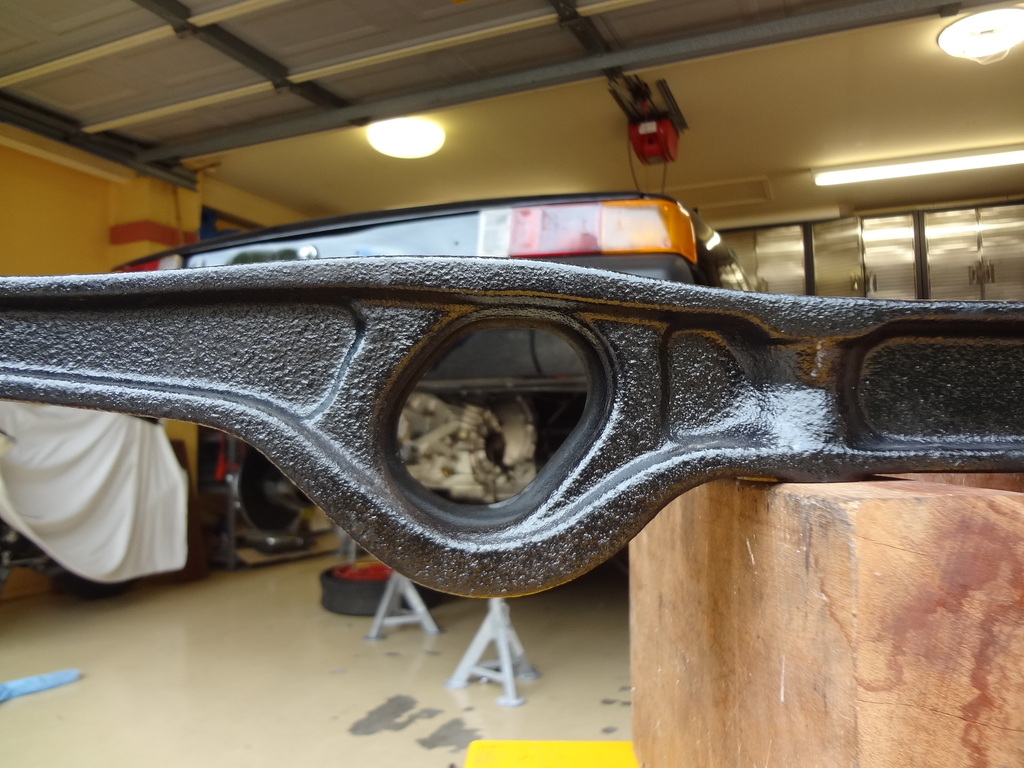
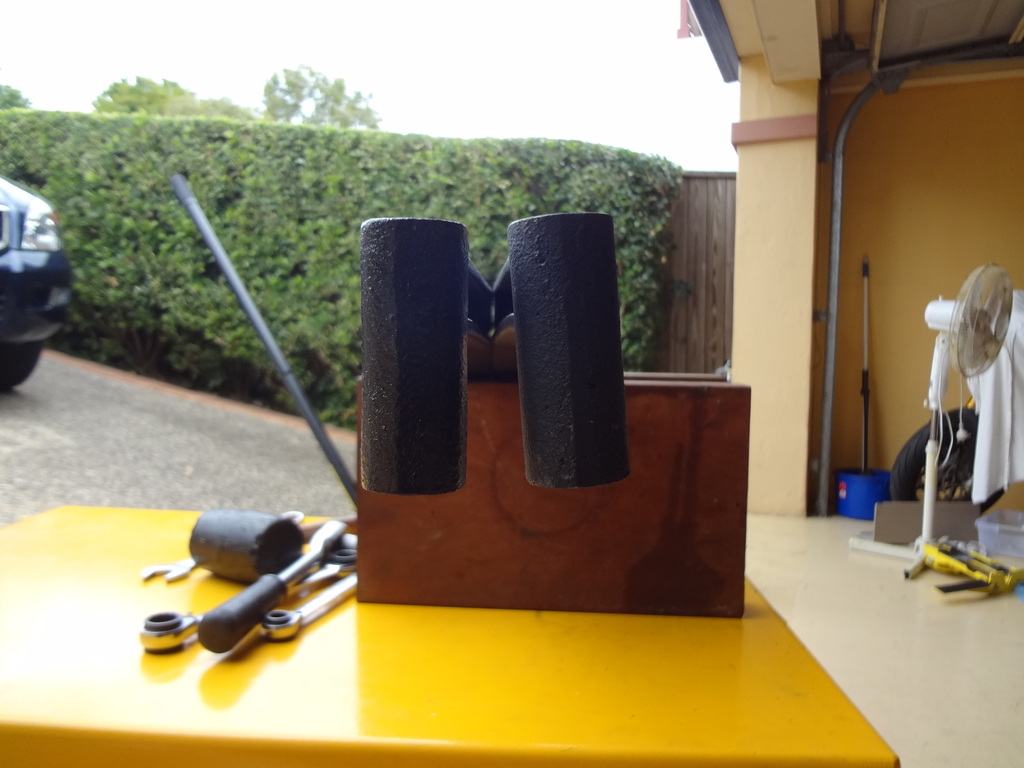
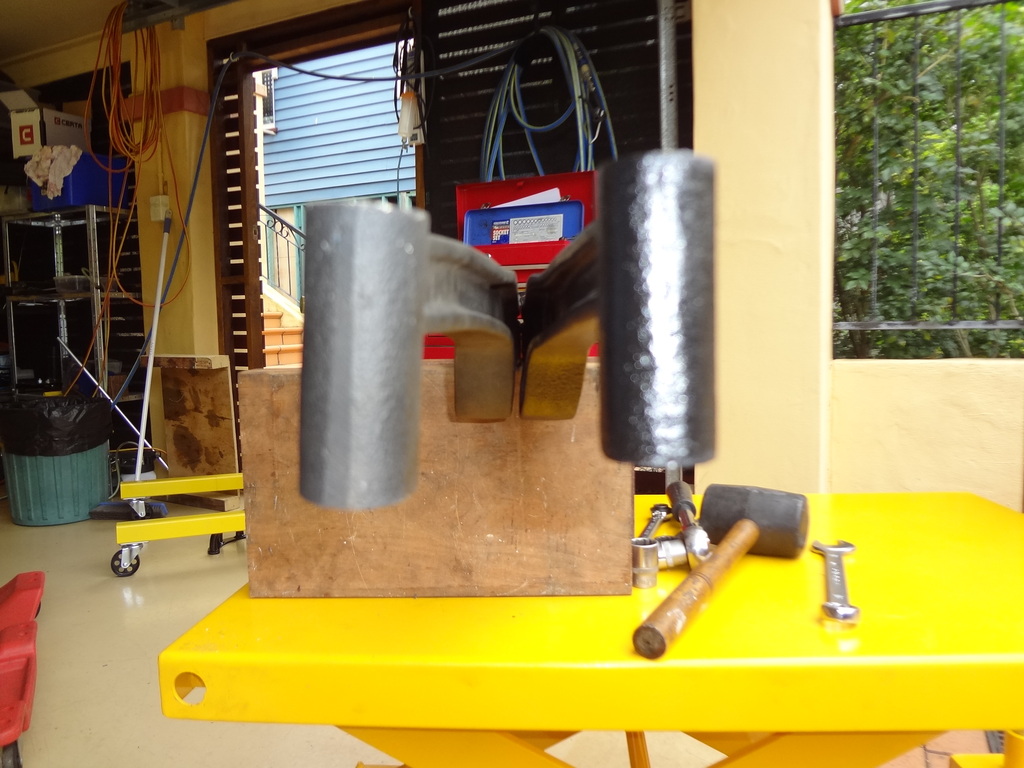
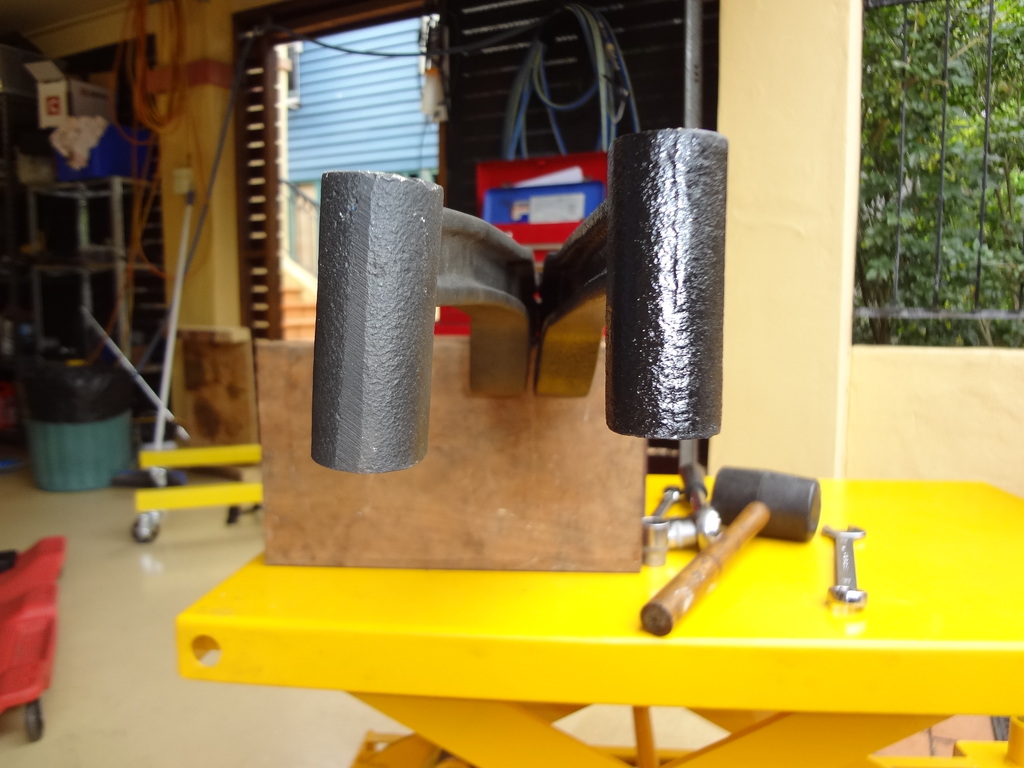
I took my original bar off the car and CLOSELY lined it up with the one from Brad, and it seems there IS a small difference! I tried to take some photos to show, but basically, the bar for a sideshift is about 5mm difference on the drivers side, to give that all important clearance.

looks same here
IPB Image

passenger side also looks same
IPB Image

But drivers side shows the difference.. the shiny one is the side shift bar freshly painted.
IPB Image
IPB Image
mikedsilva
IPB Image
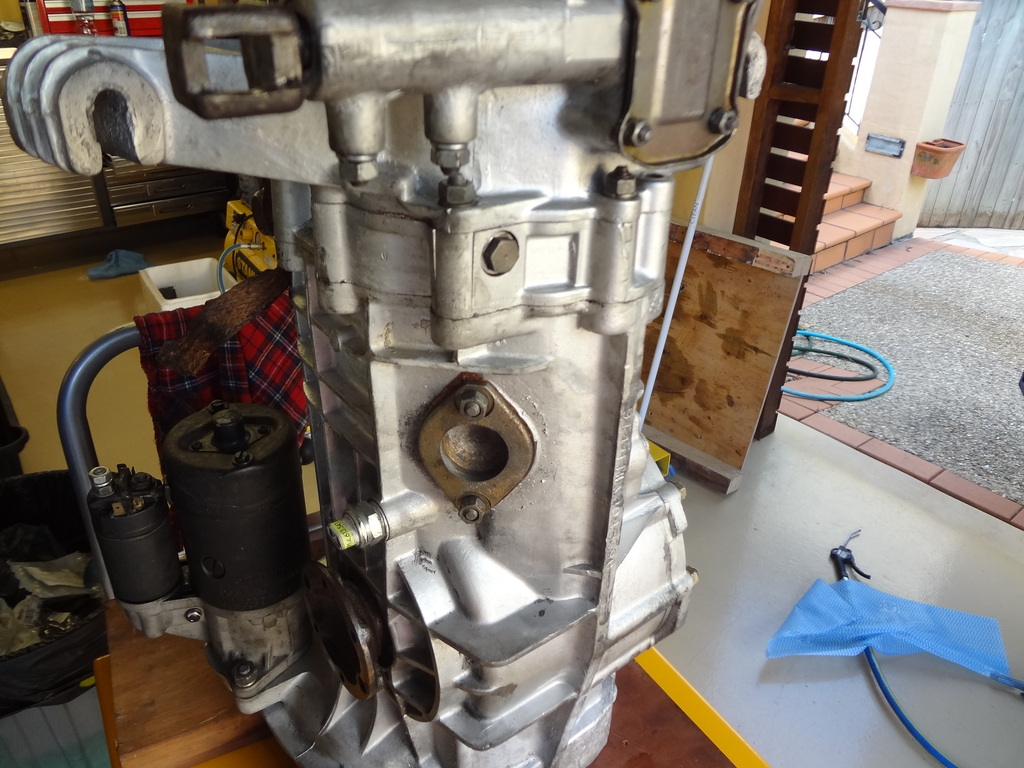
this cover with 2 bolts needs to come out... plus, this is where the new side shift console goes...

Also, you need to remove the reverse switch, and use needle nose plier to pull the pin out of the case.
mikedsilva
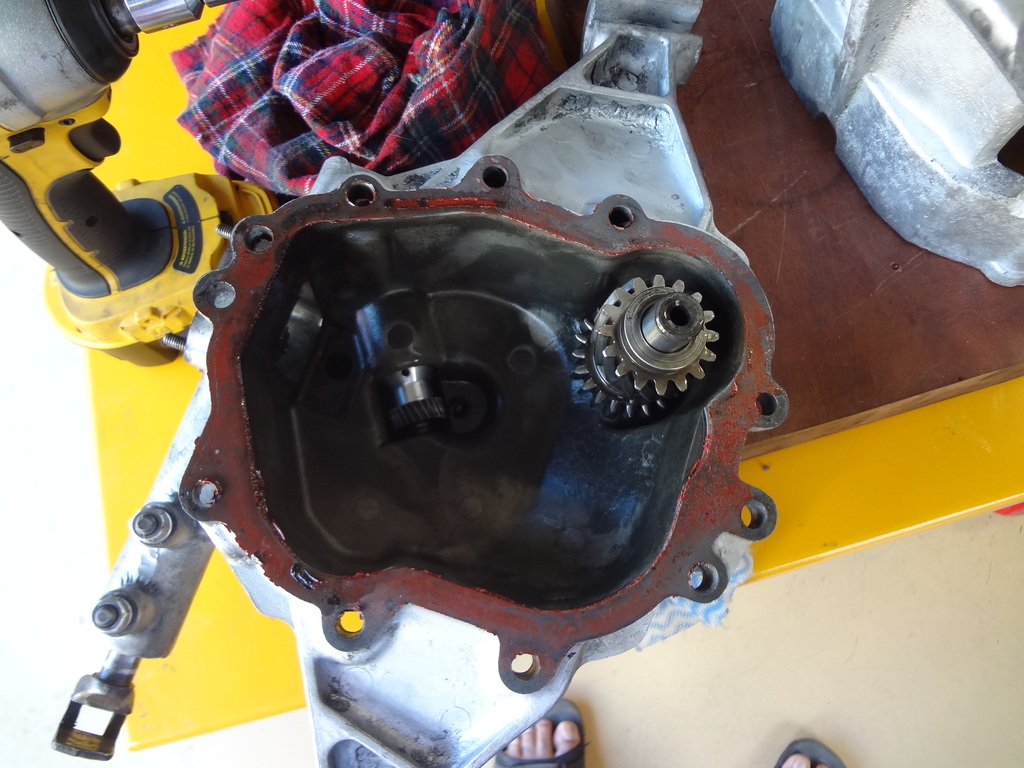
When I removed the rear cover, this is what I found...
IPB Image

And the reverse gear assembly in the tail cover
IPB Image
mikedsilva
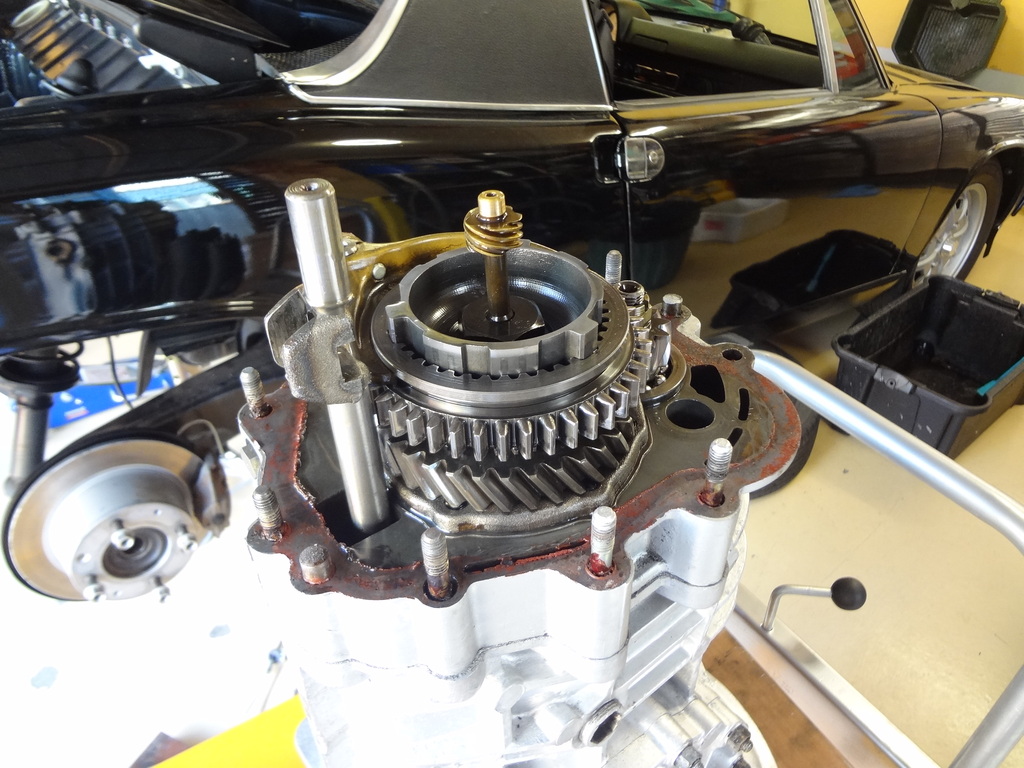
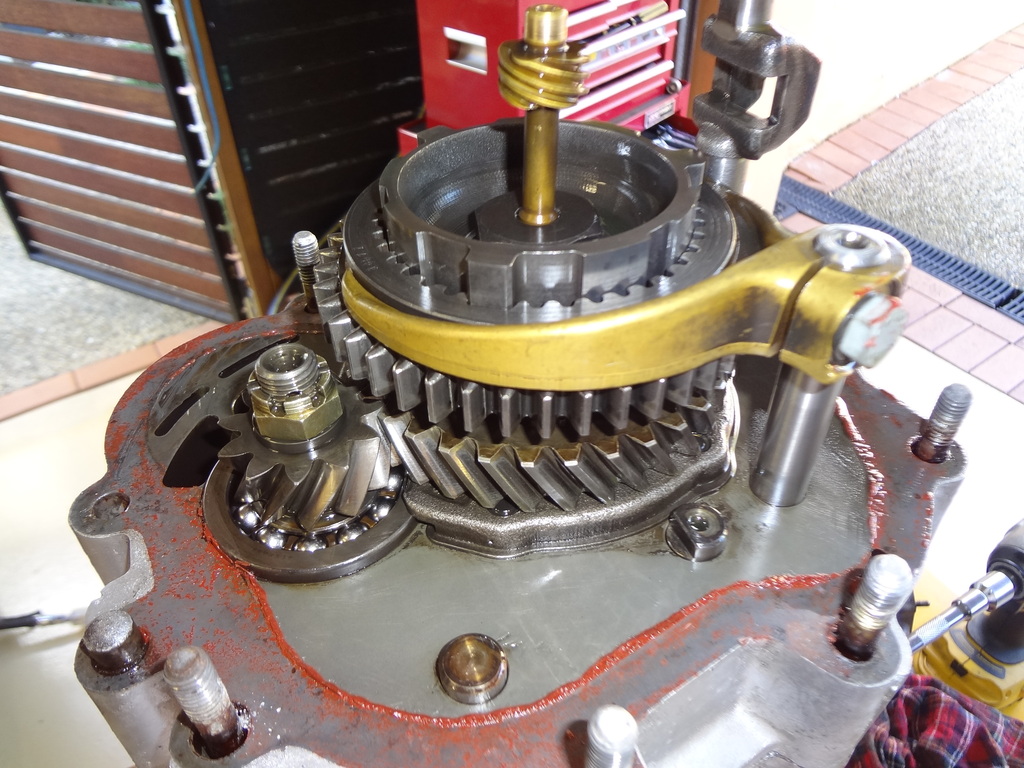
need to select 5th gear....before removing the cluster from the case...
You can see the end of the selector rod at the centre bottom of the photo, poking through the intermediate plate.. I pushd it all the way in with a socket extension.. it make a nice "click" as the gear selected..
This slides the brass shift fork down, and creates a bit of space to help manouvre the gear stack out of the case.
IPB Image
mikedsilva
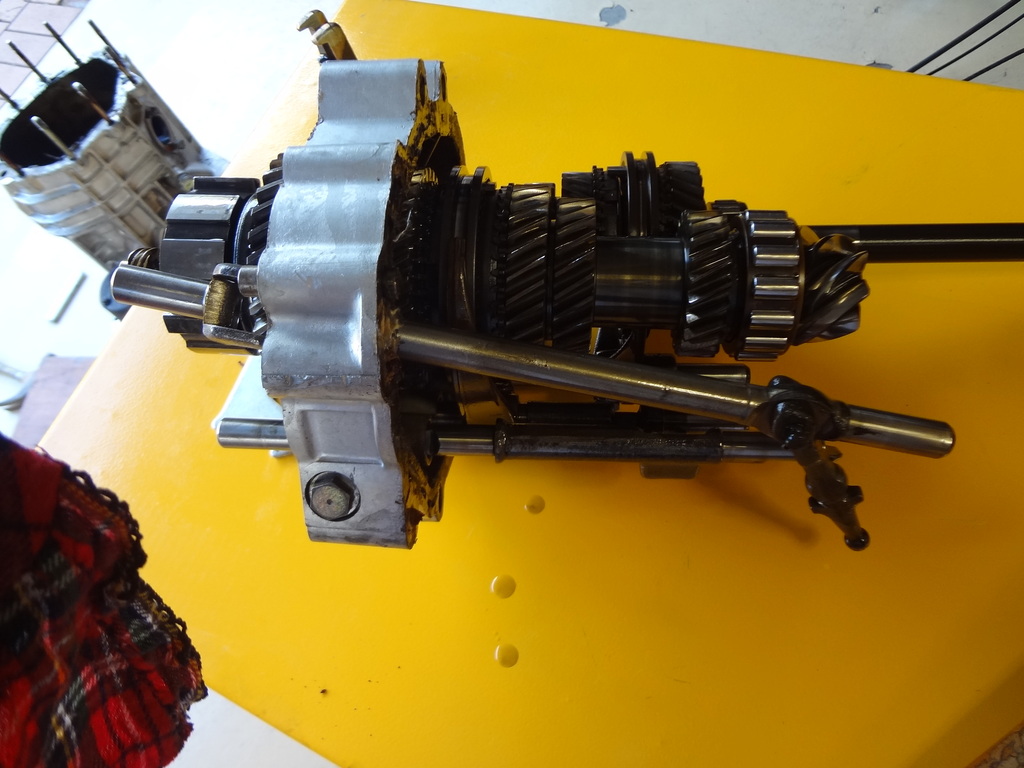
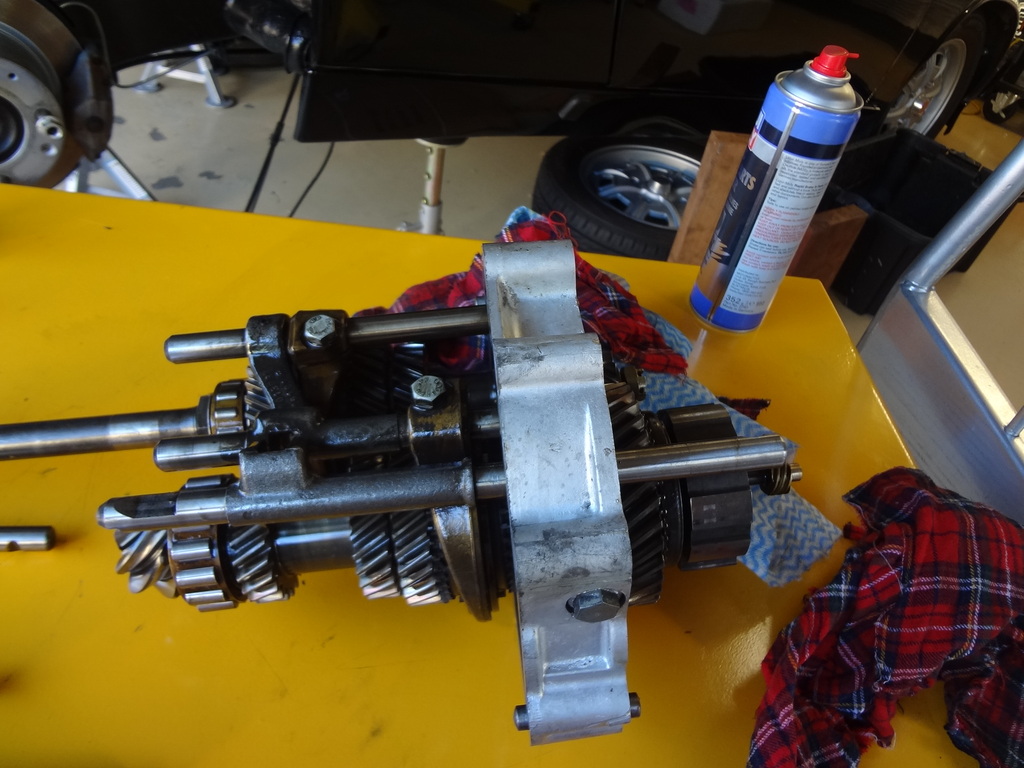
Here is the gear stack... took a few taps with a mallet to get it to come out.
You can see the funny shift rod that goes through the intermediate plate and has the dongle thing on the end that rotates through the shift rods and selects the gears. Very intersting and good learning experience this!

IPB Image
mikedsilva


IPB Image
mikedsilva
Anyhow, I wanted to remove this dong thing forever.. and to get it out is harder that I thought. Remove a split pin, then you have the DRIVE the steel pin out. It is an interference fit.. and with my tennis elbow condition at the moment, I took quite a few goes to get it out.
IPB Image
mikedsilva
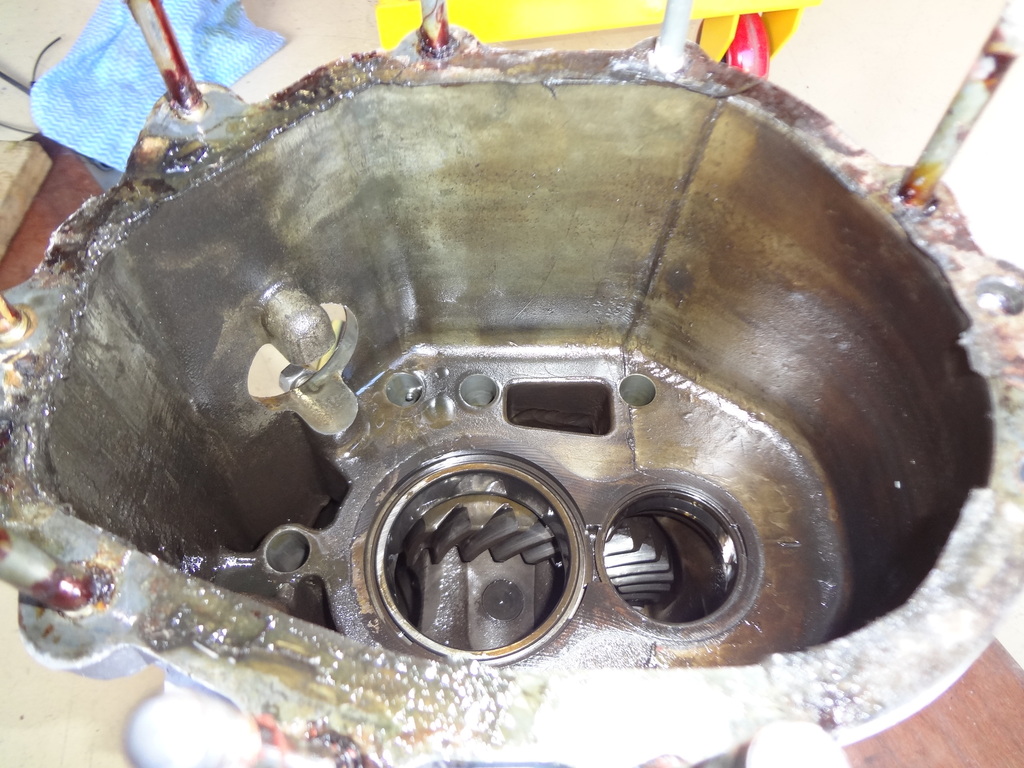
Here is the inside of my case..
IPB Image
mikedsilva
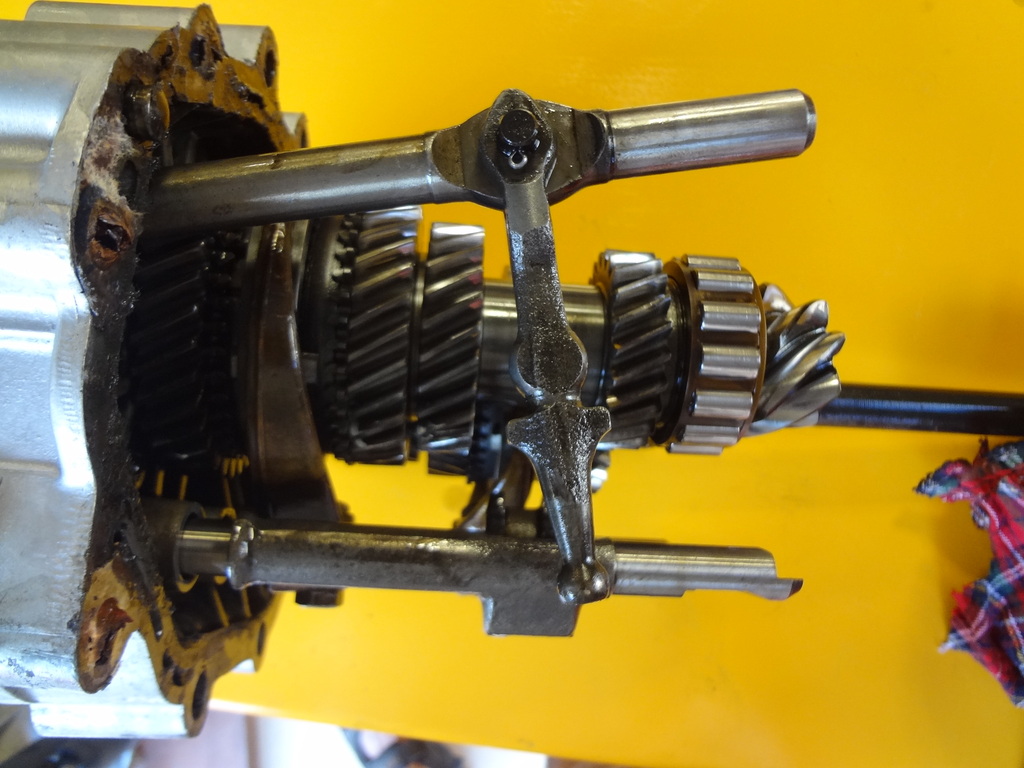
Here are the tail shift selector rods...
IPB Image

The next bit is tricky...
mikedsilva
IPB Image

See that bolt head on the bottom of the intermediate plate?
That comes out, to release a series of ball bearings, springs etc.. which provide the "click" for the shift rods when they engage a gear... I didn't take any photos, but its all pretty simple.. undo the bolt, the first ball and spring comes out, then you can remove the rod..

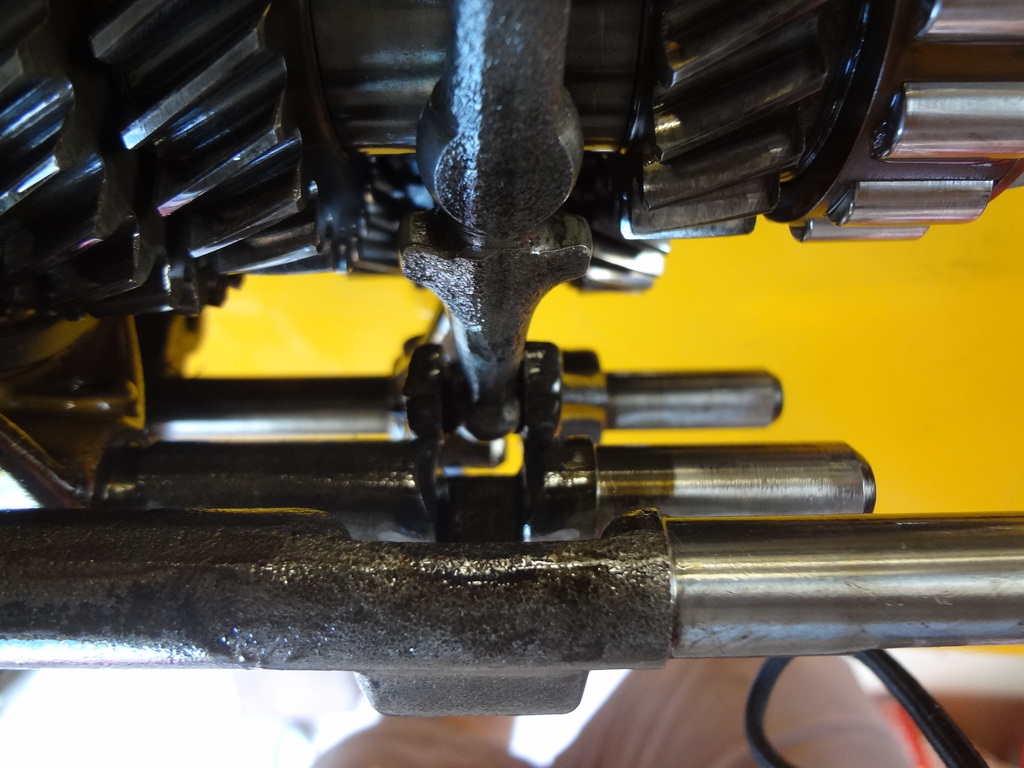
Undo the bolt clamping the brass shift fork to the rod first...
mikedsilva
fast forward....
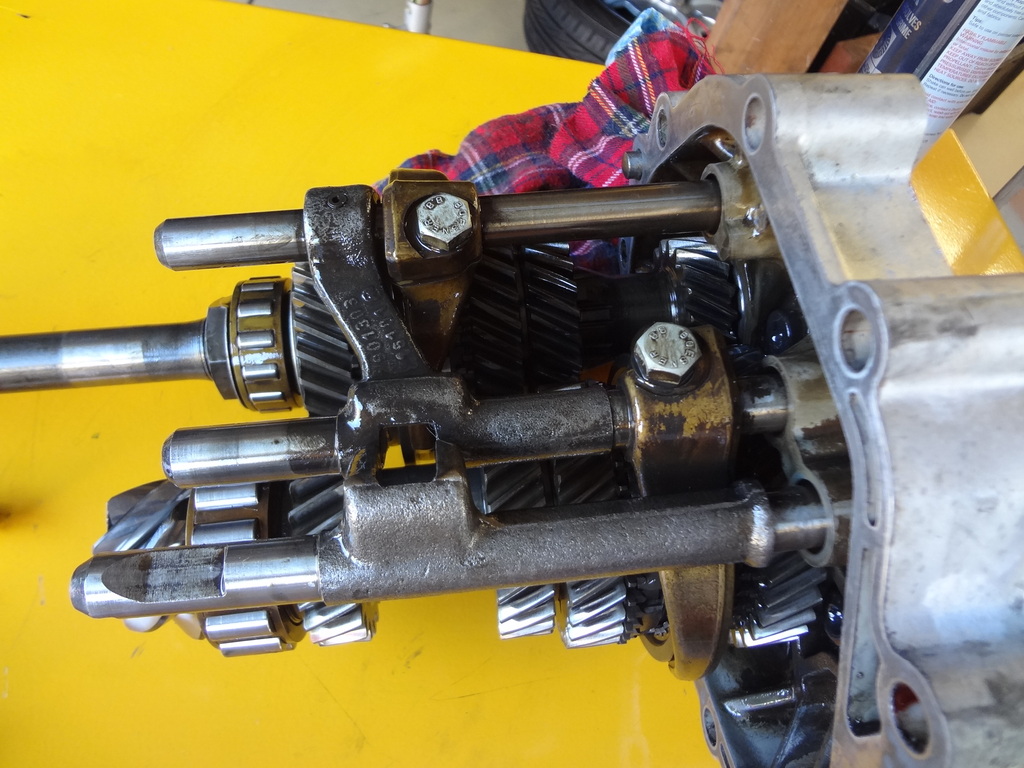
all the rods have been swapped, the forks are back on and the balls and springs are back in the same order...
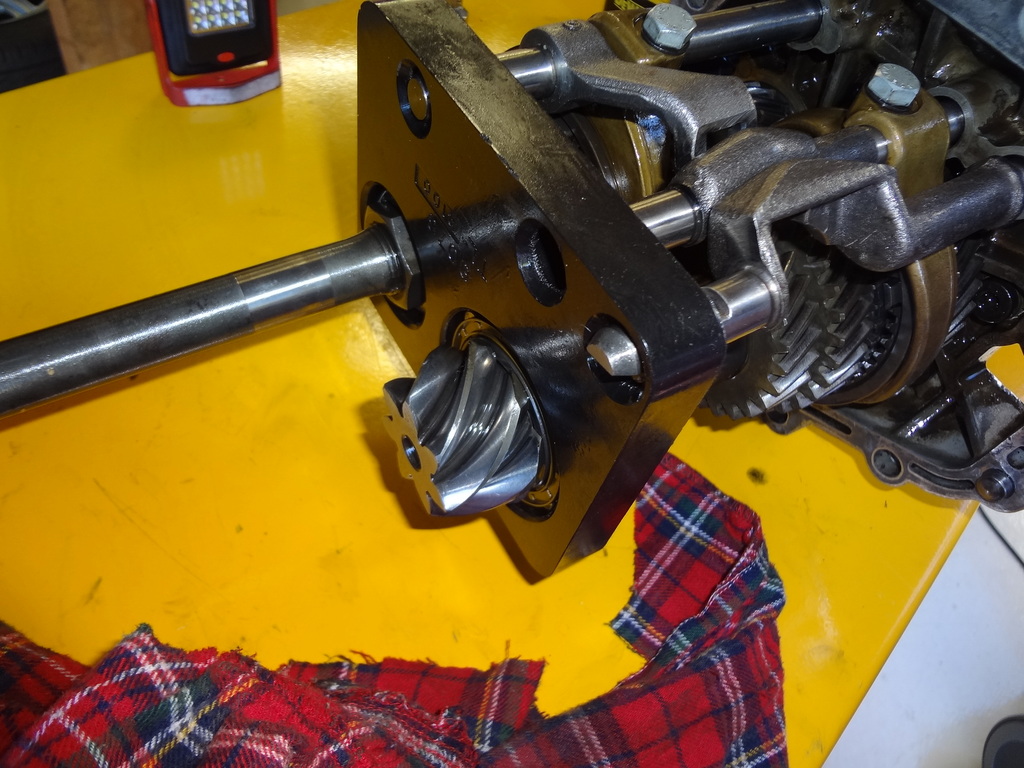
I borrowed my friend's jig which is mandatory for this job...
IPB Image
mikedsilva
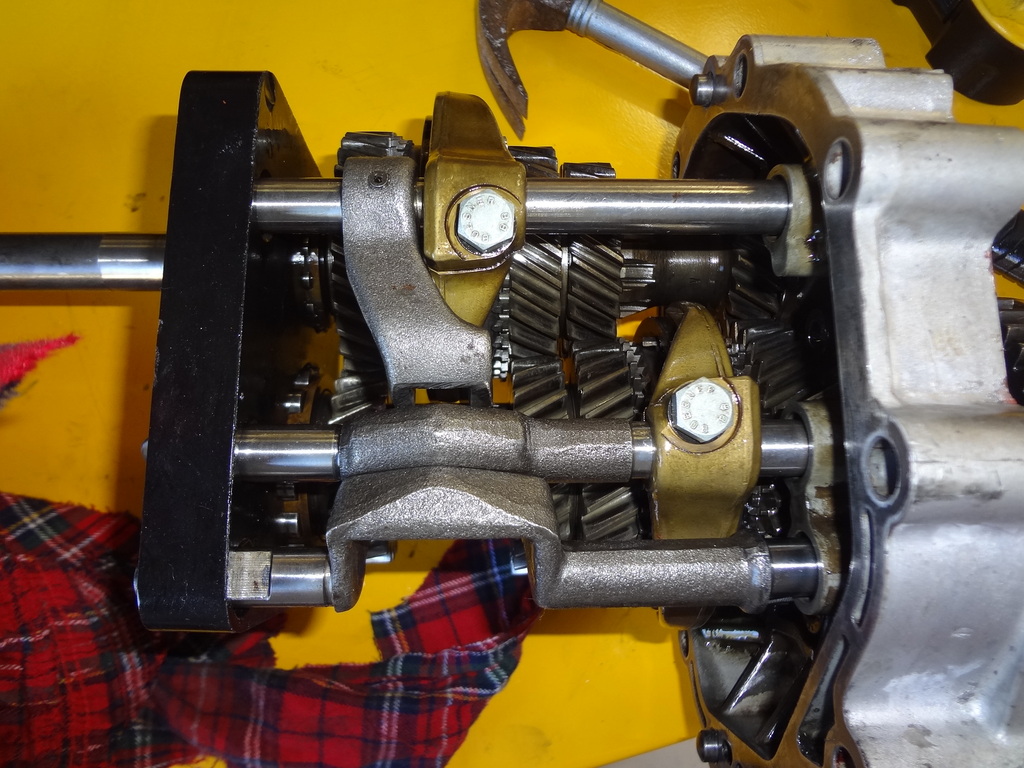
Now the fun part of aligning the shift rods...
IPB Image
IPB Image
mikedsilva
IPB Image
mikedsilva
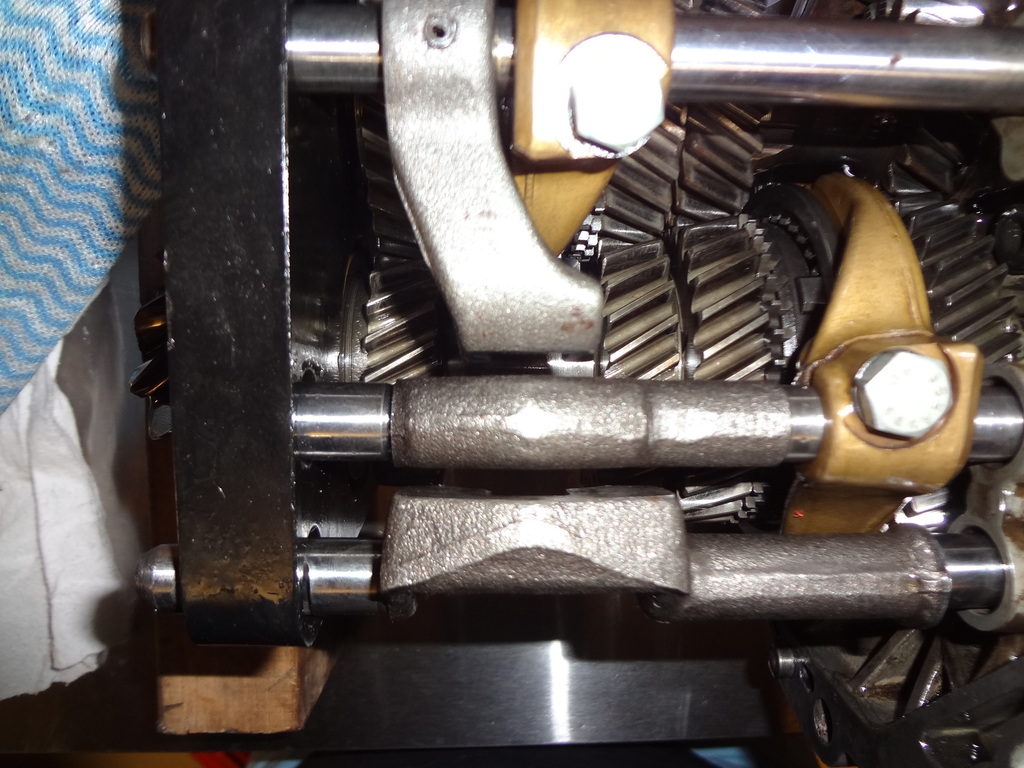
In the end I chickened out, and got my friend Dave to come over the share his experience of aligning the rods as he has been inside these gearboxes before..
IPB Image
mikedsilva
It's a really finicky process, since you want a straight shot between all the shift rods, so the shift COMB from the side console, can go back and forth perfectly and also to have enough throw, to select each gear position forwards and backwards.

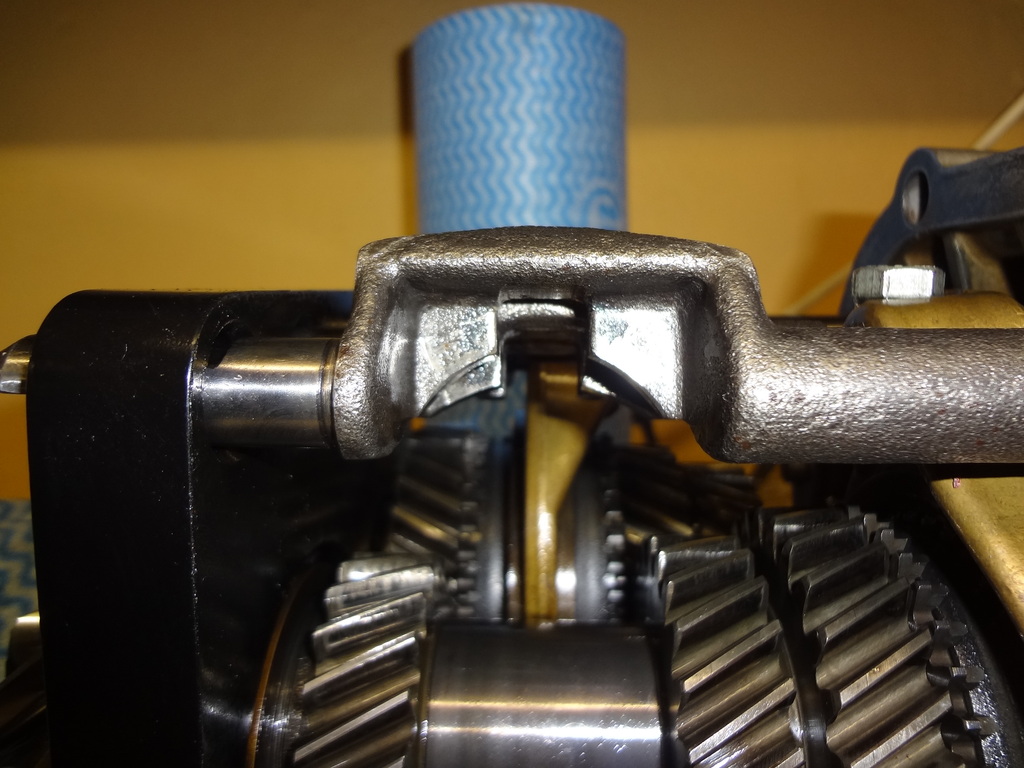
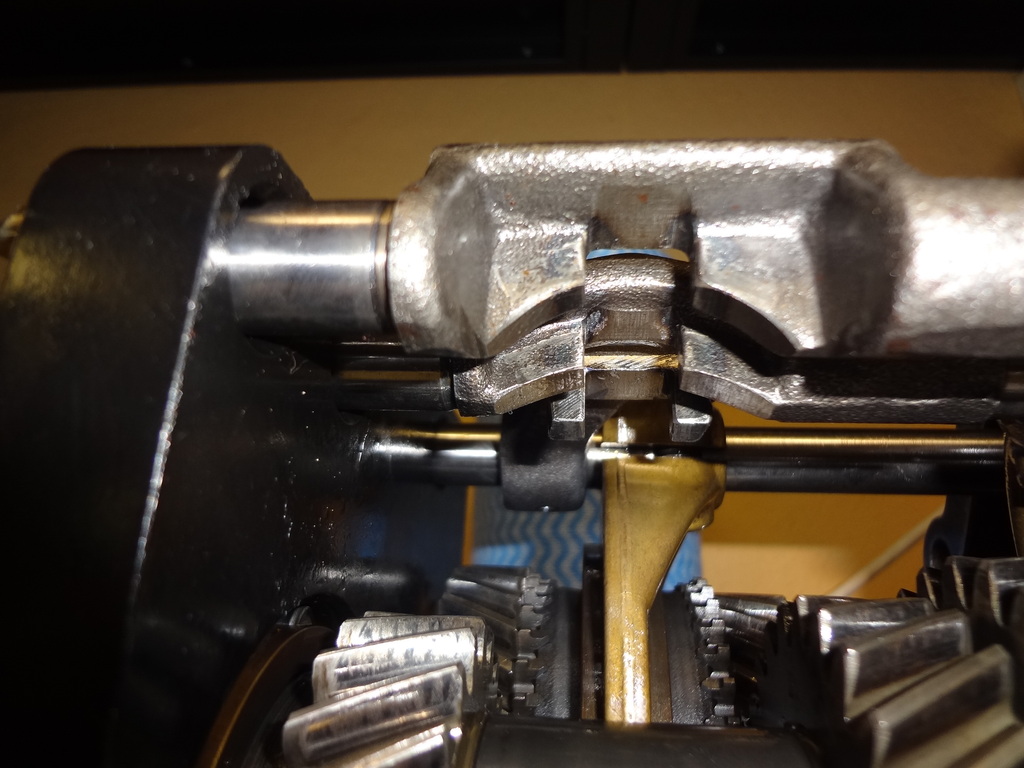
In addition to this, the brass shift fork needs to be aligned so that the dog teeth for either gear on either side of the syncro band, do not overlap the syncro band...

Thank goodness for Dr Evils dvd to explain it a lot better...
mikedsilva
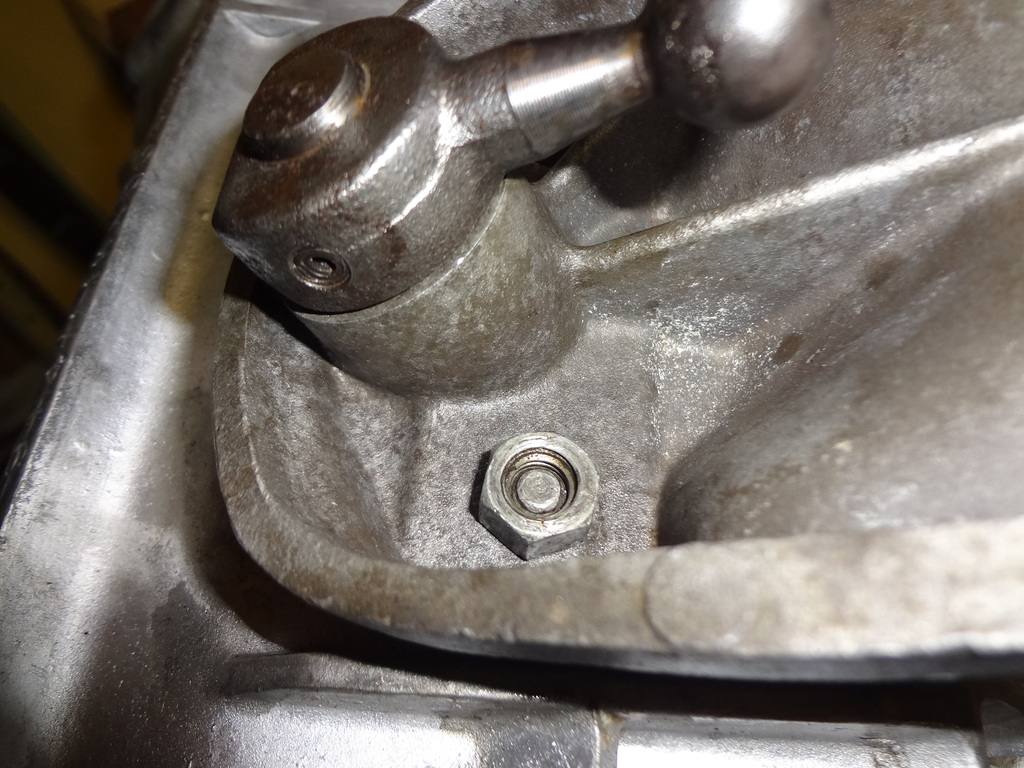
My final issue, was the stud length when I installed the side shifter console..
not long enough!
IPB Image
I fixed this, by winding them out using 2 nuts, locked together.
Then I got a long bolt the same thread pitch, cut off the head, cleaned them up, and installed with lock tite.. no photos, but you know what I mean...
This is a "lo-fi" version of our main content. To view the full version with more information, formatting and images, please click here.
Invision Power Board © 2001-2024 Invision Power Services, Inc.